Tag Archives: Michelin TPMS

Africa Twin – Ready for Africa

AFRICA TWIN INDEX PAGE
amh8prt
atpk-lane

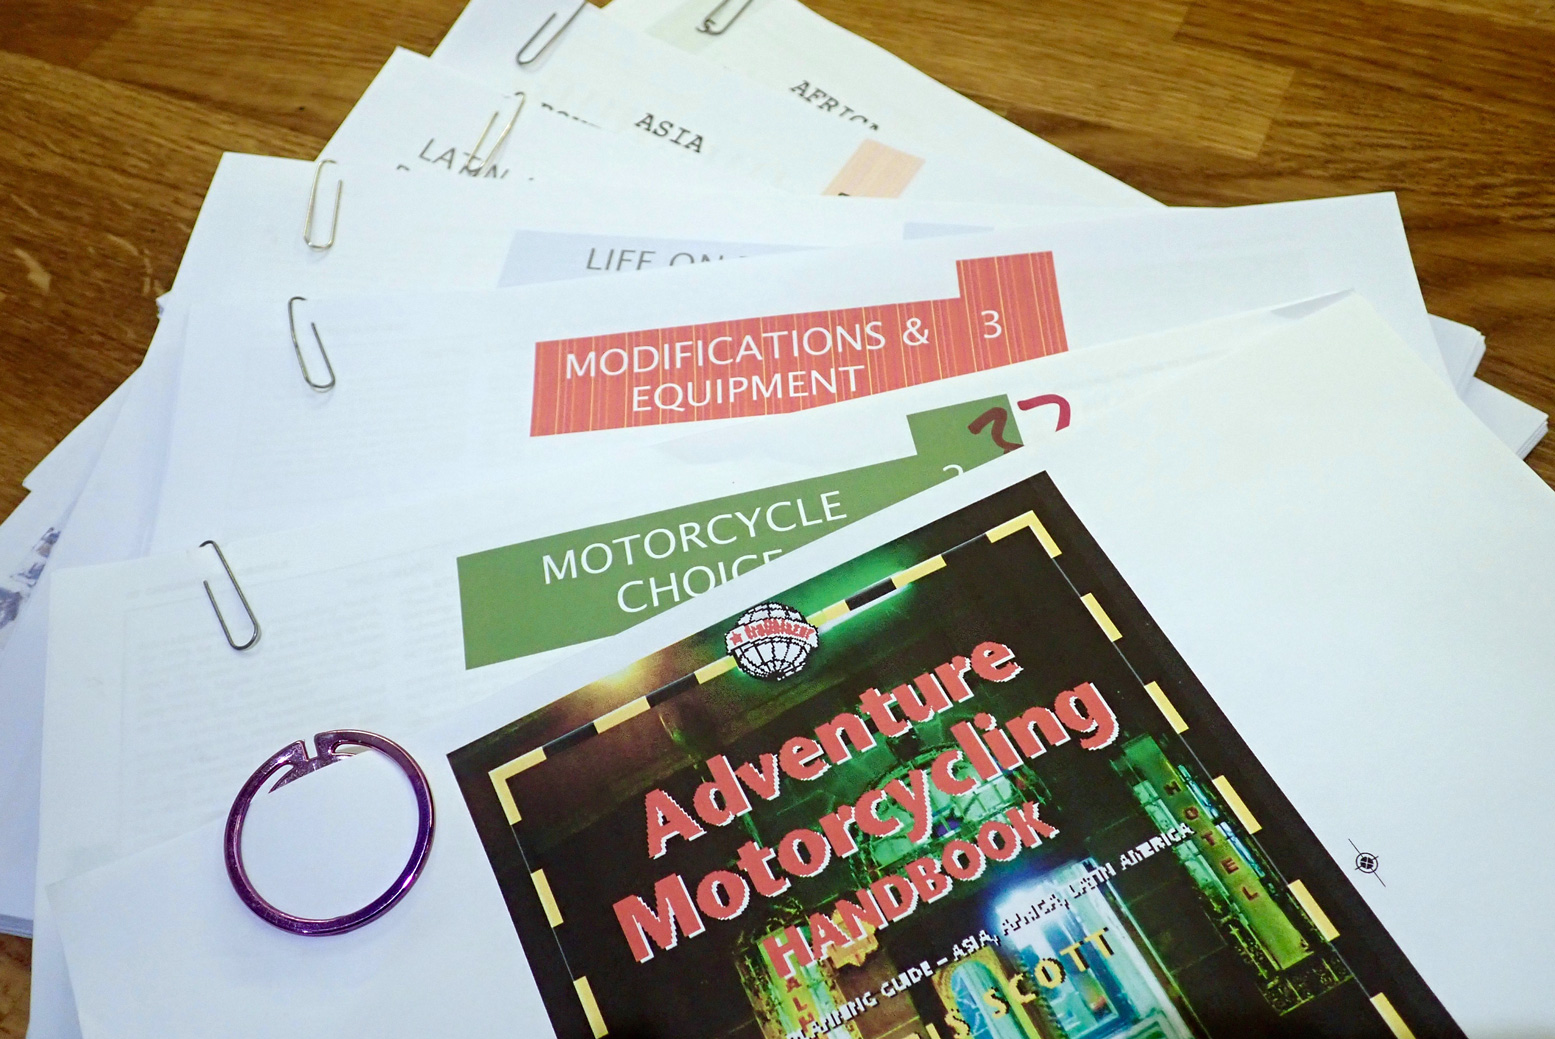
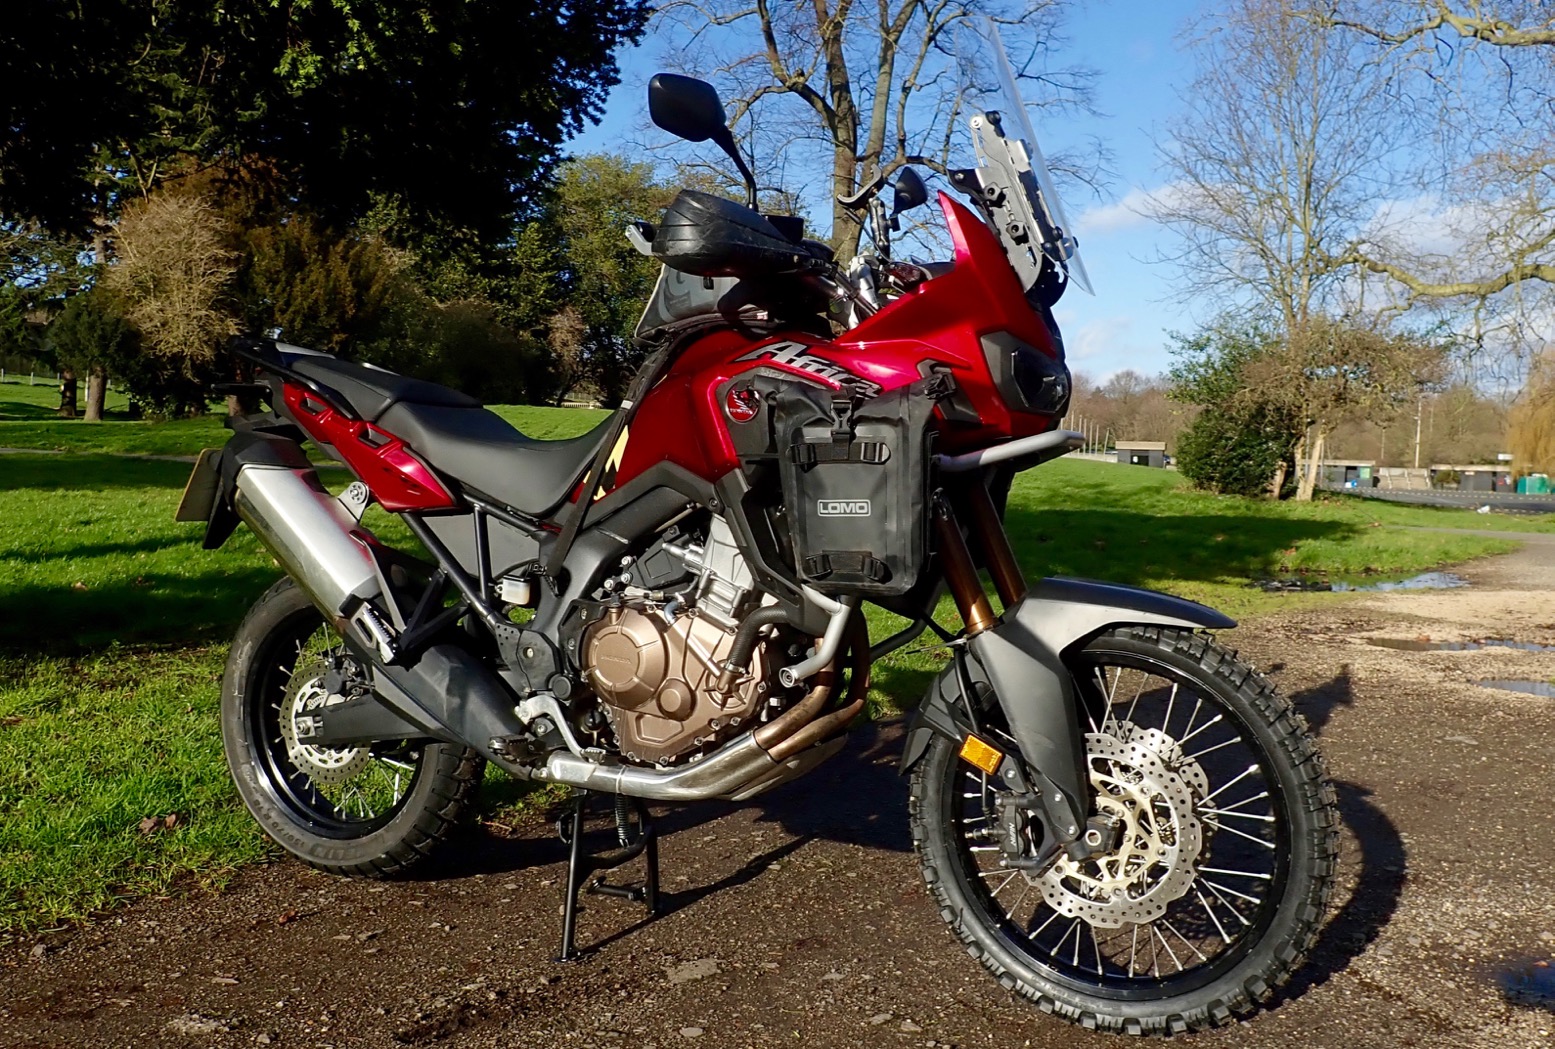
With AMH8 (right) sent in, I have a week and a bit to get the Africa Twin in shape for some Morocco trails and Mauritania road tripping. It doesn’t sound a lot of time but I’ve done this loads of times so know exactly what needs doing.
Or so I thought.
As I write early on in AMH: Beware and even anticipate a last-minute cock-up (‘LMCU’). While undertaking some wiring, my LBS noticed the left radiator was bent and fan jammed. I thought I’d smelt the whiff of coolant on the last couple of rides. It was clear from the damaged fairing the ex-Honda Off-Road Centre bike had fallen on the left at least once before they removed the crash bar, stitched up the fairing and sold it on. Looks like those crashes may have been heavier than they looked and my bargain AT wouldn’t be such a bargain after all. Oh well.

at-rad

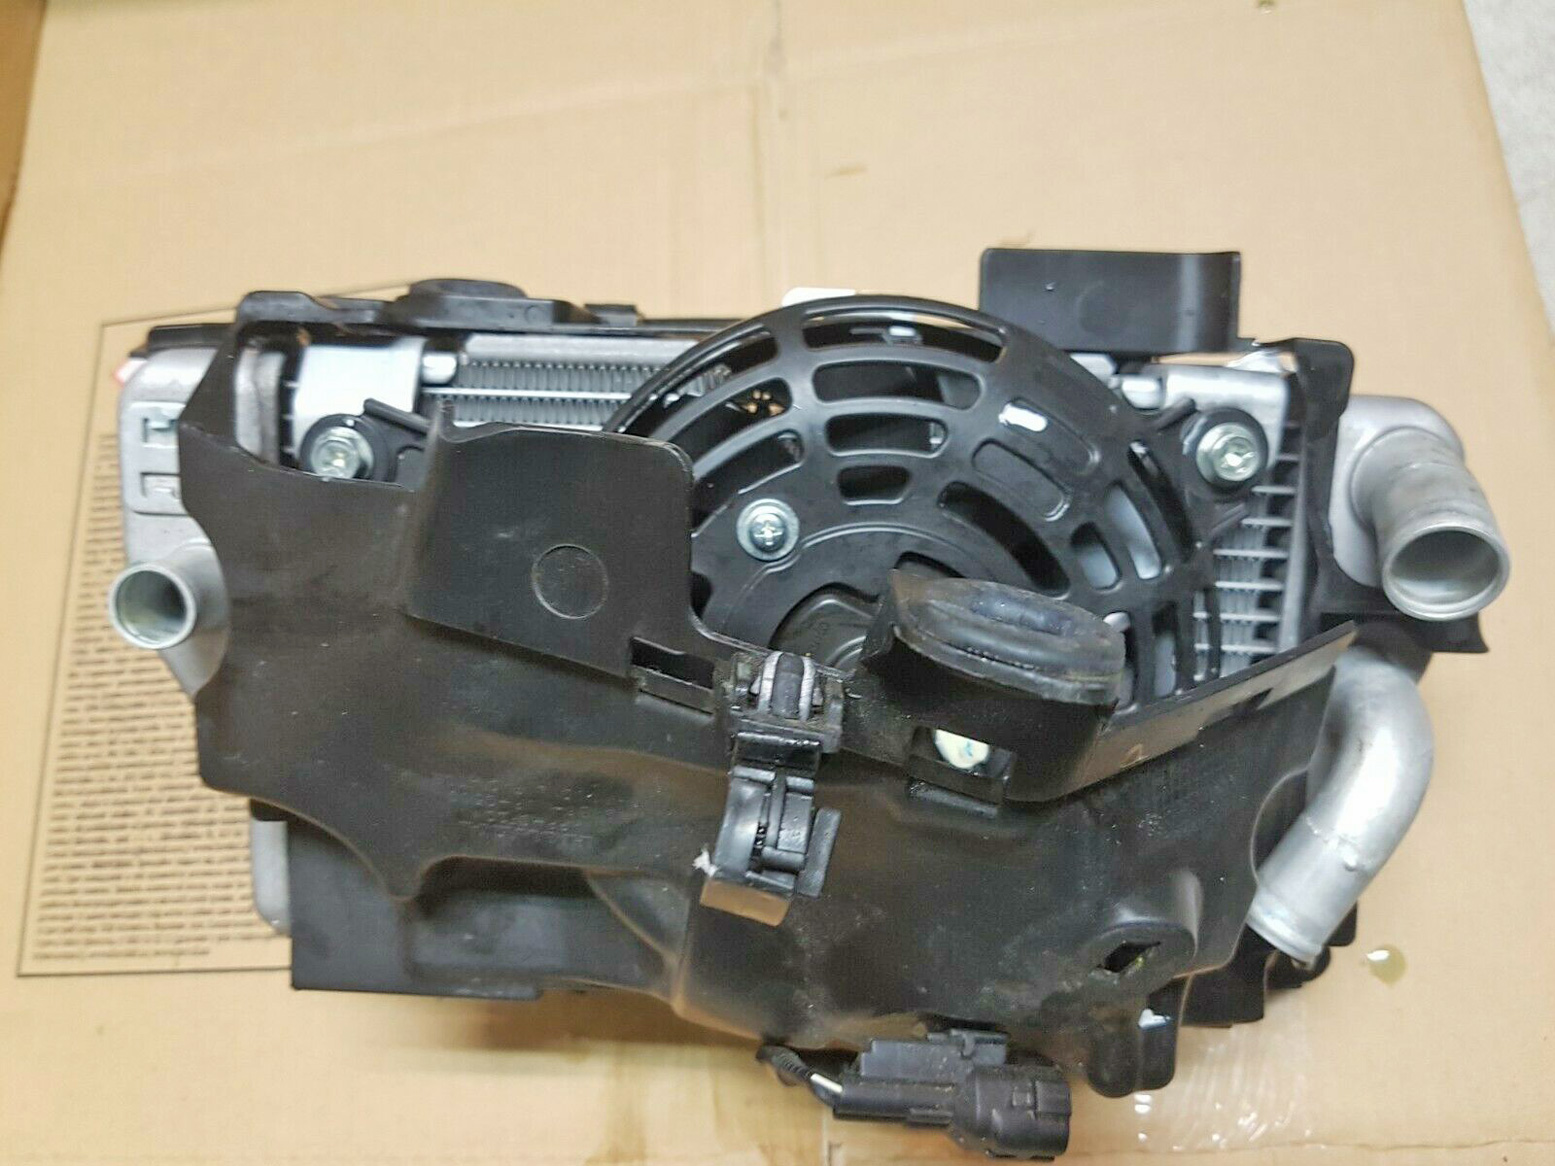
Honda parts prices? Don’t ask. Ebay to the rescue. Because there are so many ATs around I snagged a used radiator-fan assembly (left) and dropped it off at the shop. With that fixed, it now transpired the used OEM crash bar I’d bought a while back (probably also from the HO-RC) had missing brackets and my ferry was leaving next day. Luckily, the pressure was off as Storm Ciara (below) put paid to that ferry crossing and with the next one too late to get to Marrakech in time, I was left to van the bike to Malaga (£420) and pick it up after my tours. I hope that’s all the LMCUs out of the way. I really don’t want to leave our descent into Mauritania any later than it already is.

at-storm

Attachments

atpk-palm
atpk-palma

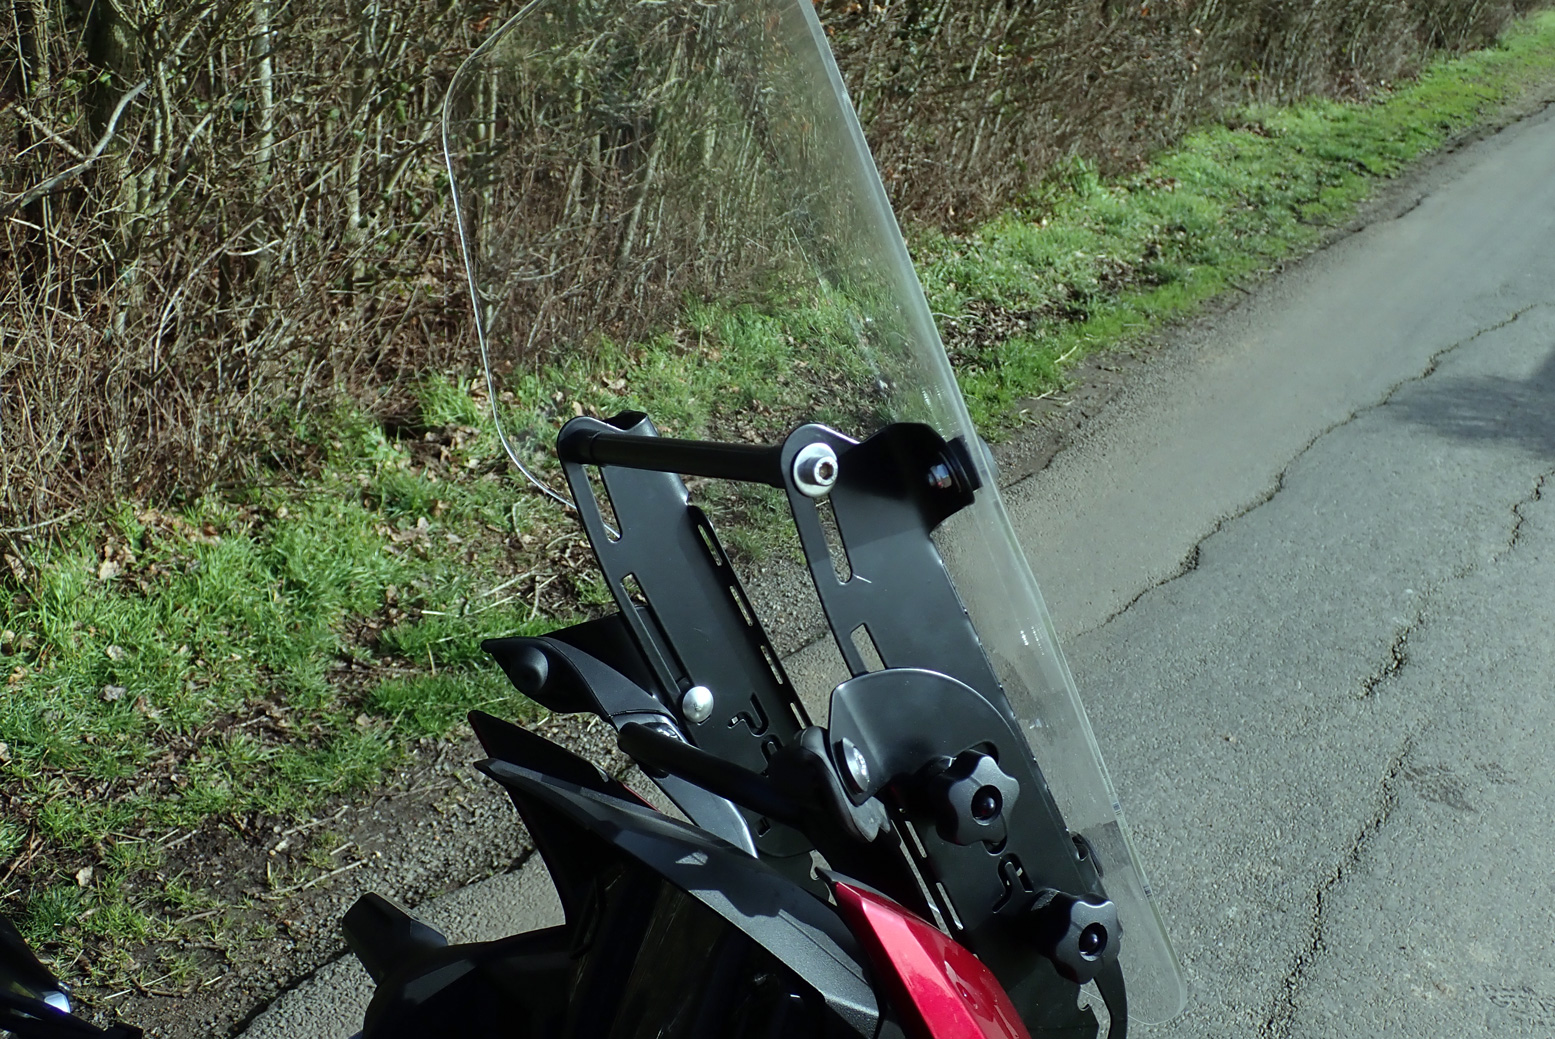
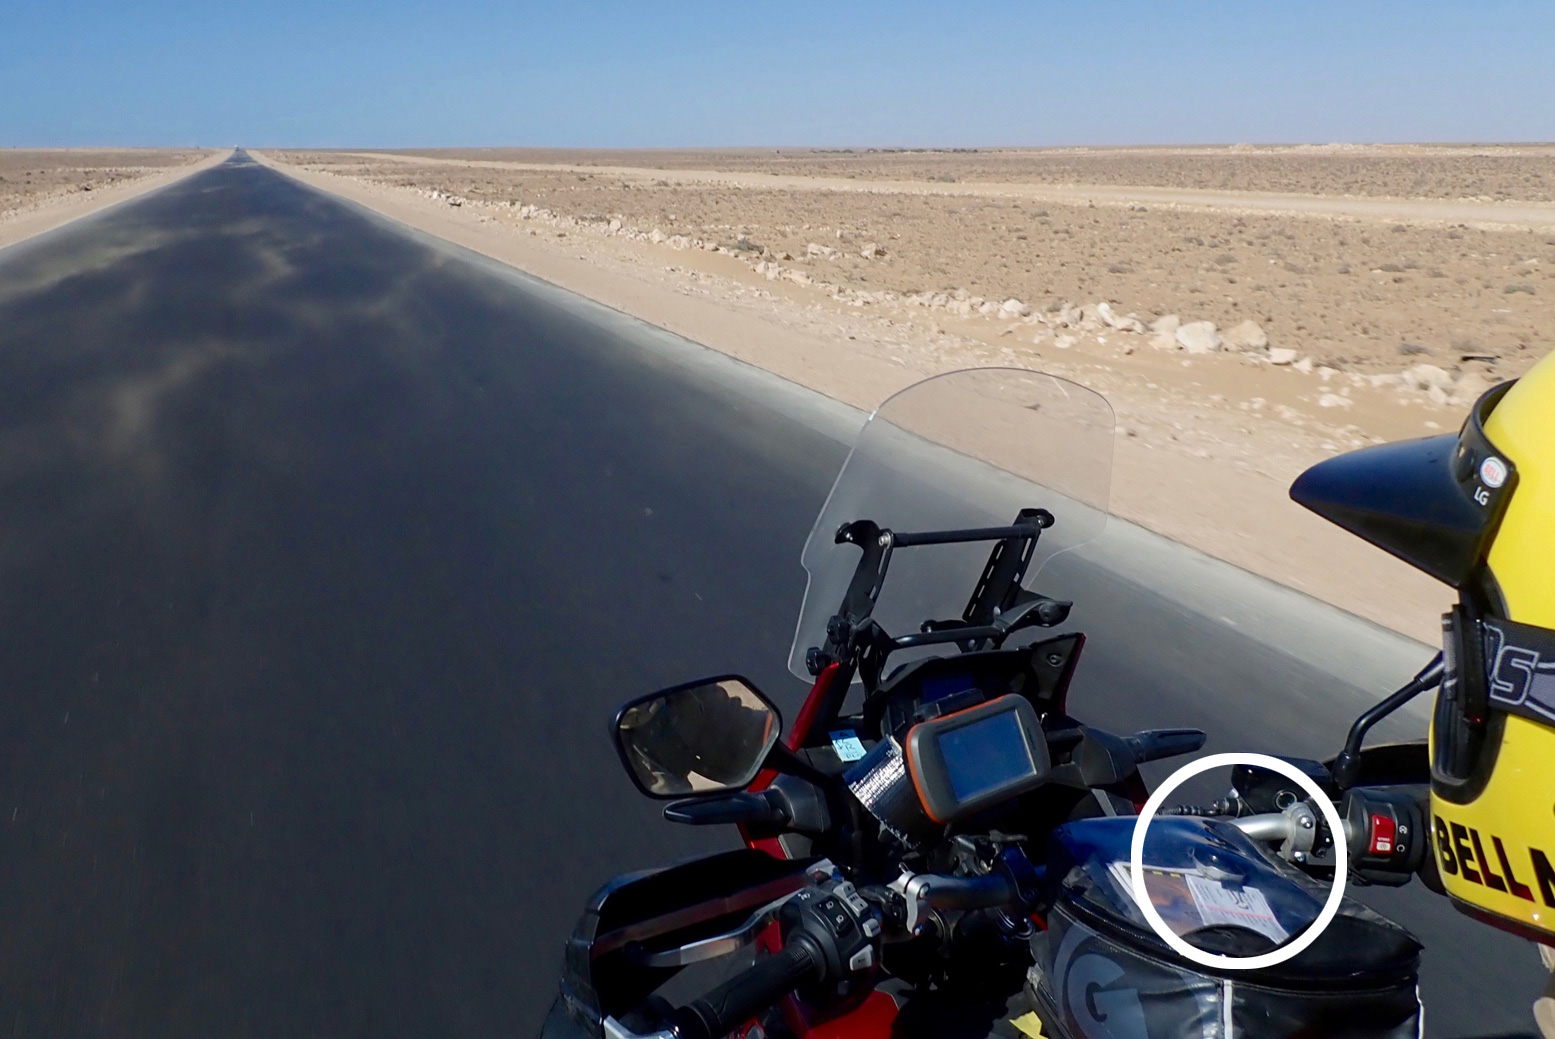
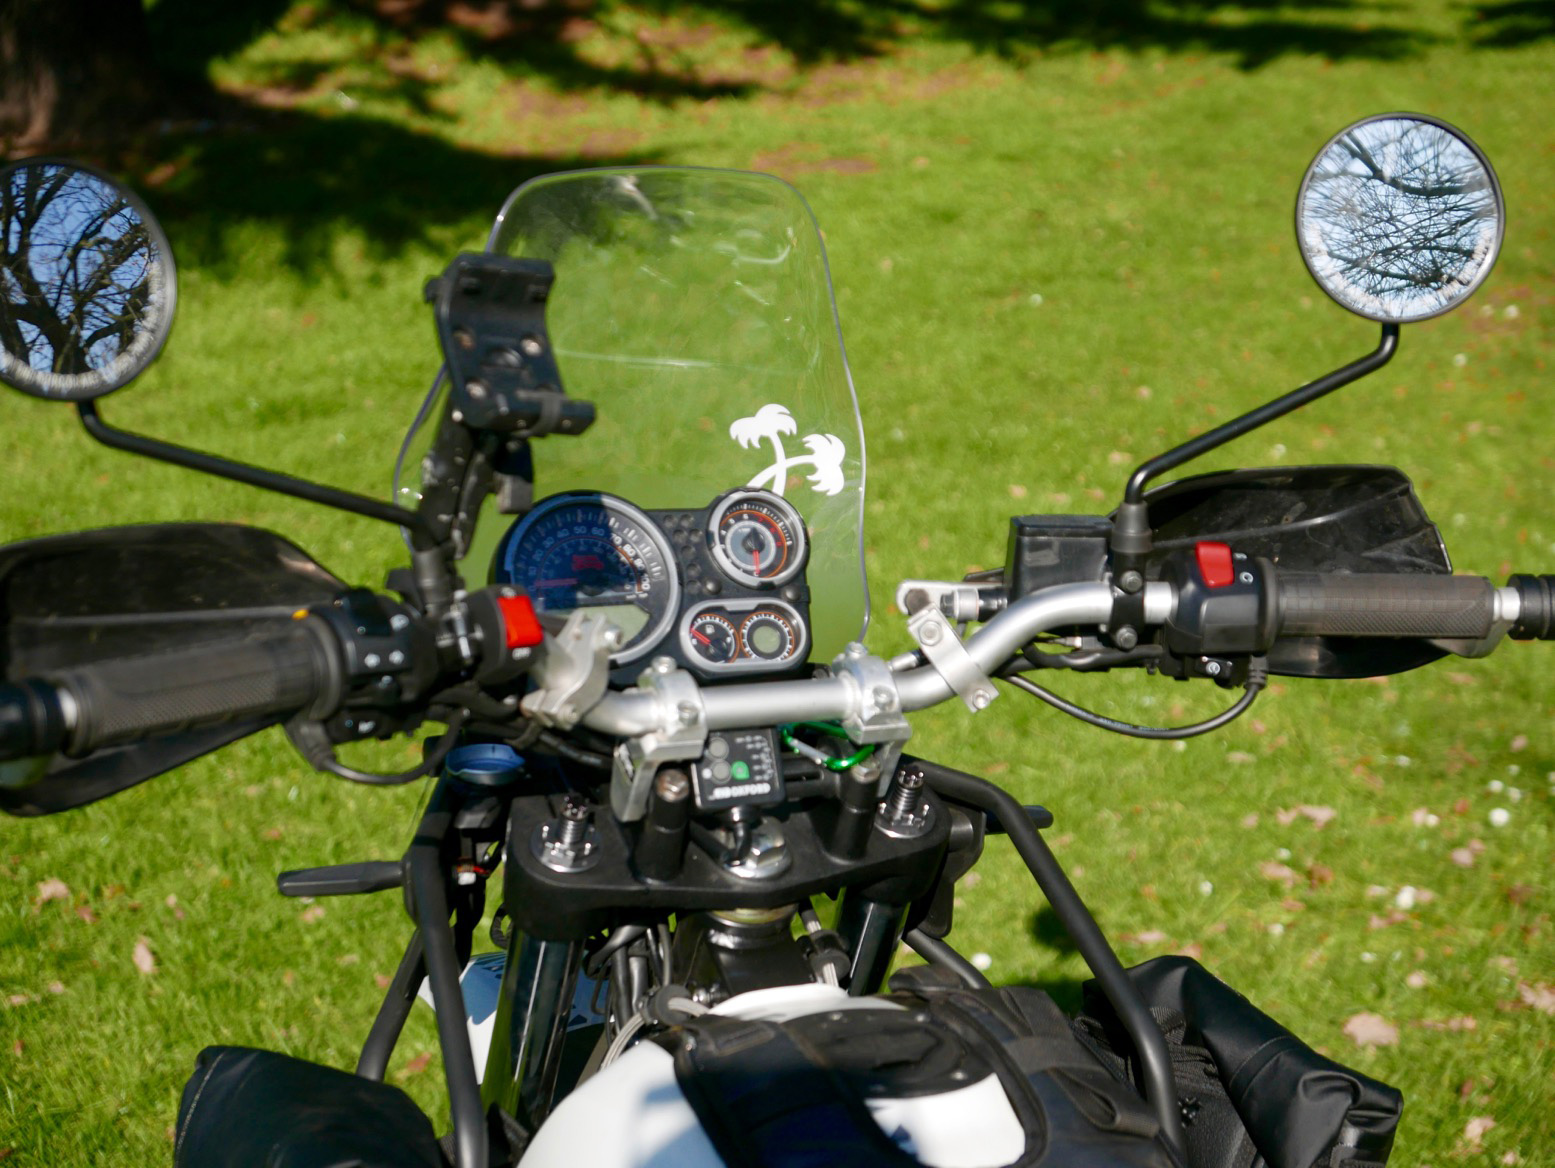
The fixed stock screen is famously ineffective. I settled on a Palmer screen, as on the CB500X a few years ago. It consists of a taller screen mounted on a pressed steel frame with three heights and three angles (left). That should surely deliver a cruising sweet spot. All up, it adds a kilo over stock; let’s hope the mounts can handle that extra mass on rough tracks.
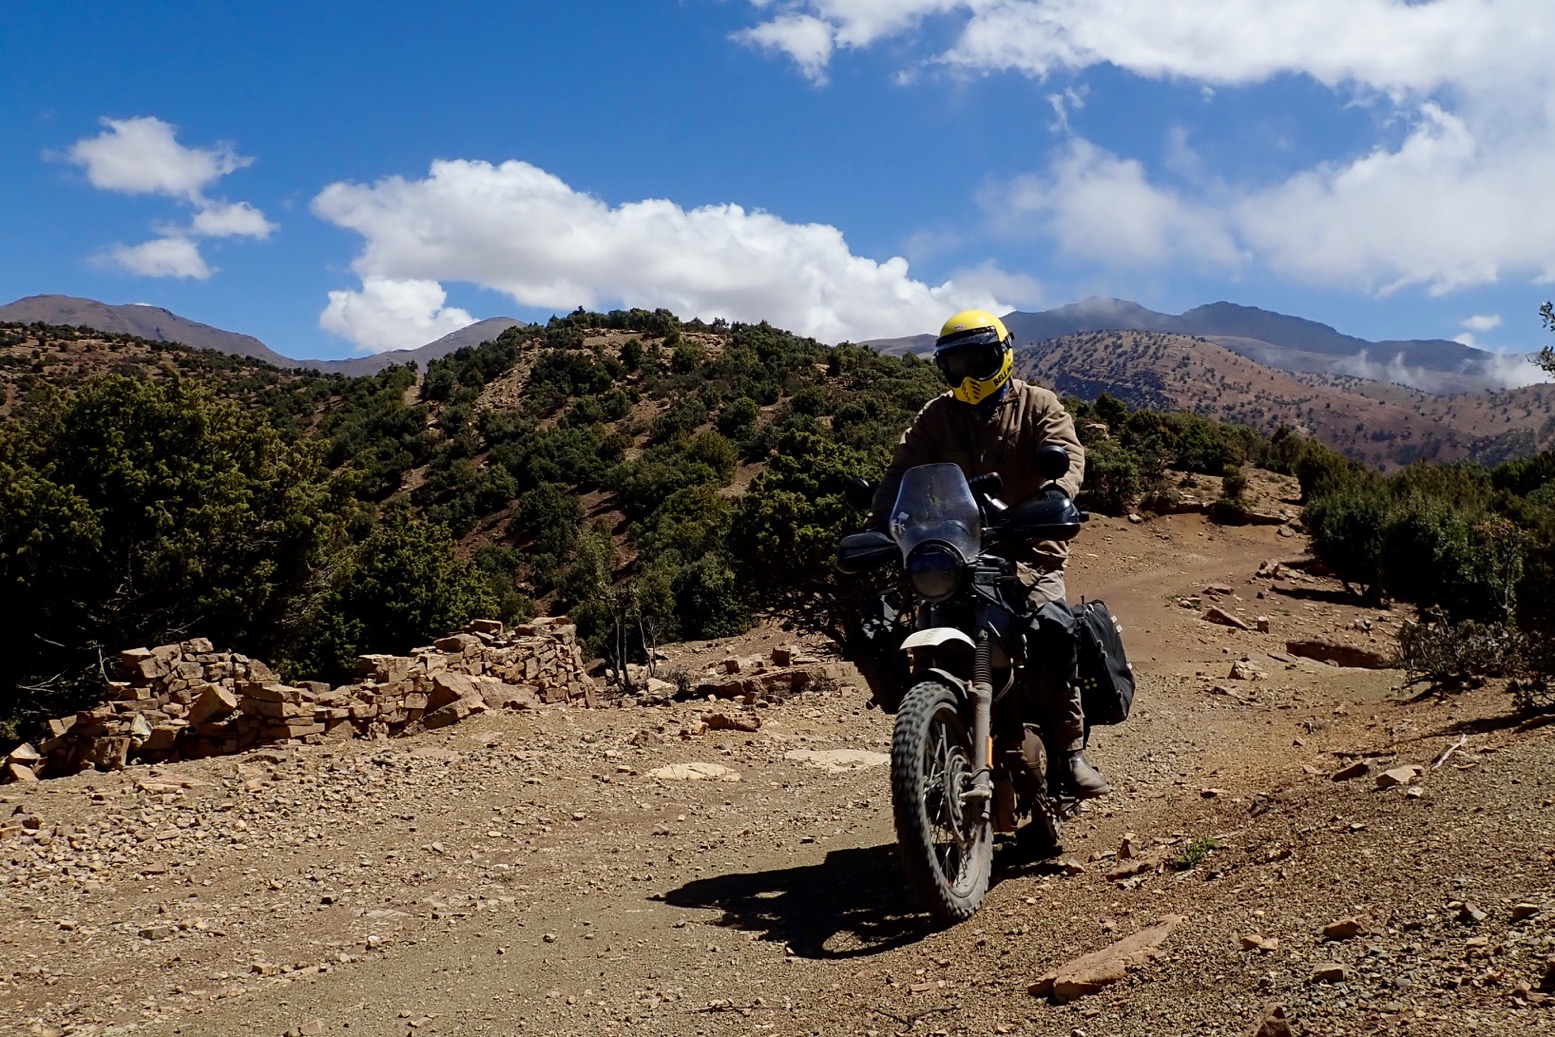
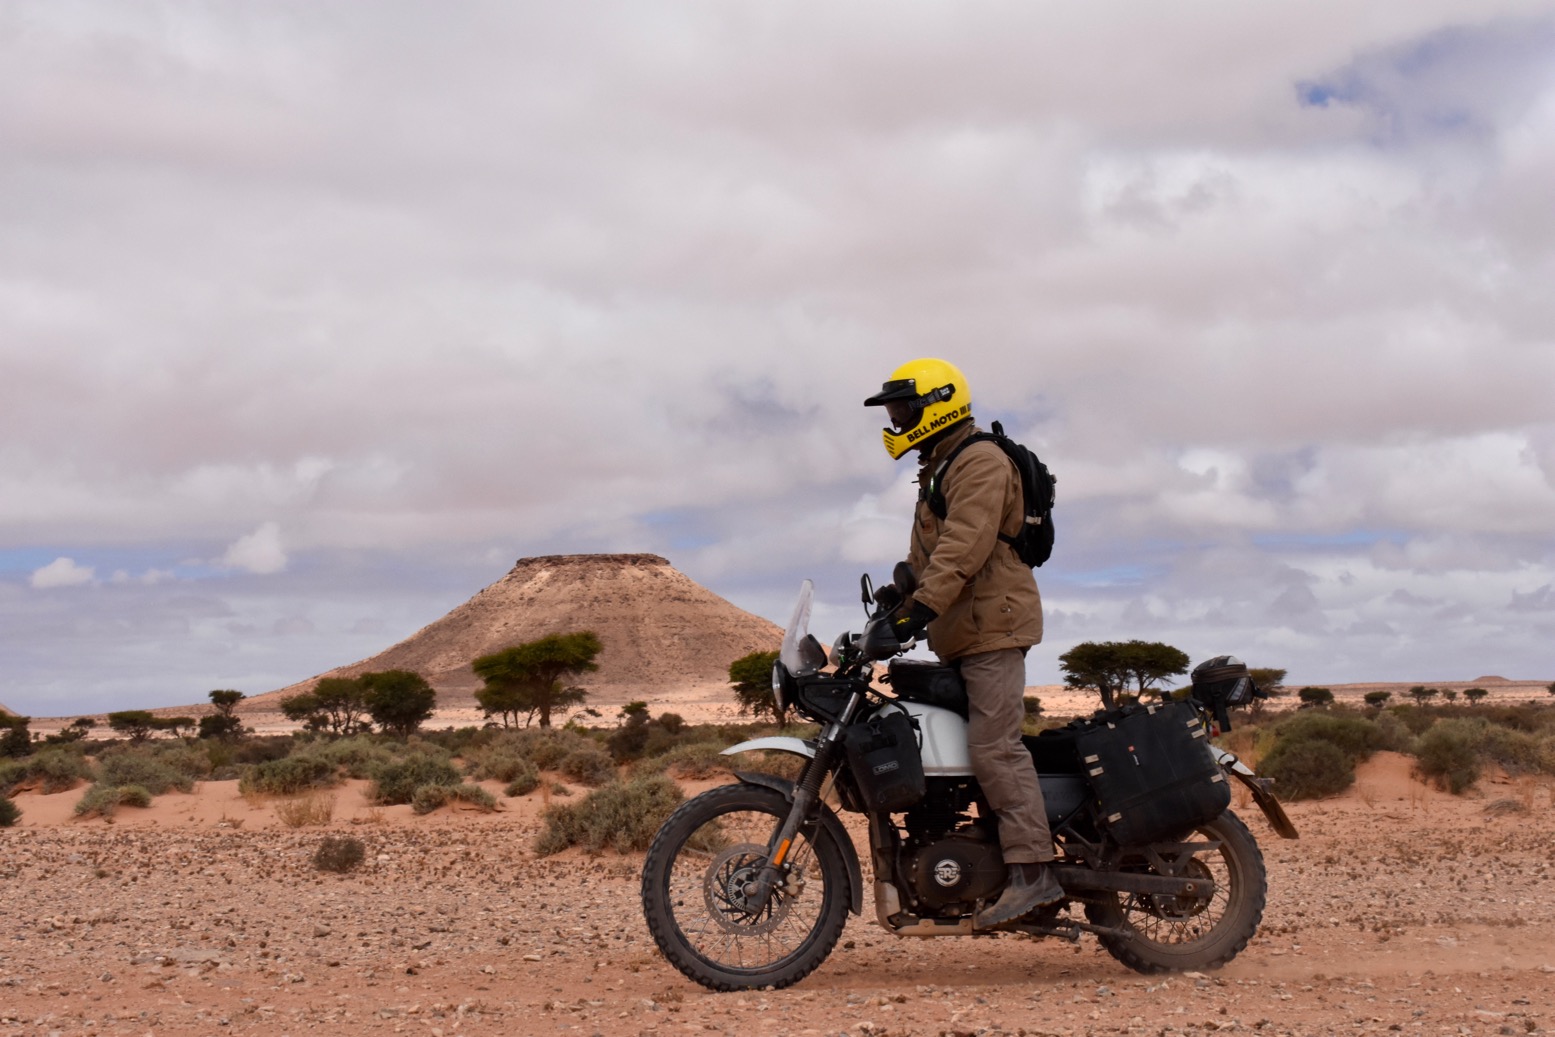
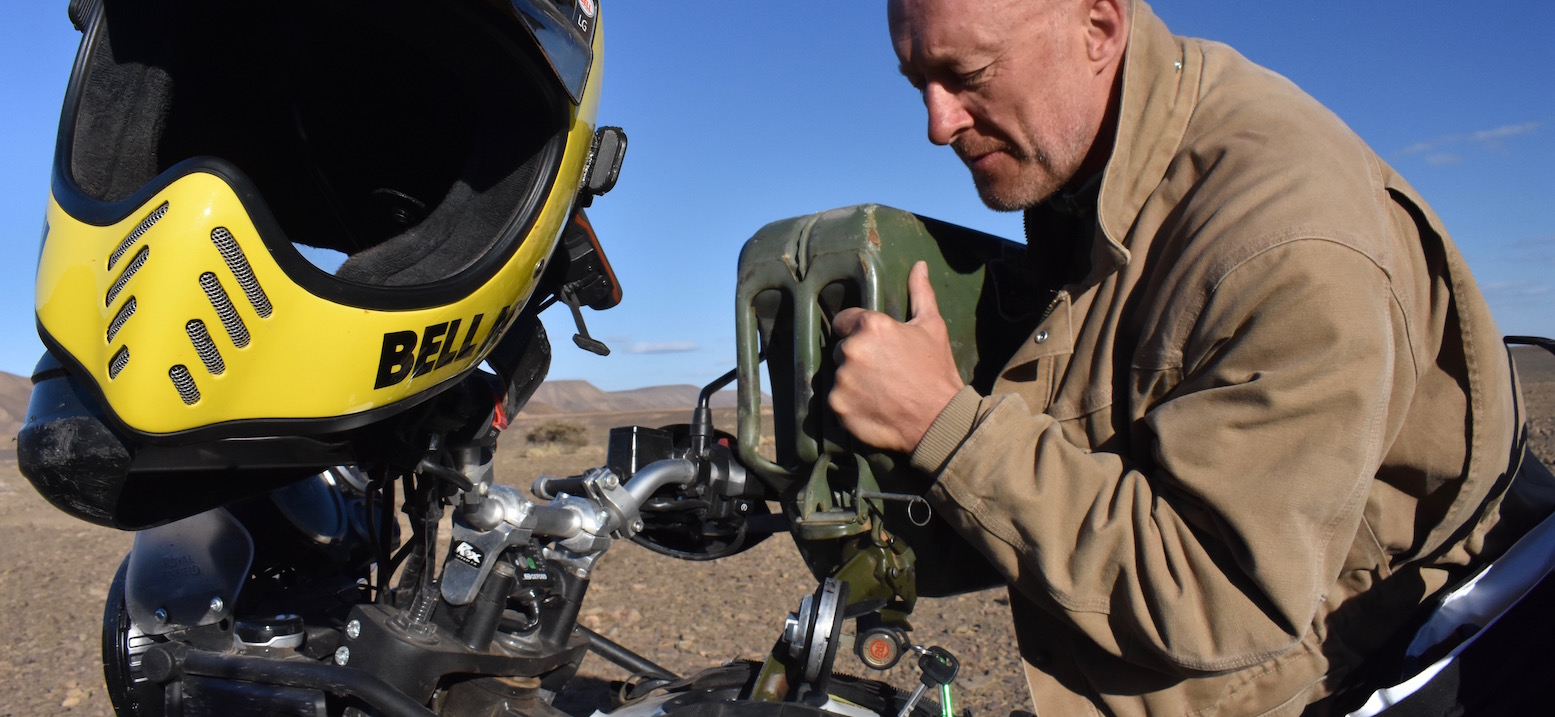
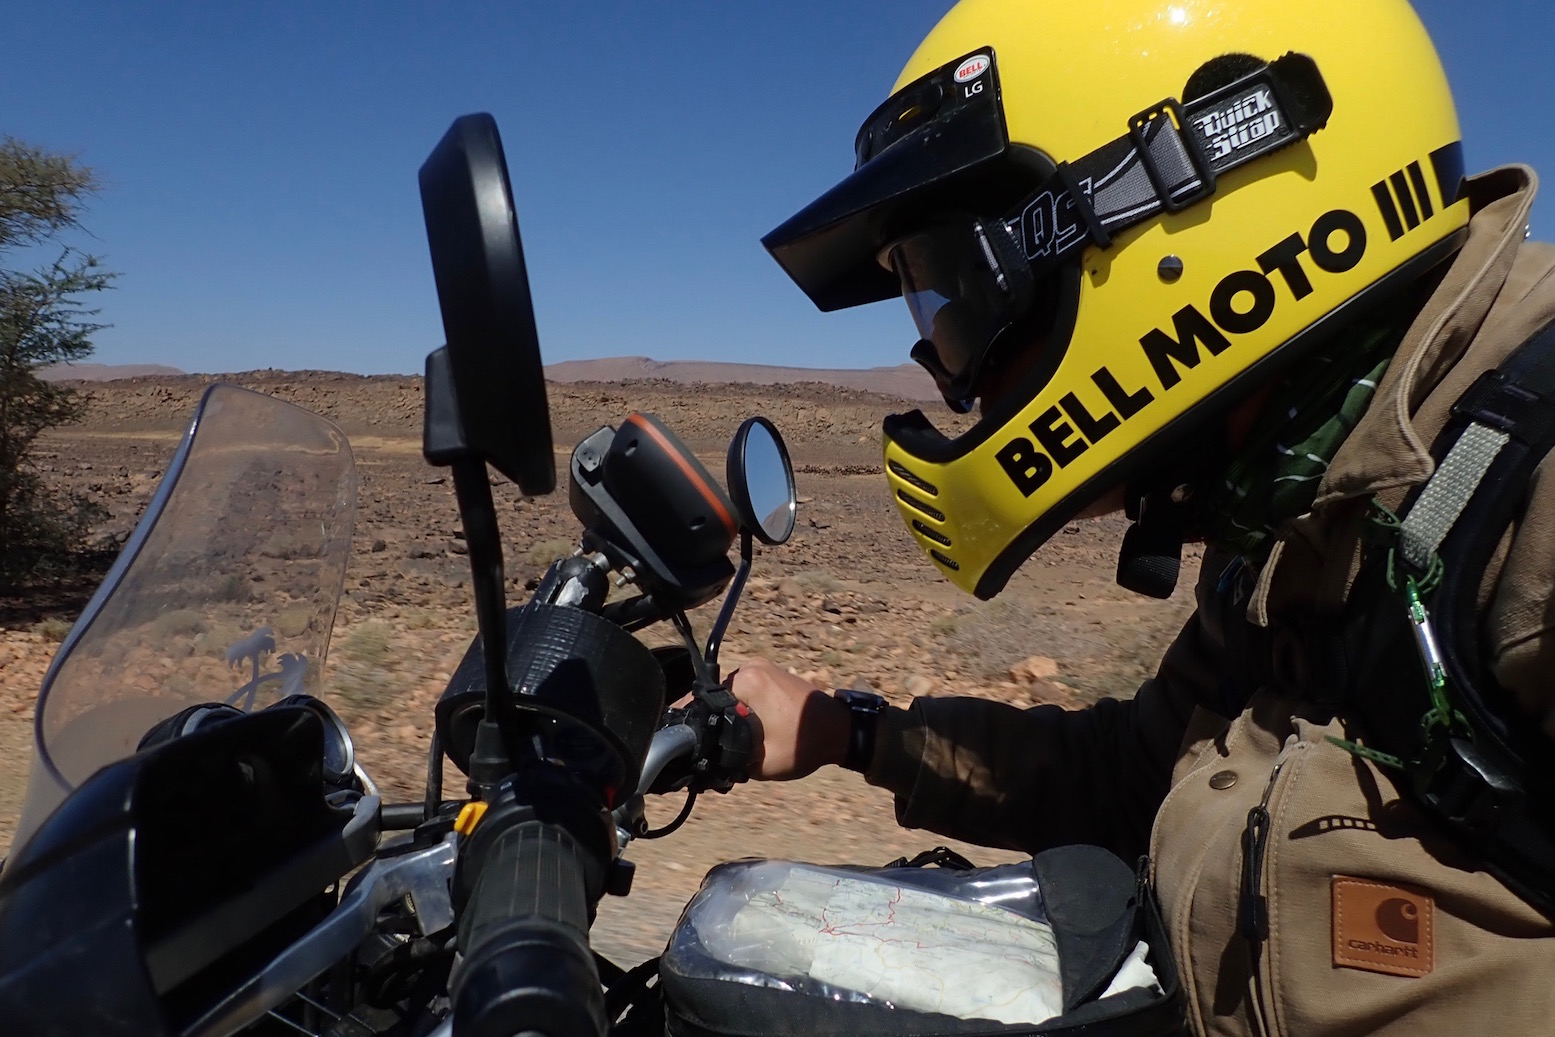
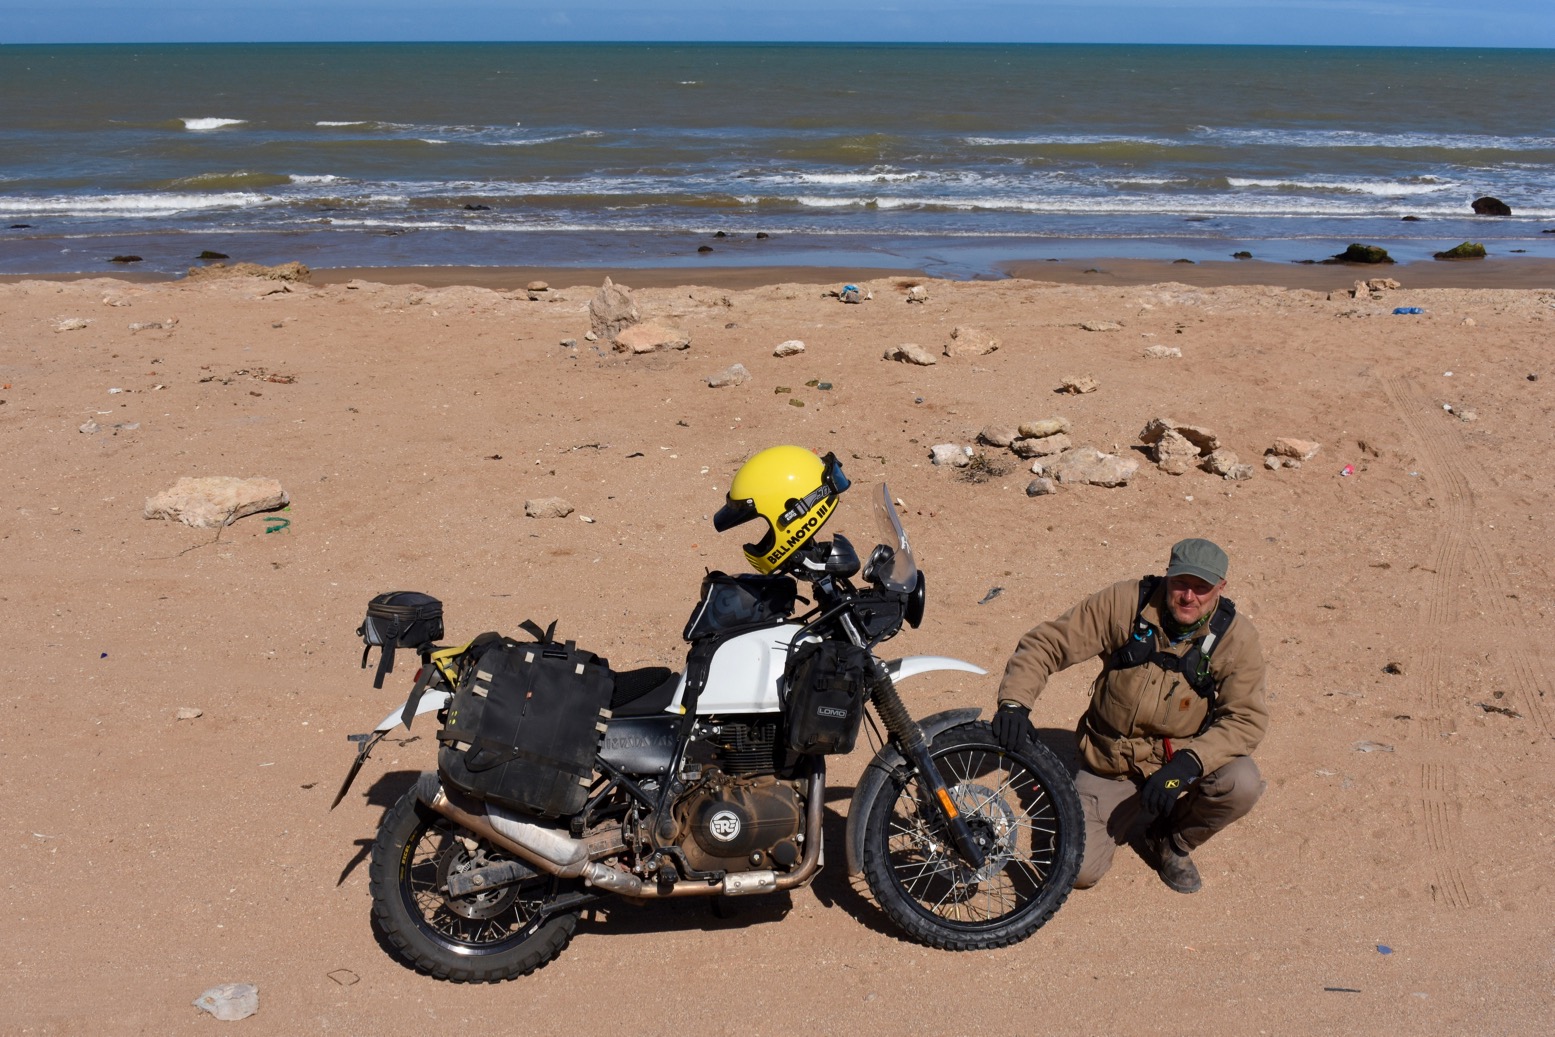
Riding the bike, I found with the setting as left, I could ride up to 70 with no goggles wearing a Bell Moto 3 which is as good as it gets.
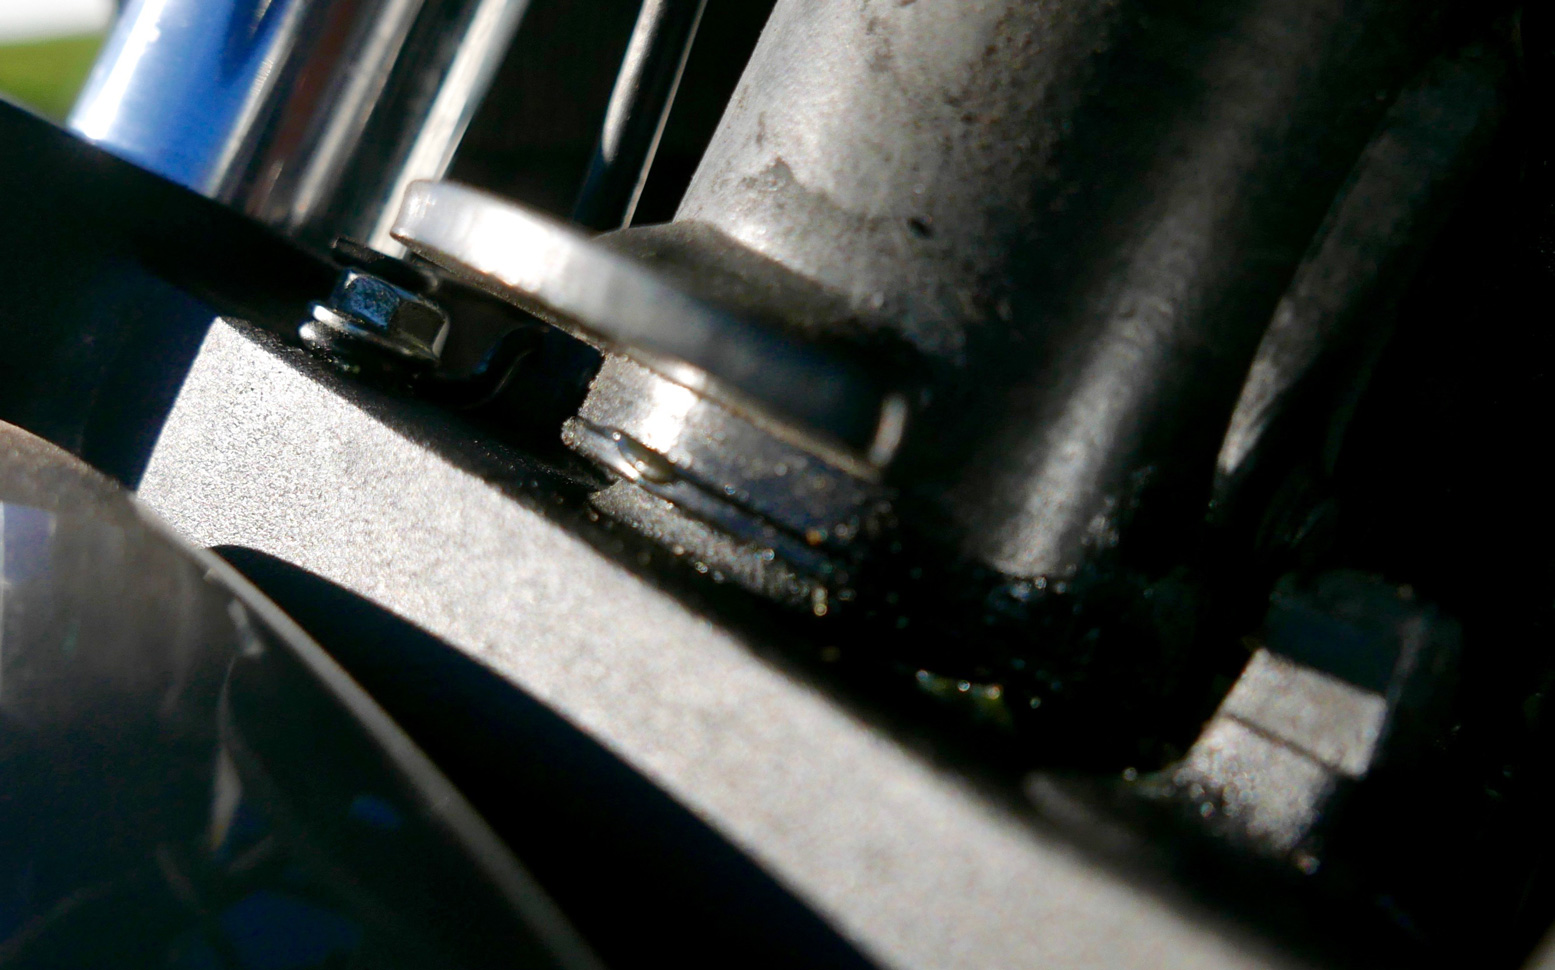
While fitting the Palmer frame (start with all mounts loose and work from there) one of the lower rubber grommet mounts fell into the abyss. Universe 1; Me 0. It seems commonly done but Rugged Roads sell similar ‘top-hat’ grommets that will work and ebay is even cheaper. One thing to know: these lower screen mounts slide up into place so don’t need completely unscrewing at all. Once you’ve undone the less lose-able top mounts, just slide the lower mounts down and out.

atpk - 1
at-ASrisers

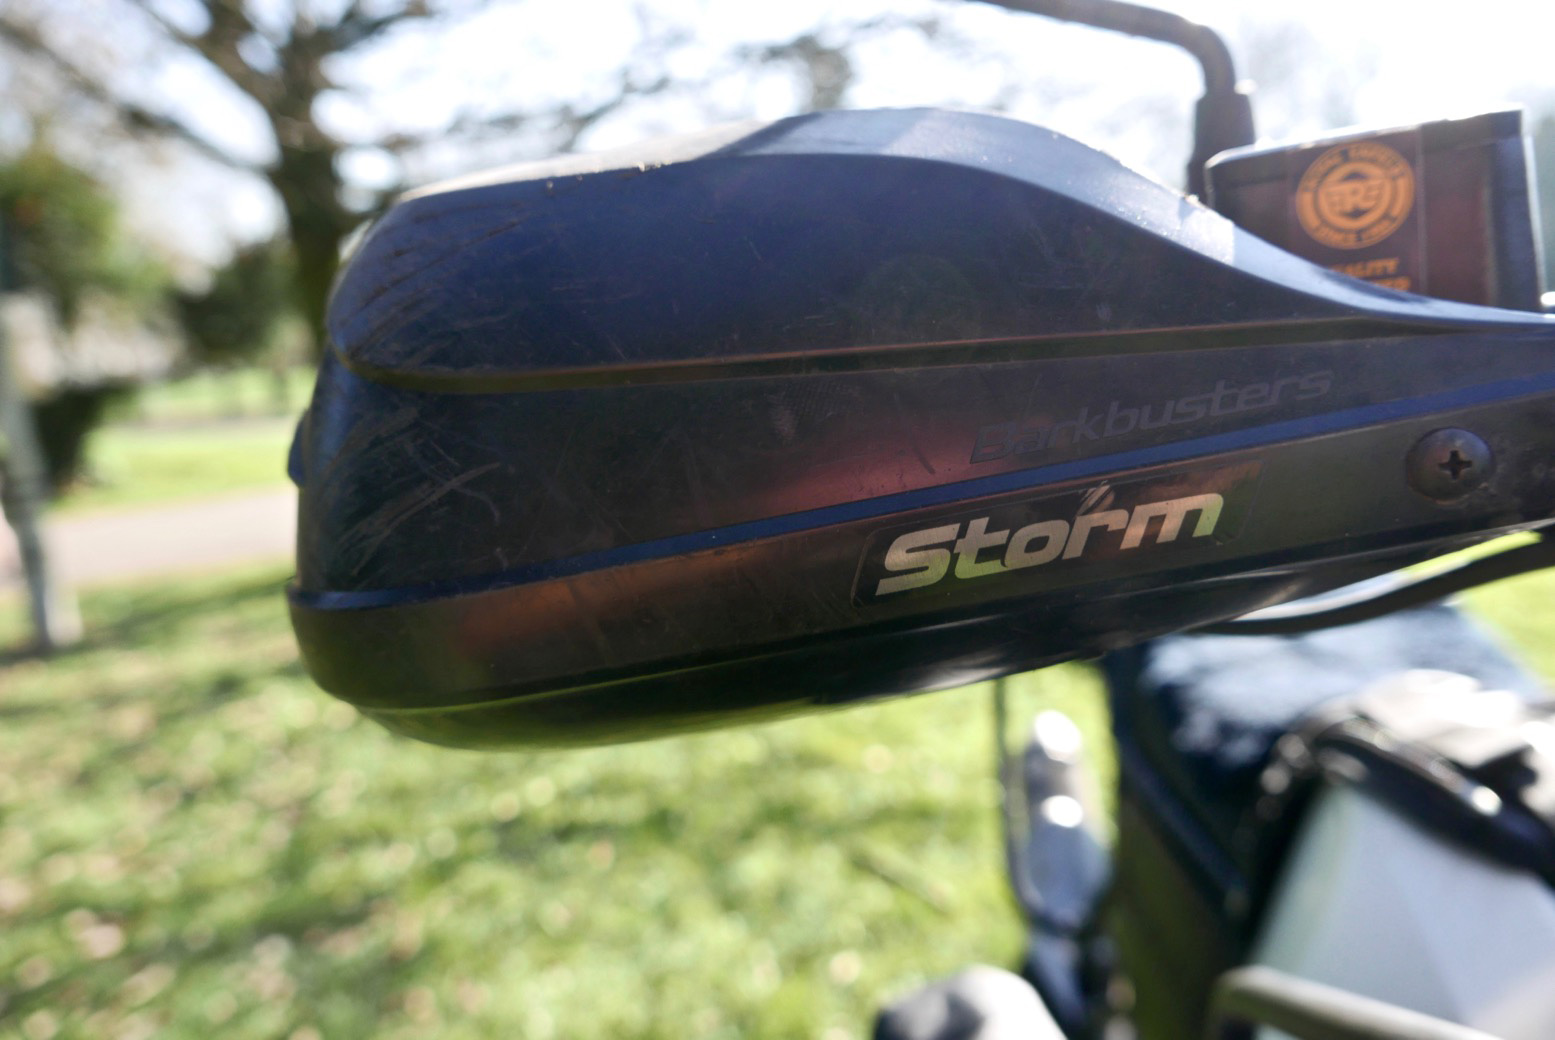
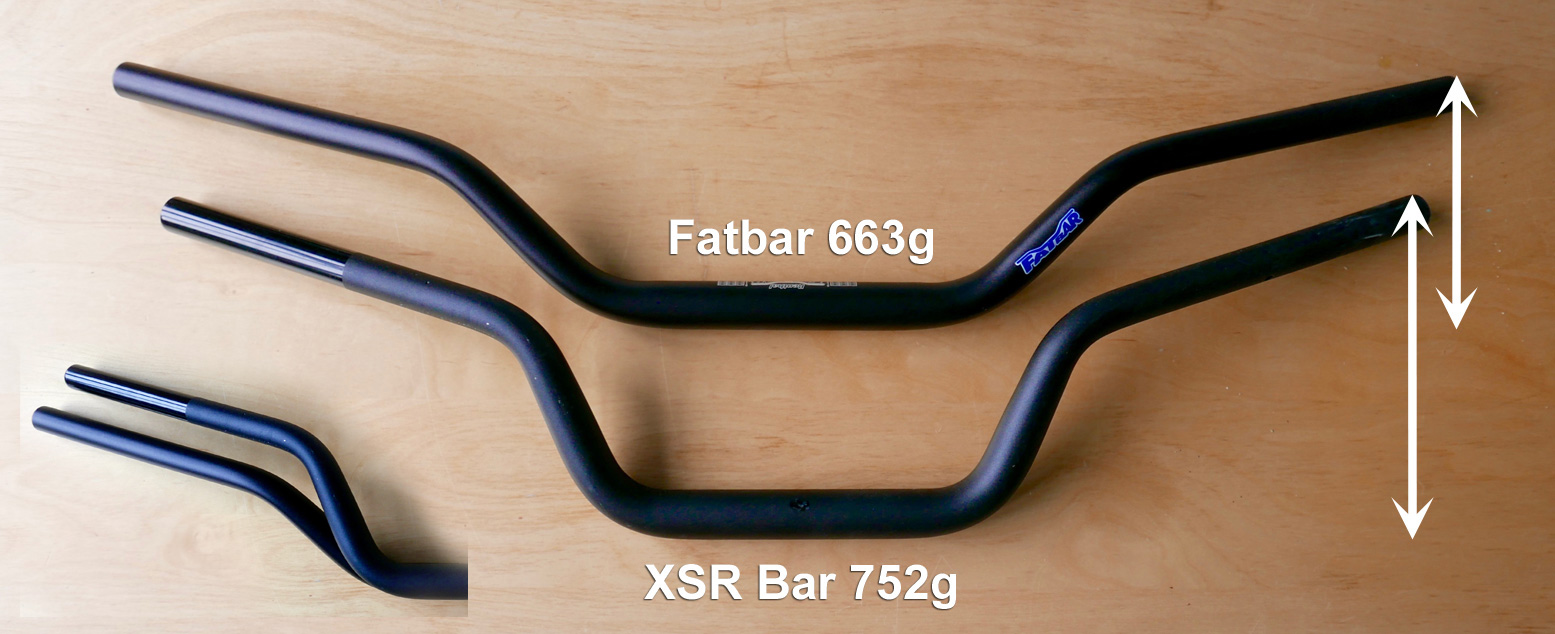
The stock plastic ‘handguards’ are rubbish and not surprisingly, the clutch lever was bent. I was hoping my 2008 Barkbusters might get their nth outing on an AMH Project Bike, but it was not to be. The threaded ends of the Honda bars need a specific insert. Reluctantly I coughed up 90 quid for some Barks to fit an AT with, for once, no bodging required. I’ve had a good run with those old Barks and at least the scuffed black plastic covers fitted right on – the Bark bar design has not changed in all that time!
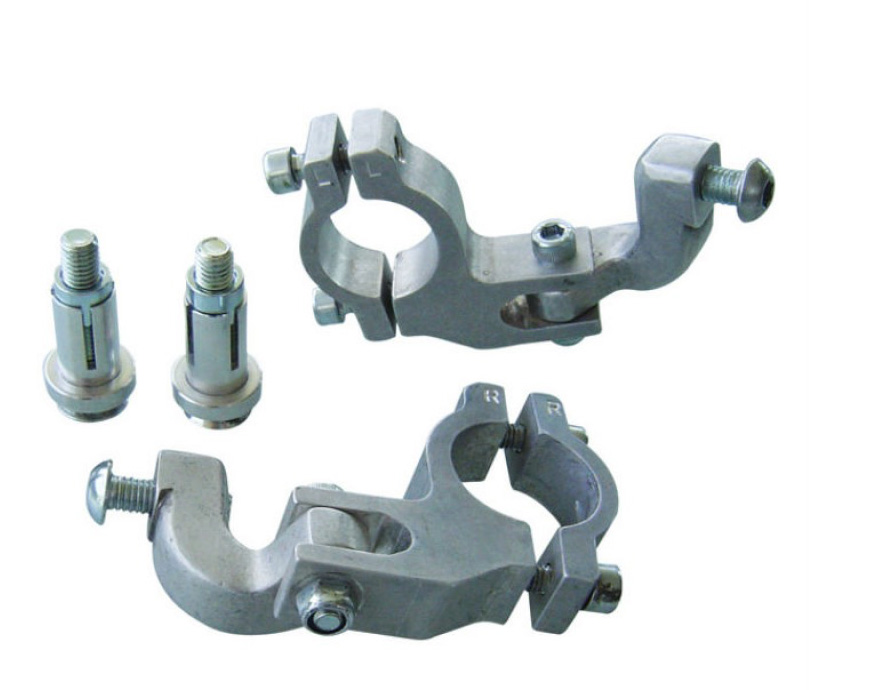
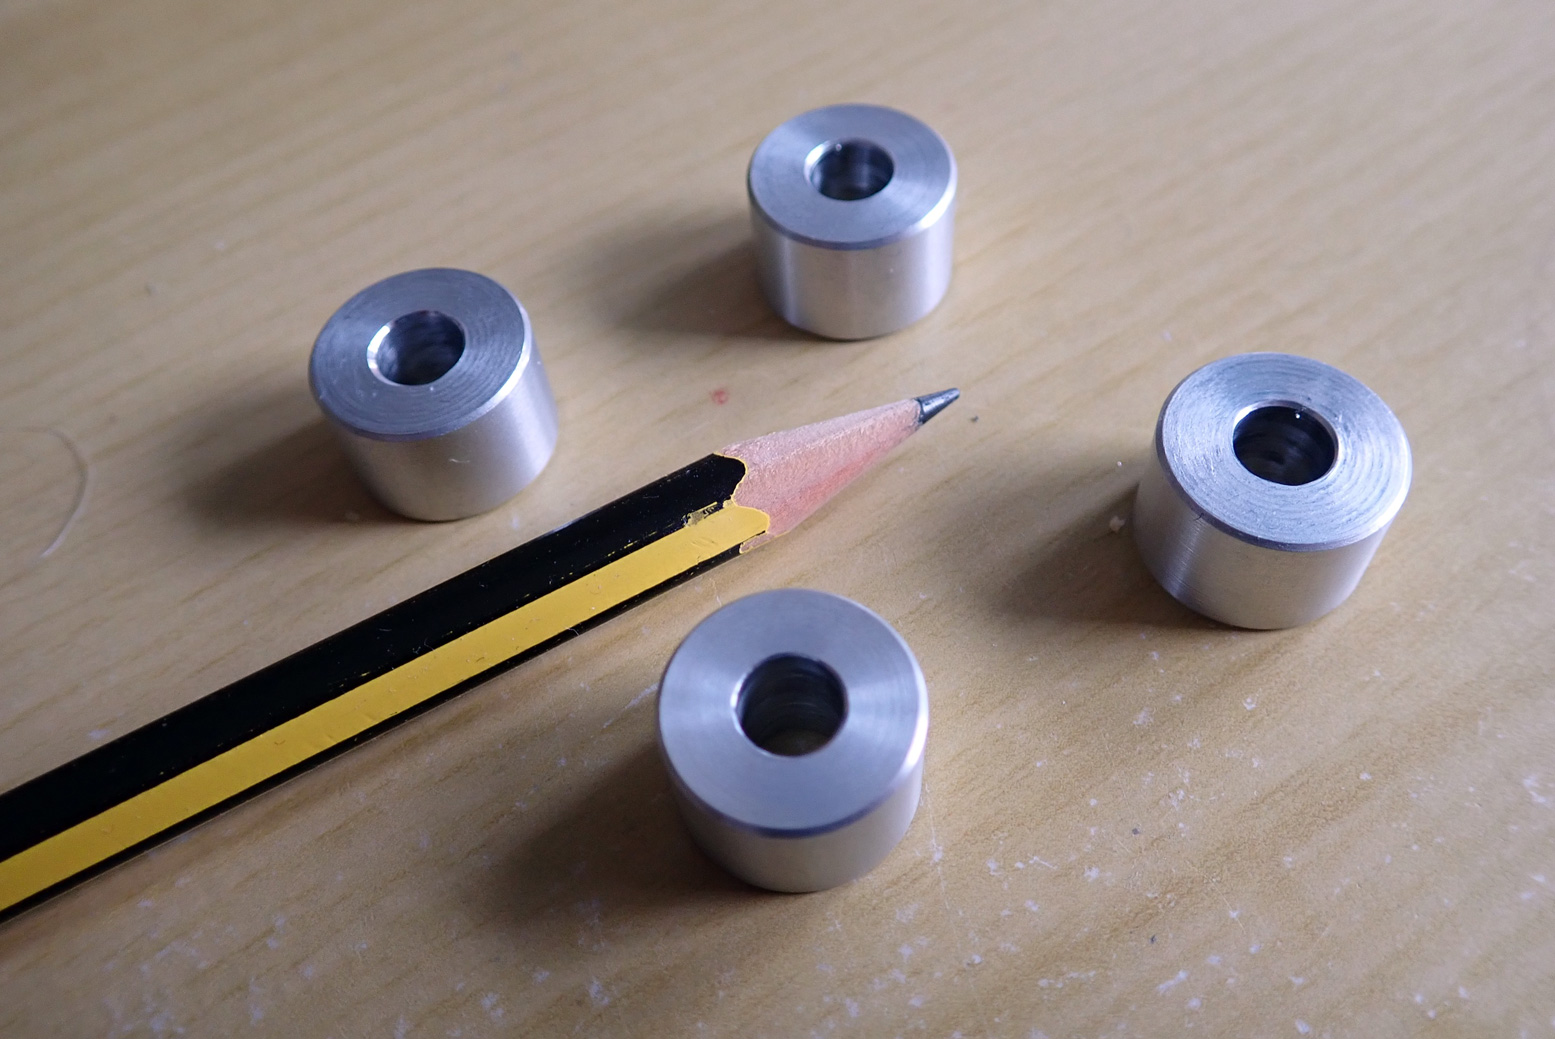
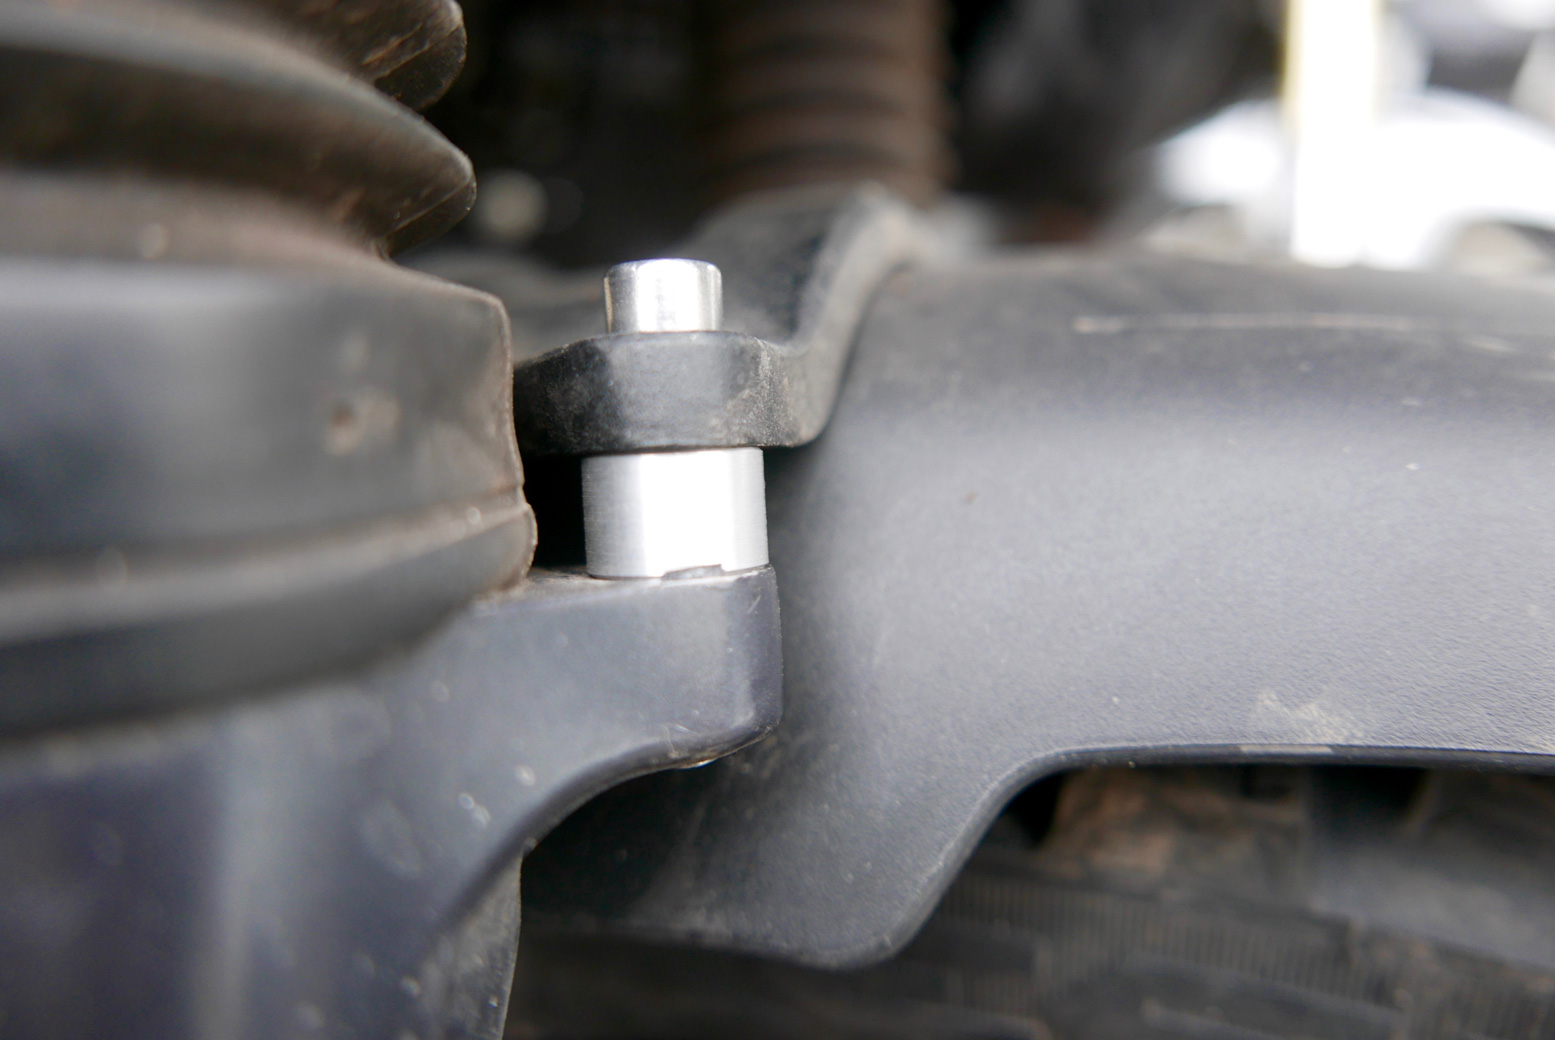
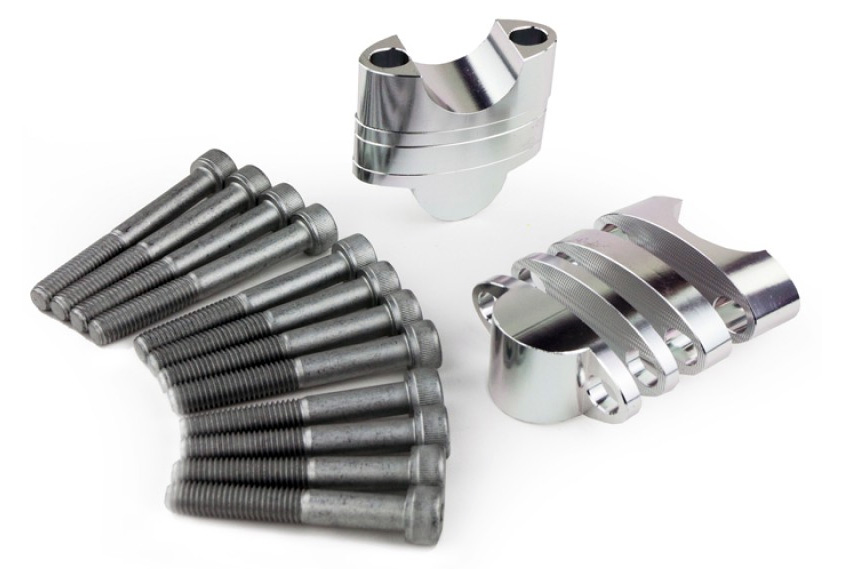
I was also hoping to re-use my Rox Risers to lessen the stoop while standing, but the Rox’s bike-mount ends are for thin bars only. You can pay crazy prices for CNC milled risers (or much less from Asia) but Adv Spec’s Risers (left) are a more normal 40 quid and come with a selection of nicely knurled shim stacks adding up to a 40-mm lift with three lengths of hex-head bolts to suit. I found about 30mm was the limit on the AT’s cables.

at-toolbo

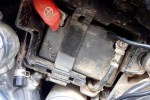
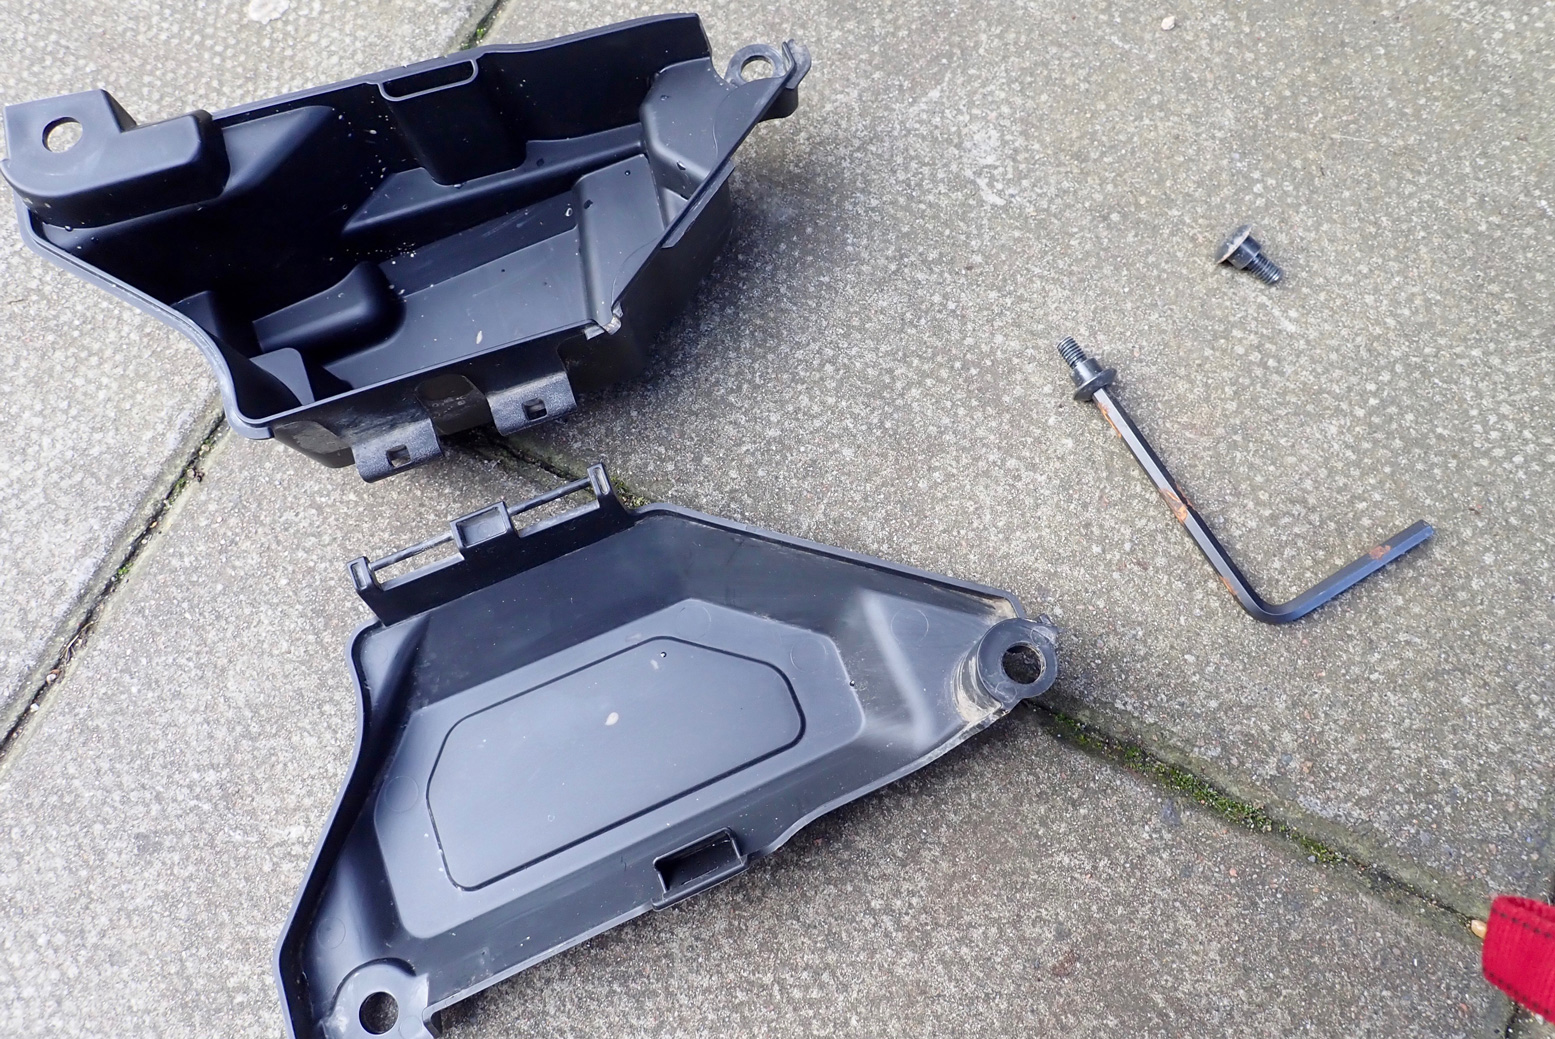
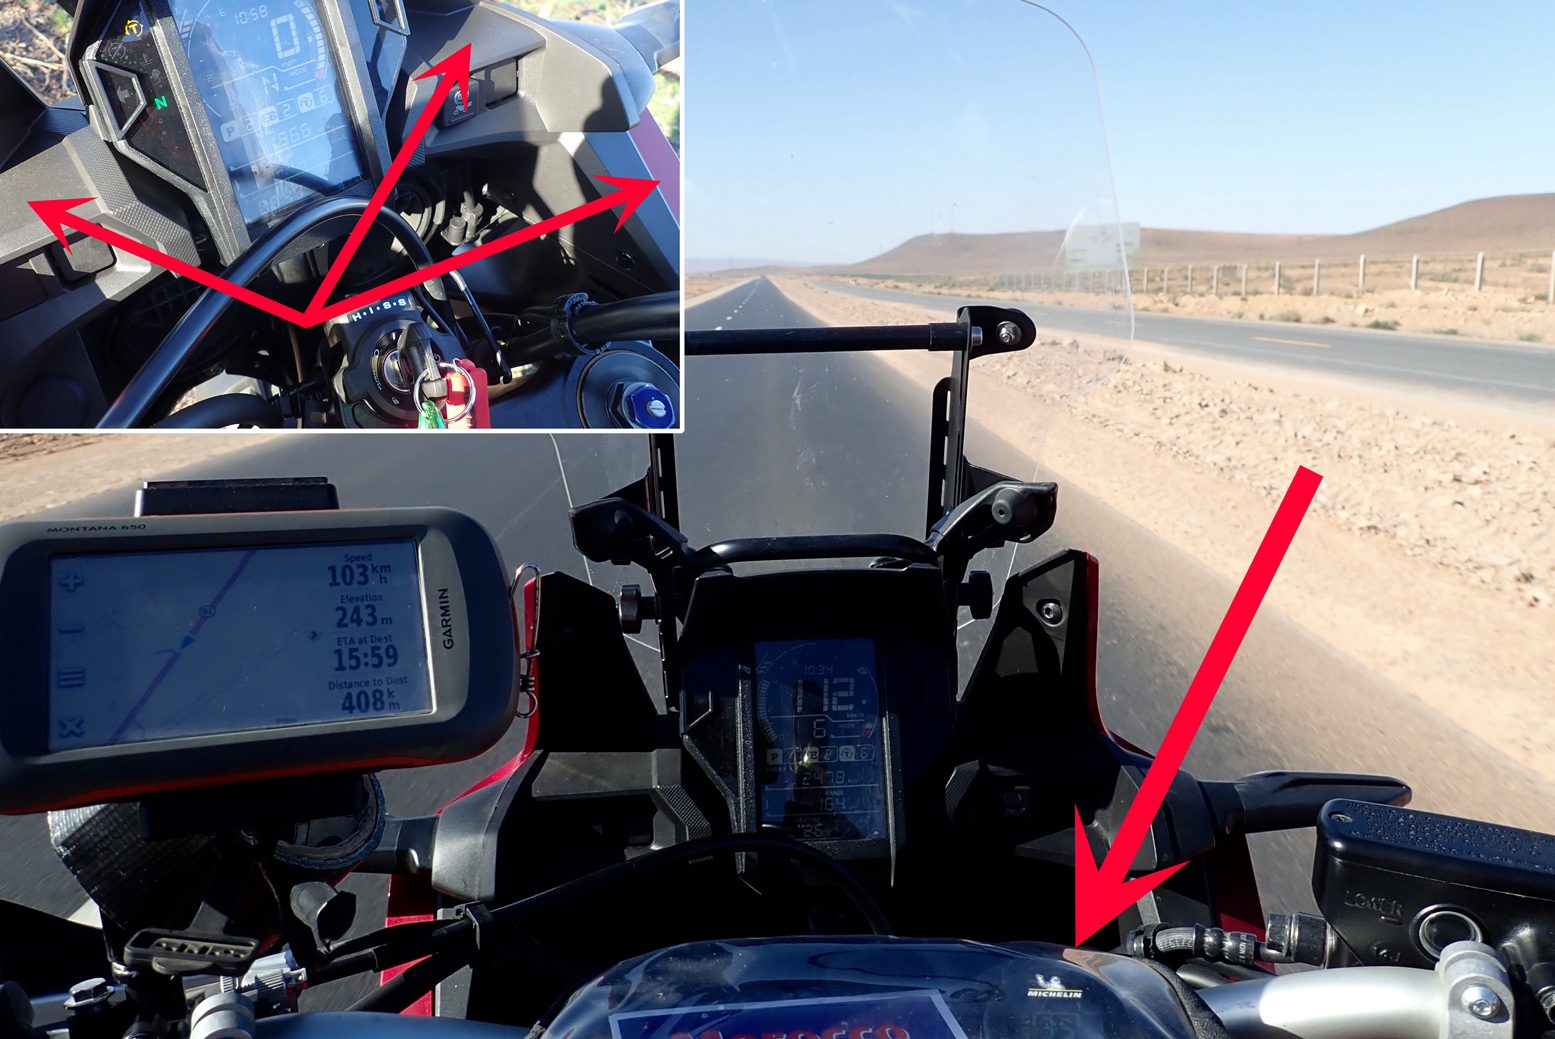
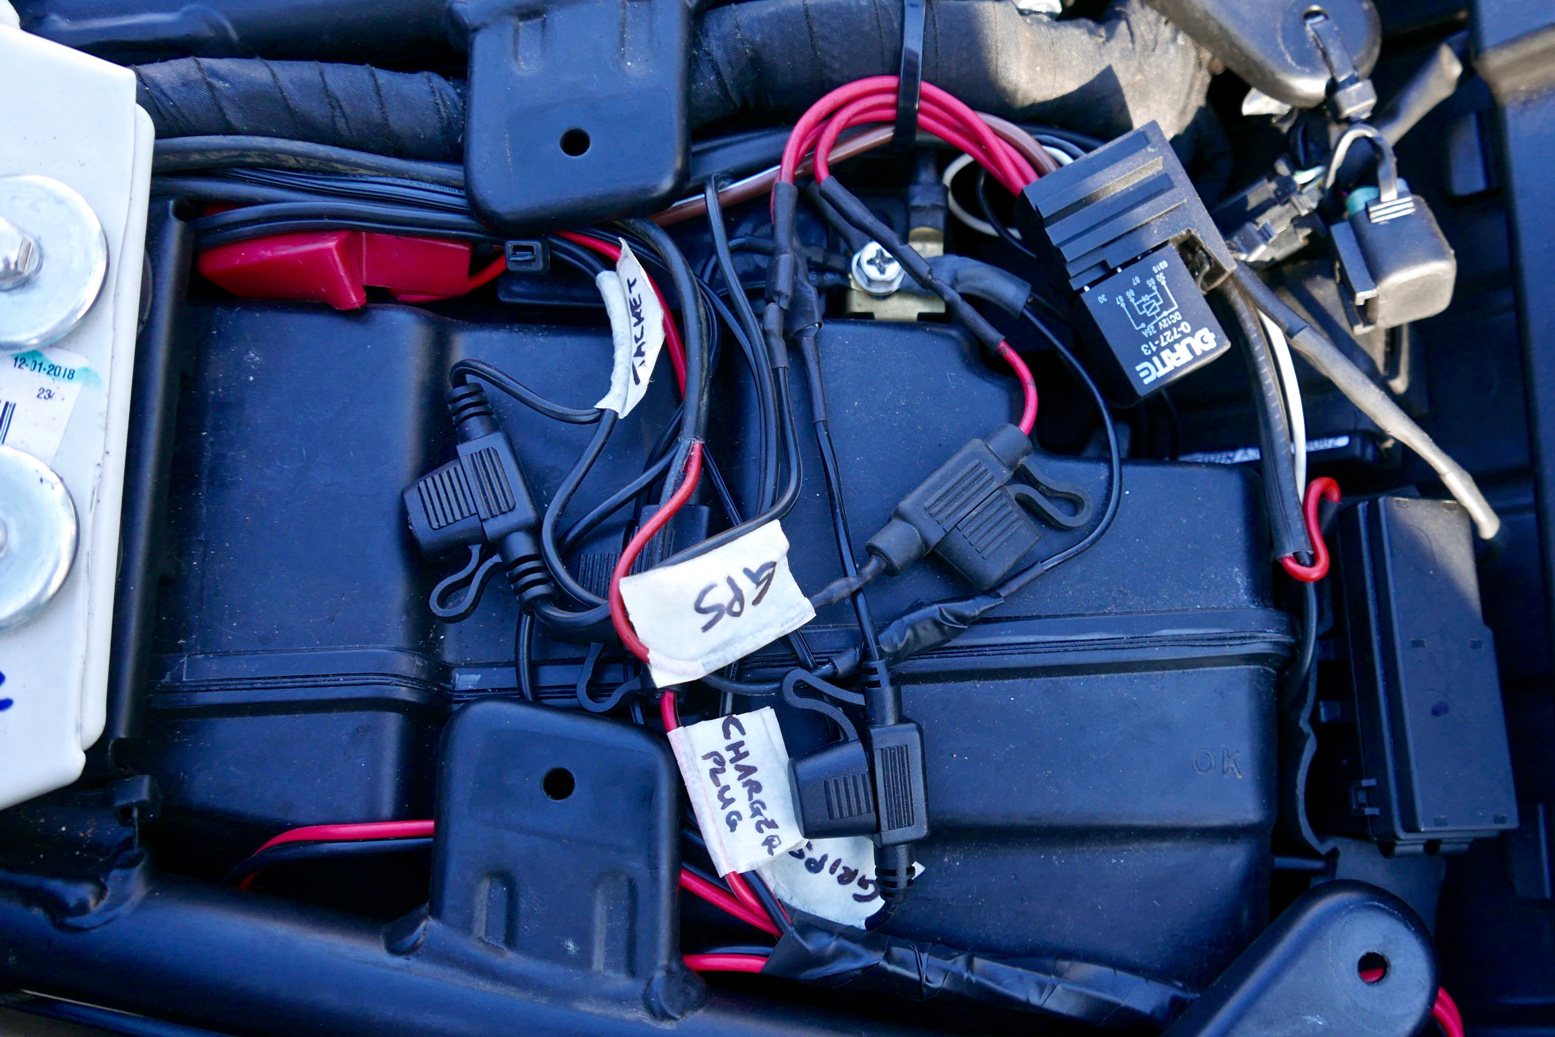
WTF’s the battery? It’s not under the seat. What would we do without the internet – RTFM I suppose. Turns out it’s jammed in above the gearbox (above right) but behind a ‘toolbox’ that can only be opened/removed with the 5mm key clipped under the seat (where my actual tools were located). With the empty toolbox off, I wired in a plug (above left) to run the tyre pump, but the added wiring and fusebox fouled the snug-fitting toolbox. Luckily, you can pull the box apart at the hinge (left) and just mount the front to cover the battery.

atpk-99

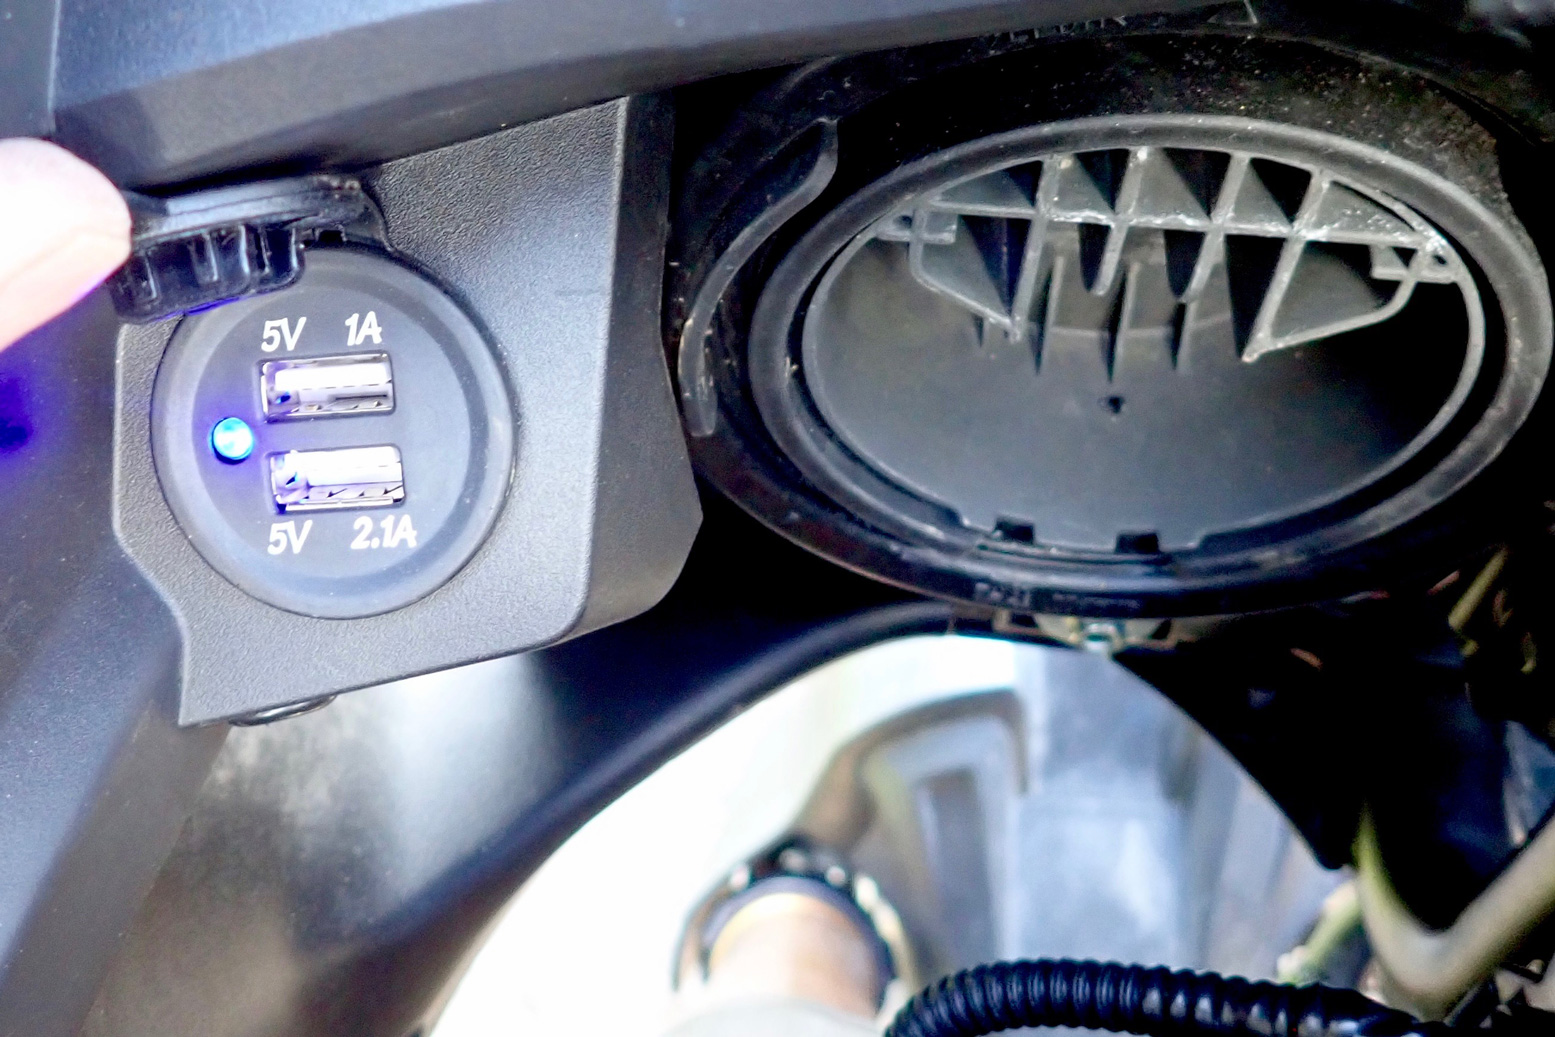
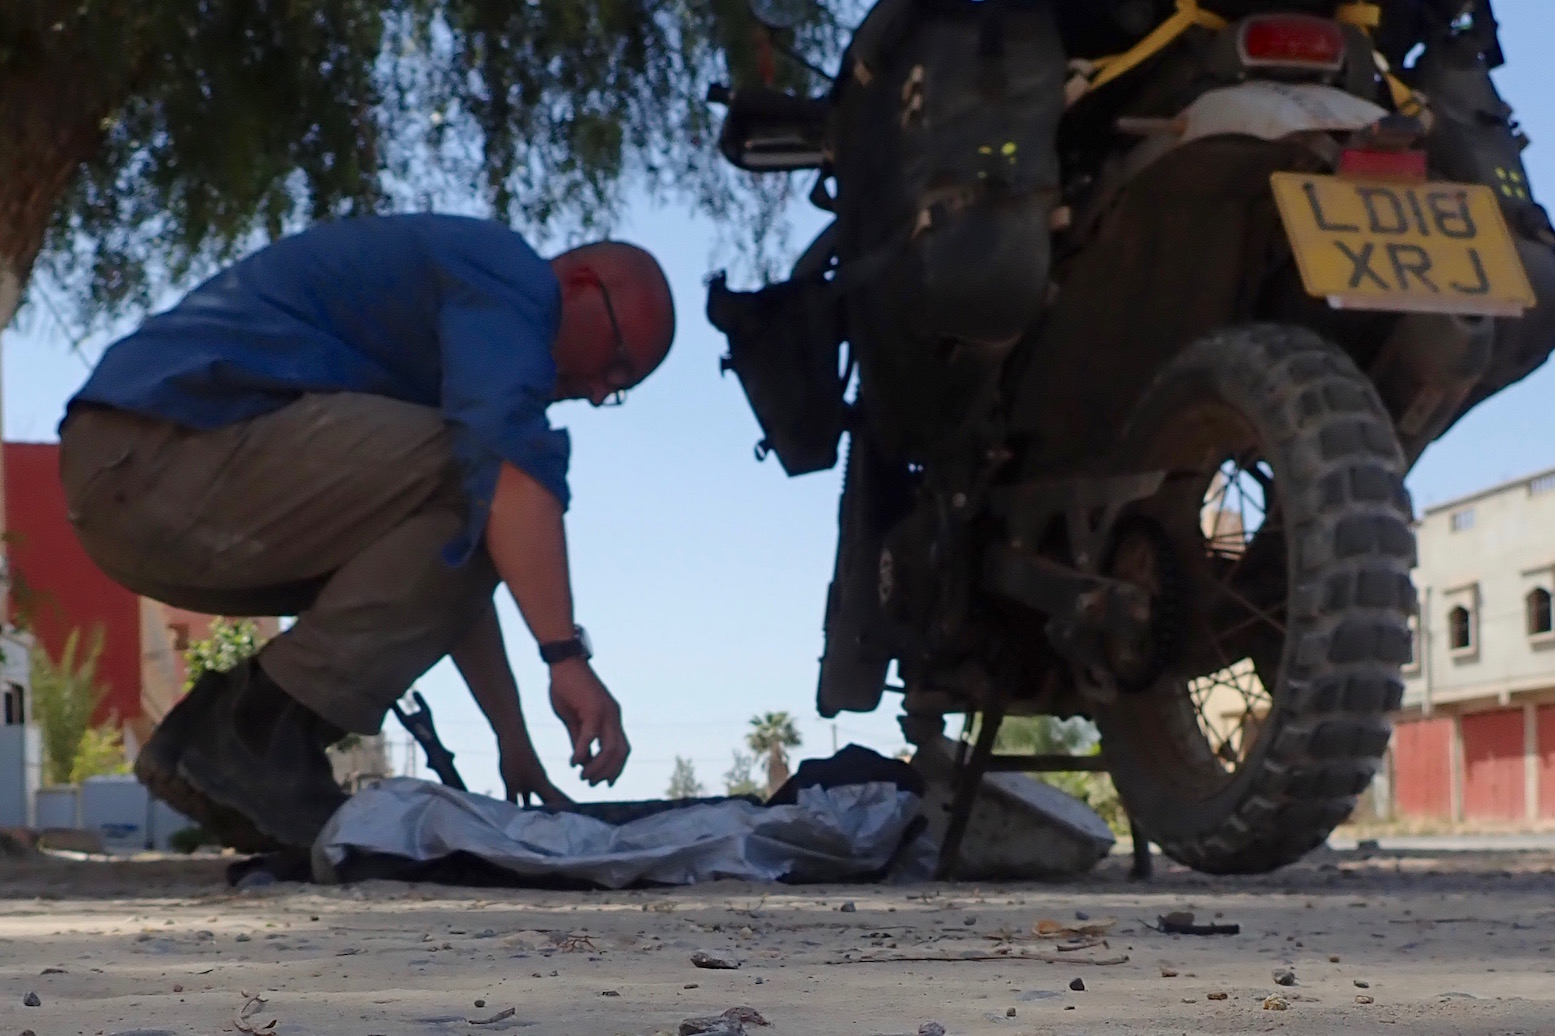
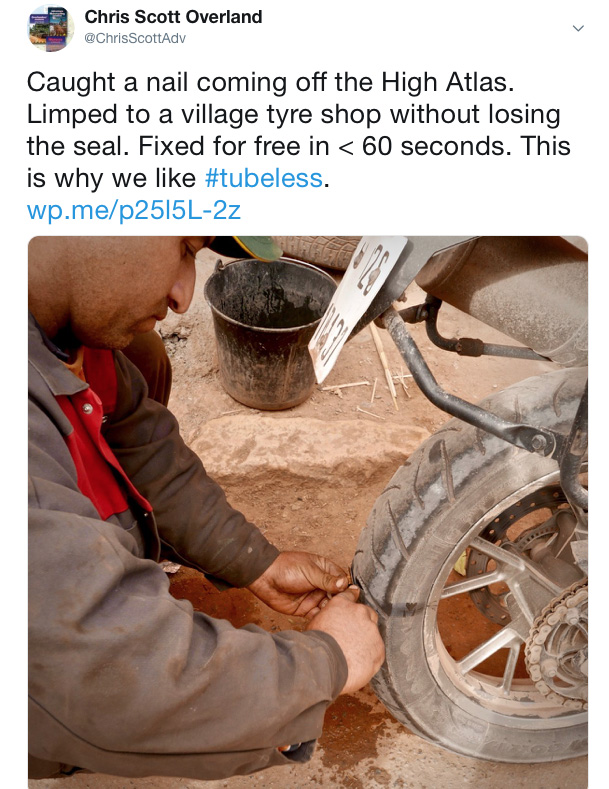
The wiring of the GPS and a USB port I left to my LBS. Here’s a good link on the fiddly job or removing the cowling, including snappy how-to vids. I don’t want to be doing what’s demonstrated below by the kerbside with tiny fittings disappearing into gutters full of rotting mid-winter leaf mush.
Though obviously very handy, there are some rambly, ill-thought-out how-do vids on ebay; some old dope droning on for 20 minutes for a <1-minute video on how to access the battery while reminiscing about his dad’s old tractor. The non-lingual vid below shows how it should be done.

Tyres

michlogo

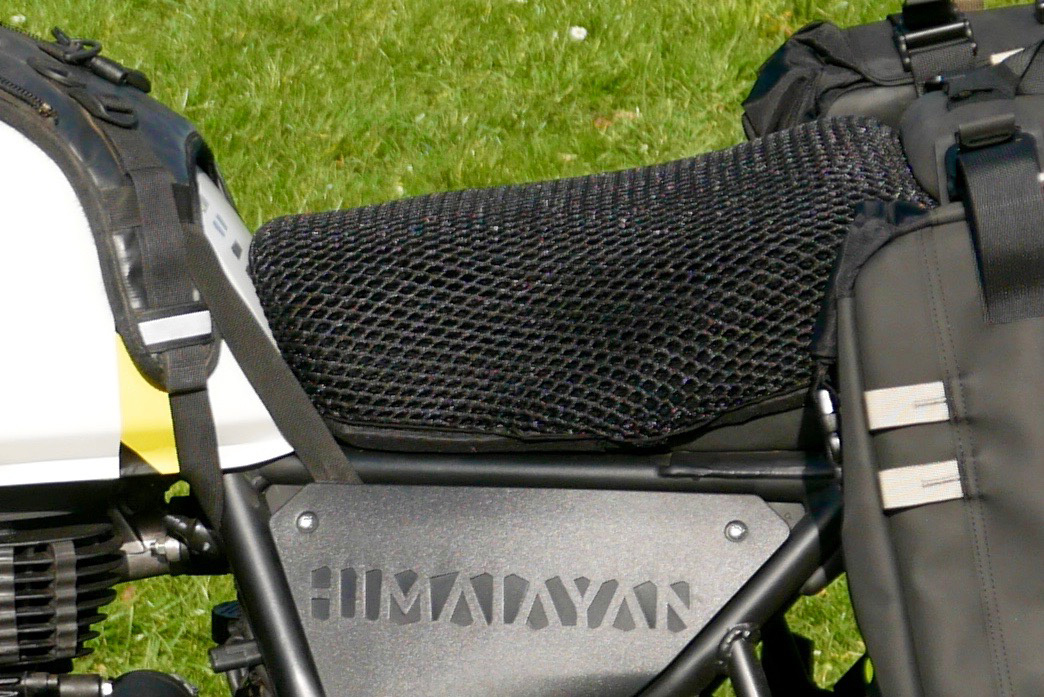
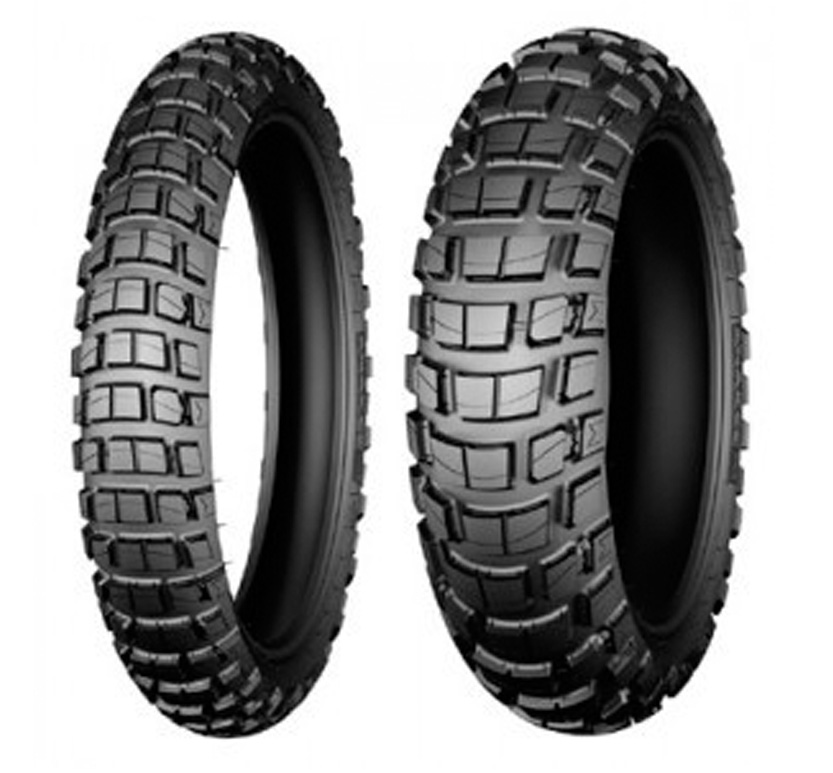
Michelin sent me some Anakee Adventures but the front looked a bit too roady compared to last year’s Anakee Wilds on the Himalayan. The AT may only be 60 kilos heavier, but has over three times the power which may chew through tyres fast.
On this trip of several thousand kilometres I’ve decided to try the ‘gnarly front – roady rear’ tyre strategy I write about. The rationale is: prioritise secure loose-terrain steering on the slower-wearing front while, on a powerful, heavy bike you need longevity from faster-wearing rears where sliding in the dirt is less problematic as you won’t be cornering this tank like a 125 MX. Anything too knobbly on the rear risks an unnerving ride, fast wear and ripped off knobs on the road.

OLYMPUS DIGITAL CAMERA

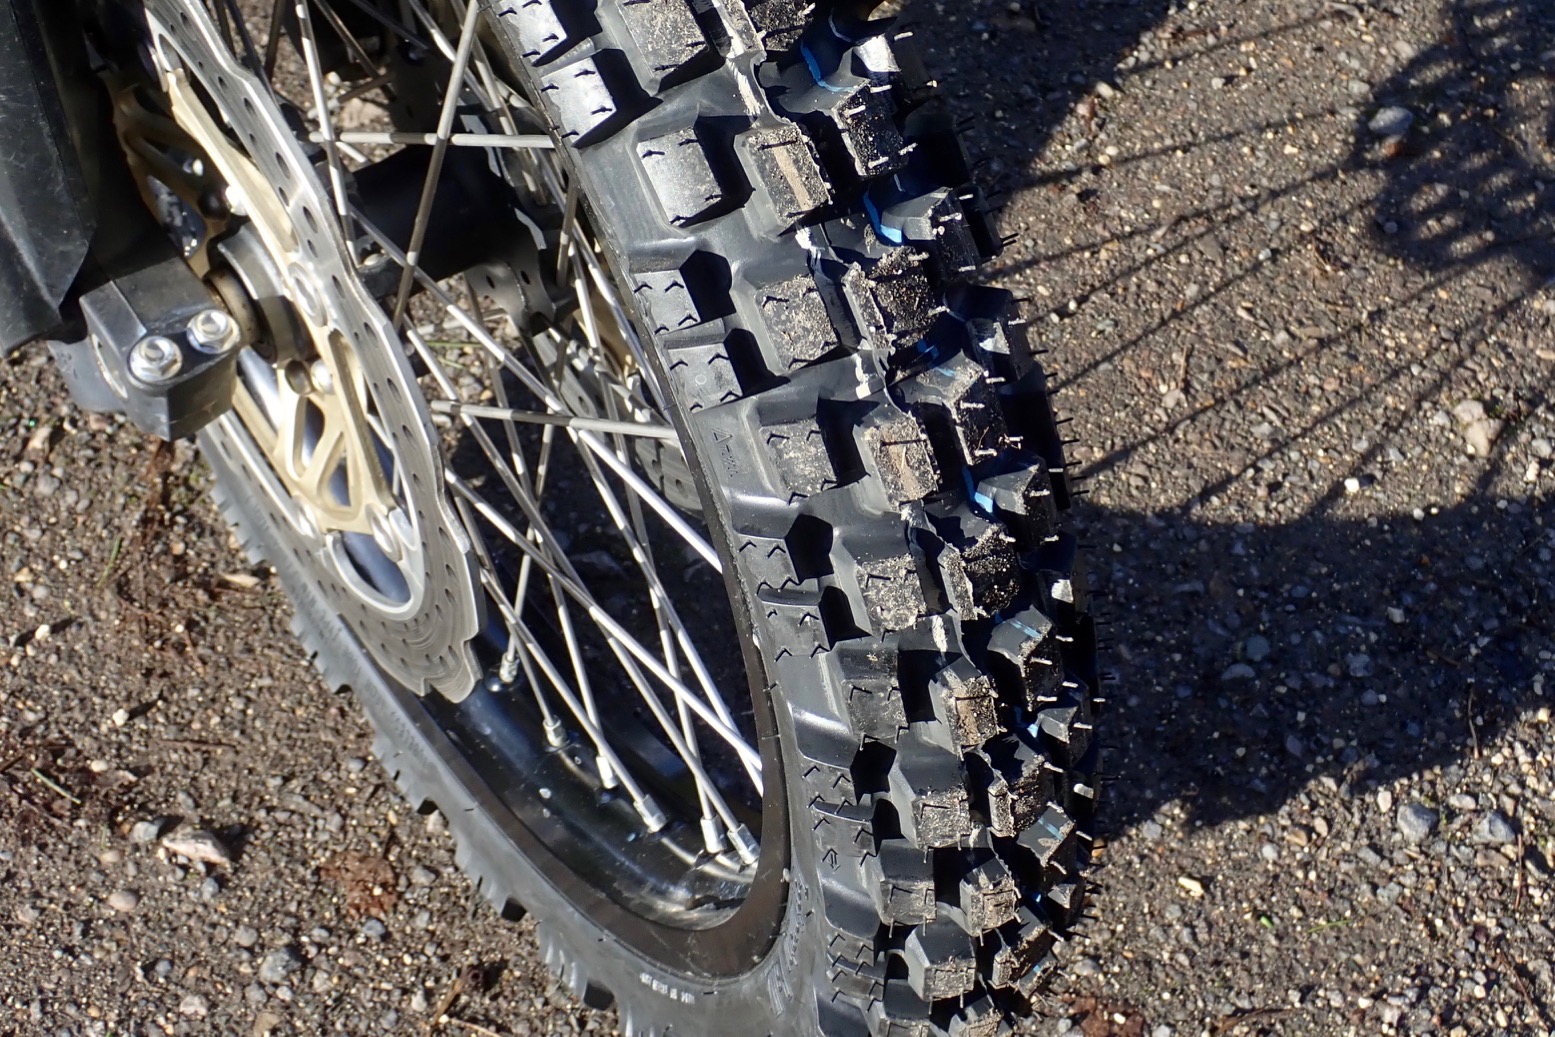
I fitted a Motoz Tractionator Adventure (left) to replace the front Karoo which isn’t the sort of tyre I’d choose for teaching off-roading in muddy Wales on a quarter-ton AT. On dry tracks it’s less critical but the Karoo only had 5mm left (same as the rear Karoo).
The bike is front-heavy but with a centre stand and a trolley jack, once fully deflated, the Karoo just squeezed out between the twin calipers. But getting the wider, stiff and new Motoz in – no chance. I tried to undo one of the calipers but they’re torqued off the scale and the loose forks make it hard to get tension (better done with the wheel on). Instead, I loosened one fork stanchion and shoved the wheel in.

OLYMPUS DIGITAL CAMERA

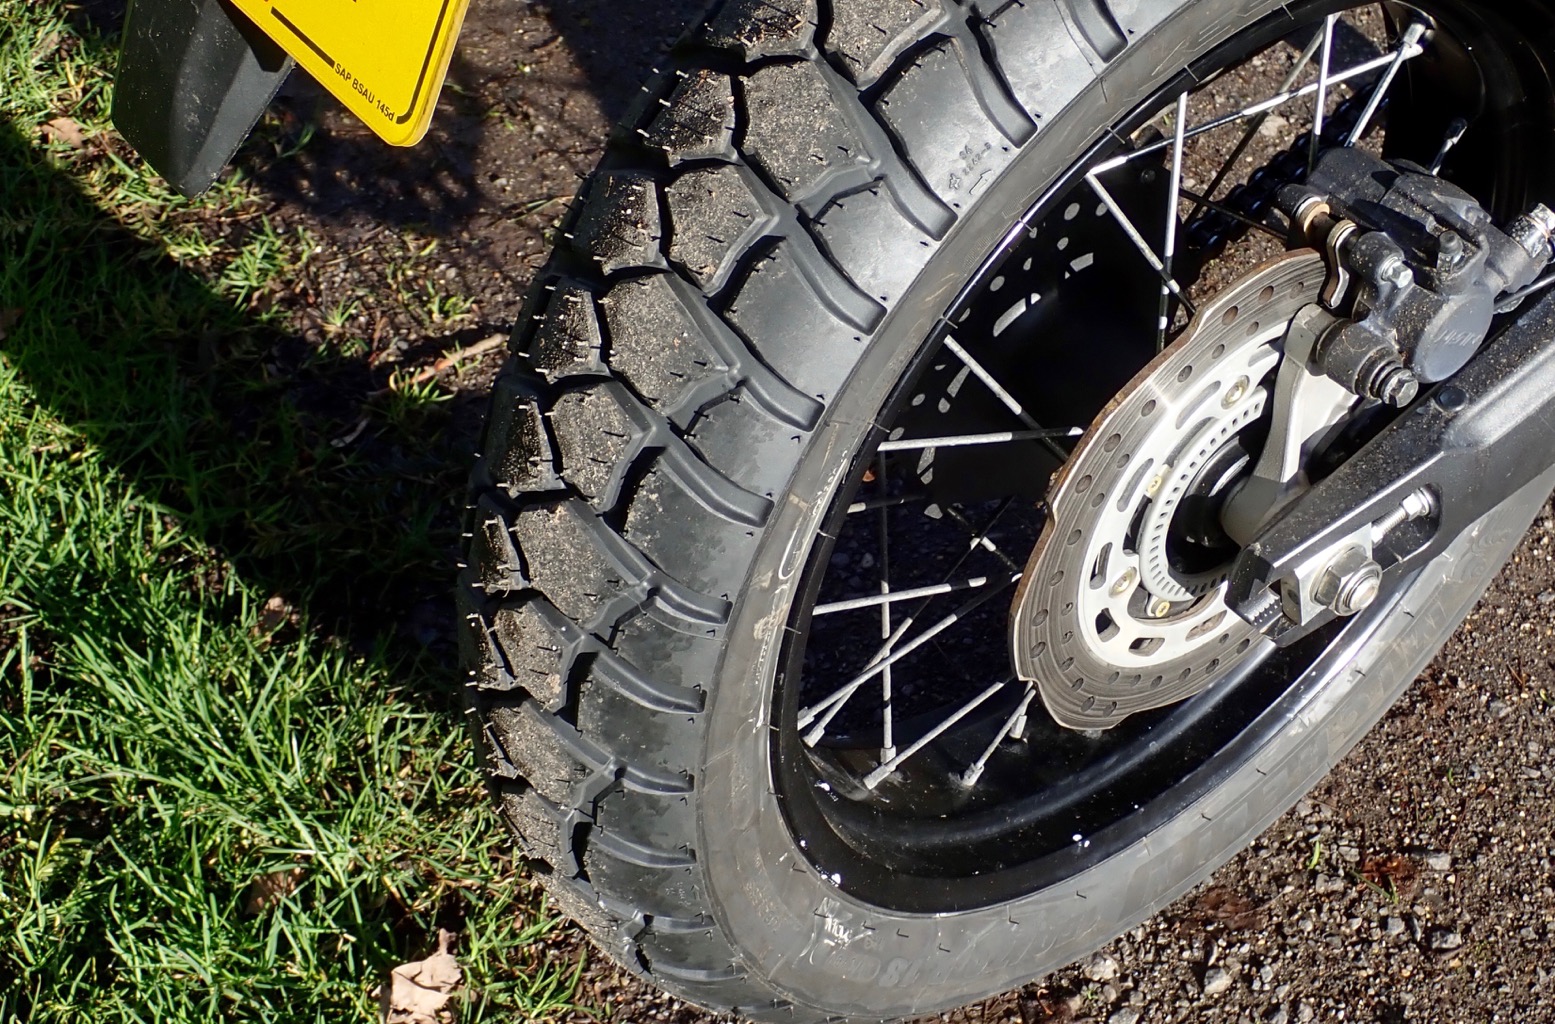
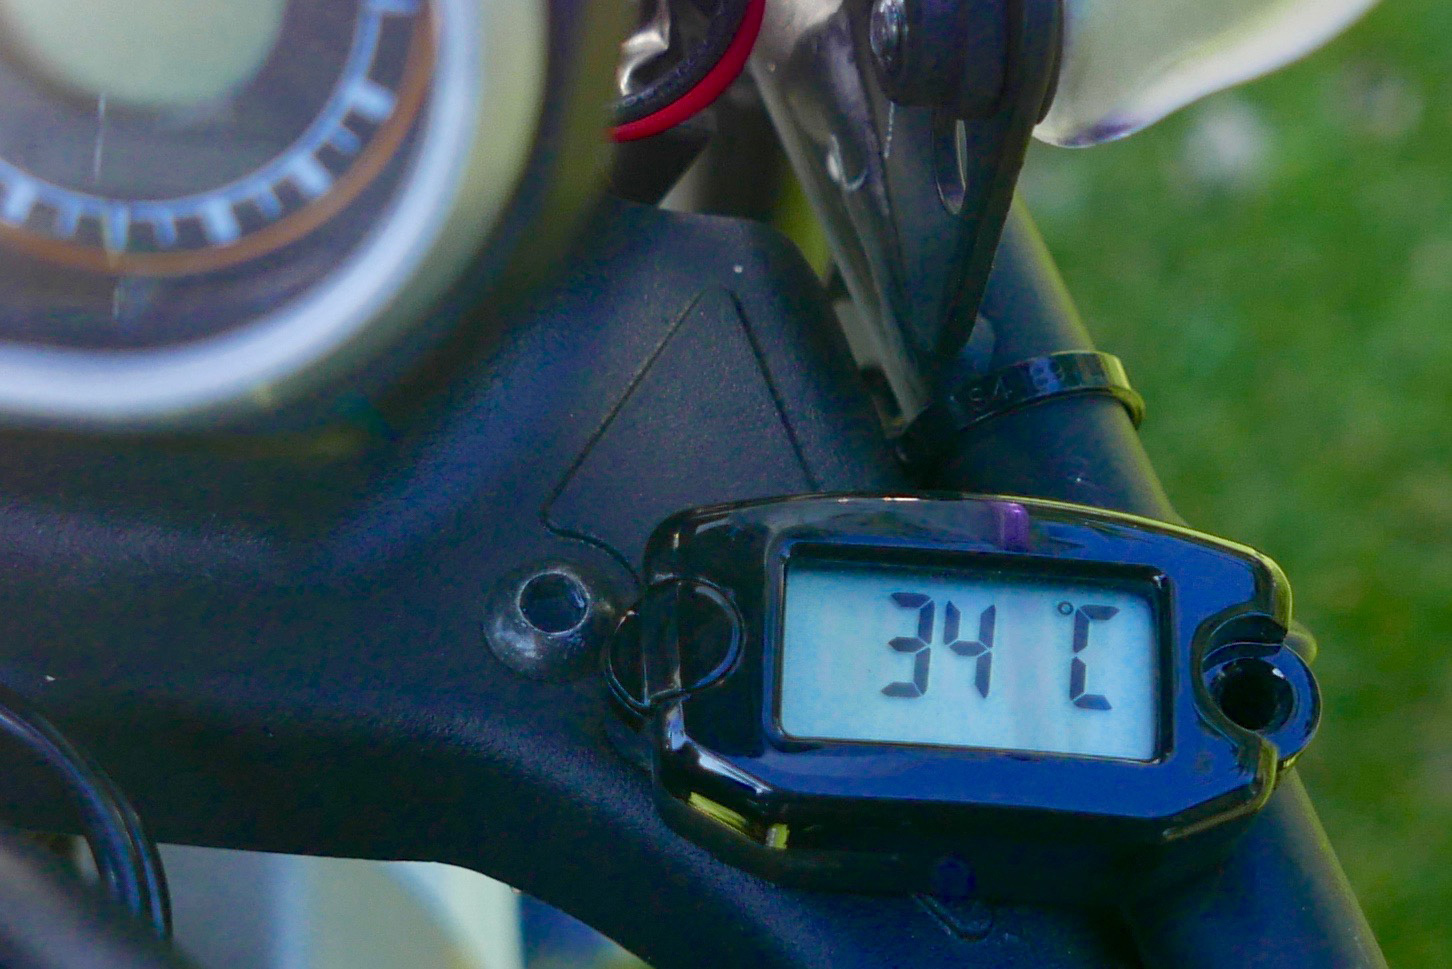
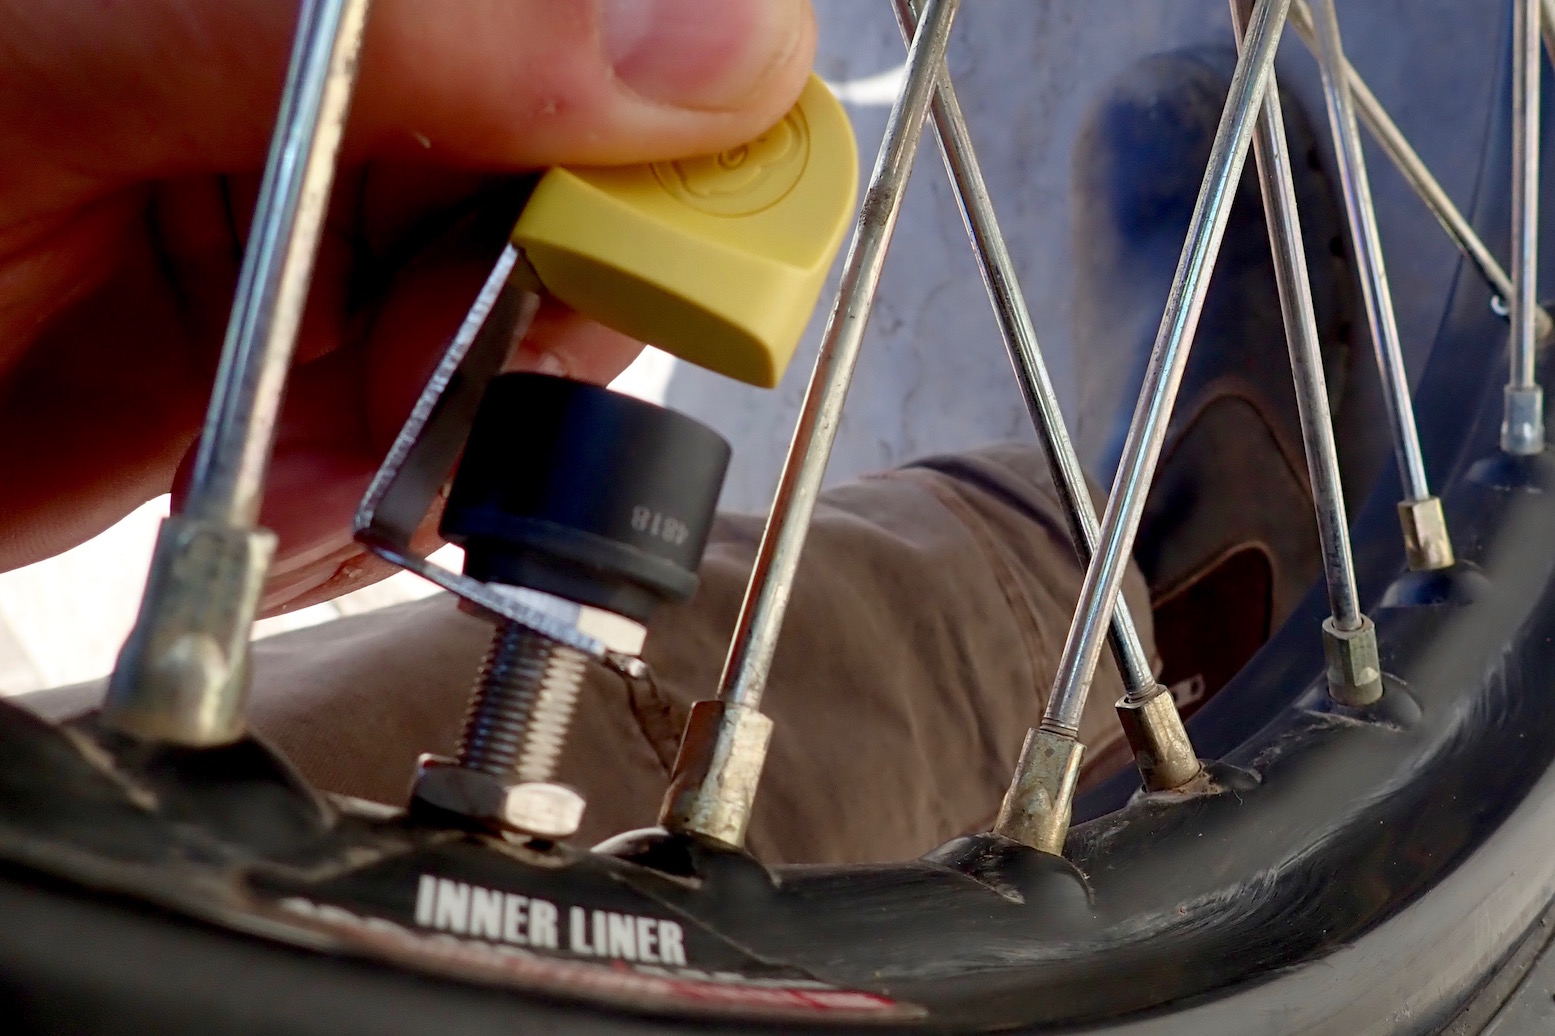
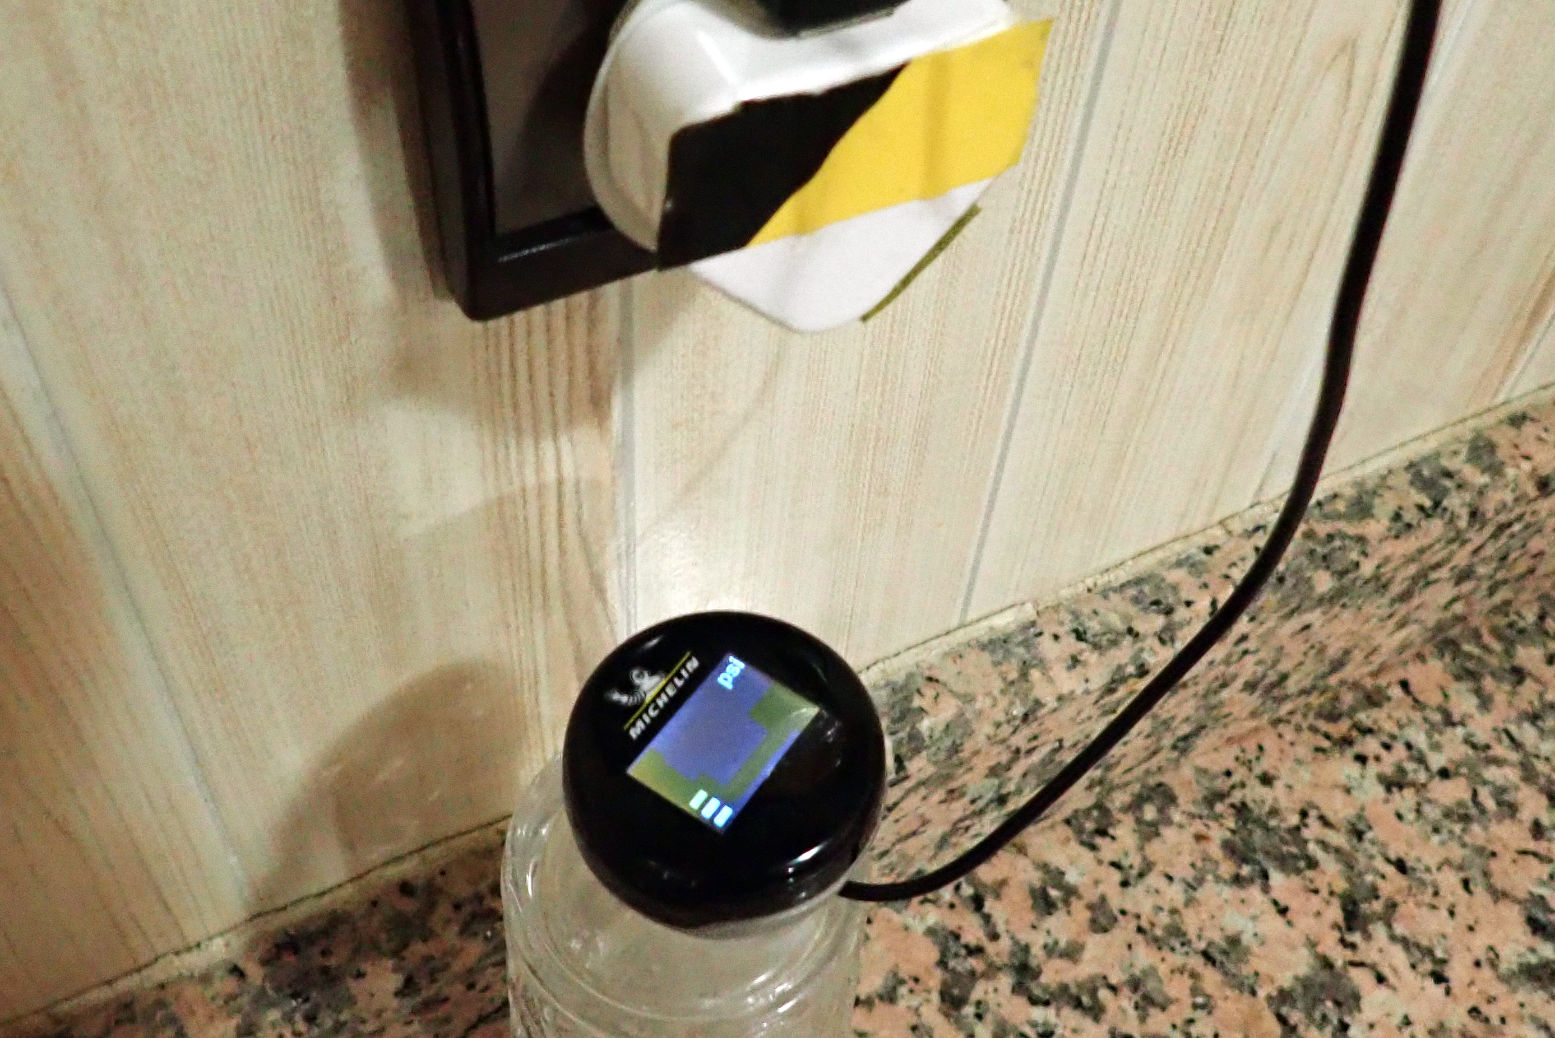
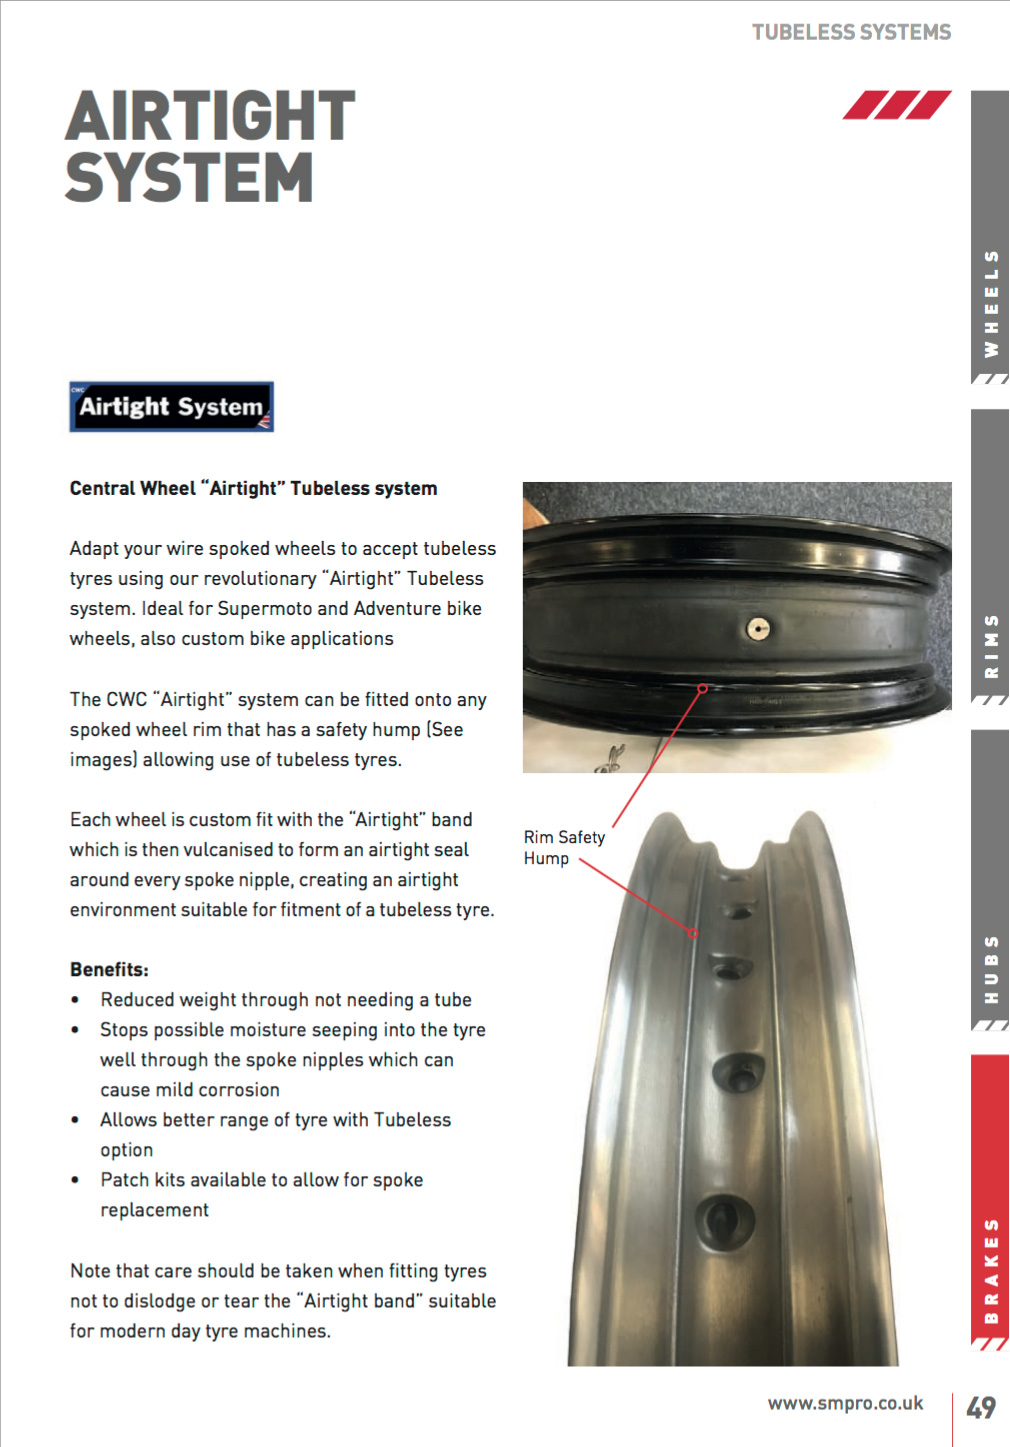
I was just about to remove the rear when I remembered I had a nearly finished DIY tubeless wheel upstairs. All it needed was taping up and a Michelin Anakee Adventure (left) slipped on with some proper tyre soap. Inflating a newly mounted tubeless can be tricky as the tyre needs to catch a seal to accumulate pressure and get pushed over the lips into place. I know from 4x4s and my old XT660Z this can be hard to do, but the uninflated Anakee ‘auto-sealed’ well enough and, with the valve core removed to speed up the airflow, eased over the rim’s lips with a pair of loud pops. A cold day a week-and-a-half later and it’s down 8-10 psi so will need watching, though I recall early pressure loss is not unusual, even on proprietary tubeless spoke sealings.

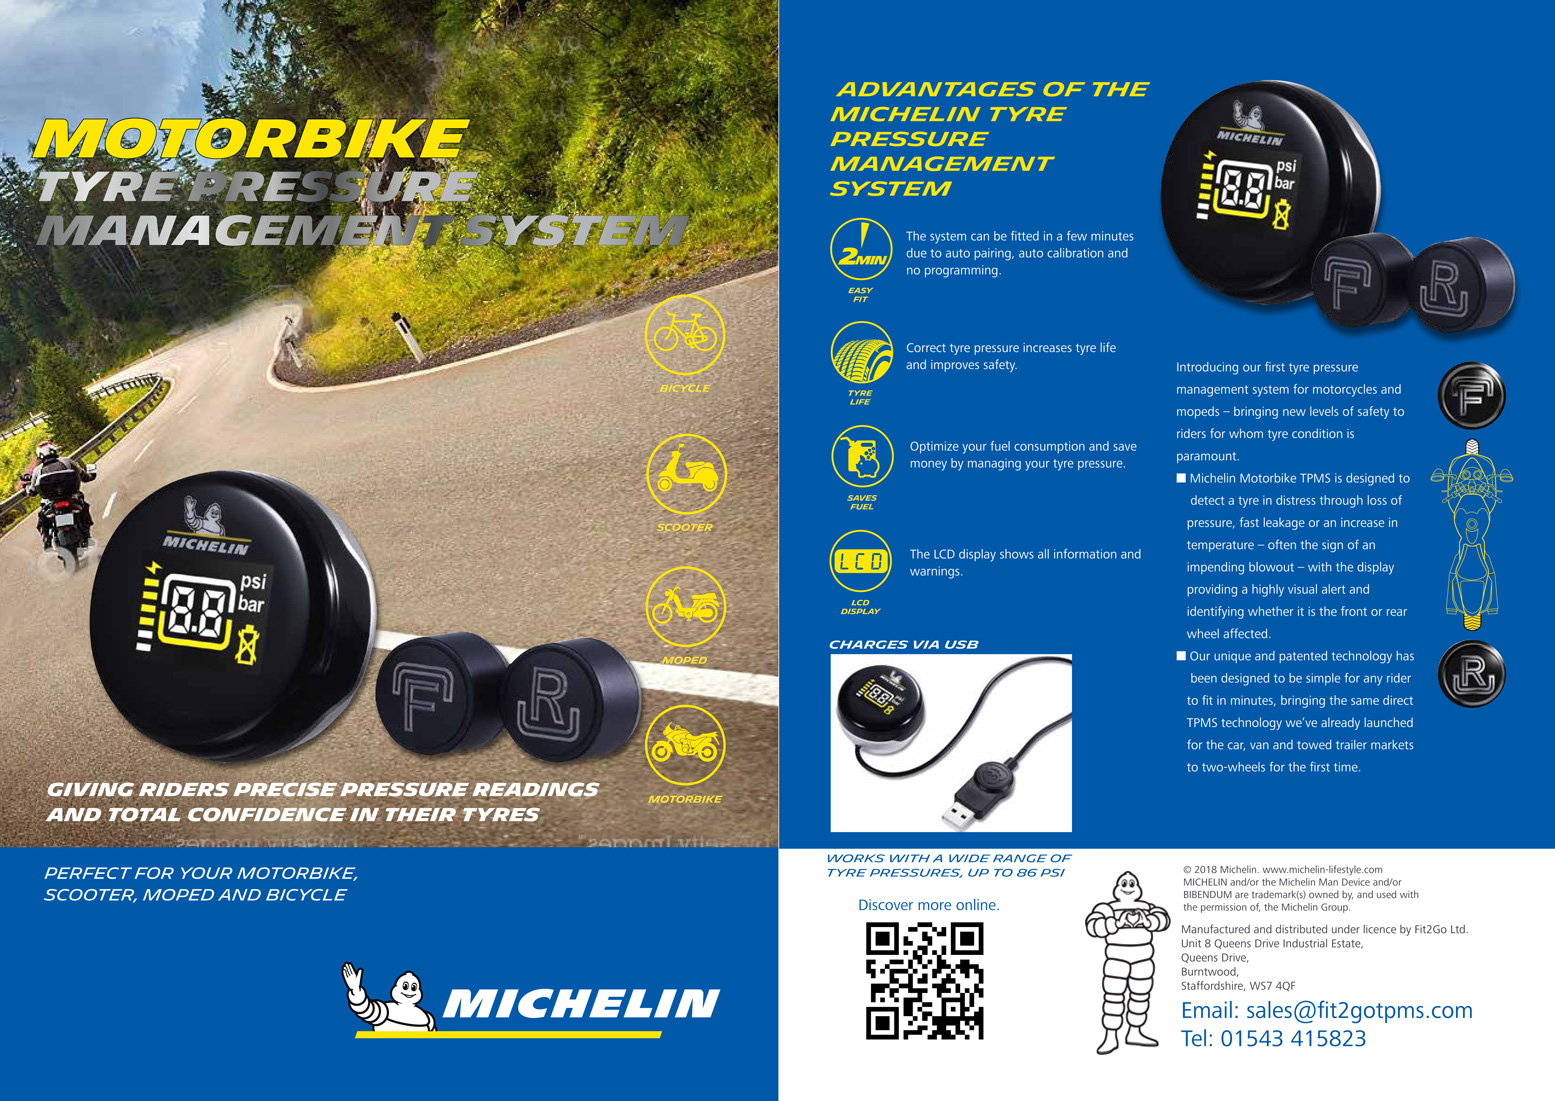
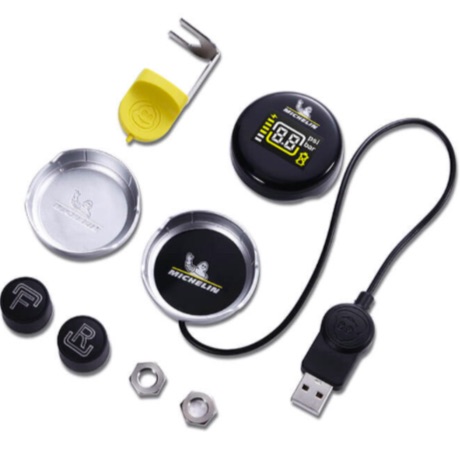
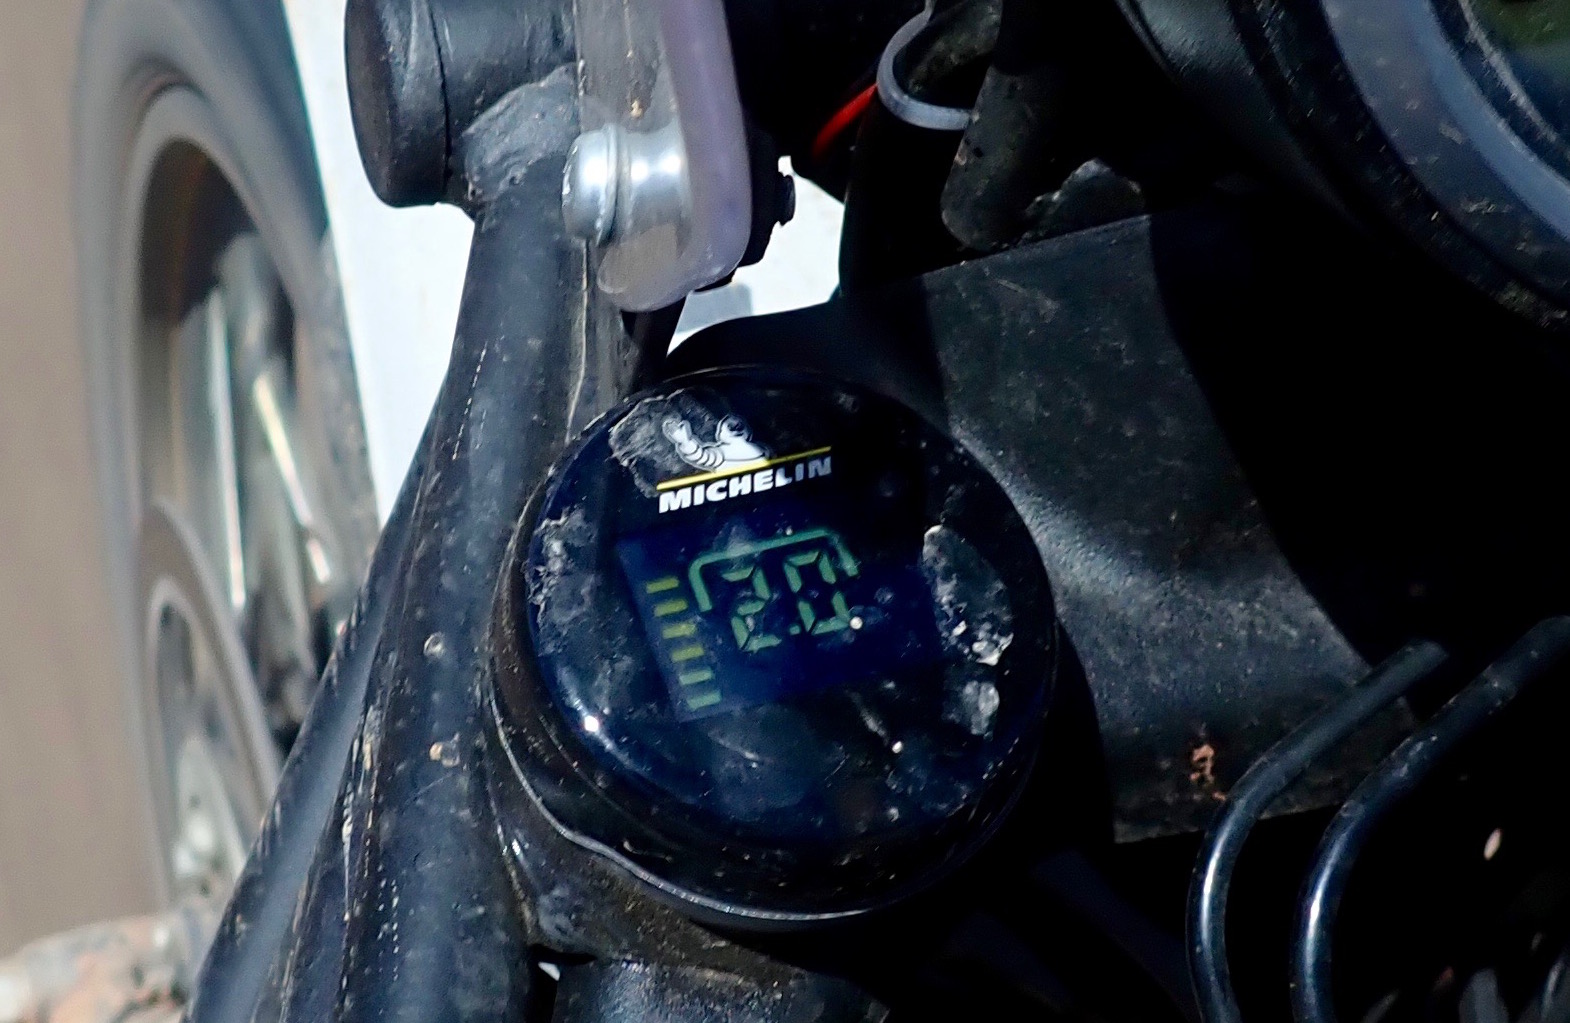
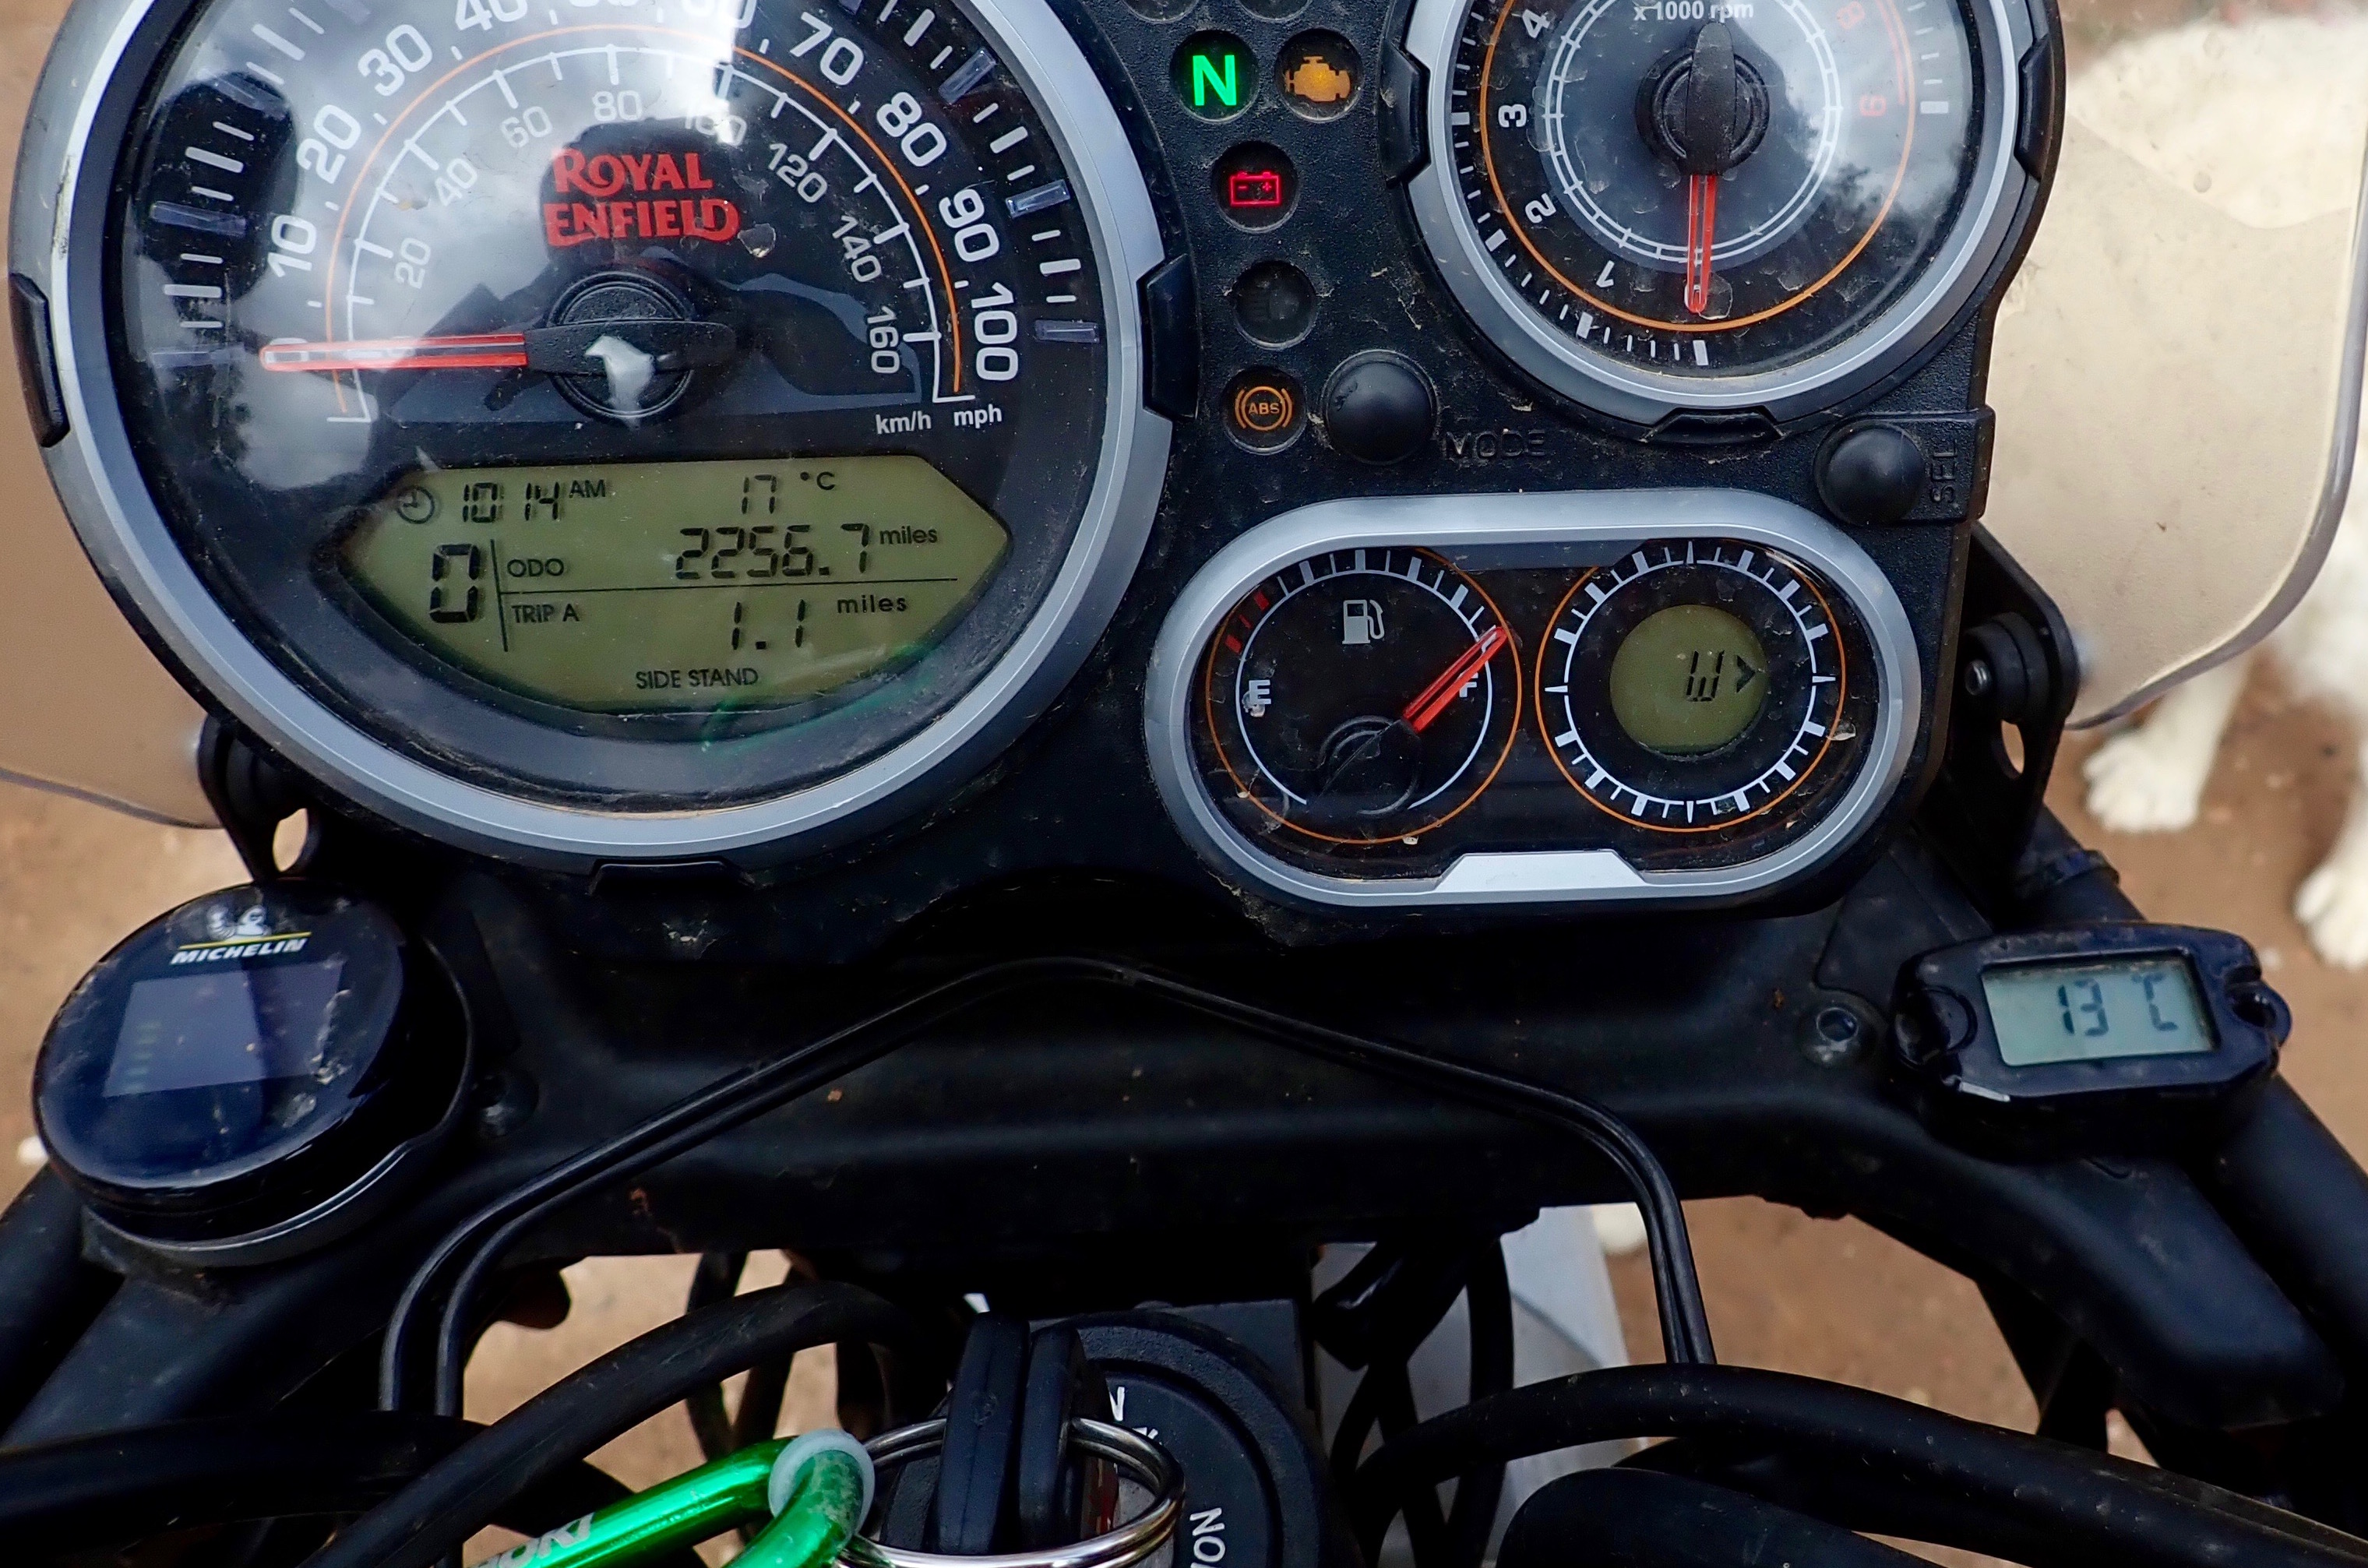
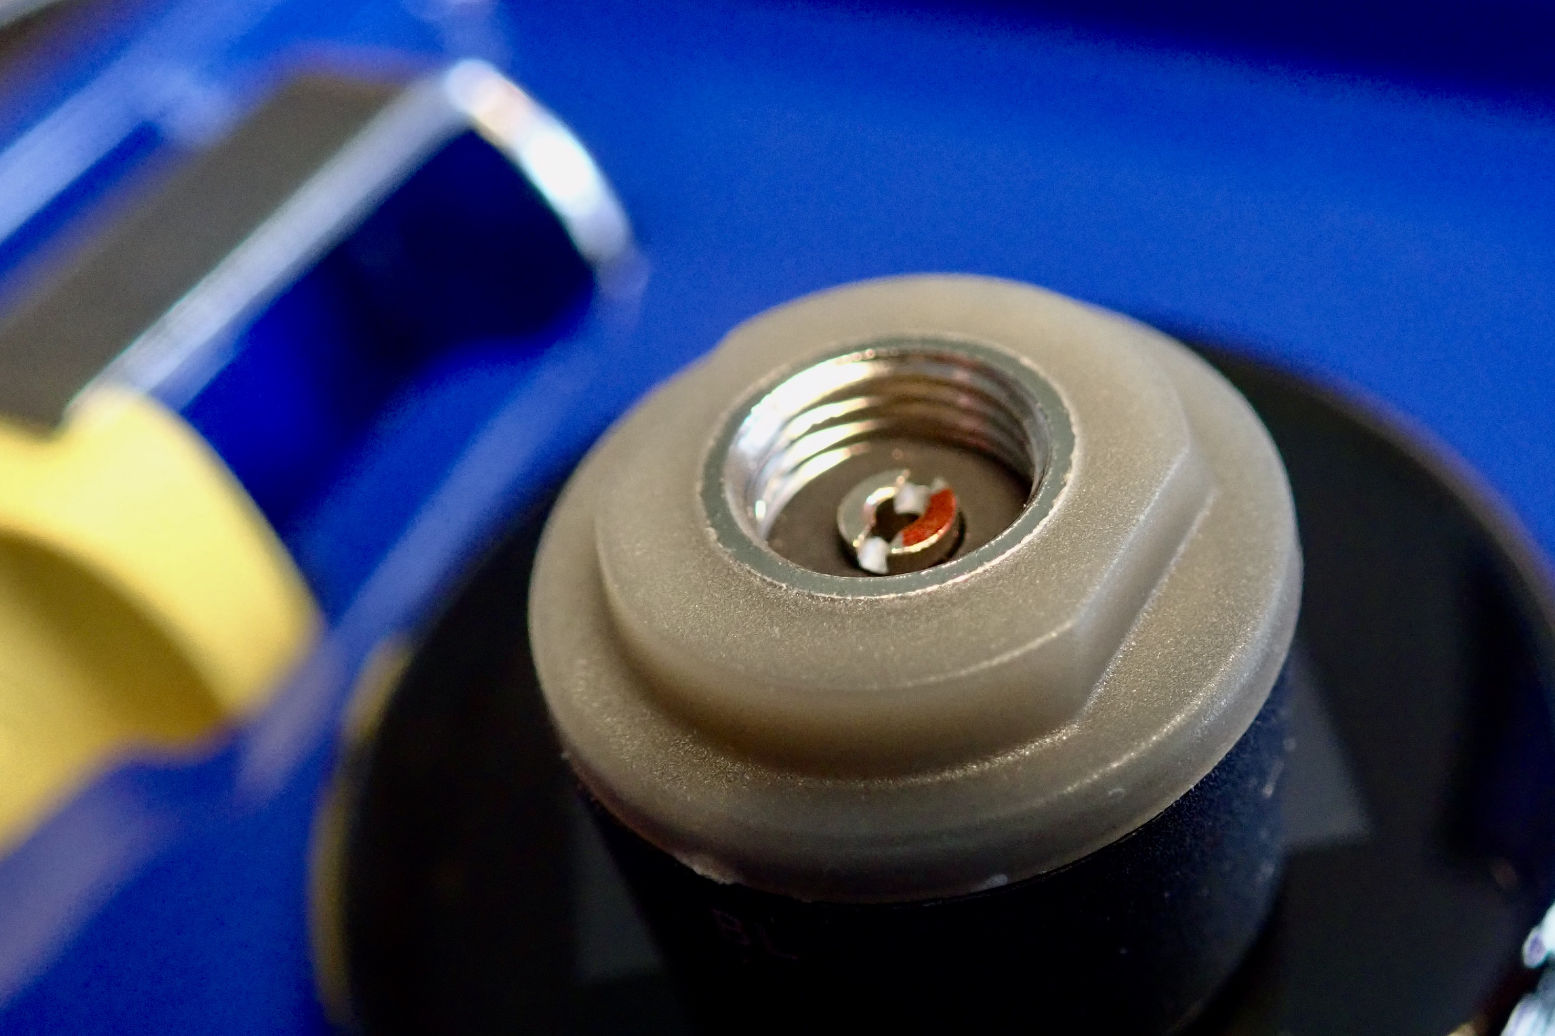
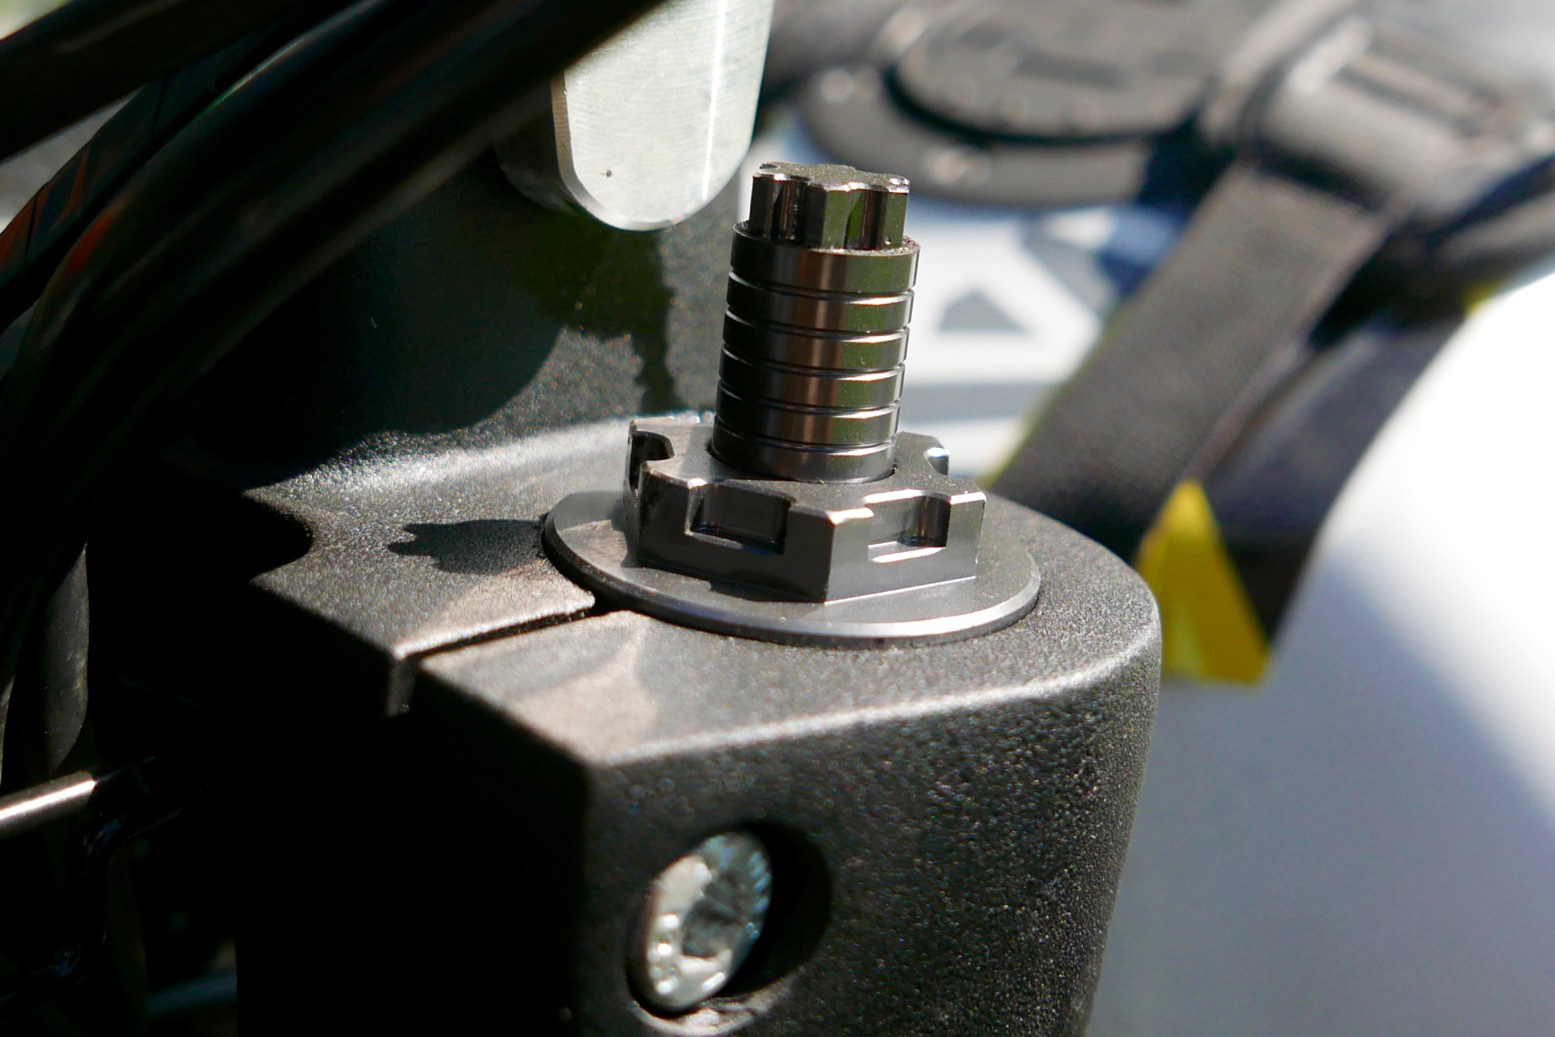
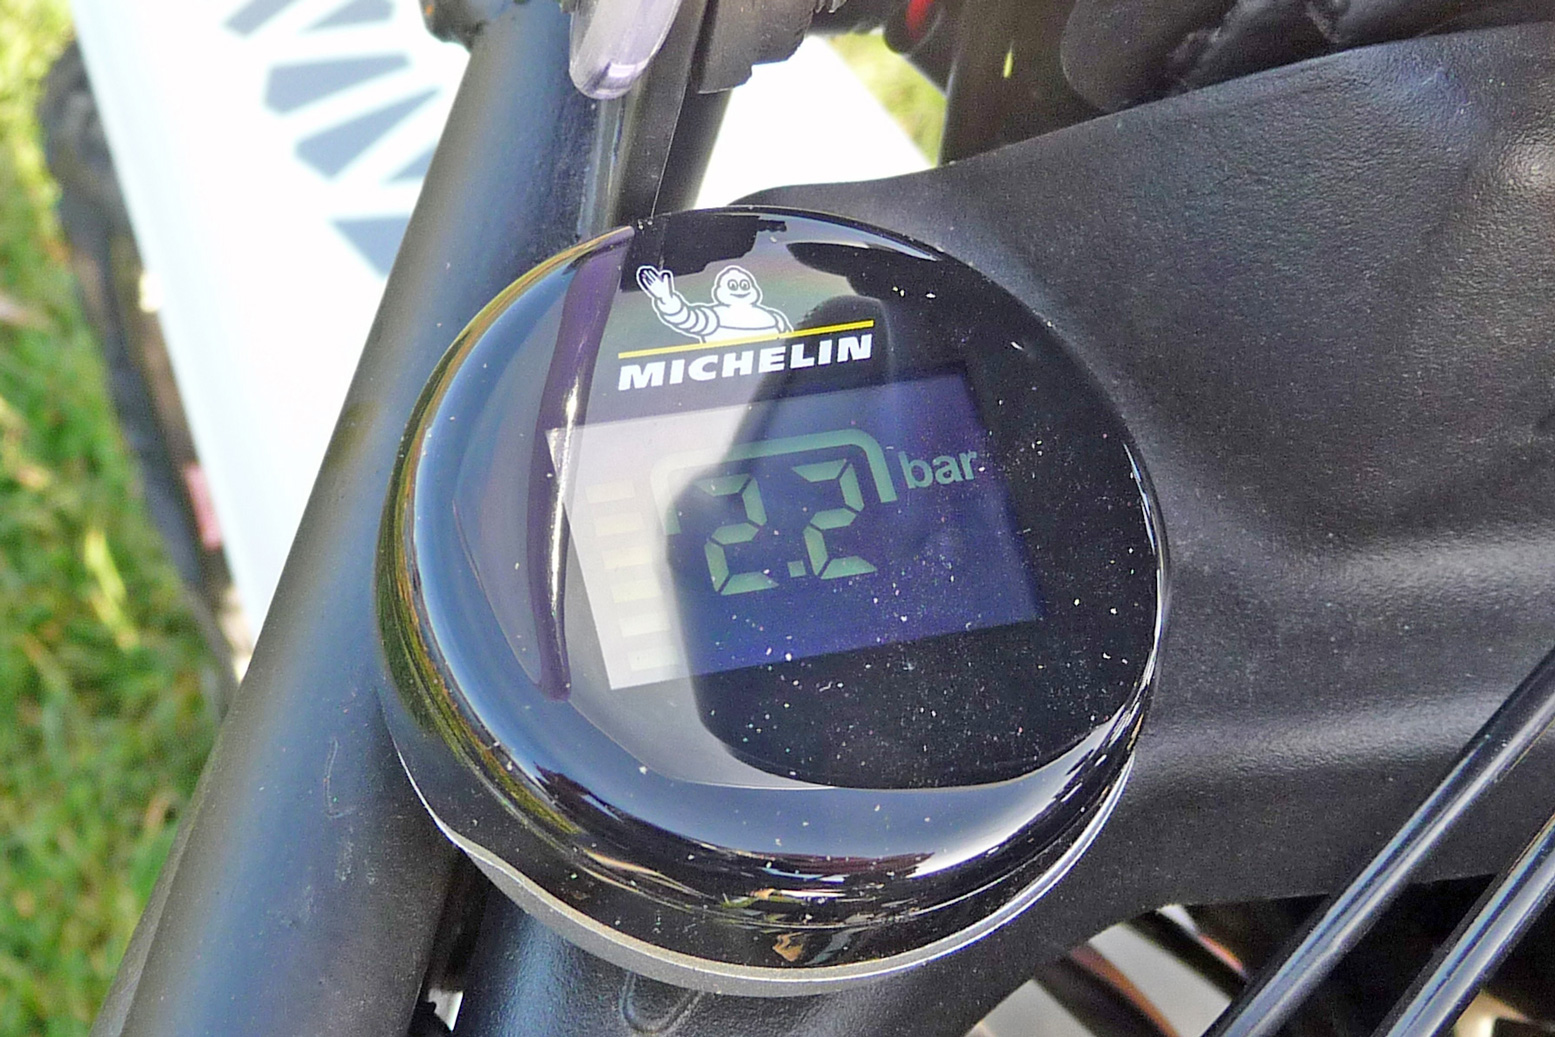
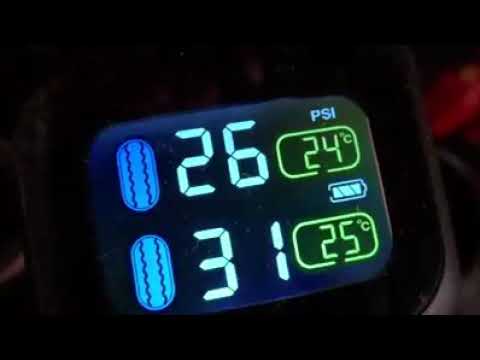
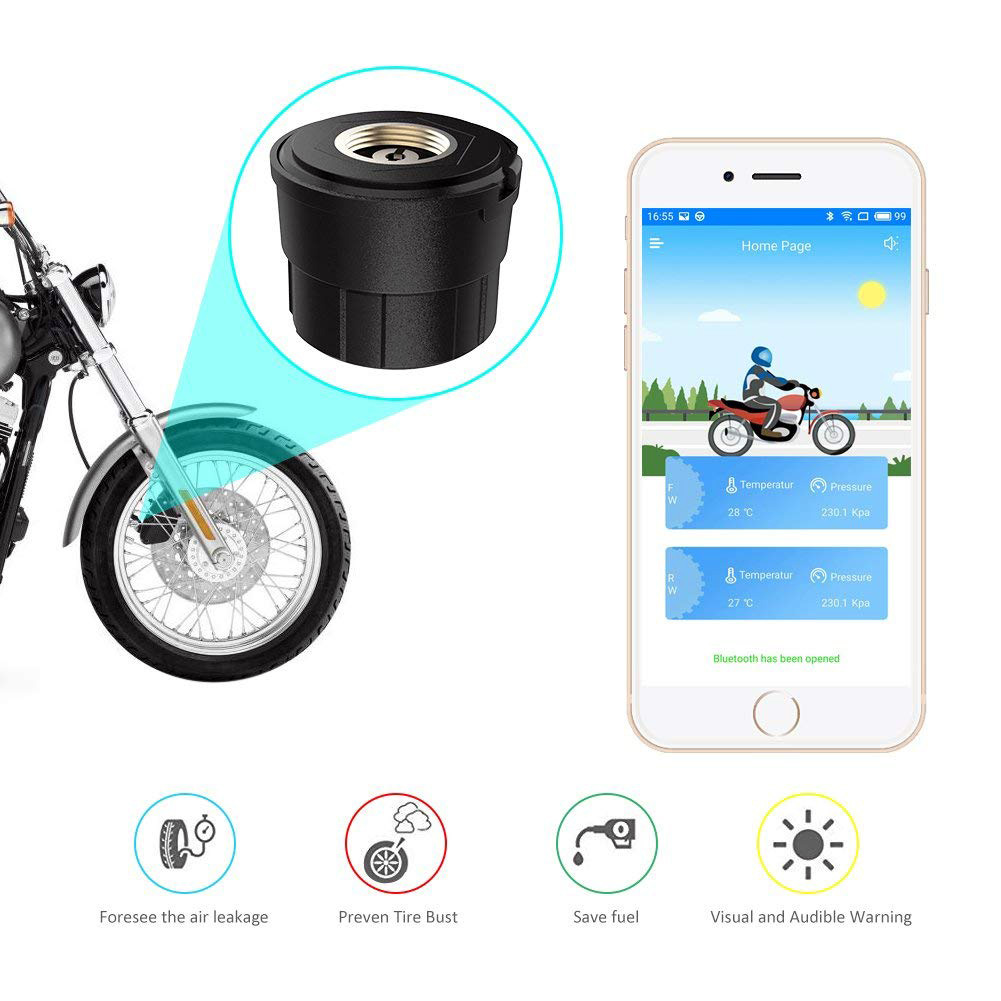
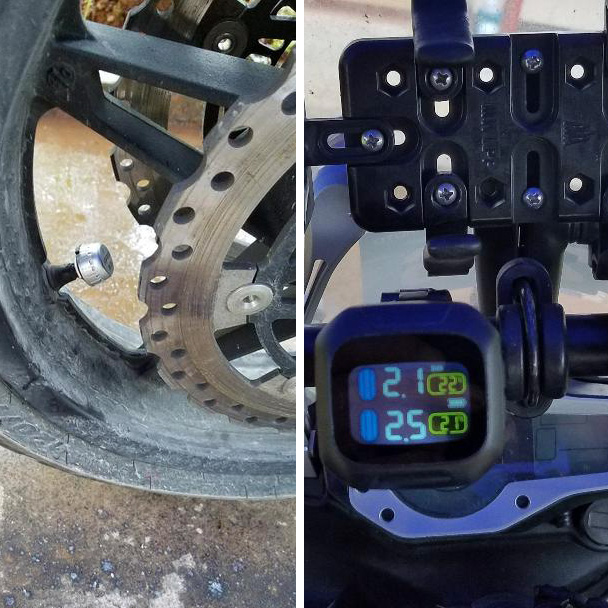
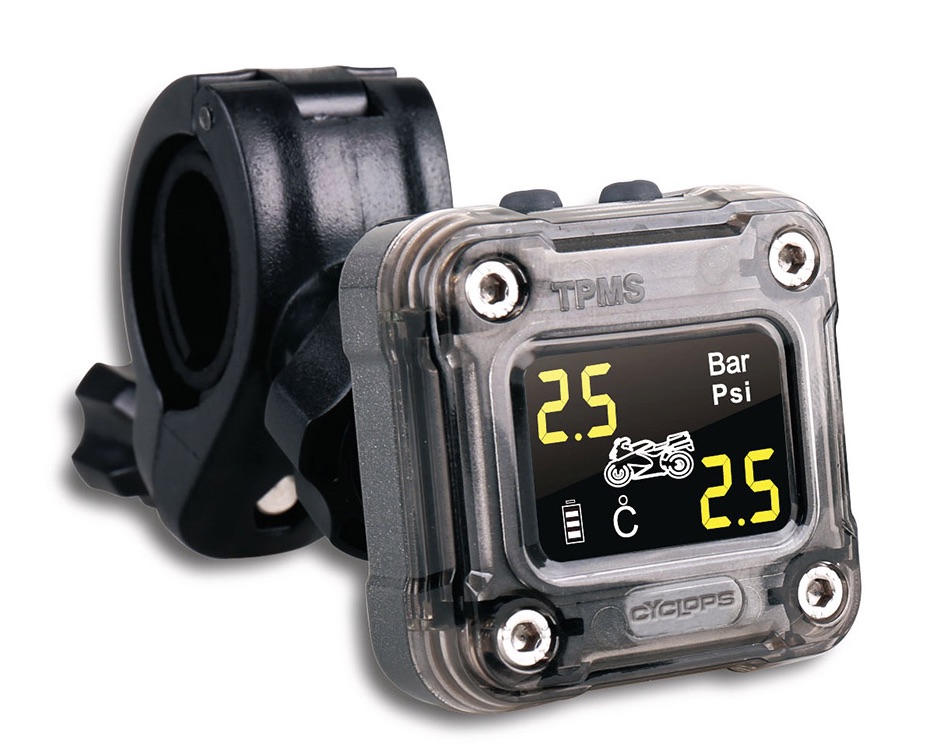
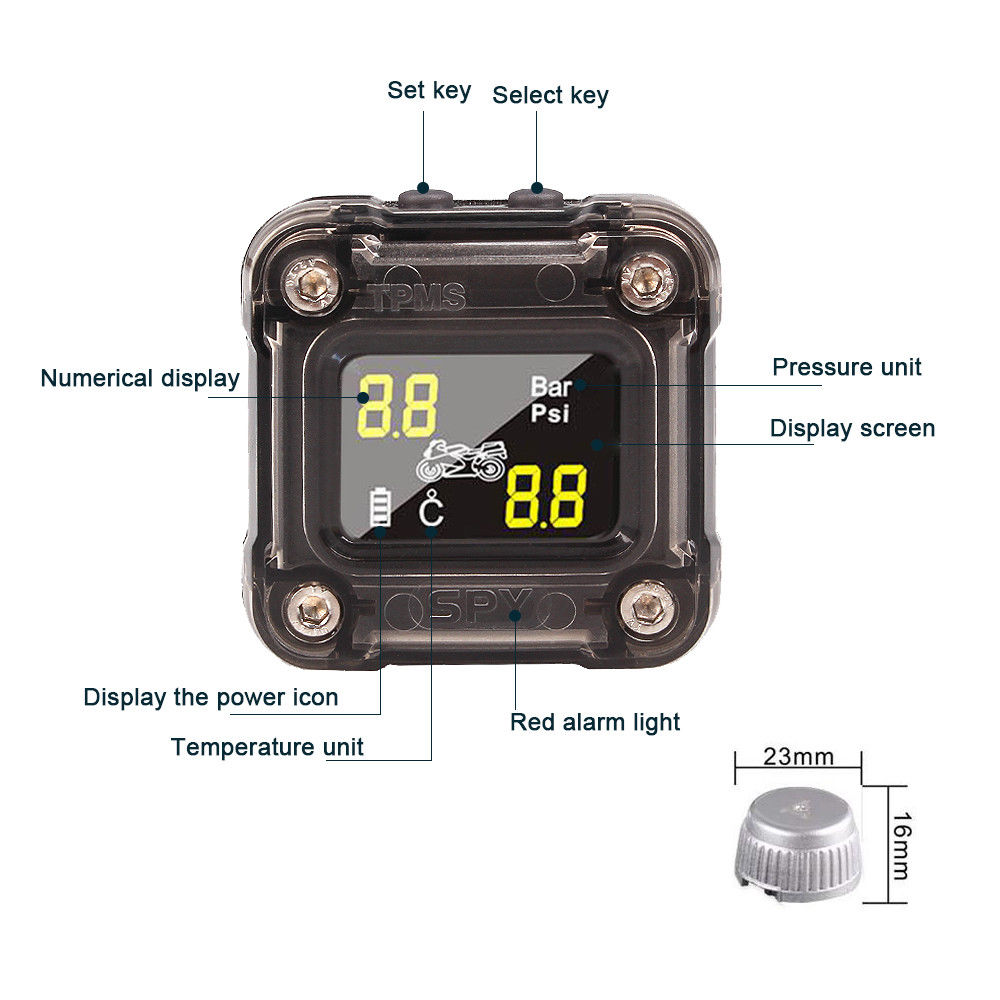
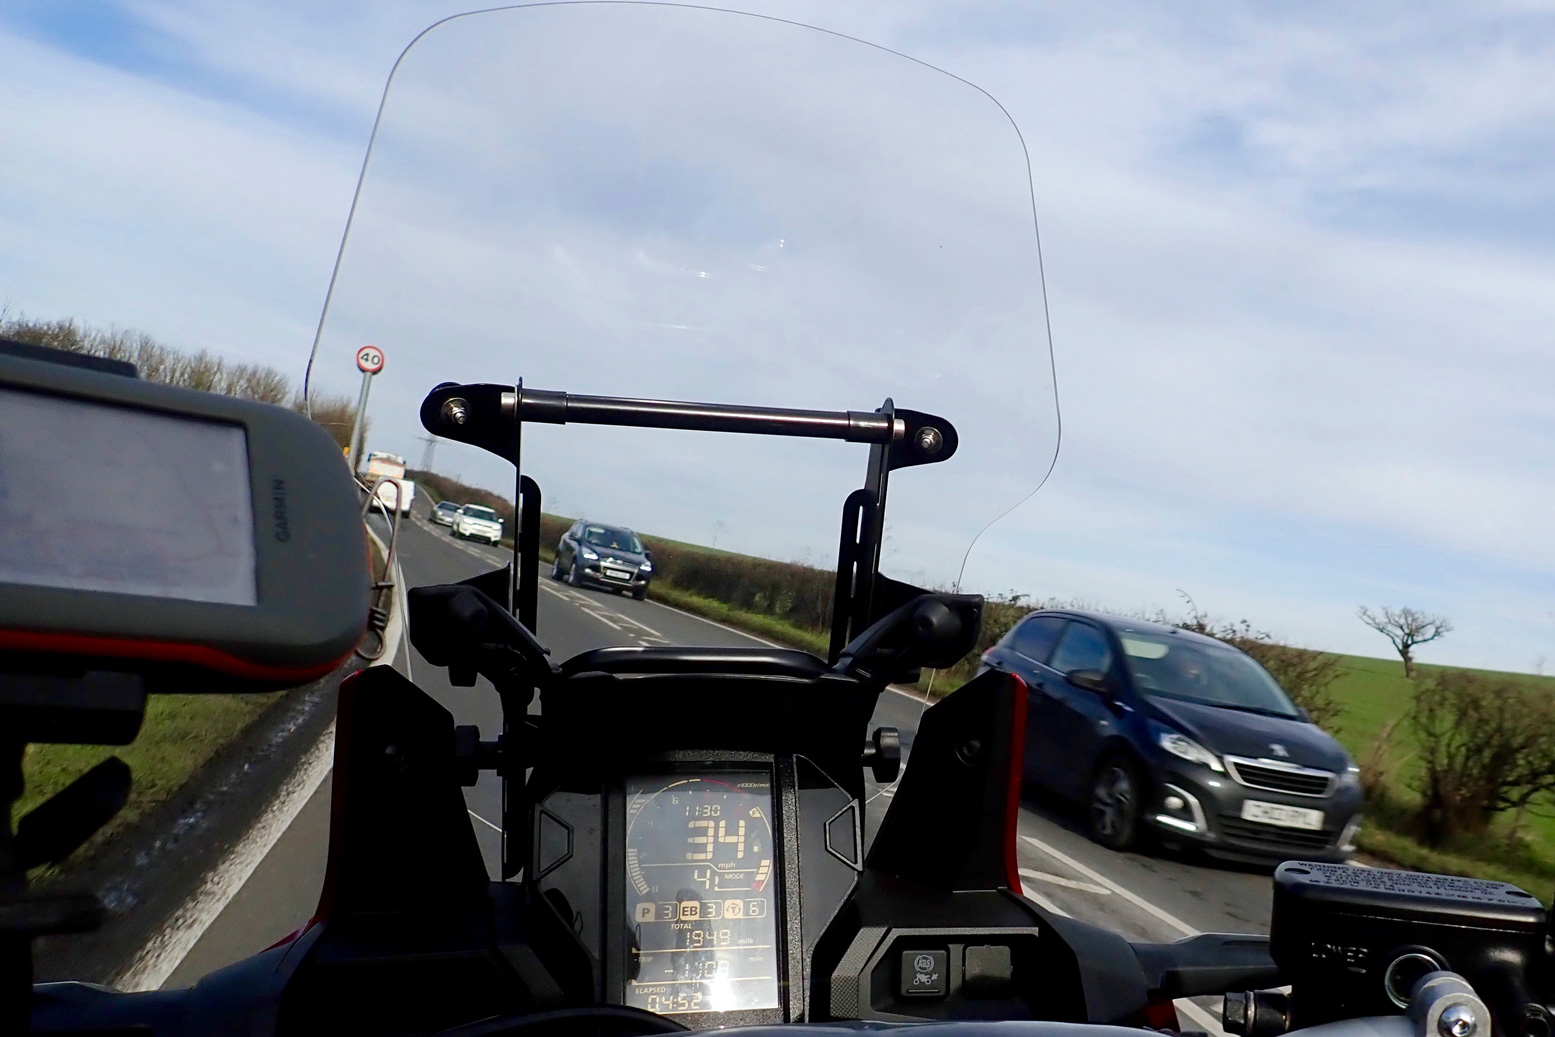
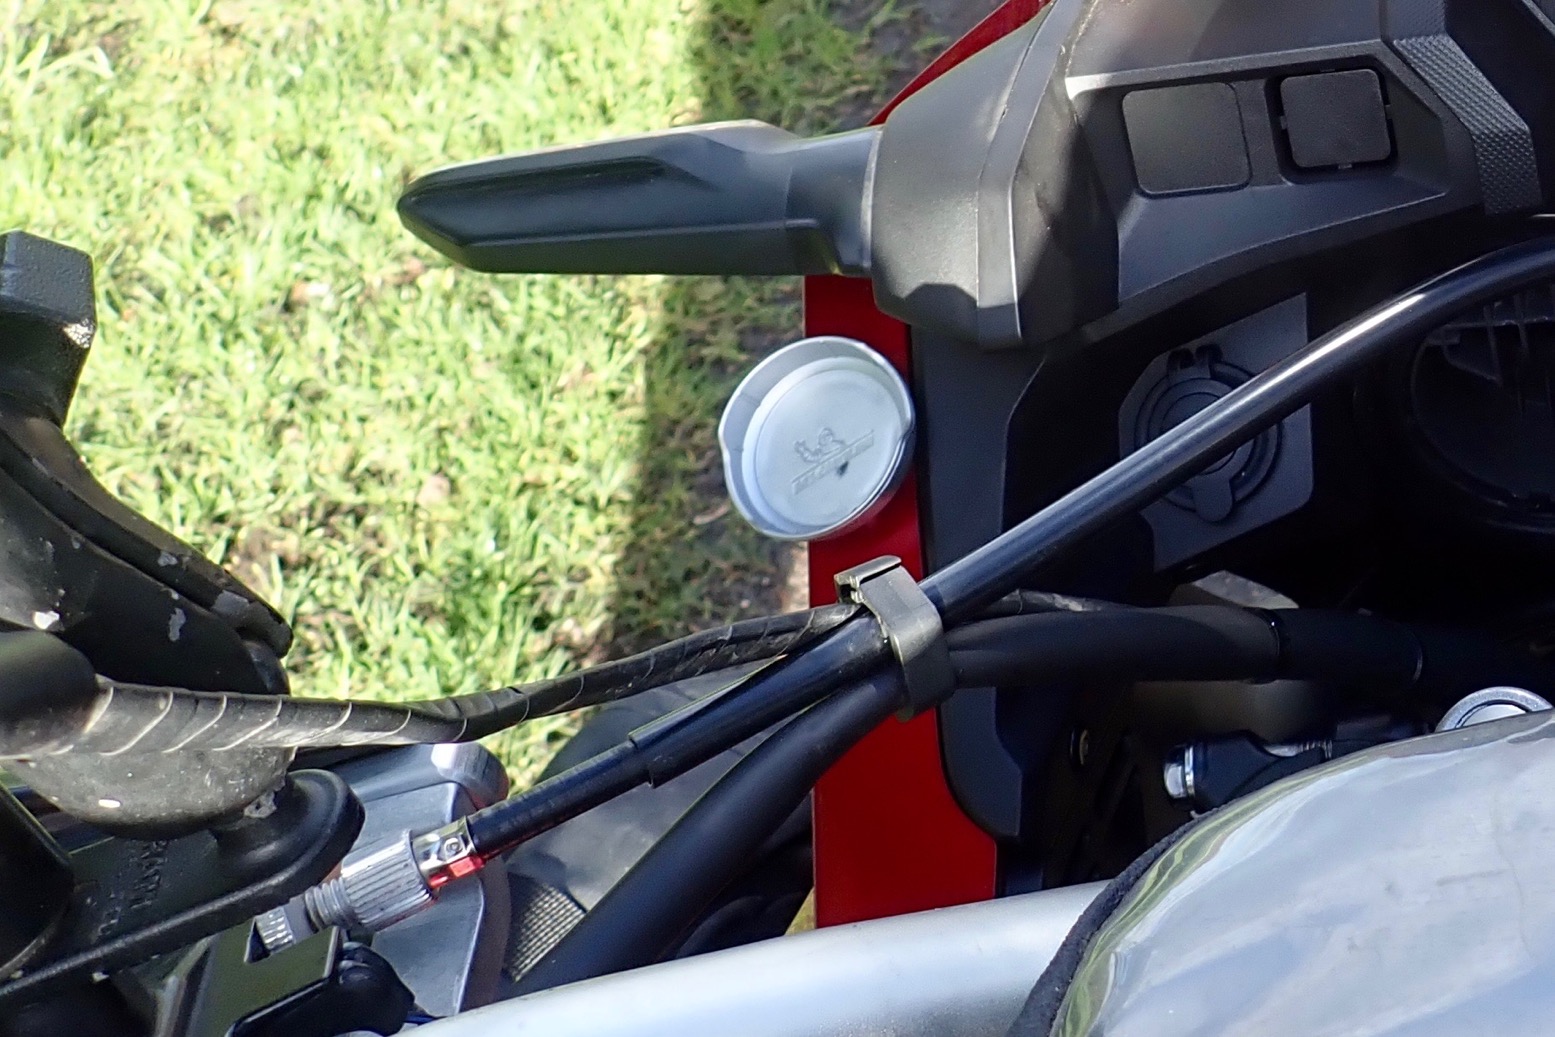
Hopefully, it may settle down but I now have a v2 Michelin TPMS to keep an eye on things and may have to get some Slime in. I’ve stuck one activating magnetic dish to the fairing at a readable angle (right) and will keep another spare in the tank bag when off-road in case the display shakes off (a common complaint according to amazon reviews).

OLYMPUS DIGITAL CAMERA

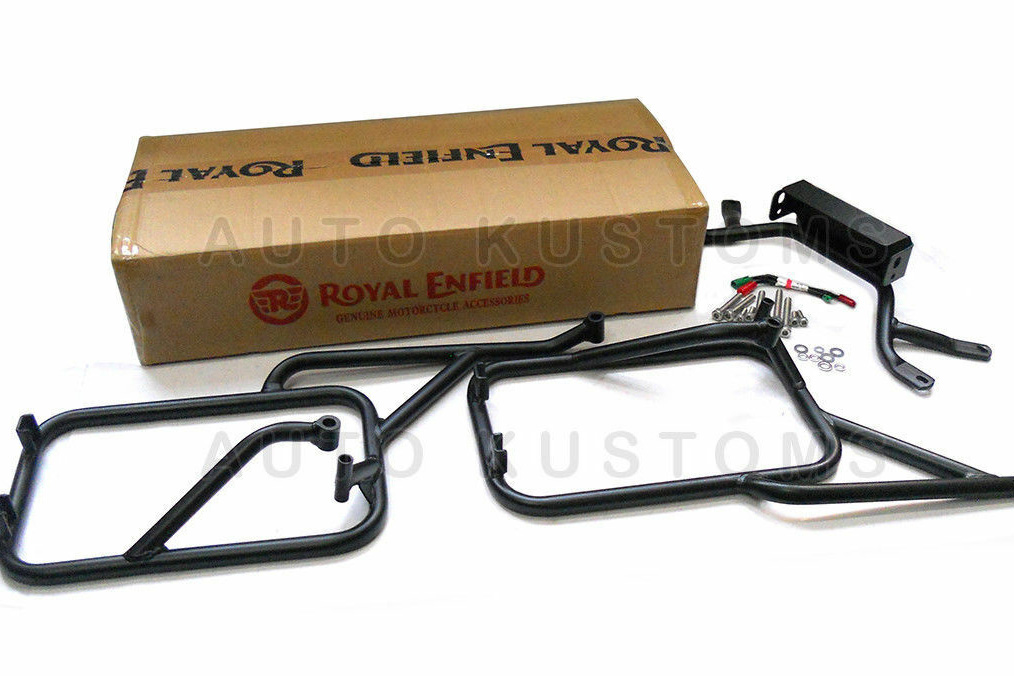
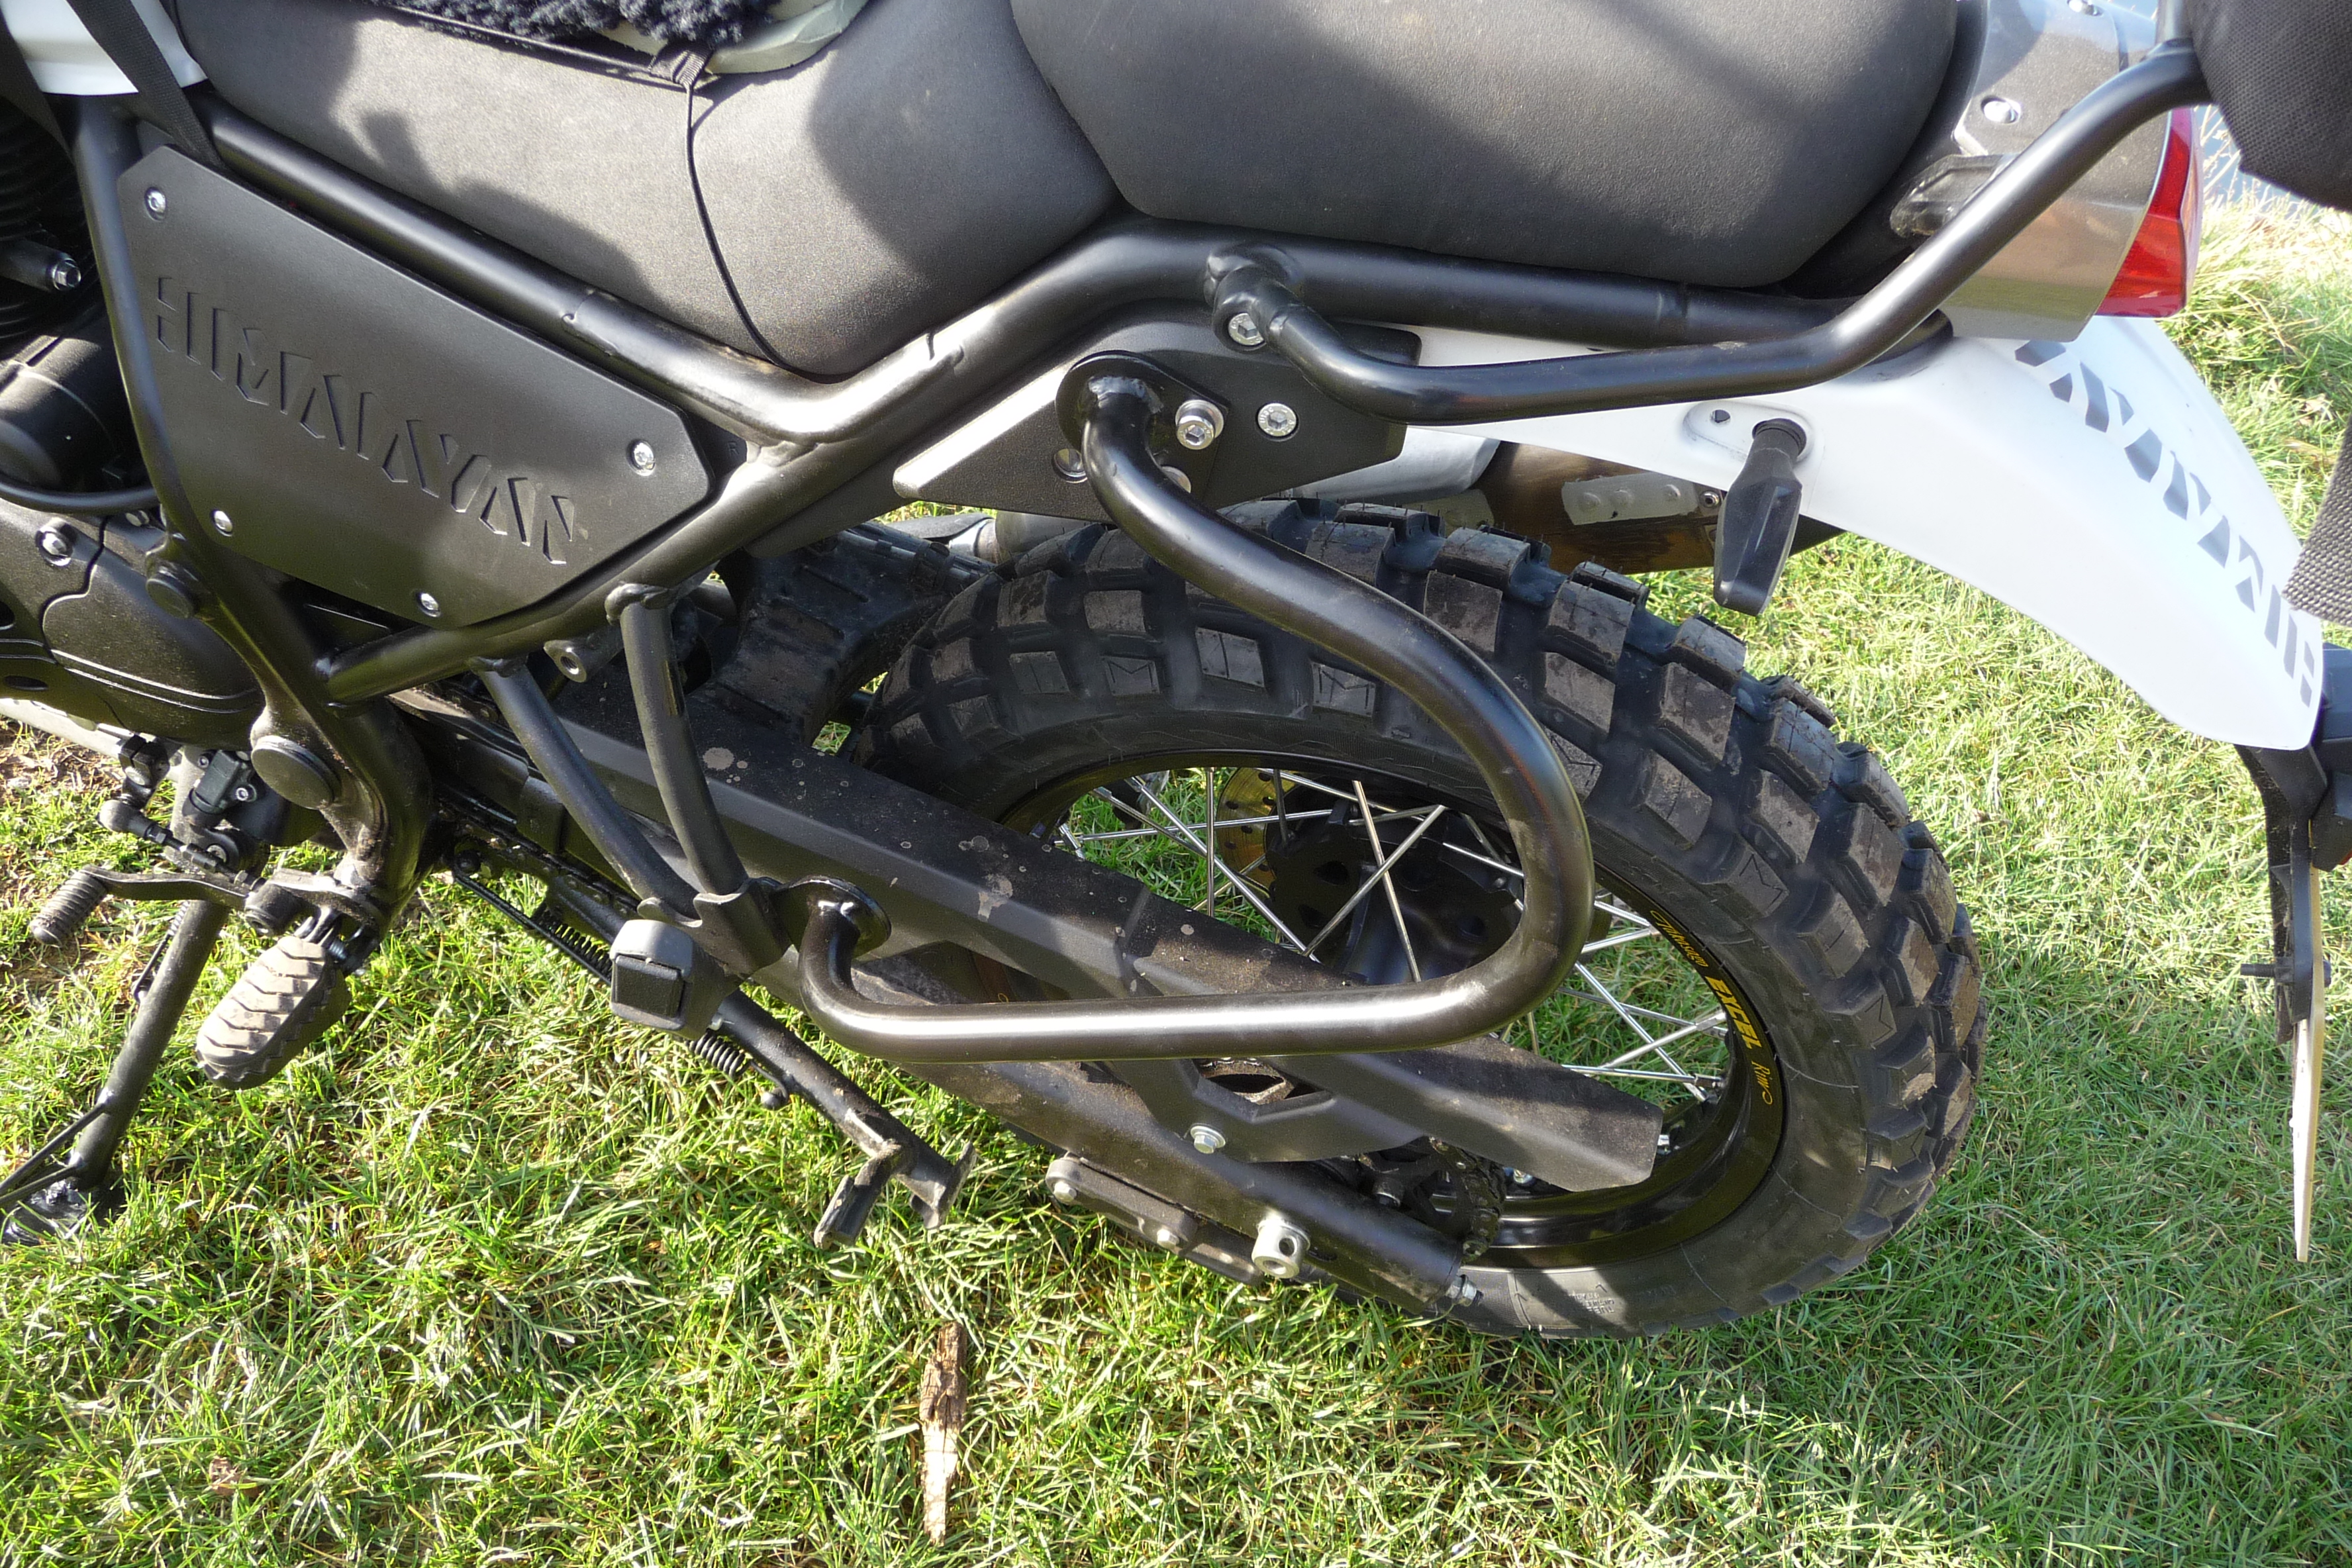
From the state of my fairing and radiator, the OEM crash bars which came on the HO-RC bikes (and are now selling used online), don’t really do the job. But what would you expect from 250 kilos of bike hitting the ground?
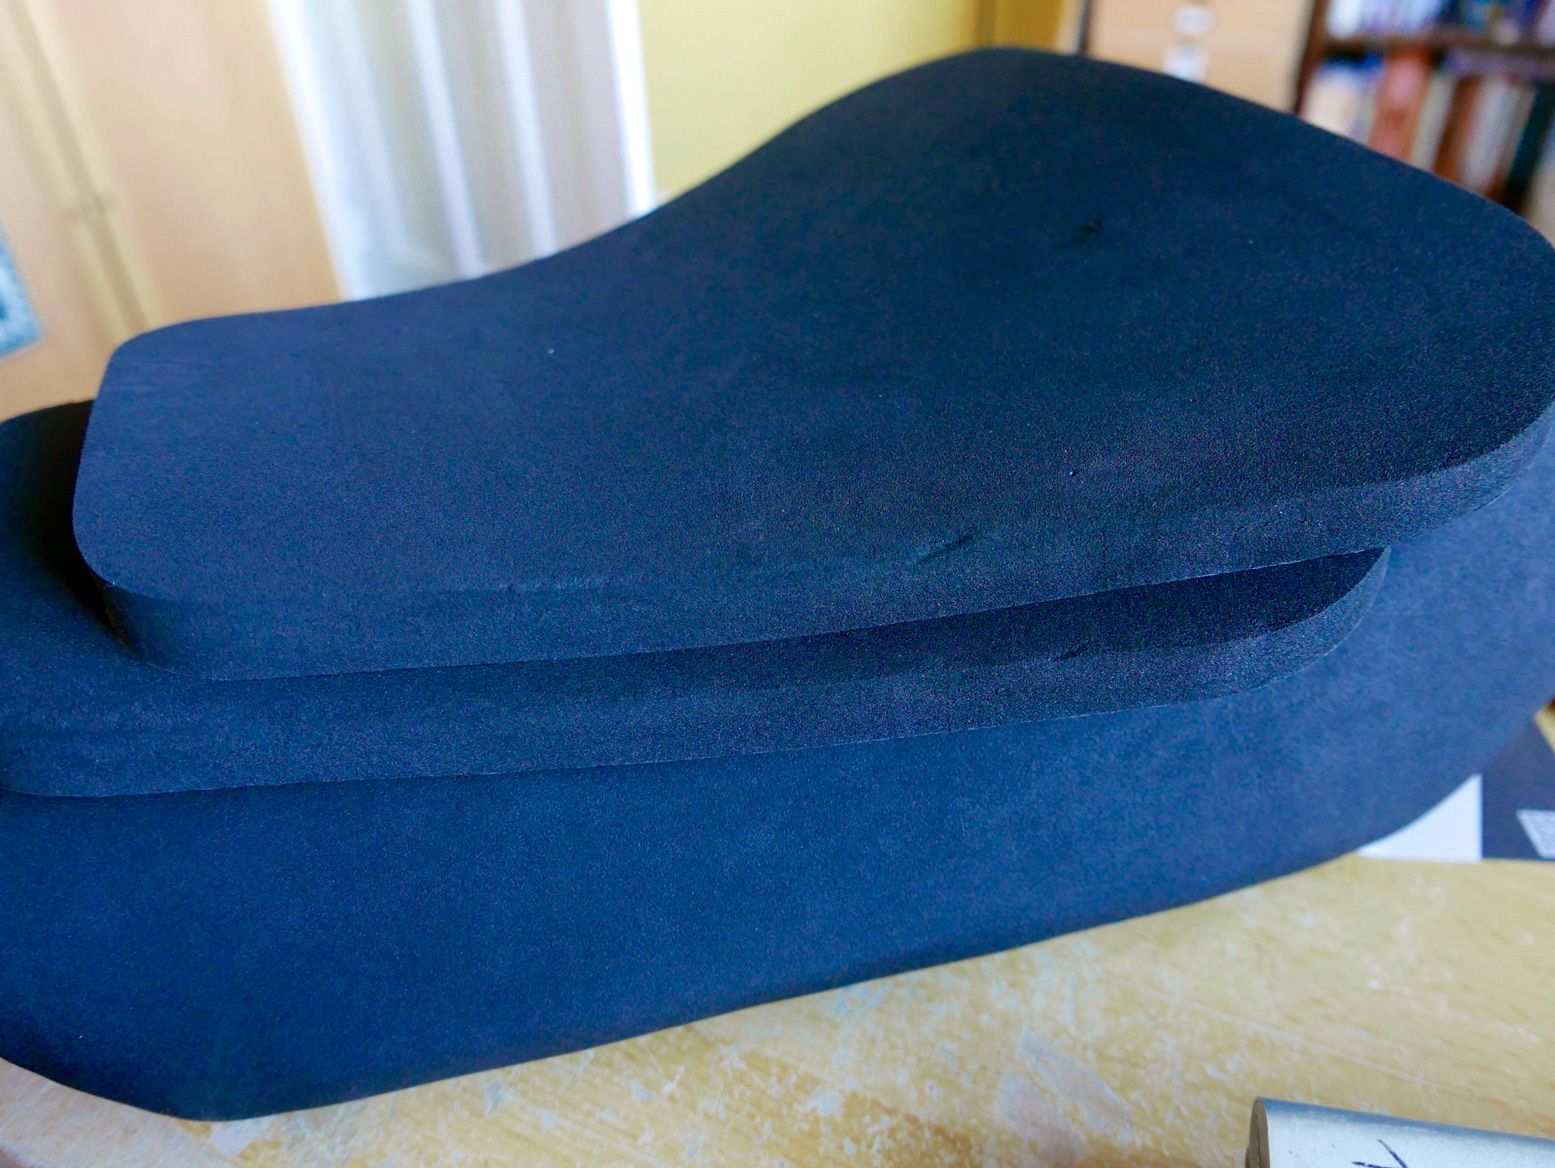
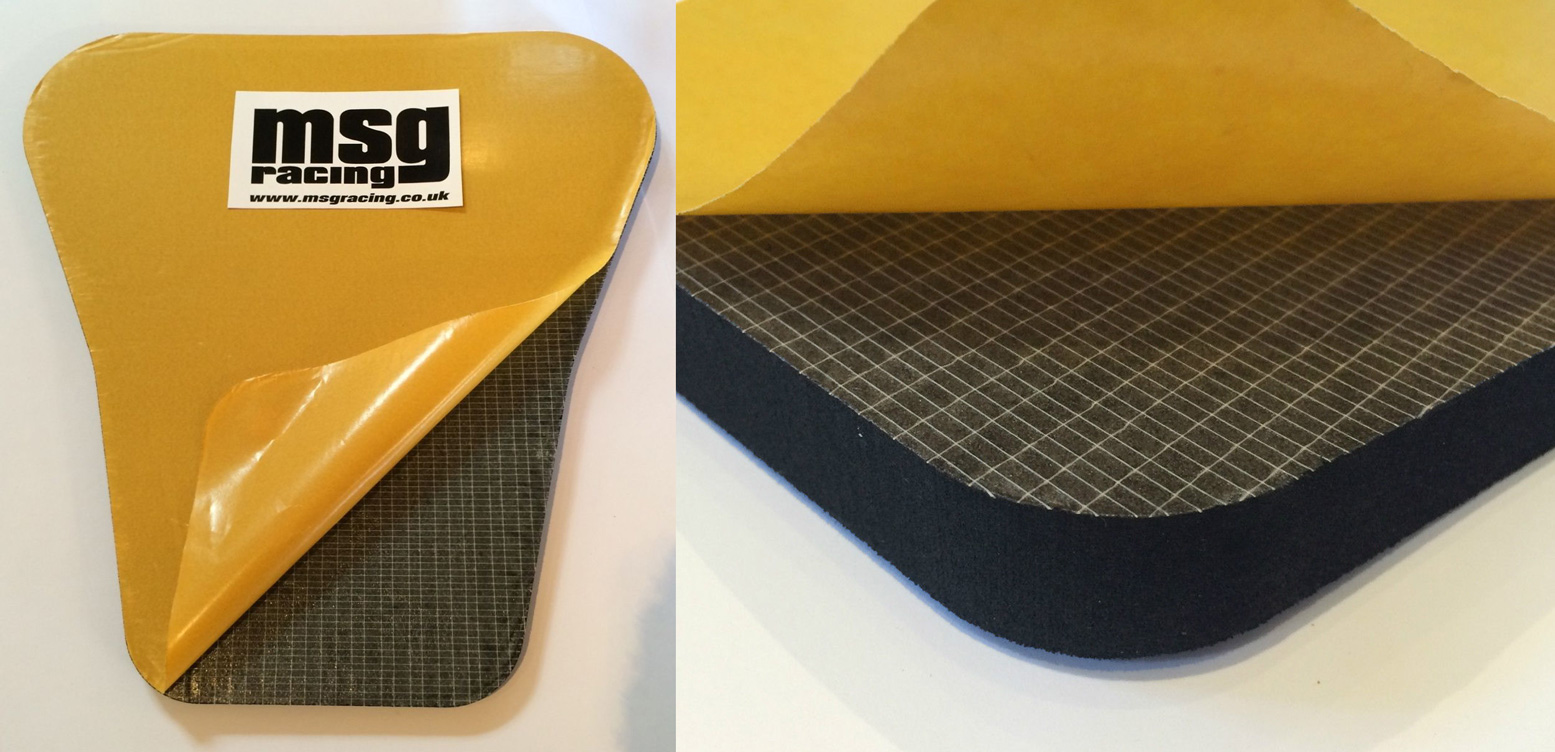
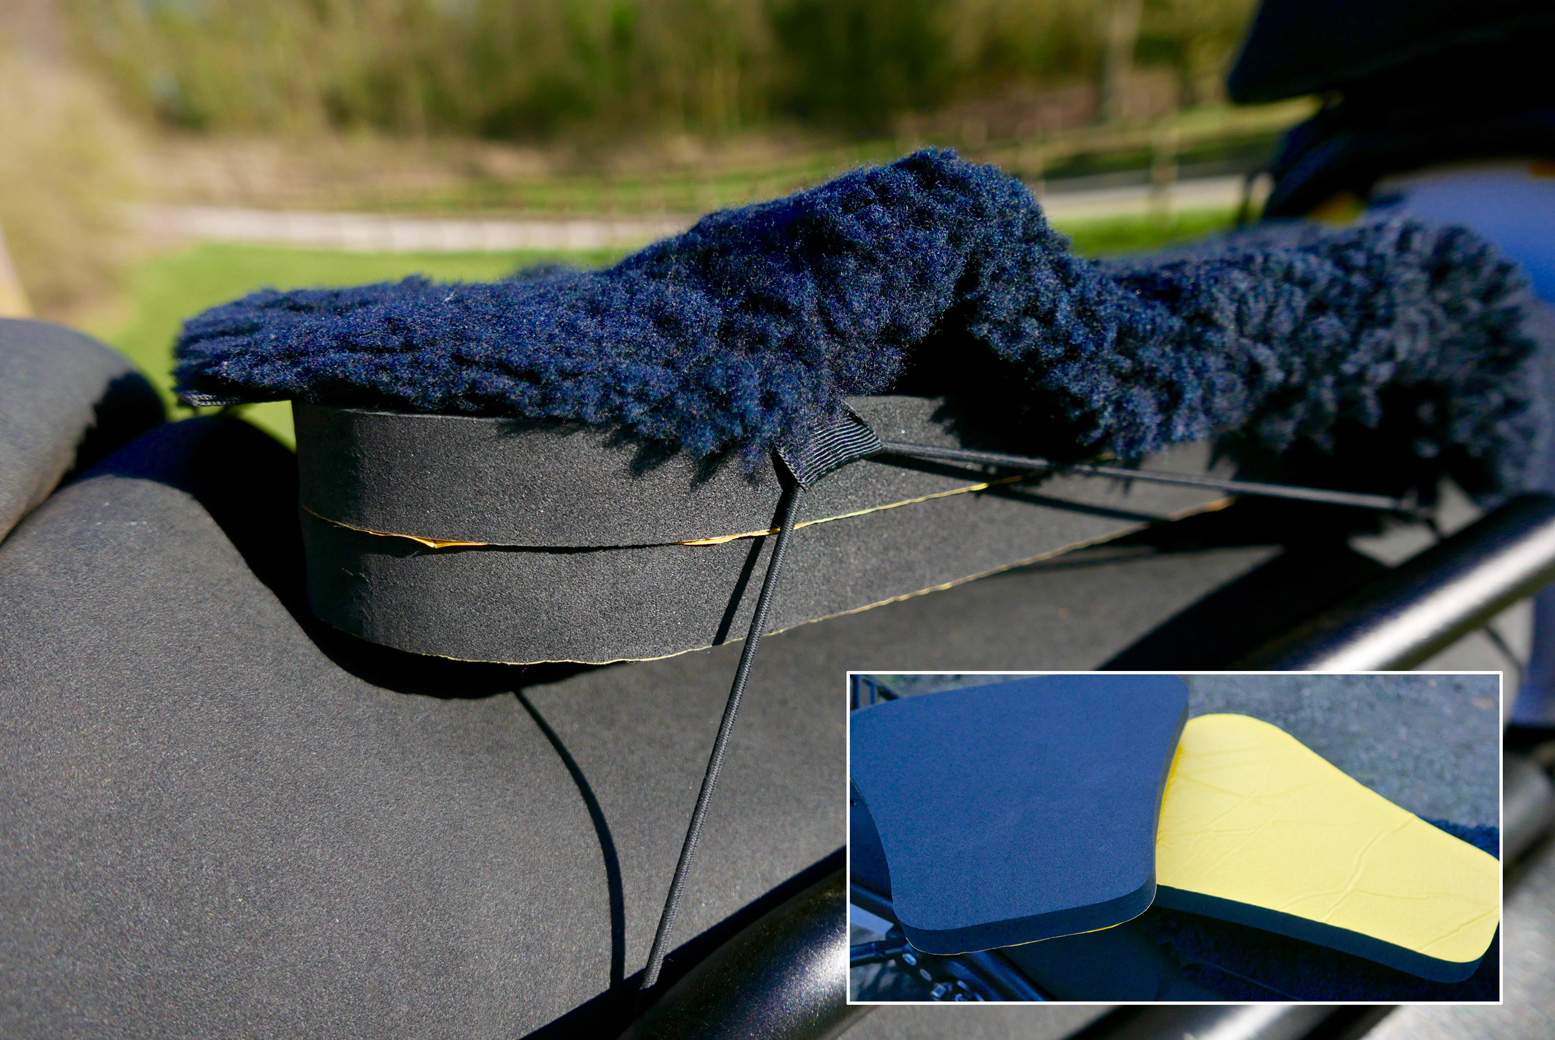
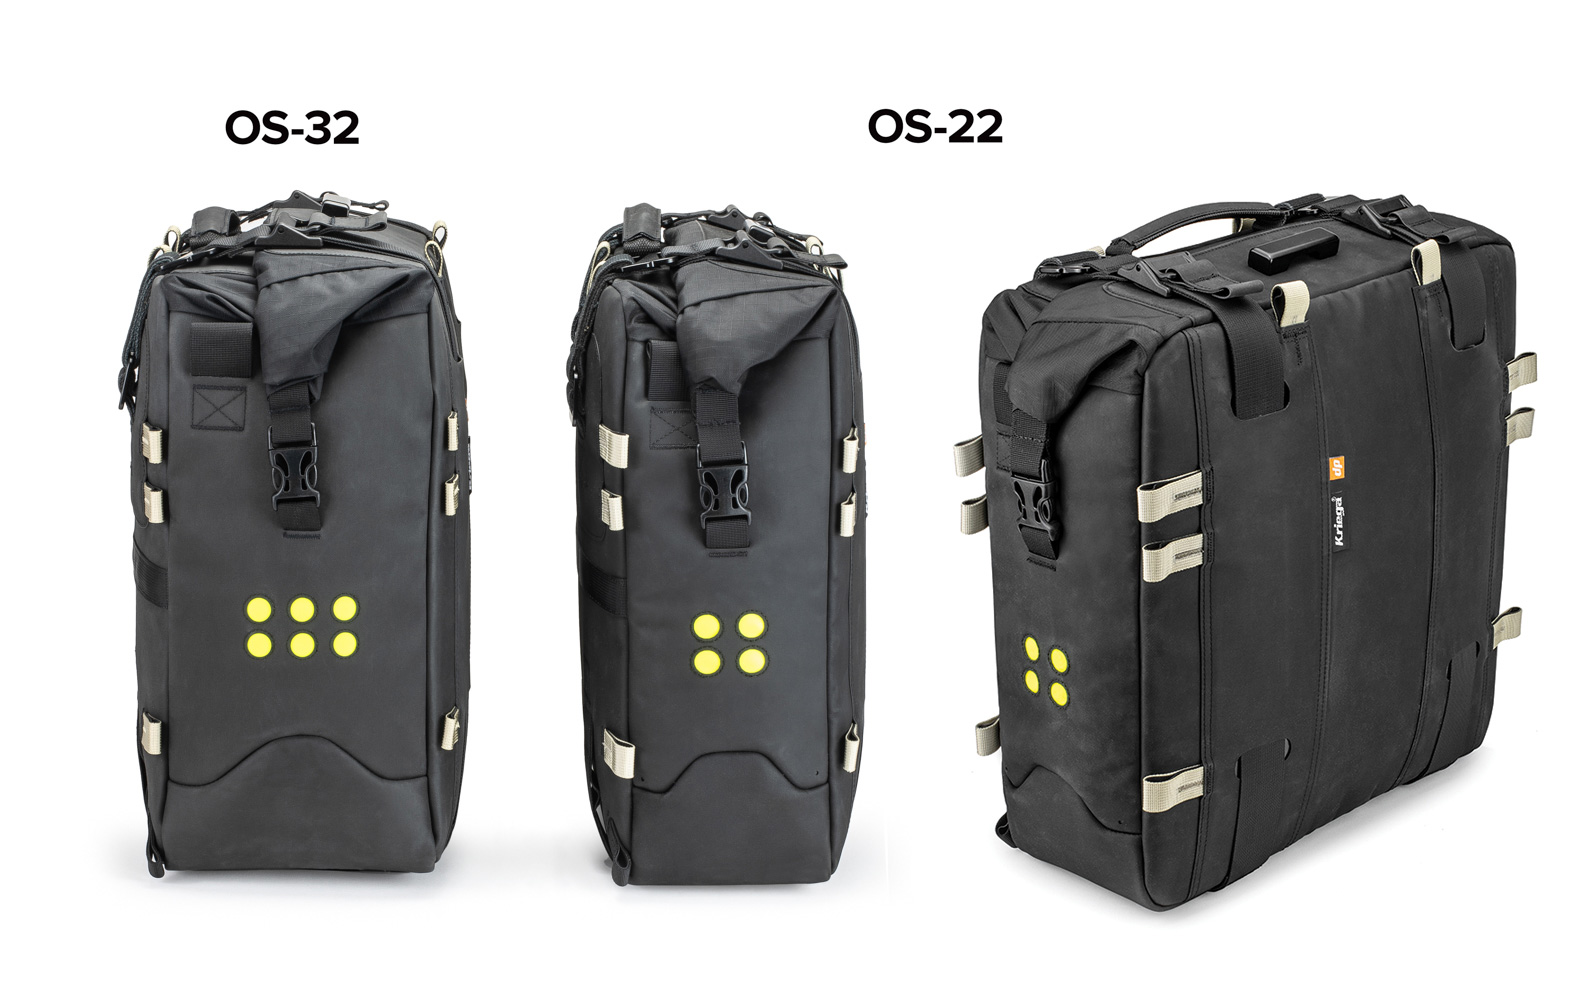
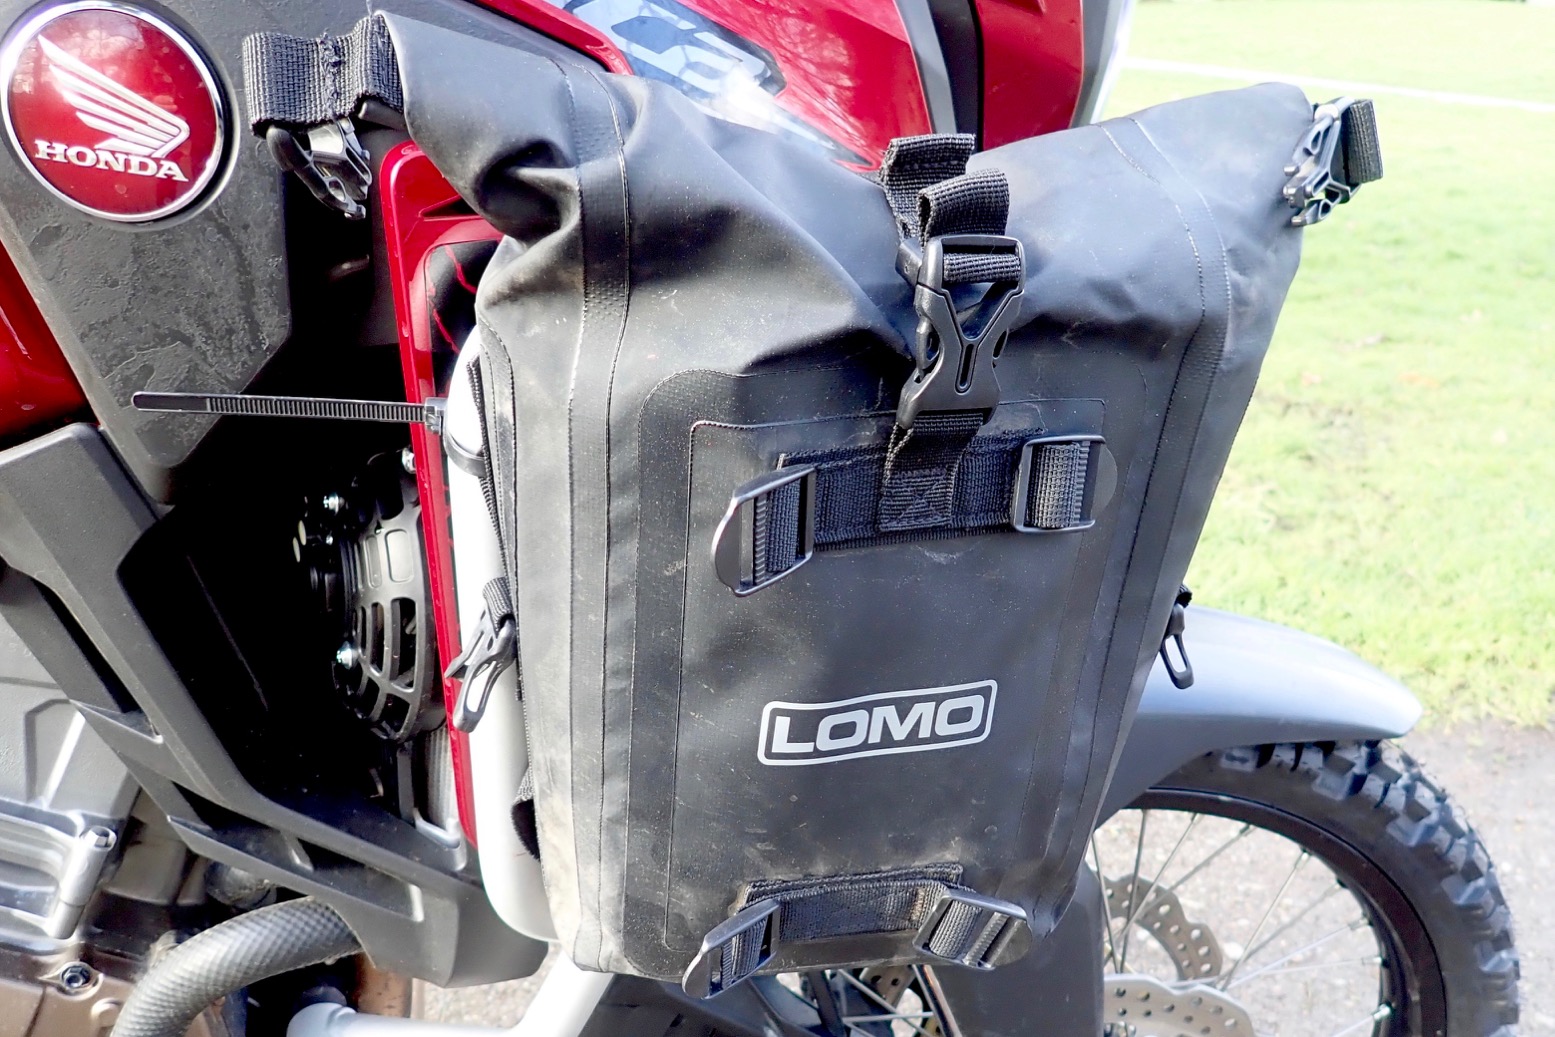
I specifically want them to mount my ex-Himalayan Lomos which I hope will act as sacrificial impact-absorbing airbags. Better the bags’ soft contents get mashed than what seem to be vulnerable radiators.

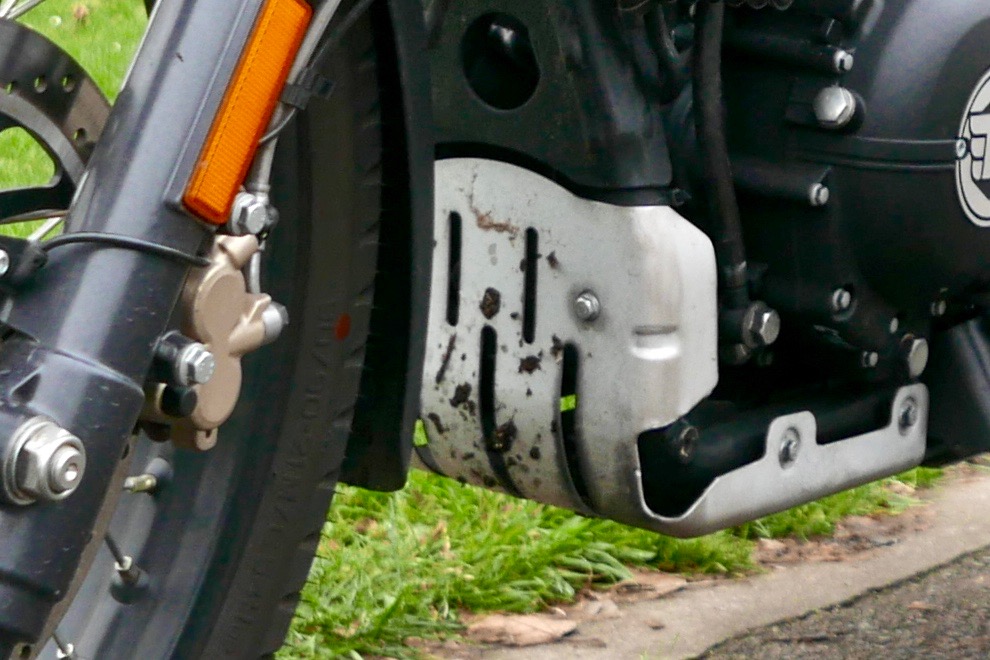
The stock bash plate is at least made of metal, but it doesn’t come up around the sides of the engine which look vulnerable. On the rocky trails of the Adrar plateau I’ll have to tread carefully and have some epoxy putty at hand.

OLYMPUS DIGITAL CAMERA
atpk-krig

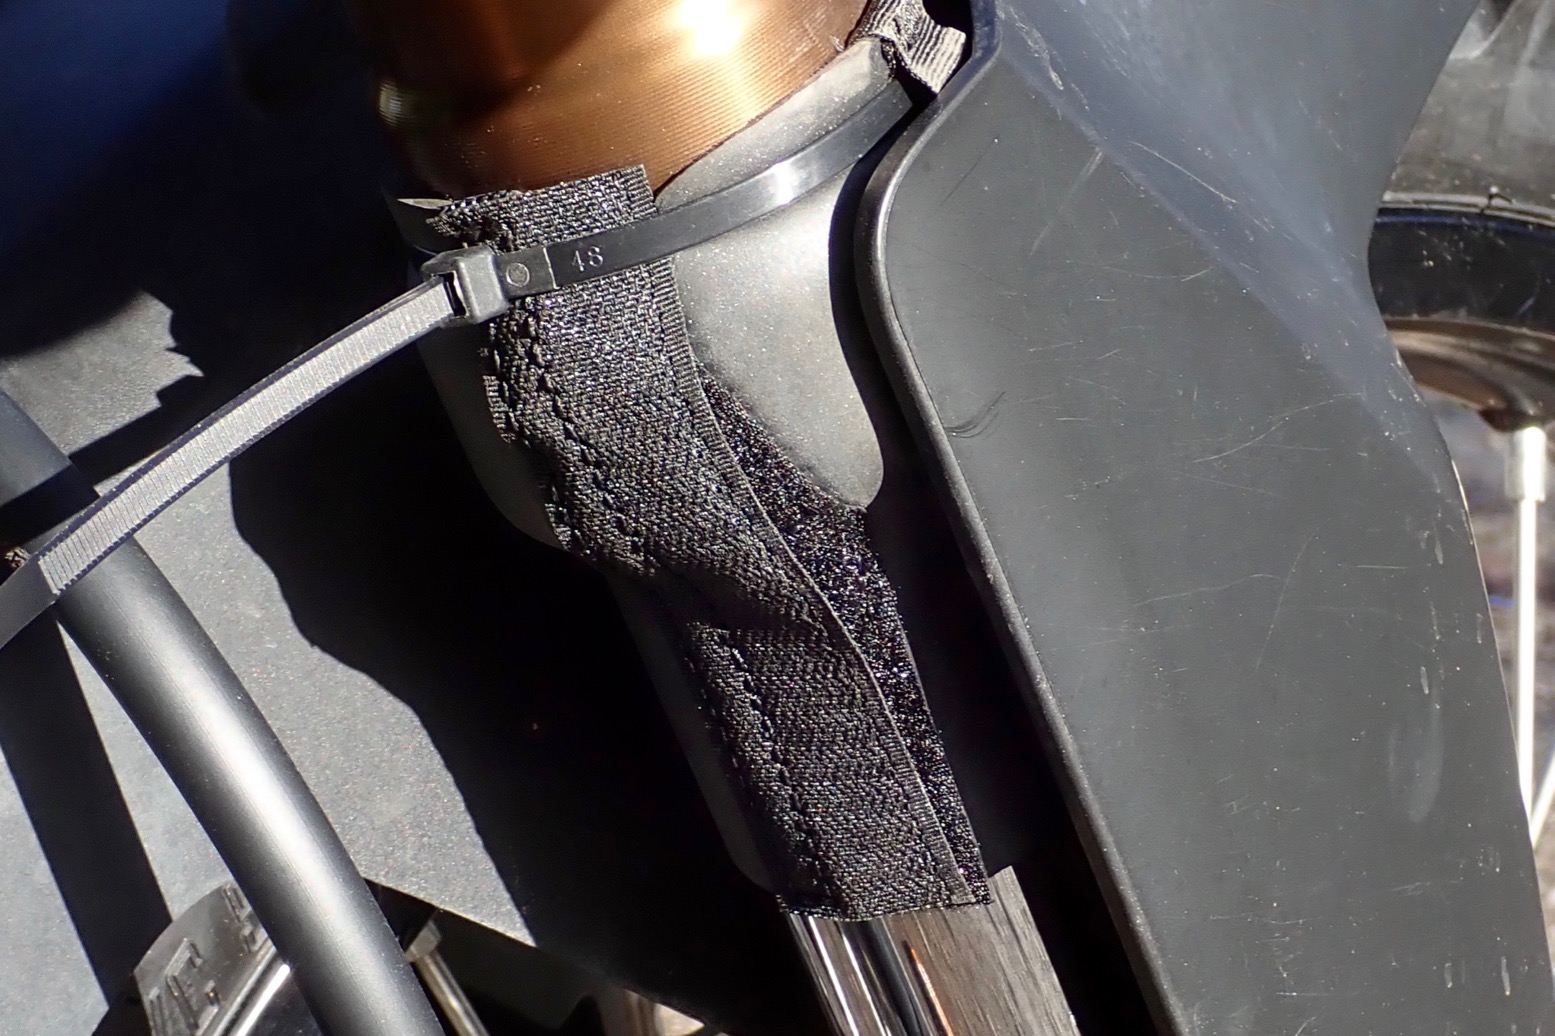
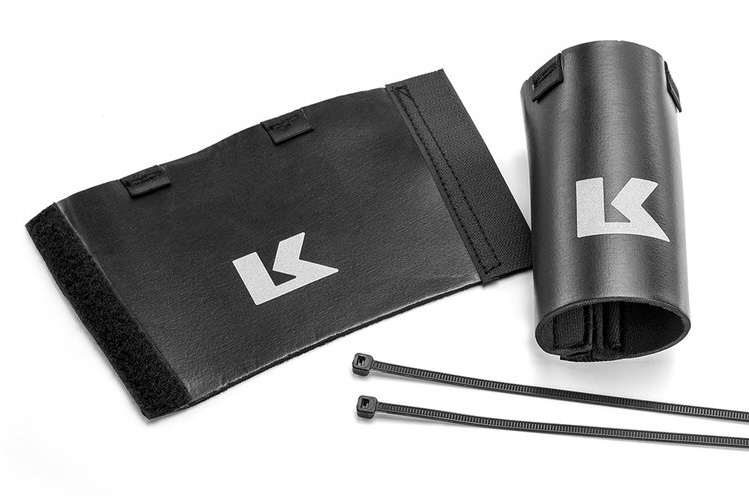
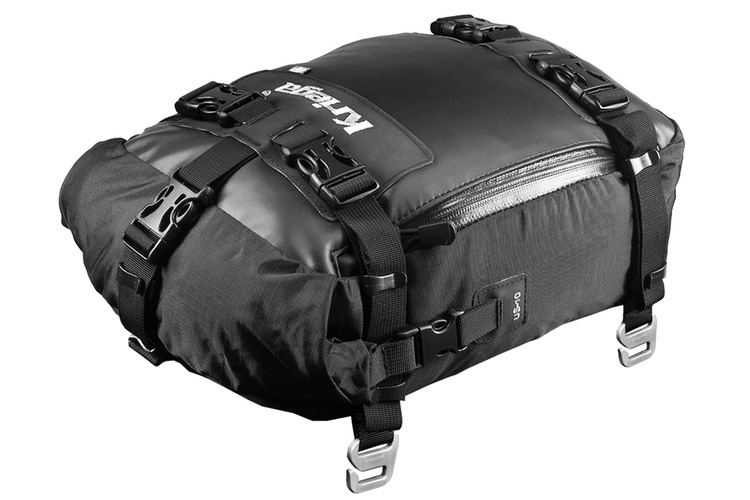
CRF1000 USD forks are leak-prone – one of mine was leaking before I even bought the bike at 1800 miles (fixed on warranty). Repairing a seal in the field sounds too tricky to do well so I’m hoping some Kriega fork seal covers (right) will keep the seals from getting worn. They’re easy to fit and remove if needed. The full-sock tubes like I had on my XCountry are better and cost the same, but require removing the forks from the bike to slip over the top.

And that’s about it. It would have been fun to ride the Honda across Spain, but this is the first time doing that crossing over many winters that the weather has caught me out.
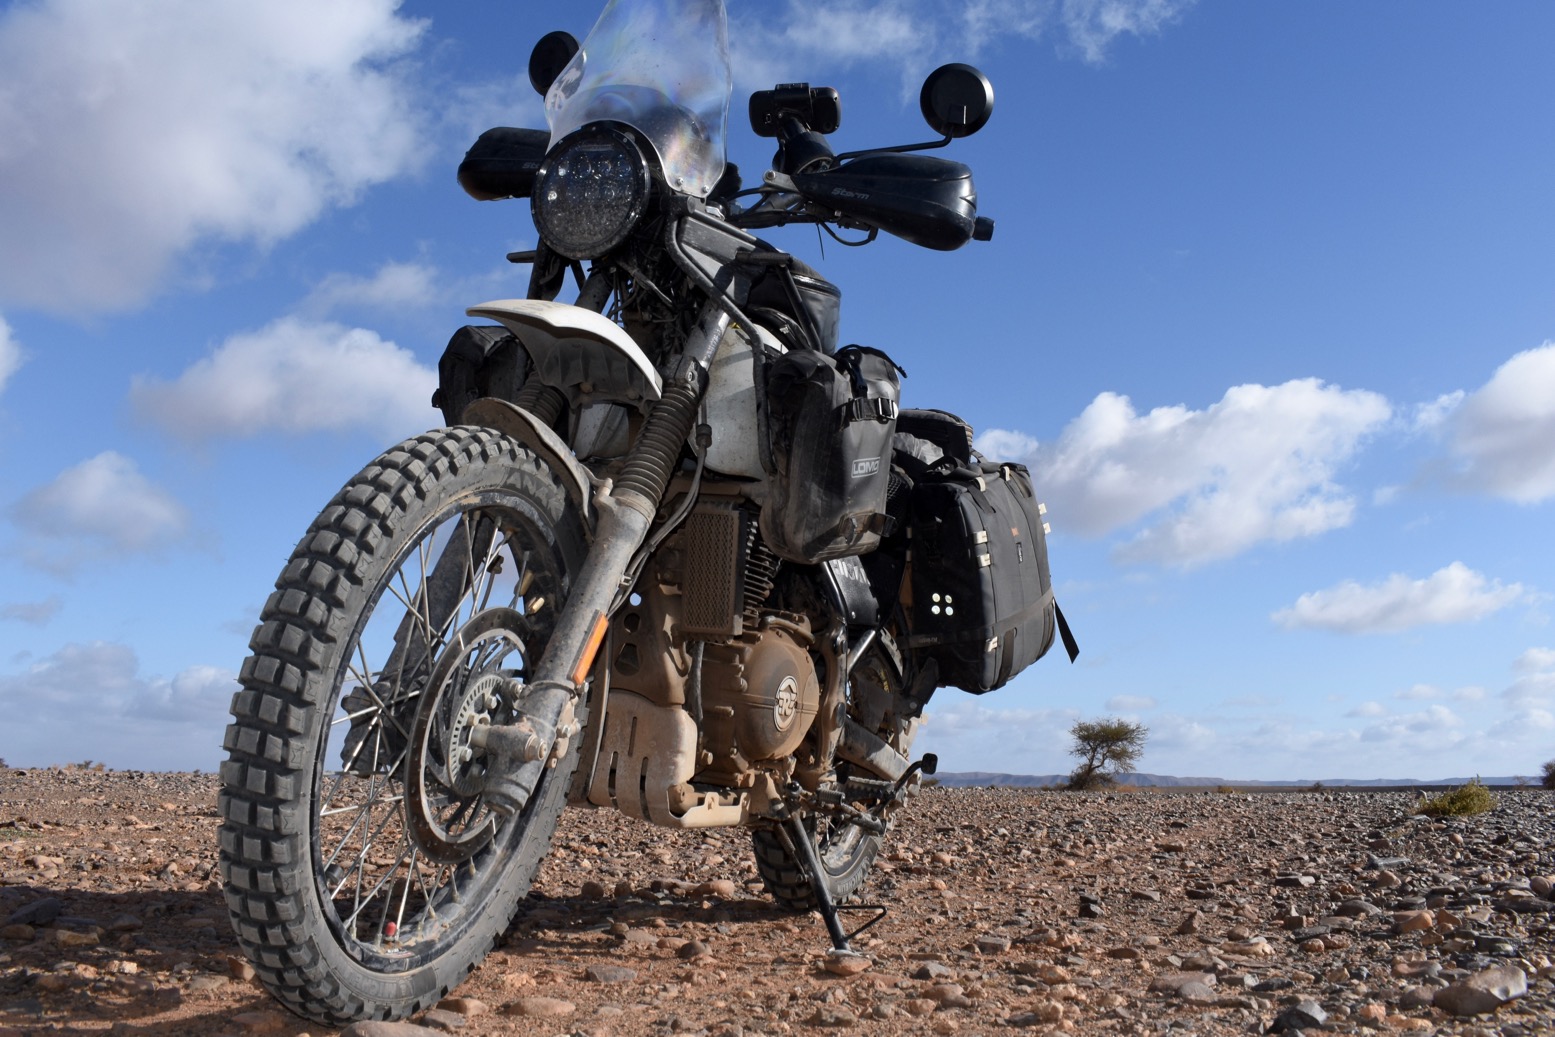
It would have been even more useful to get the feel for the AT doing my regular tour circuits in Morocco. That too is not to be so I’ll be renting a ragged Sertao for the duration and will just have to learn to manage the AT on the fly down in Mauritania. More news and impressions on the road in March.

OLYMPUS DIGITAL CAMERA

Enfield Himalayan: 4000-mile review

Himalayan Index Page
2024 Himalayan 450 preview

Updated January 2024

Him4k - 9

In a line:
Didn’t miss a beat over a month; no one was more surprised than me.

• At £4000, with the stock equipment it [was] a bargain. (Now £5050).
Low, 800mm seat – at last a travel bike not limited to tall people
• Enfield build quality stood up to it
• Efi motor pulled smoothly up to 3000m (nearly 10,000′)
• Michelin Anakee Wilds (run tubeless) – great do-it-all tyres
• Low CoG and 21-front make it agile on the dirt
• Rear YSS shock showed up the harsh forks
• Yes it’s 190kg, but road and trail, it carries it well (or low)
• Subframe easily sturdy enough for RTW load carrying
• Economy went up and up: averaged 78 mpg (65 US; 27.6kpl; 3.62L/100k)
• 400km range from the 15-litre tank – about 250 miles

Valves need checking every 3000 miles – not practical
• Weak front brake on the road (sintered pads are a fix)
• As a result, front ABS is a bit docile
• Stock seat foam way too soft for my bulk
Tubliss core failed on the front; replaced with inner tube
Centre stand hangs low – but can be raised
• Small digit dash data hard to read at a glance
Compass always out – a gimmick
Head bearings notchy at 4000 miles, despite regressing @ 1200 (replaced on warranty @ 5000)

Him4k - 11

Review
Following a test ride, I bought a used Himalayan with just under 1000 miles. And following the make-over detailed here (summarised in the image below) I picked it up in southern Spain with 1300 miles on the clock. So, like many of my crudely adapted project bikes, I’d barely ridden the thing or tested the modifications. With a Royal Enfield this did feel a bit more of a gamble than usual and, on collection near Malaga I was all prepared for the worst.

himlabels

Far from it. The Him started on the button, ticked-over like a diesel, and after the ferry crossing and fighting the usual headwind gale down the Atlantic motorway, I arrived at a cushy hilltop lodge near Asilah feeling moderately hopeful, while still braced for a kick in the nuts somewhere down the road.
Riding an untried, near-new machine, saddled with Enfield’s possibly outdated reputation for reliability led to stressful days, waiting for something to play up, either with the bike or with my mods. I had the same feeling with BMW’s XCountry years ago. But riding my first piste: the lovely Assif Melloul gorge route out of Anergui  inspired confidence. The low-slung weight and chuggy motor made this a great trail bike!

OLYMPUS DIGITAL CAMERA

Engine and transmission
Much is made of the 410LS’s meagre 24hp (or even 22) because we’re so used to bikes delivering over 100hp per litre. Don’t forget Honda’s ill-concieved CRF450L makes about the same. It’s when you combine 24hp with the strapping 190-kilo wet weight you’d think it can’t possibly work. Yet it does – and in a way that you won’t find on a similar powered and much lighter 250 trail bike like the WR250R, KLX250S, CRF250L or 300L which I’ve also used, as well as a 310GS. I prefered riding my REH to all of them.
It must be down to the way the long-stroke, low compression, two-valve motor delivers it’s modest power, like something from the apogee of Brit biking half a century ago, but without a millstone for a flywheel, it revs more freely. The Himalayan may have the power of a CRF250L, but it has the torque of an XR400: 32Nm at 4250rpm (1150 lower than the XR). Combined with counter balancer and unexpected refinement, despite wide gearing it’s a very satisfying bike to ride. It won’t hurl you from bend to bend, it just chugs along steadily but without the sensation that you’re missing out or grossly under powered. The key is to maintain smooth momentum which is very much the riding style I aspire to. It’s an easy bike to enjoy on the empty roads and even emptier trails of southern Morocco. Duelling with congested traffic or tackling busy alpine passes may not be such fun.

OLYMPUS DIGITAL CAMERA
him-temp

Until the end of my trip – by which time the valves were technically well overdue for adjustment – it started on the button without the ‘choke’, ticked over once warmed up (probably needs adjustment too) and fuelled cleanly up to 5000rpm and nearly 10,000 feet (3000m).

OLYMPUS DIGITAL CAMERA

A lot of it must be down to accepting the Himalayan for what it is, but there was never a moment on my ride when I thought ‘FFS! I wish this thing had more poke’. I tried some super grade fuel in Morocco but didn’t notice the difference that some claim (I know in the US fuel octane varies widely). However, once back on Spanish fuel, it did seem faster and smoother, or maybe I was just rushing for the finish line.
One thing the Trail Tech temperature sensor did highlight was how hot the air-cooled engine runs – up to 240°C at higher revs with a load on. Note I say ‘hot’, not over-heating. On my bike it’s reading from the spark plug, about as hot as it gets in there. Running down hill it might drop to 160°C or so. Either way, especially with an air-cooled motor, it’s good to know how hard the engine is working and when it may be time to back off.
Oil consumption was zero up to a pre-emptive oil change at 3000 miles. Straight 50W Moroccan was all they had (a bit thicker; better for hot weather) and I had the feeling consumption increased briefly after that, maybe 200ml in 2000 miles, but then it stopped.
The gearbox is a lot less clunky than some. Originally, I thought first gear would be too tall off road (a common complaint I have) but, helped by the low-down torque, it’s well matched to the Himalayan’s modest trail biking abilities which are governed mainly by its weight. One time in deep soft sand, the gearing was too tall to move the bike forward – the chain jumped on the front sprocket instead (see below).
The chain had a hard time in Morocco: conditions too gritty to lube most of the time. On longer road stretches I hand-lubed with a toothbrush from small bottle of Tutoro oil. As a result I adjusted it three times in 4000 miles –  more than normal, even for a stock chain. Again, you have to assume the stock chain was chosen for its price, not quality, but with a bit more care and lube it should last 8000 miles.

himyss

Suspension
Normally the suspension is where a budget bike shows its limits once pushed on rough roads and trails, with heavy loads. Plus I tend to leave my tyres at road pressures unless absolutely necessary, so as a result off-road the my suspension can feel harsher than it could be.

him-yss-fork

On the rear there’s only preload adjustment and nothing on the front, but the Himalayan surprised me with firm suspension. Before I realised this, I’d fitted some inexpensive fork preload caps, (set at zero), and a YSS shock that had 1cm of length adjustment and 35 clicks of rebound damping. I had the YSS fitted on the settings out of the box (more here) which worked fine once loaded up and on the dirt. At one point in Morocco I screwed the rebound in 4 clicks (more rebound?) but can’t say I noticed any difference.
Overall, I suspect the stock shock (inset above) would have been OK, but you have to assume the YSS is an improvement because there’s more adjustment and it’s red. It certainly felt better than a twice-as-expensive Wilbers on the XSR last year. Over the trip it loosened up a bit and bottomed out maybe once.
If anything the front forks are now shown up by the YSS. YSS do offer a fork kit but in the UK it’s £330 (though it seems you can buy springs plus the emulators for half that). Bottom line: no great need to meddle with the stock suspension for normal riding.

Him4k - 13

Economy
It seems that even at 1300 miles the air-cooled REH was still running in. As I added the miles the economy improved, eventually averaging 78.7mpg (27.8kpl; 65US). With the 15-litre tank that’s an ideal range of just over 400km. Riding with some 310GSs for a week, my mpg was near identical to the more powerful and lighter BMWs. The gauge on the tank is pessimistic and the warning light plus a trip reset comes on with a good 100km left. Hot, cold, high, low, the fueling itself was glitch-free. Fuel consumption data here.

himr-filler
himslabs
himcoolcov

Comfort
Thanks to a counter-balanced and non-ginormous capacity, the REH is very smooth for a single. I did feel some tingling in my right hand after hours at the bars which could have been from over-gripping a heavy throttle. I’d have used my throttle handrest had I remembered it.
One of the best things about the Himalayan is the low seat of 800mm or 31.5 inches. At 6′ 1″, it’s actually a bit too low for me, especially once my mass sinks down through the soft foam, but at last there’s a travel bike which isn’t limited to tall people, while still having useful ground clearance. It never scraped out on the dirt
I needed more height with firmer foam, inexpensively achieved with a couple of 20mm neoprene slabs under a Cool Cover. It enabled 500-km days with few stops, but on rough tracks still gave soreness, probably because I wasn’t standing up or letting the tyres down enough. I also thought the seat could do with levelling out to stop me sliding forward on the slippery, aerated Cool Cover.
My seat bodge was not a night-and-day transformation, but by the end of my trip it didn’t cause any discomfort over long days on the road. I’m less convinced now that I need to improve it some more.
The 50mm bar risers managed to not snag the screen on full lock and nearly reduced my stooping when standing up – another inch would have done it. I might have cured that stoop by removing the footrest rubbers, but to be honest I liked the comfort when standing (in ordinary slip-on Blunnies). Otherwise, for wet conditions, consider fitting wider footrests if you’re off-roading. I hear DR650 pegs nearly fit.

Him4k - 10
Some say it will clock 80 but I set myself a self-imposed cruising limit of around 65mph (where possible). At this speed the screen did a pretty good job, even with my wind-catching Bell Moto III helmet. Others claim the mirrors create turbulence and are better moved or changed. I suppose this is possible but that complaint is a new one on me. Let’s face it: it’s a motorbike out in the wind, not a space capsule. Some turbulence will be evident.

On the dirt
The Him took to the dirt so naturally, I didn’t even notice it at first. The key attributes must be the Michelin tyres, low seat and firm suspension. The 21-inch front wheel must help too, as does the torquey motor, getting round the wide gearing. And the otherwise ordinary brakes are just right on the dirt.
The Him is a plodder, but then so am I. You won’t be pulling wheelies, launching off jumps or bouncing off berms. For that the bike is just too heavy and low-powered. It’s a travel bike, not a dirt bike and in all the miles I never ever had a sketchy moment on the dirt, nor wished the bike was something else.
I reached the Himalayan’s limit in the sandy gorge on Route MW6/7 in Western Sahara – same place I’d struggled with the WR two years earlier. This time I traced a better route along the valley but the flooded waterhole was now a dry mass of deep sandy ruts in which the Himalayan would bog down for sure. I aired down, pushed around the side in first gear, but stopped once the chain jumped on the front sprocket from the strain: the torque had got the better of the weight, tall gearing and deep sand. The Himalayan doesn’t have the agility or power to handle deep soft sand – for that you want an unloaded KTM 450.

Him4k - 4

Durability and problems
It’s a short list. Apart from what’s below, nothing broke or even came loose, but I’ve not seen the bike since I left it at Malaga. A closer inspection may reveal more.

Stock bike
• Head bearings got notchy by 4000 miles, despite regreasing
• Chain needed adjustment every 1000 miles
• Exhaust guards dented
My mods
• Tubliss core leaked around valve stem, then packed up
Michelin TPMS packed up – twice

Summary
The Himalayan is a unique all-road travel bike, one that not only looks fit for the job as many adv bikes do – but that’s actually equipped for it and performs well, too. You might not think 24hp and 190 kilos (420 lbs) adds up, and for some it won’t. But for your £4000 or $4500 you get a lot of kit that’s no found on similar bikes. Don’t dismiss it as a shoddily assembled Asian cheapie, or anything to do with the Bullets. The bike has caught on, and in western markets the demand for the BS4 has outstripped importers’ expectations. If you’re curious like I was, try one. You might also be surprised.

Him4k - 5

Tested: Michelin TPMS review

Product withdrawn

After problems with the original 2019 kits (explained below), Fit2Go (who sold the Michelin branded product) updated their TPMS software for 2020. They also redesigned the magnetic mounting following negative reviews on amazon. In 4000 miles of riding on and off road, the magnetic fitting wasn’t a problem for me.
I tried the seemingly identical Mk2 version in March 2020. See pros and cons, below.

Update Summer 2023: UK Michelin no longer list TPMS for bikes and the Fit2Go page says a new version is due in 2023 after the original Michelin branded product was discontinued following scathing reviews.

michelin-tpms

Tested: Michelin TPMS (tyre pressure management system)

Where: Spain and Morocco 2019 and again in 2020 and 2021

Cost: £80 (kits suppled free by Michelin for review)

Weight: Negligible

In a line: Once you discover TPMS there’s no going back. (More here)


michtpms1

What they said
Introducing our first tyre pressure monitoring system (TPMS) for motorcycles, mopeds, scooters and all two-wheel modes of transport – bringing new levels of safety to riders for whom tyre condition is paramount.
MICHELIN TPMS – Bike detects a tyre in distress through loss of pressure, fast leakage or an increase in temperature – often the sign of an impending blowout. Its compact display flashes as brightly as a mobile phone torch if it detects an issue, plus identifies whether it is the front or rear tyre affected.
Our patented solution can be fitted in less than two minutes, bringing the same direct TPMS technology already proven in the passenger car and van markets to two-wheels for the first time.

This wireless system needs no programming and features a compact LCD screen which fits into a magnetic mount placed on a prominent part of the bike. The fully sealed and buttonless device can be quickly removed for security and is small enough to fit in a pocket. The display offers a battery life of up to three months, with the USB-powered inductive charger making it simple to top-up.
Once fitted, the unit displays the pressure of both tyres, in either psi or bar, toggling between the front and rear at set intervals.
Riders will see a low-pressure warning if a tyre becomes under-inflated by 15%, an enhanced alert when the pressure either drops by 25%, or if over-inflated by 35% or more. There are also alerts for high tyre temperatures or fast leakage (at least 2 psi per minute).

What I think:

tik

• Real-time tyre pressure data at last
• USB rechargeable – should last a couple of months
• No hard-wiring so fits in a couple of minutes
• Magnetic retaining dish secure off road
• Reads bar or psi
• Rated up to 7.5 bar (100psi+)
• Various warning displays
• Mk2 2020 kit paired up fast and worked seamlessly

cros

• In 2019 original and replacement units played up after a few days (see below)
• Doesn’t live-read from a static start (e.g.: overnight). Wheels need to turn first
• Expensive at £80, but there are both less elegant kits and pricier kits out there
• Green/yellow on black background hard to read unless under your nose
• Valve-cap lock-nuts complicate tool-free topping up of air
• The valve caps can be too shallow (not enough threads to grip the valve body)
• On the 2020 version the F&R display interval was too slow for a quick glance

Review
There are some metrics I like to know while riding: speed, engine temperature, fuel level are the obvious ones.
Now wireless technology has enabled inexpensive TPMS kits to display live tyre pressure readings, too. This is something that’s really useful to.

tpmsp1

I only realised how much I missed my Michelin TPMS kits once they both packed up mysteriously after a few days in Morocco.
A few days later I hit Tubliss tyre troubles in the middle of the desert. Luckily I wasn’t alone, there was a road 25kms back, and I was able to ride on the flat tyre slowly for hours to the coast and fit an inner tube. But being forewarned of low pressures or other tyre anomalies is what TPMS is all about.
I headed back north and a day or two later the tube slow punctured, then went suddenly after a dirt road short-cut pushed it over the edge. This time I couldn’t ride the collapsed tyre ten feet. Cue more laborious roadside repairs. This is why we like tubeless.
Because you never, ever get just a single puncture, I’d wisely bought a spare tube and was back on the road in 40 sweaty minutes. But especially with a slow puncture, with a TPMS I’d have been aware of it much earlier.

michtpms1
Lock nut is a faff

Michelin TPMS
The Michelin kit was made by Fit2Go TPMS, an official global licensee of Michelin. It was composed of two over-sized valve caps marked F and R. You screw them on finger tight to the appropriate wheel and lock them off with a valve stem nut (yellow tool and nuts supplied; left). The round display module sits in a stick-on magnetic dish fitted wherever suits your eyeline and an appropriate surface. Putting the module in the dish activates the display: usually battery level (said to last for 3 months) plus front and rear pressures which flash up alternatively every few seconds. You may not get a pressure reading until the wheels are turning. There are no buttons or switches; place the module in and out of the dish three times and the display changes between bar and psi, though it may take a few minutes to read.

Playing up
The first kit I had was fully charged by me, but on fitting in Spain took many hours of riding to pair up and show pressure readings. That would be inconvenient if you regularly removed the module to save it getting pinched. Once things worked, I left it in place. (As I was only out for a month, I’d not brought the USB recharge dish.) Fitted flat like a plate on a table, it didn’t budge on rough tracks but was hard to read at a glance; at an angle like the bike’s clocks would be better, and probably still secure. Or there’s always the tank bag. I’d also find black digits on a light background easier to read – like my Trail Tech temperature gauge, below right. Ten days in, after briefly removing it, the module went blank.
A replacement kit was brought out to Morocco, appeared to show a nearly full charge, and this time paired up in seconds and flipped to psi with no bother. But it also went blank after just five days. Neither unit was more than half discharged. I decided to put the original unit into the USB recharging dish from the replacement kit on the off chance, and it responded by charging from ¾ full (as it had been when it went blank). After just half an hour it was fully charged. Back on the bike it showed pressures in the original bar, and on changing to my preferred psi, displayed that too after about 20 minutes of being blank.
This suggests the display modules might discharge in a few days rather than three months, but while still indicating they’re more than half charged. Popping it in the recharge dish revives it, but it can be slow to pair up. This discourages you from removing it, if it indeed discharges when immobile. The blurb doesn’t advise removing it when not riding, but if it does discharge unused, it’s not reflected in the battery level status display.

Especially when travelling in the AMZ where – as I found – tyre troubles can leave you up the creek, knowing the state of your tyre pressures is less a convenience and more an important safety measure. Now, when I could swear I have a puncture, I glance at the TPMS and relax; it’s just the road surface and my paranoia. Very reassuring. Best of all, the easily fitted and recharged Michelin TPMS kit now makes maintaining your tyres at optimal levels a whole lot easier.
But because my two kits seem to play up, I’d wait a bit before buying one. They sort of work, but not as they should. I sent both kits back to Fit2Go for analysis and will update this review with any news.

Updated kit – 2020

Fit2Go sent me their revised kit which I used on my Africa Twin ride in Morocco in March 2020. The kit was welcome as again, I’d DIY converted my rear tyre to tubeless and so wanted to keep tabs on pressures. (The wheel lost 20% over a few days – fixed by adding Slime).
The kit looks identical but no problems at all this time. Without making an angle bracket, I couldn’t find a secure and legible position on my AT (red arrows, left inset below) so put the display and dish inside the clear lid of my tank bag (below right). The opaque vinyl made it hard to read easily but there was no danger of it falling off. Had that ride not ended prematurely I’d have worked out some legible-angle bracket in the cockpit or stuck the dish on top of the tank bag.

Places to fit on a AT

The only complaint is that the display intervals seem slower than before: 10 seconds on Front then 10 on the Rear. It means you need several glances to ascertain both pressures, whereas a higher flip-count might mean you catch both in one glance. I still think the display could be brighter, too. Other than that and the high price (which dropped for a while), all good.

Update 2021
I got my AT running again in October 2021 and needed to recharge the TPMS unit which after 18 months would have been flat. It recharged in less than two hours.
But when it came to topping up the tyres after 20 months, I had to faff about with that cheap valve cap locknut removal tool, and then found the rear TPMS valve cap wouldn’t screw on to the rear tyre’s valve body. I remember having this problem last time I topped up in Spain, February 2020. It felt like the TPMS valve cap was too shallow: there were not enough threads to bite onto the tubeless tyre valve before the pin in the cap pressed on the tyre valve stem and let the air out.
It could be a problem with whatever TL valve I have on my tyre. In Spain I’d managed to over-inflate the tyre and then cram the cap on before too much air escaped. This time in baking hot Marrakech, I didn’t have the patience to re-learn the knack and gave up on re-fitting the TPMS.
But travelling alone on road and trail over the next week, I sure did miss not knowing what my tyre pressures were doing, just as I’d miss not knowing what my fuel level or engine temperature were.
I’m not finished with TPMS yet: I will give it another go on the 300L once it gets its tubeless wheels.

Not enough threads in the TPMS cap to grip the valve before air is released

Enfield Himalayan: Adventurised

Himalayan Index Page
himlabels.jpg
s1nzmangro
himheadly

While I was busy dodging the winter under the shady mangroves of the Coromandel peninsula, Simon-with-a-workshop quietly worked on my Himalayan, like a gnome chipping away in a pink rock-salt mine. The long list included:

Bolt-ons

Move the Oxford heated grips control module to an accessible position and rewire it to the ignition, not the battery, as the original owner had done.

him-ox.jpg
himleads

Fitting ancillary leads off the battery for my heated jacket and Cycle Pump/battery optimiser.

Fitting a switch to kill all lights. Handy for battery saving as well as leaving the highway unnoticed for stealthy wild camping.

himlightout

Refitting the cheap LED headlamp which came with the bike. It’s the same one I put on my XScrambleR. Never rode that bike in the full dark but although it saves watts (or is it amps?), I suspect the LED lamp looks better than it shines.

himLED
him-temp

To monitor engine temperature a Trail Tech engine temperature sensor is more useful, accurate and quicker responding than relying on the stock ambient air temp sensor. At a cold start it will show ambient anyway, same as the stock in the dash, but once running, reading off the spark plug, the TTech soon shoots up. Even with the oil cooler and the ‘under piston oil sprays’ we read about, the low-tuned, air-cooled motor’s reading reaches a staggering 240°C at 65mph on the motorway, dropping to around 175°C in town. The spark plug is of course just about at the hottest point of an engine so basically it’s quite normal. ‘They all do that – sir‘.
Under the seat the Himalayan’s ambient air temperature sensor got relocated anyway to a position less affected by the motor’s downwind heat flow so it gives a truer ambient reading once on the move. It’s a common mod.

himfuse.jpg

Garmin Montana cradle fitted to left mirror stalk with RAM mounts and hardwired to the ignition. I thought they’d not fit for want of cable slack, but I was wrong and the adjustable Rox Risers have raised the stock bars a healthy 50mm. It required releasing a clip off the braided ABS brake line under the tank somewhere, and the barely needed cold start cable was also on the limit. With the raised seat it’s now easy to stand up and to not stoop once I’m up there. Halleluia.

himkok
barkbt06
recycle

My ancient Barkbuster Storms are now on their 7th outing since fitting to my XT660Z back in 2008. I should win some sort of recycling award. Simon had to make some simple mounts as for some reason, the curvy BTC 06 adaptors (right) which were recommended didn’t fit. Could be that a decade on, newer Barks have changed shape.
The Barks require the slightly adjustable stock screen to be set fully forward, but riding back I can’t say the turbulence was any better or worse than in the original position. I think that at the speeds the REH can achieve, it’s all a bit academic. And as it is I’m sat on a motorbike out in the open air. There will be turbulence.

himbarker
himbarkmount
himcoil

Like so many bikes I’ve owned lately, I assumed the stock shock would be a budget keep-the-fender-off-the-wheel job, so I pre-emptively ordered the Thai-made YSS which took a few weeks. Some reports claim the stocker is too harsh, others say too soft, others just right. On the road it didn’t feel too bad – perhaps the usual mix of over-sprung and under-damped. It weighs over 4.8kg and half appears to be coil-bound, but in fact there’s a couple of mm gap in the coils (left) which adds some progressiveness.
It would have been good to evaluate it properly, but the shiny red YSS is sat there like a cream cake on  cushion. Getting it fitted, I asked my LBS to check the linkage grease. Who knows if they did. I may also rivet on a flap to stop it getting plastered with crud spun off the back wheel.
The YSS is about a third lighter at 3.3kg, costs £290, is length adjustable by 10mm, has 35-click rebound damping and will work with an HPA which probably costs half as much as the shock. Out of the box rebound came at 20/35 clicks and with 12 threads exposed below the spring preload collar. Looks like a good place to start. On the short ride back from the LBS I did detect a little more compliance with small irregularities. Otherwise it felt the same. With most suspension upgrades, I’ve found you can’t tell much difference until road surfaces deteriorate or the speeds increase.

YSS fitting advice: The preload collar at the top of the YSS is now quite hard to access – removing the airbox lid on the LHS may help, as will a shorter, right-sized hex key, as opposed to the rod supplied. There is a tiny hex screw on the collar which locks it to the threads (hex key supplied). Either risk leaving it loose (collar may unwind), or make sure when fitting the shock that it’s in a position where you can get to and loosen it from the LHS – about ‘7 or 8 o’clock’ if 12 = forward. You will then probably need to wind or unwind the collar a full 360° to get the screw back in a lockable position.

himyss.jpg

A tenner’s worth of Chinese fork preloaders were also fitted on the front but are currently set at zero. The stock spacer inside the top of the fork needed to be shortened.

him-prelod

The steering head bearings got regreased. Along with swing-arm linkages, it’s a common precautionary requirement, and not just on inexpensive Indian bikes. My BMW XCountry’s head races were shot at just 6k.

him-steer.jpg
him-msgseatpad

My initial seat foam bodge proved to be poor, mostly because the foam I used had the springiness of Philadelphia cheese. A fellow Himaliste recommended some pre-cut stick-on foam seat pads on ebay (left; £15 each). At 20mm I bought two and rode home with them shoved under the Aero lambswool pad.

himseatpads.jpg
With the yellow backing still on, it all slithered around a bit and after only 120 miles the butt was sore, but I can definitely see the potential in raising the seat height. And I do wonder if the old lambswool pad makes things worse.
Cool Covers sent me one of their durable aerated mesh seat covers to try. Like wool, the idea is that air circulation reduces heat and improves comfort, but with bike saddles, one man’s fur-lined throne is another man’s agony. Luckily, the Cool Cover just stretched over the two racing pads now glued to each other and the stock seat. The back edge of the top pad was crudely trimmed to level it off. In the picture below the seat looks like it’s sloping forward – not good – but it’s actually the taut cover over an air gap. The foam below is more level than it looks.

himcoolseat.jpg

Let’s hope it makes a difference but bike saddles are usually more miss than hit. Seat foam apart, the combination of seating position, bars, footrests and the presence of a screen all have an influence, but it’s also down to tank range – in other words how long you sit riding uninterrupted. My CRF250L should have been the usual agony, but because I could only do 120 miles before reaching for the fuel can, the 5 minutes it took to do that rejuvenated the cheeks. One of the worst saddles ever was the BMW F650GS, probably because it easily did 200 miles between fill ups. One of the best was my GS500R Overlander. I never worked out why.

himslabs
himcoolcov

Wheels and Tubeless Tyres

wmwheelrimsNote: being a maddeningly illogical Imperial British standard, the ‘WM’ wheel rim width designation you commonly see (in the UK at least) doesn’t correlate with actual rim width in inches. But it is close – see table right. They say ‘MT’ is a modern, fully logical (but little seen) equivalent, where the MTxx number refers to the actual rim width in actual inches.
As confusingly, rim width in inches does not correlate with notional tyre width where, 
for example, a 120 section width (120mm; 4.7”) is converted to inches. But it is close-ish.
Stock REH rims are WM1 (MT1.85) on the front and WM3 (MT2.15 – need to check) on the back with a 120/90 17 tyre.

himtublieTo enable easy puncture repairs I wanted reliable tubeless wheels which meant sealing the spoked rims. Along the way I was happy to ditch the steel rims in the hope of saving unsprung weight which I keep going on about. A mate had given me some ageing 18 and 21 Tubliss. The back was a bit too old to risk; a BNIB front got fitted and Slimed with the new Michelin (left).
On the back, for the sake of simplicity I wanted an Excel 18-er with a new Tubliss (Tubliss don’t do 17 size). Then I was told max width for an 18-er Tubliss is 2.15” rim, like the stock, I think. The Anakee Wilds were recommended for a 2.5-inch rim. We’re talking a notional discrepancy of a third-of-an-inch here, but let’s try to do it by the book for once. Shame as an 18-er would have saved a couple of kilos in tyre and rim and greatly opened out the range of off-road tyres. But another problem is tubeless tyres (which do differ significantly from tube type) are rare in 18-inch size. Seventeen TL tyres are much more common.

CWCAirtight

It wasn’t on their website but CWC’s brochure mentions an Airtight™ vulcanised spoke-sealing band (left). It’s similar to the Italian BARTubeless polymer sealing I had on the Rally Raid CB500X of a couple of years back (and which CWC also offer).
I’m always keen to try something new for my Ongoing Tubeless Saga, but not so fast, chum! CWC can only Airtight a 3-inch (WM5) or wider rim. Next problem: there were no 18-inch Excel rims in that width, so it was back to a 17-inch rim in WM5 to fit an Anakee Wild. Confused? So was I but we got there in the end.

MichelinAnakeeWild

Tyres were always planned to be Michelin Anakee Wilds, one of the few do-it-all travel bike tyres I’ve not yet tried. On hearing about my plans Michelin kindly supplied them for free, along with a couple of back-up tubes which I hope I won’t need. Rear is a 130/80-17 M/C 65R TL. The front gets the larger 90/90-21 M/C 54R TL to balance the lift on the back. And it all comes with lashings of Slime.
Simon did some weighing before Sliming (add about 250g per wheel):

Stock front wheel with Pirelli MT60 90/90 + tube 13kg
Front wheel with 90/90 Anakee Wild + Tubliss 14kg
(Stock steel front rim 3.77kgsource)

Stock rear wheel with MT60 120/90 17 + tube 15kg
Airtight  Excel + Anakee Wild 130/80 17 TL 14kg

Stock steel rear WM3 rim 2.15 x 17 3.84kg (source)
Excel WM5 17 rim + Airtight band 3.5kg (acc. to CWC)

Michelin Anakee Wild 130/80 17 TL  7.5kg
Pirelli MT60 120/90 17 + tube 6kg

tltwit

So, a kilo gained on the front due to Tubliss and heavier Wild tyre; a kilo lost on the back despite the wider Excel being barely lighter than the steel stocker. I wonder if there’s an error somewhere, considering the new Michelin is 1.5kg heavier than the stock MT60 and tube.
The whole ‘alloy is light’ thing can be a bit of a myth until you get to the exotic stuff. Look at MTB frames or an old, two-ton Range Rover or handlebars (below). But, although it’s been decades since I’ve had wheel problems, I’m pretty sure the CWC-built Excel will be stronger than the steel stocker.

xsrbar


At 7.5kg, the TL Anakee on the back is hefty. I rationalise that the added mass is down to the tougher tubeless carcass. If it’s anything like the punctured Anakee or Tourance I rode on last November, it’ll be stiff enough to cautiously ride airless while staying on the rim until I reach a village tyre menders. Here are some more dims regarding 18 or 17-inch Anakee Wild tyres:

Anakee Wild 120/80-18 M/C 62S TT Max sectional width 131mm, max diameter 663mm, weight 5kg,
Recommended rim width 2.75”

Anakee Wild 130/80-17 M/C 65R TL
Max sectional width 142mm, max diameter 654mm, weight 7.5kg (verified by SV), Recommended rim width 3.0”

Both will easily fit the width of the Himalayan’s swing arm, but at the front of the swing arm, clearance gets down to less than an inch with the taller 18. A bit of chain wear and you’re good to go. On the front the mudguard now looks fairly close to the new Wild, so for mud clearance I’ll lift it a bit as mentioned below.
Riding back 120 miles, the fresh Anakees rode a lot more securely than some also-new K60s I’ve ridden with other bikes. No weirdness in bends and no vibration or noise (a common complaint) that I could tell.

him-excel

Michelin have just brought out a new TPMS and sent me one to try out. It will be particularly welcome for keeping tabs on my untried tubeless set up. The unit is USB rechargeable and sits magnetically in a stuck-on dish. So it’s easy to remove or nick, and might fall out on rough ground without an extra method of adhesion.
The read-out (psi or bar) flips every few seconds between front (as shown below) and rear. It’s interesting to note how pressure climbs by up to 20% as the tyre warms up.

himtpms

Fabrications and load carrying

Apart from some custom Bark mounts, all the Him needed made was a sand foot plate welded on the end of the sidestand.

him-stand
himreack
Cheap and hefty

And Simon managed to hand bend and bolt on a pair of very nice unbraced Ear-racks (as I’ve decided to call them). I’d originally bought the RE pannier rack from India for only £77 (right), but while cheap, the thing weighed over 5kg. You don’t need all that metal unless you’re running alloy cabinets.
Inset in the circle below, Simon pointed out a weak spot where the lower Ear-rack bolts to the pillion mount which is welded rather bolted to the subframe. But the unbraced rack has some give, plus the soft bags will also absorb impacts, so hopefully it will take quite a crash to break the mount. It actually wouldn’t be hard to brace from the upper curve of the Ear-rack to a point on the stock tail rack, just above the indicator.

P1010930.JPG
Custom-made ‘Ear rack’
krigos22
ROVAFLEX

I forget that I’m an unsung Kriega Ambassador; they’ve just sent me a set of their new OS22 throwovers (below) to try out. I was a big fan of the OS32 on my WR250R a couple of years back. The OS22s feel very rugged and weight in at 2.5kg each. This time, to save weight I’ll fit them as throwovers without the platform, and use the tabs on the back to secure it to the Ear-rack with brilliant q/d RovaFlex cable ties (right).

kriega10drypack
himlomo

They’re the same size but 40mm slimmer than the 32s which looks quite a lot, but the slack will be taken up on the front by the 6-litre Lomo Crash Bags (left). Hopefully I can get away without my 30-L Ortlieb Travel Zip which can make getting on an off a chore. I have a 10L Kriega Drypack (right) knocking about if I need more capacity.No six-megaton bashplate you say? On the tracks I ride these days they’re more useful at keeping flying gravel from damaging the engine paint. When it gets that gnarly, I’m down to walking pace, ready to deploy outriggers. The new tyres and firmer shock have raised the clearance a bit so the tinny, stock bashplate (below) will do fine for the moment.

himbashh.jpg

Lifting the front mudguard is a good idea now that the fatter 90/90 Anakee Wild is closer to the plastic. One time on the Tenere in Morocco I rode onto recently rained on clay which jammed the front wheel solid. A right faff to clear with Moroccan farm workers milling around saying ‘Oi, you’re front wheel’s jammed, mate!’.

himudraise

On the Him it’s easily done with slightly longer fork brace bolts (below) and some M6 spacers raising around 10mm, before the mudguard hits the downtube on full compression. It’s worth remembering these spacers (search ebay: ’15mm ø aluminum bushes M6 hole’; right) want to keep a broad contact between the brace and fork mounts as there’s some leverage stress here.

himlift

So there it is. Just about all done in one fell swoop, as they say in Simon’s neighbourhood. Riding back to London, initially the Him felt a bit odd as modified bikes always do. The jacked up shock and new Michelins have given the bike an altered stance, but despite the sliding seat pads I soon settled back in to it.
It’s not fast, but somehow that’s not frustrating and I’ve yet to put my finger on exactly why. Am I still in the honeymoon period of enjoying the novelty and kidding myself it’s better than it is, as so many owners claim with their bikes? Or with the Himalayan, have Royal Enfield stumbled on some magical combination of looks, gearing, power delivery and value for money which, for the moment ay least, still makes this bike such an enjoyable ride?
It’s getting trucked to southern Spain shortly – a liaison stage to Morocco which I’ve done enough times already. We’ll see how I feel once the shine has worn off after a month on the trails and backroads of southern Morocco.

Himalayan Index Page
himbo

TPMS – a good idea

Updated Summer 2023

Tubeless Conversion Index Page
Michelin TPMS review

flat

It’s not impossible to get a bit cynical about the flood of gimmicky gadgets, products or optional features which modern technology has enabled, not least when associated with ‘adventure’ + ‘motorcycling’. But I believe that for the:
• price
• ease of fitting and
• non-interfering redundancy
a wireless Tyre Pressure Monitoring System is a worthwhile addition to your bike, whatever you do with it. 

For as long as I’ve been on the road, tyre makers and road safety tsars have harped on about the importance of maintaining correct tyre pressures. They’re right of course: doing so is a major contribution to road safety for the reasons illustrated vividly in the videos below. But modern bike tyres are so good that I’ve often inadvertently ridden on drastically under-inflated tyres for weeks and not even noticed. 

nureyev

Add the fact that on some bikes the valves can be awkward to access with tyre gauges which themselves are hard to read or flakey in les developed countries. Plus it’s all grubby down there and your knees/back are no longer like Nureyev in his prime. Unless you’re a certain type of ATGATT swot, for day-to-day riding it’s all a bit of a faff to check tyre pressures as regularly as they advise. And yet your bike’s other vital signs: oil pressure, battery charge, temperature, lights and even which gear you’re in – are all conveniently lit up right there on the dash.

Tyre Pressure Monitoring System
The problem has always been how to read the pressure inside a tyre that’s spinning around at 1050rpm. Solution: inexpensive wireless technology. A TPMS is ingeniously composed of two replacement valve caps fitted with centrifugally activated pressure sensors.

They pair wirelessly with a watch-sized display mounted where you can see it (or beamed to your indispensable smartphone; right). The TPMS display is either powered off the bike’s battery or is rechargeable in some way, so it’ll work on anything else with a regular Schrader valve, even a pushbike.
Result: real-time tyre pressure and even temperature monitoring (right). And best of all, the USB rechargeable ones like the Michelin-branded one I tried, don’t interfere with the bike’s systems in any way. If the caps play up, just refit the old ones. They weigh as little as 8 grams so are unlikely to cause tyre-balancing issues at normal road speeds.
Over the years I’ve found DIY, as well as other tubeless conversions like Tubliss and BARTubeless, have gradually lost air pressure faster than a regular tyre, tubed or OEM tubeless. And this is even when not run at very low psi where the tyre could conceivably ‘burp’ out some air over a bump. With any sort of DIY tubeless conversion, I highly recommend fitting a TPMS; certainly in the early days until you know how good the seal is.

Tyre pressures increase with elevation as ambient pressure falls, but they also drop as temperatures fall. For every 2000 feet (600m) you climb, the pressure will increase by 1 psi and will fall by the same amount for every drop of 4°C (10°F). But as temperatures naturally drop with elevation, things kind of balance themselves out.

82~up-creek

Riding Off-Road
As we all know, lowering tyre pressures greatly improves traction on loose surfaces and can transform a bike from a mindless shopping trolley into a hyper-sapient roller blade. But when you lower tyre pressures, temperatures in the tyre carcass soar as it flexes and influxes much more on each rotation, just as you get hot exercising because your muscle tissue is rubbing. And as tyres heat up pressure readings climb. (This is why cold tyre pressures should be your baseline). In this hot, rubber-softened state a tyre is much more prone to punctures and other woes.

Off-road I tend to keep pressures as low as necessary but as high as possible. Usually erring on the high side at the cost of a comfy ride, so weary am I of repairing flats on tubed tyres in the middle of nowhere (left).
A TPMS won’t stop punctures but at least you’re able to observe how pressures climb from a cold start and what they’re actually doing on the dirt, so helping eliminate the guesswork of ‘press valve for 2-3 seconds’ or the nagging feeling of ‘should I stop and inflate a bit?’

You can buy obscure-brand TPMS kits for your bike off ebay from £30 for the smartphone-only ones. About £50 seems a good price for a decent one. Here’s an Advpulse review on a hardwire Cyclops TPMS (above left) which sells in the US for $130. Cyclops aren’t tyre specialists, they just sell gadgets and a near-identical looking kit can be bought on ebay UK for about half that price (above right).

A TPMS is one gadget I wish I’d had on my Tenere back in 2007, if not all my desert bikes over the years. I fitted Michelin’s one to my all-tubeless Himalayan and semi-tubeless Africa Twin in 2020. Read the review.