See also:
£20 USB rechargeable inflator
IN A LINE
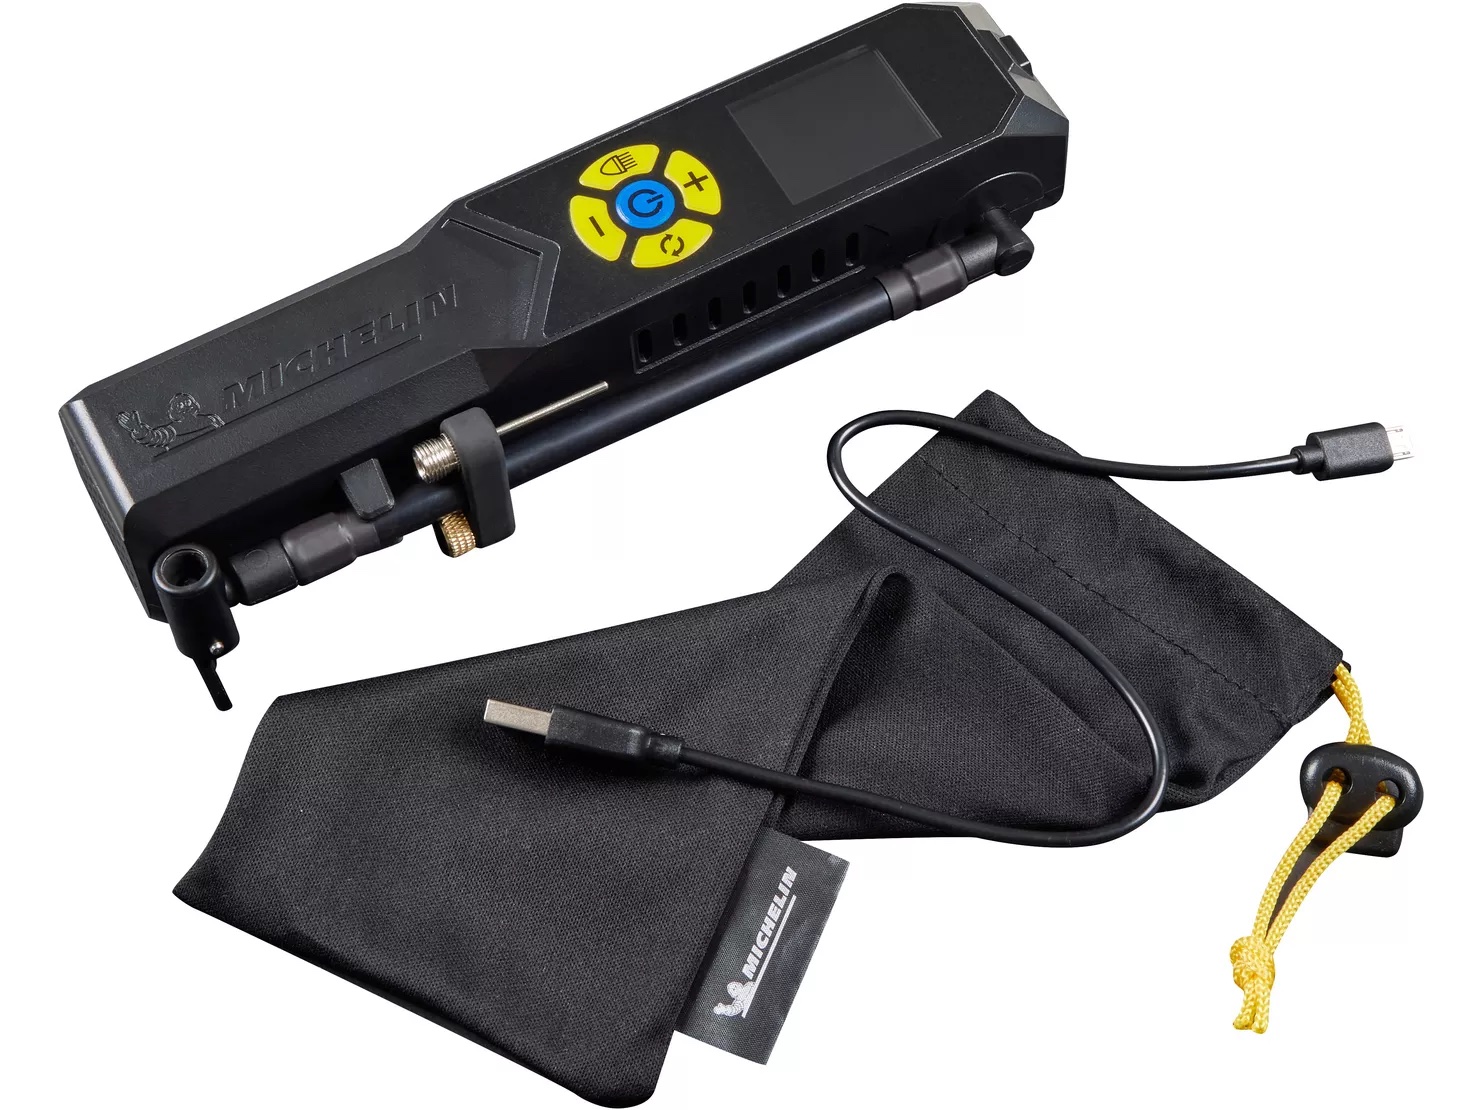
Handy Mich-branded tyre inflator with Presta adaptor, clear LED display and a light.
WHERE TESTED
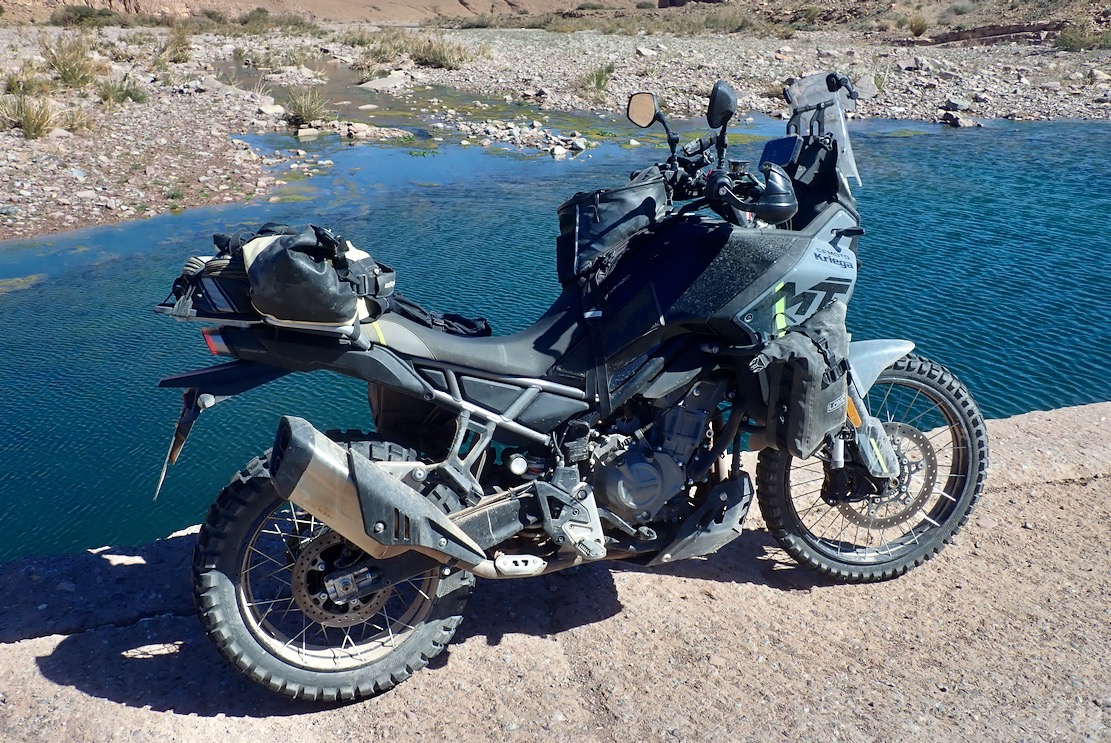
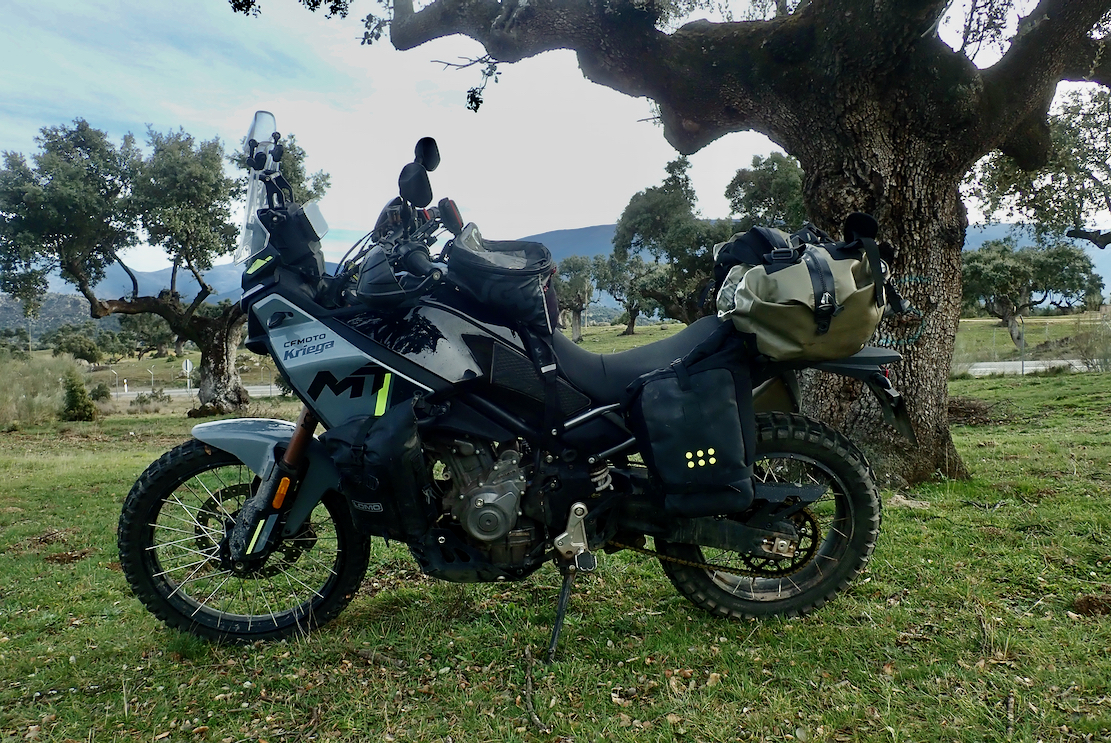
At home and on the road in Morocco.
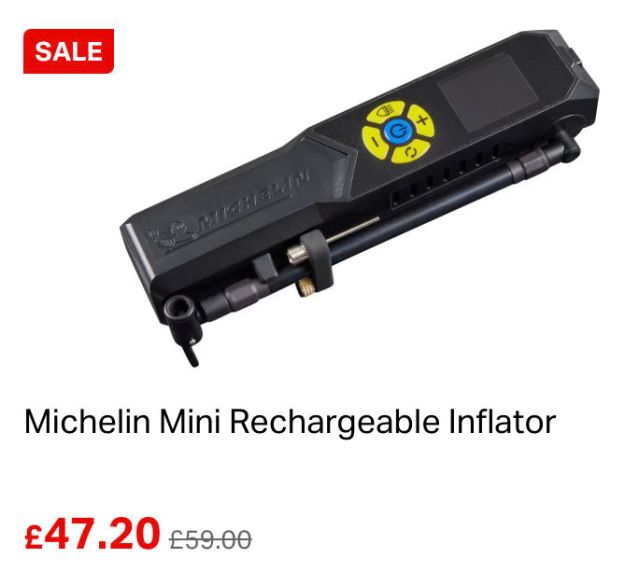
COST & WEIGHT
£47 discounted at Halfords. 450g verified.
WHAT THEY SAY
Compact design fits in the glove box.
Designed for topping up tyre pressures.
Digital gauge is accurate to +/- 1 PSI up to 50 PSI.
Switchable between PSI, BAR & KPA.
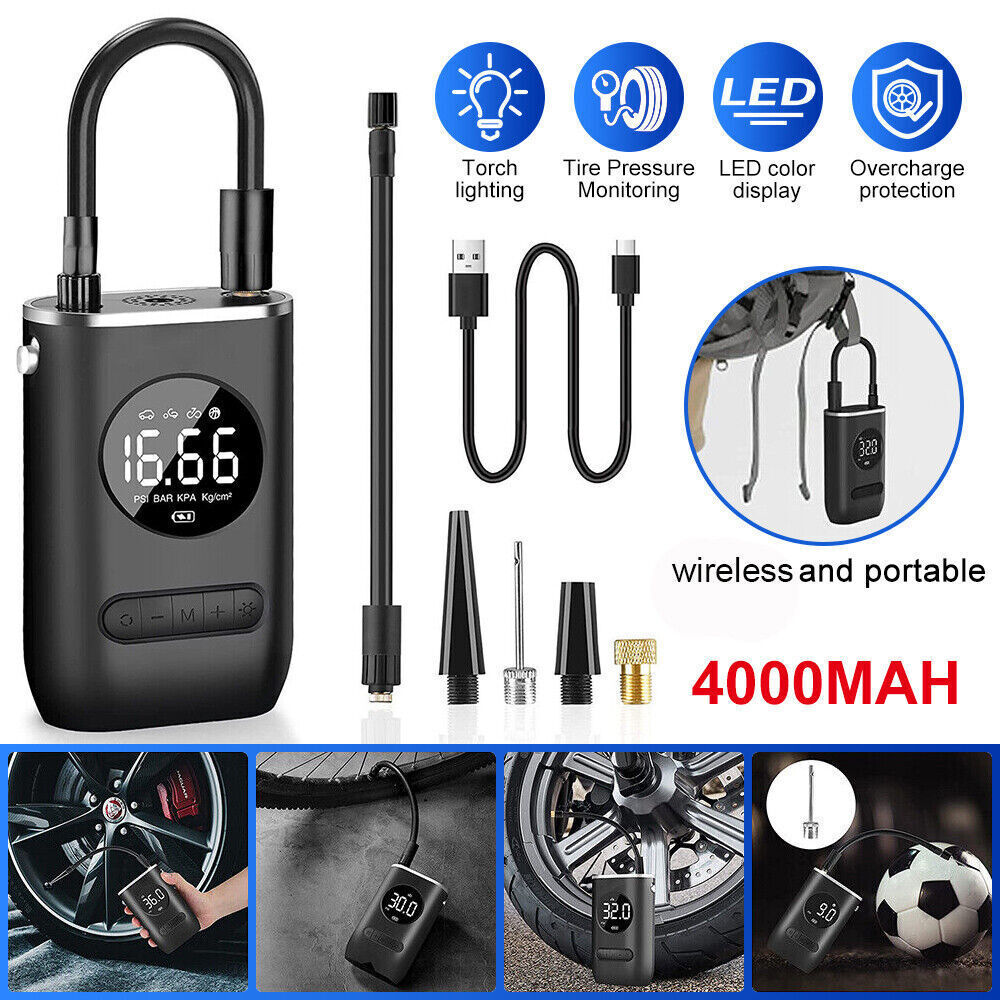
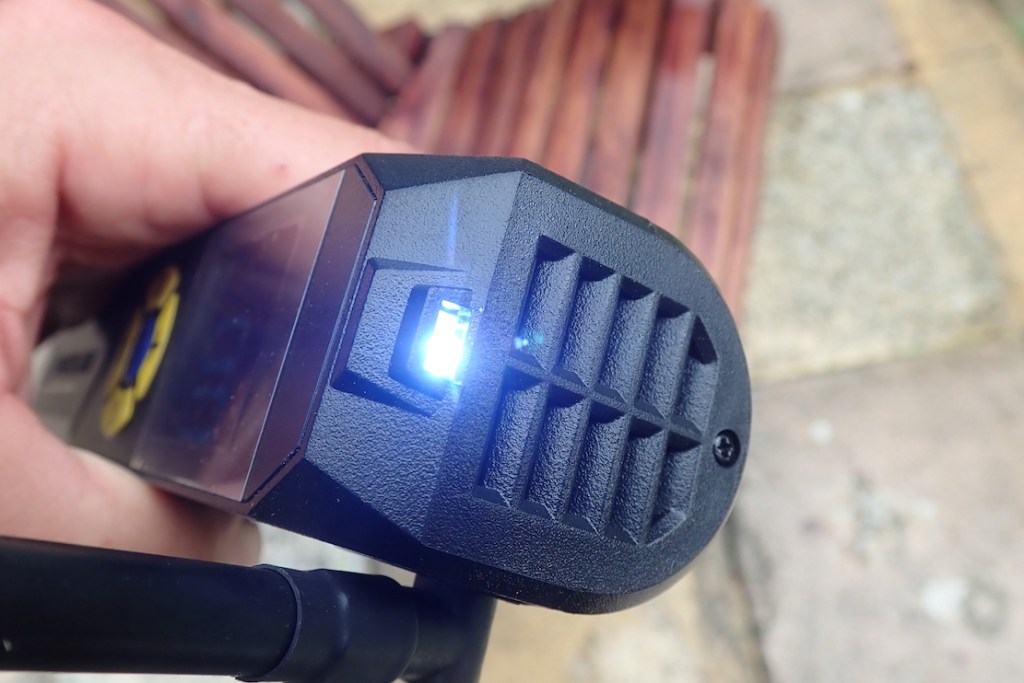
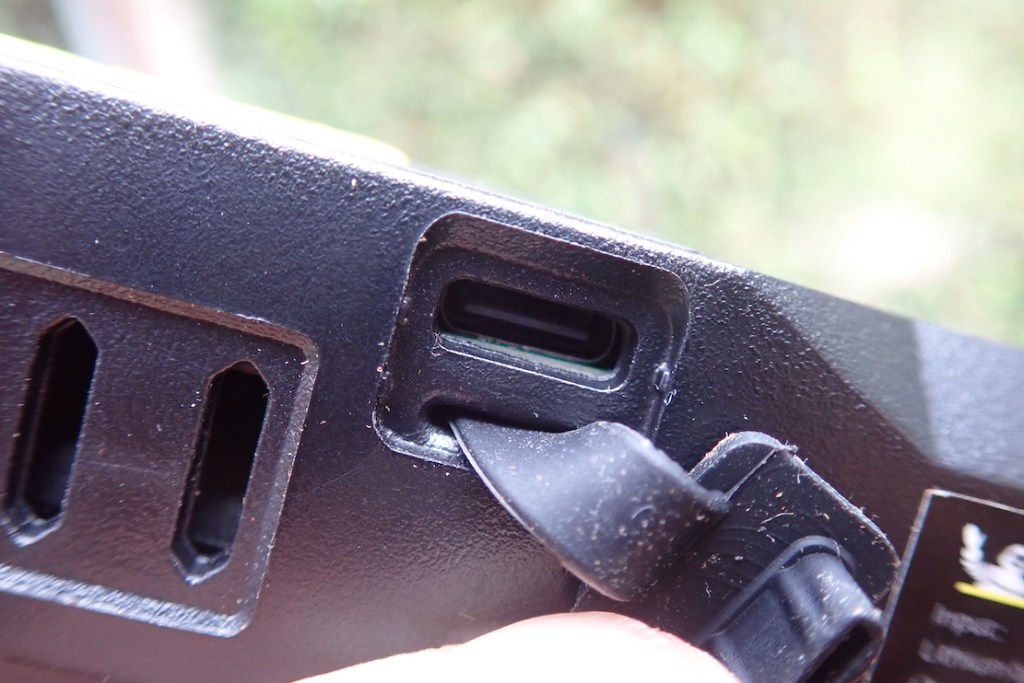
Cordless, lightweight and portable, the Michelin Mini Rechargeable Inflator is remarkably easy to use. With four programmable pre-set pressure settings the cordless inflator is ready to inflate bicycle, motorbike and car tyres as well as a sports balls and other small leisure accessories. It’s [sic] integrated lithium battery is rechargeable in aprox. 3hrs. Built-in high intensity LED light at the top, enables for use in emergency or low light situations.

- OK price at Halfords
- Clear, simple display and function buttons
- Dead easy to use
- Fairly quick fill for it’s size
- Can’t turn on accidentally once hose is folded back in place
- Presta pushbike adaptor included
- Works as a tyre gauge too

- Vibrates a bit
- The lever-down valve clamp is hard to detach quickly without losing air
- None of the presets can be stored after changing (I did RTFM)
- Play up occasionally but always works in the end
REVIEW
My £20 ebay cheapie died after two years, longer than expected. And the bulk and faff of my ancient, 12-volt wired Cycle Pump remains off putting. Once you go wireless it’s hard to go back. Bring on the day when all electrical household items are cable-free!
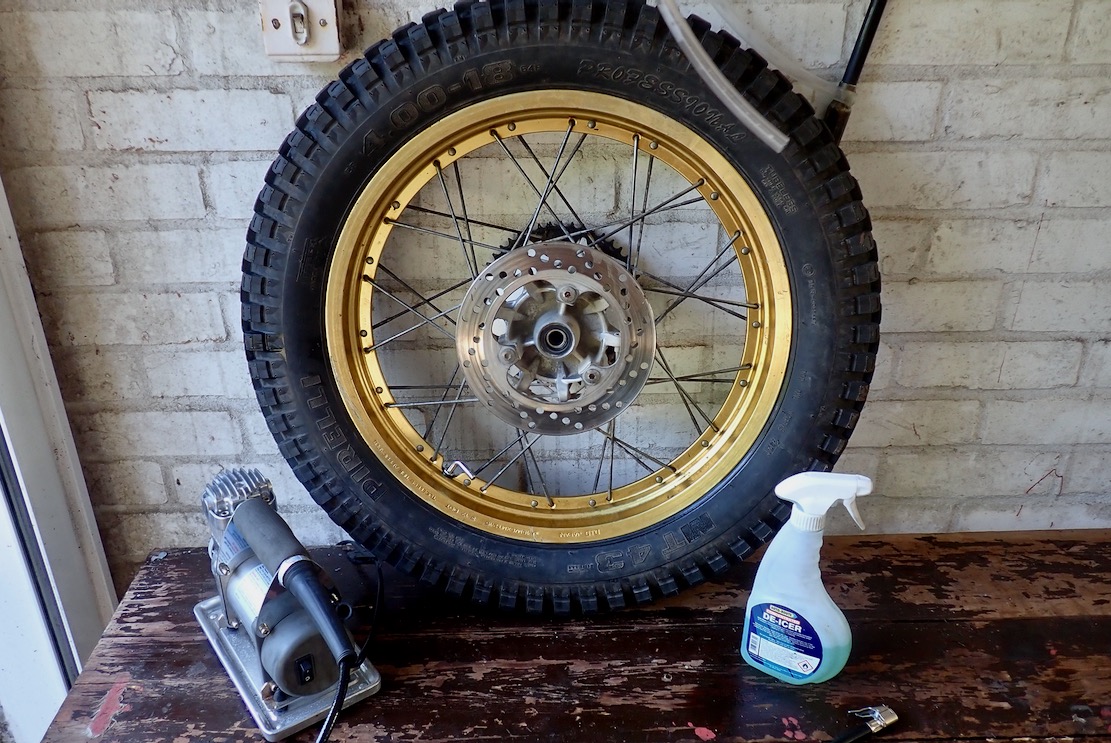
I like to think the 20% saving at Halfords on the Michelin Mini Rechargeable Inflator covered the premium for Michelin branding. The handy pump is about 8 inches or 20cm long, and comes with a tiny LED ‘phone’ light, and adapter nozzles for pushbike Presta valves and a football clipped to the swing-out hose with a fold-lever tyre valve connector. Plus there’s a flimsy bag.
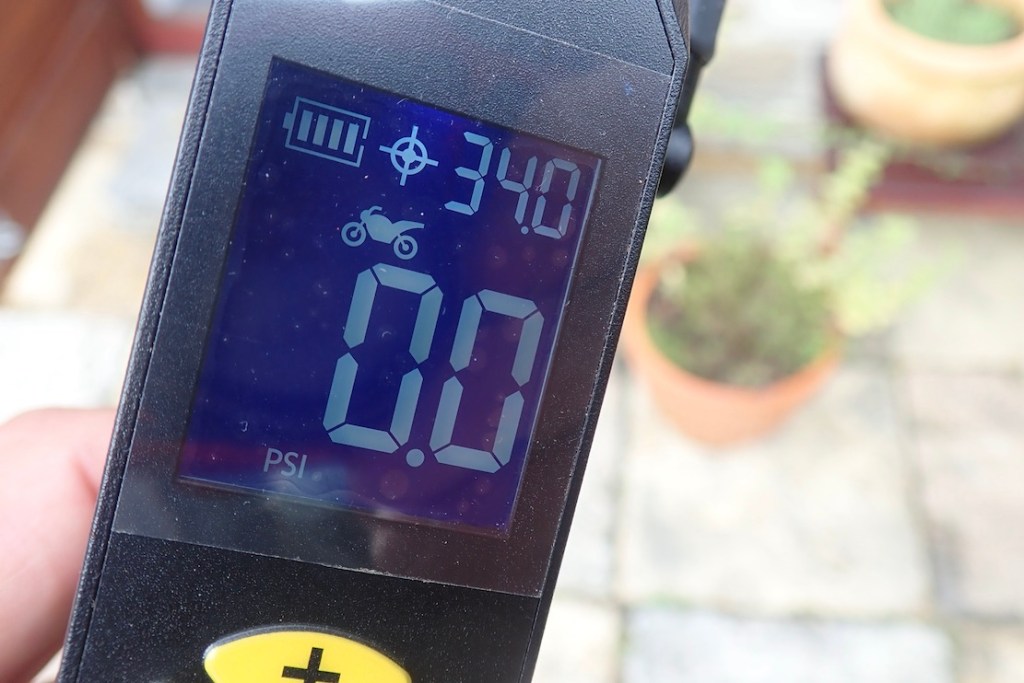
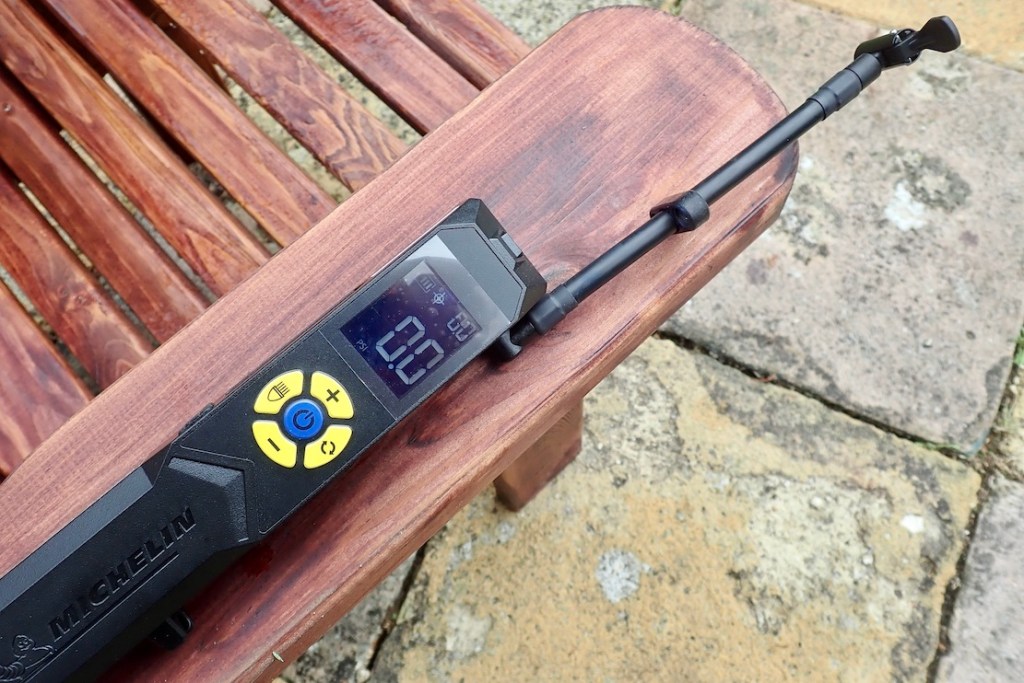
Jabbing the blue button won’t work. You wake it up by swinging out the hose at which point the LED lights up and the thing is live. Only then does the blue button set it off. You can scroll through four fixed-psi presets (bike 45, moto 34, car 32, football 8psi). It says adjustable which is true but that doesn’t mean ‘storable’ afaict. There’s a fifth, empty one to set as you like. But that isn’t stored either. I did read the leaflet and tried a few times. This all reminds me of the TPMS glitches (see below). Or maybe it’s as it was supposed to be.
But honestly, you don’t really need presets. Just clip on, hit the blue button and watch the numbers rise to the pressure you want. Then hit the blue button again and it stops.
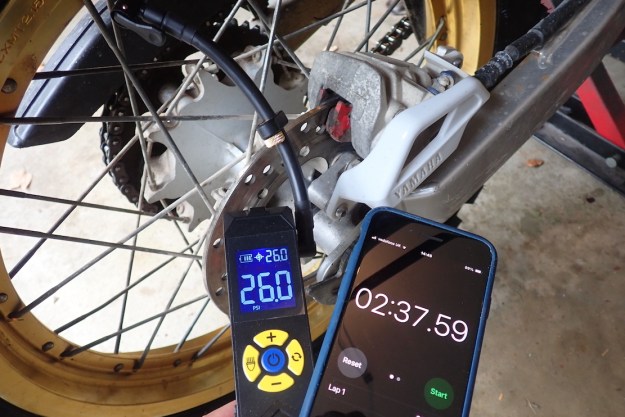
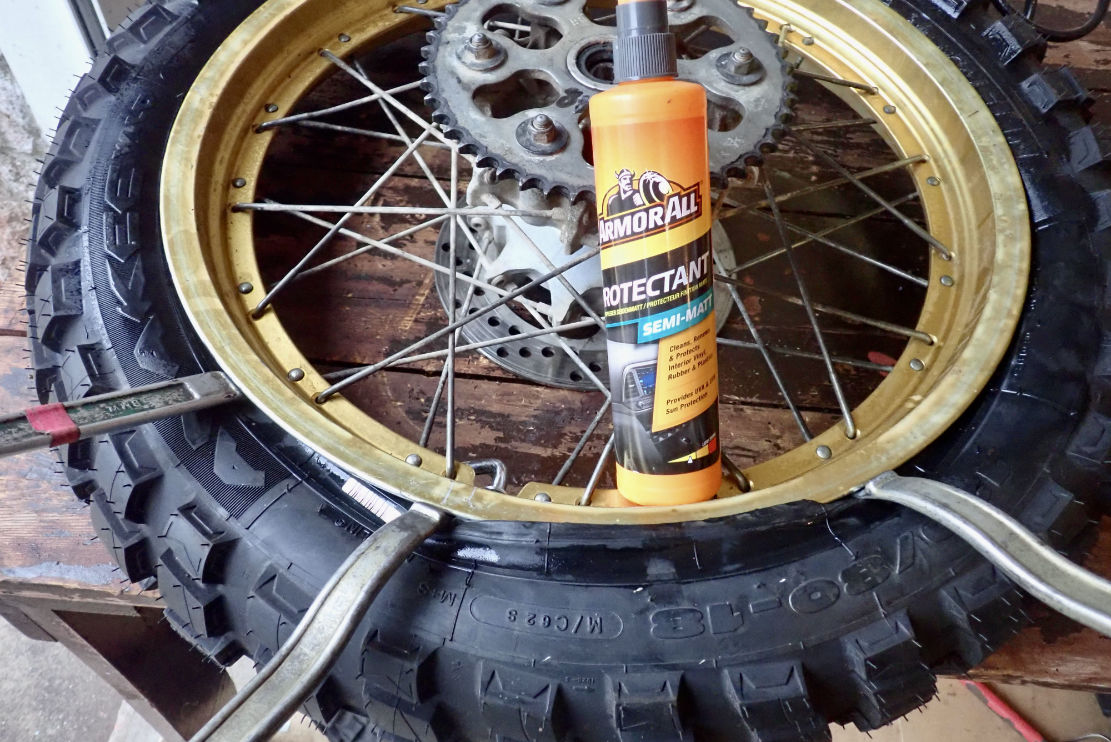
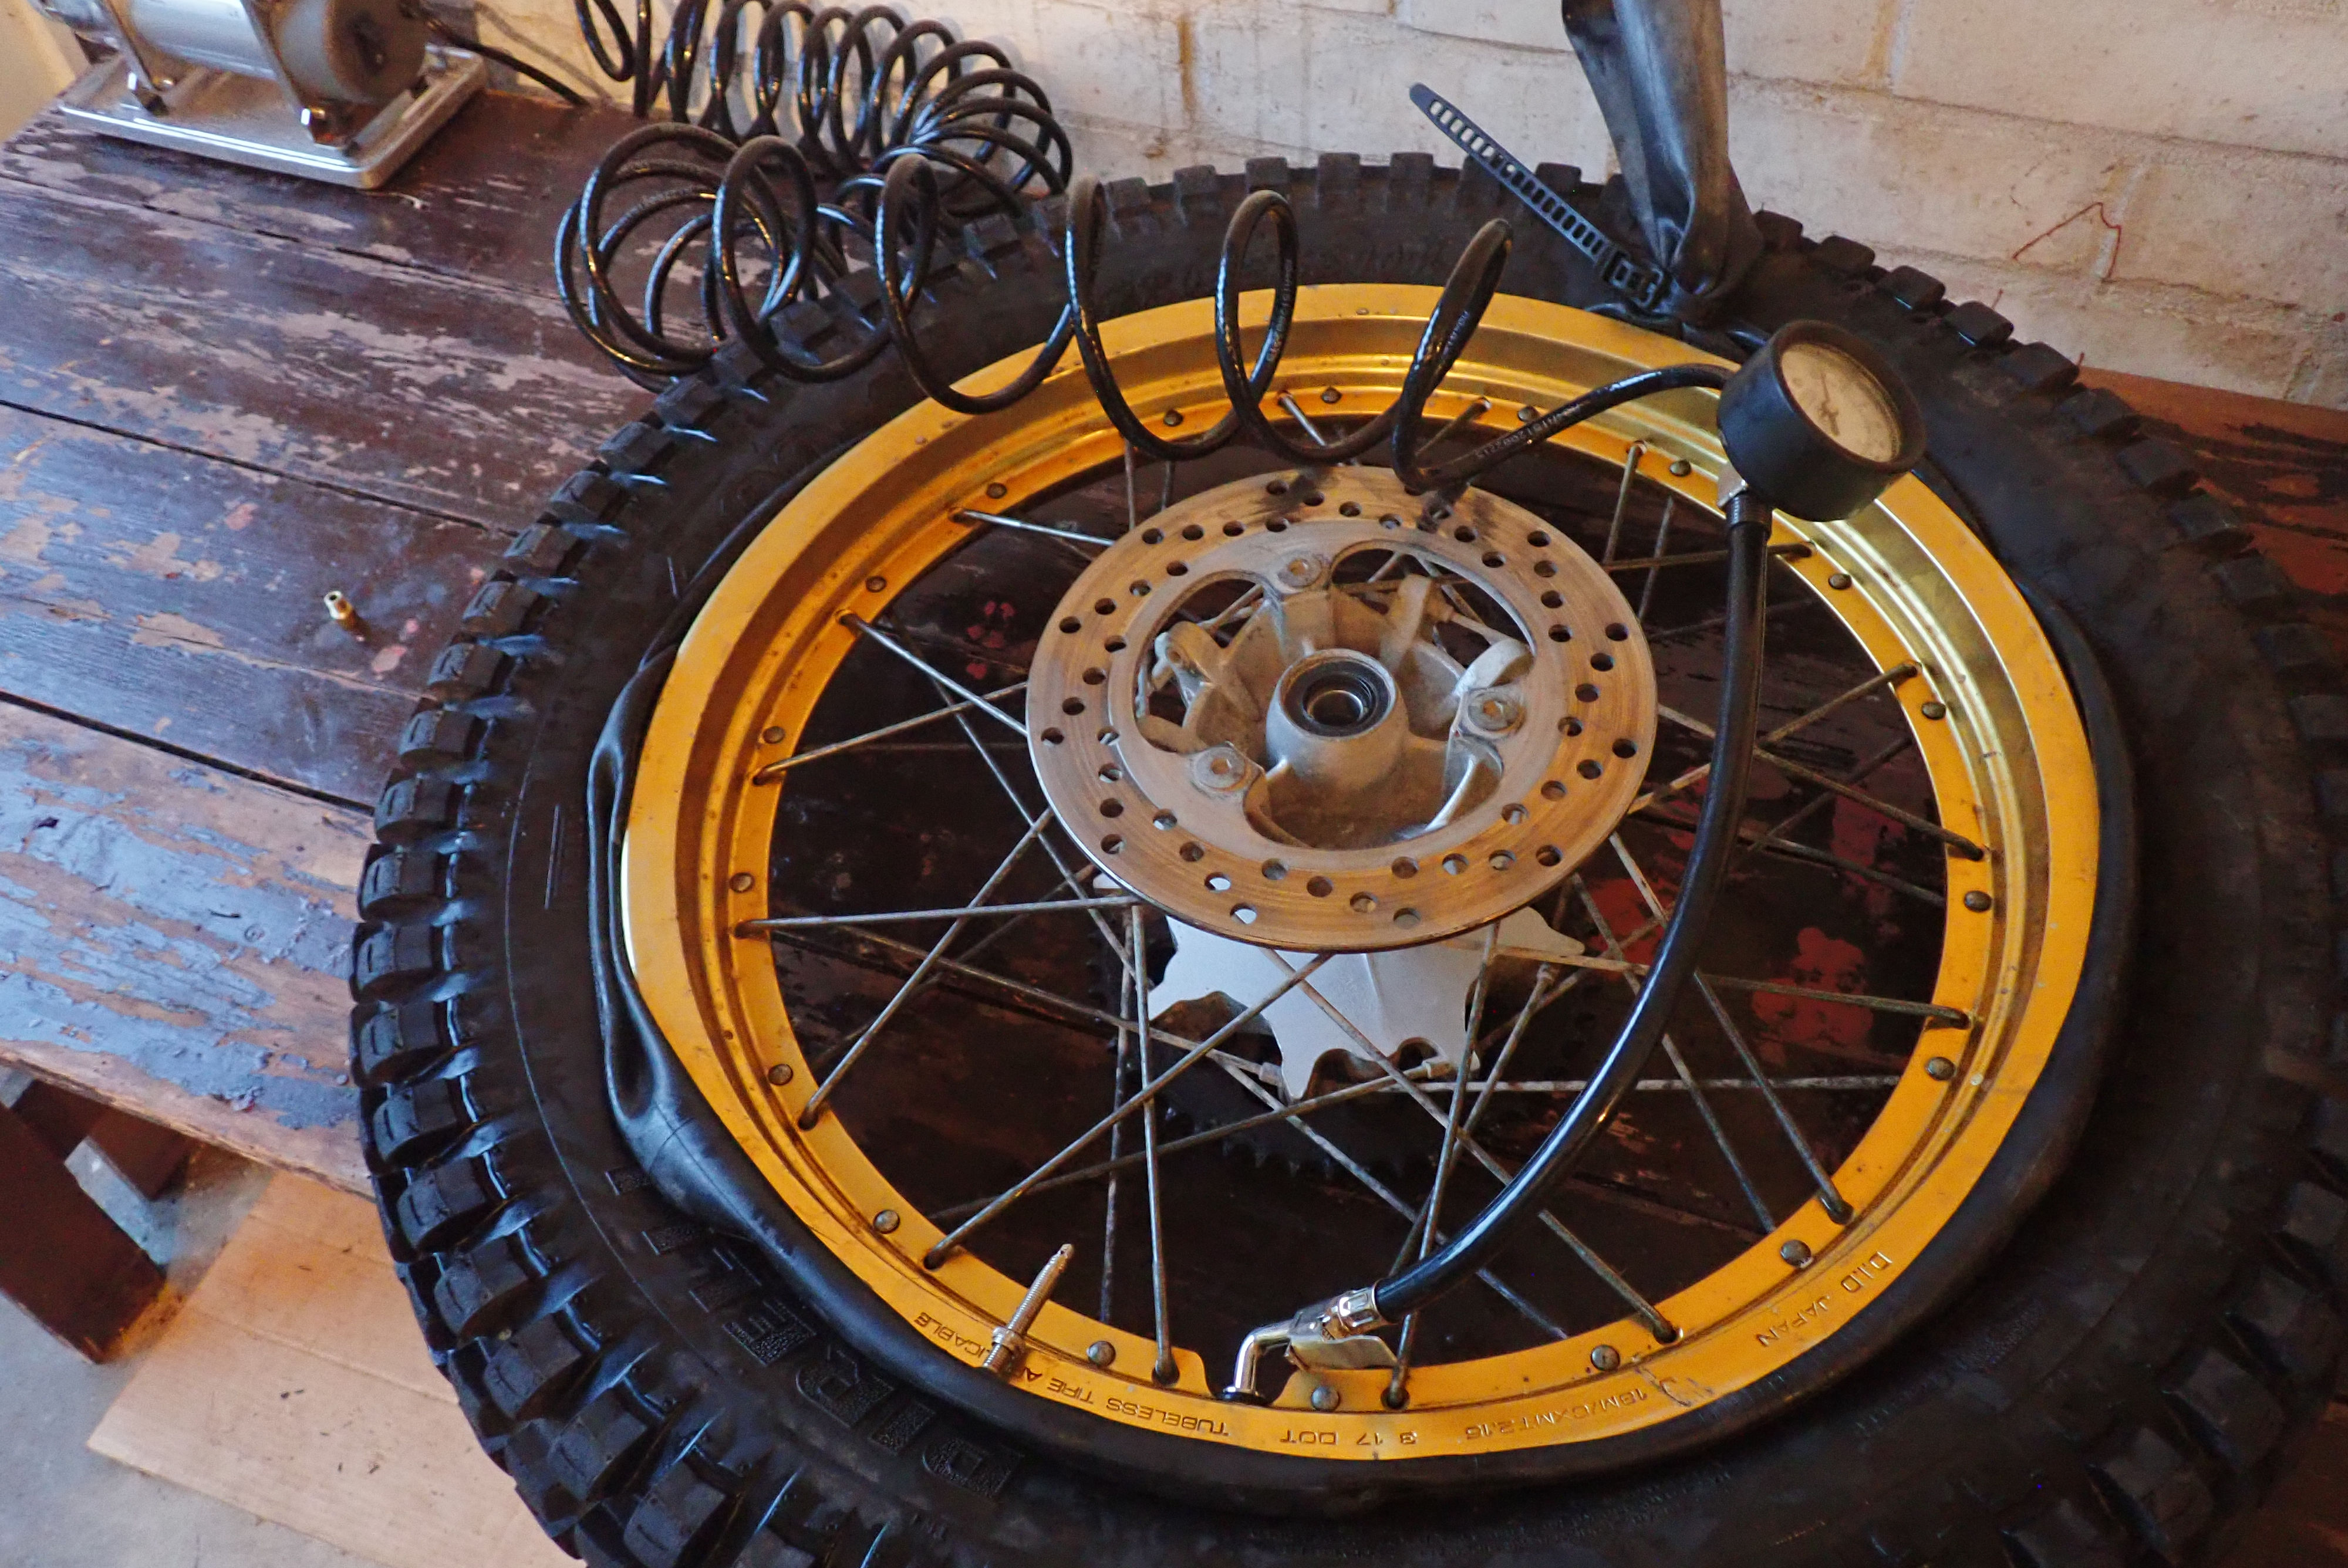
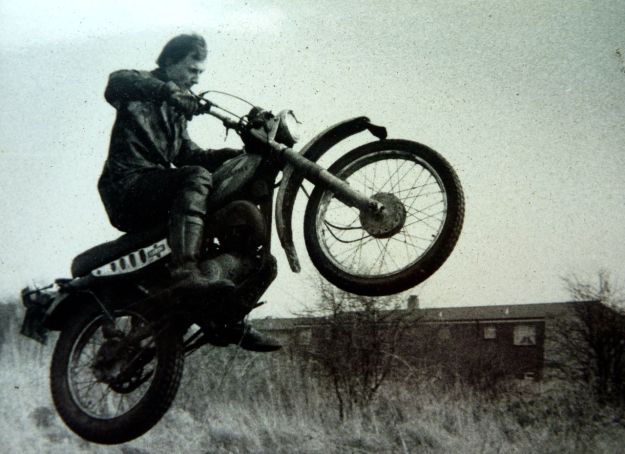
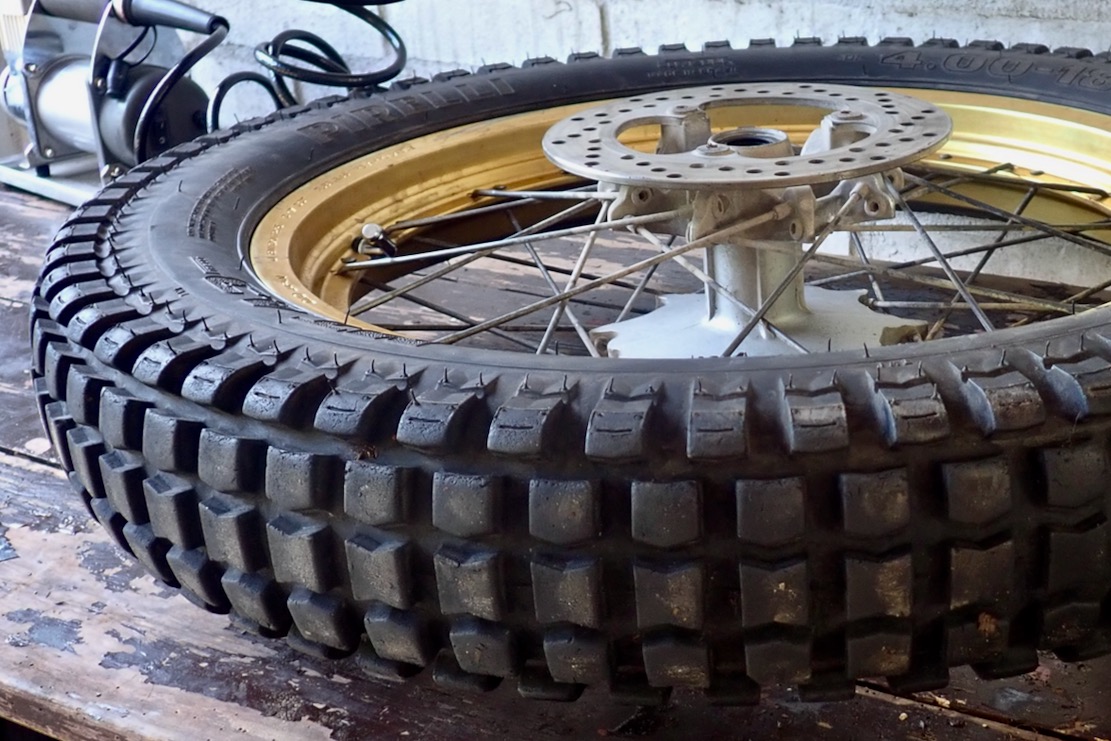
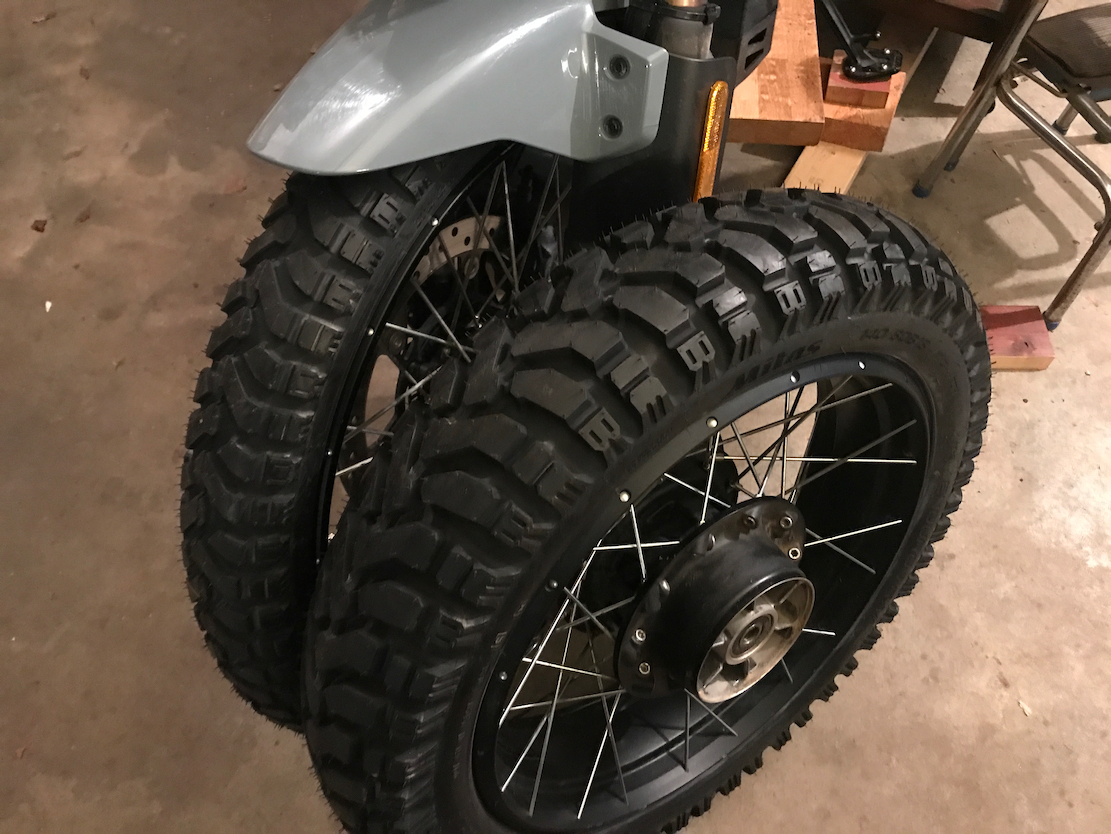
Fully charged out of the box, I inflated the new rear Michelin Wild tyre on my Serow from empty to 26 psi in 2:38s. The gadget vibrated a bit but didn’t get too hot. The battery dropped to ¾, but recovered back to full four bars in a few minutes.
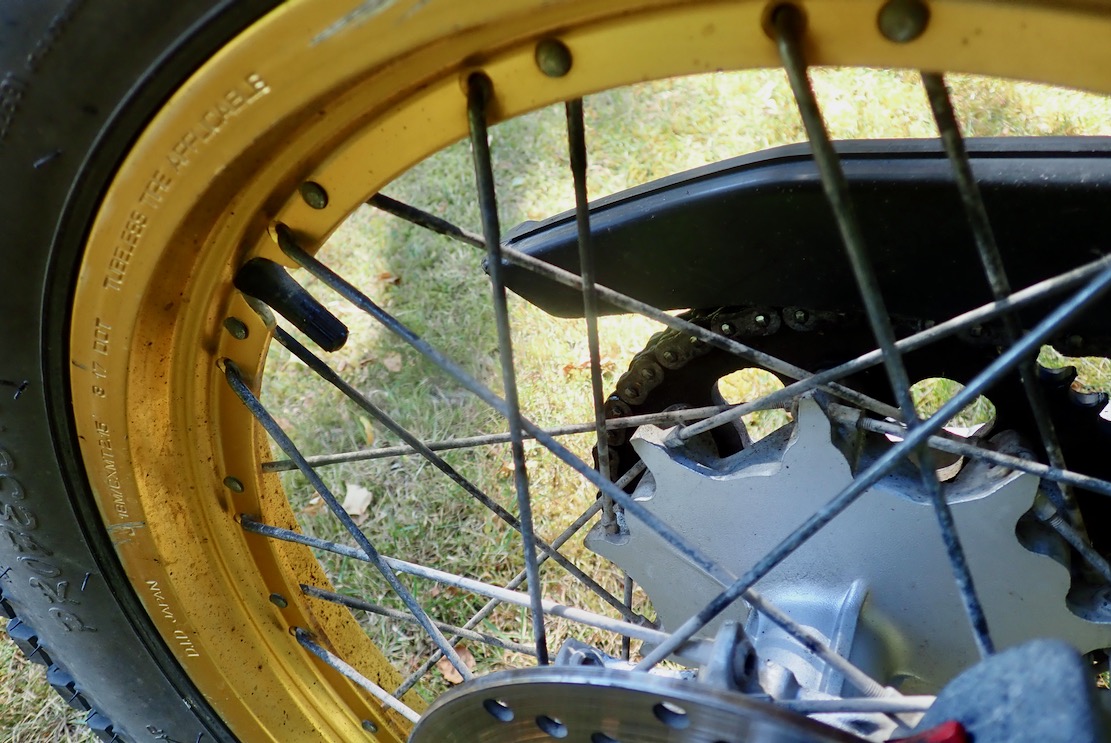
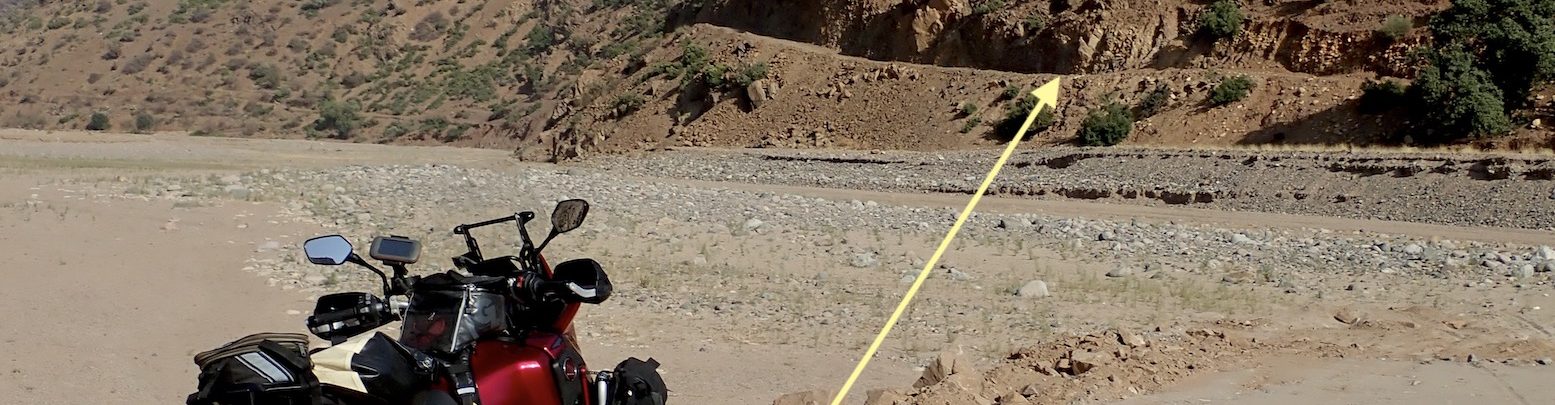
In Morocco my Serow’s stick tubeless rear leaked on most days – as some do. The Mkch pumped up up, though some days it didn’t light up and I was reminded of the flakey Michelin branded TPMS I tried a few years ago. But maybe it was a knack I needed to learn. I’ve never been a fan of these fold-down clamps on any inflator and this one was a tight fit on my valves which made quick removal without losing air tricky. Maybe it’ll loosen up or I’ll get used to it. but so far so good for the Mich pump.