CRF300L Index page
Previously on 300L Tubeless Wheels
Tubeless Wheel Conversion Index page
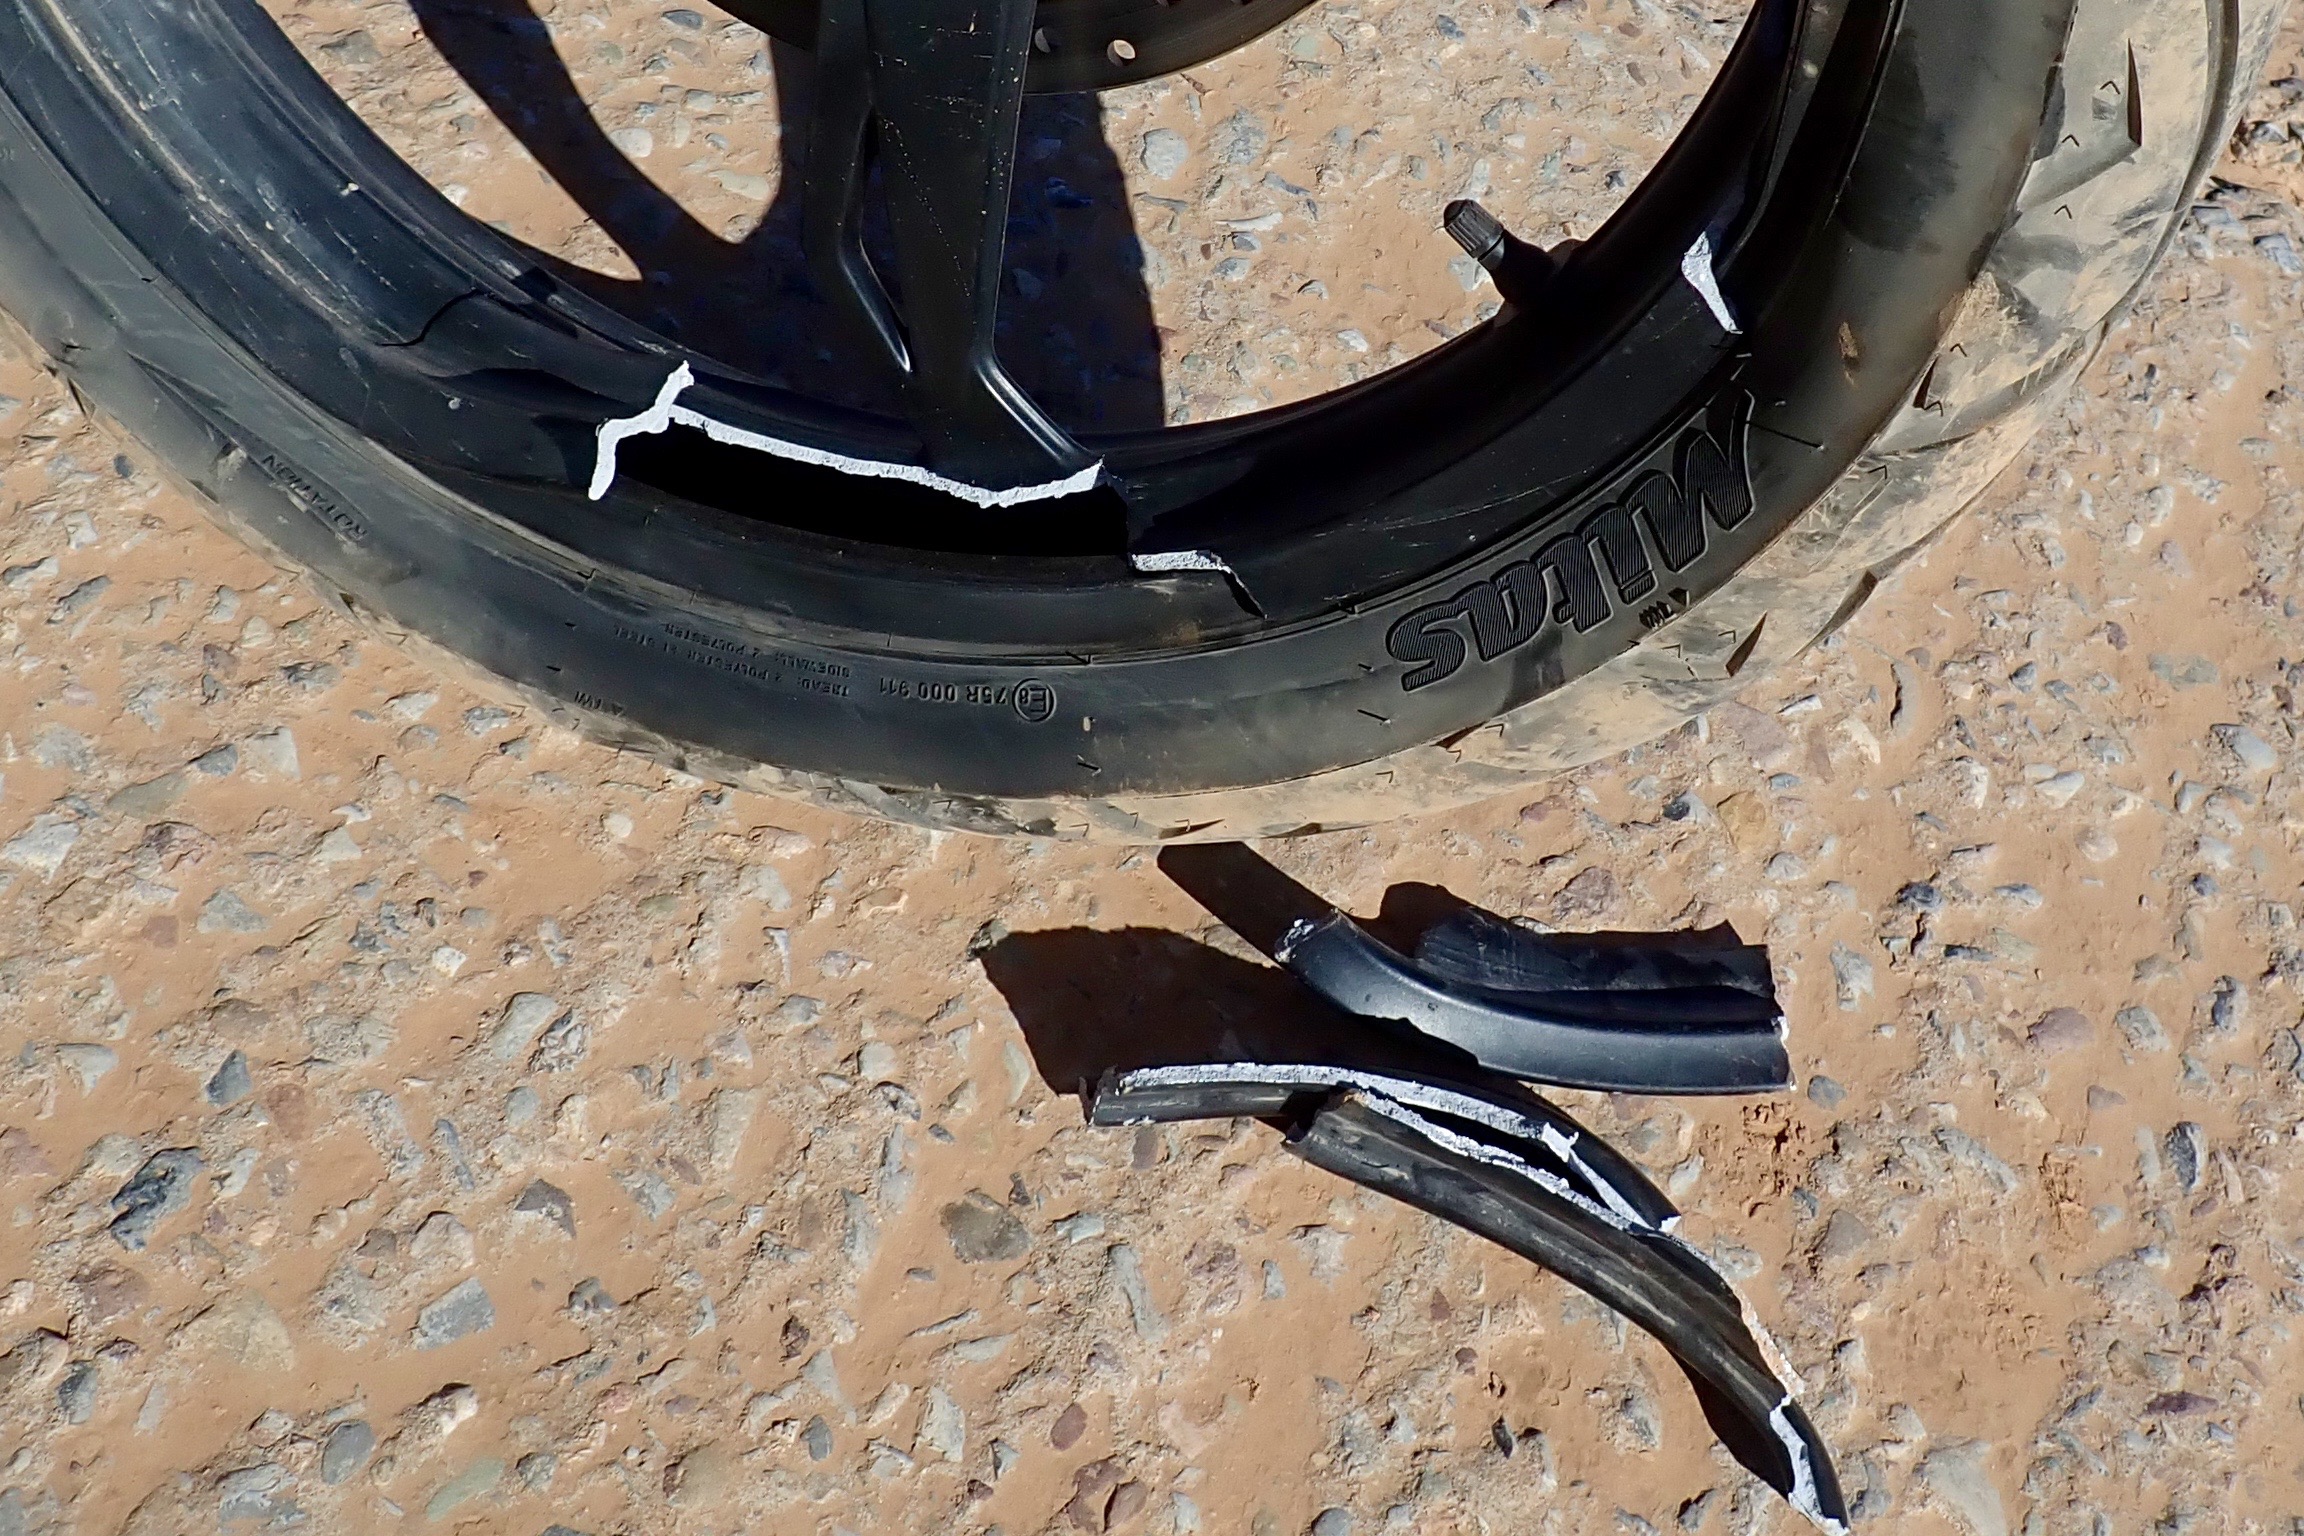
Note: I rushed this job below and had a manageable slow leak from the 17, a meltdown on the 19 front arriving in hot Marrakech (fitted a tube), but the 21 I left at home has held its air fine for months. In Marrakech the mechanic re-sealed the rear in between my trips, cleaning then applying a continuous band of Puraflex. He’s doing the same to my 19 front. Summary: technique works if you take your time – days of curing – and do it right.
Note: I rushed this job
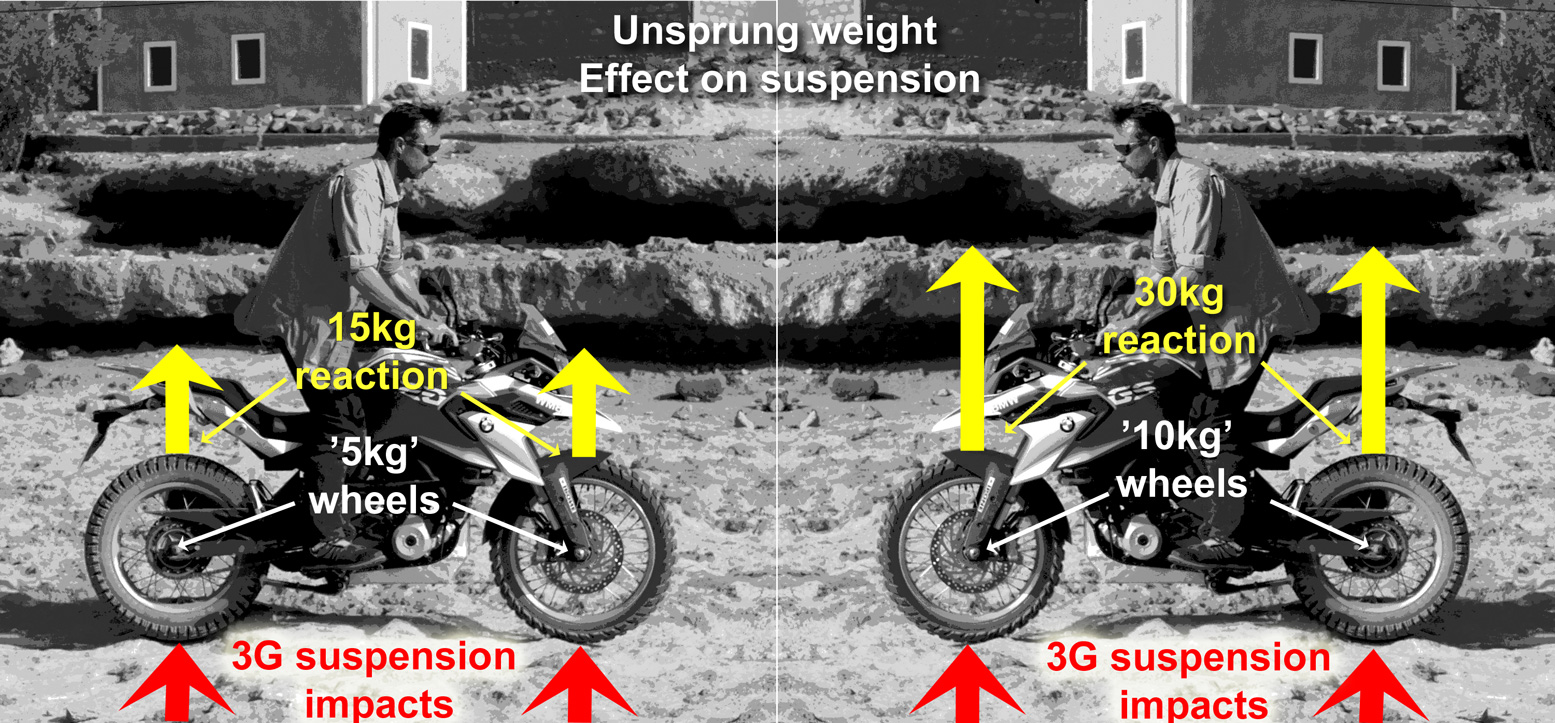
It took so long to get my three new tubeless wheels made I’d forgotten quite why I did it. Oh, yes, the clear desirability of tubelessness, plus some experimentation with wheel sizes, notably a 19-er front which is 38mm less tall, 7mm wider and the same weight as the stock tubed wheel. Wheel builders seem to have long lead times, rims are not in stock, custom spokes need to be made and holiday needs to be taken. Once everything was in place and my slot came up, the actual job took a couple of days.

The Fly & Ride transporter was leaving for Malaga next week so I had to get cracking. Ideally I’ve have had a month or more to sort any sealing issues and get a feel for the new sizes.
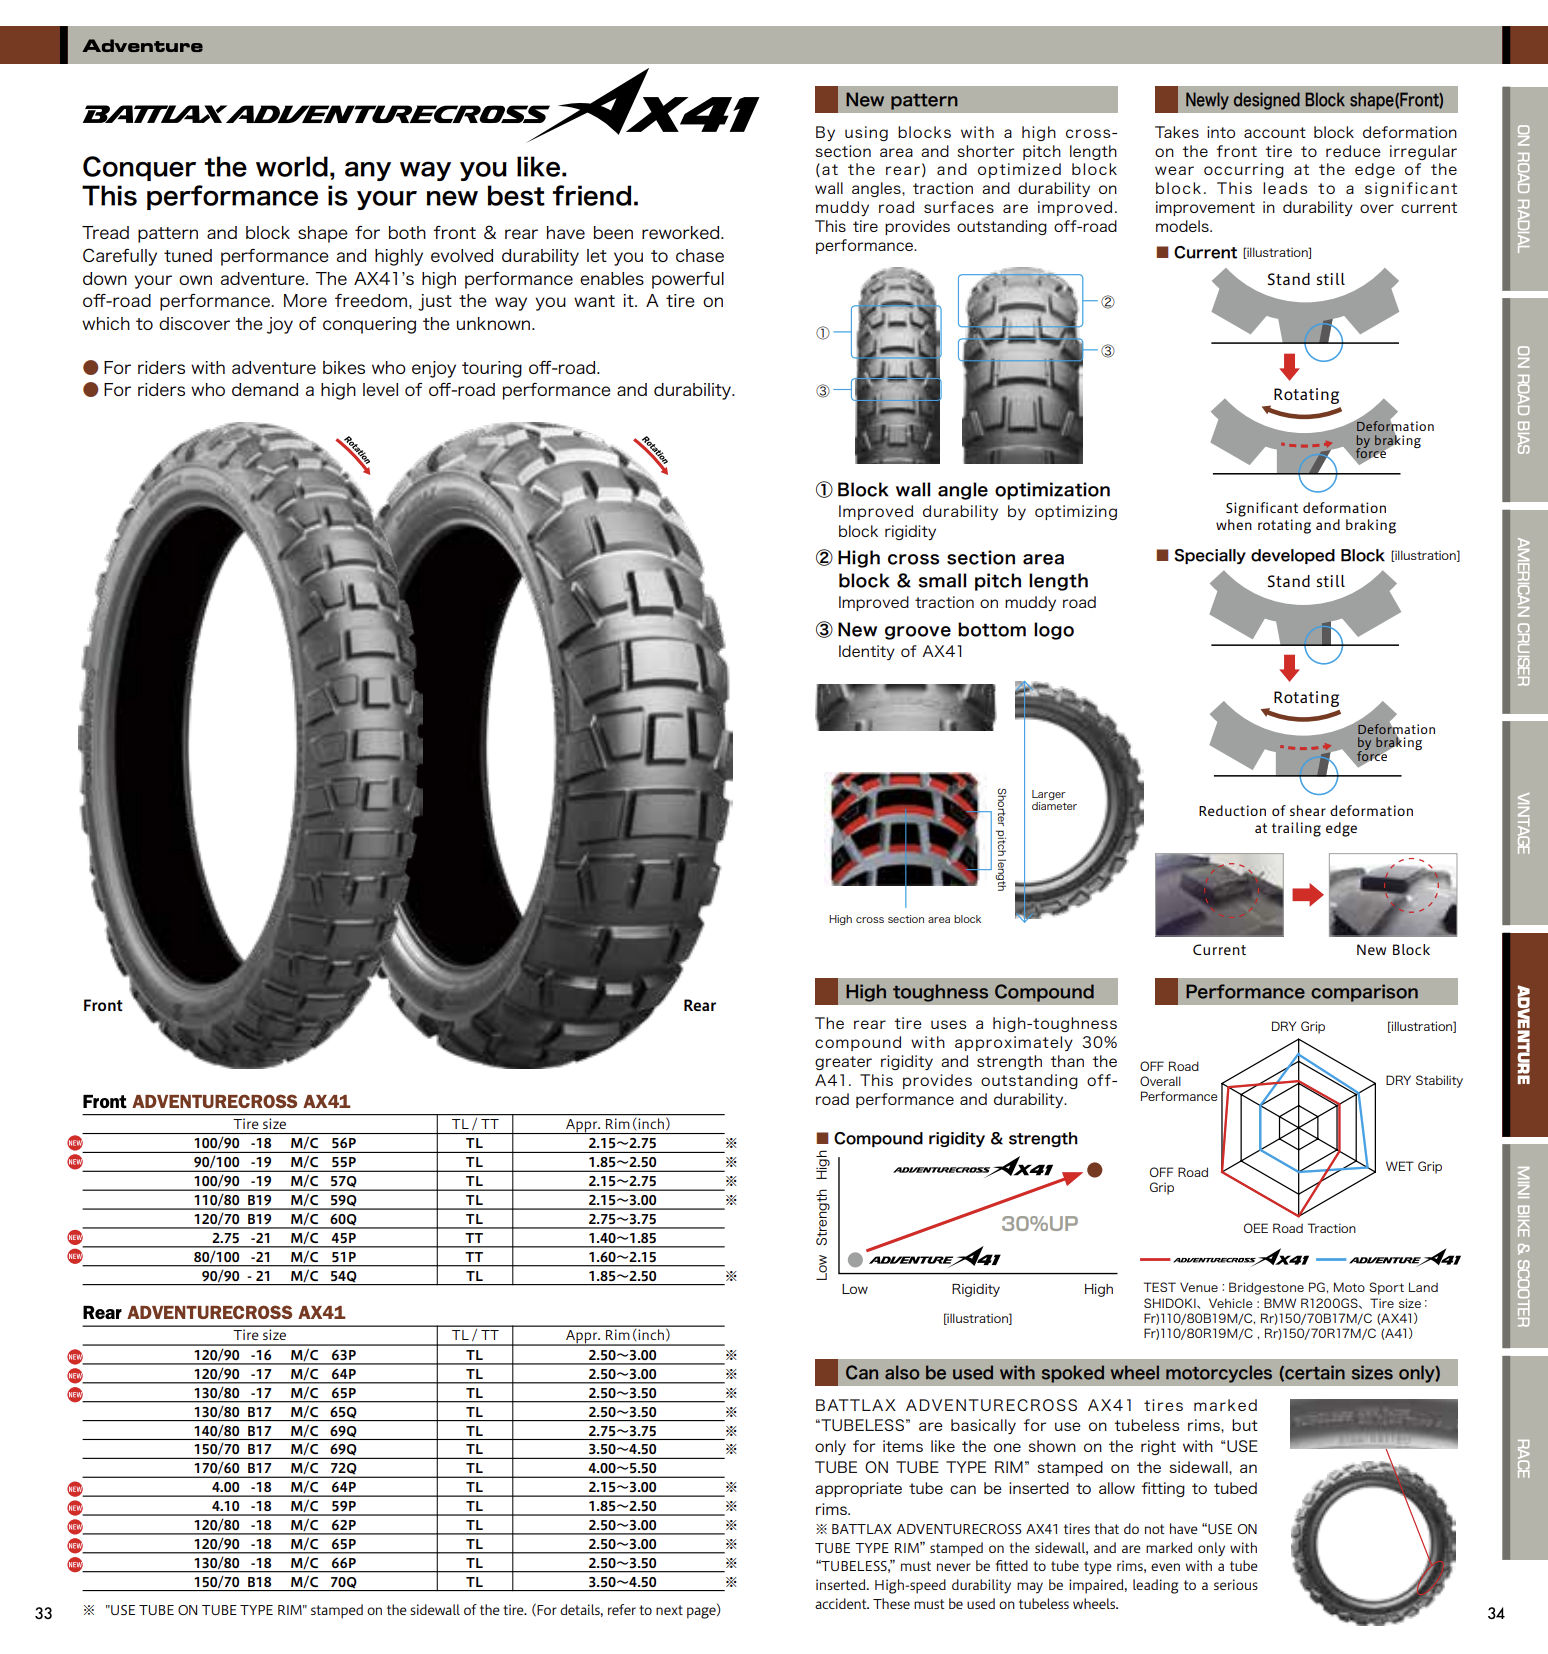
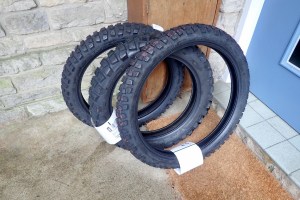
The 19-inch wheel arrived so I got stuck in but rushed it. I didn’t wait a day for the glue to cure, then fatally used slippery 303 UV Protectant to help mount the very stiff AX41. Works great on tubed wheels but I suspected it was a bad idea for MYO tubeless. Once mounted, when I spotted 303 bubbling out of a spoke thread I knew the game was up.
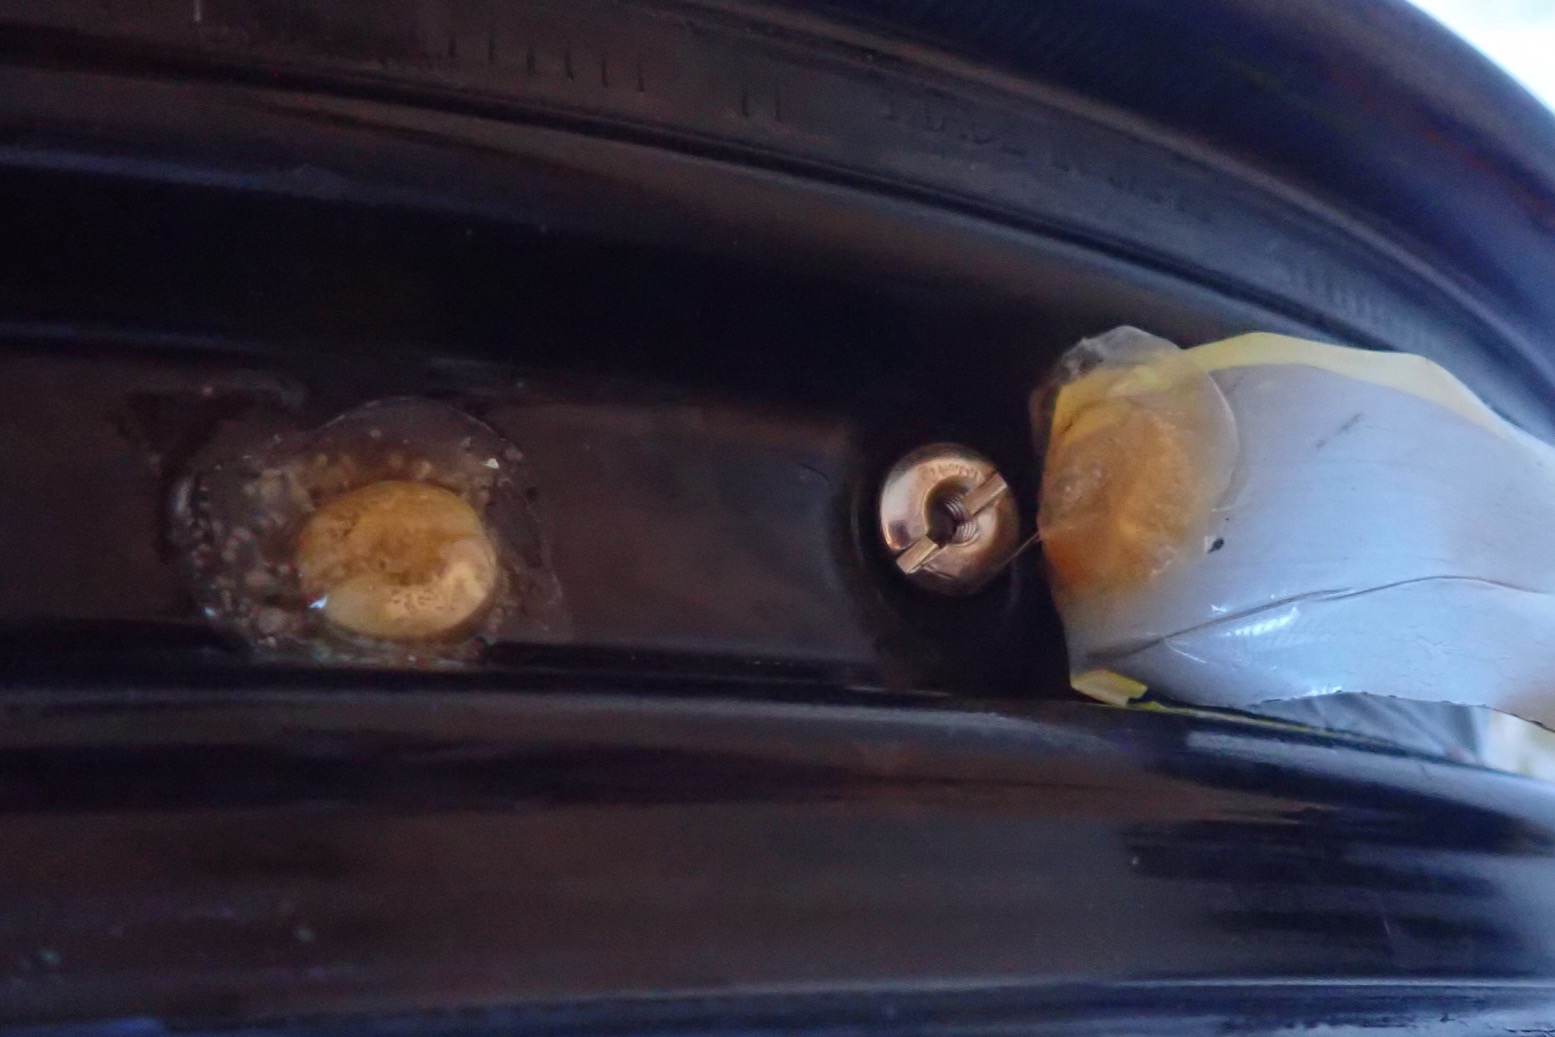
With the tyre off, my glue blobs had gone soft (left, from 303 contact?) and peeled off like soggy plasters. To be fair, one problem with this used 19-inch rim was that the pre-existent spoke holes (from a KTM?) had to be reamed and re-angled to fit the Honda hub. It made for bigger gaps so I tried to seal the outside of the nipples with Stormsure where water might run in, but should have done a better job all round.
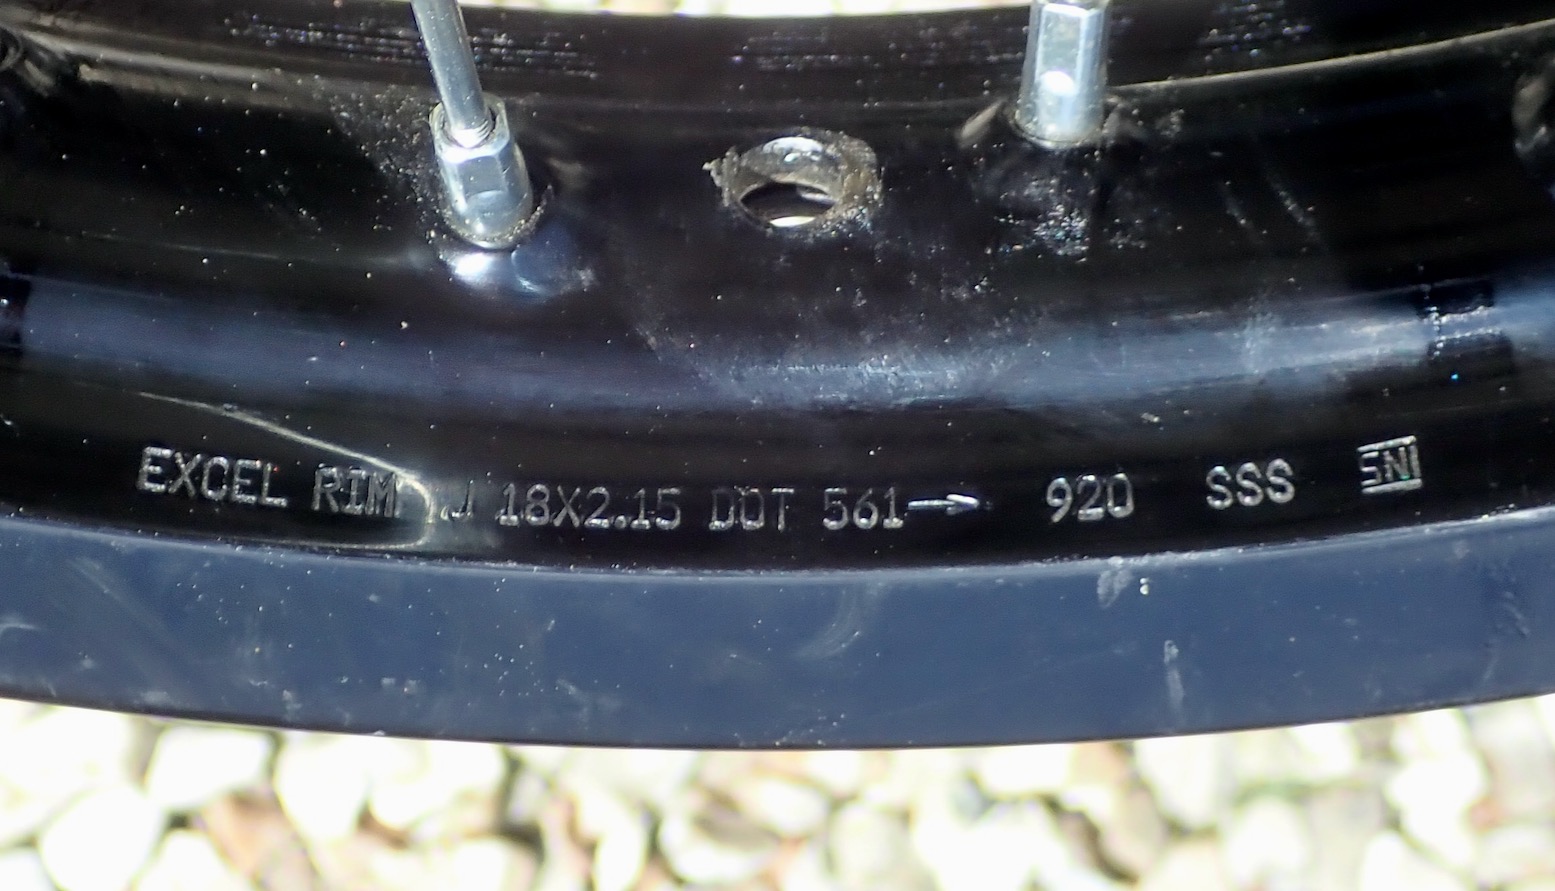
This is the gamble of marrying pre-drilled rims with non-matching hubs. Angle-wise, there can’t be that much in it, but in this case it was enough to misalign the pull of the spokes. Some wheel builders like CWC keep drilling patterns or templates to precisely drill a rim to match a given hub. This used Excel rim saved me £150 which I easily paid back with re-drilling and custom spokes. Oh well, the perils of experimentation.
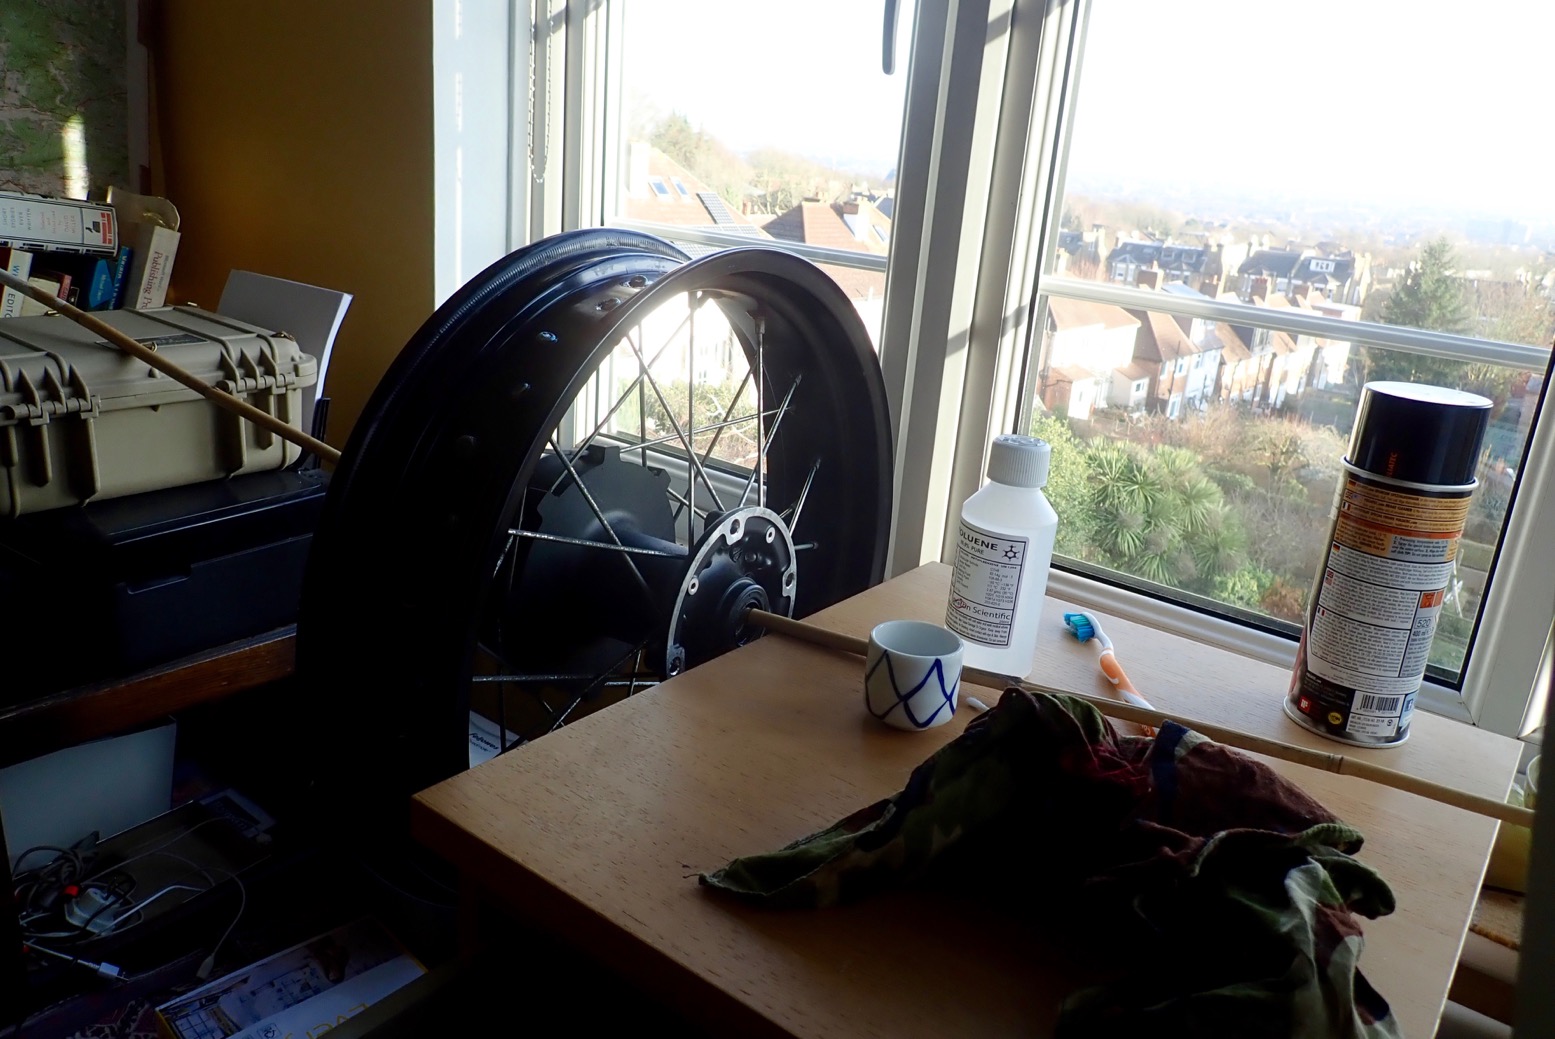
Next day I needed to get my ducks in a row. Typically for me, I wasn’t repeating the proven system from the Africa Twin, but trying a new idea suggested by a mate. I spent a couple of hours in Poole sourcing components and by the time I got back, the other two wheels had arrived. After cleaning the 303 off yesterday’s mess, I started over.
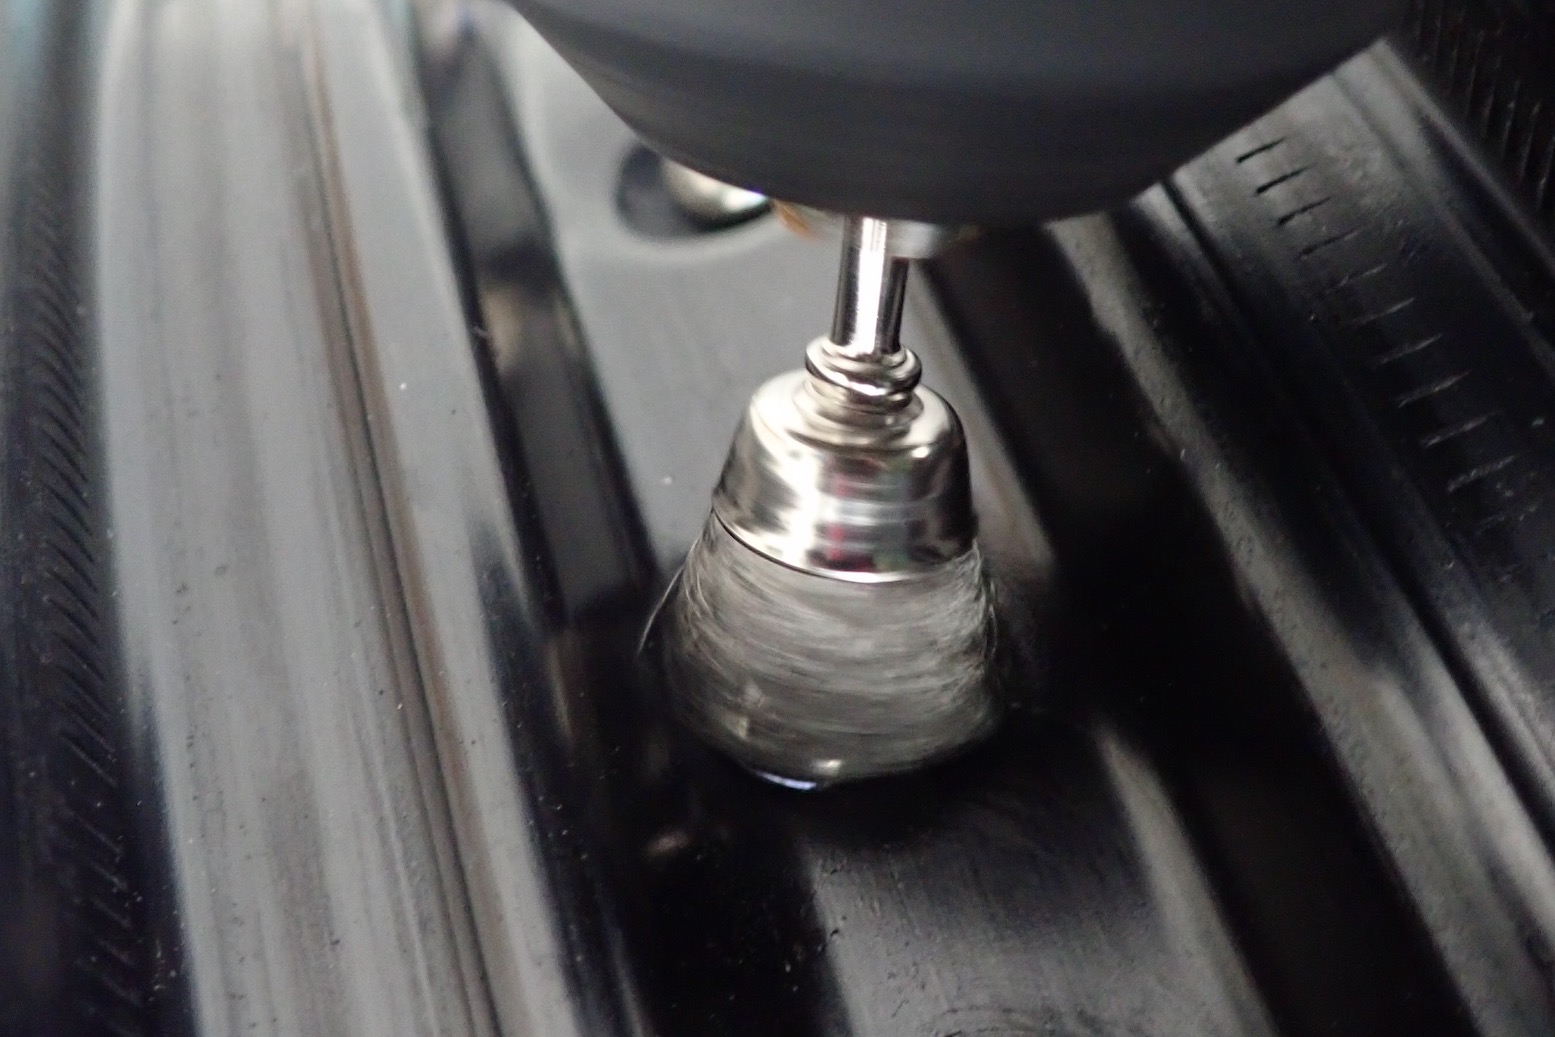


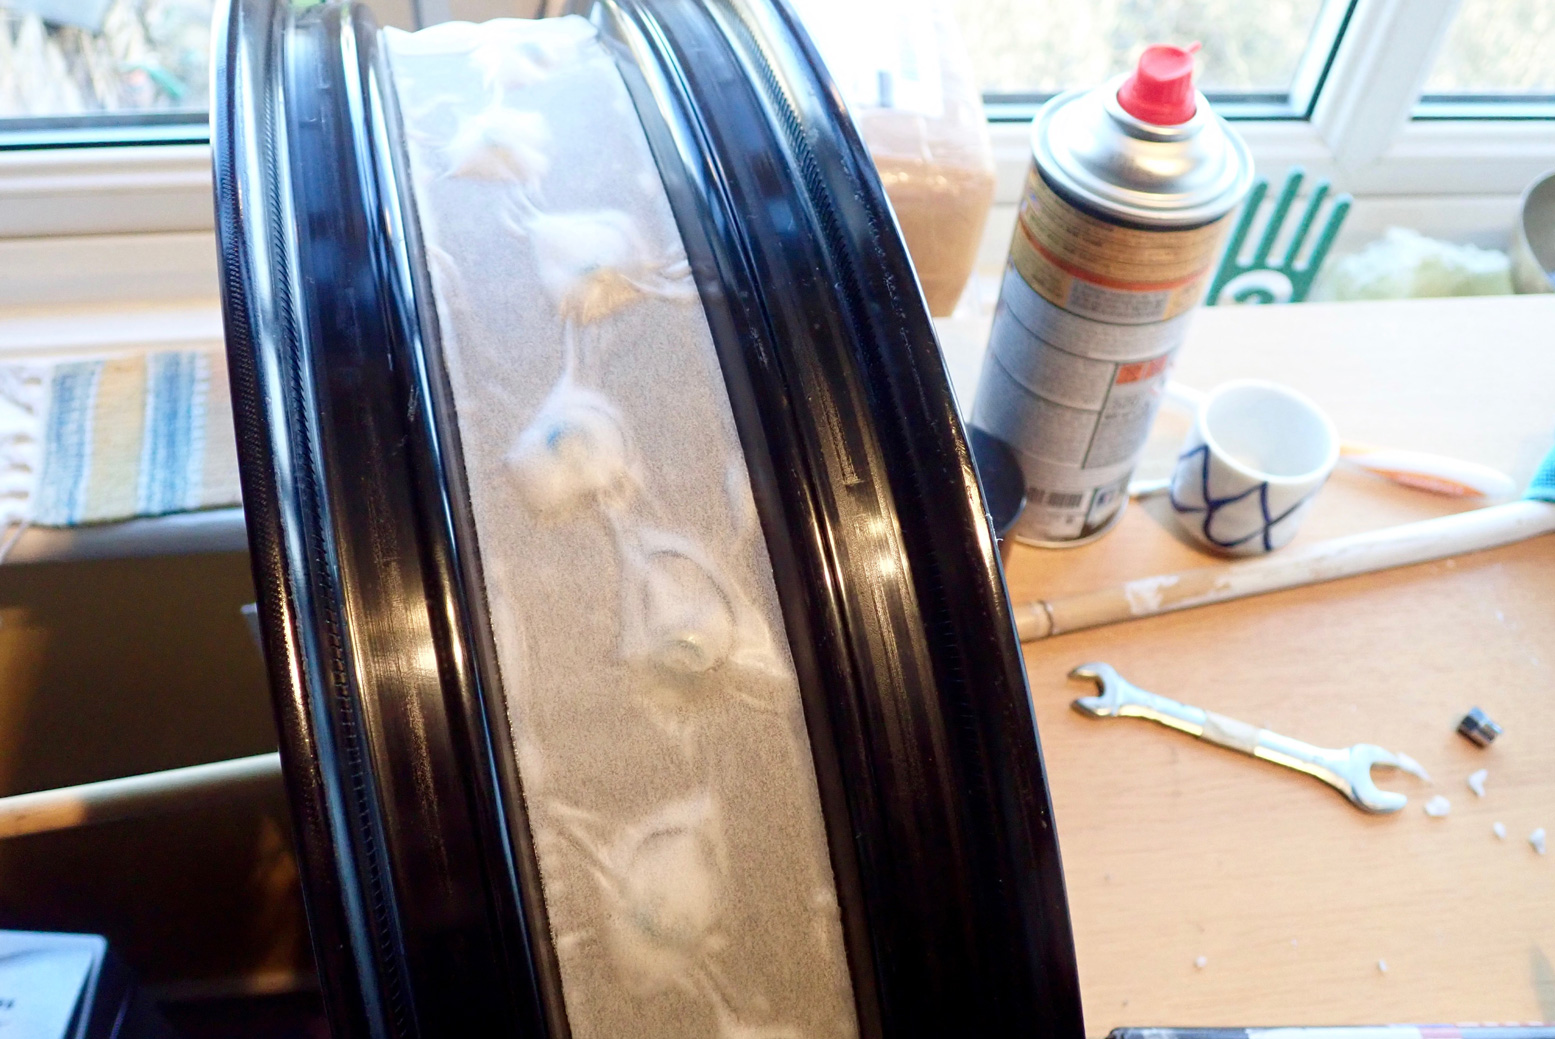
Spray the rims’ well with etching primer. Halfords were out so I paid £21 down the road. All for 60 secs of spraying ;-/ I presume the idea is the sealant sticks better to the primer than the glossy black rim.

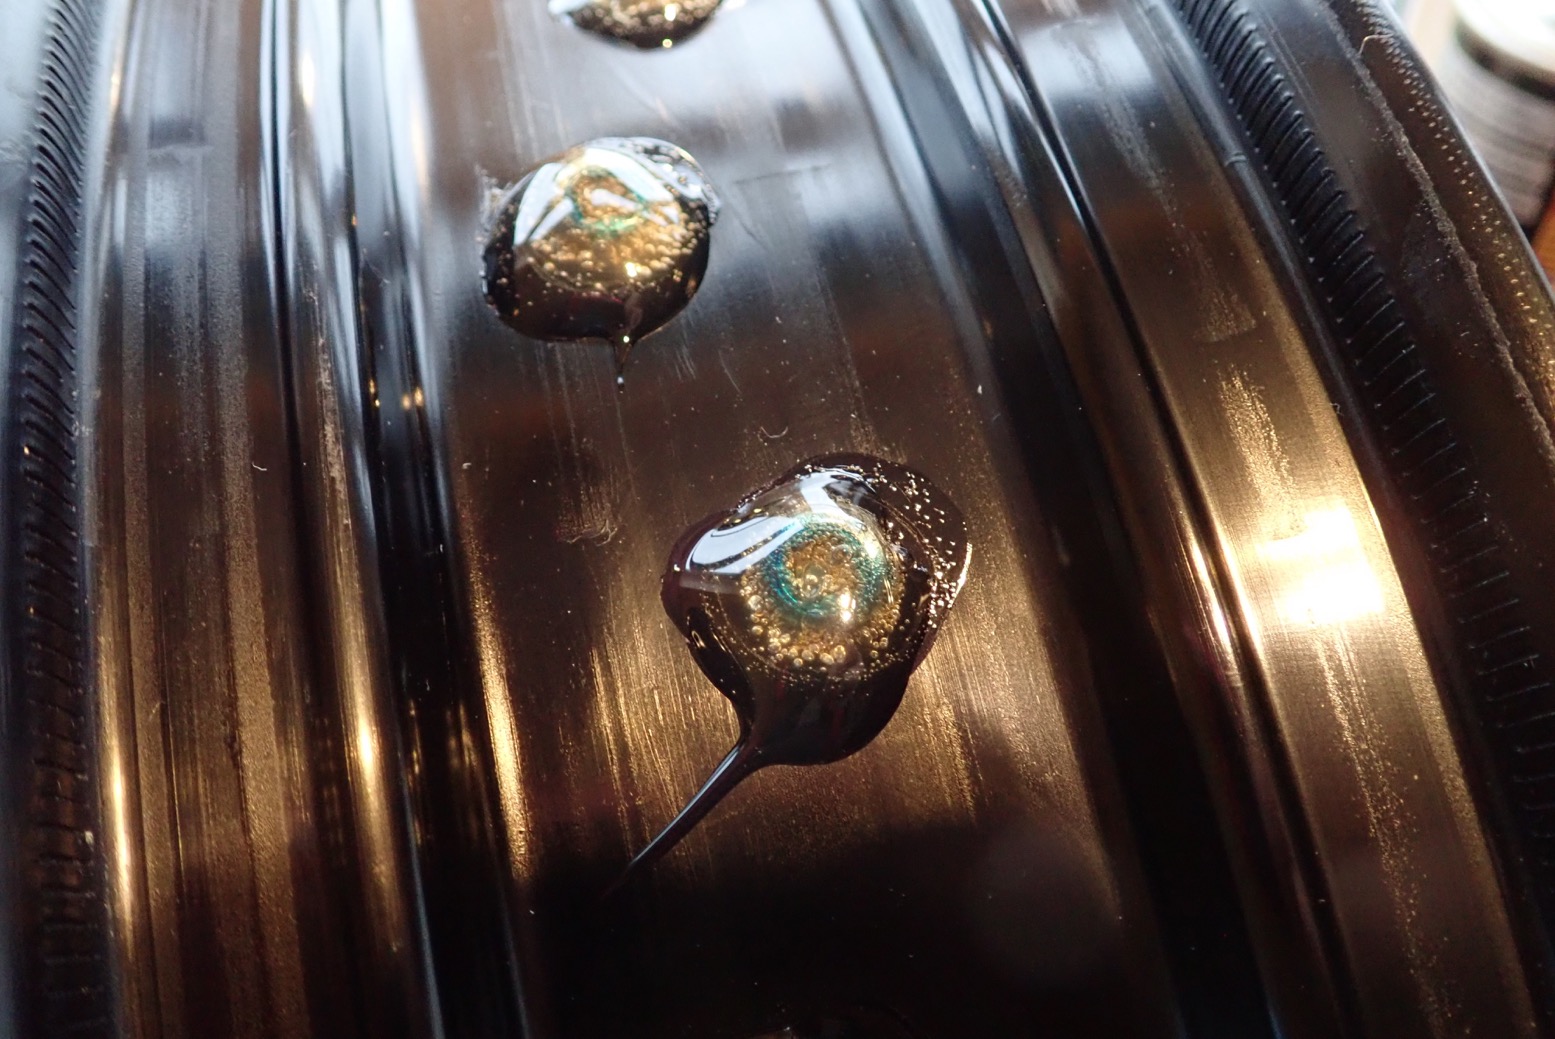
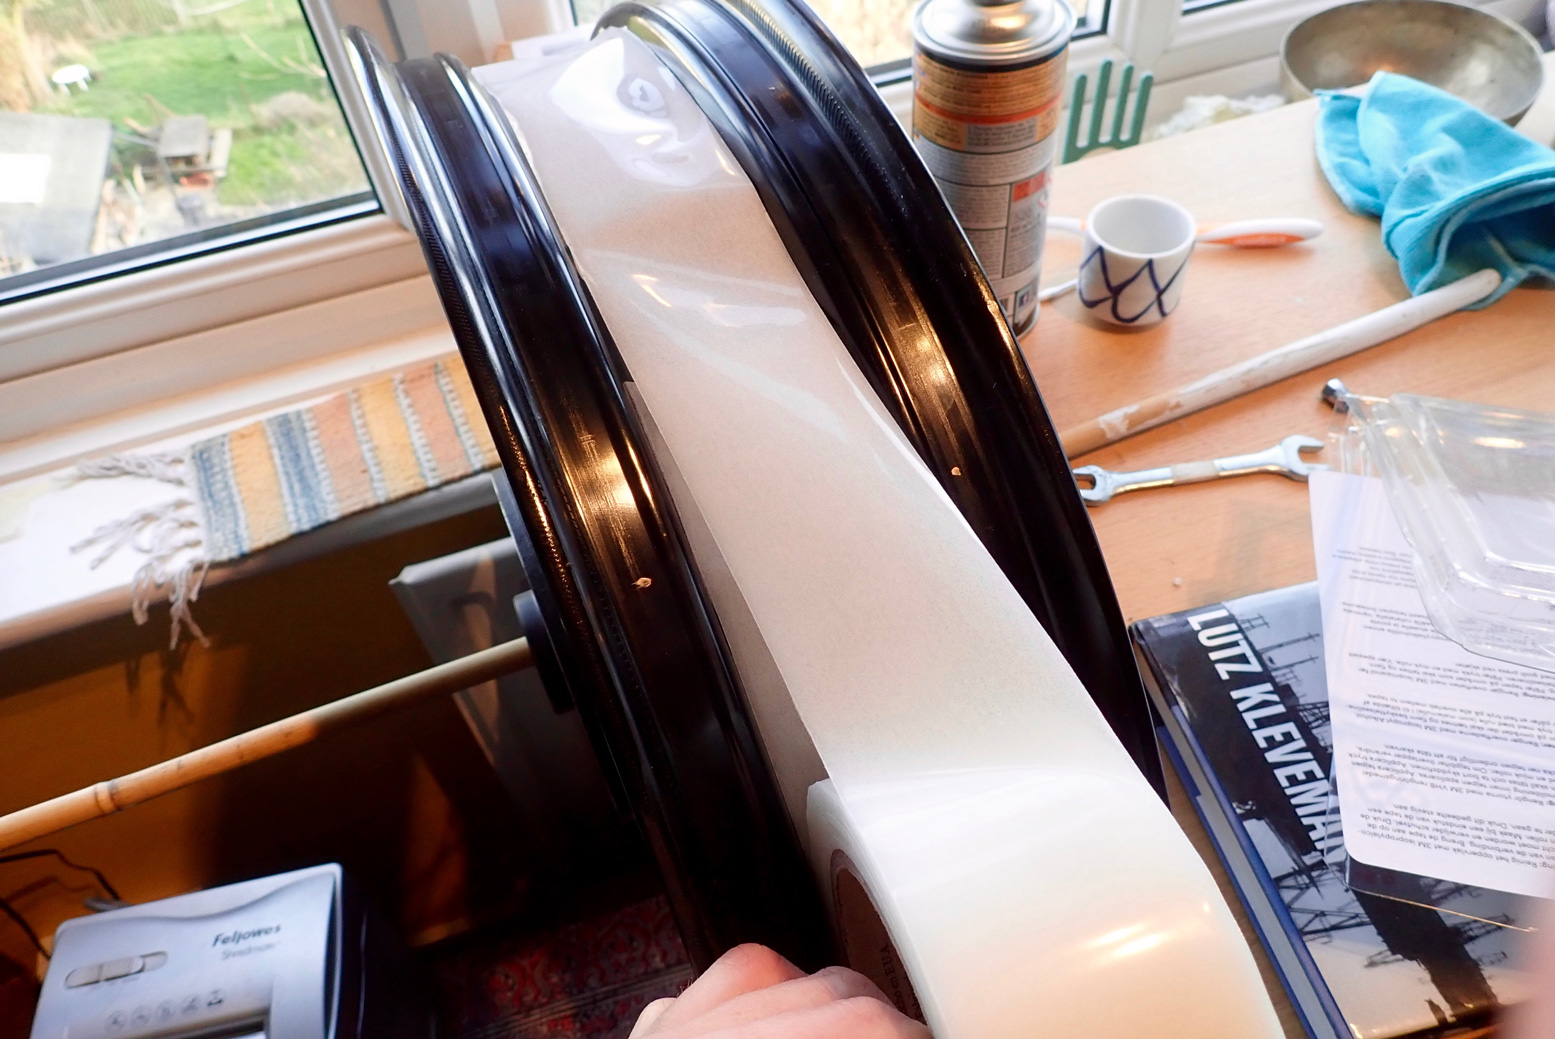
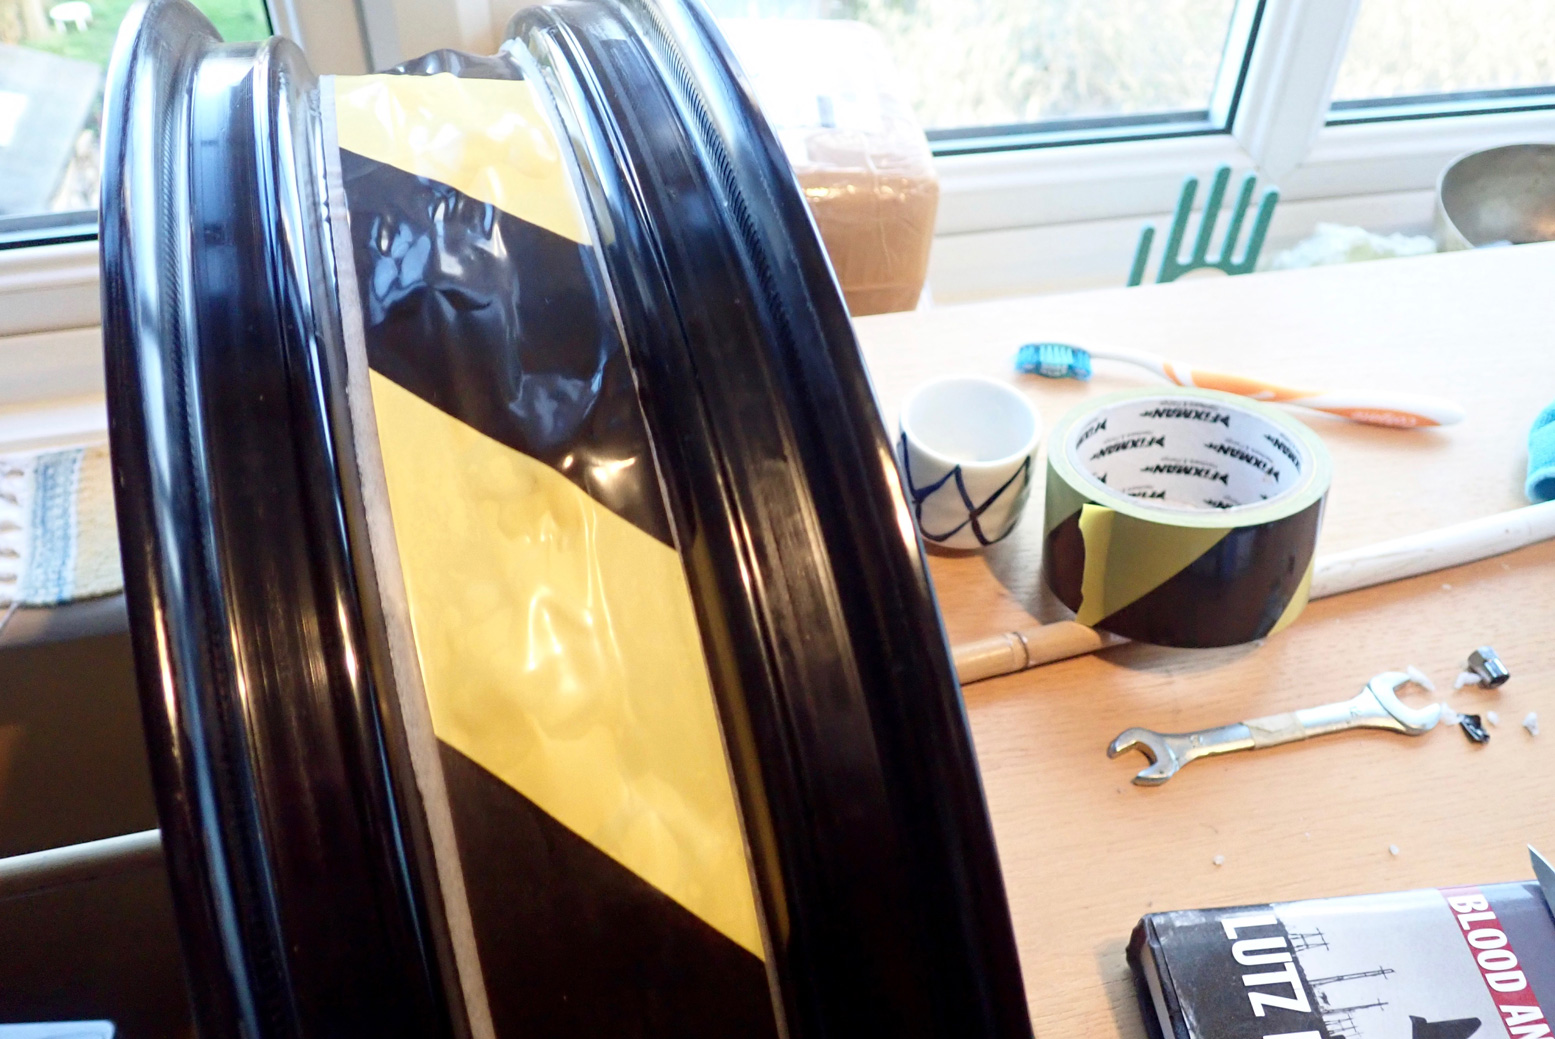
Individual blobs as opposed to a continuous band like here are better for isolating leaks, as will soon be shown. But a continuous band ought to mean a guaranteed and complete seal. Decisions, decisions.

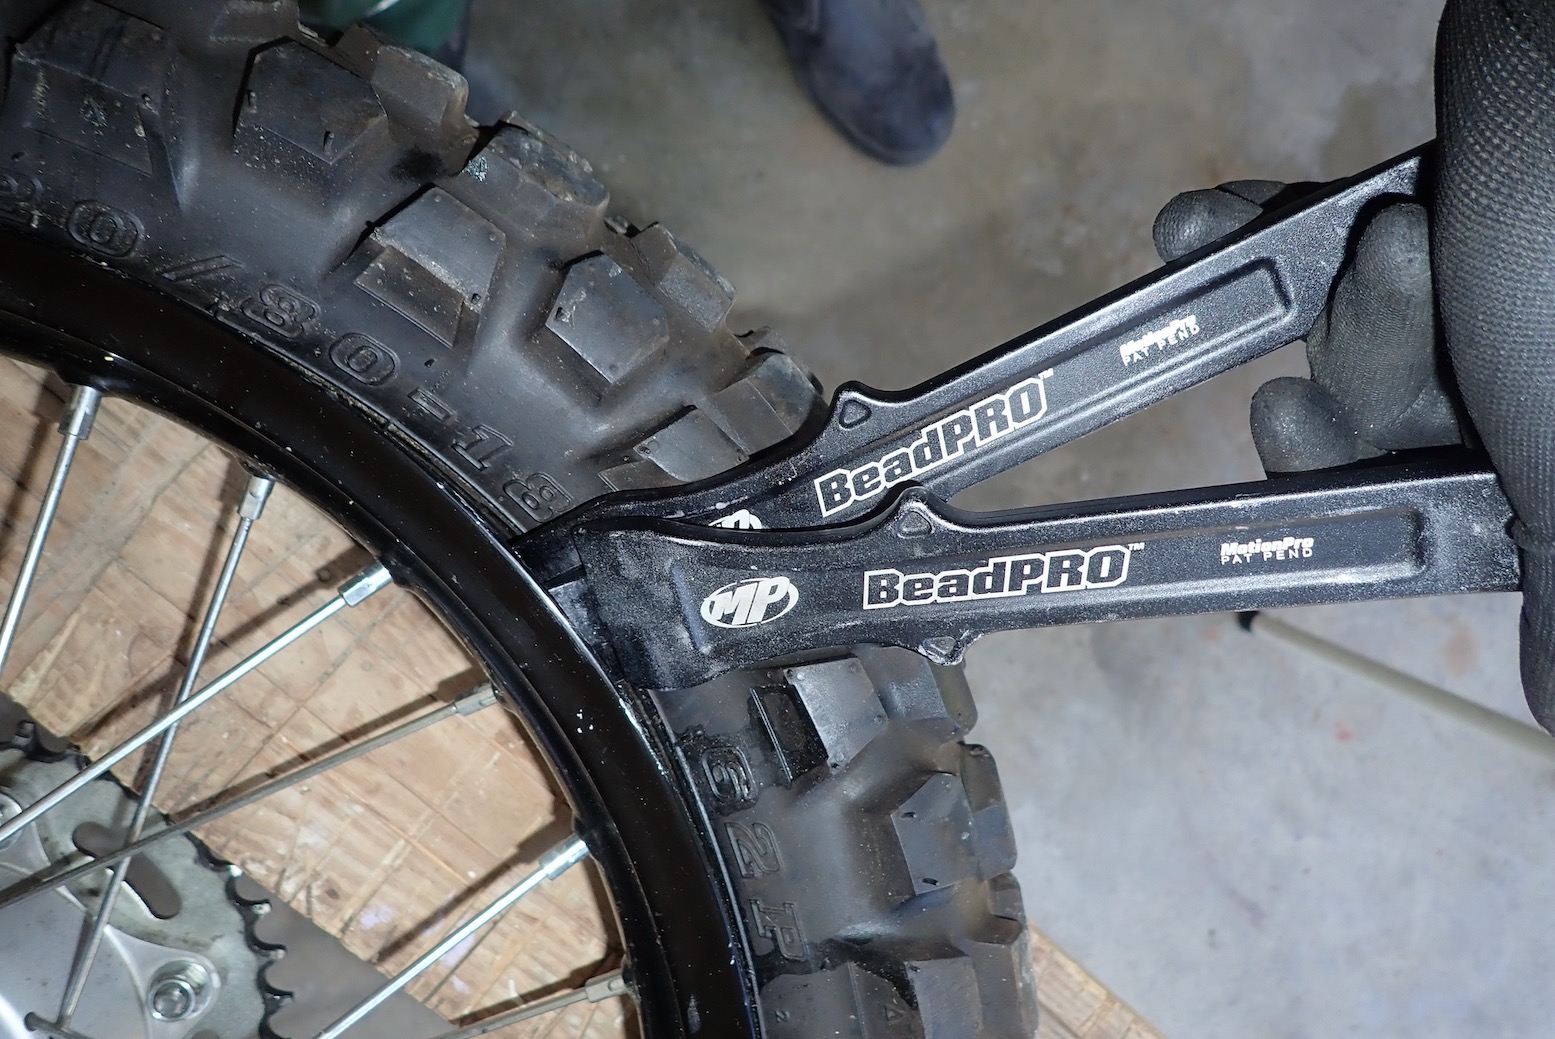
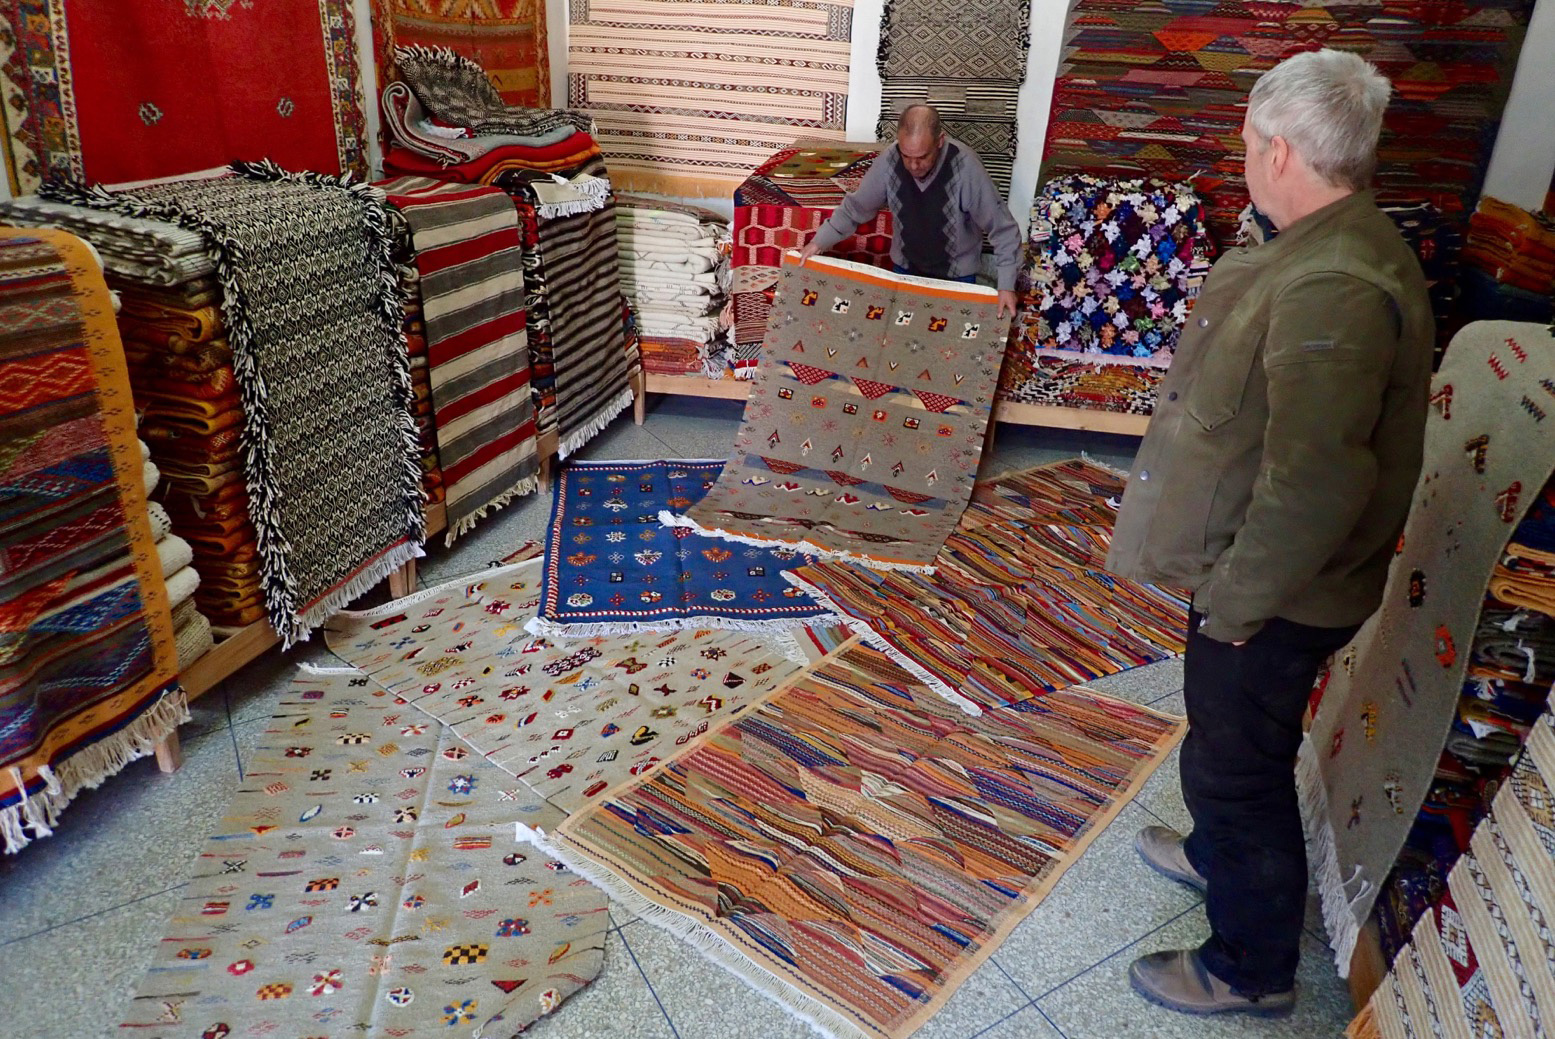
Next day I felt fairly confident I’d sealed all three wheels but had some heavy tyre wrangling to do. Sod it I thought, why not support the local economy and let my LBS mount the tyres. They’ll have a tyre machine and a compressor with enough poke to shove the tubeless tyres onto the bead before they know what’s happening.
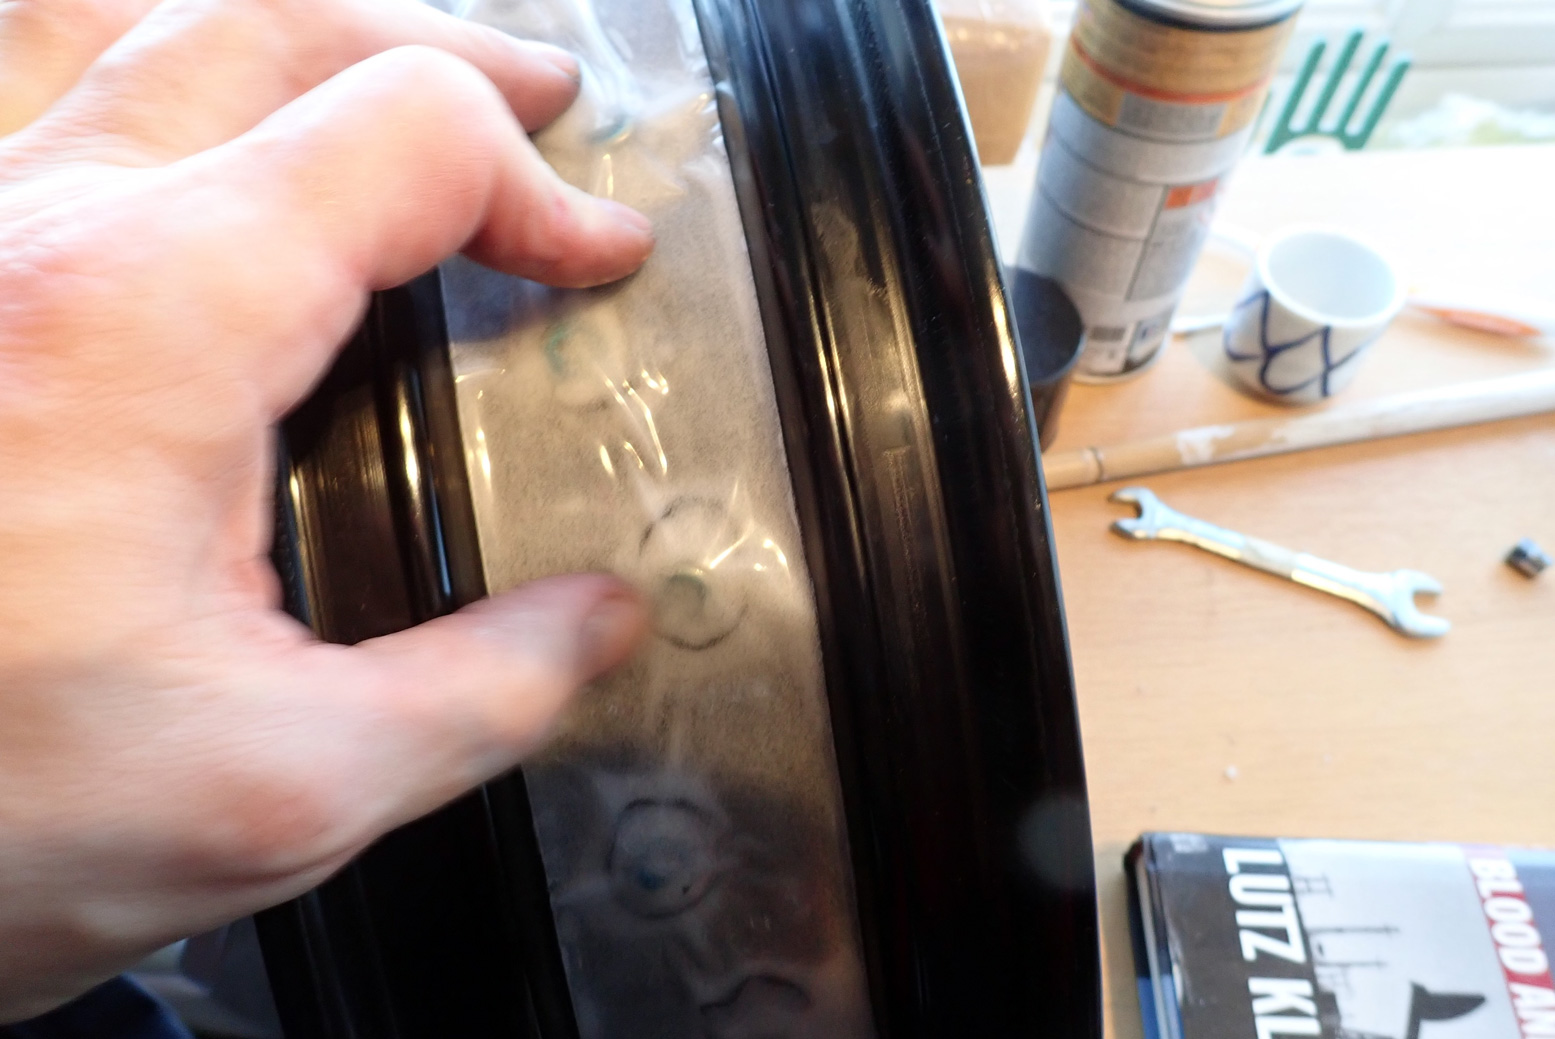
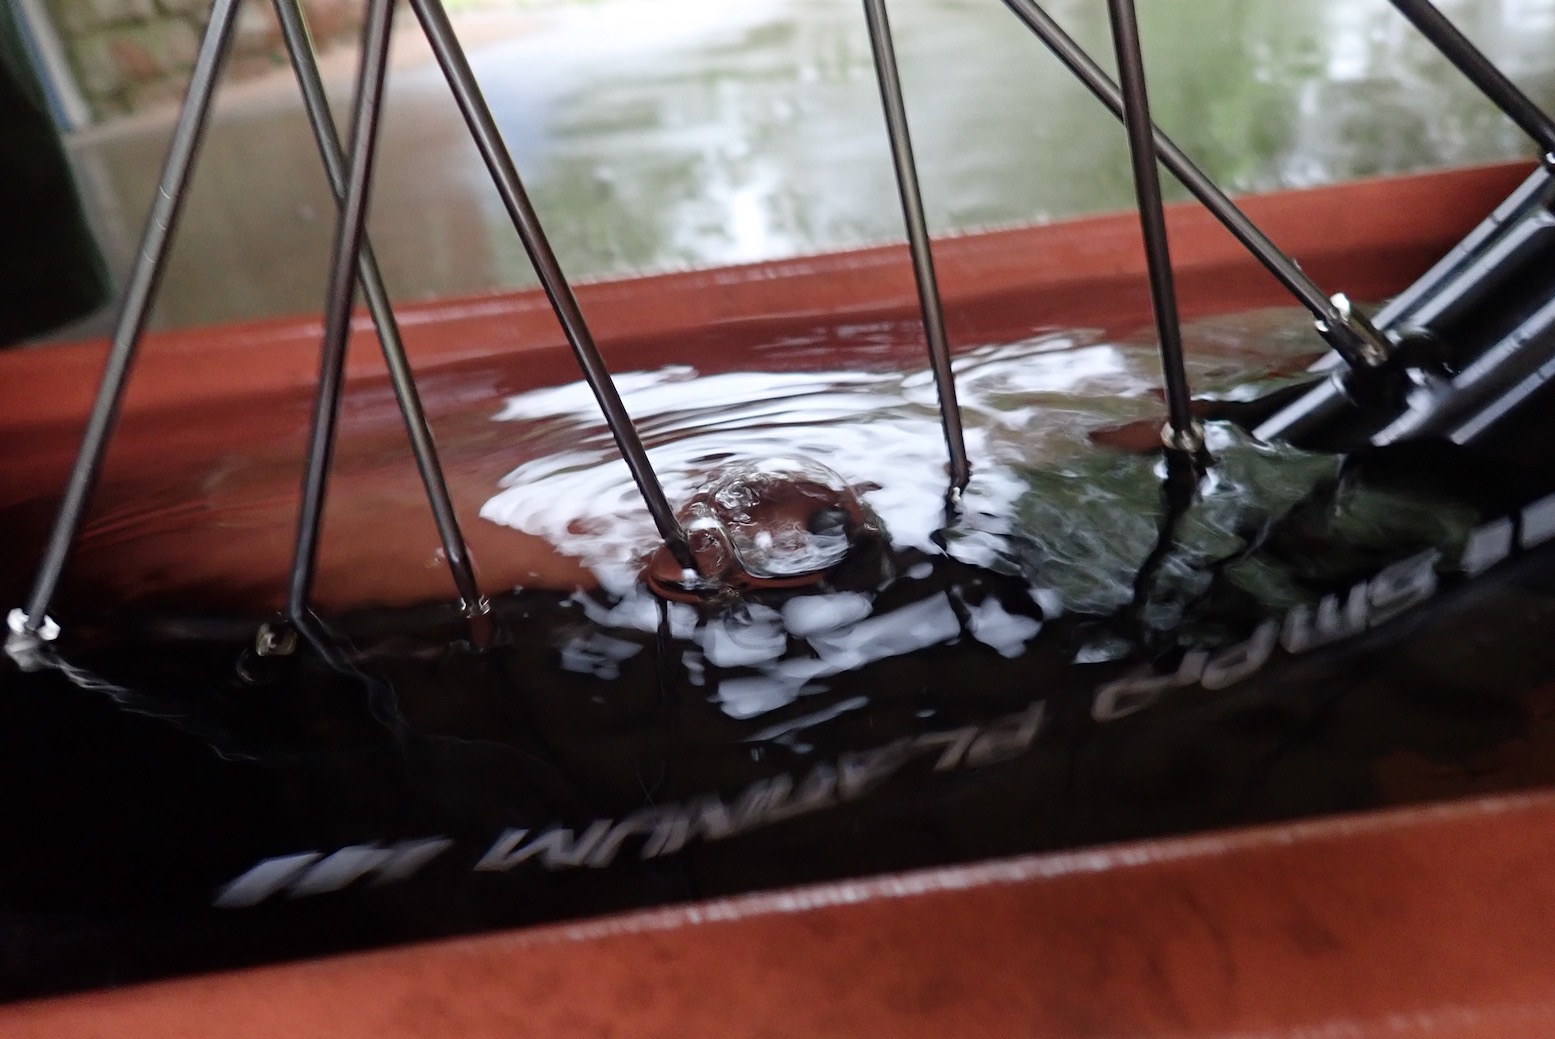
With 30 quid well spent, the tyres came out the shop rock hard. But would they stay that way? No, the two fronts were losing air. Casting aside seal damage during mounting, what were the chances of 104 blobs and 3 valves all being perfectly sealed? Only about 98% it seems. I turned the leaking wheels slowly through a trough of water and isolated a leaking spoke on each. I marked the spokes and whipped off the tyres, much easier now they’d been pre-flexed at the shop.
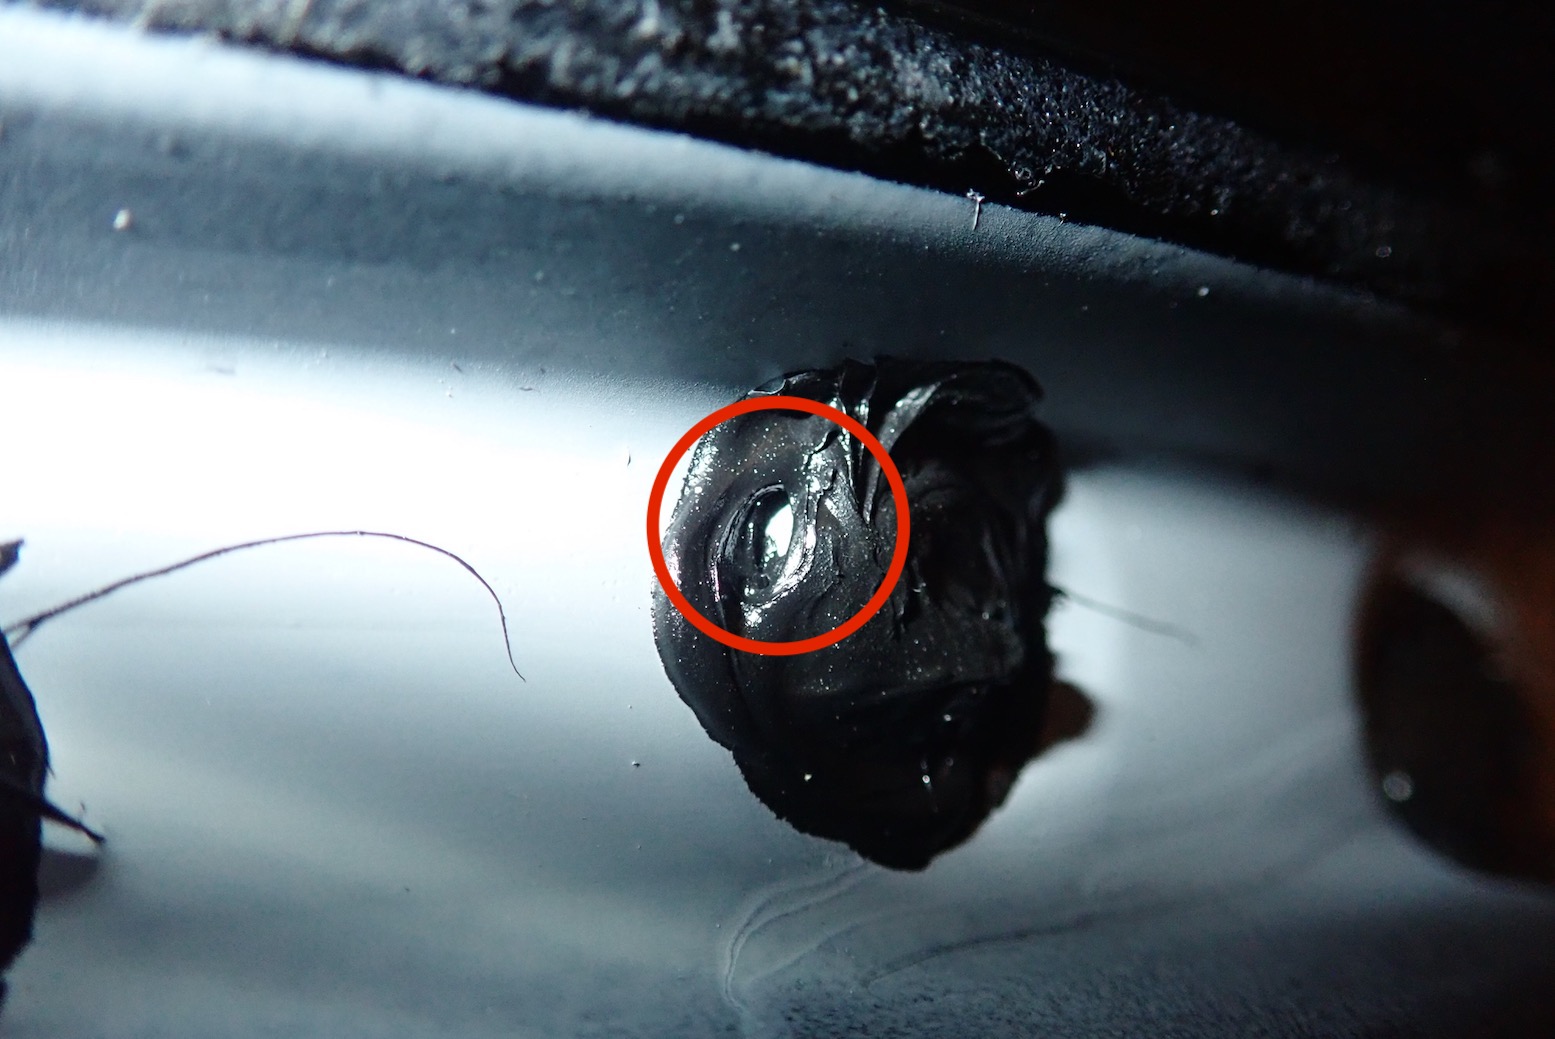
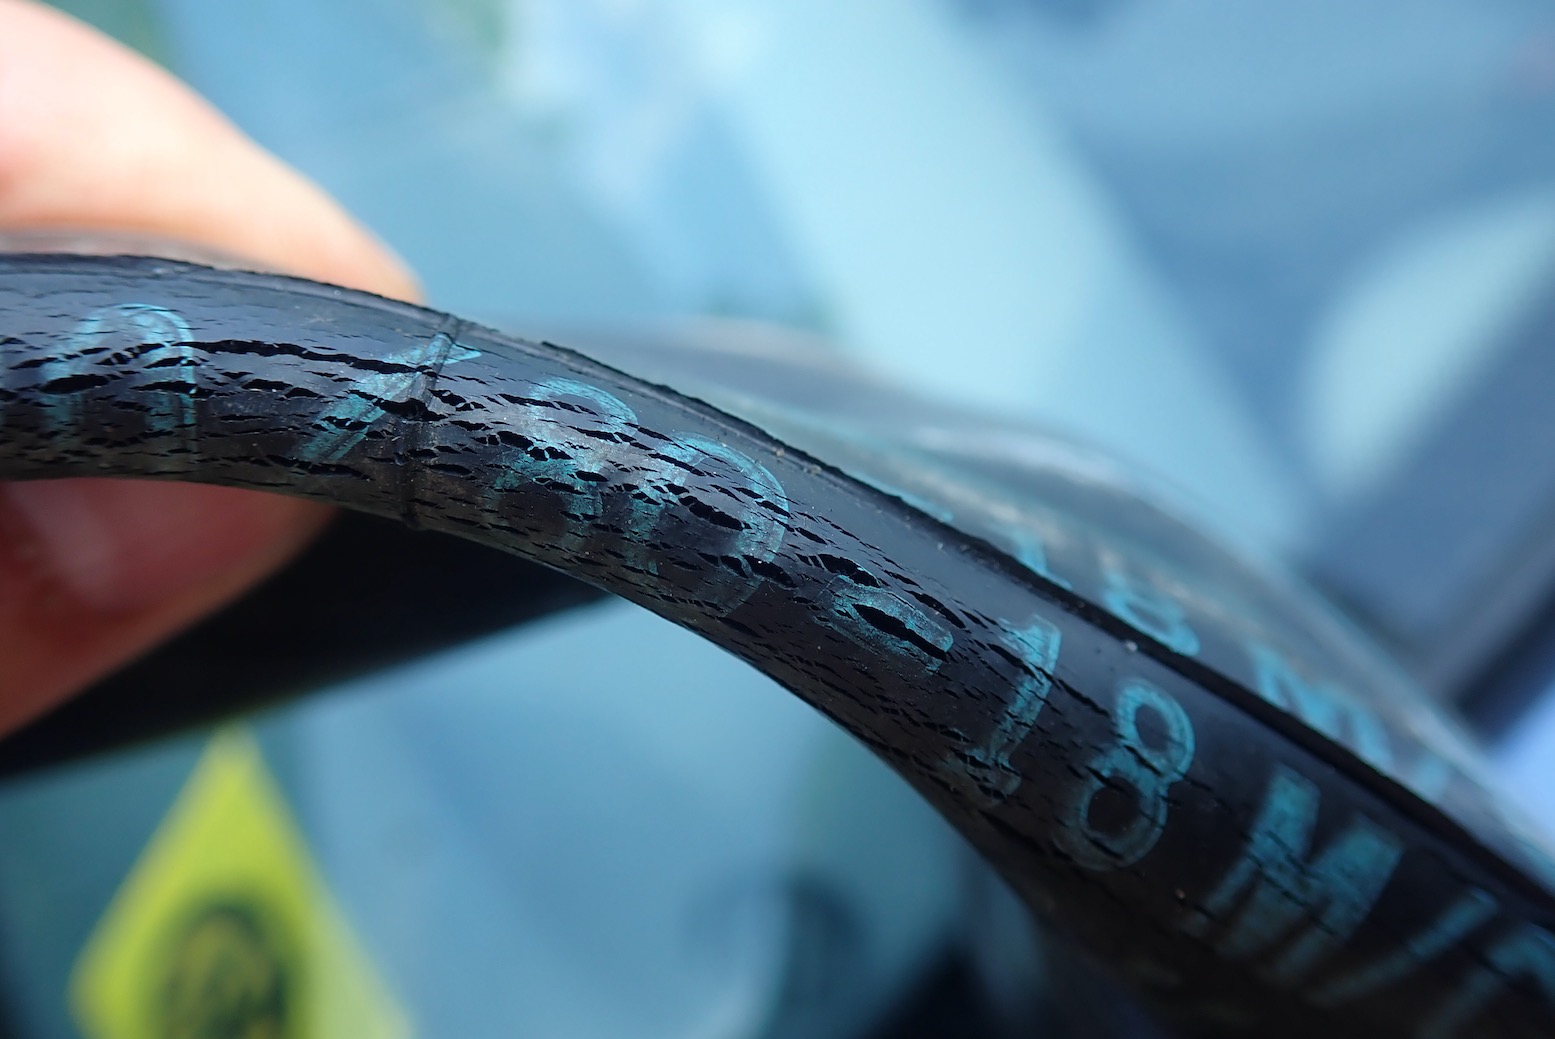
On the 19er I spotted a millimeter wide hole in the Puraflex (left) which the dab of Superglue underneath had also not sealed. I’ve not used Puraflex before – it’s not like a bathroom sealant and is PU, not silicon, based. Not sure what that means – the stuff was good and hard but had shrunk a bit as it dried. Perhaps the hole had opened up on curing, or perhaps I should have inspected each blob with a magnifying glass or given them all a pre-emptive second swipe of Puraflex once dried – that would take another day to dry. On the 21 incher I couldn’t see the hole under the corresponding spoke’s blob which underlines the idea of a second coat or even a continuous band. So I second-coated all the blobs and left it for another night. Weeks later the 21 (left at home) had lost just a couple of pounds so I’ll take that as a win.
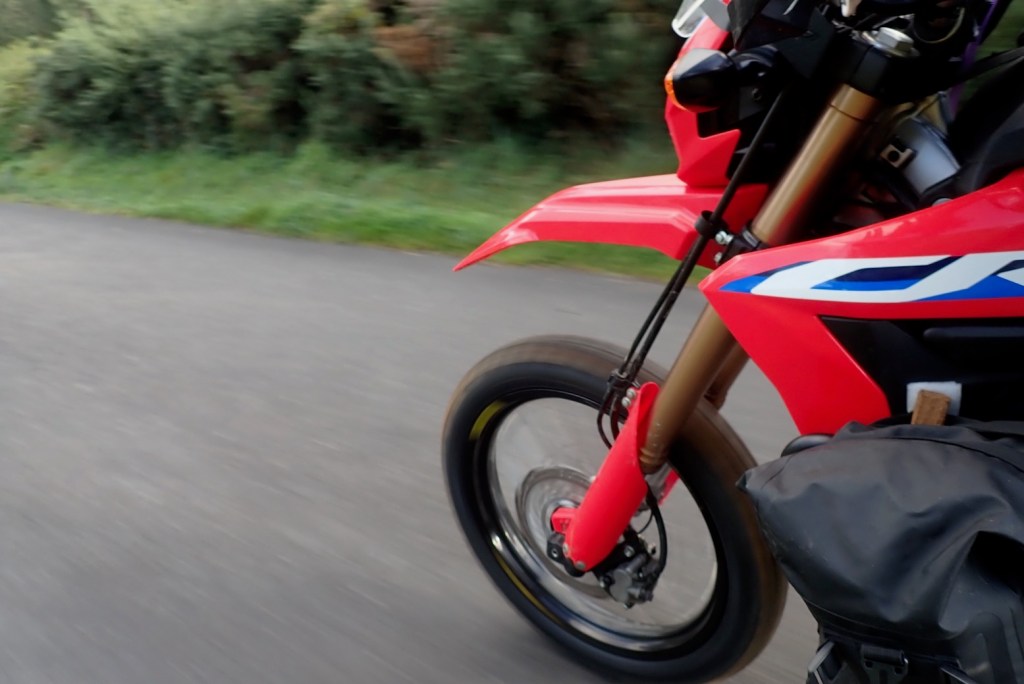
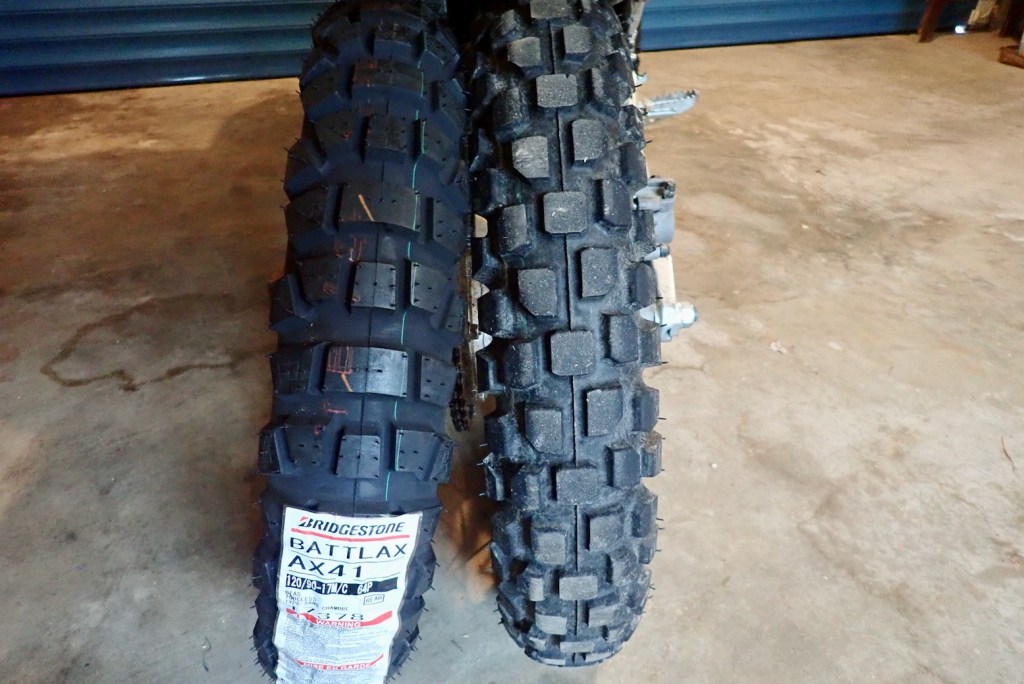
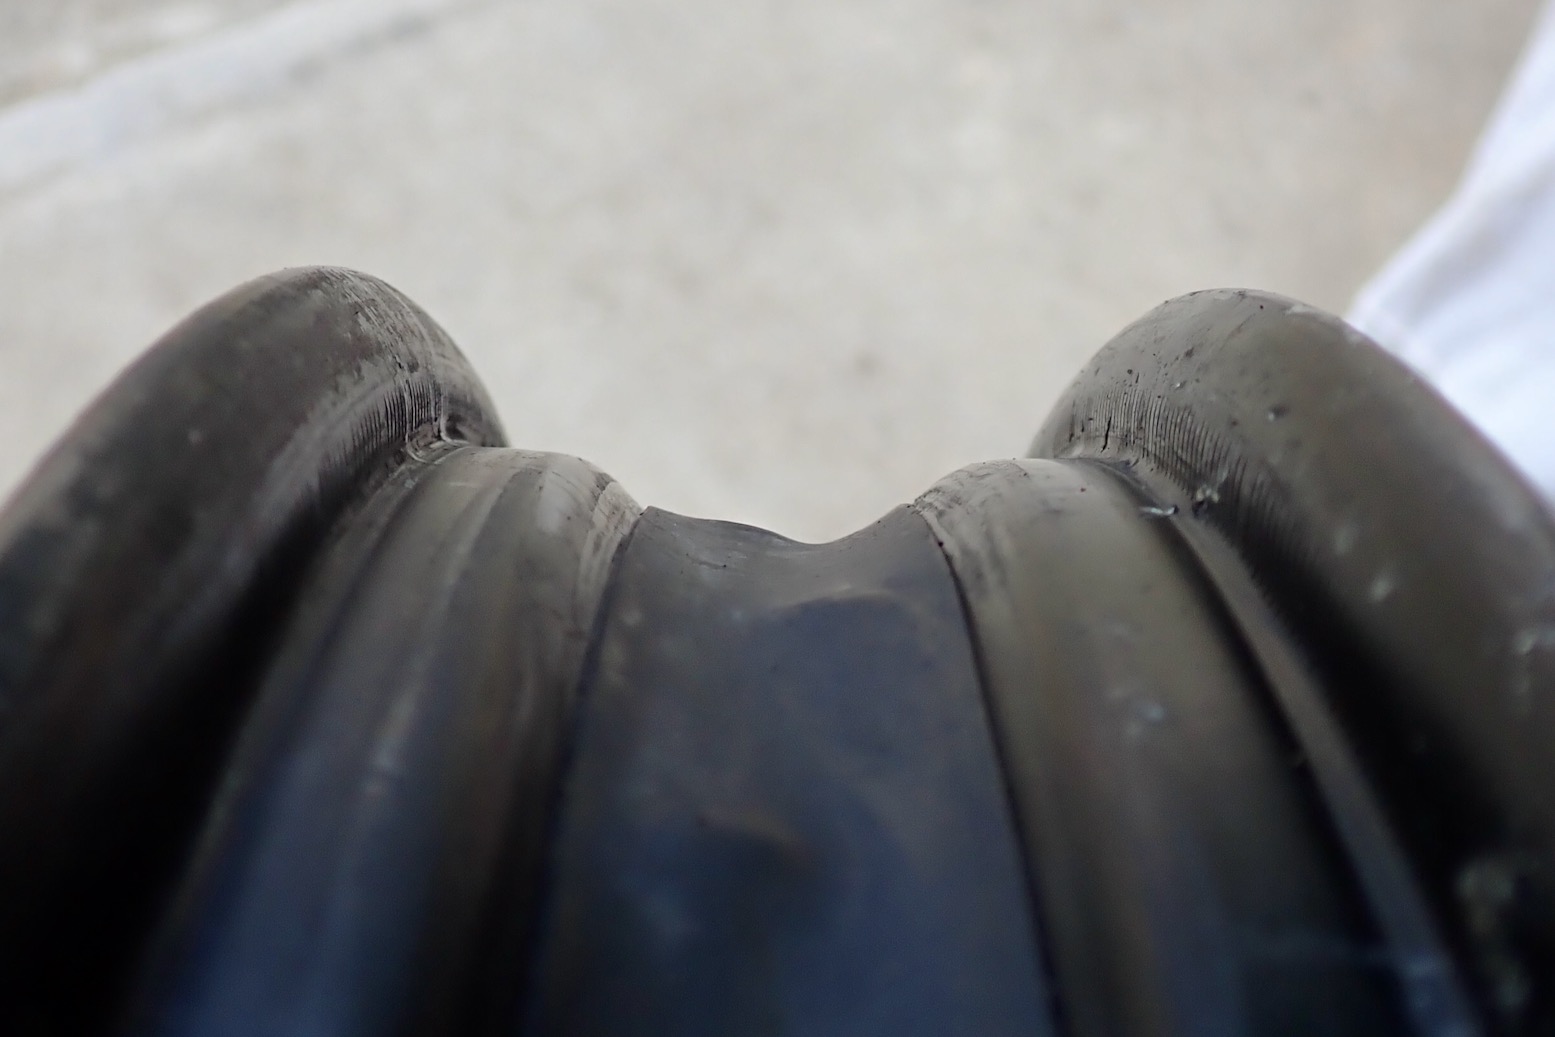
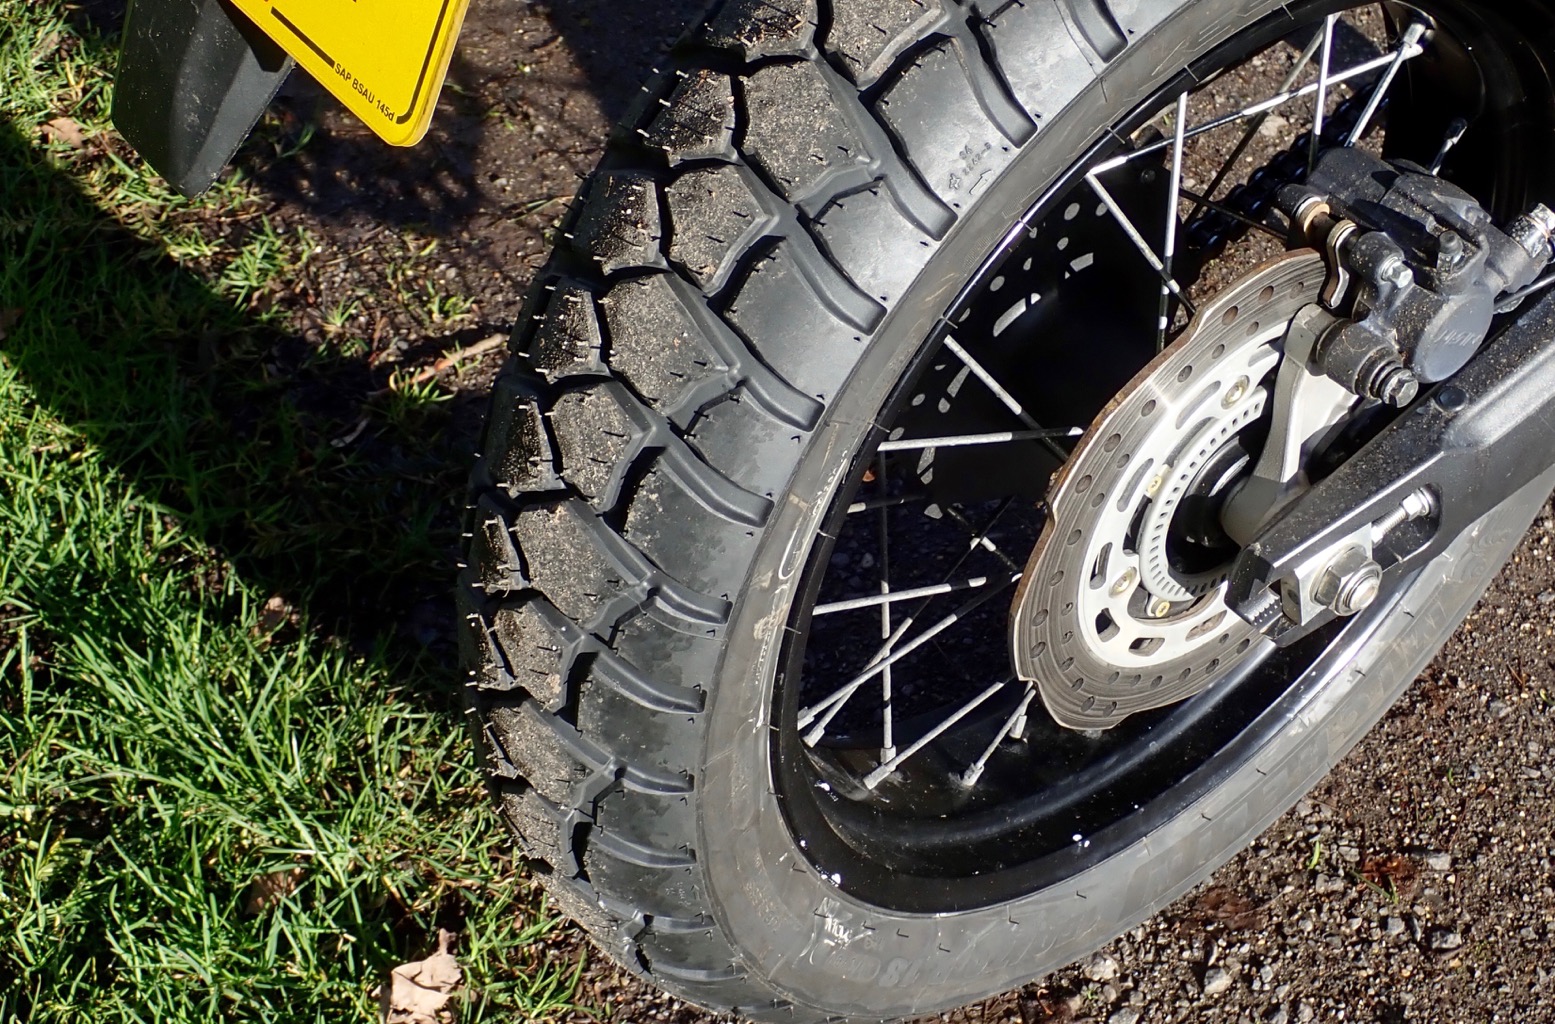
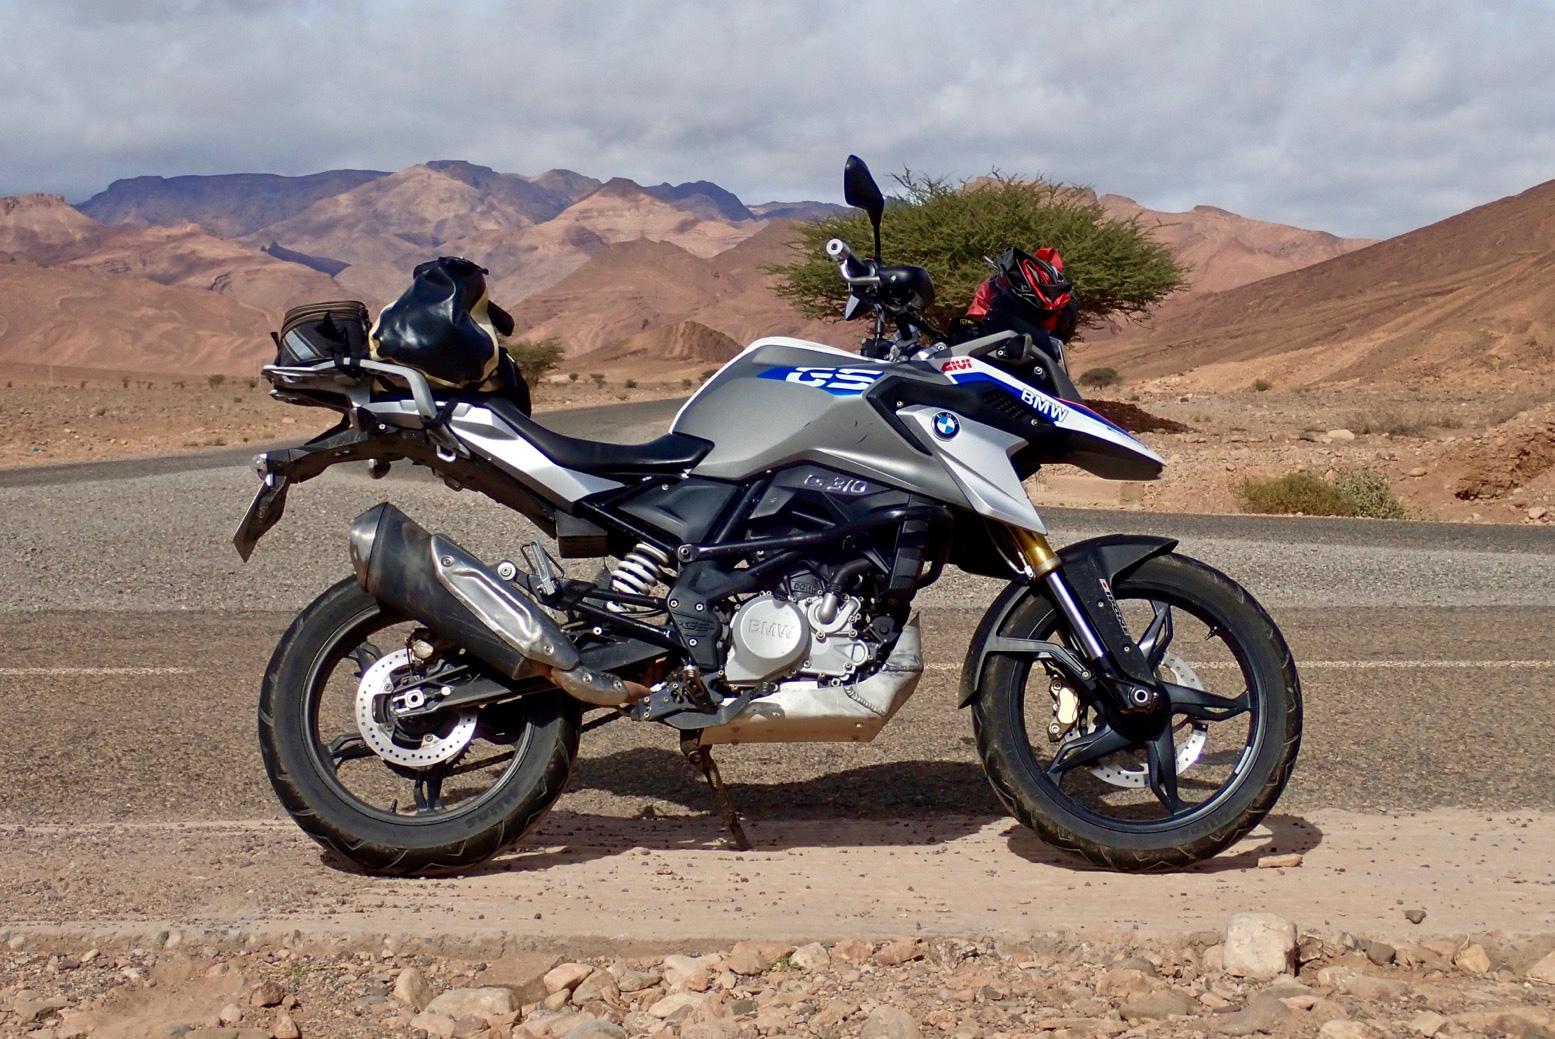
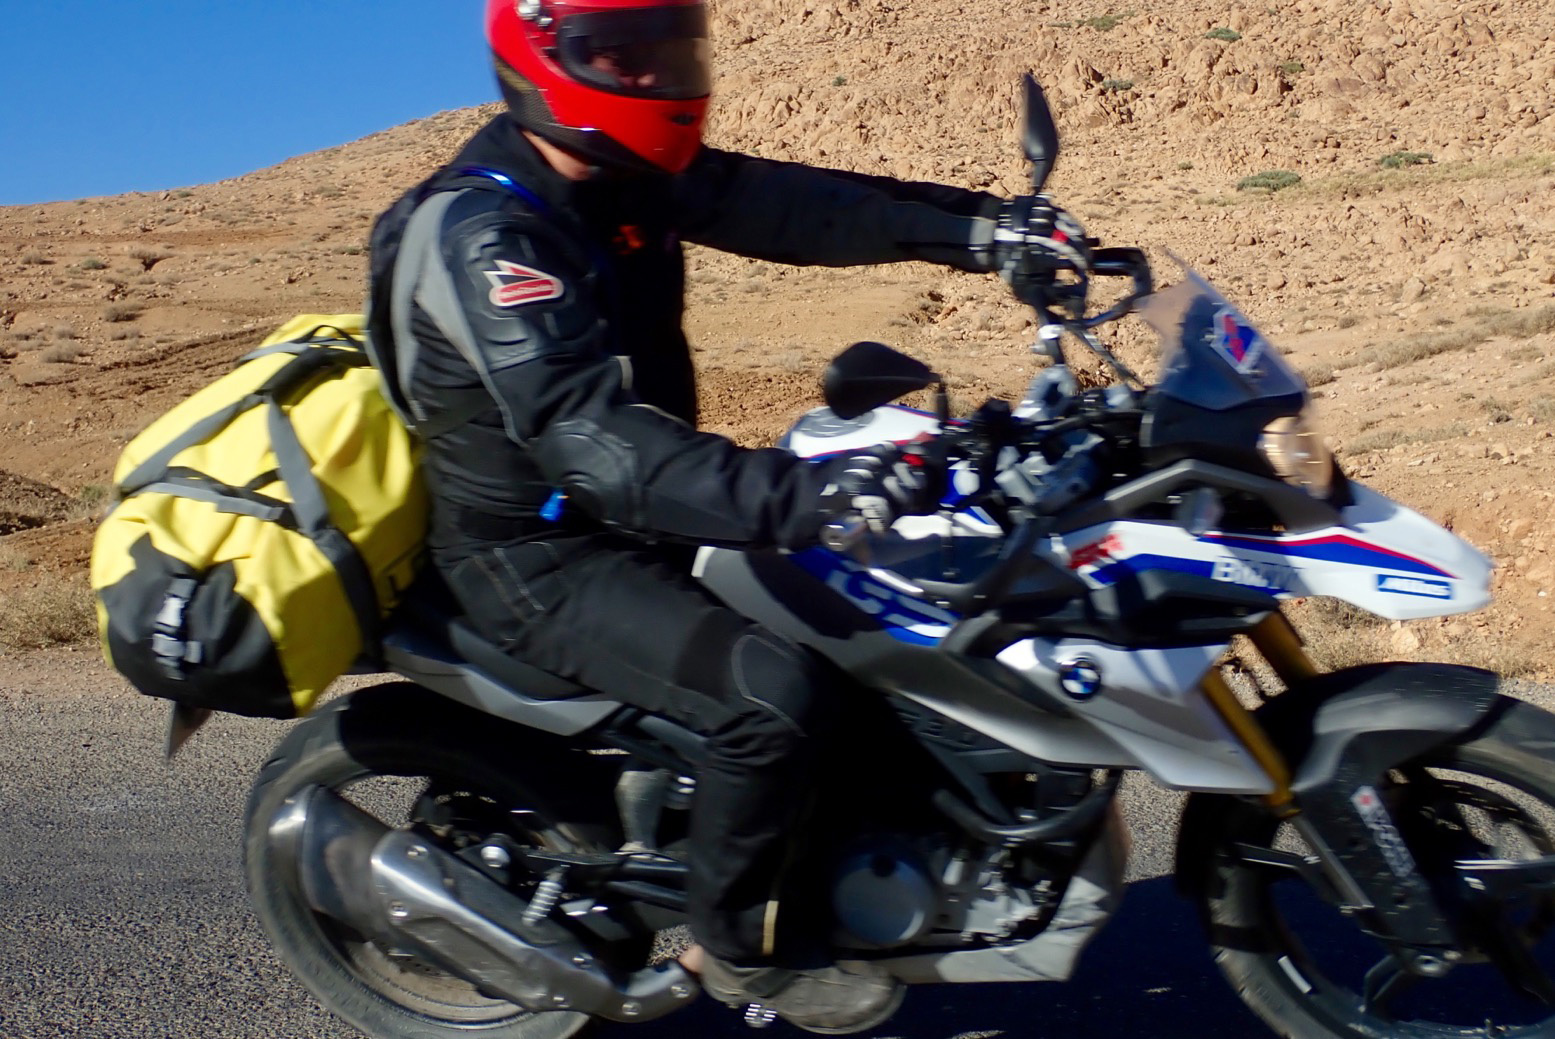
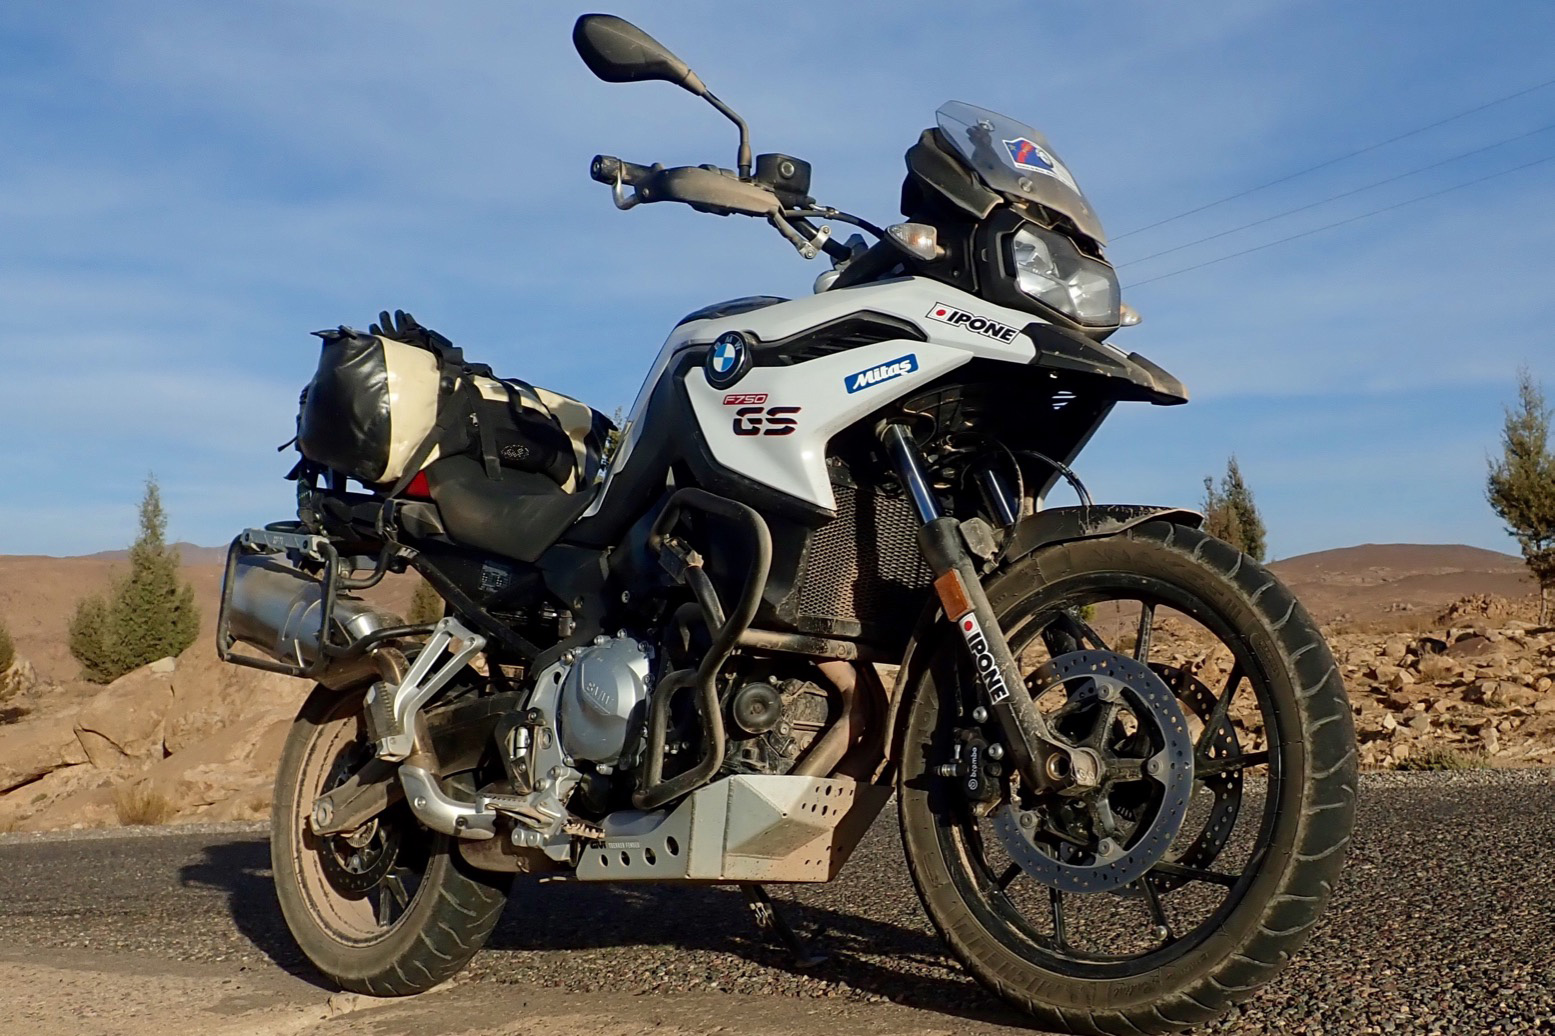
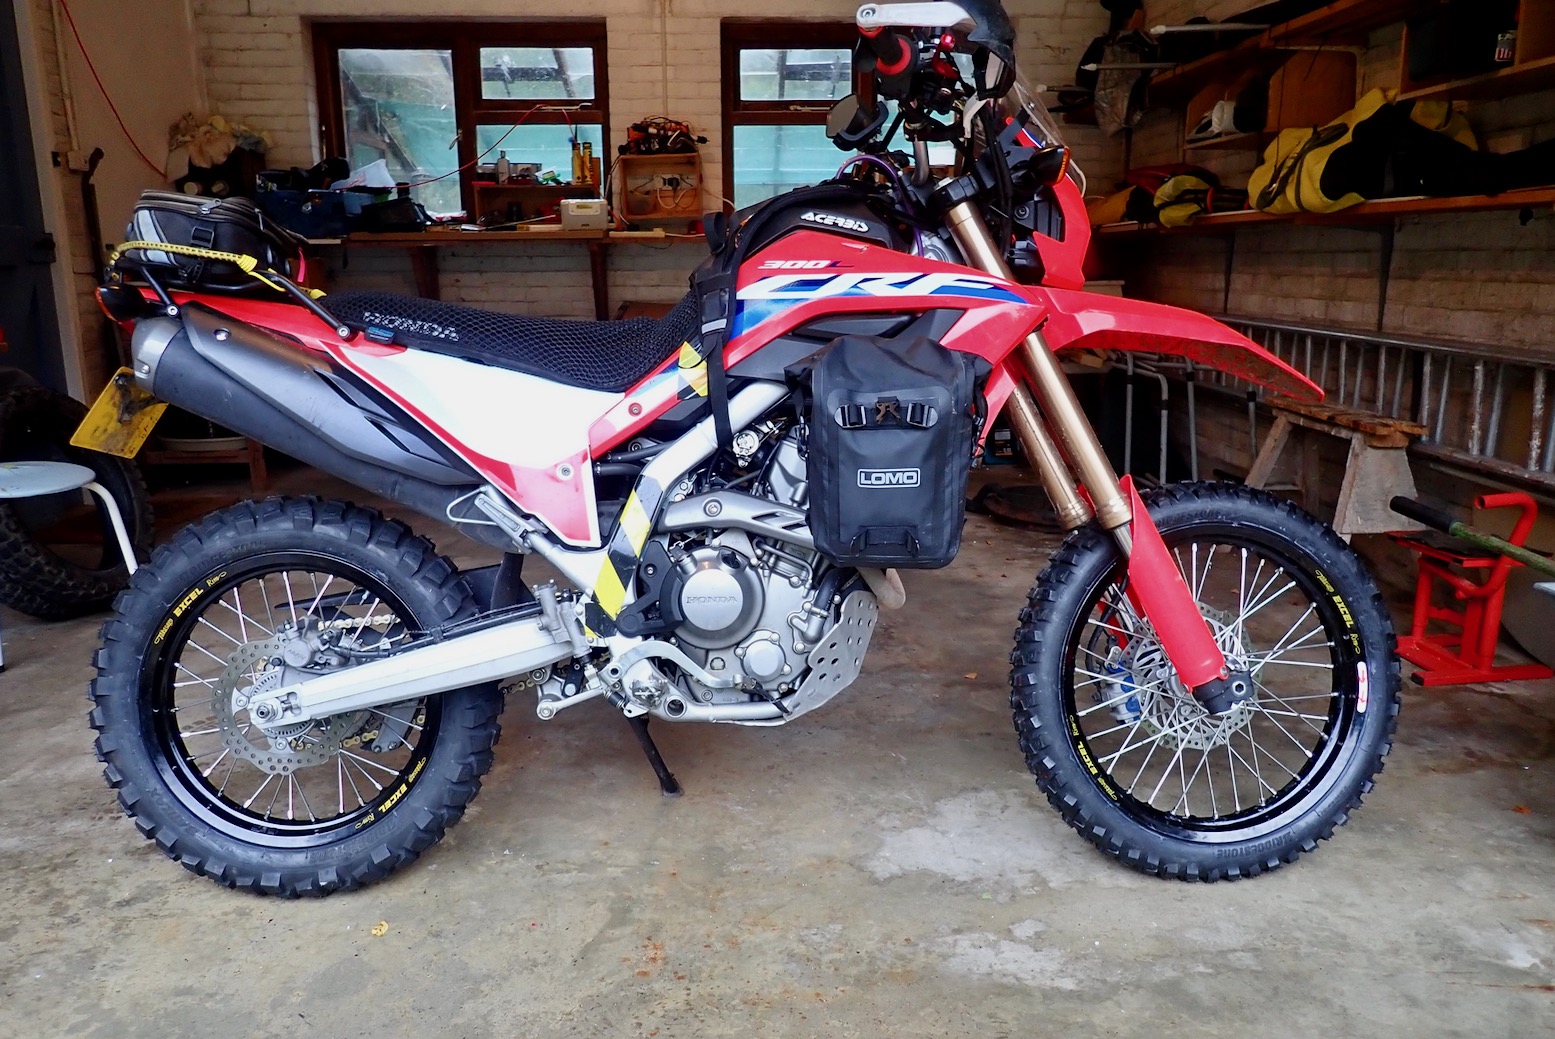
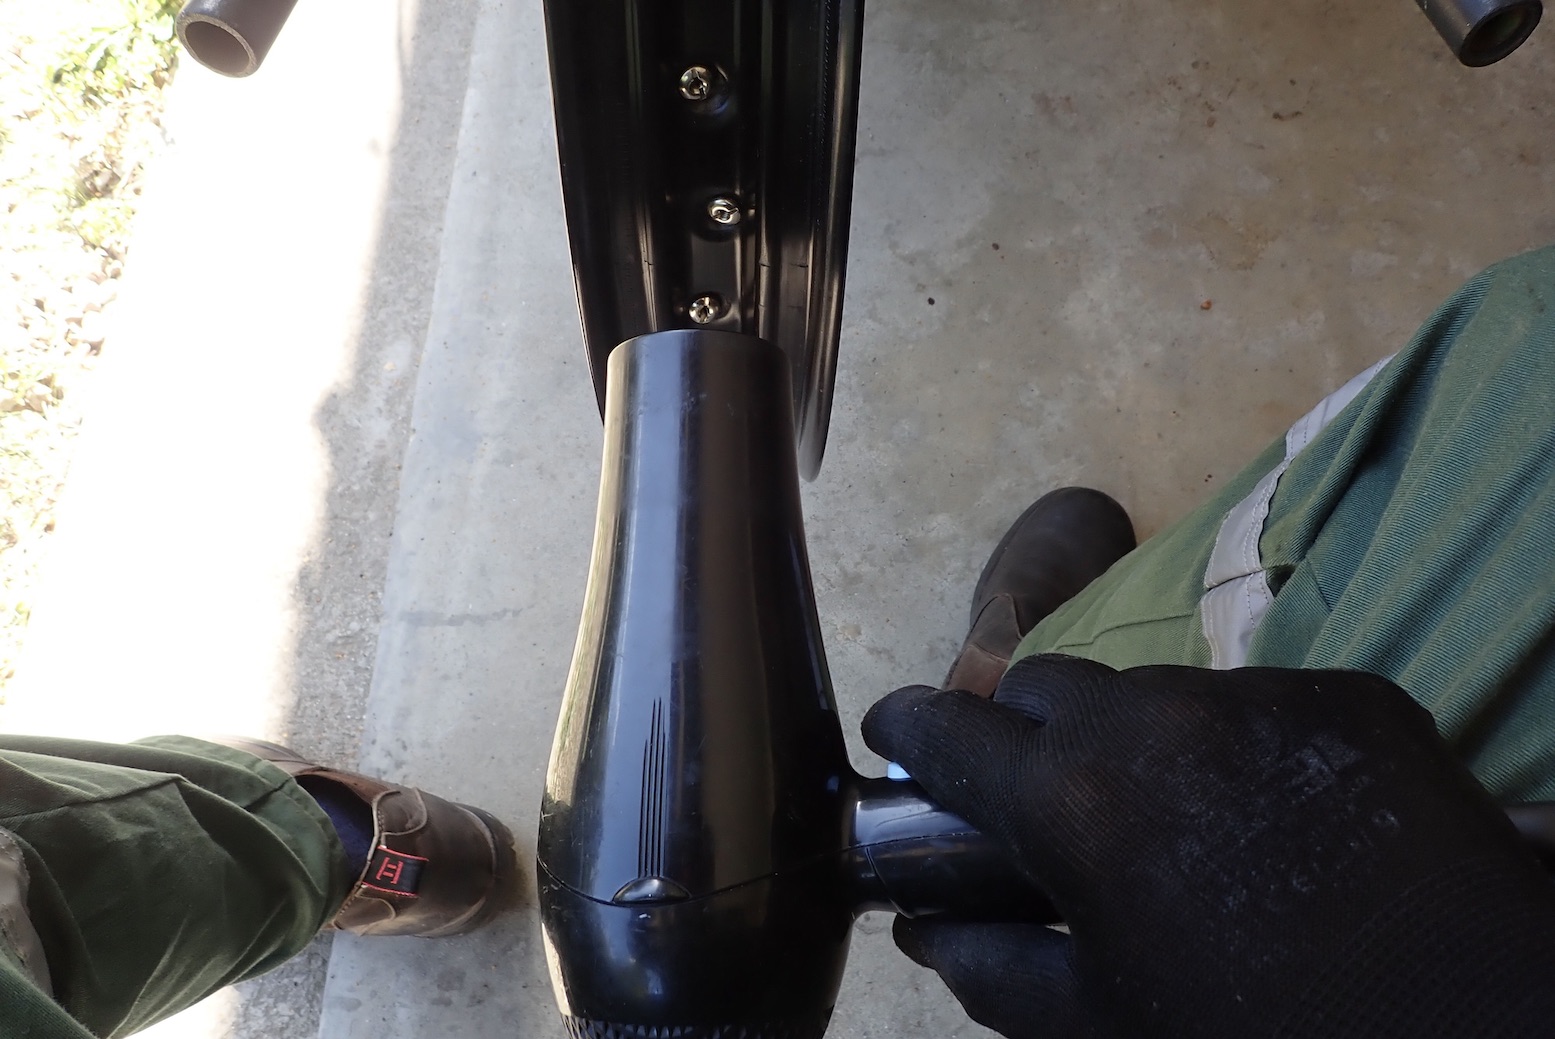
All bolted on and first thing I noticed was the bike leant the same on the side stand, so clearly was no lower. Not that bothered as it’s one less thing to meddle with and the narrow saddle means my feet touch down OK. I guess the AX41s have high sidewalls; good for off-road and rim protection.
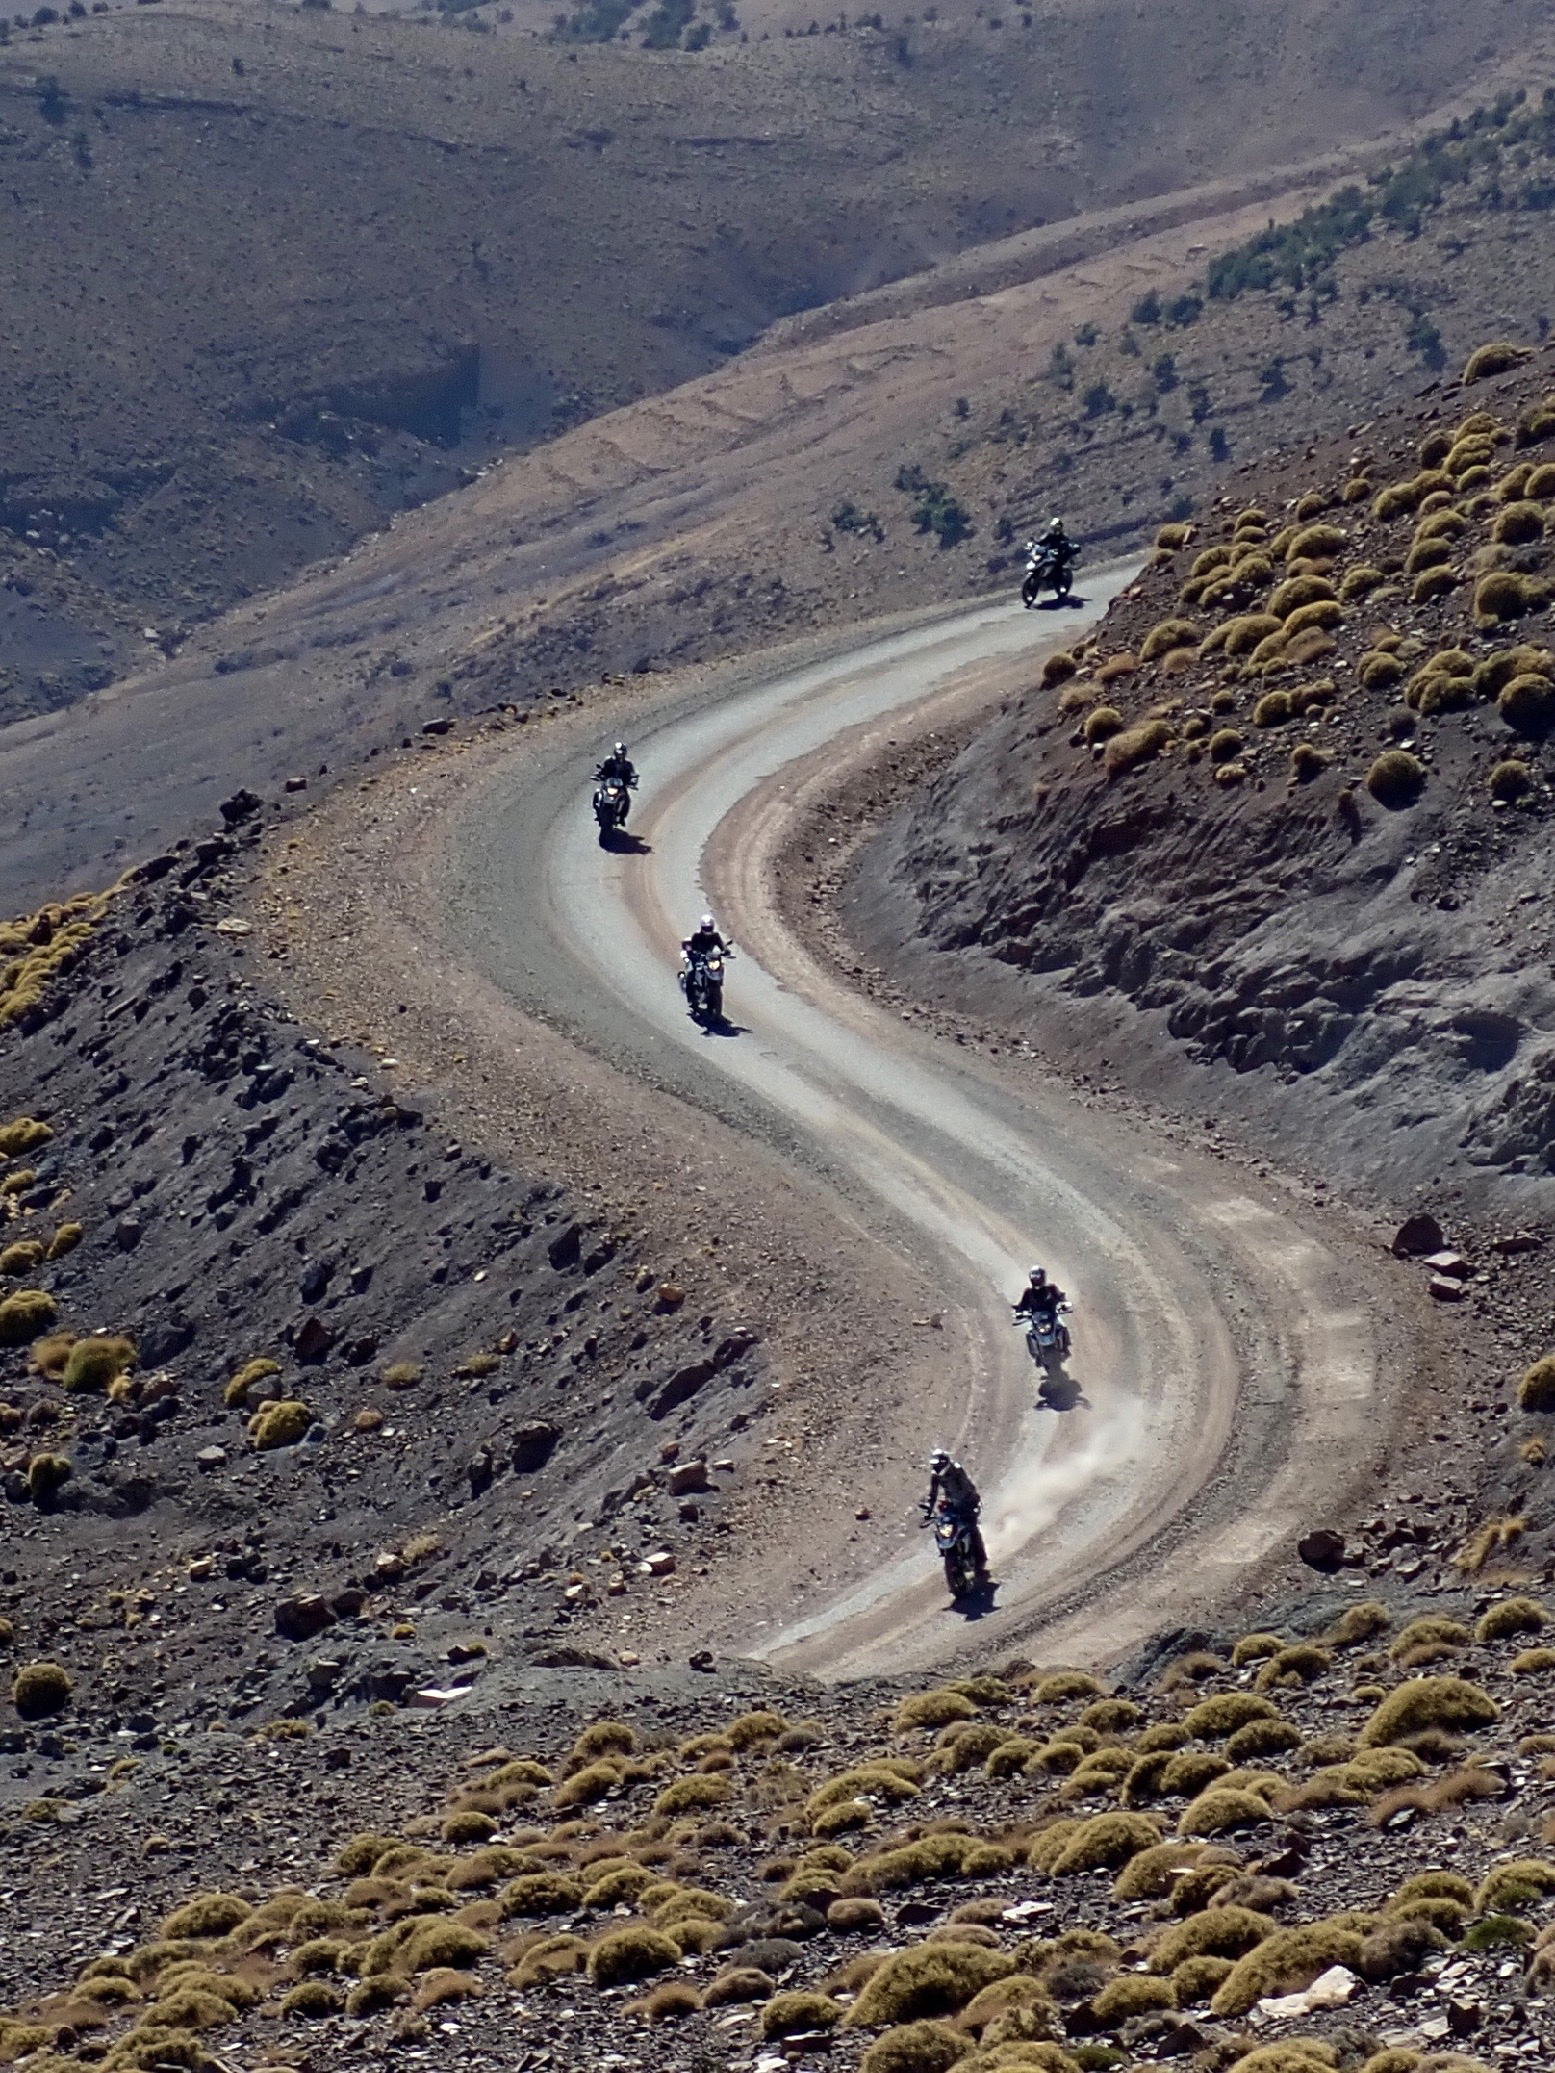
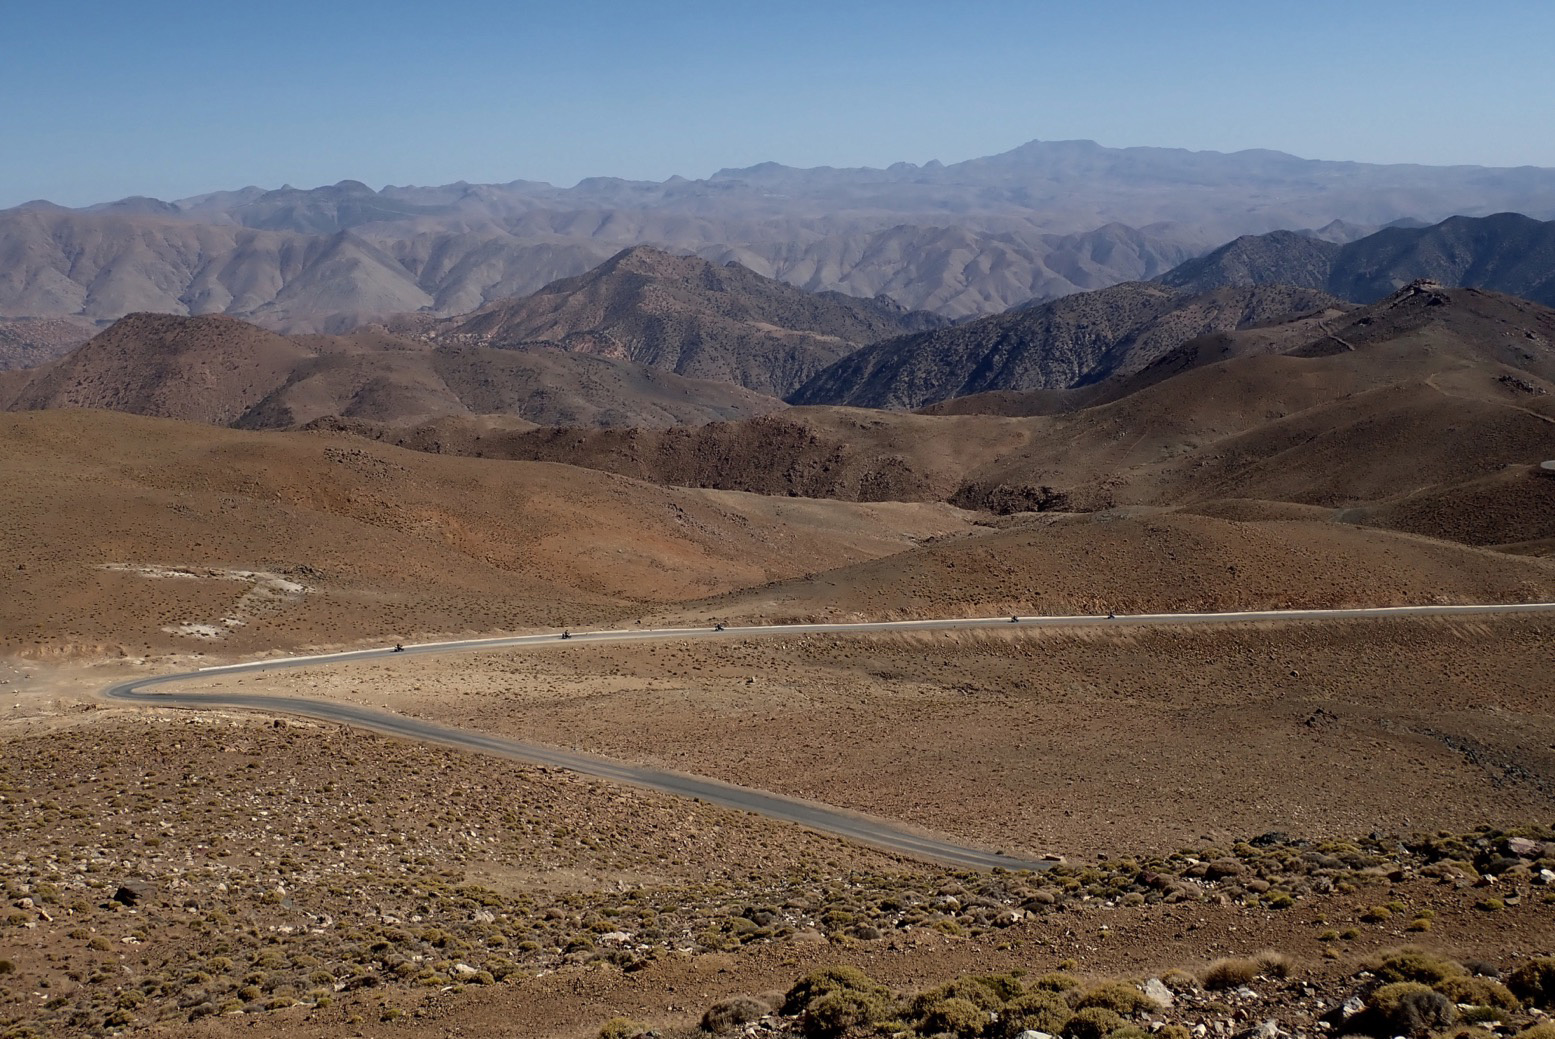
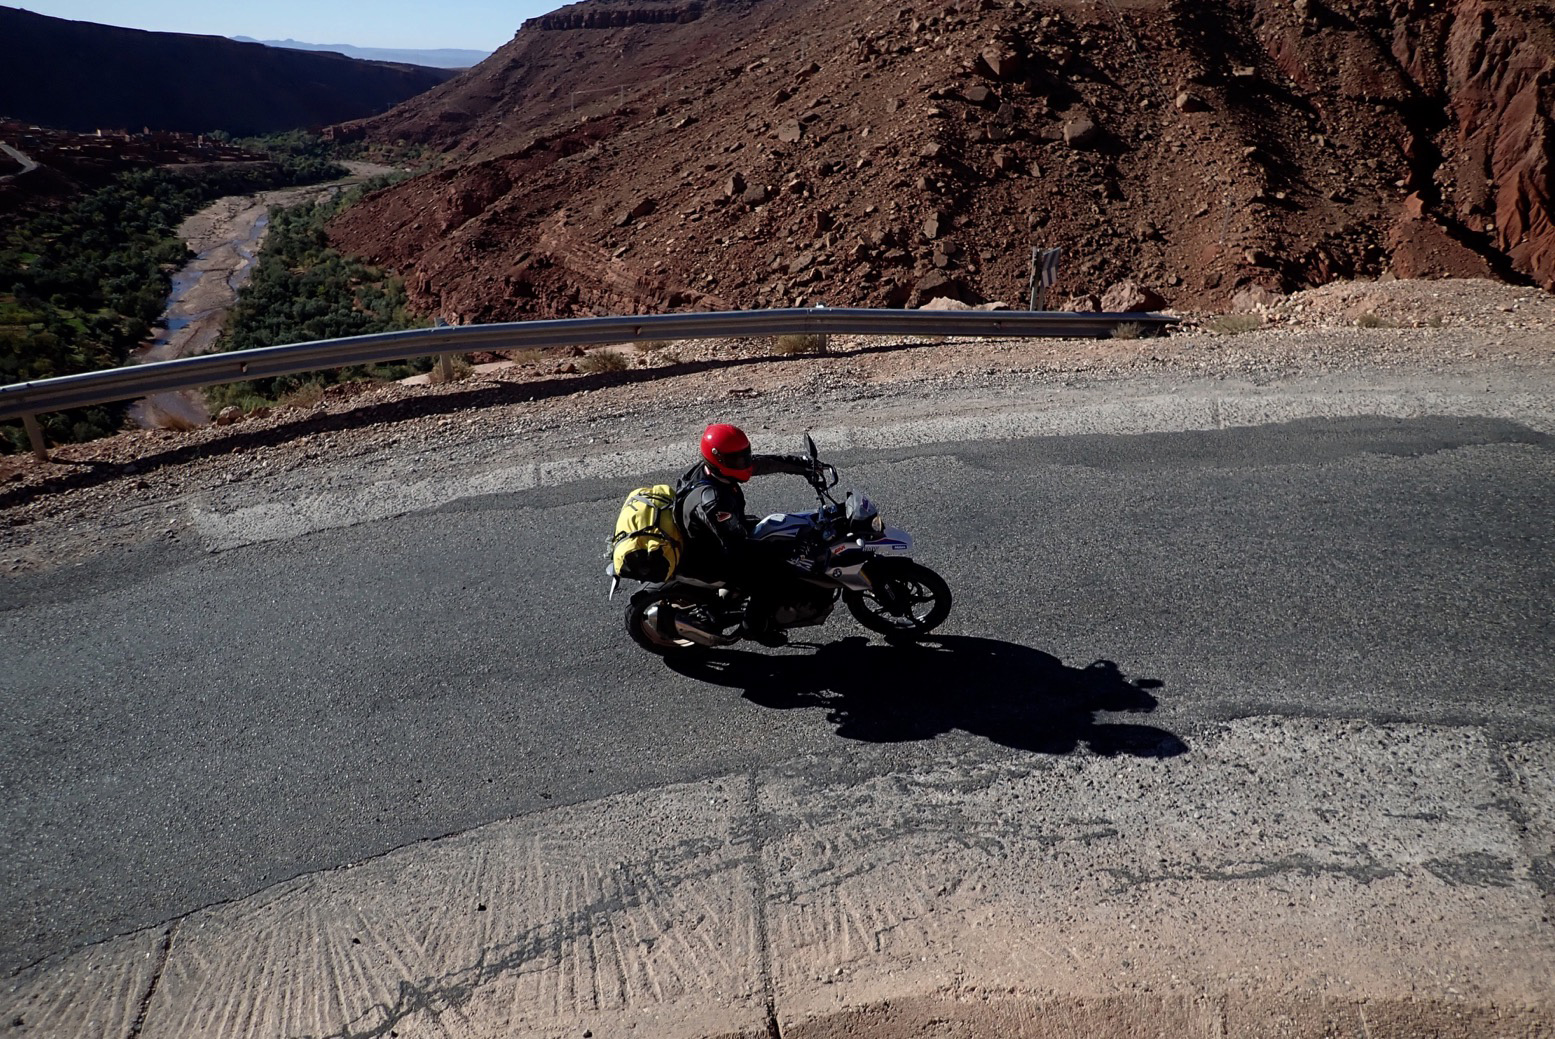
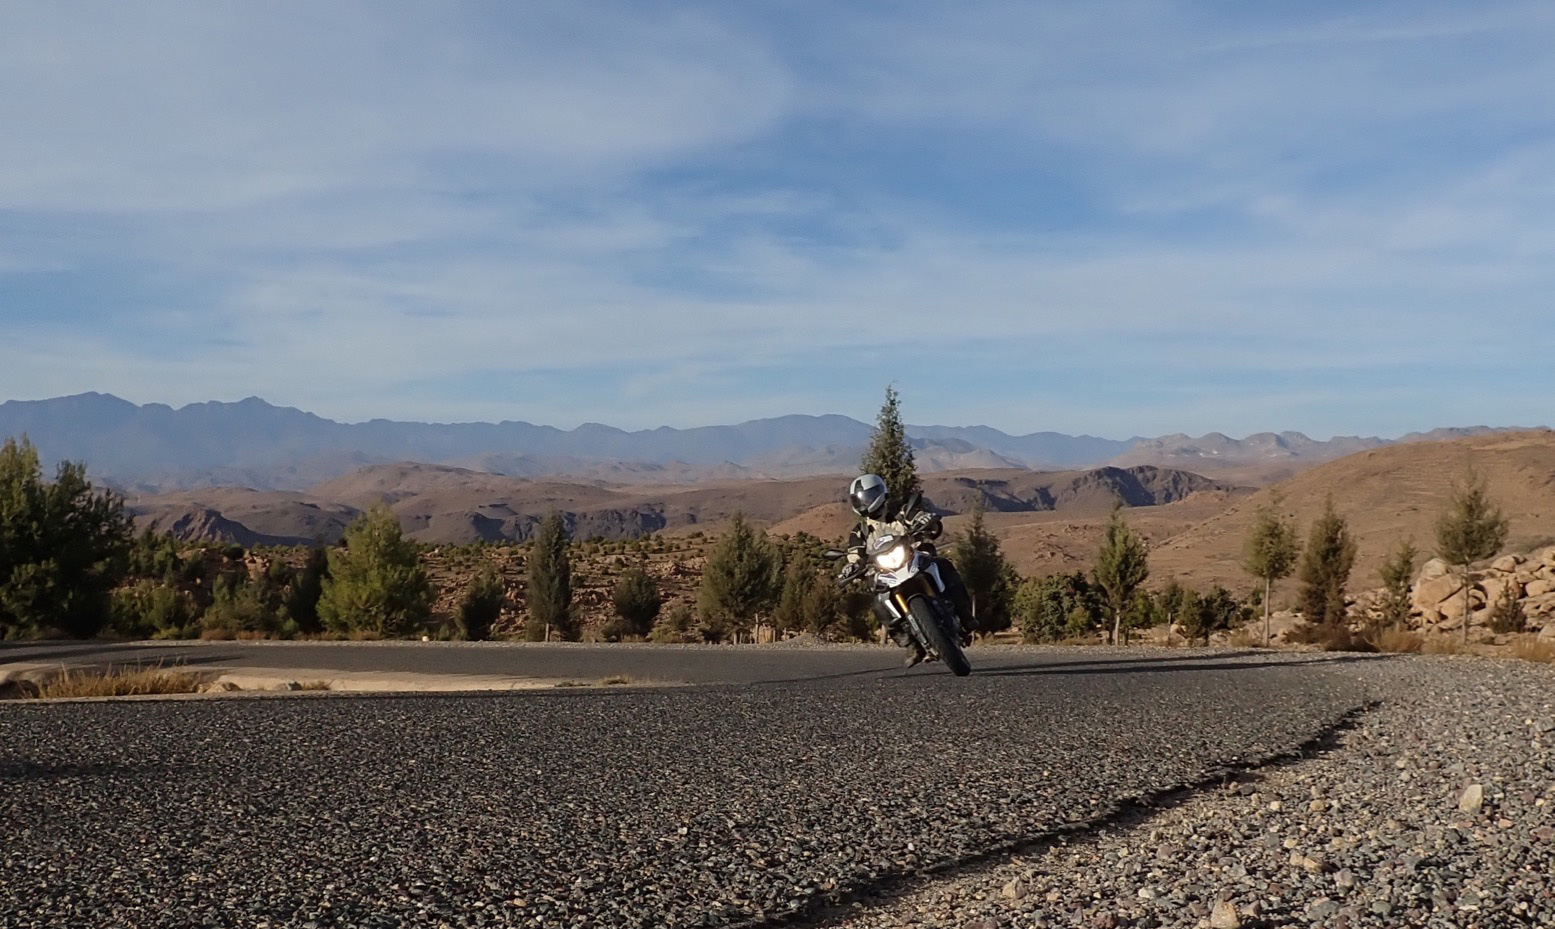
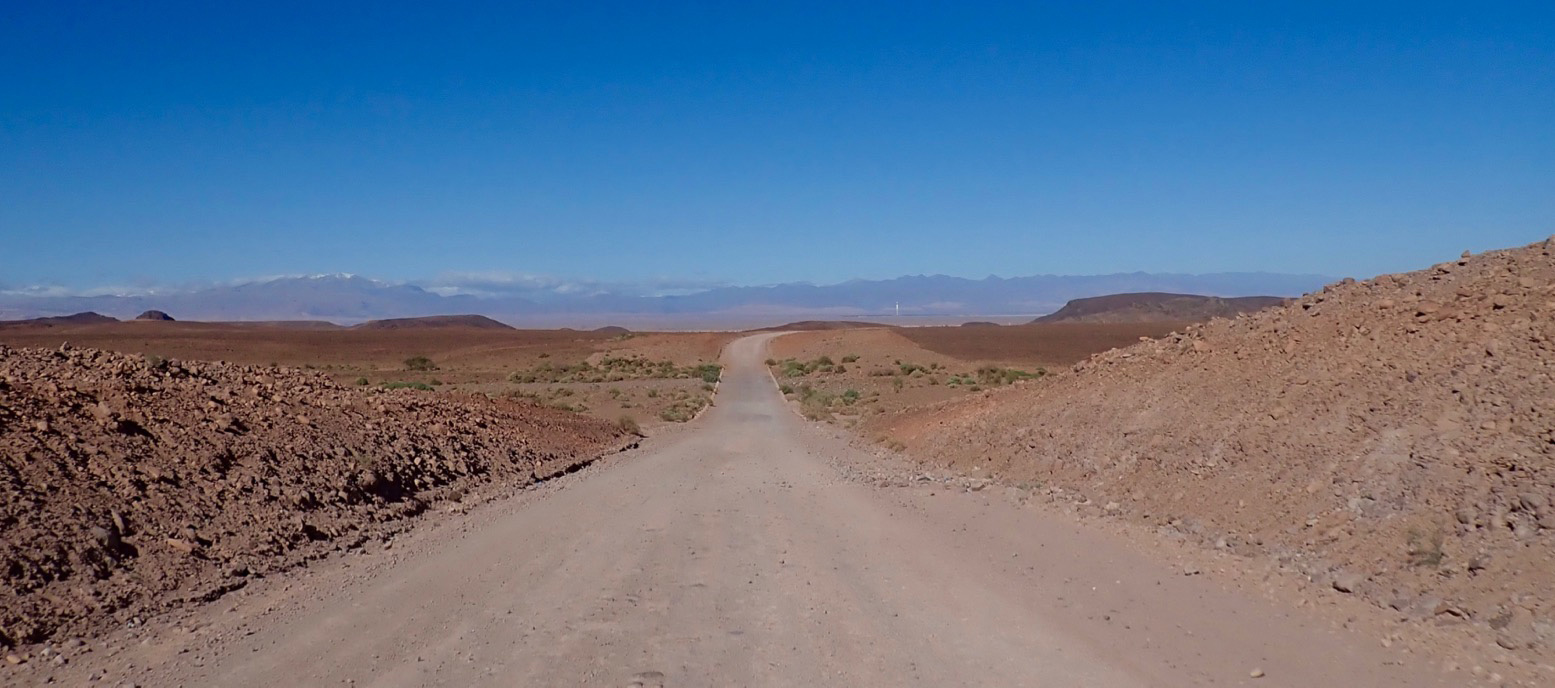
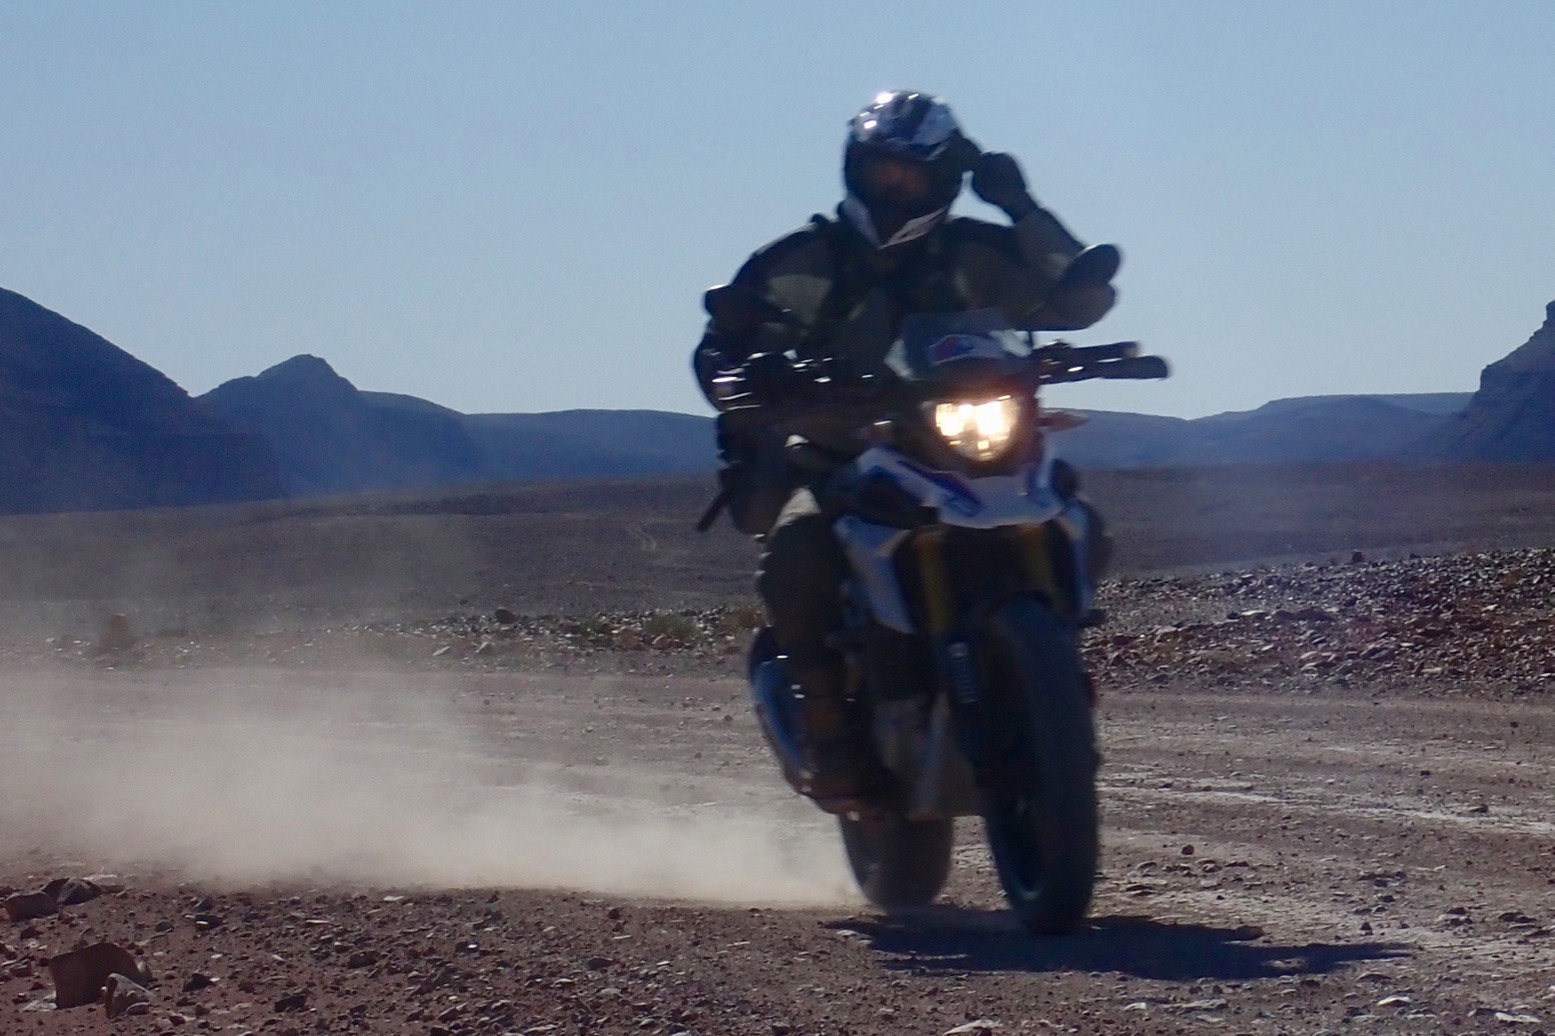
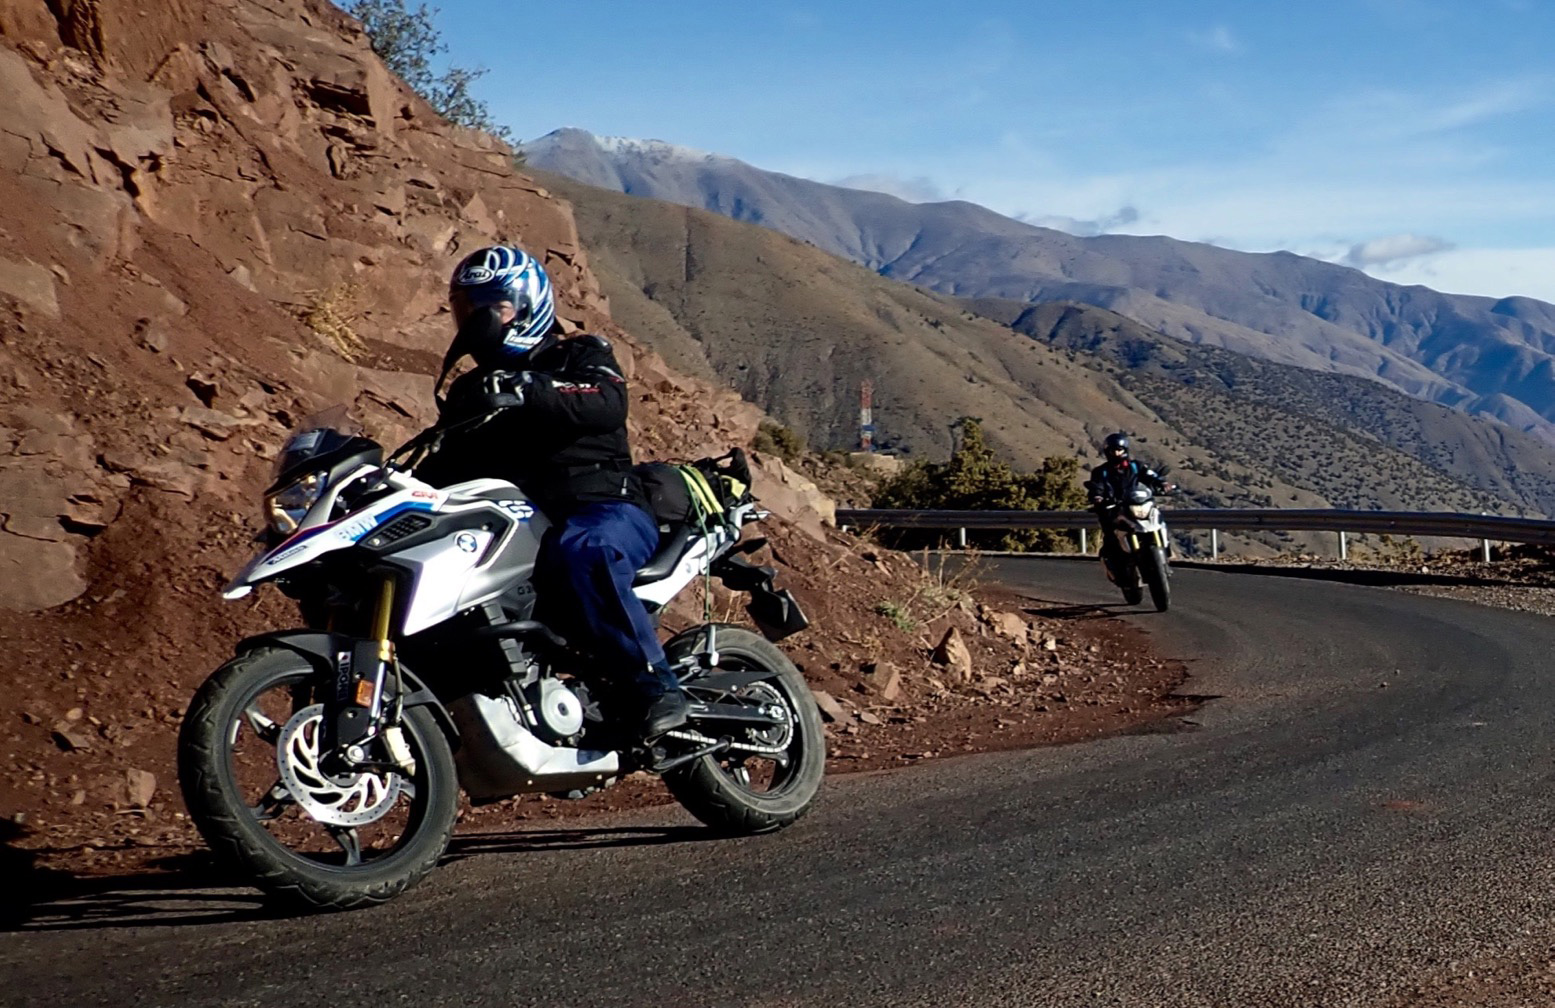
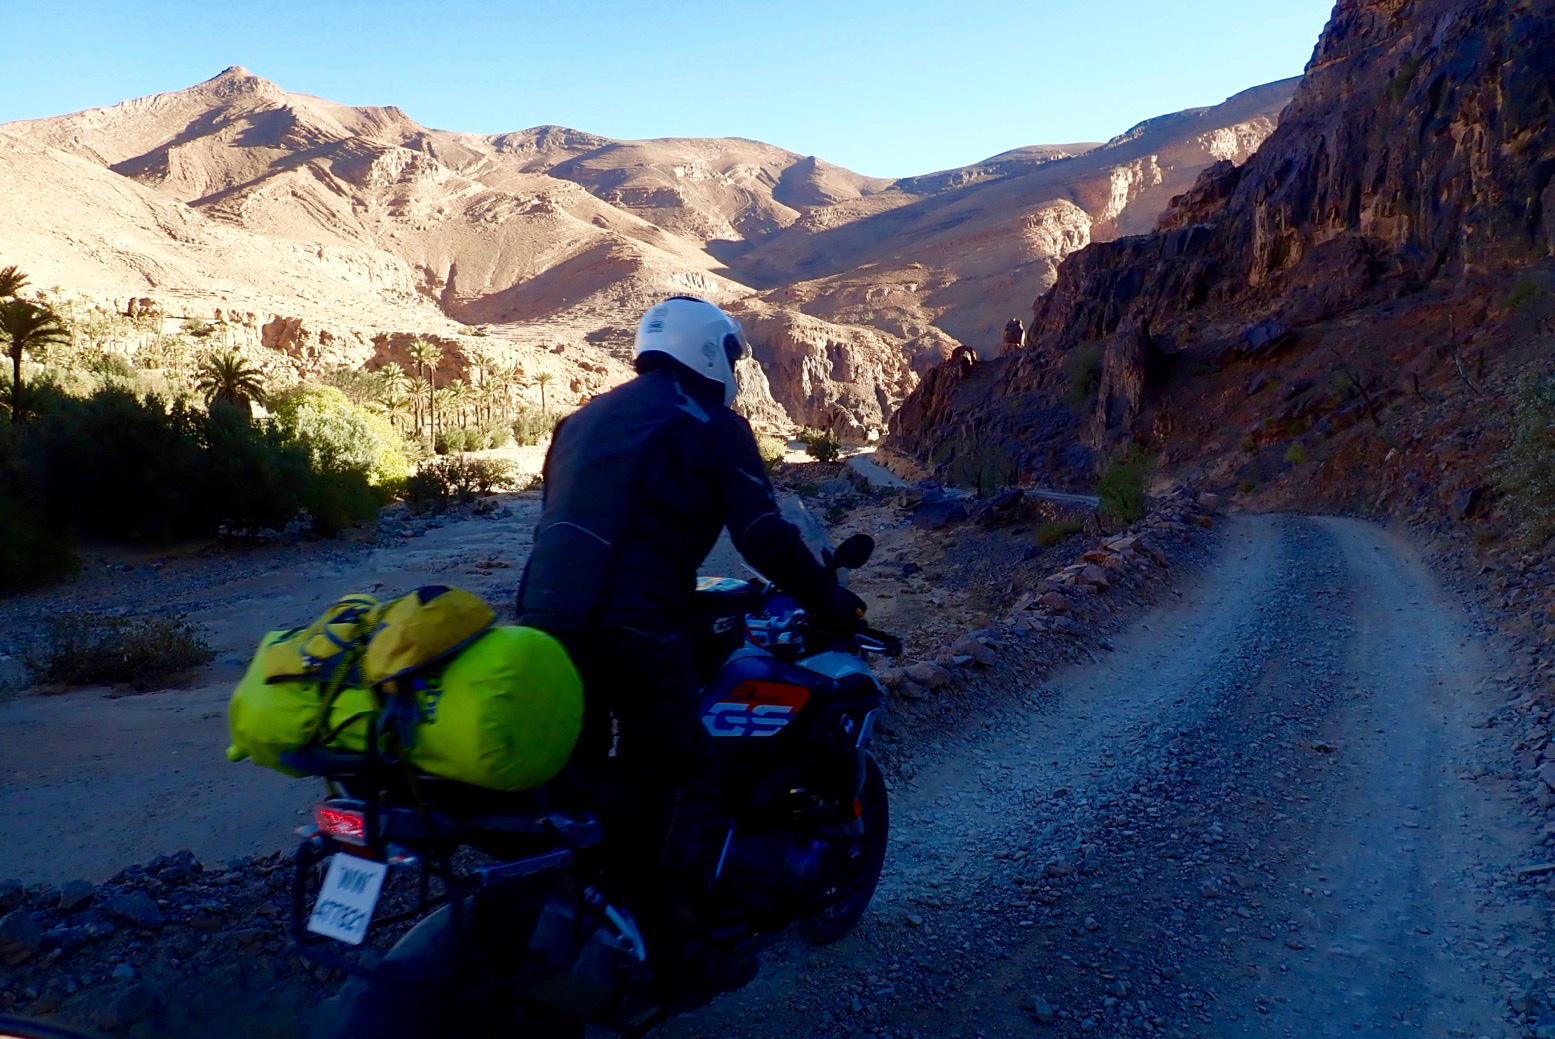
I went for a lovely evening ride. On the road the fresh tyres didn’t exhibit any anomalies, nor did the handling feel much different. I think it might take a more spirited ride through some bends to highlight any improvements in the steering. In Morocco I know just the spot, several in fact. The 19 is only 7mm wider than the 21, while the back 17-incher is the same as the stock IRC.

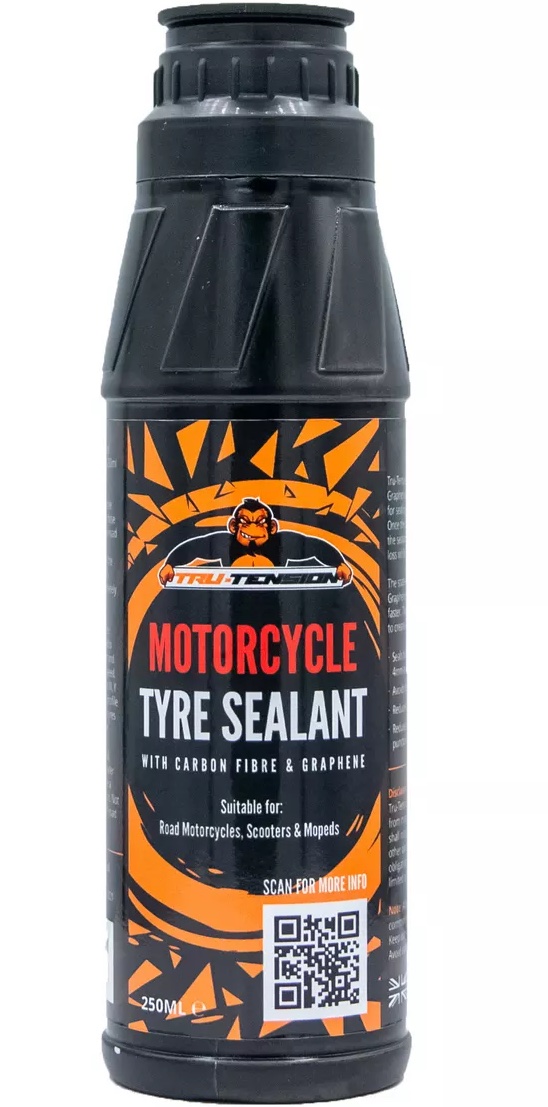
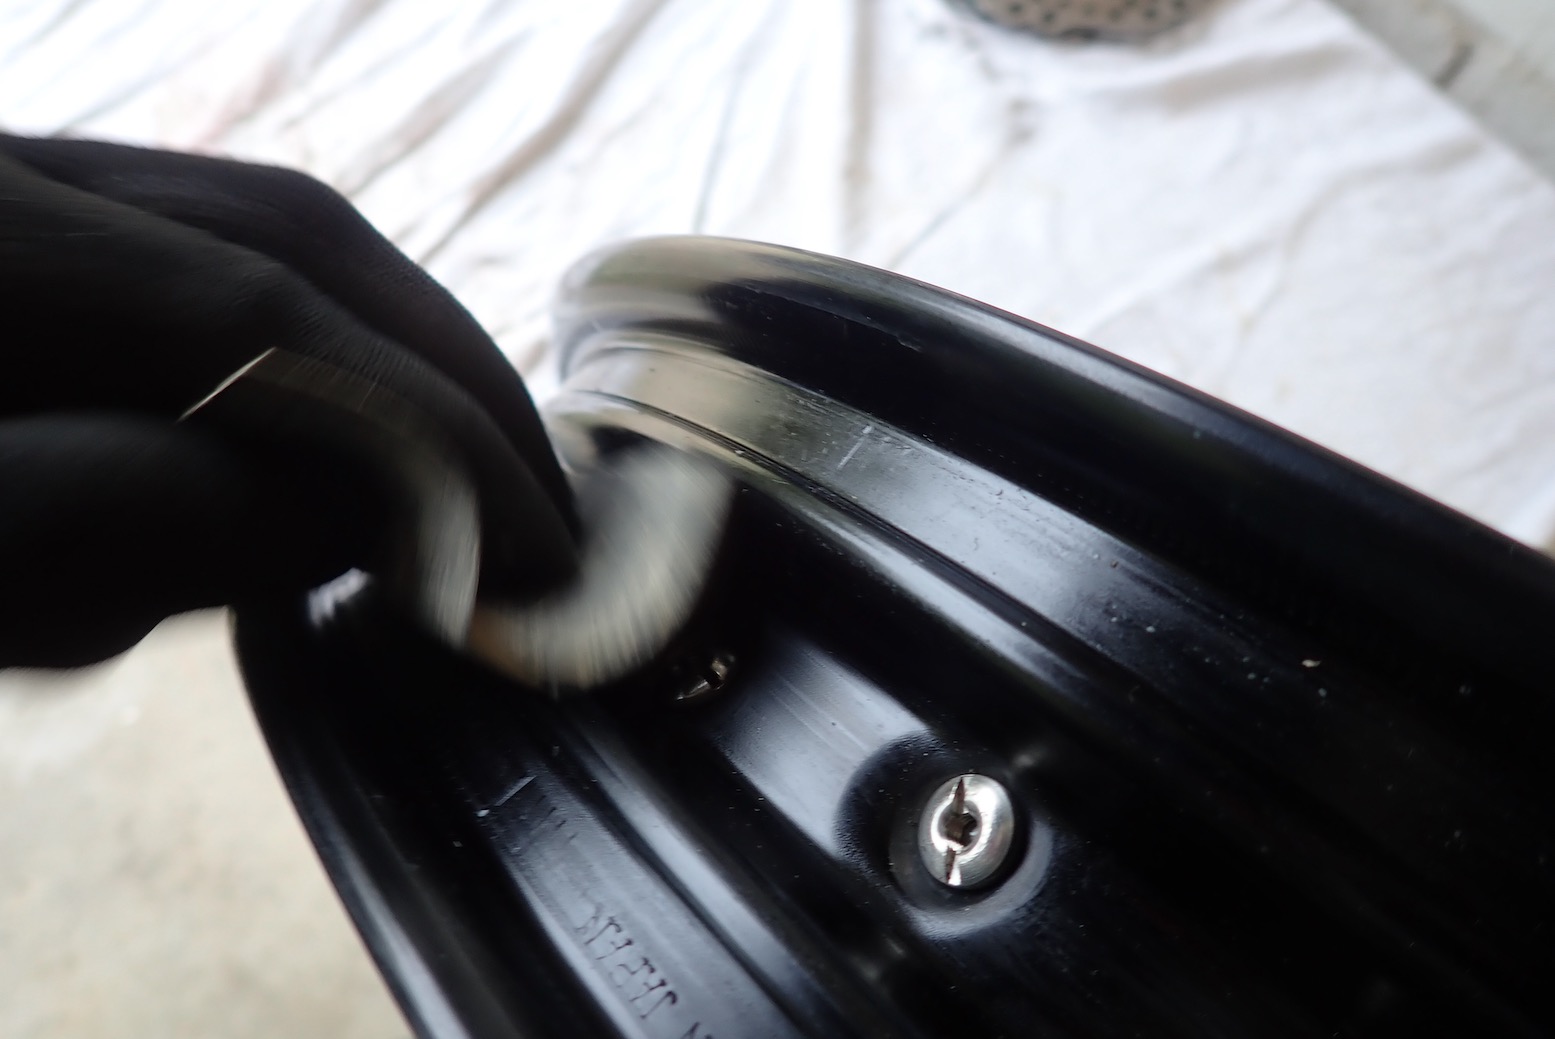
In Halfords I’d bought some Slime for later, but also carefully applied a shot of similar Tru-Tension tyre sealant (left) in the front wheel, squeezing it up into the valve set at 12 o’clock so it would dribble down along the rim’s well. This stuff contains ‘carbon fibre and graphene’ which are such cutting edge compounds I fell for it. Slime or similar have helped permanently seal other imperfect MYO TL jobbies, even though it shouldn’t be necessary if the job has been done well.
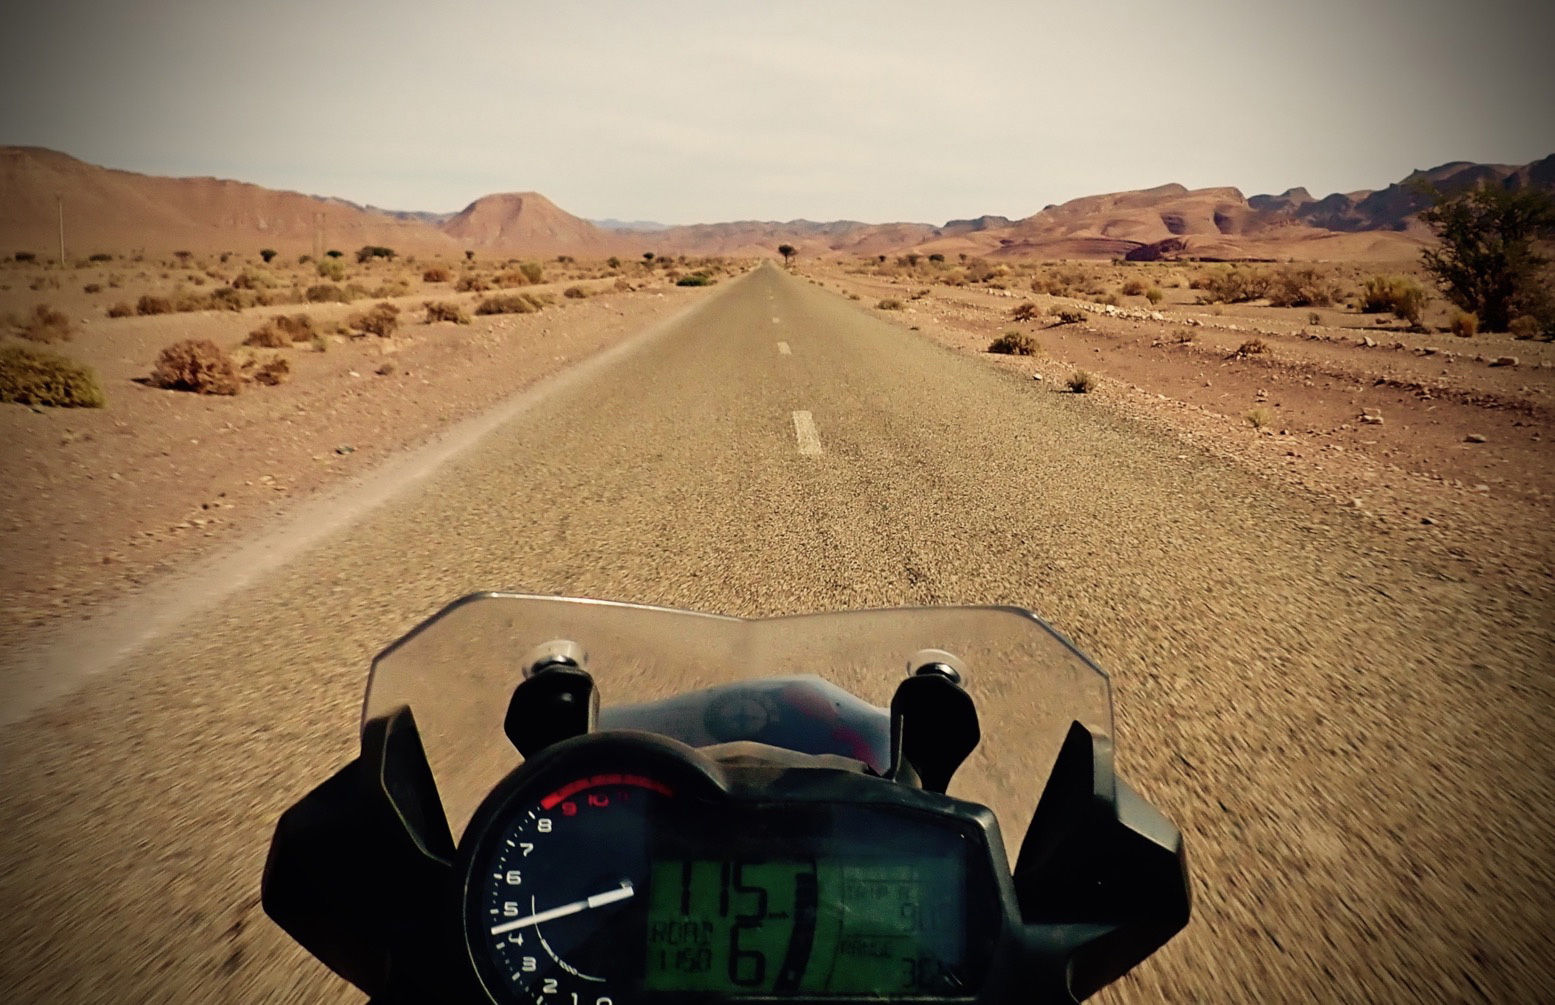
I rode back to London and then on to Fly & Ride near Gatwick. Whatever fuel I picked up in Poole, the CRF (now with 2200 miles on the clock) belted along like it was on methanol, holding an indicated 70 much of the time. But both tyres were still losing a bit of overnight air so I may have to spend a day in Morocco sorting it all out. I’ve packed Puraflex, some more Slime and a pair of tubes and levers.

Robbo, a fellow MYO TL experimenter does wonder whether Slime etc can soften rim sealants. These goops work under pressure but also centrifugally, getting flung out onto the inside of the tyre where punctures occur, but away from the hand-sealed rim well where, in my case, it’s as needed.
Much as Sixties psychedelic guru Tim Leary proposed that enlightenment and self-awareness must eventually be sought without the aid of drugs, so MYO TL should endeavour to seal without Slime. Tune in. Glue Up. Ride out.

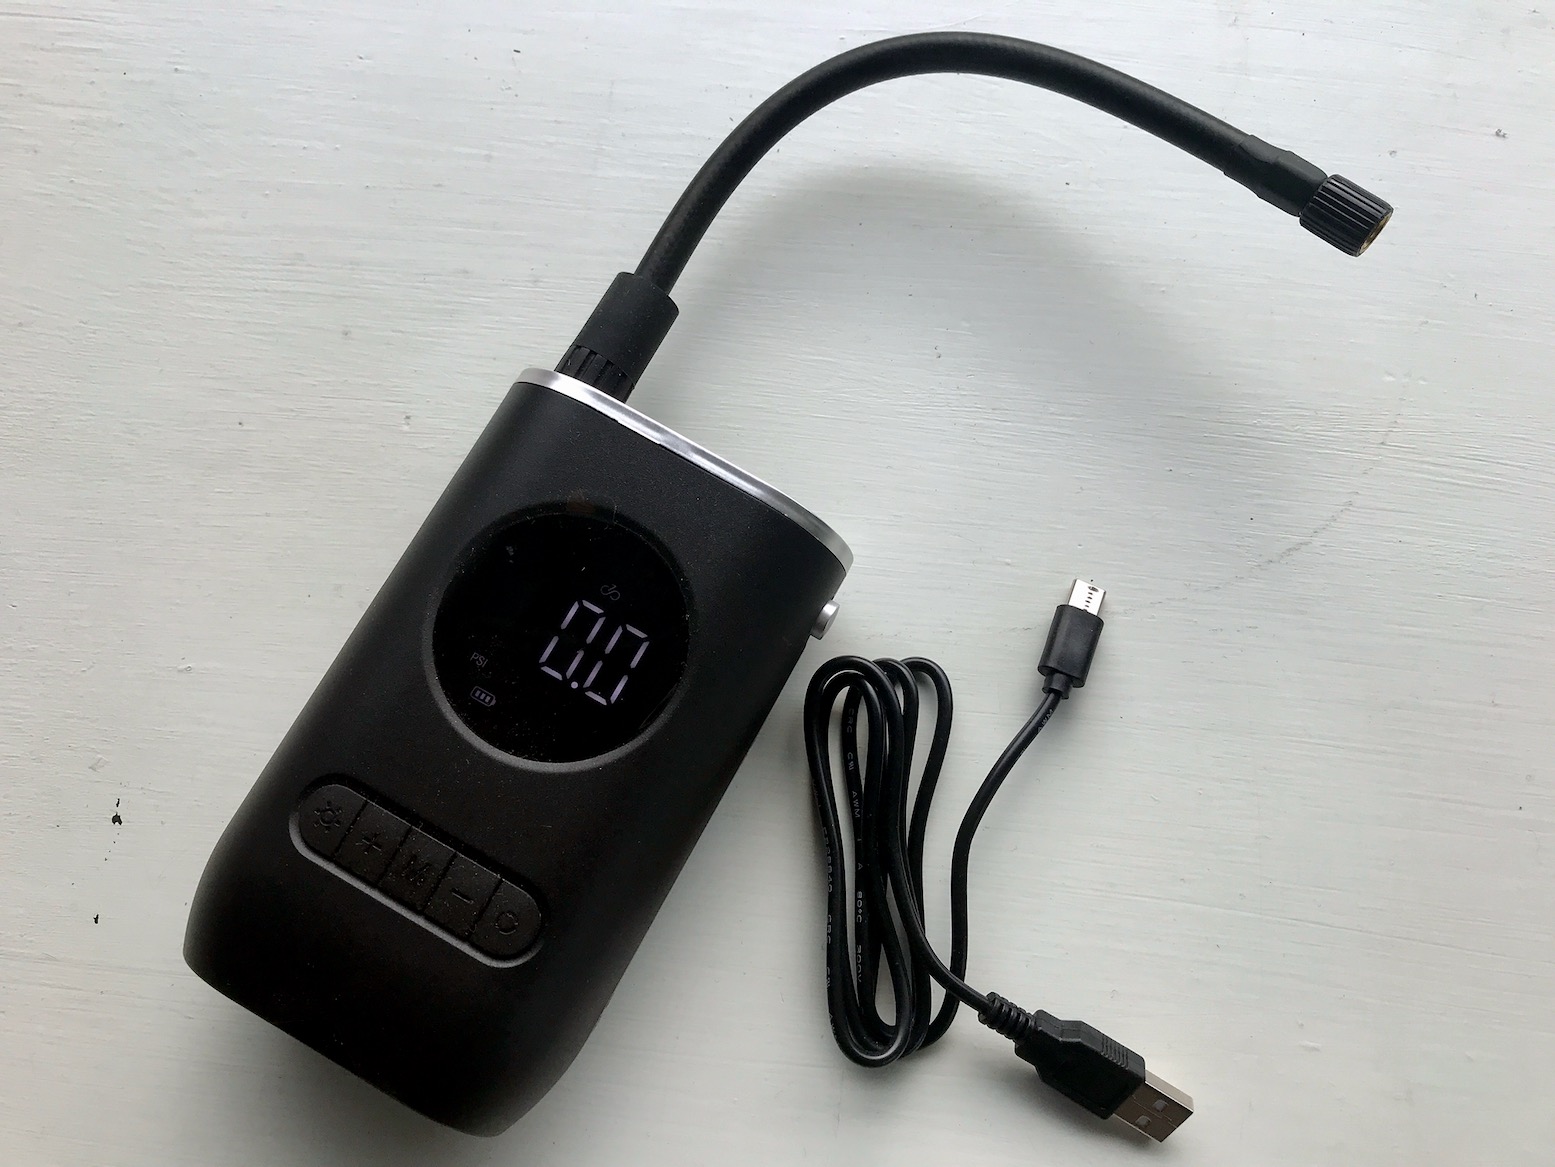
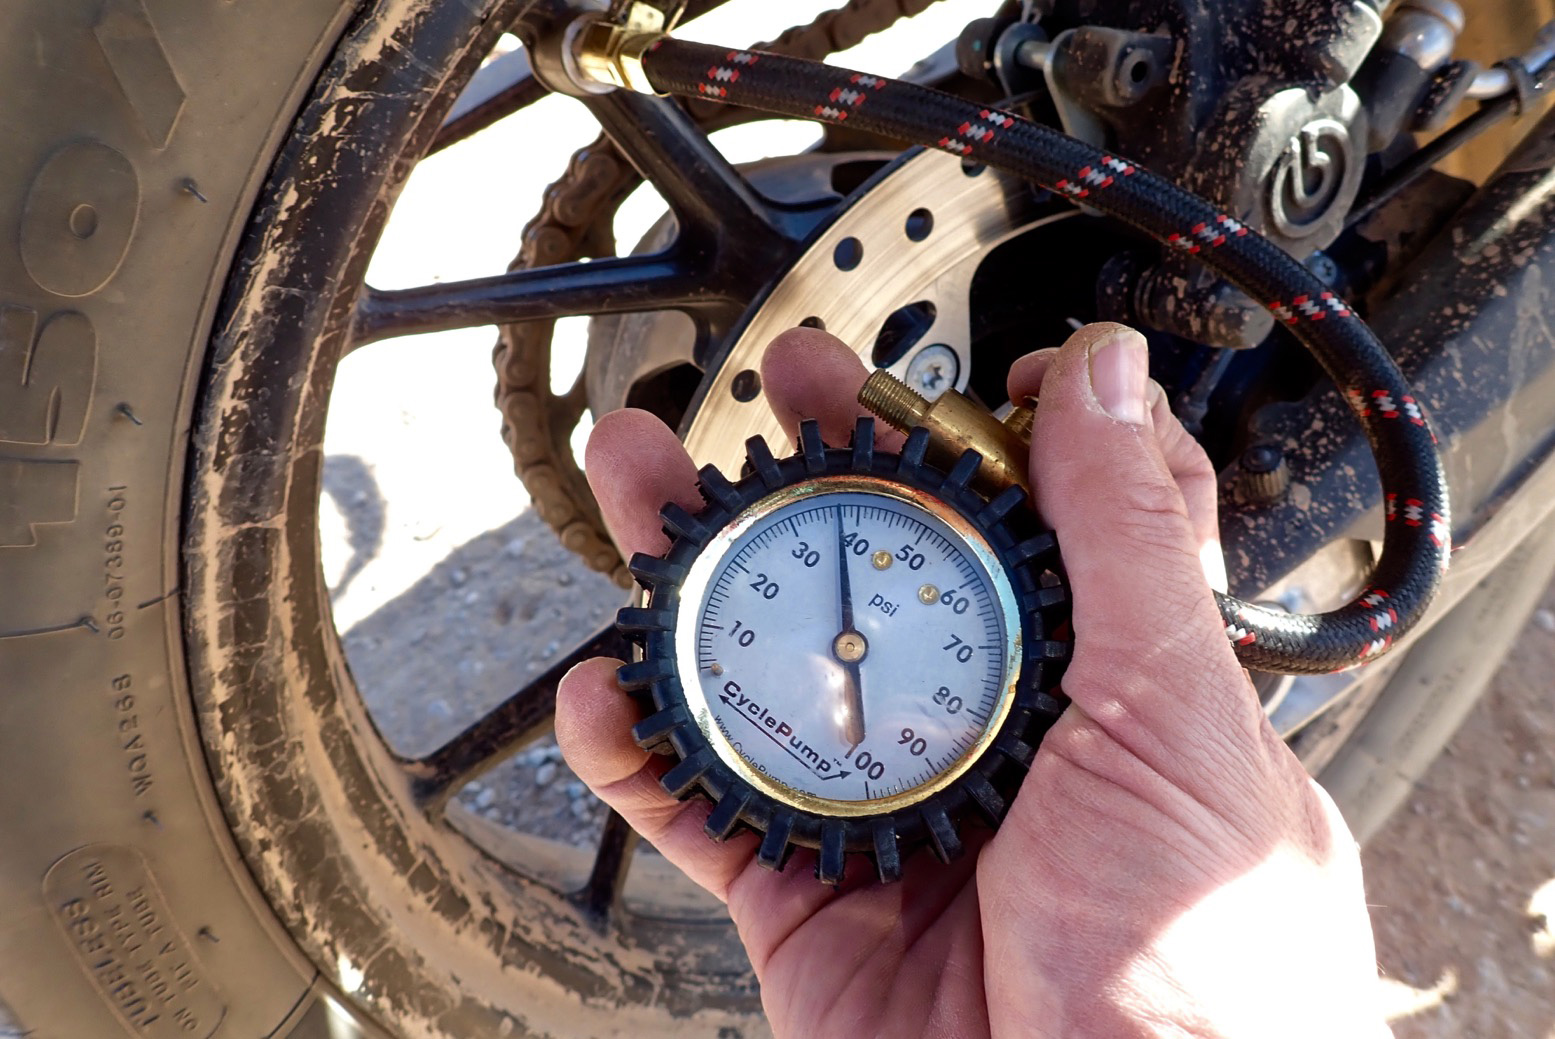
Robbo showed me a niffy USB rechargeable 4000MAH tyre pump (above right) which topped my overnight tyres up quickly. I have my aged 12-volt Cycle Pump packed on the bike, but if I’ll be topping up regularly until they’re fixed, the 20-quid hand pump off ebay will be easy to whip out and use each morning. Let’s make rumpy pumpies while the lithium lasts.
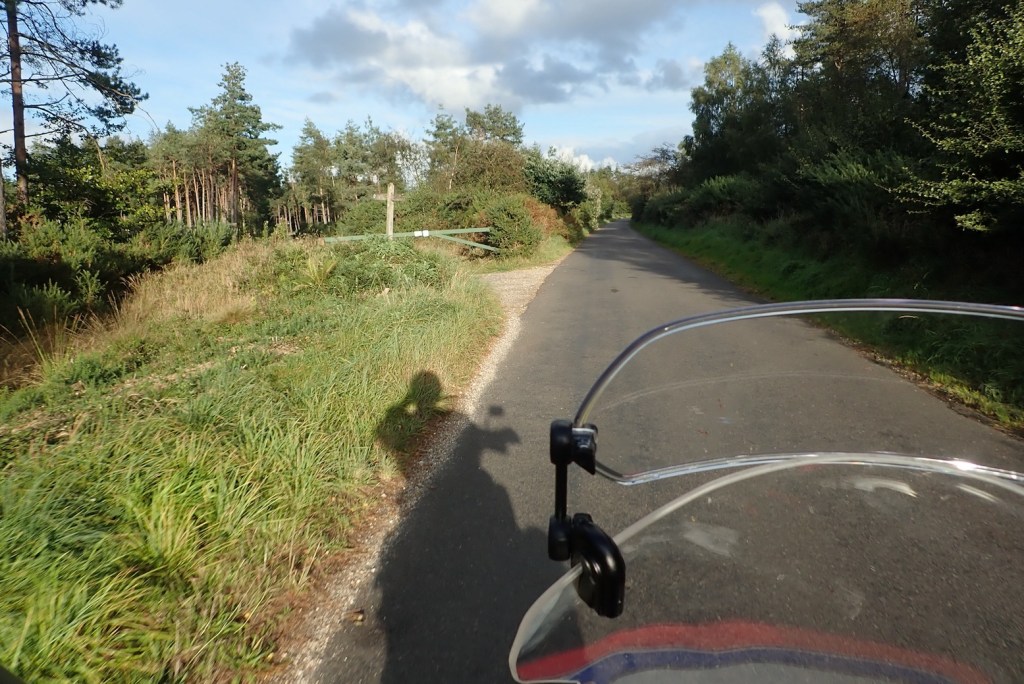
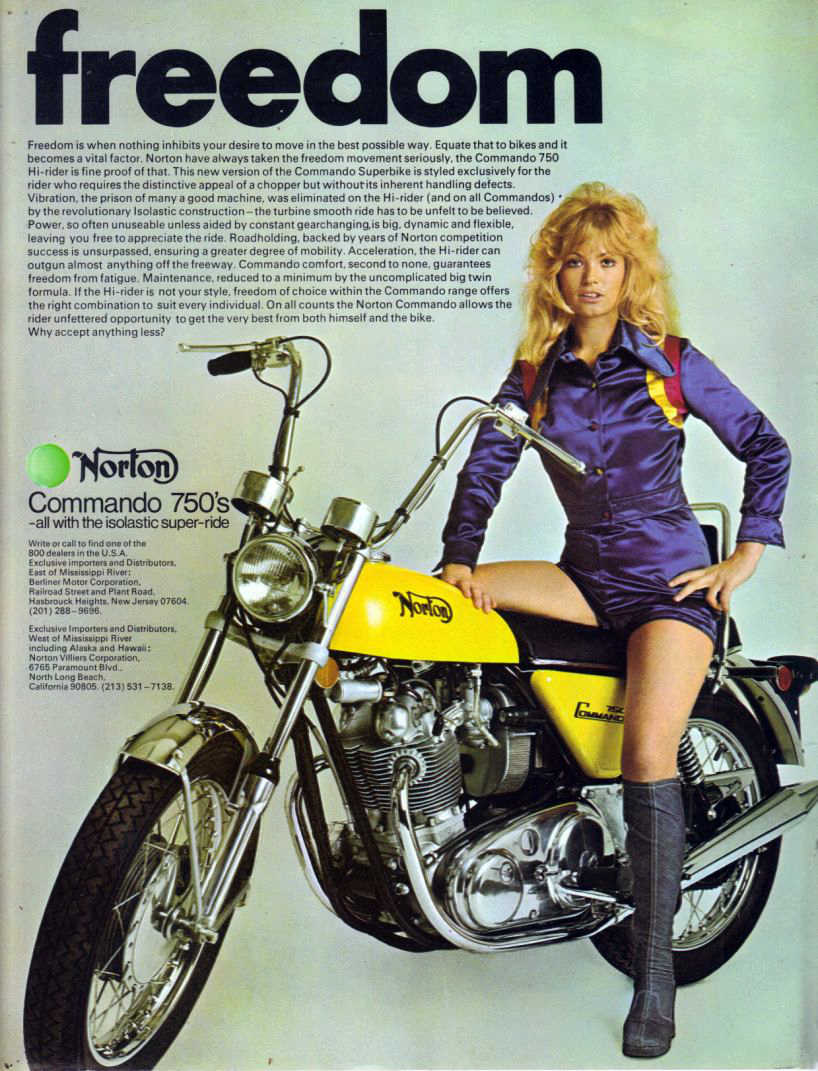
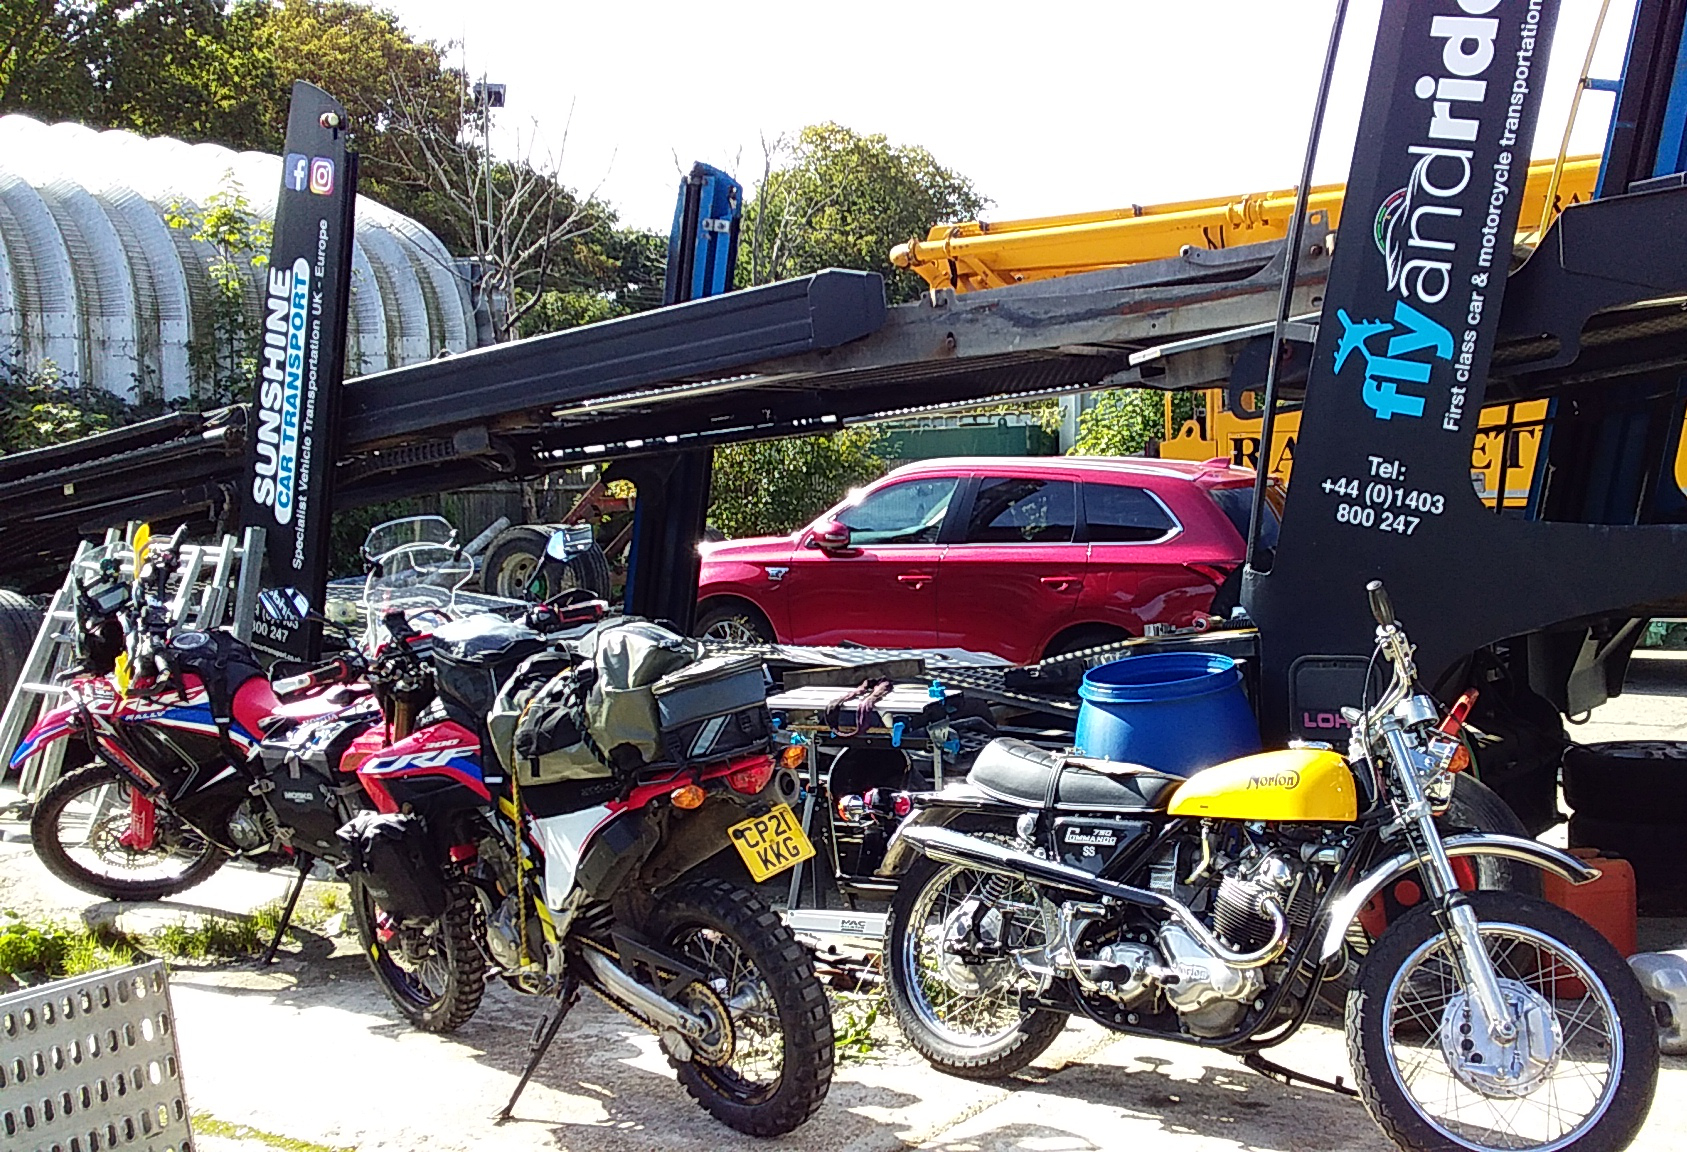
I left my 300 in Fly & Ride’s yard alongside a cool ’72 750SS Commando. The period image on the left exists solely to highlight Norton’s questionable use of an apostrophe. It turned out the nicely set up 300 Rally also parked up belonged to another Robbo who was on my tour a year ago and by now is halfway to Dakar, or however far suits him.
So, a bit annoying to be flying out to Malaga next week to imperfect wheels, but what trip ever kicks off without some T’s uncrossed and I’s undotted? At least I have the means to fix it.