AFRICA TWIN INDEX PAGE
Tubeless Tyre Index Page
If ever a bike wanted tubeless wheels it’s the AT (and T7 for that matter). These bikes run 21-inch fronts and were initially pitched at a low price to get them moving. Choppers aside, cast wheels are unknown in 21-inch, while OE spoked tubeless wheels (as on many European 21-inch advs) are expensive. The new 2020 1100 AT Adventure Sport finally has a tubeless 18/21 set up.
MT or WM?
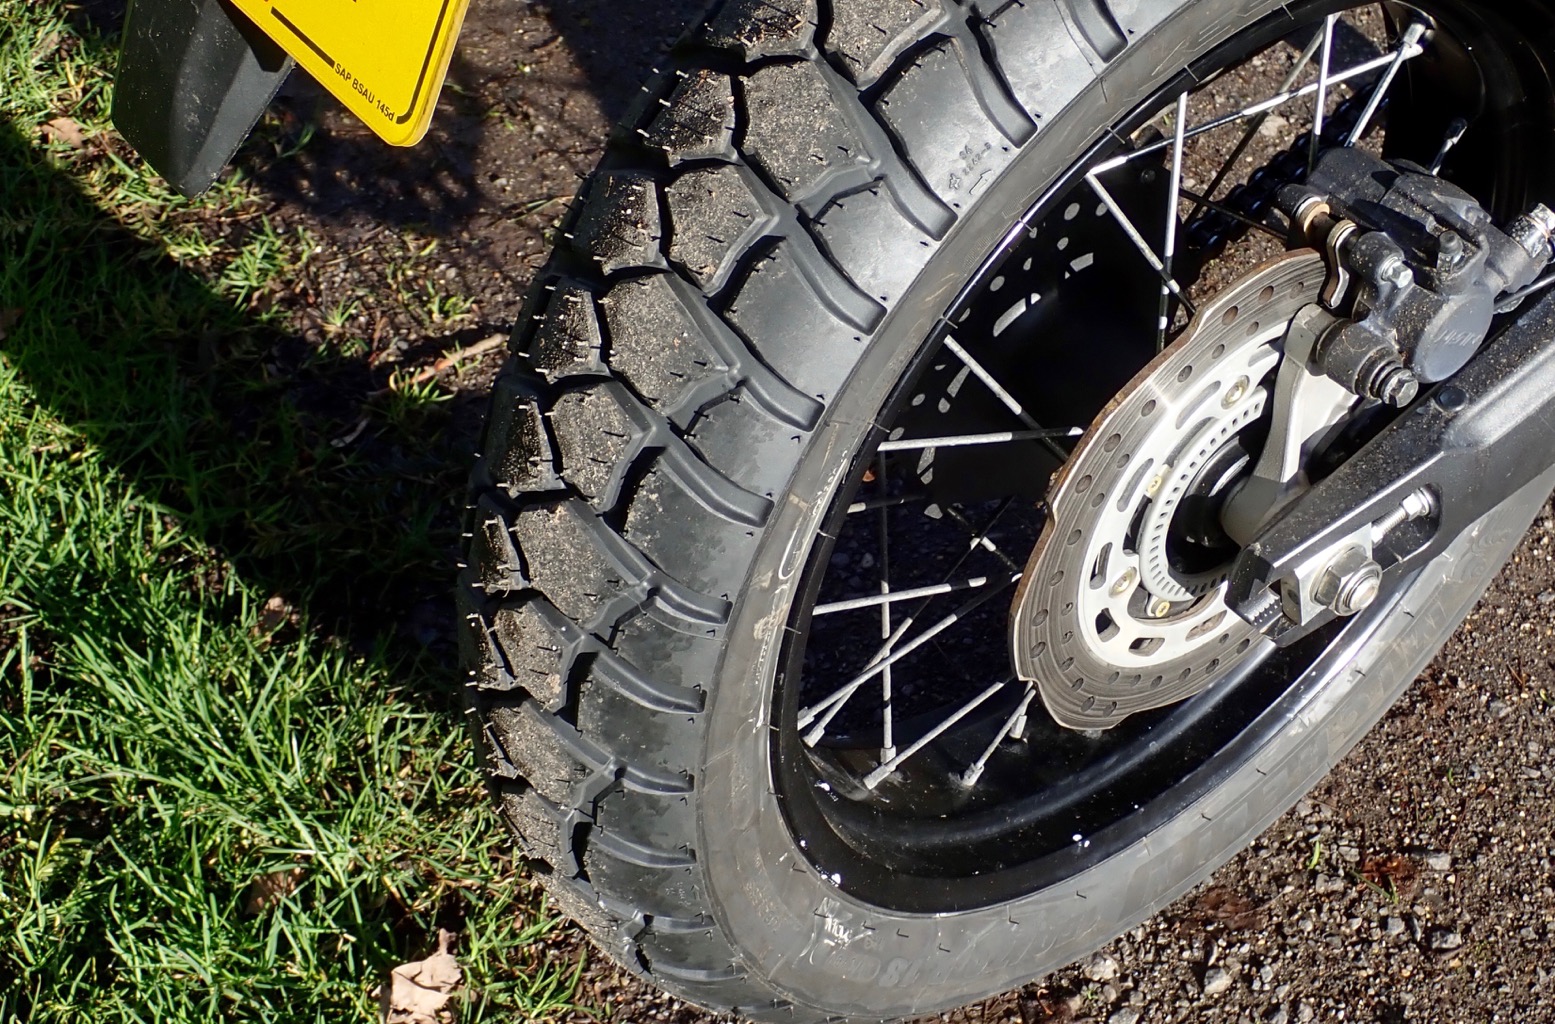
 I’ve investigated various proprietary methods and, after 12 years and a lot more theoretical and second-hand knowledge, decided to give DIY sealing another go – but carefully this time and only on the back wheel (above, top) where it’s fairly easy to do. Like nearly all 21s, the AT’s front rim lacks the ‘MT’ safety lip or ridge which is important if planning to run tubeless tyres. Without it, a TL tyre seals less well on a regular WM rim (above, bottom) and may leak. And in the event of a flat, it will slip into the rim just like a tubed tyre with the usual undesirable results.
The only way around that it to get the rare, lipped, 2.15 x 21-inch Giant rim from CWC for £111. Add anodising, spokes, wheel building, their Airtight™ vulcanised sealing band (similar to DIY mastic) plus post and that’ll be nearly 400 quid. I could seal it myself and save £120, but 21-inch wells are narrow and curved and so are less suited to taping. So while CWC make my wheel, I may as well cough up for the Airtight and be done with it.
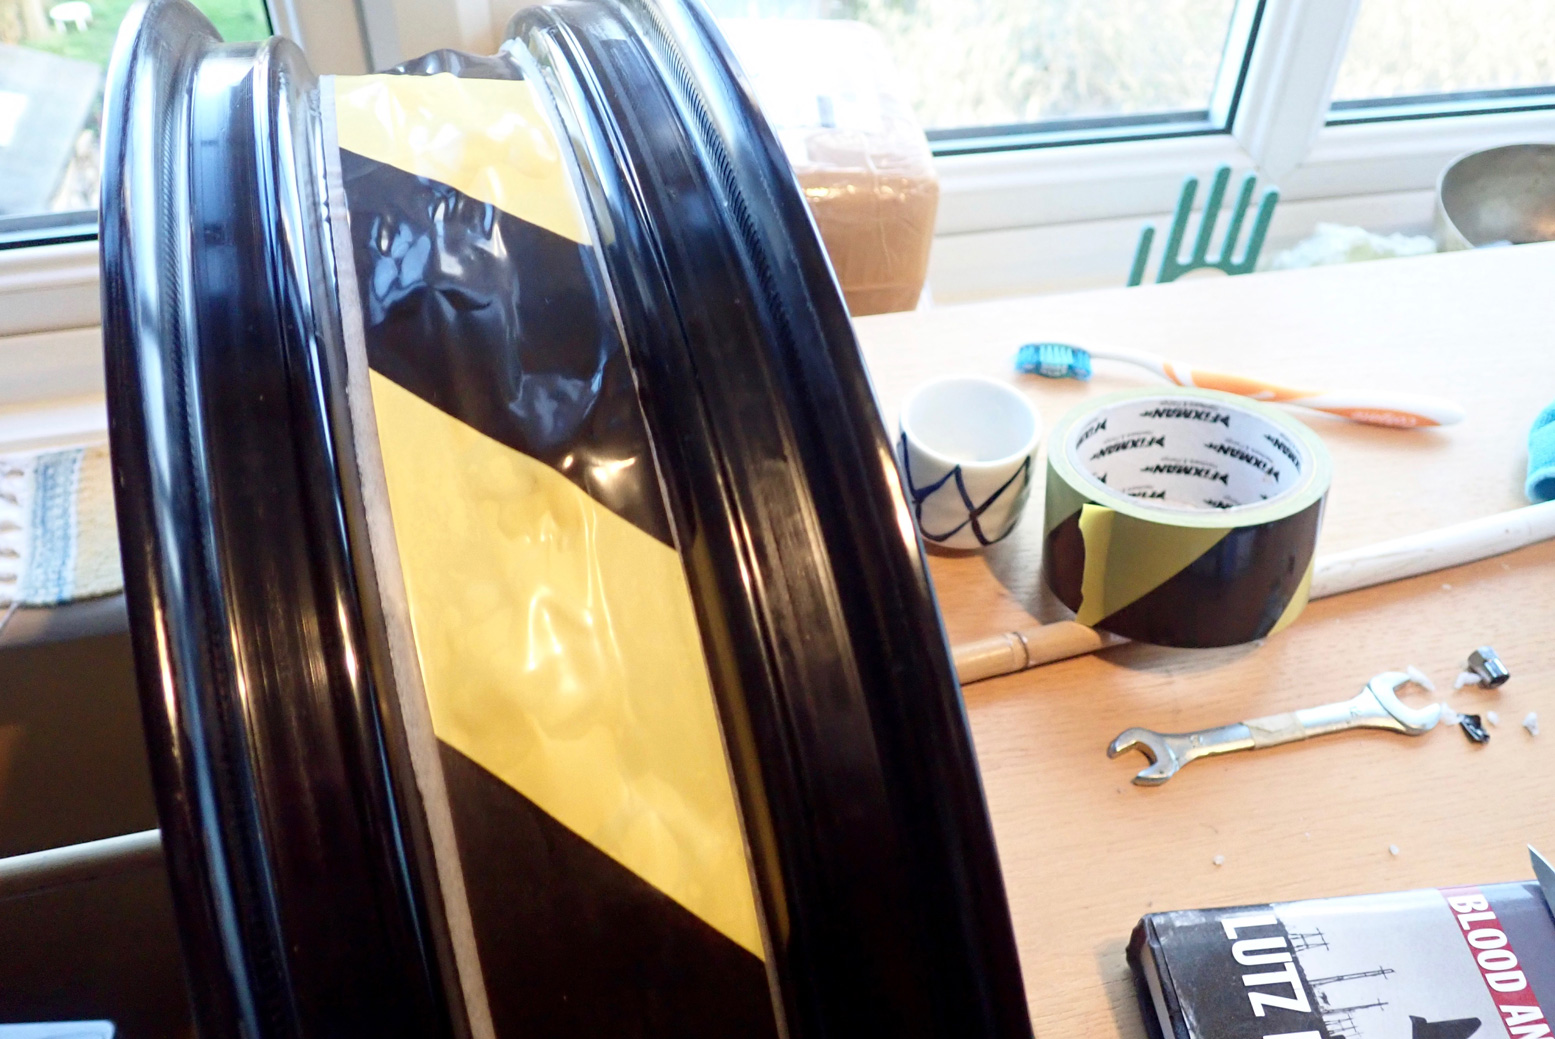
The high cost of a new wheel build is why DIY is so attractive, providing your rim is MT with the requisite safety lips. Most rear wheels, tubed or tubeless, have been like this for decades (they will be stamped ‘MT’ on the side, as opposed to ‘WM’). And the AT’s rear well is also nice and flat and 55mm wide which makes it easier to seal well.
Things you will need
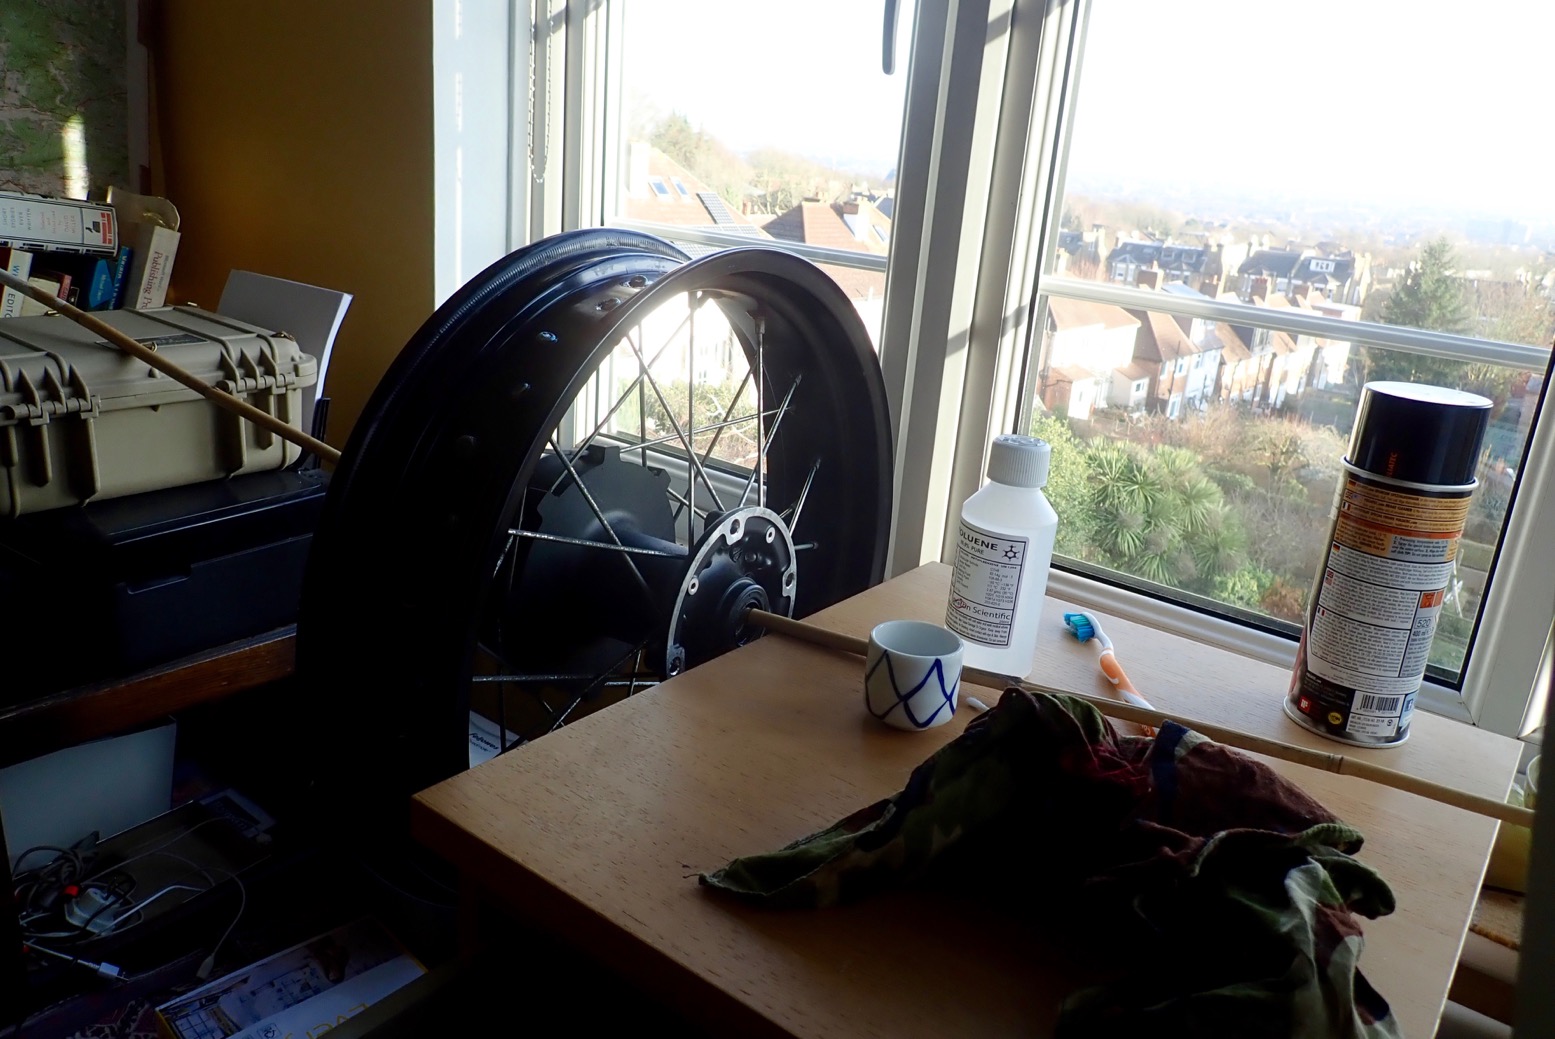
- The wheel resting on a spindle
- Solvent (Brake cleaner, Toluene, MEK, Acetone, etc)
- Microfibre rag (lint-free) and Q-tips
- Runny adhesive – from Superglue to Seal-All
- Thicker sealant – like Goop or Bostik 1782
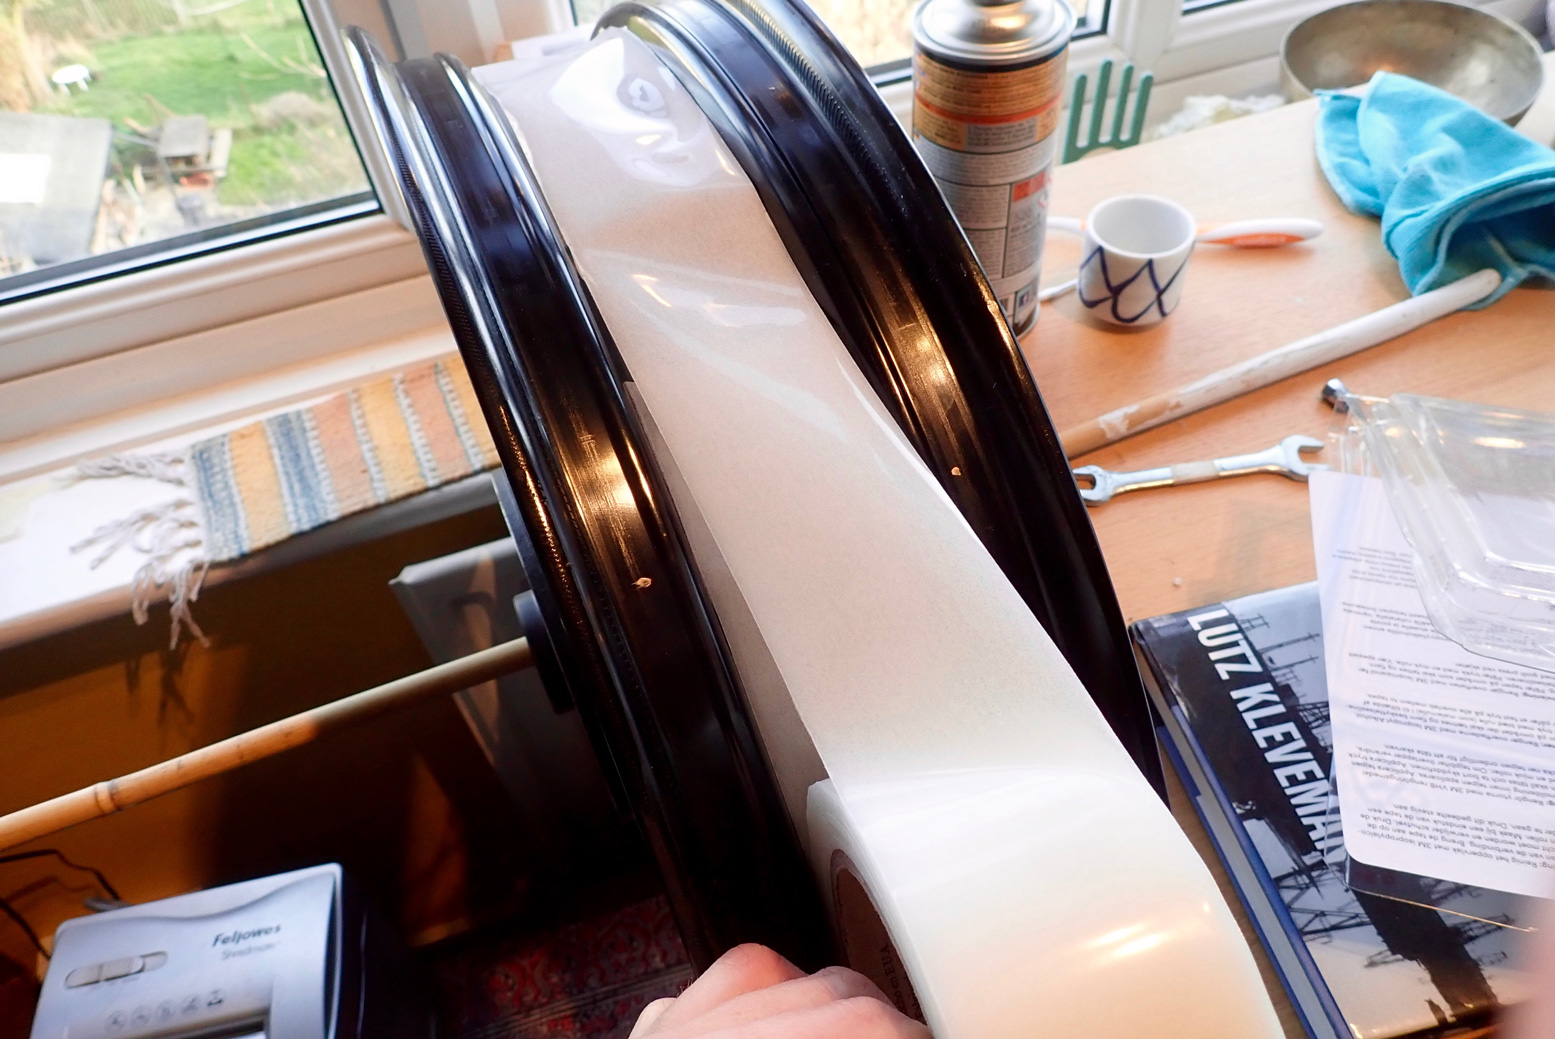
- Sealant tape such as 3M 4411N (not the 2mm thick 4412N). From £18 on ebay
- Or some etching primer and mastic sealant like Puraflex about £6 for 300mm
- A tubeless valve
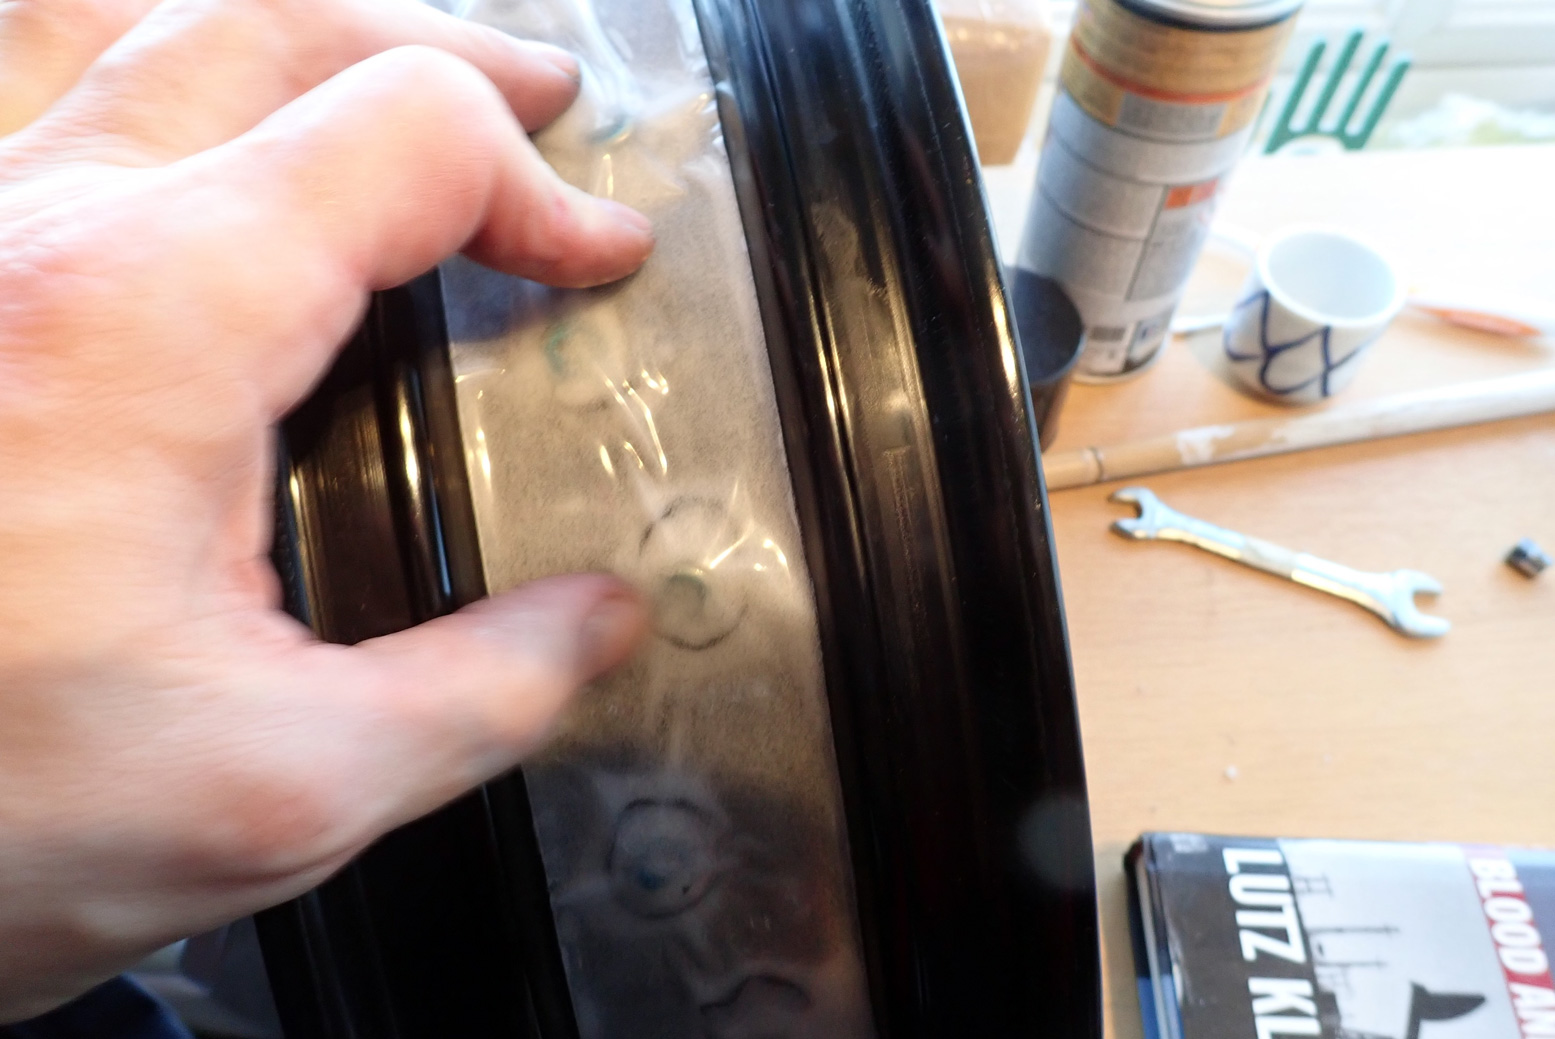
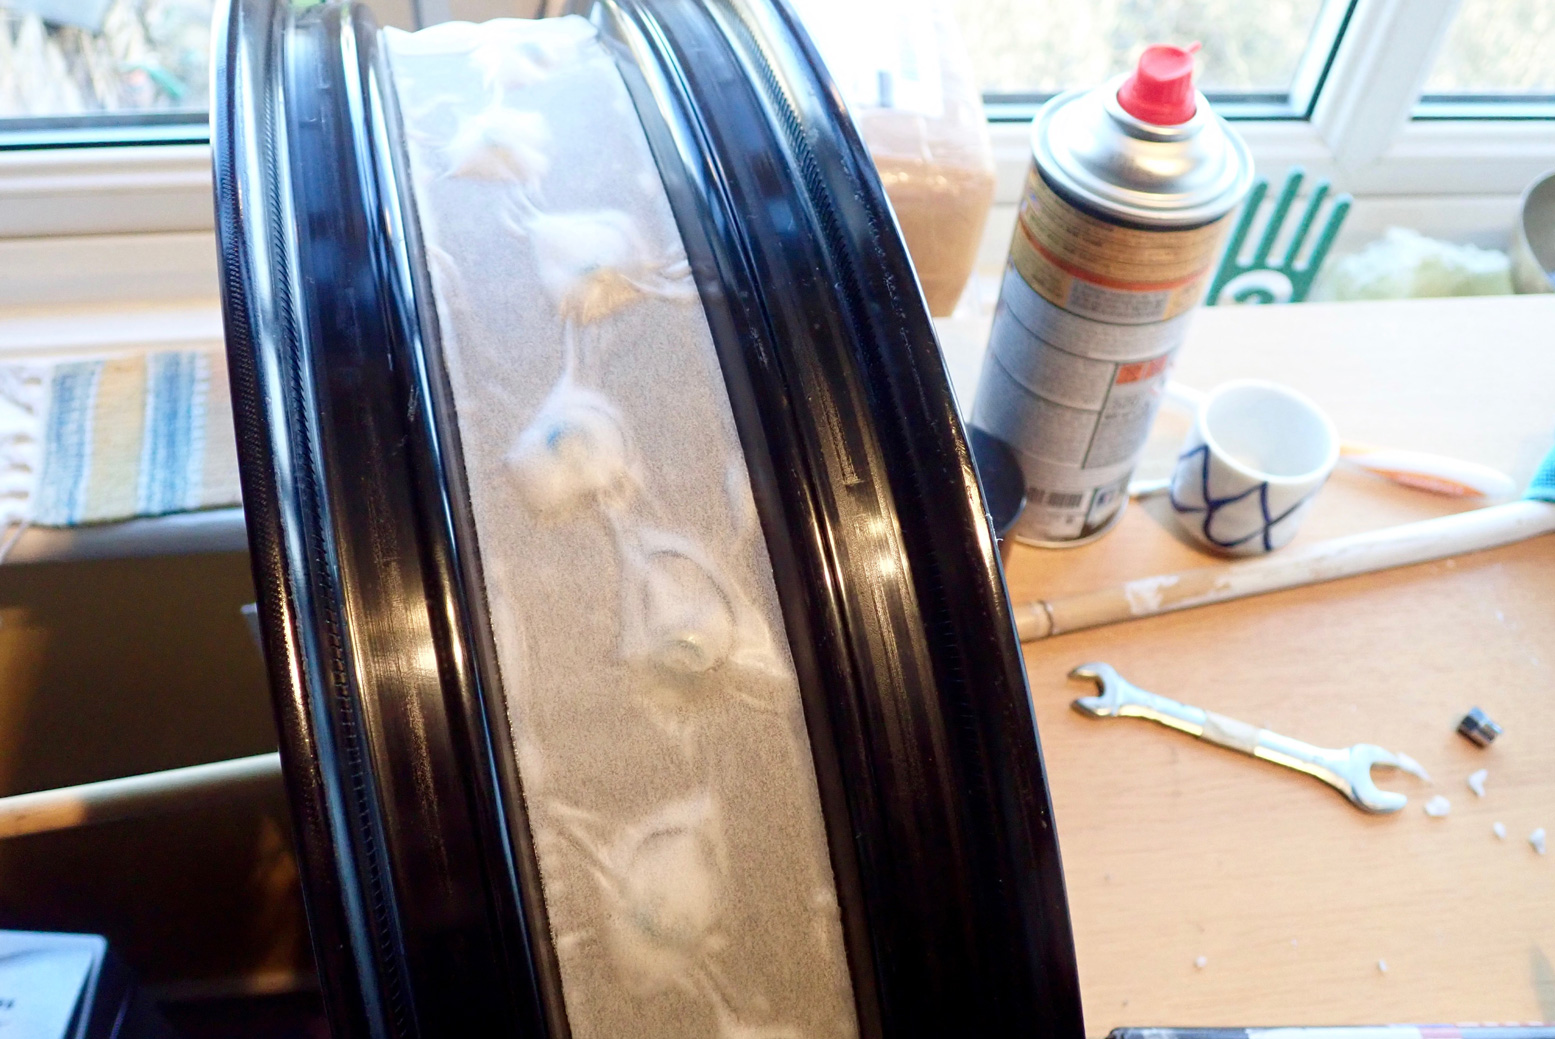
Rim sealing procedure


Or…

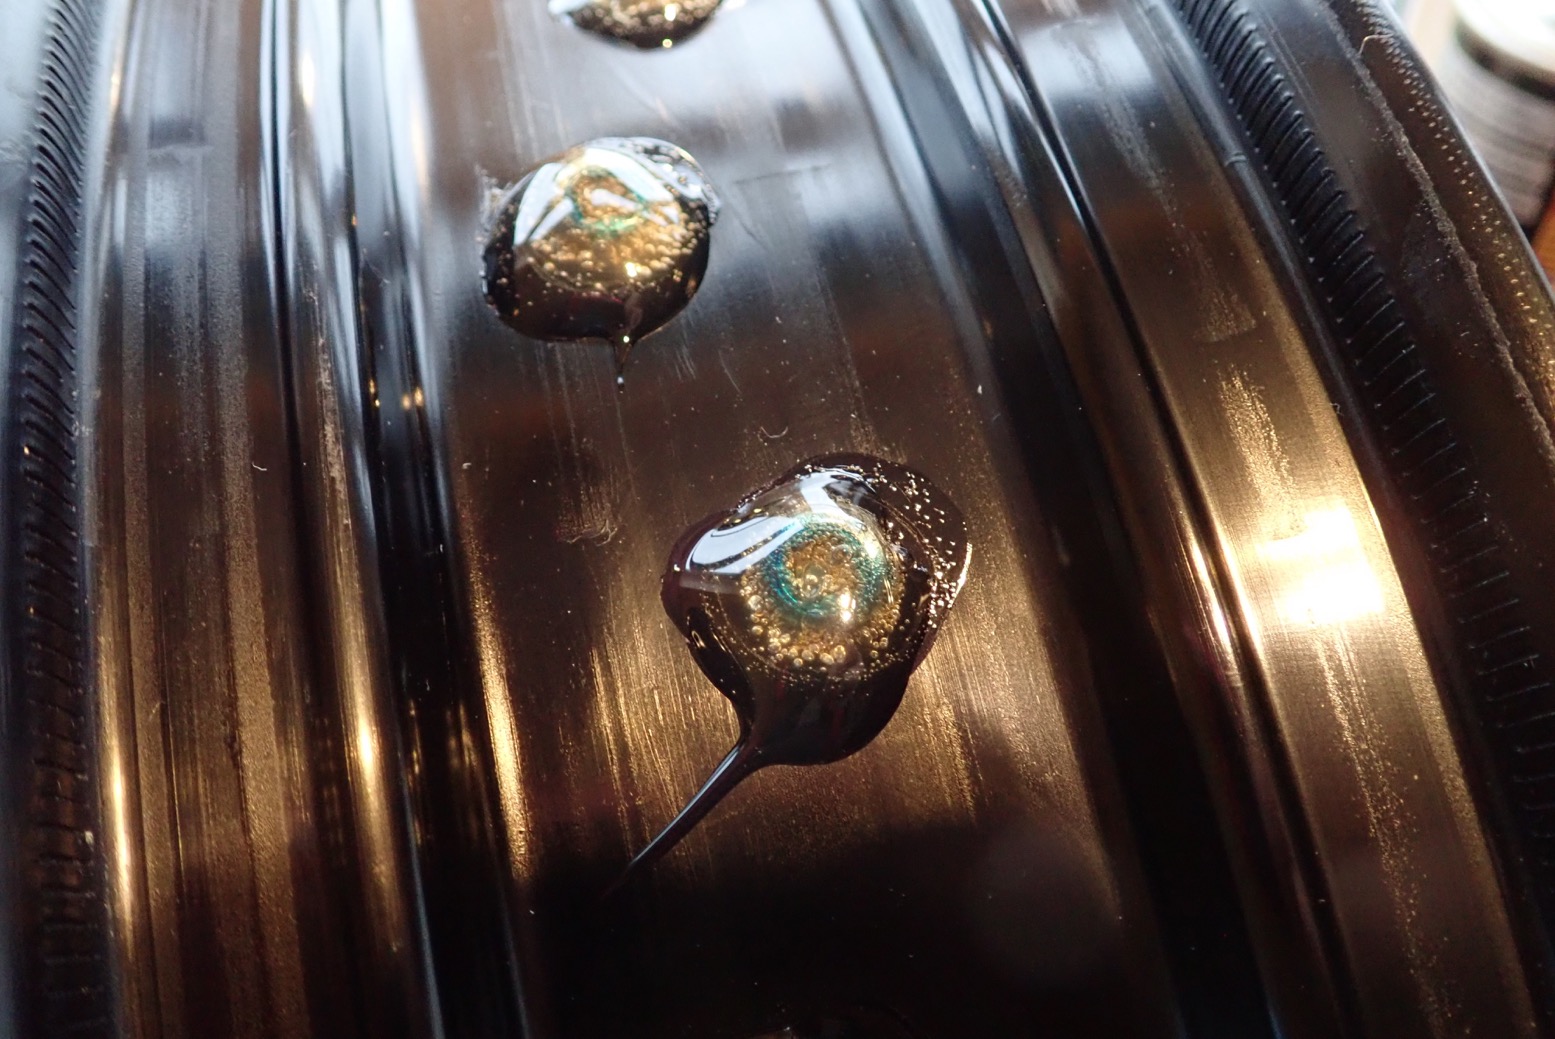
If you’ll be in a wet environment, consider also sealing the spoke nipples from the outside.
The mastic sealant method is probably better. The tape adhesive might lift if it gets very hot; a black tyre and rim sat in the hot sun. But then, pressure building up in a hot tyre will tend to push the tape down.
Mounting and inflating the tyre
Mounting is easy as there’s no tube to worry about. Soapy beads help reduce the effort needed and tubeless tyres are actually quite flexible – or that’s how the Michelin felt. I know from cars and the Tenere years ago that home mounting tubeless tyres can be tricky. It took me most of the day to get the TKCs on to the Tenere, and that was with a pokey 2.5cfm 4×4 compressor. Because there is no inner tube pushing the tyre on to the rim, you need both edges of the loose tyre to at least make a partial seal with the rim and allow pressure to build up. When that happens, the seal improves, leakage stops and you’re on your way. Using a small car compressor and with the valve core removed to allow faster filling, nothing happened for a bit and then pressure slowly built up as input outpaced leakage. At around 35-40psi there were a couple of loud bangs as the last segment of bead slipped over the safety rim and into place.
I am fairly confident my gluing alone has made a good seal. The tape is probably redundant. Overnight there was no drastic pressure drop. If there is in the next week and I can’t fix it, I’ll swap back to the tubed wheel and will anyway take a spare tube. This time I’m not using Slime sealant, though I’m told it doesn’t affect the 3M tape’s adhesion.
I’ll be monitoring it with TPMS but a few days in it was about 8 psi down and the same again when I picked the bike up in Spain in March. So it seems to depressurised down the mid 20s psi. I seem to recall this was normal in the early days and so gave the back a shot of Slime in Spain. No more leakage.