
Xcountry index page

One of the flaws BMW addressed on the Mk II 650 Xcountry (right) was an overlight alloy rear subframe. Of the three models the Xco was especially prone to failures as it was was the only one in the Xrange with pillion footrests.
For solo bumbling around the alloy frame will doubtless be fine, but with a passenger on an XCo, let alone riding a loaded XCh off road, the subframe proved inadequate. Presumably enough warranty failures occurred for BMW to upgrade the yellow Xcountrys from 2009 with an identical unit in steel. About twice as heavy but much stronger. Only problem is yellow Xcos are considered a bit to low and under suspended for all-terrain travel biking duties.
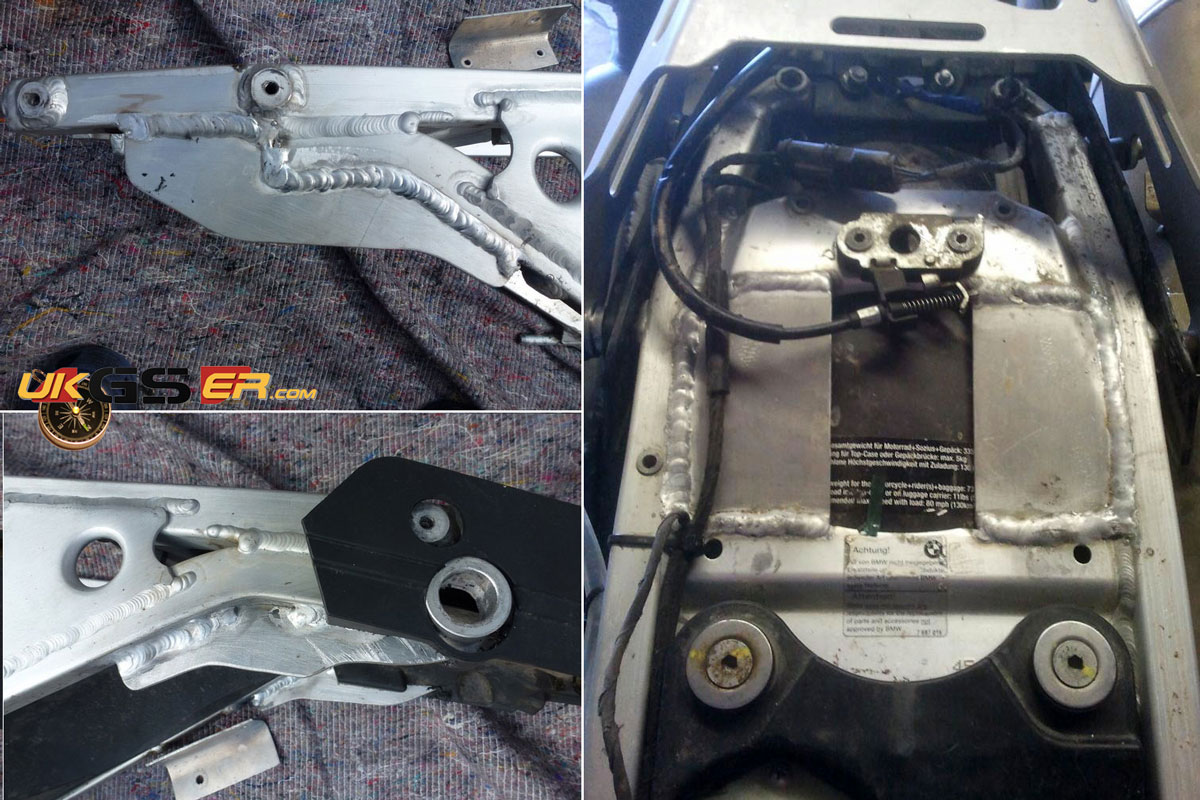
There are other options which work on all the X bikes, not least the popular XChs: strengthen your original alloy subframe around the back where it commonly cracks with horizontal and vertical plates (right). Easily done but long term the subframe needs more than that. With heavy loads, rough terrain and the passing of time the stressed alloy fabrication clamped to the steel main frame will flex and slowly wear at the four mounting bolts. It may also distort sideways when you fall heavily with bulky side luggage. Within reason skimpy steel subs can handle being bent back straight and many XR owners know. Alloy does not like that sort of abuse and
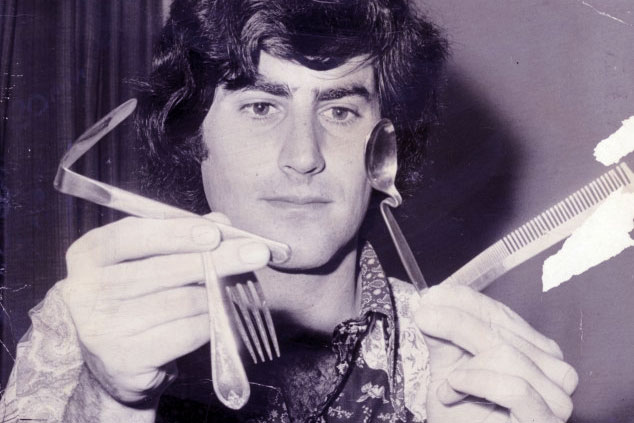
will eventually fail like Uri Geller’s spoon. Furthermore the bolt threads at the back of the alloy subs where steel racks get mounted are also prone to wear and although it may be a bit of an adv myth, out in the field it’s certainly easier to get steel welded than alloy.

Xman Erik in NL can upgrade your alloy subframe; beefing up the stressed-upon upper mounts (red arrows) and replacing the alloy threads with steel inserts (green arrows). That plus the bracing as shown above right will make your alloy Xbike subframe as good as it can be and may work for most overlanders.
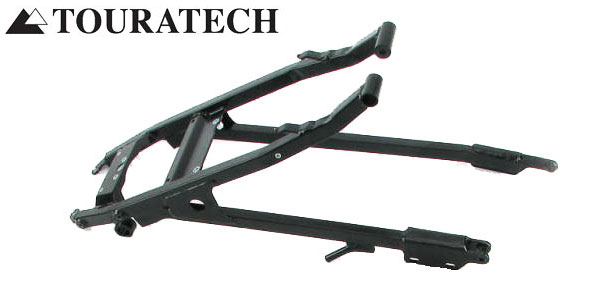
A better option: fit a Touratech steel subframe (left) which TT brought out early on for the XChallenge to carry their luggage frames and alloy boxes. The original alloy frame would never handle that sort of weight on rough ground, whatever you did to it. Those steel subframes (TT p/n: 05-049-0600-0; left) can be bought independently from the whole luggage kit for £420 in the UK, but I was told were unavailable for months. Hot Rod Erik often takes in TT steel subs and modifies them to suit his Xracks and Xtank.
Last option: fit a BMW steel subframe from the yellow Xcountry (p/n: 46517716439; right). Brace yourself for the price… only £480 inc. These were also said to be in short supply in the UK so I got wondering about getting one fabricated. A frame builder turned the job down while suggesting ~£450 was actually a good price. Then a weldy mate offered to make one for ‘about £300 – but it won’t be pretty’ but out of the blue BMW came through with a yellow steel frame.
Five hundred quid for a steel subframe – is that nuts? If you’re adapting an Xco into a travel bike I don’t think so. Whether from BMW or TT, I believe a steel unit is the single best solution to the Xbike subframe issue. A full Hot Rod upgrade on an alloy one (even done in the UK) might cost up to £200 and it will still be a torsionally weak alloy sub. I didn’t hesitate long before ordering a BMW steel unit and if money’s that tight, when my bike’s job is done I can swap the alloy back on and flog the steel on for a good price.
Subframe weights
BMW alloy (with pillion mounts but pegs removed) 2.7kg (verified)
TT steel (no pillion mounts) 4.7kg (unverified)
BMW steel (with pillion mounts but no pegs) 5.6kg (verified)
Fitting the subframe
Knowing how it can get when you start working on old bikes in the street, I was all set for two days of teeth gnashing and knuckle skinning.
As it was, the job was completed well before lunchtime which left me so stunned I had to take the rest of the day off. Plus now I know the minor blunders I made during reassembly, next time I could do the whole swap in two hours with just three hex keys, a 10mm ring for the silencer and the iPod on shuffle.
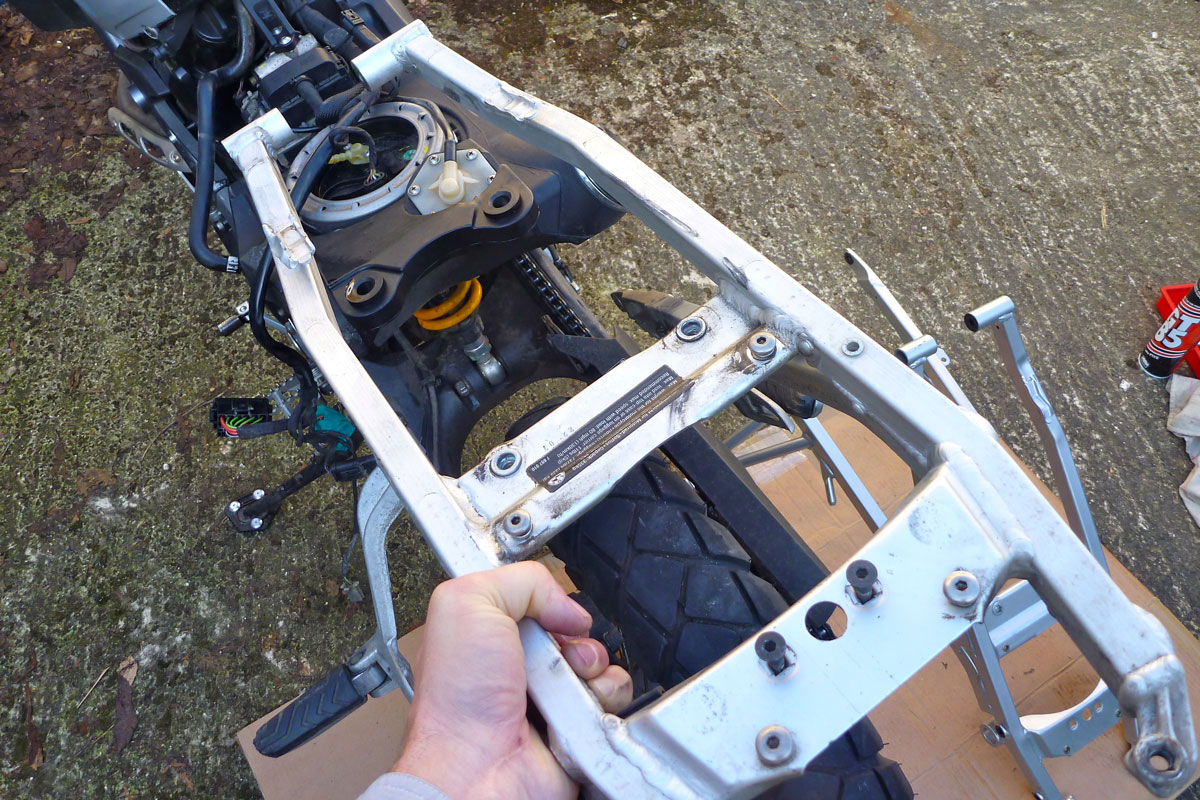
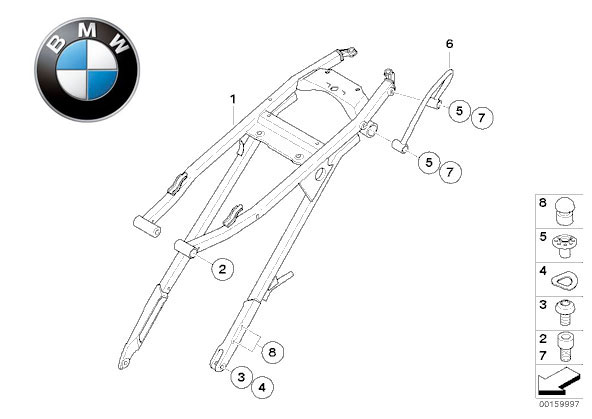
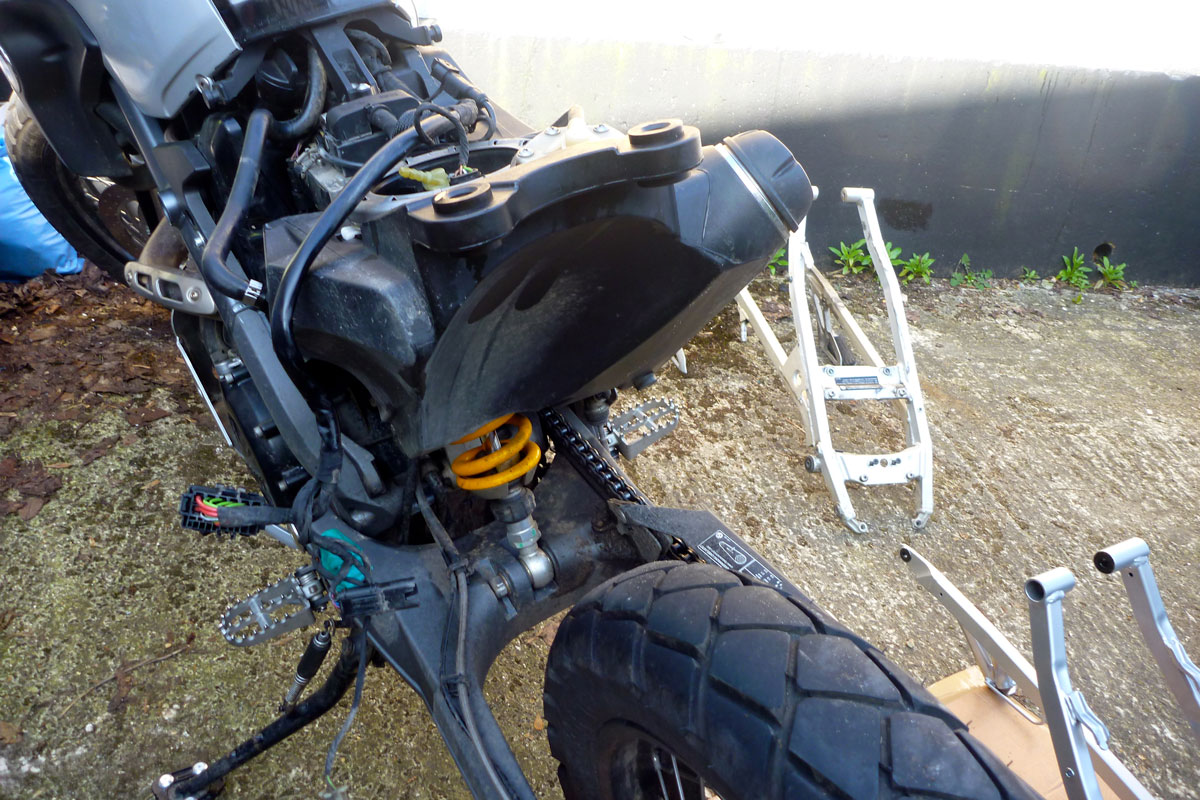
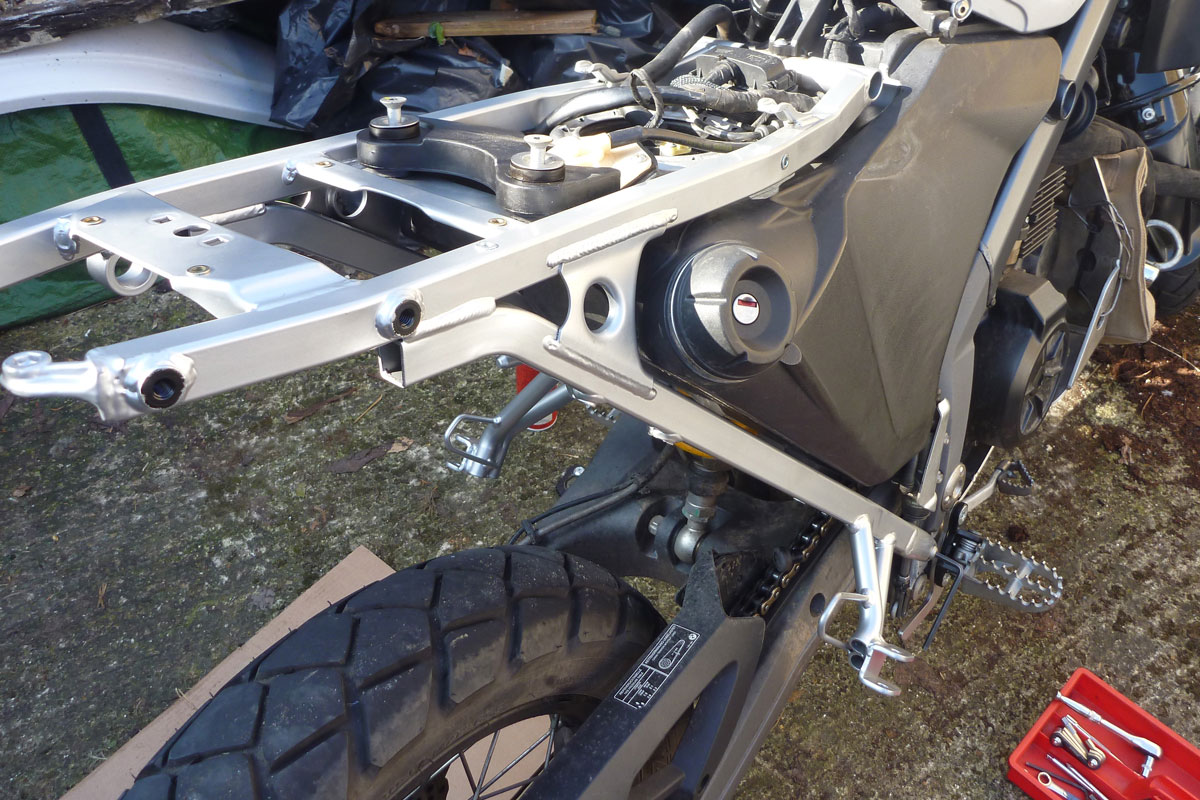
Press ‘play’; Remove seat; silencer; rear light assembly; mudguard and undo associated wiring and the fuel breather. After about an hour you’re at the point where you can undo the four (pre sprayed) subframe bolts and the two rear fuel tank bolts. Then just tug the frame backwards (right). Away it comes and the tank stays in place. As simple as that. The new steel unit is an exact replica. Everything goes back on just like it came off. No gnashing of teeth. The only thing I missed was spotting the rubber bung which dropped out from between the tank and diagonal frame rail below the filler cap. That should slip back in later if I loosen the tank mounts.
So all up the steel subframe has added an extra three kilos bringing the bike’s weight up to 161.5kg dry.