CRF300L Index Page
300L 9000km review
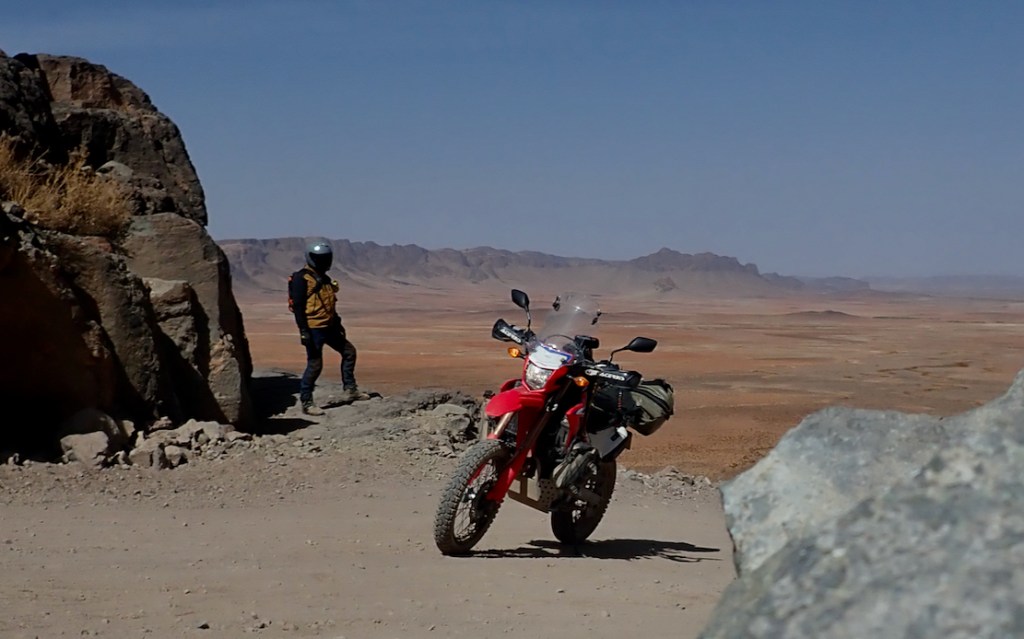
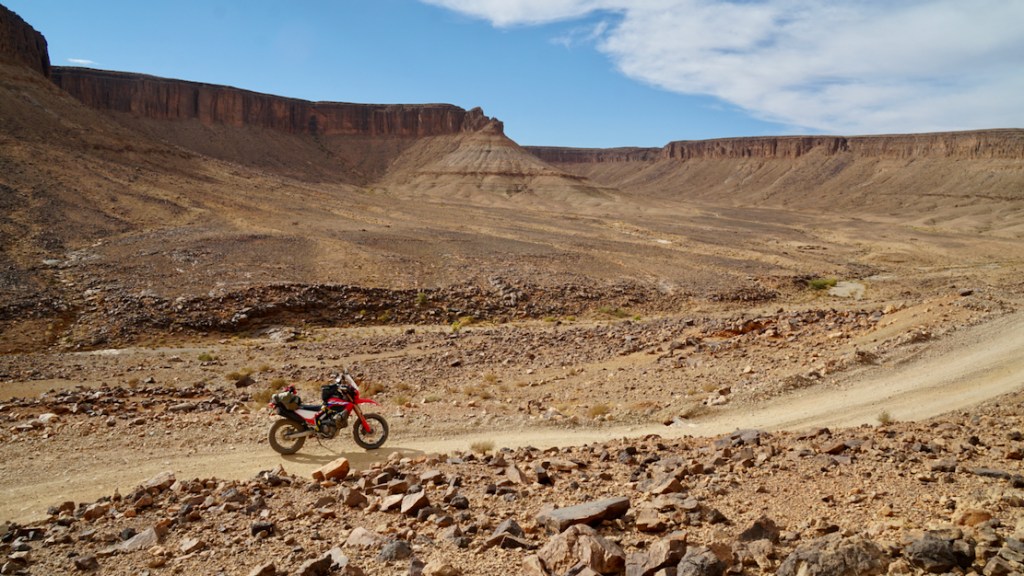
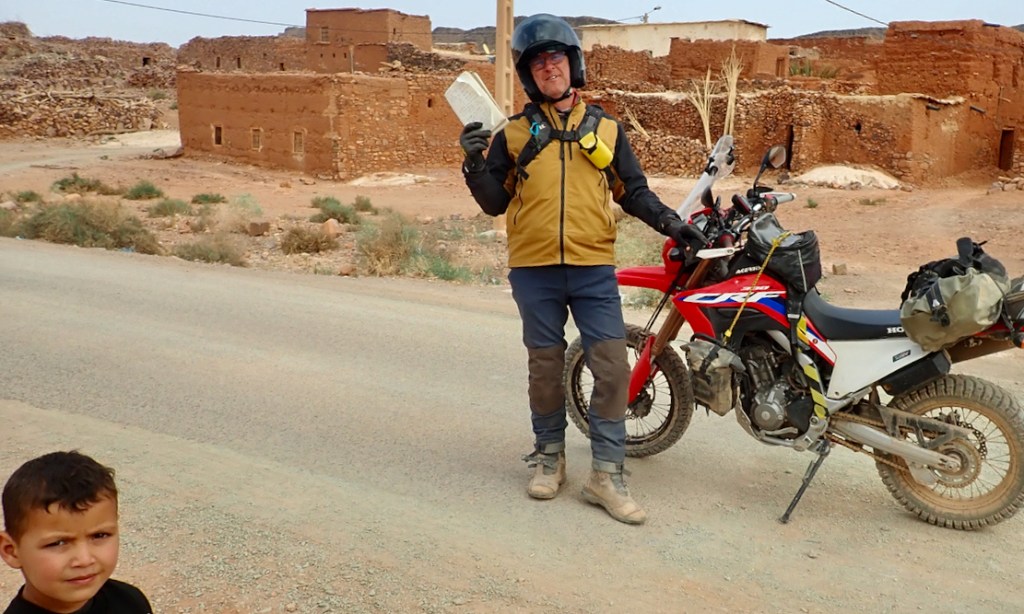
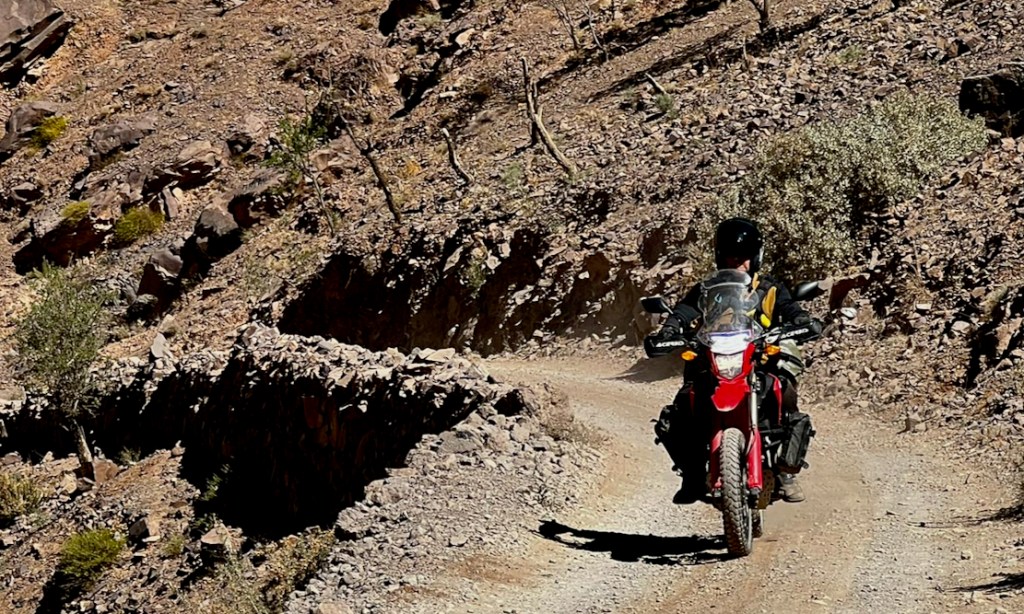
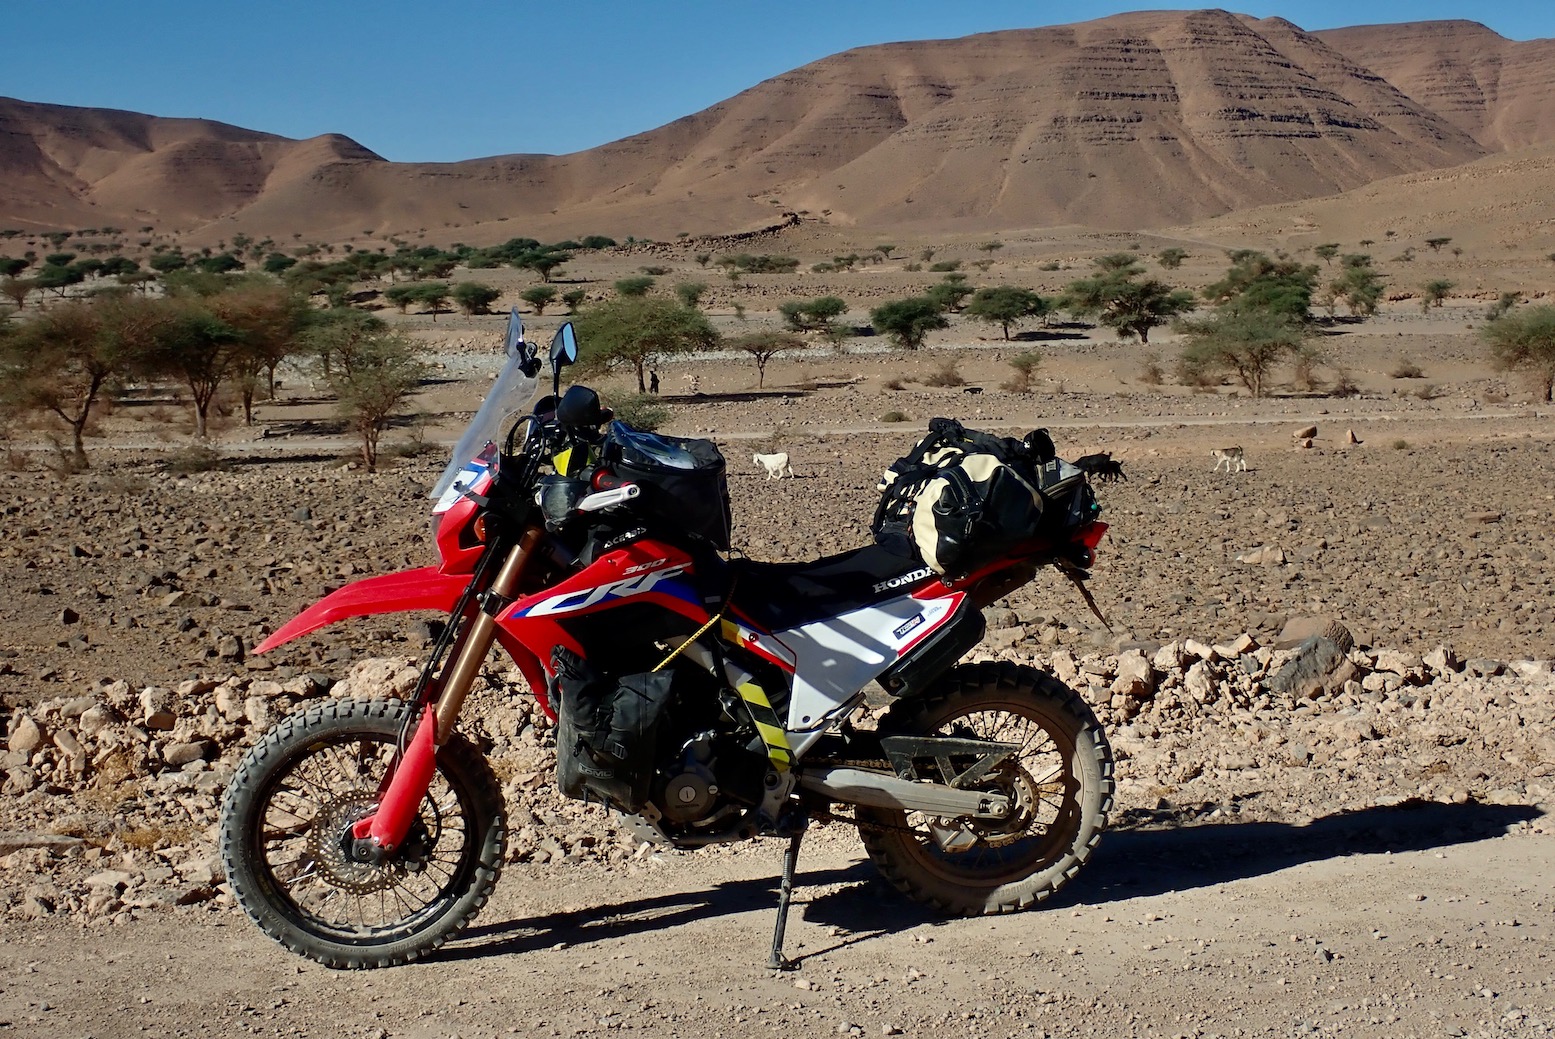
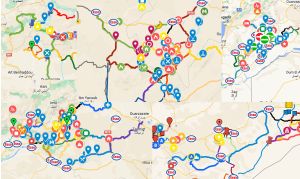
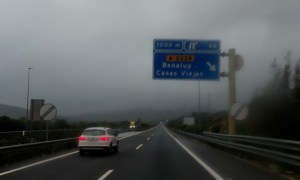
After a year of logging routes in southern Morocco – most intensely with several visits since last October (including occasionally renting 4x4s) – just a mile from completing my final piste on Jebel Ougnat I came across a pipe trench dug across the track that had yet to be filled in. They were improving this entire route but oddly, there was no way round this one. To one side, a local on a 125 had slithered down the steep bank and up the other side. I scrambled down to see if it would be rideable, and as I did so, a guy on a moped turned up, took one look and turned back (below).
I cleared a few stones and figured I could do it, getting off and pushing if I had to. It’s always easier than it looks and anyway, I was one sodding mile away from finishing months of research. I wasn’t going to turn back now and mess up my final hard-won GPS tracklog!
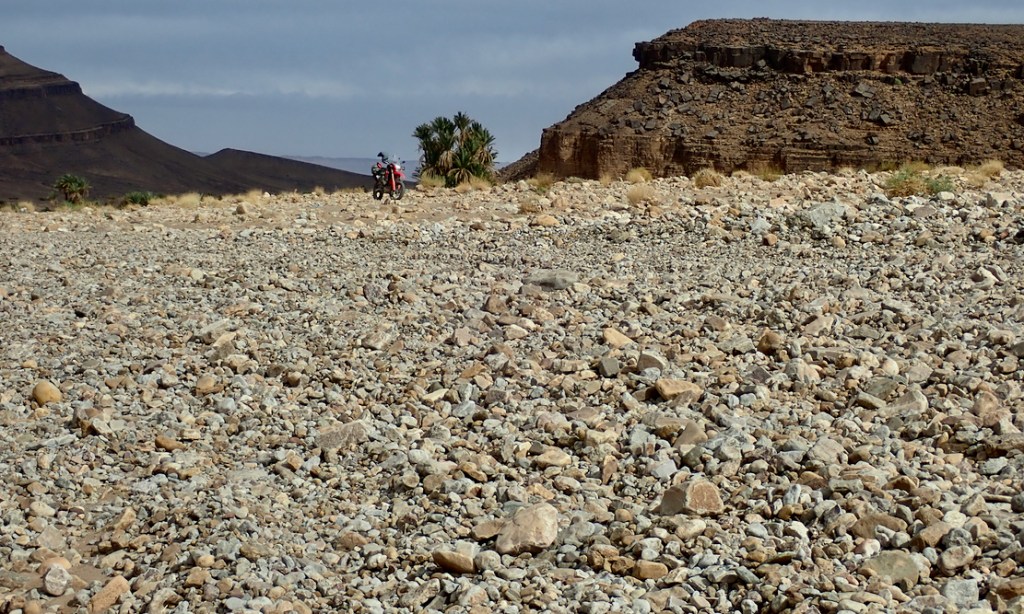
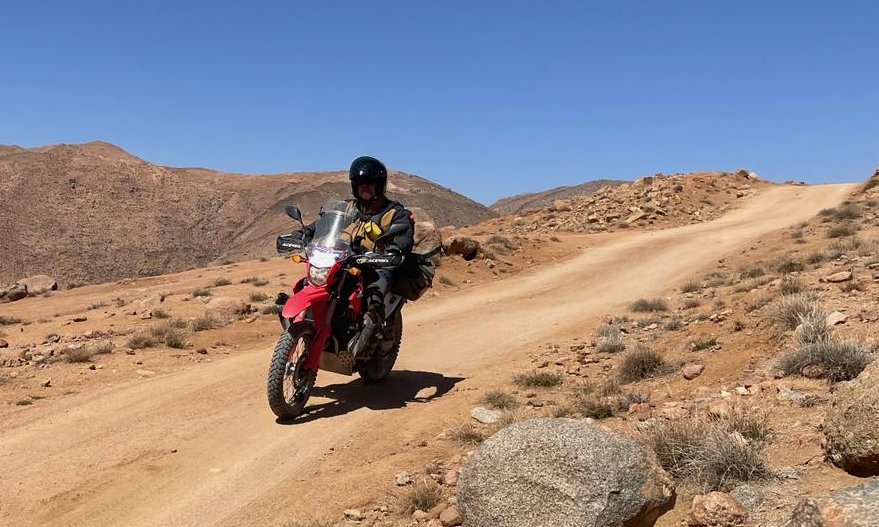
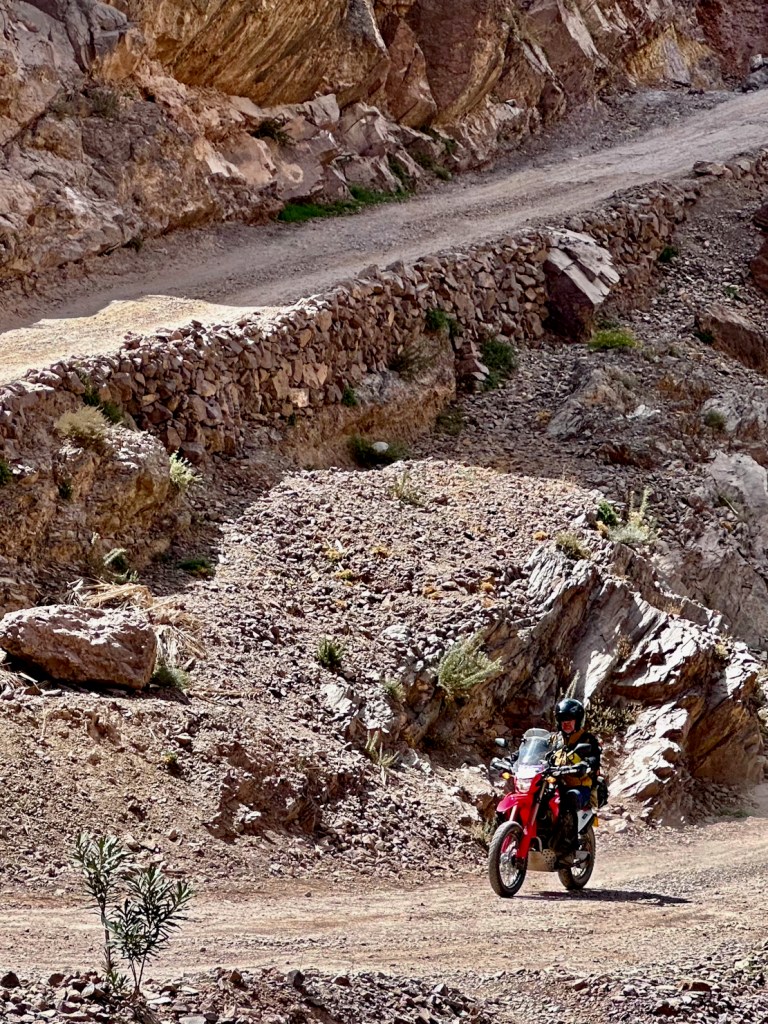
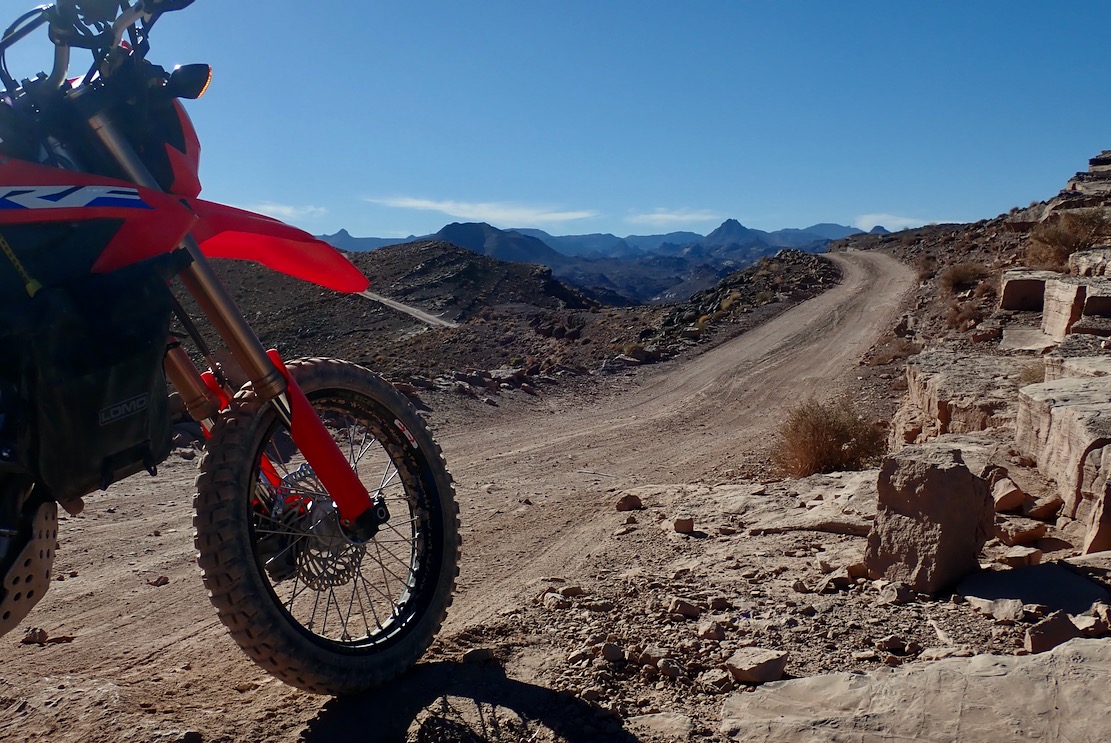
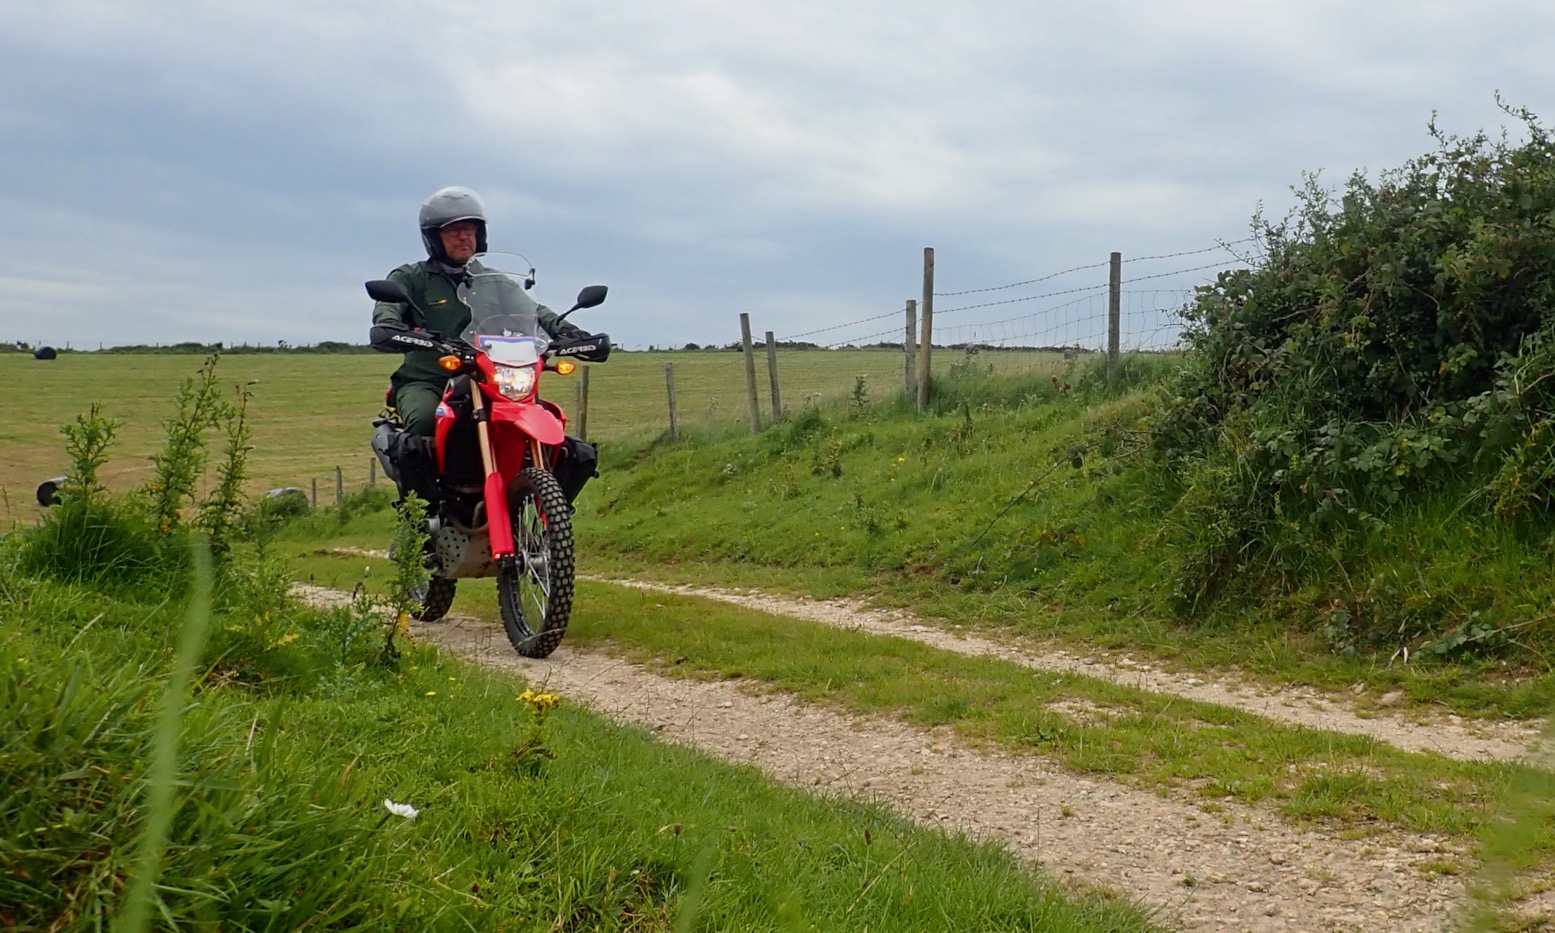
I managed it with ease, but it was the anticipation of tackling such rare obstacles – not least an exhausting riverbed in the Anti Atlas a few months earlier – which validated my choice of getting the 300L for this big Morocco guidebook update. Whatever its other shortcomings, the CRF was as light and lowered as practicably possible, while having enough power, range and protection, plus more than enough suspension and clearance to complete the task.
Another late revelation came on the ride back across Spain which I was dreading, principally at the thought of enduring saddle soreness while wanting to get the miles in with a ferry to catch. I gave myself spare days just in case, but came the day that agony never materialised. I got another agony instead.
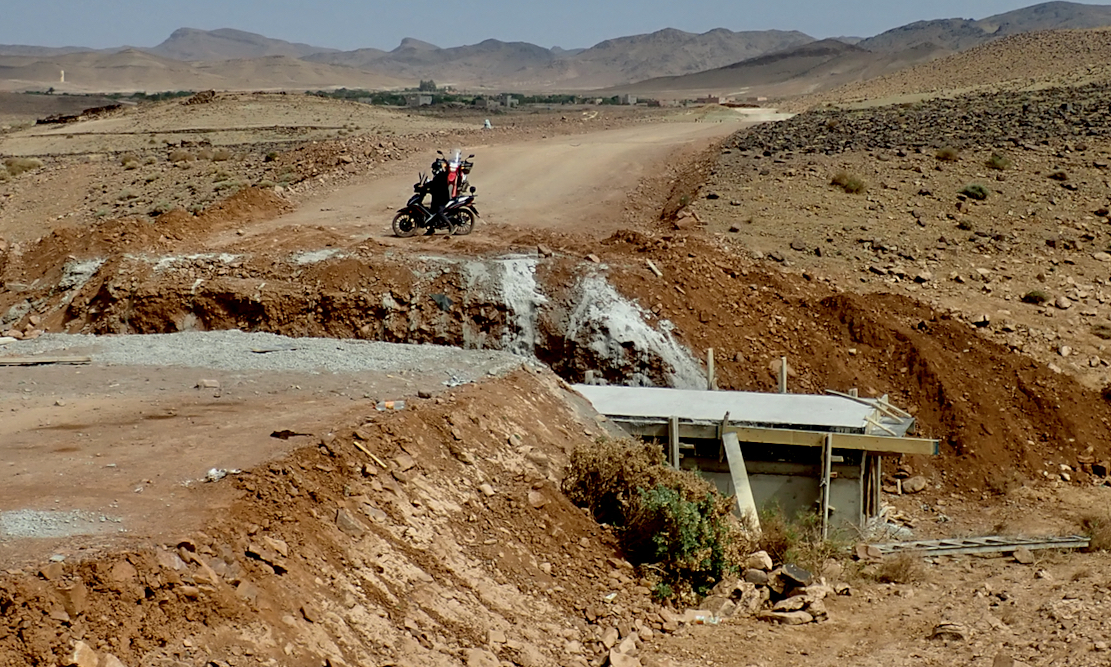
I’d had an amazingly good run this winter, often achieving more than I planned, but the turbulent springtime weather had broken in Morocco, with a violent overnight dust storm sweeping through Tinejdad. That meant I had to abandon a final high-altitude recce on Jebel Ayachi so, lacking the time to sit it out and wait, I may as well head home.
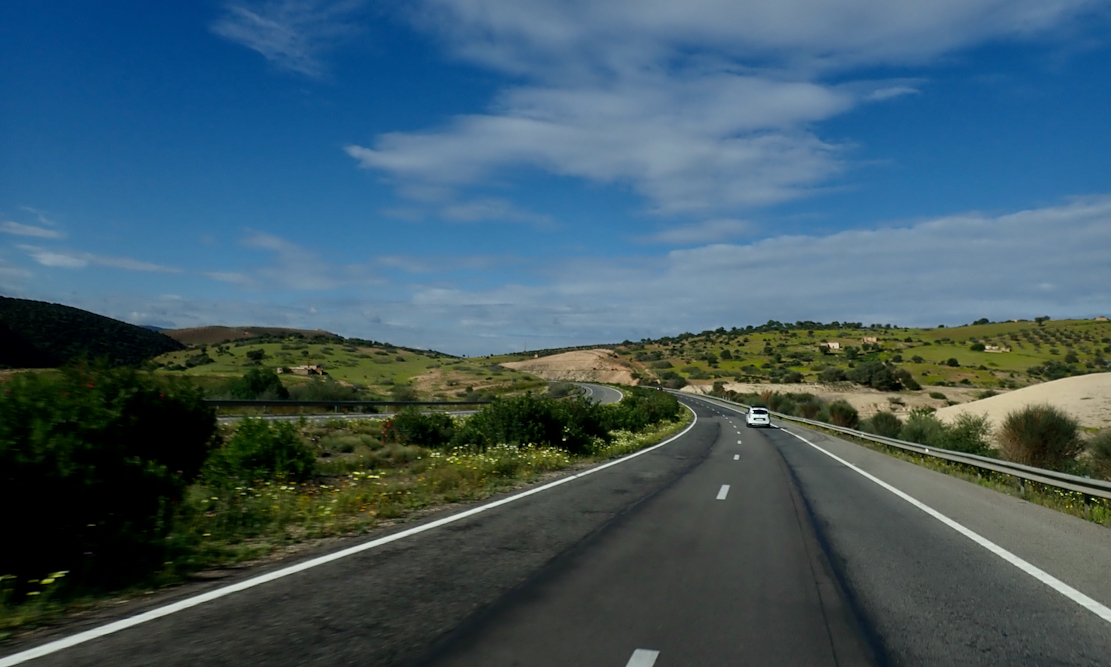
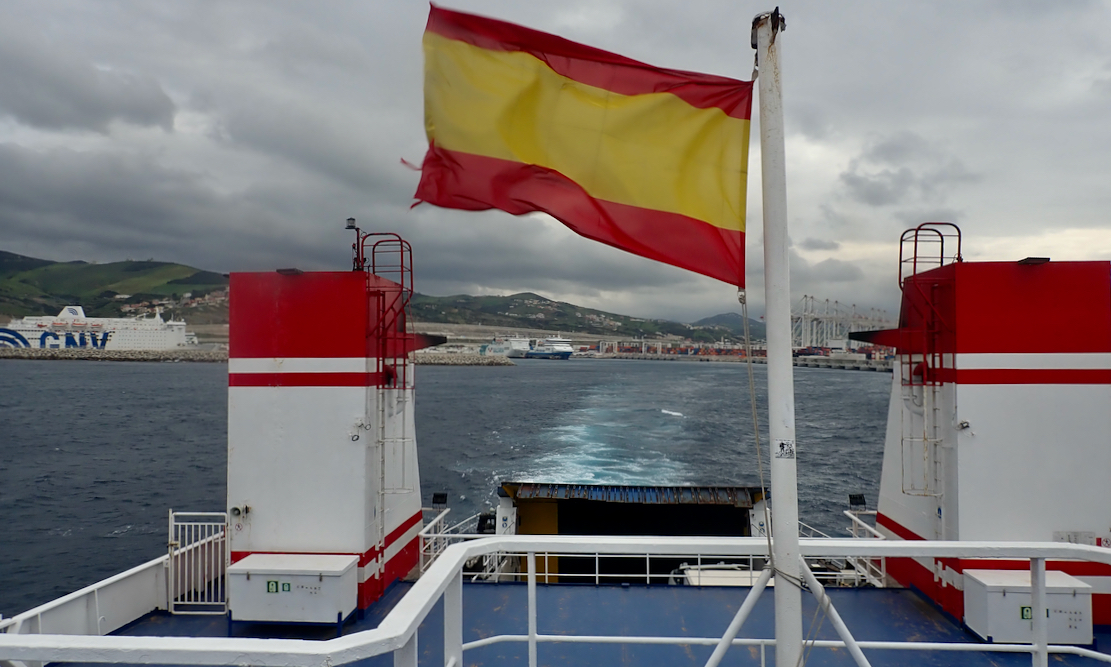
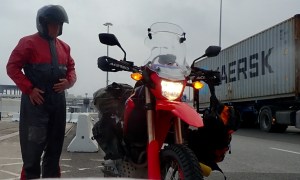
I started with a 400-km day from the desert up to Meknes, covered it with ease and getting in just as a hail storm rolled off the hills and hammered at the hotel room windows. Next day, neither of the forecast heavy downpours (one said morning, the other, afternoon) materialised, so I whizzed past the Hotel Sahara in Asilah to Tan Med and caught the next ferry to southern Spain, ending in wind and rain to Alcala.
I’d underestimated the Honda and my ability to cover distance, so decided to put it all on red and next day went for 600km along the familiar and effortless A66 ‘Ruta de la Plata’ to Salamanca – effectively a deserted motorway. It was a gamble made easier by knowing fuel and leche bars were frequent, as well booking a couple of days at a roadside hotel in Mozarbez, while in a holding pattern for the Santander ferry.
Unfortunately I didn’t anticipate single-figure temps and a numbing southwesterly. I was cold for the entire 9-hour ride to Mozarbez which ended in sleet at around 3°C. I arrived seriously frozen, but comfort-wise, had magically acclimatised to the CRF’s seat with the help of the Moto Skiveez.
I was grossly under-dressed for all this, recalling teenage biking sufferings when I knew no better. Increasingly desperate stops for fuel and hot food were needed. On-bike exercises – a new ploy – eased the long distances in the bitter cold and occasional showers, which saw me edging towards hypothermia.
I rarely exceeded a true 100kph, but had the weather been what I’d hoped for in March, that 600-km ride might have been stretched to 700 or around 440 miles. A pretty amazing distance on a 286cc donkey. All you need to do is try not to ride for more than two hours at a time.
That said, even with the strong southwesterly pushing me, fuel consumption was down to 70mpg/25kpl; an all-time low. (Fuel log here). Imagine what a CB500X would return holding a true 100kph in the same conditions? My guess is a lot more – or a much faster transit if riding at whatever 70mpg is – probably 120kph. This is the often overlooked payback with small motos. The only benefit is lightness, but of course that matters a whole lot when roaming around alone on the dirt. Sadly, you don’t gain good economy at highway cruising speeds as well. After >10,000km the 300L averaged a verified 30kpl / 85mpg / 70.8US. I tried but never quite managed to get a true 100mpg, but I think a lighter rider could.
I was the slowest private vehicle on the Plata, inching past trucks while cars raced up to my mirrors, but the Honda did a lot better than I expected. Was I wrong about the 300L being a compromised travel bike?

Stepping back a bit
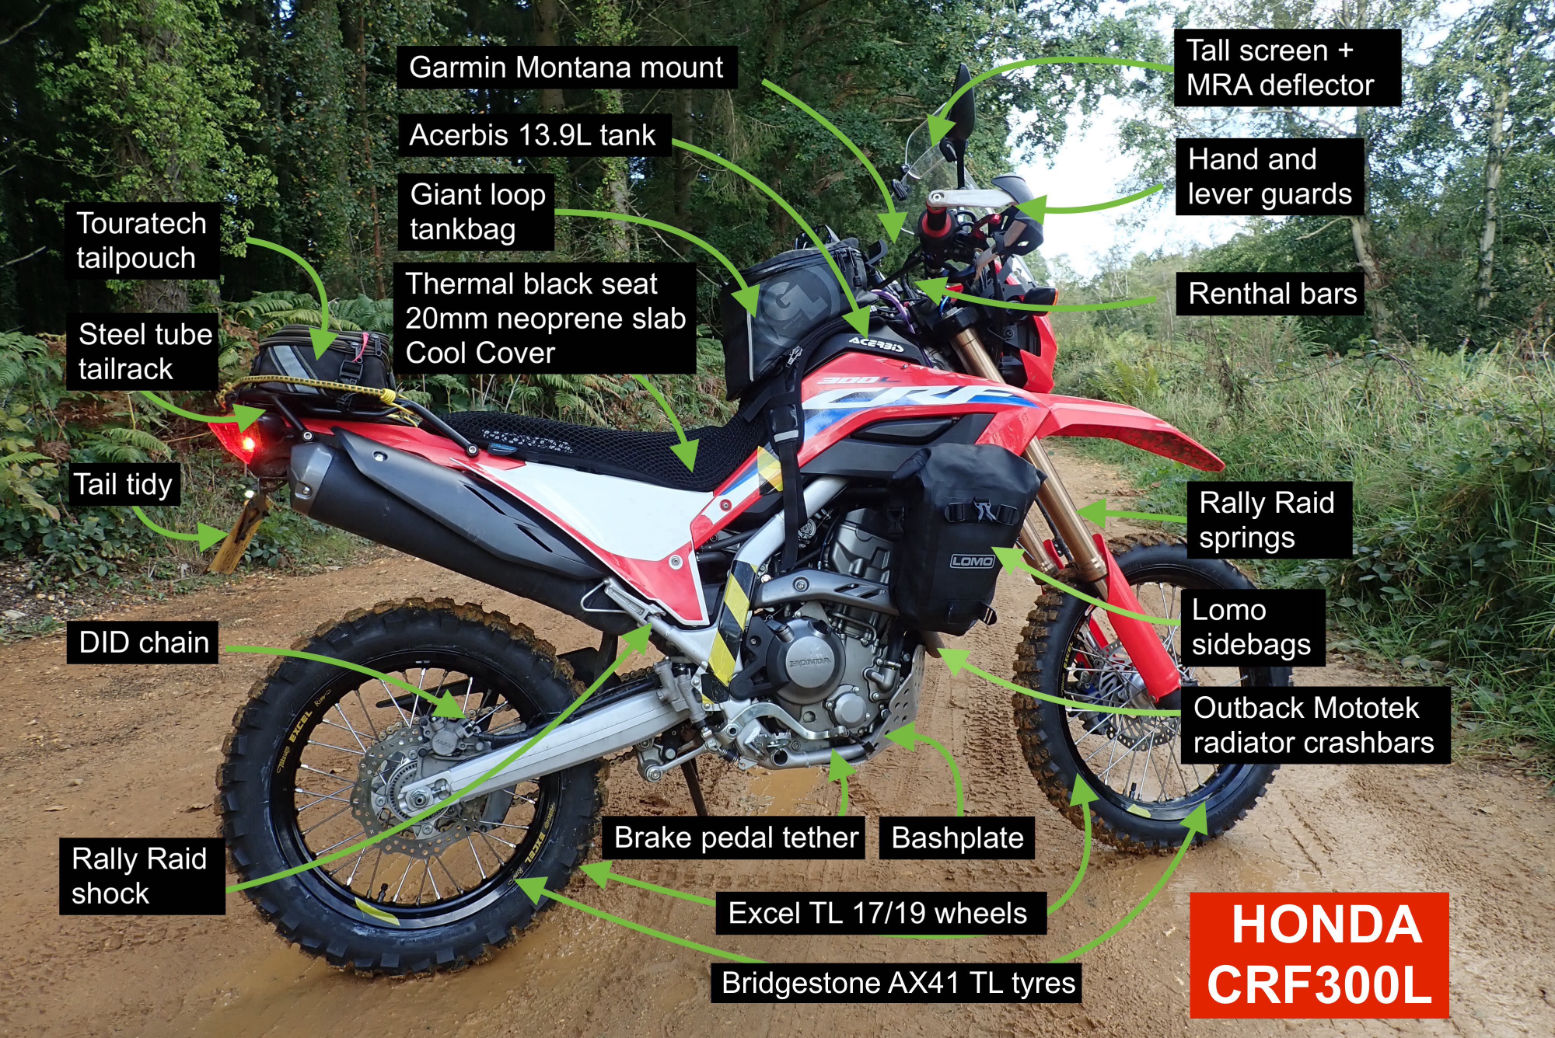
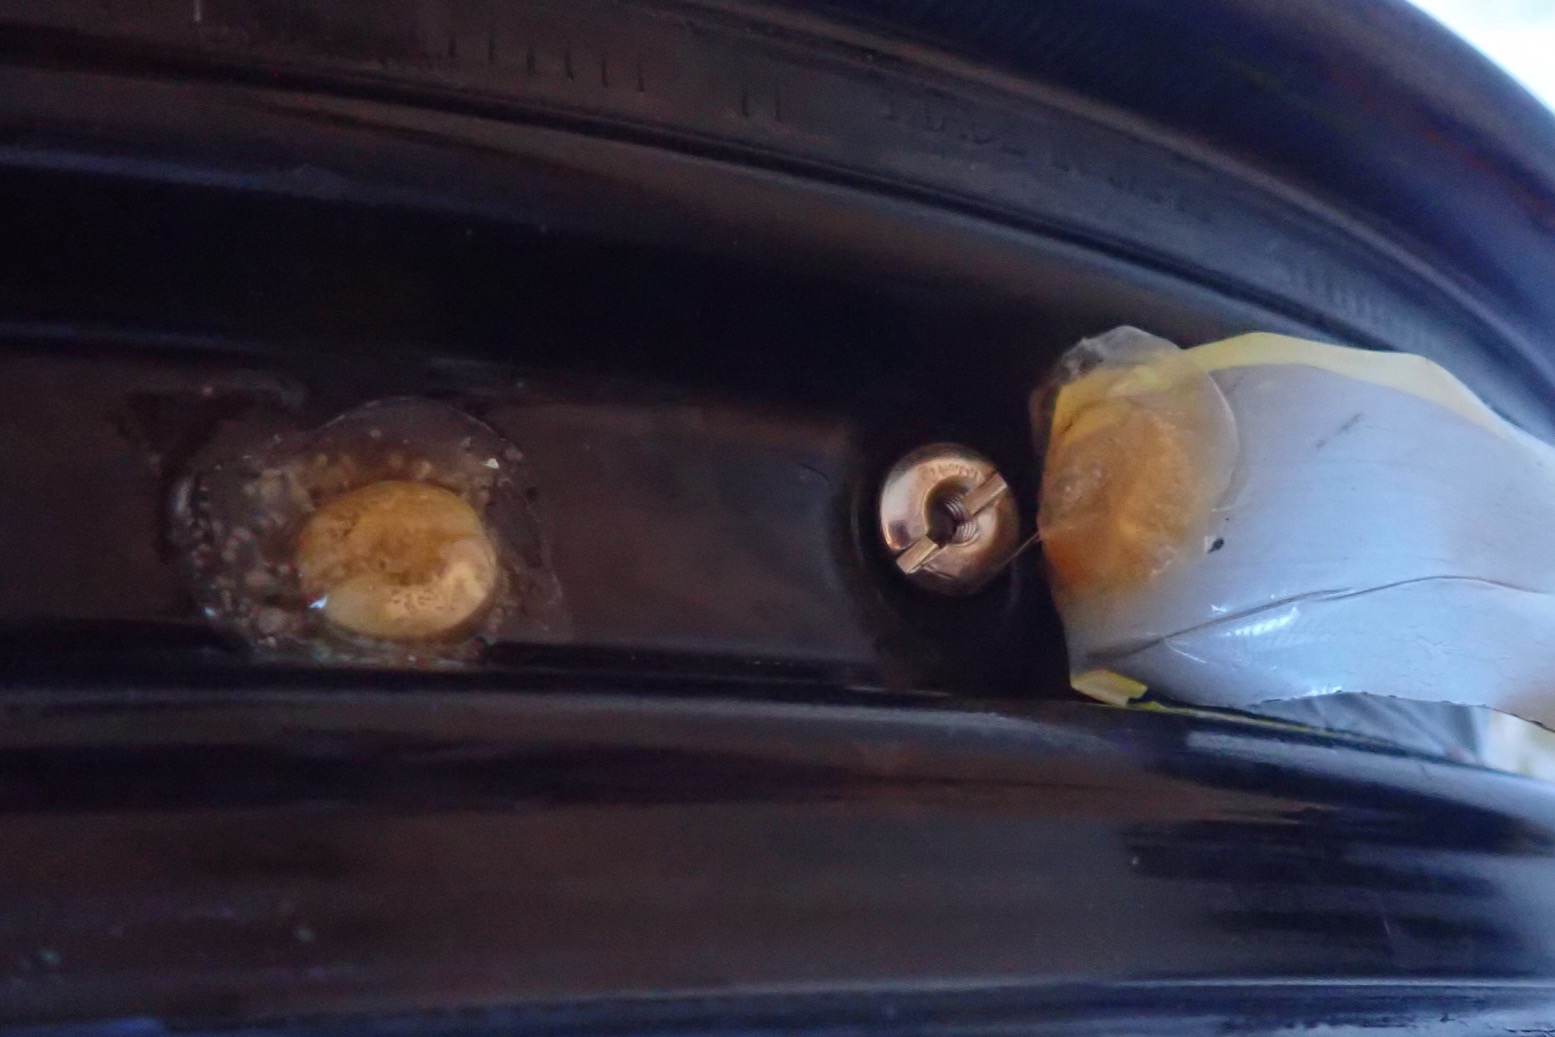
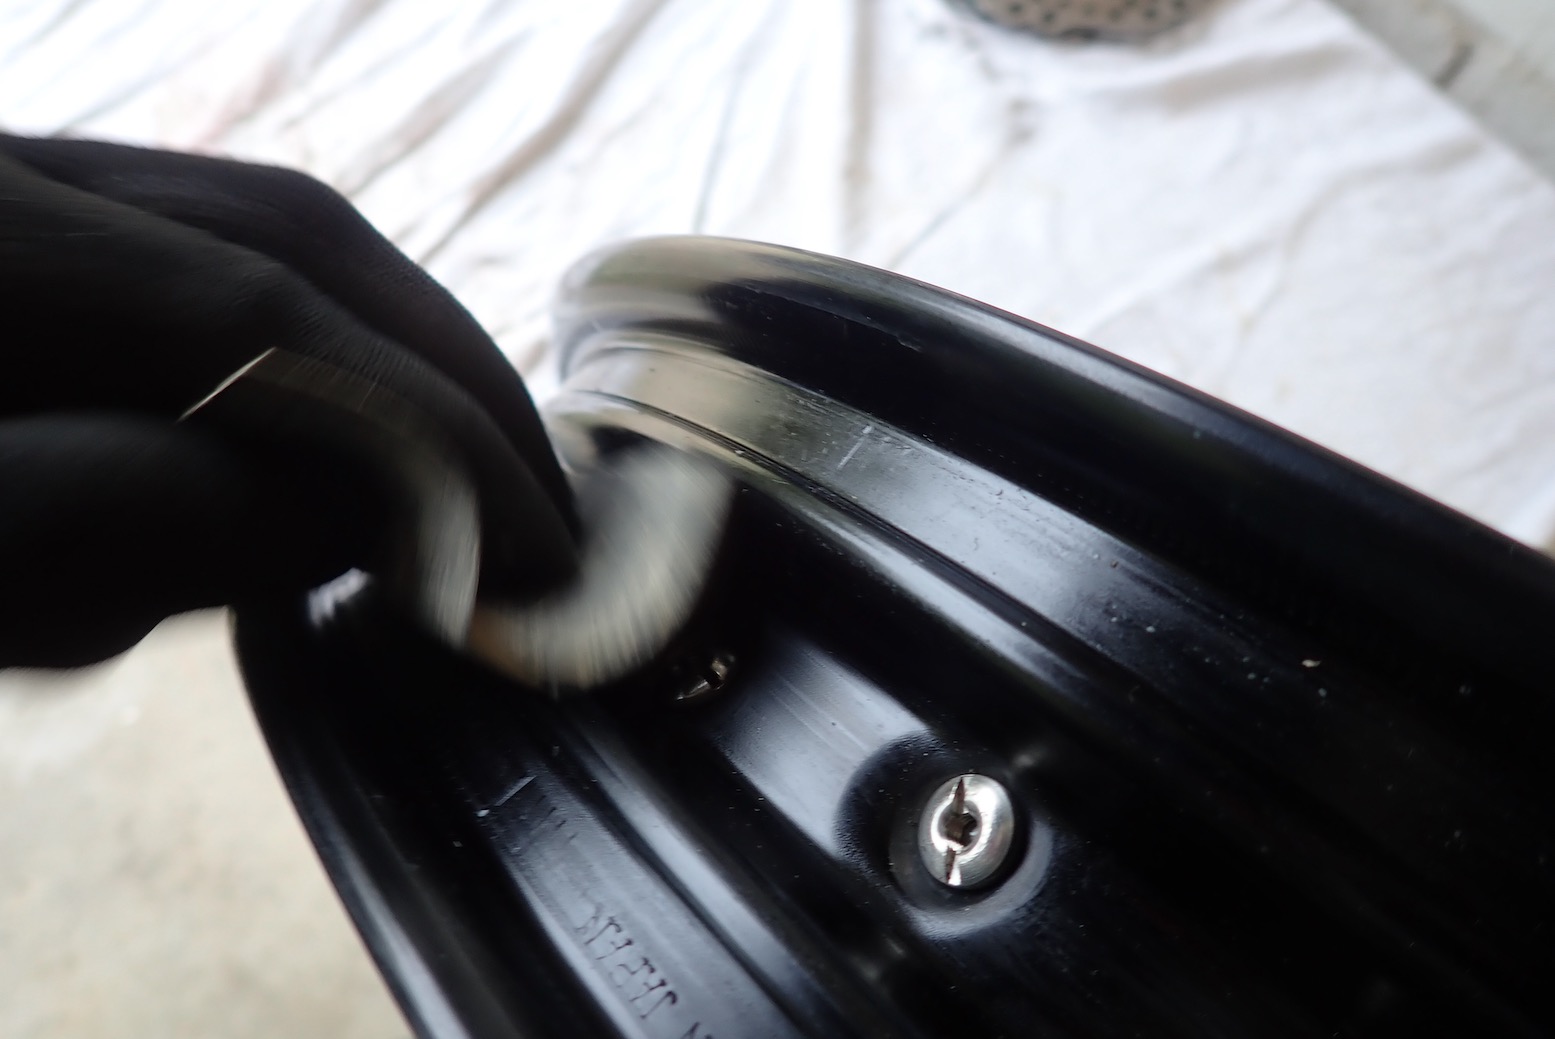
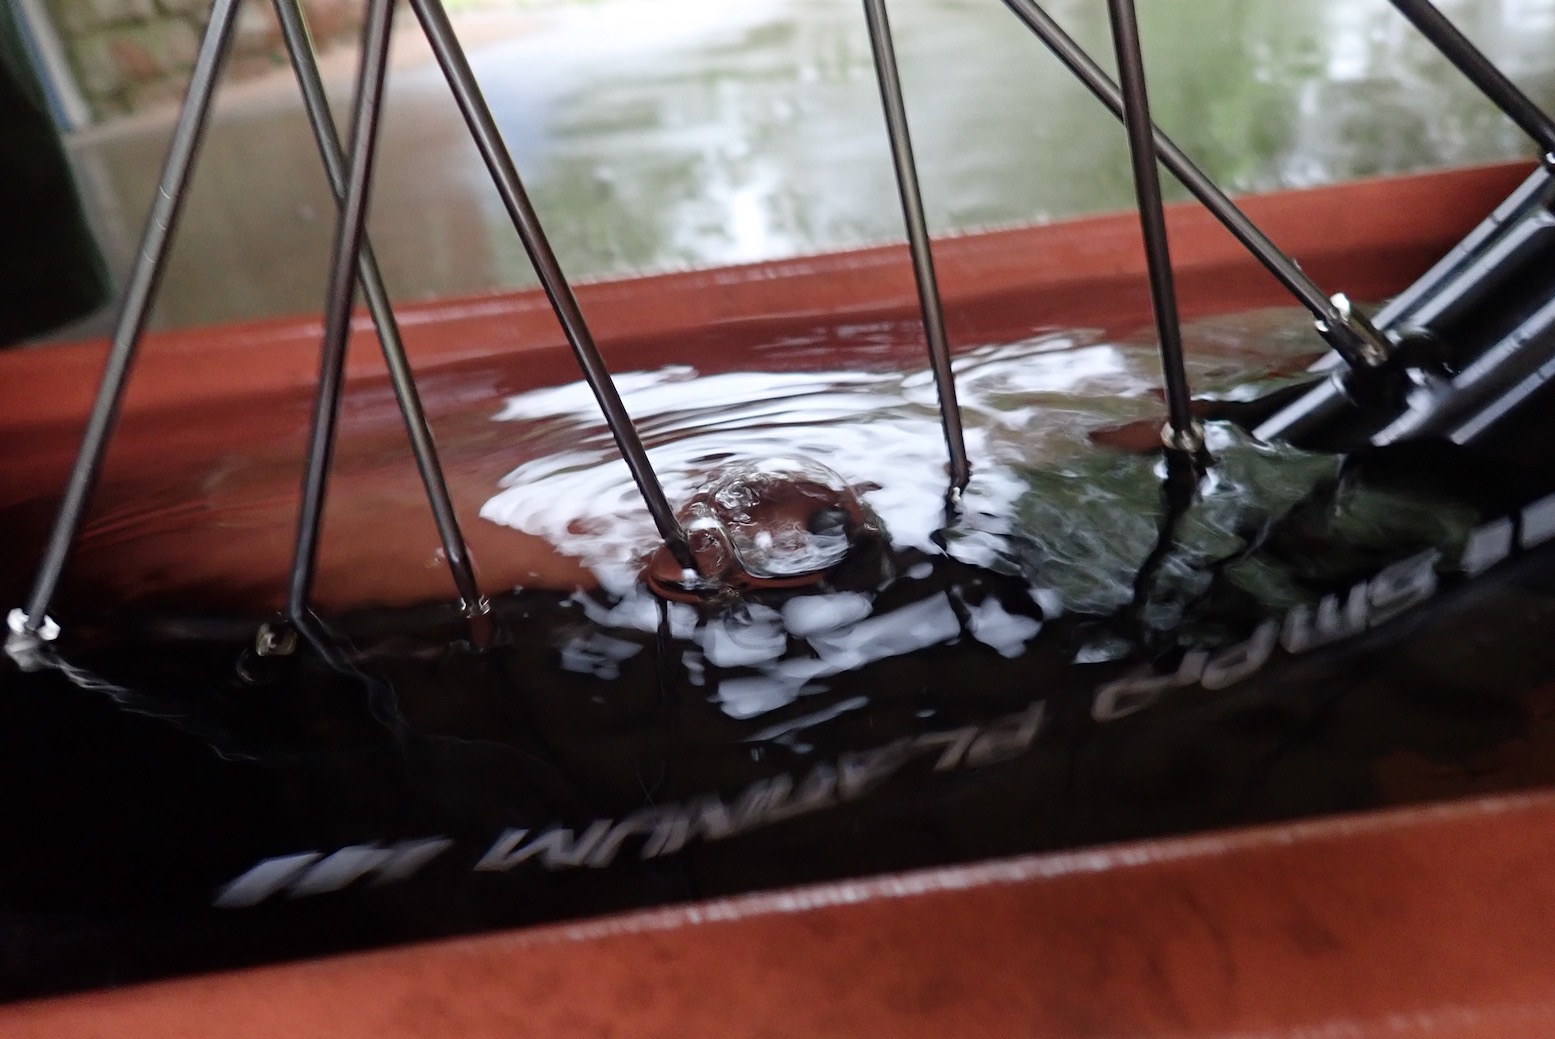
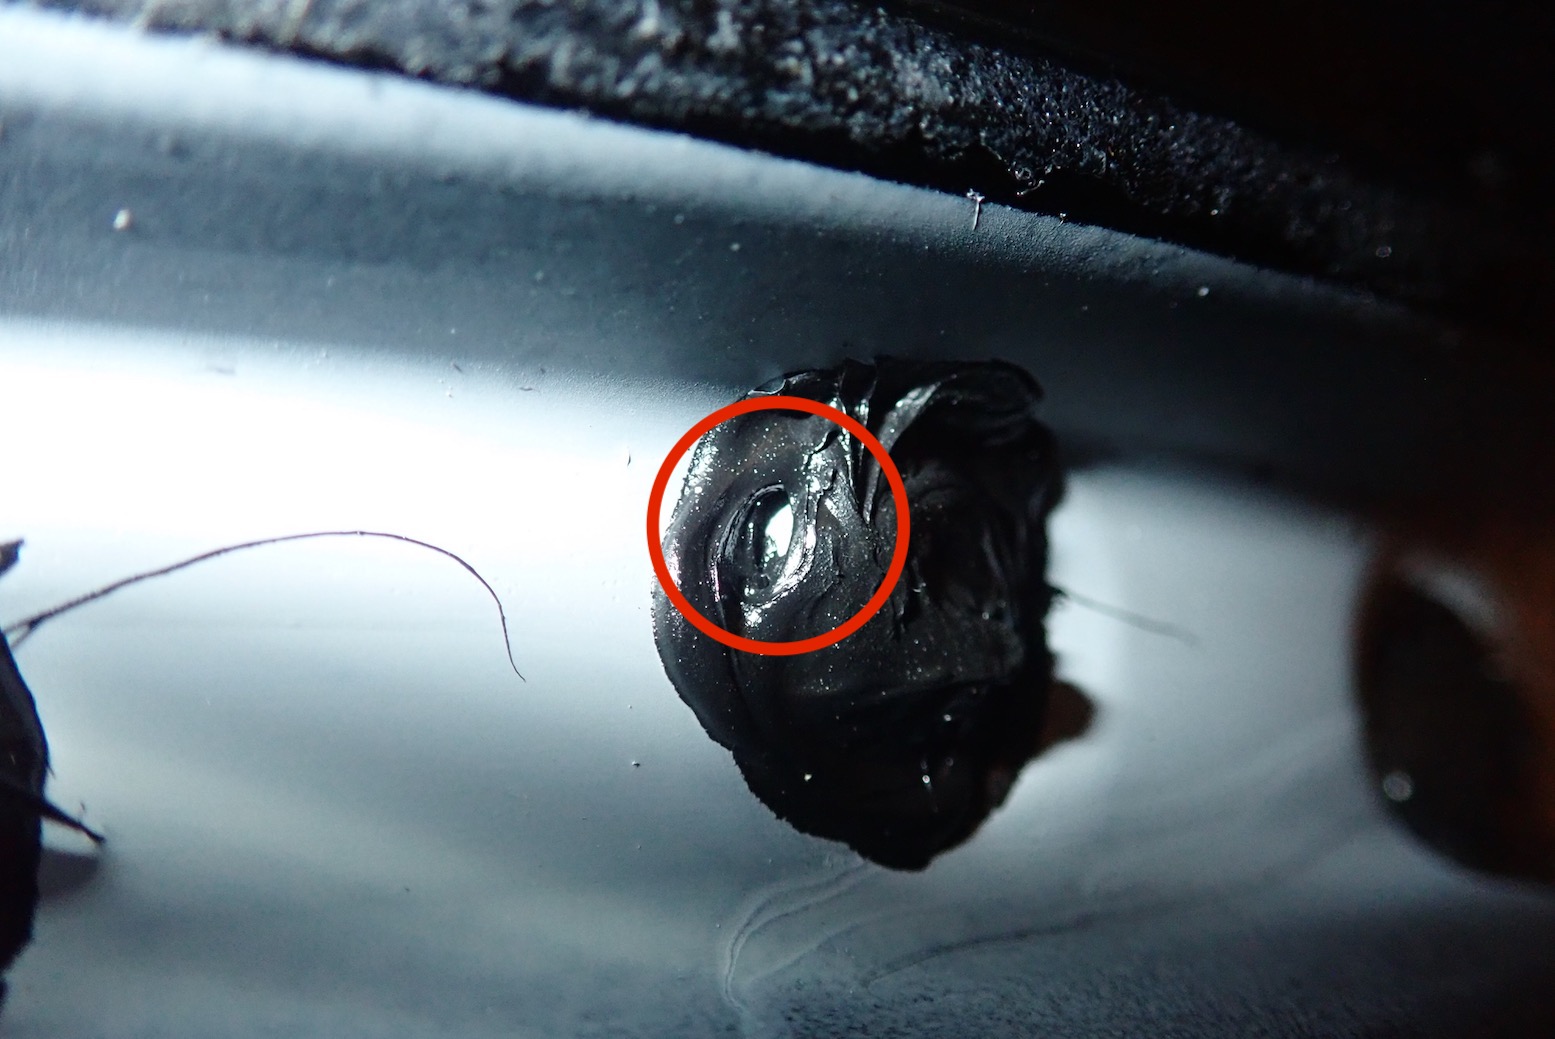
The bike I rode home was a little modified to what I’d ridden out from Malaga in October. By now both tubeless wheels had been properly sealed with a continuous band of Puraflex 40 by the mechanic at Loc in Marrakech. I’m a bit slack on checking; turns out the tyres still lose a bit of air, same as I’ve found with proprietary sealing systems like BARTubless. But on typically stiff TL tyres, it has to get really low – 1 bar or less – for you to notice. It might be leaking from the bead/rim face and it might settle down. DIY TL sealing needs to be checked regularly, just like tubed tyres. Or fit TPMS.

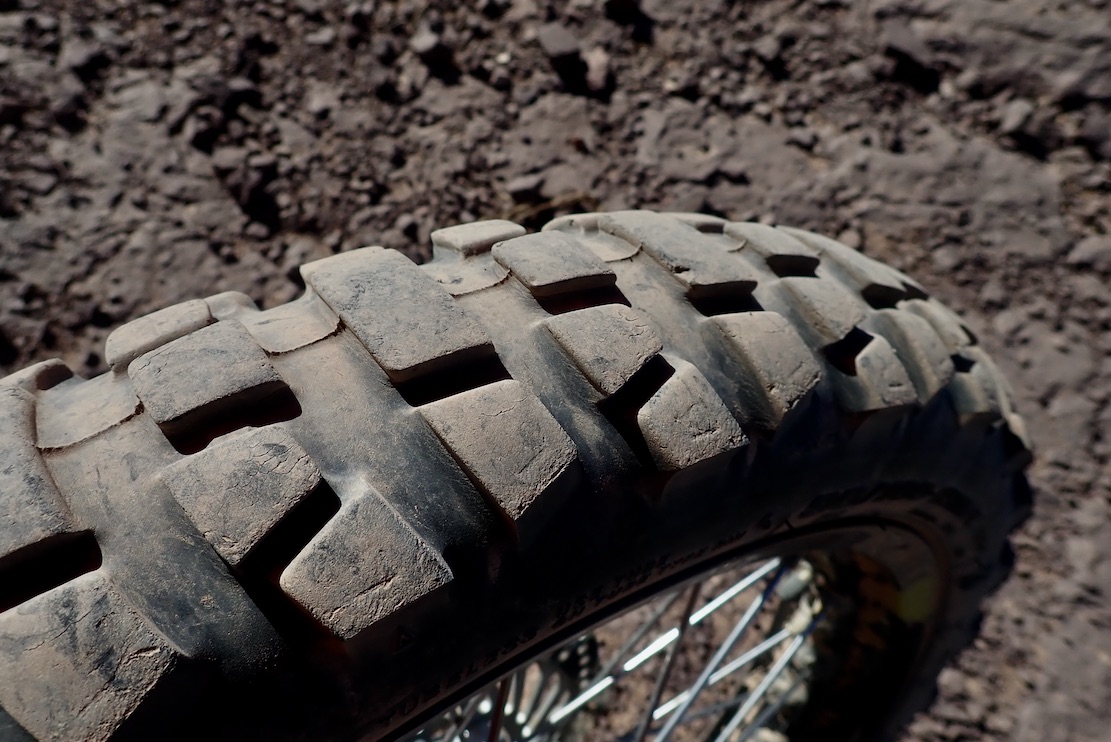
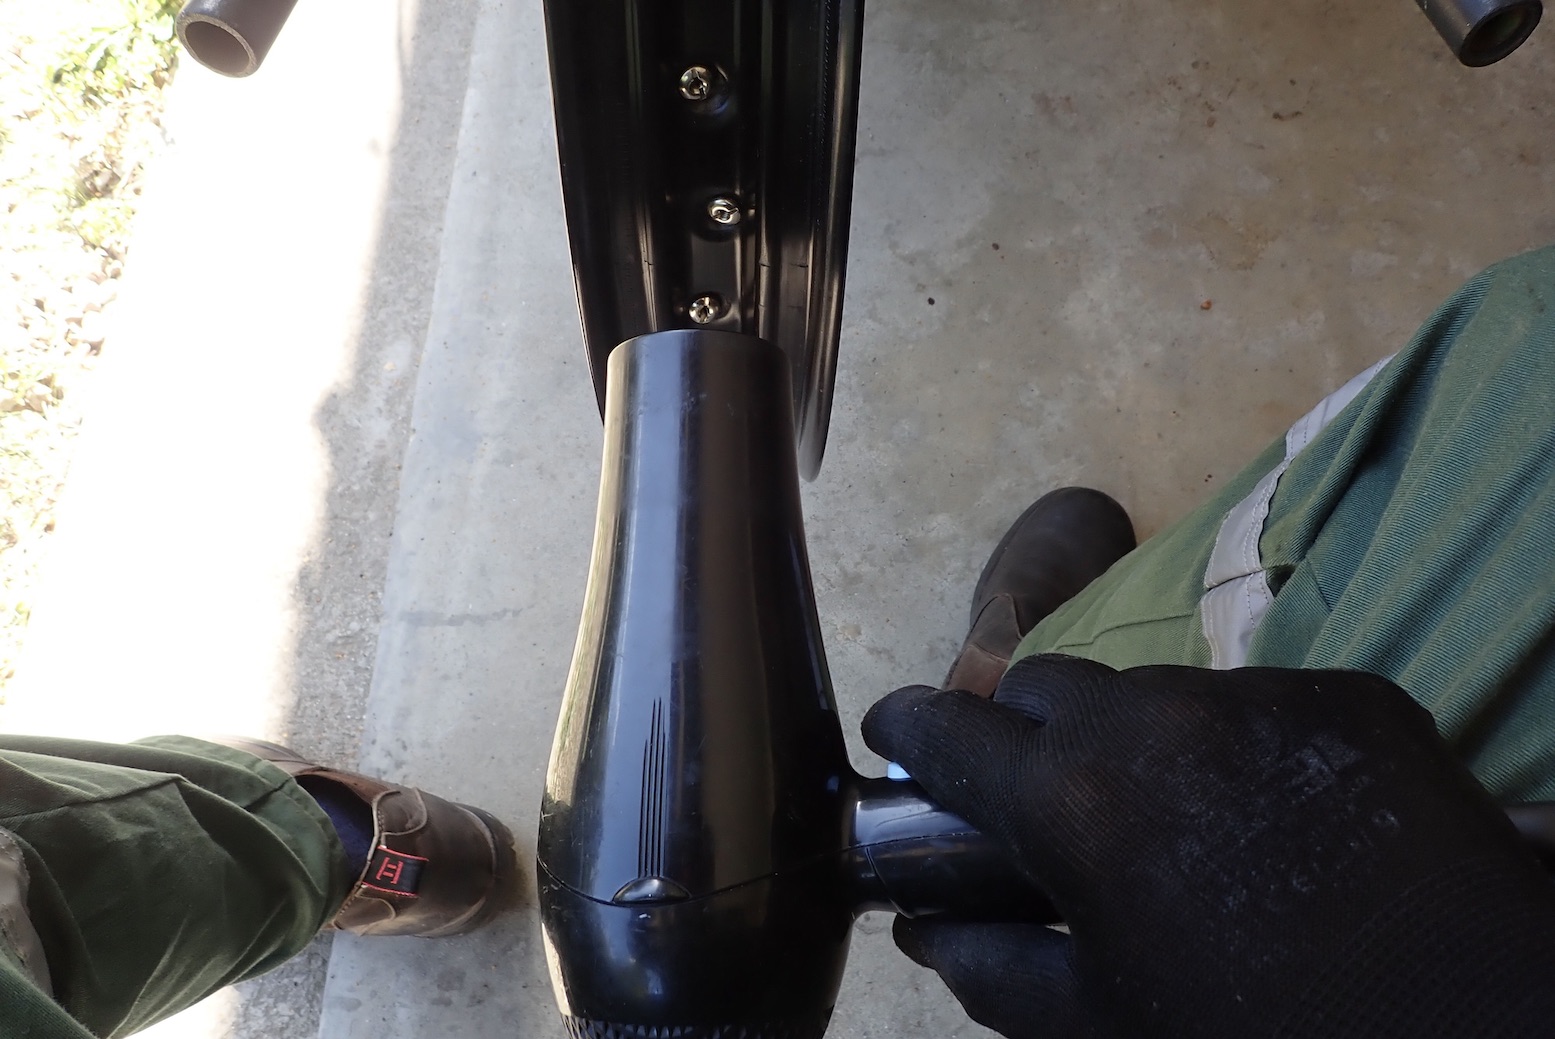
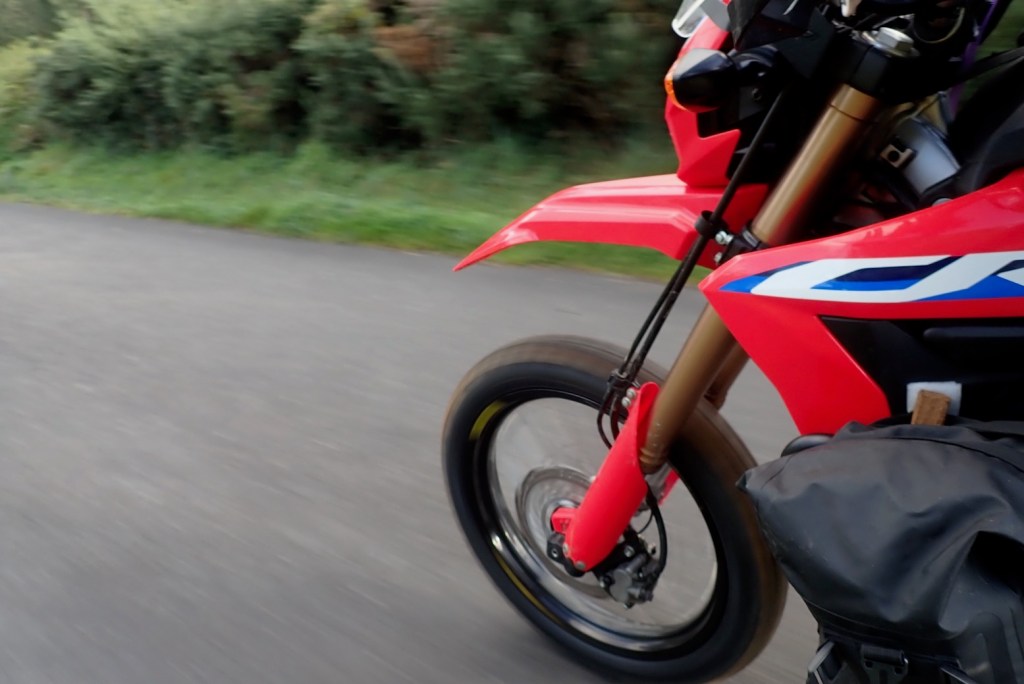
By now the stock-sized AX41s had worn out and I was running over-fat Mitas E07s as that’s all they had in Marrakech. These bigger tyres – 130 80 17 and 110 80 19 – improved cornering confidence on the road and were fine on the dirt for what they are. The front did slip a bit more on the loose stuff than the knoblier AX41, but felt more reassuring on wet or dry asphalt.
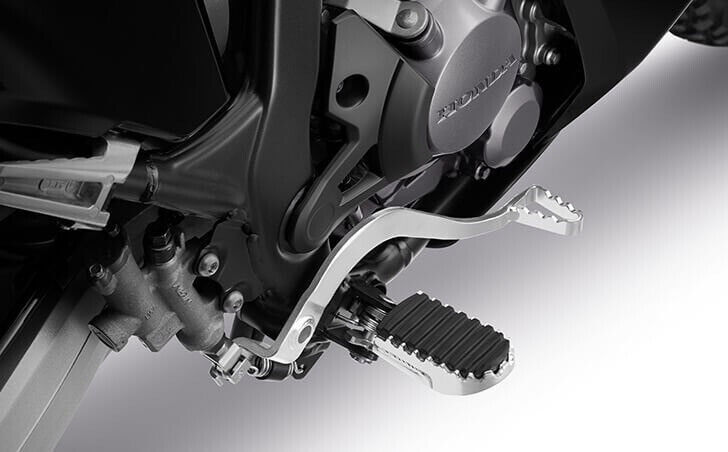
By the time both fat Mitaii had been fitted, the NiceCNC ‘Schmouba’ link didn’t lower the bike that much. And the Skiveez ended up the best all round solution to saddle woes. That and trying to stand more which is actually quite enjoyable until my insteps start to ache. Refitting rubber inserts into the pegs didn’t solve this; it must be my TCX boots or I need massively wider pegs.
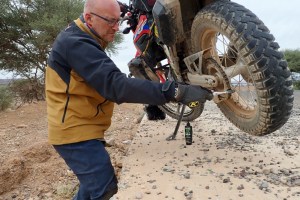
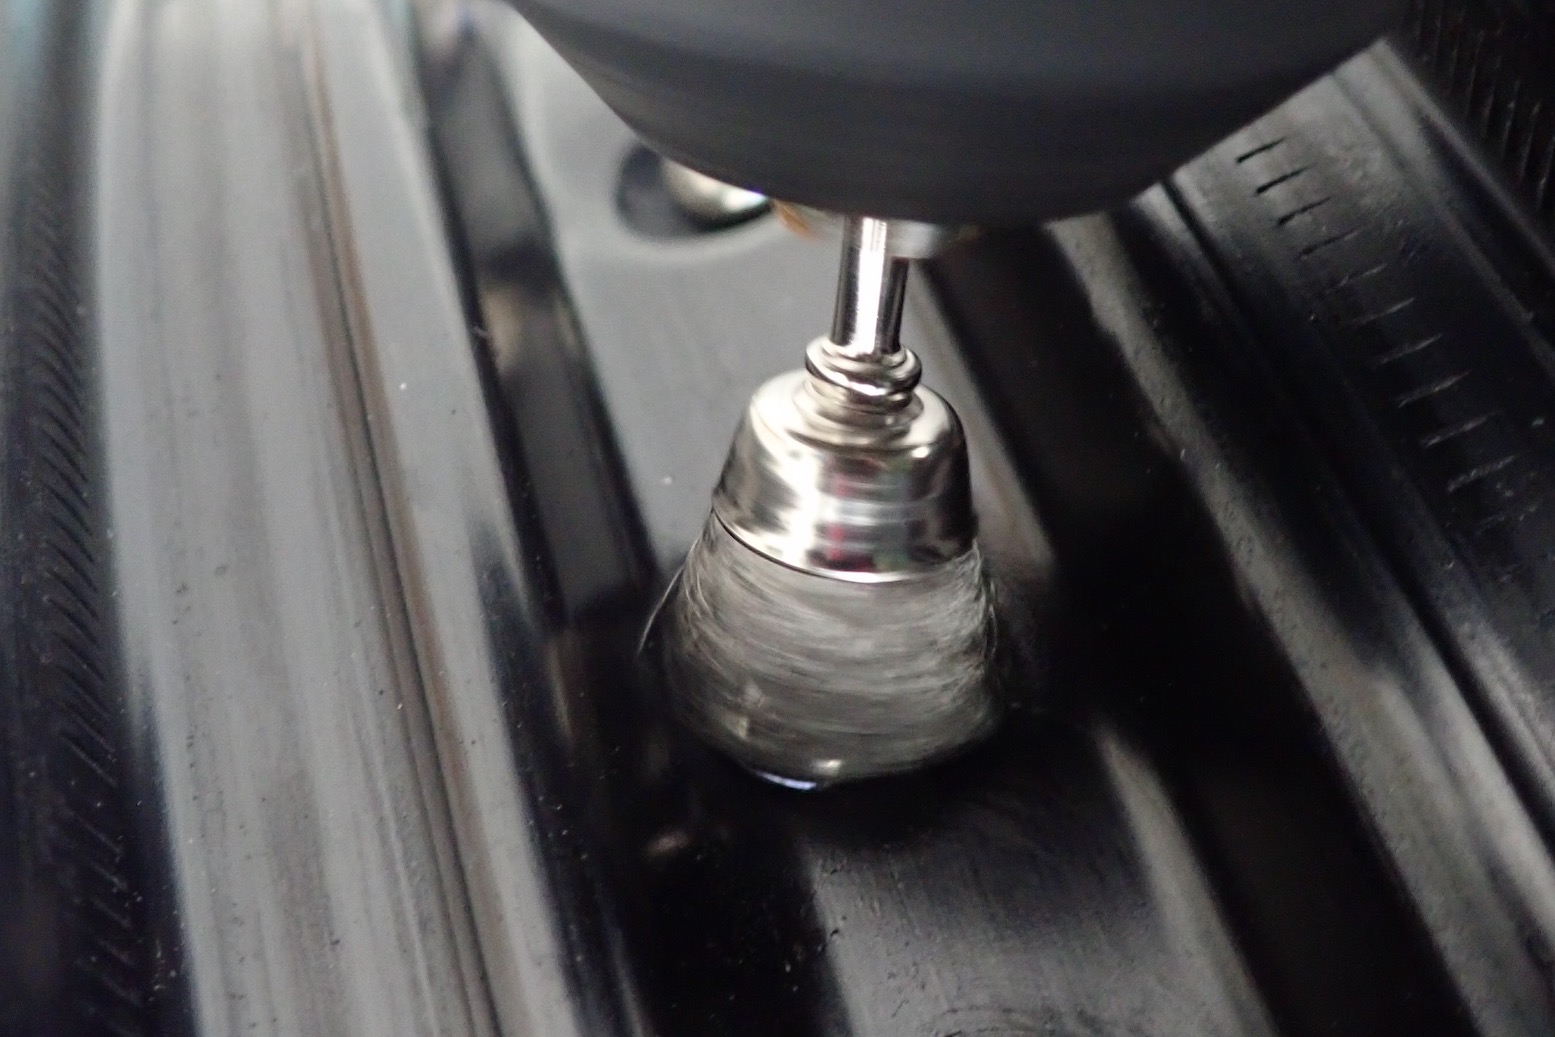
The Rally Raid suspension hasn’t sagged that I can tell. The fork seals have held up amazingly, and the DID chain has been adjusted once in 10,000 miles with hand cleaning and lubing as often as practicable.
The lame front brake holds me back from going full WFO supermoto in the canyons – well, that and a lack of nerve and skill. There’s still loads left, but I’ve ordered some EBC pads even though I may not reap the full benefit before the bike gets serviced and sold.
I tried swapping the grips in a bid to reduce vibration at the bars, but fell for some ‘duo-foam’ marketing with no improvement. Perhaps fatter, Moto Gloveez are a better idea.
So the answer is no, I wasn’t wrong about the 300L as a travel bike. It’s still a 28-hp ‘300’, bought for on-trail lightness, not it’s ability to generate motorcycling joy as you pull away or power out of a bend. It’s about where you can take it with confidence. Thanks to the low first gear (resorted on fitting the same-tyre-ø-as-OE Mitas) the power is absolutely adequate on the sort of dirt I ride and loads I carry. But I bet most 300L owners have another bigger ride or two in the garage.
Satisfaction may be found with something with a bit more poke, machine #65 I think it’ll be. As I won’t be off-road exploring so much and my skills in recognising what’s doable will have improved over the last year, the expected added weight of <200kg juiced up will have to be manageable, providing the seat height isn’t in the clouds. And ideally, unlike the Honda, it won’t need masses of added kit and mods to turn it into a good traveller for road and trail.
What is that bike, you ask? Click this.