AFRICA TWIN INDEX PAGE
With AMH8 (right) sent in, I have a week and a bit to get the Africa Twin in shape for some Morocco trails and Mauritania road tripping. It doesn’t sound a lot of time but I’ve done this loads of times so know exactly what needs doing.
Or so I thought.
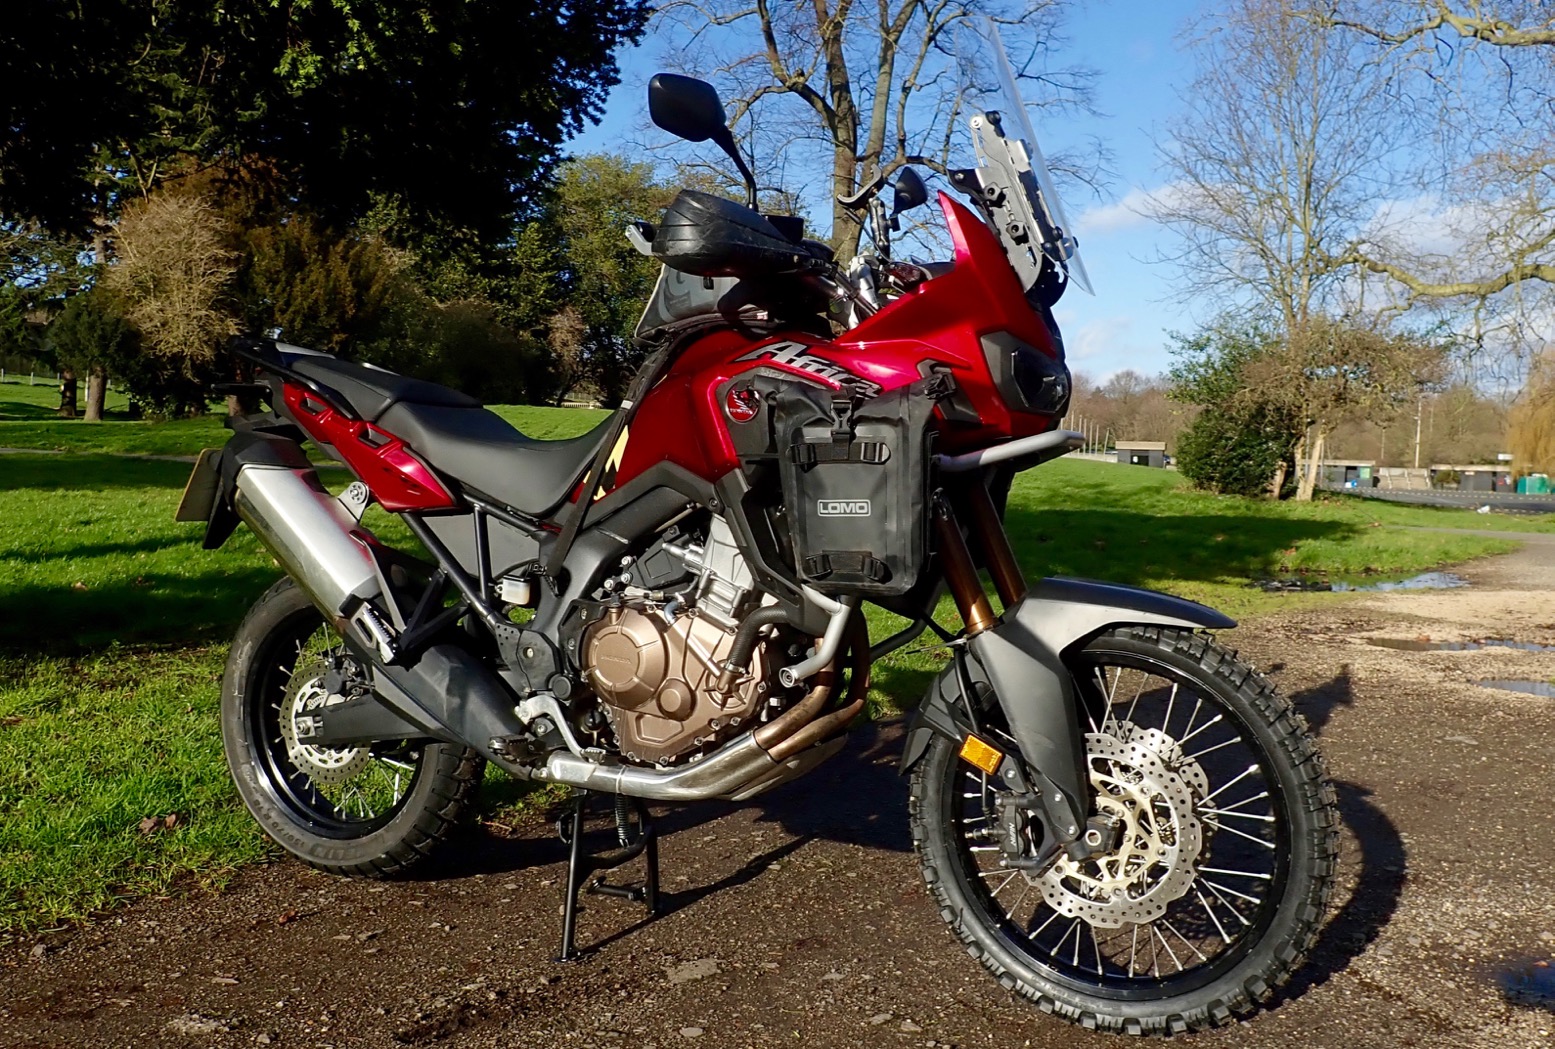
As I write early on in AMH: Beware and even anticipate a last-minute cock-up (‘LMCU’). While undertaking some wiring, my LBS noticed the left radiator was bent and fan jammed. I thought I’d smelt the whiff of coolant on the last couple of rides. It was clear from the damaged fairing the ex-Honda Off-Road Centre bike had fallen on the left at least once before they removed the crash bar, stitched up the fairing and sold it on. Looks like those crashes may have been heavier than they looked and my bargain AT wouldn’t be such a bargain after all. Oh well.
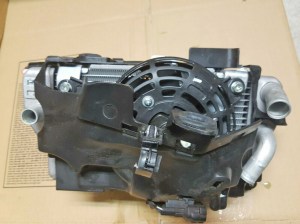
Honda parts prices? Don’t ask. Ebay to the rescue. Because there are so many ATs around I snagged a used radiator-fan assembly (left) and dropped it off at the shop. With that fixed, it now transpired the used OEM crash bar I’d bought a while back (probably also from the HO-RC) had missing brackets and my ferry was leaving next day. Luckily, the pressure was off as Storm Ciara (below) put paid to that ferry crossing and with the next one too late to get to Marrakech in time, I was left to van the bike to Malaga (£420) and pick it up after my tours. I hope that’s all the LMCUs out of the way. I really don’t want to leave our descent into Mauritania any later than it already is.
Attachments
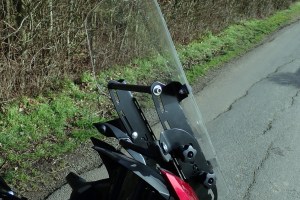
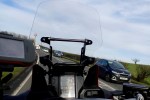
The fixed stock screen is famously ineffective. I settled on a Palmer screen, as on the CB500X a few years ago. It consists of a taller screen mounted on a pressed steel frame with three heights and three angles (left). That should surely deliver a cruising sweet spot. All up, it adds a kilo over stock; let’s hope the mounts can handle that extra mass on rough tracks.
Riding the bike, I found with the setting as left, I could ride up to 70 with no goggles wearing a Bell Moto 3 which is as good as it gets.
While fitting the Palmer frame (start with all mounts loose and work from there) one of the lower rubber grommet mounts fell into the abyss. Universe 1; Me 0. It seems commonly done but Rugged Roads sell similar ‘top-hat’ grommets that will work and ebay is even cheaper. One thing to know: these lower screen mounts slide up into place so don’t need completely unscrewing at all. Once you’ve undone the less lose-able top mounts, just slide the lower mounts down and out.
The stock plastic ‘handguards’ are rubbish and not surprisingly, the clutch lever was bent. I was hoping my 2008 Barkbusters might get their nth outing on an AMH Project Bike, but it was not to be. The threaded ends of the Honda bars need a specific insert. Reluctantly I coughed up 90 quid for some Barks to fit an AT with, for once, no bodging required. I’ve had a good run with those old Barks and at least the scuffed black plastic covers fitted right on – the Bark bar design has not changed in all that time!
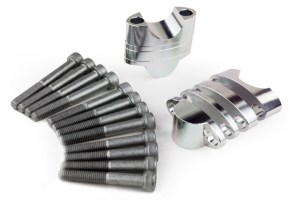
I was also hoping to re-use my Rox Risers to lessen the stoop while standing, but the Rox’s bike-mount ends are for thin bars only. You can pay crazy prices for CNC milled risers (or much less from Asia) but Adv Spec’s Risers (left) are a more normal 40 quid and come with a selection of nicely knurled shim stacks adding up to a 40-mm lift with three lengths of hex-head bolts to suit. I found about 30mm was the limit on the AT’s cables.
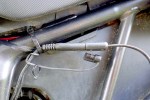
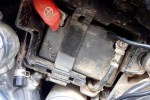
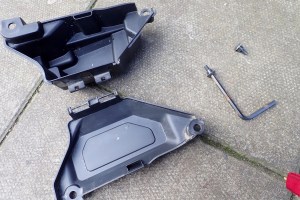
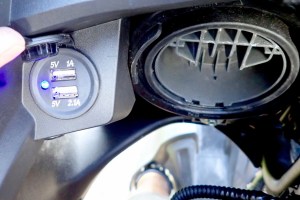
WTF’s the battery? It’s not under the seat. What would we do without the internet – RTFM I suppose. Turns out it’s jammed in above the gearbox (above right) but behind a ‘toolbox’ that can only be opened/removed with the 5mm key clipped under the seat (where my actual tools were located). With the empty toolbox off, I wired in a plug (above left) to run the tyre pump, but the added wiring and fusebox fouled the snug-fitting toolbox. Luckily, you can pull the box apart at the hinge (left) and just mount the front to cover the battery.
The wiring of the GPS and a USB port I left to my LBS. Here’s a good link on the fiddly job or removing the cowling, including snappy how-to vids. I don’t want to be doing what’s demonstrated below by the kerbside with tiny fittings disappearing into gutters full of rotting mid-winter leaf mush.
Though obviously very handy, there are some rambly, ill-thought-out how-do vids on ebay; some old dope droning on for 20 minutes for a <1-minute video on how to access the battery while reminiscing about his dad’s old tractor. The non-lingual vid below shows how it should be done.
Tyres

Michelin sent me some Anakee Adventures but the front looked a bit too roady compared to last year’s Anakee Wilds on the Himalayan. The AT may only be 60 kilos heavier, but has over three times the power which may chew through tyres fast.
On this trip of several thousand kilometres I’ve decided to try the ‘gnarly front – roady rear’ tyre strategy I write about. The rationale is: prioritise secure loose-terrain steering on the slower-wearing front while, on a powerful, heavy bike you need longevity from faster-wearing rears where sliding in the dirt is less problematic as you won’t be cornering this tank like a 125 MX. Anything too knobbly on the rear risks an unnerving ride, fast wear and ripped off knobs on the road.
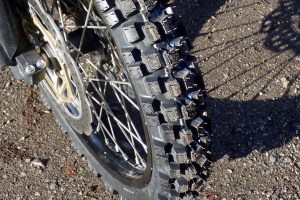
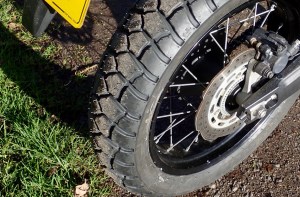
I fitted a Motoz Tractionator Adventure (left) to replace the front Karoo which isn’t the sort of tyre I’d choose for teaching off-roading in muddy Wales on a quarter-ton AT. On dry tracks it’s less critical but the Karoo only had 5mm left (same as the rear Karoo).
The bike is front-heavy but with a centre stand and a trolley jack, once fully deflated, the Karoo just squeezed out between the twin calipers. But getting the wider, stiff and new Motoz in – no chance. I tried to undo one of the calipers but they’re torqued off the scale and the loose forks make it hard to get tension (better done with the wheel on). Instead, I loosened one fork stanchion and shoved the wheel in.
I was just about to remove the rear when I remembered I had a nearly finished DIY tubeless wheel upstairs. All it needed was taping up and a Michelin Anakee Adventure (left) slipped on with some proper tyre soap. Inflating a newly mounted tubeless can be tricky as the tyre needs to catch a seal to accumulate pressure and get pushed over the lips into place. I know from 4x4s and my old XT660Z this can be hard to do, but the uninflated Anakee ‘auto-sealed’ well enough and, with the valve core removed to speed up the airflow, eased over the rim’s lips with a pair of loud pops. A cold day a week-and-a-half later and it’s down 8-10 psi so will need watching, though I recall early pressure loss is not unusual, even on proprietary tubeless spoke sealings.
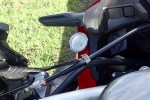
Hopefully, it may settle down but I now have a v2 Michelin TPMS to keep an eye on things and may have to get some Slime in. I’ve stuck one activating magnetic dish to the fairing at a readable angle (right) and will keep another spare in the tank bag when off-road in case the display shakes off (a common complaint according to amazon reviews).
From the state of my fairing and radiator, the OEM crash bars which came on the HO-RC bikes (and are now selling used online), don’t really do the job. But what would you expect from 250 kilos of bike hitting the ground?
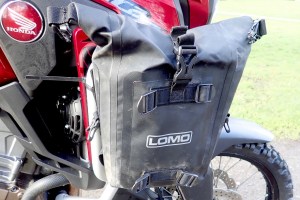
I specifically want them to mount my ex-Himalayan Lomos which I hope will act as sacrificial impact-absorbing airbags. Better the bags’ soft contents get mashed than what seem to be vulnerable radiators.
The stock bash plate is at least made of metal, but it doesn’t come up around the sides of the engine which look vulnerable. On the rocky trails of the Adrar plateau I’ll have to tread carefully and have some epoxy putty at hand.
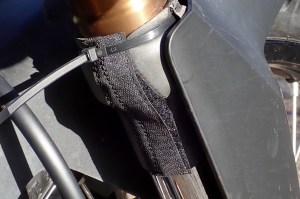
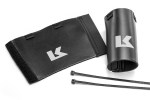
CRF1000 USD forks are leak-prone – one of mine was leaking before I even bought the bike at 1800 miles (fixed on warranty). Repairing a seal in the field sounds too tricky to do well so I’m hoping some Kriega fork seal covers (right) will keep the seals from getting worn. They’re easy to fit and remove if needed. The full-sock tubes like I had on my XCountry are better and cost the same, but require removing the forks from the bike to slip over the top.
And that’s about it. It would have been fun to ride the Honda across Spain, but this is the first time doing that crossing over many winters that the weather has caught me out.
It would have been even more useful to get the feel for the AT doing my regular tour circuits in Morocco. That too is not to be so I’ll be renting a ragged Sertao for the duration and will just have to learn to manage the AT on the fly down in Mauritania. More news and impressions on the road in March.
