Tubeless Conversion Index Page

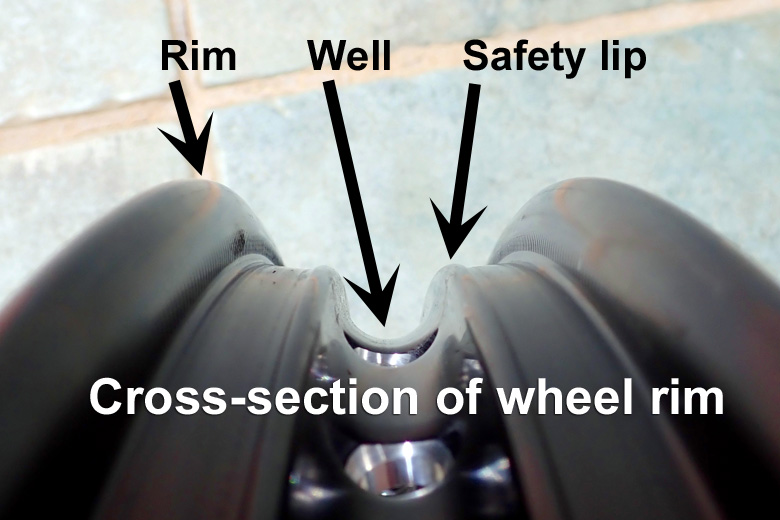
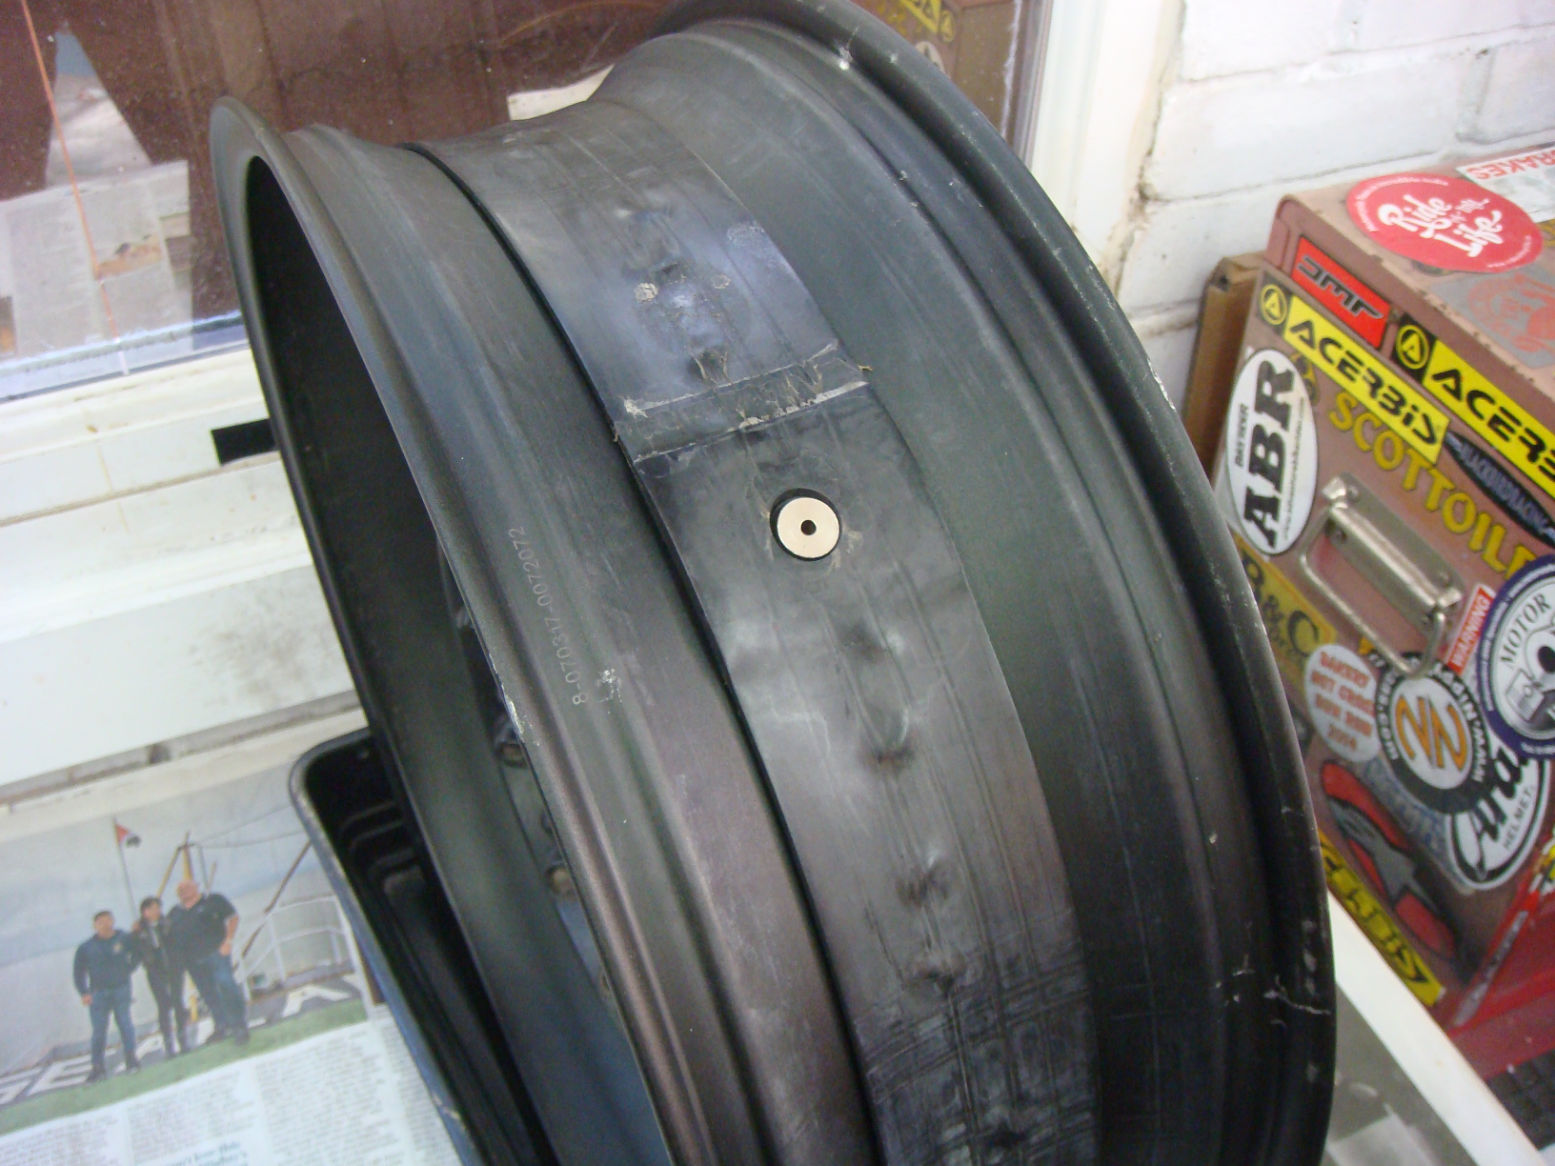
I and others have come to the conclusion that the key to successful and safe DIY spoke sealing is using a rim with the safety lips (right). These rims are stamped ‘MT’ as opposed to ‘WM’.
SHORT VERSION: AT rear wheel: easy to DIY • Front 21s: use an MT rim

L o n g e r explanation
All cast tubeless wheels have these lips, and just about all rear spoked, tube-type rims have them too, right as far back as IVJ Teneres from the mid-80s. These humps/ridges/lips keep a tyre’s bead seated on the rim and out of the well (but make tyre changing harder).
However, stock 21-inch tube-type spoke rims hardly ever have them. I don’t know why as having a flat tyre come off the rim is more perilous than on the rear. So with a typical 18/21 spoked bike, like my AT, DIY-ing the stock lipped back wheel is easy and safe. But the front requires tracking down a lipped 21. Giant and Takasako Excel (above right) make them from about £110 but you won’t find ebay flooded with them. Once you have laced that rim on you can try and DIY seal it too, or you can spend from £120 on a BARTubeless or Airtight professional sealing.
The rims, even the rear, do not have the TL safety bead or lip to make a good seal. I see trouble ahead.

PU sealants
Way back in 2008 I bought the new XT660Z Tenere for a research trip in Morocco. I asked on Horizons if sealing the well of the spoked rims to make them tubeless (left) was a good idea. The discussion concluded it was do-able and had been done.

I like to experiment with new ways of doing things, so I went ahead. Full DIY XT660Z article here. Short version: the stuff I used (right) didn’t adhere that well, plus I didn’t do a good enough job in preparing the rim: and then on the road, I forgot all about it, tyre pressures dropped after 1500km and I dinged a rim and lost the seal.
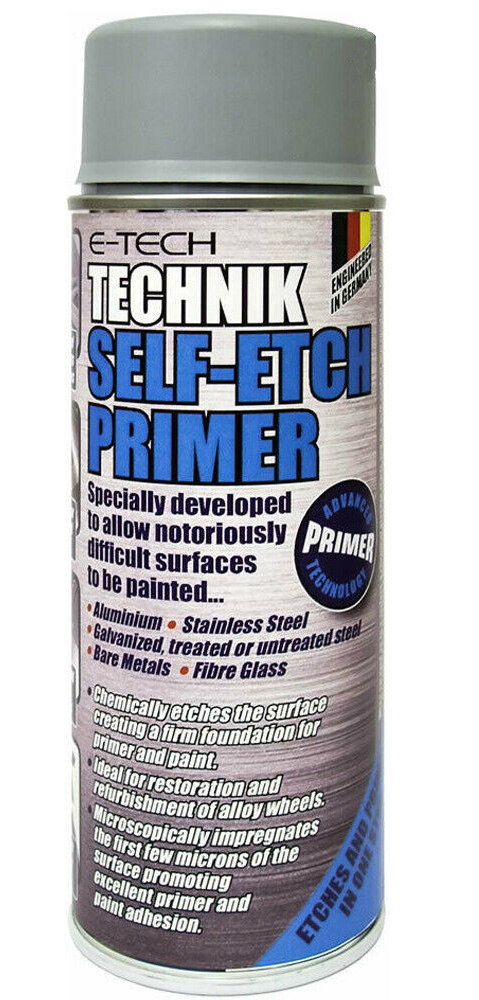
Above: over a decade later Ian C. tells me he once had good results on his KTM V-twin with Ever Build Puraflex 40 PU sealant; about £6 for 310ml. This was after thoroughly degreasing and then spraying etch primer (right) on the wheel before applying a couple of layers of black Puraflex and screeding it down smoothly.
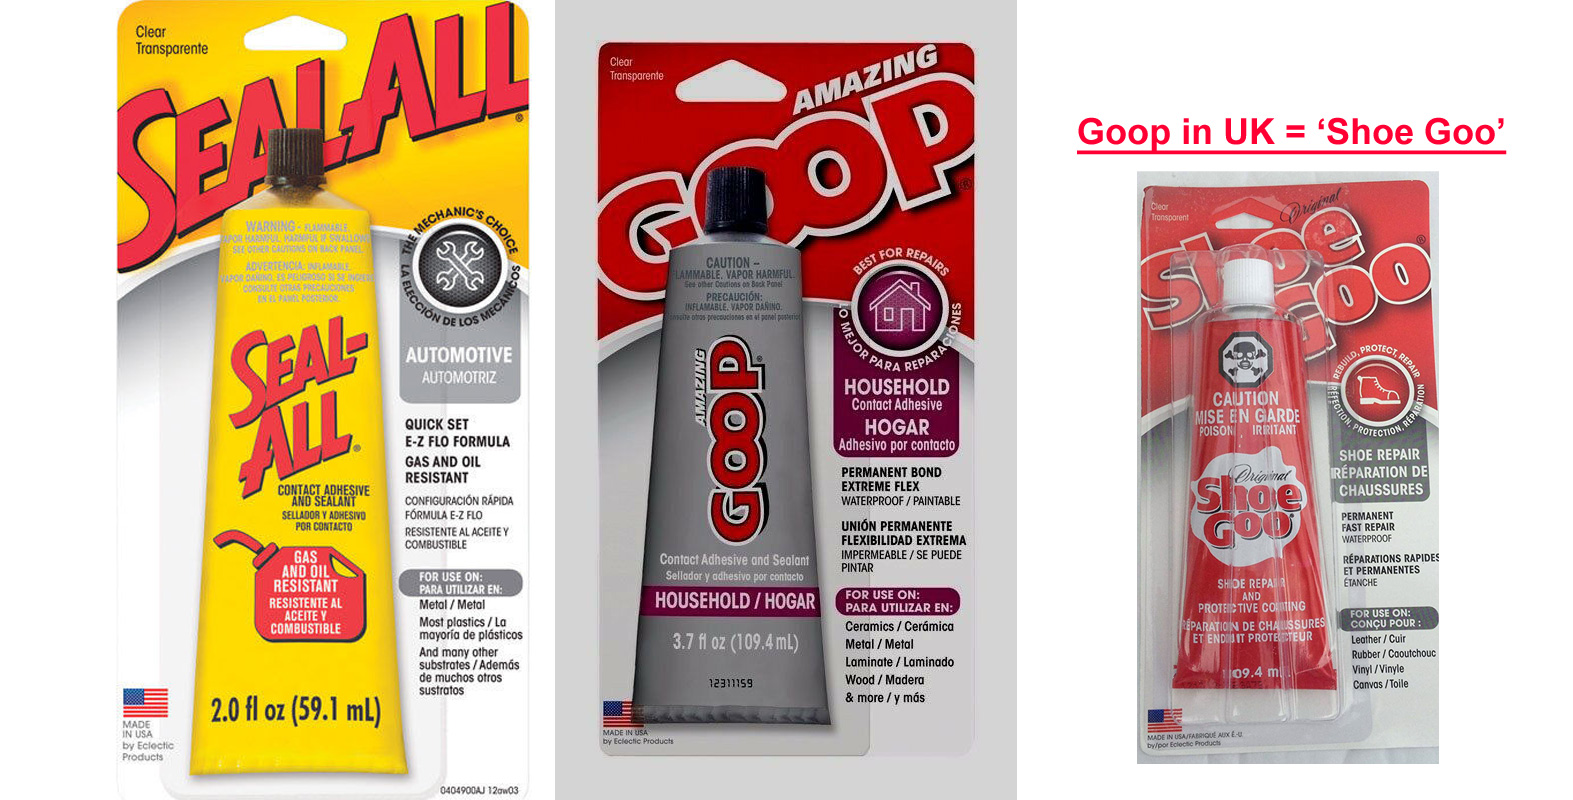
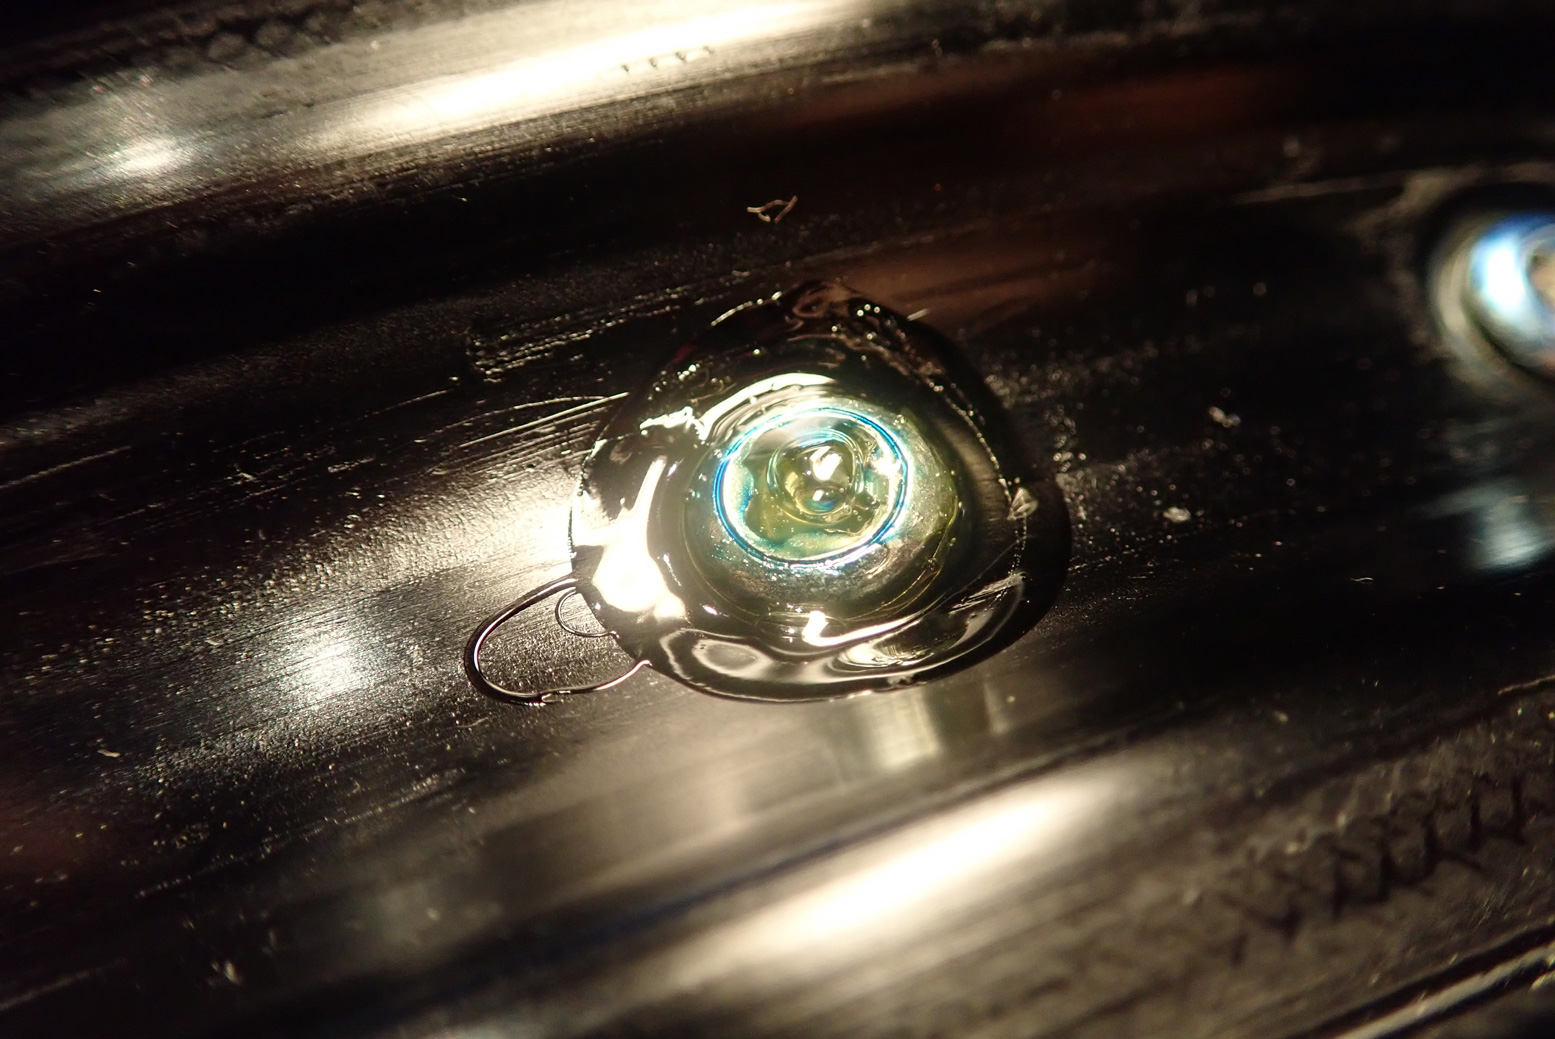
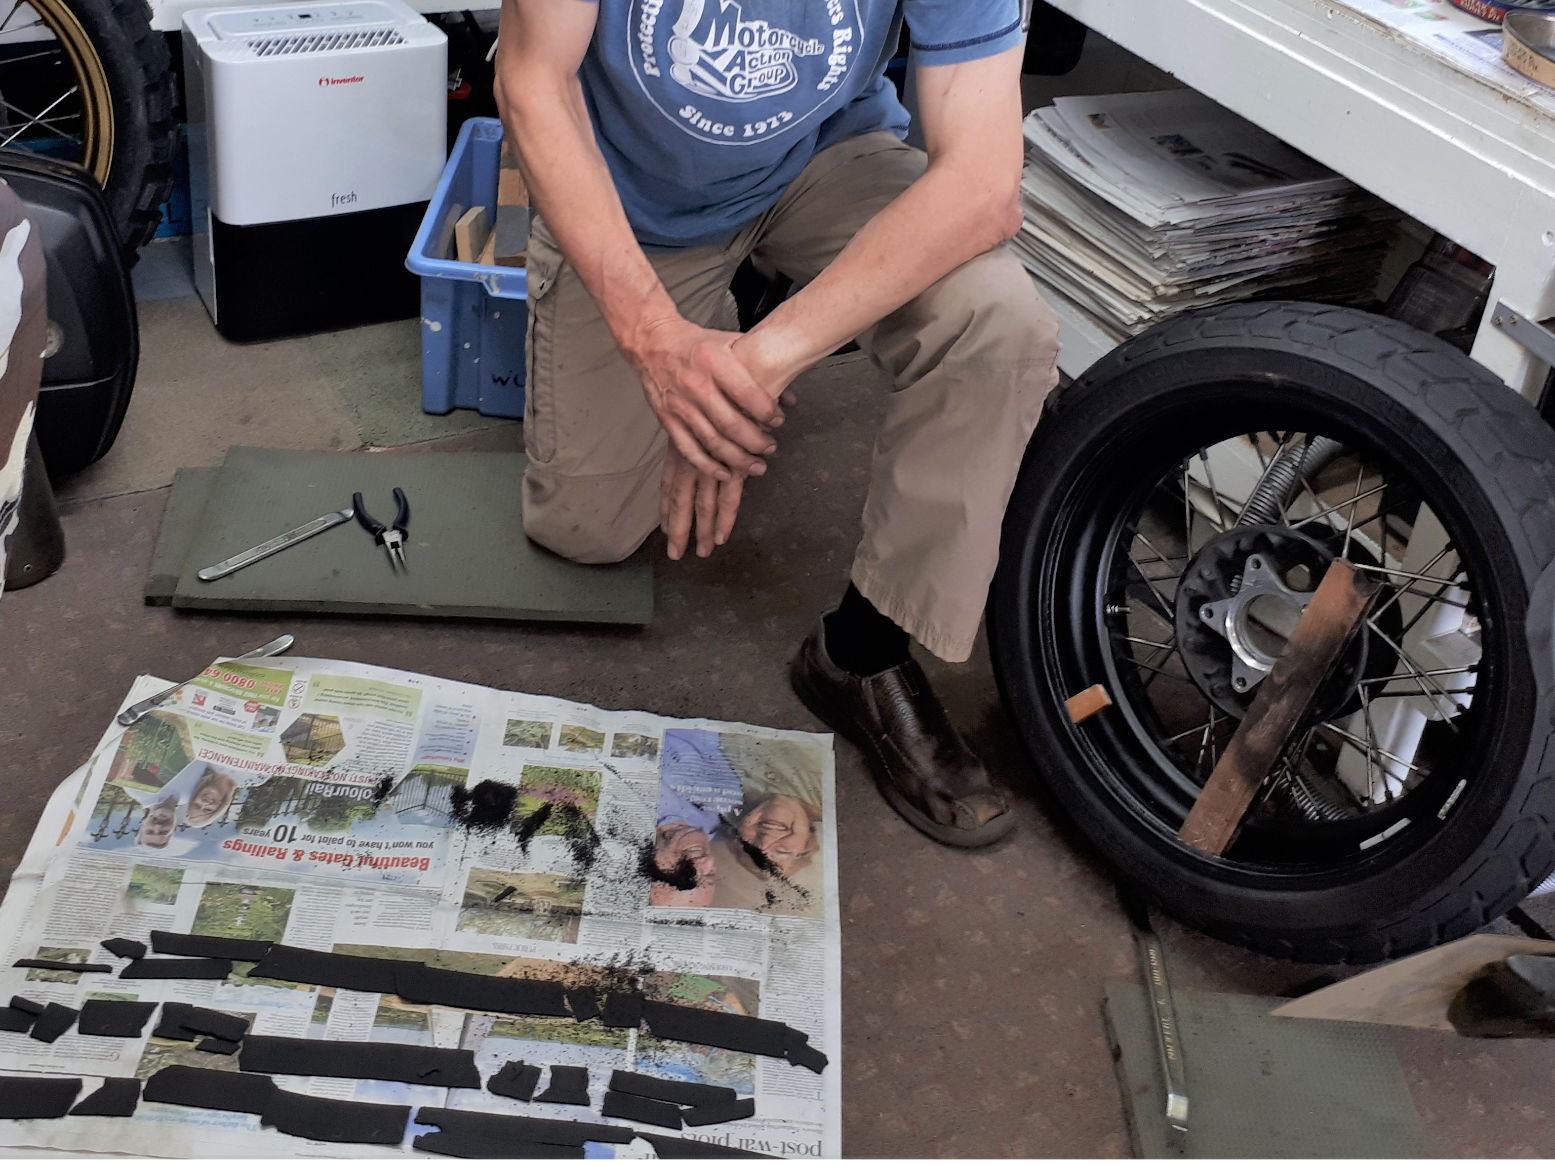
Cyb’s DIY procedure listed on the index page does it another way: carefully sealing each nipple with two types of sealant but not covering them in an overall band or even a tape. There’s much to be said to this: individual leaks can be more easily pinpointed and fixed. He recommends specific glues: which he seems to have researched rather than hoped for the best. First, two applications of runny Seal-All on each spoke nipple (see below). Runny – even like SuperGlue – is the key so it will seep down into the nipples’ threads and along the outer collar.
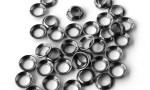
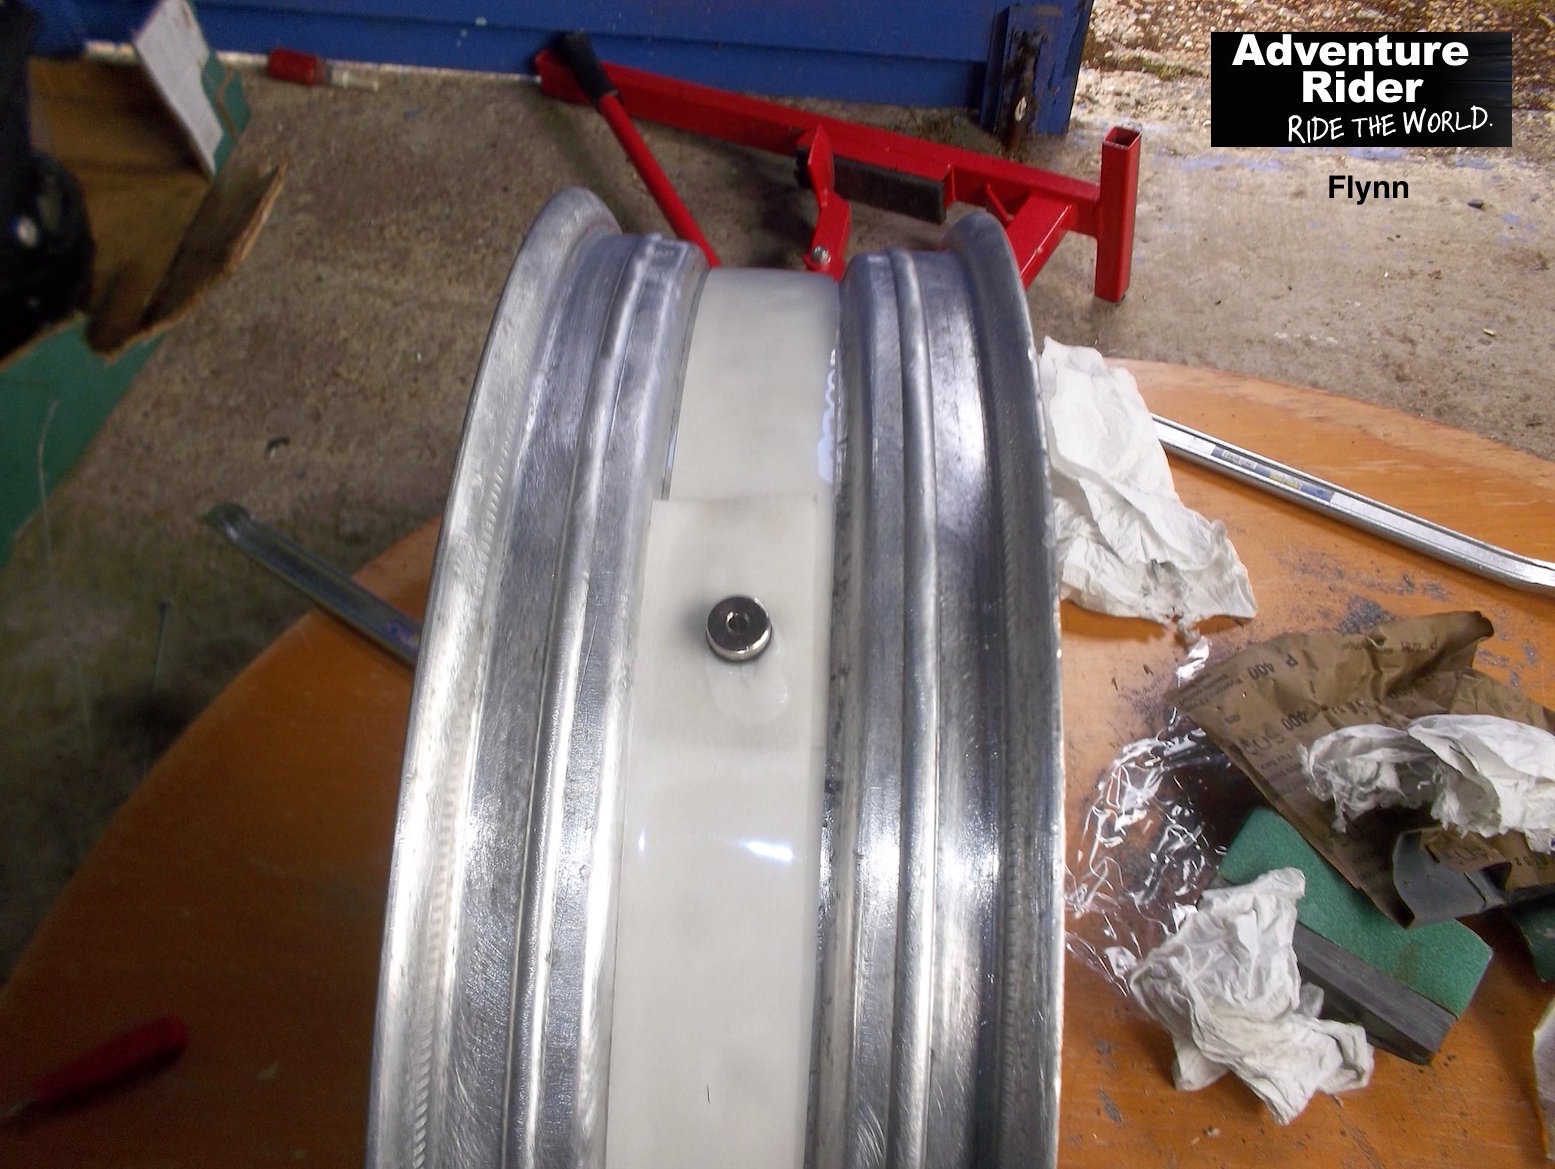
Don’t forget there’s a curved spoke washer (right) between the spoke nipple and the rim, so that’s an extra leakage surface to seal. Then, once cured, each nipple is capped with a thicker blob of Goop from the same manufacturer, Eclectic Products in Oregon.
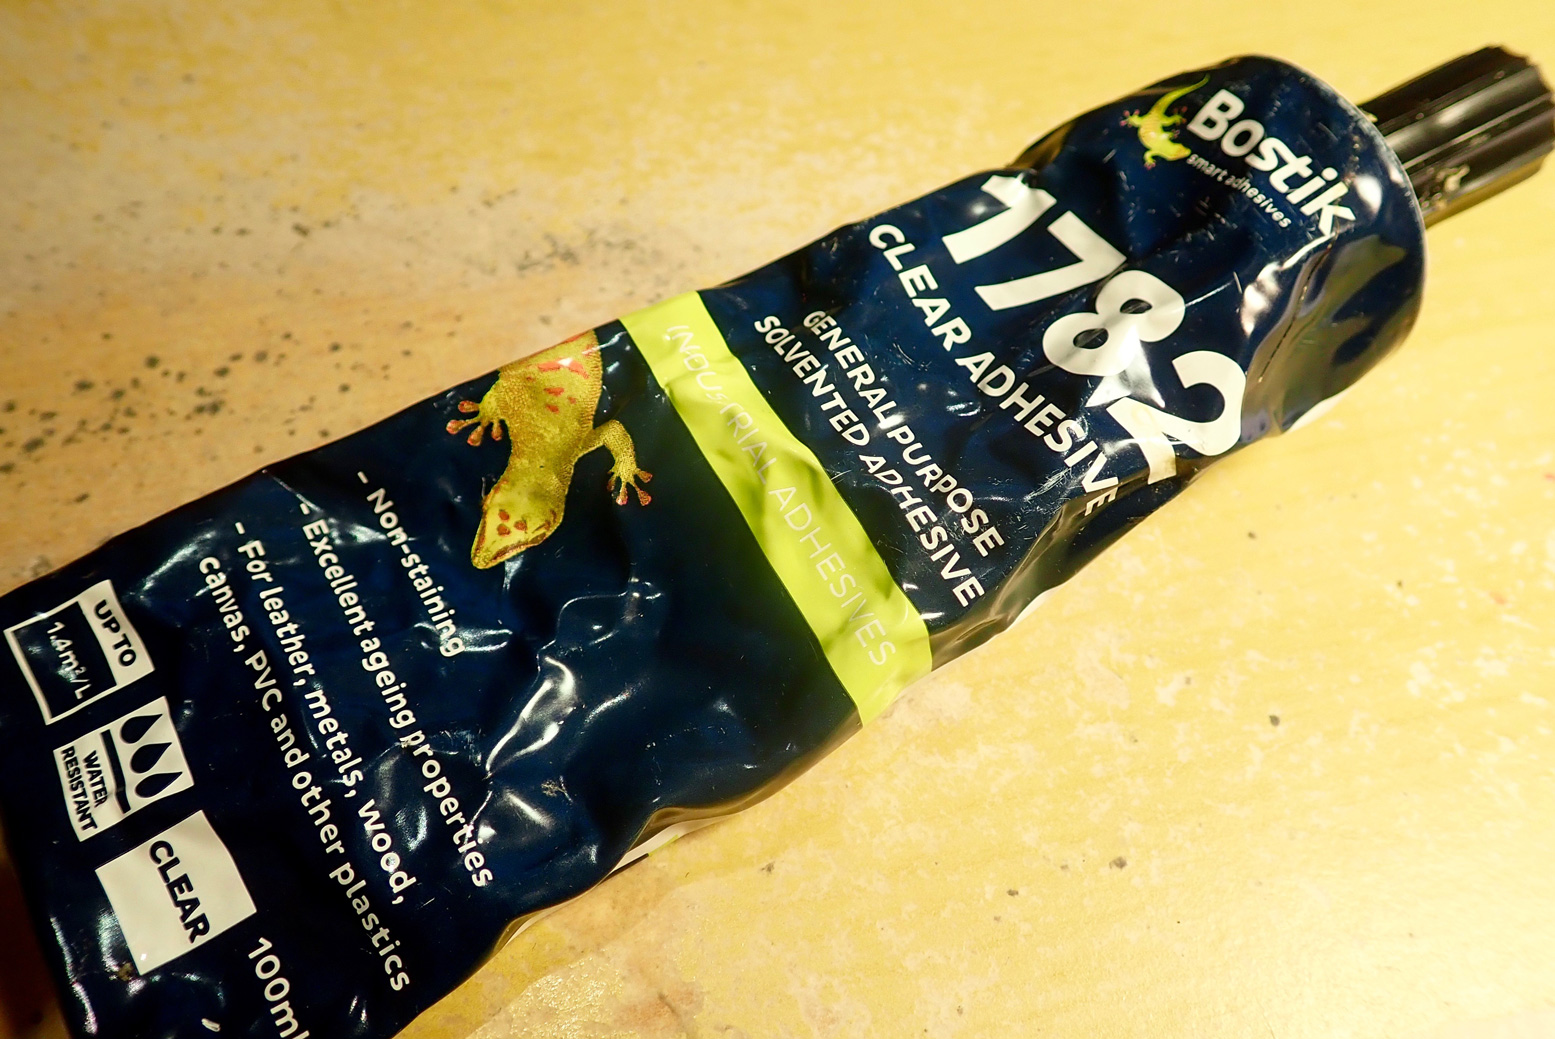
In the UK Cyb’s exact products are hard to find or are expensive if bought from the US where Seal-All is just a couple of dollars. I found Goop for a tenner. There must be something identical here to Seal-All – is it so different from the Bostik 1782 I have in the desk drawer? I put a test blob of 1782 on a rim to see if it would peel off easily. It didn’t so I used it on my Africa Twin’s back rim, then cap with the Goop.

Others have used plain old Silicone sealant. Something that’s designed for tent seam sealing (Seam Grip, Seam Seal) will be runny enough. Another good thing with Seal-All and Goop (and 1782) is they’re clear so you can see any too-big bubbles or lifting. They definitely look better than the creamy texture of the 3M 5300 mastic I tried years ago.
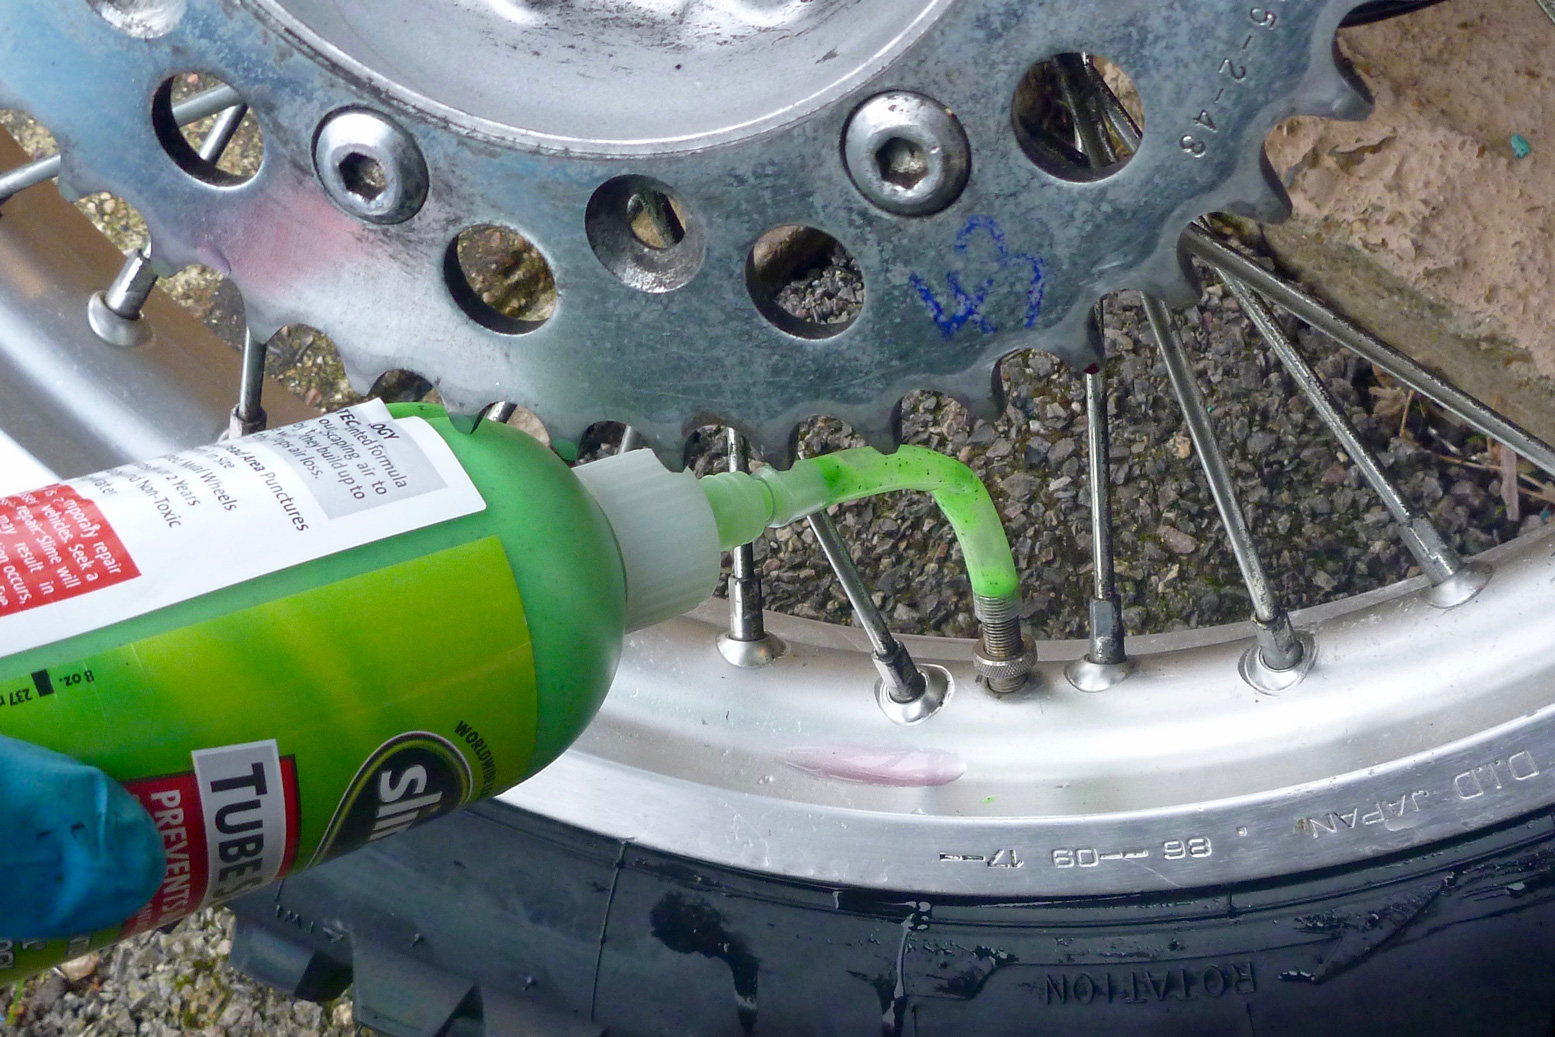
The good thing is tyre pressure pushes these tapes and sealants into the rim, so improving the seal. But if you inject water-soluble Slime or similar instant puncture sealant (right), it may not agree with your sealants and it will all come apart.
As it is, water can seep down a spoke collar from the outside and get under your sealant. If you’re doing wet trip, like Siberia, there’s something to be said from sealing the nipple/rim/spoke contact area from the outside too. Just a smear of whatever you got ought to do.
Glass sealant DIY
Another DIY suggestion is using glass sealant again, being meticulous with your pre-cleaning and patient with your sealant curing – see below. Sounds similar to Cyb’s process.
1. Glass (windscreen) sealant
2. 16″ Harley inner tube or rim band
3. Glass cleaner or oven degreaser
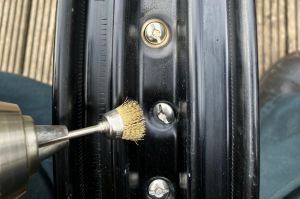
• Clean the wheels with the degreaser/cleaner, mini wire brush wash (left) if old, then with water to make sure any swarf or chemical is washed off. Wait for a day in dry. Use a blast of air if indeed
• Apply the sealant to each spoke nipple, wait for a day to cure, apply another layer, wait again
• Apply sealant to the inner part of the wheel. One layer for one day, do it twice then wait until it’s completely cured
• Fit the rim band (or tape, see below)
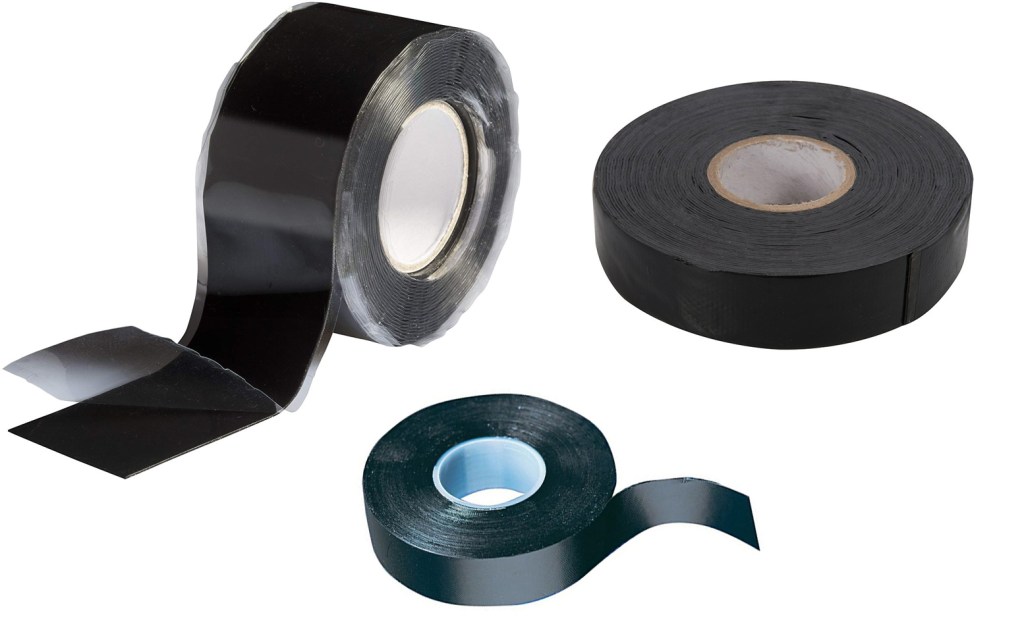
Builders’ Sealing Tapes
One guy told me he simply taped up his rims with duct tape and topped up his tyres once a week. Using something more airtight might even enable a proper job.
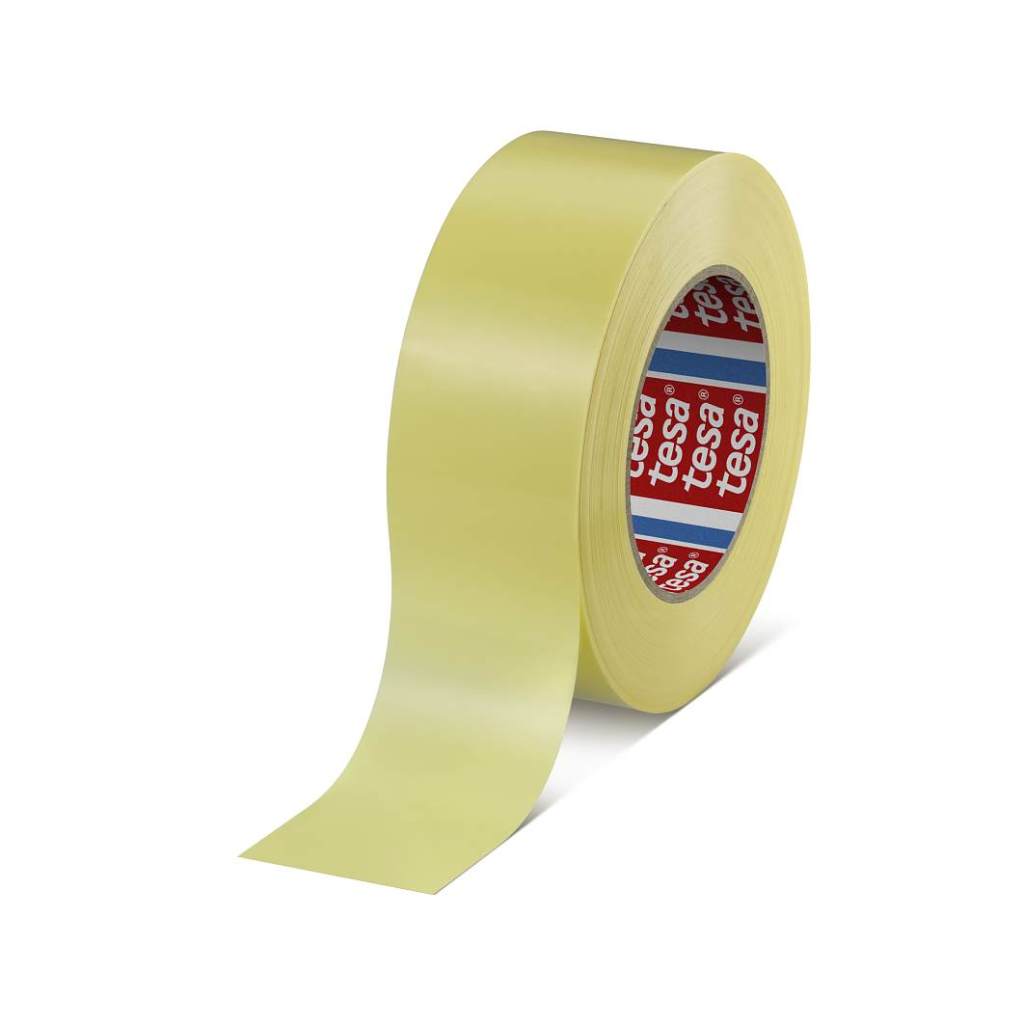
I’ve seen 3M 4411 Extreme Sealing Tape mentioned (right; technical sheet). In neutral (N), grey (G) or black (B), it’s 1mm thick (more pliable than the 2mm 4412N) and comes in 50mm width for big bike rims, or 38mm (1.5 inches; product code: BLA193840). A 5.5-m roll of 38mm costs £20 and is enough to do three ~1.5m circumference rim wheels once.
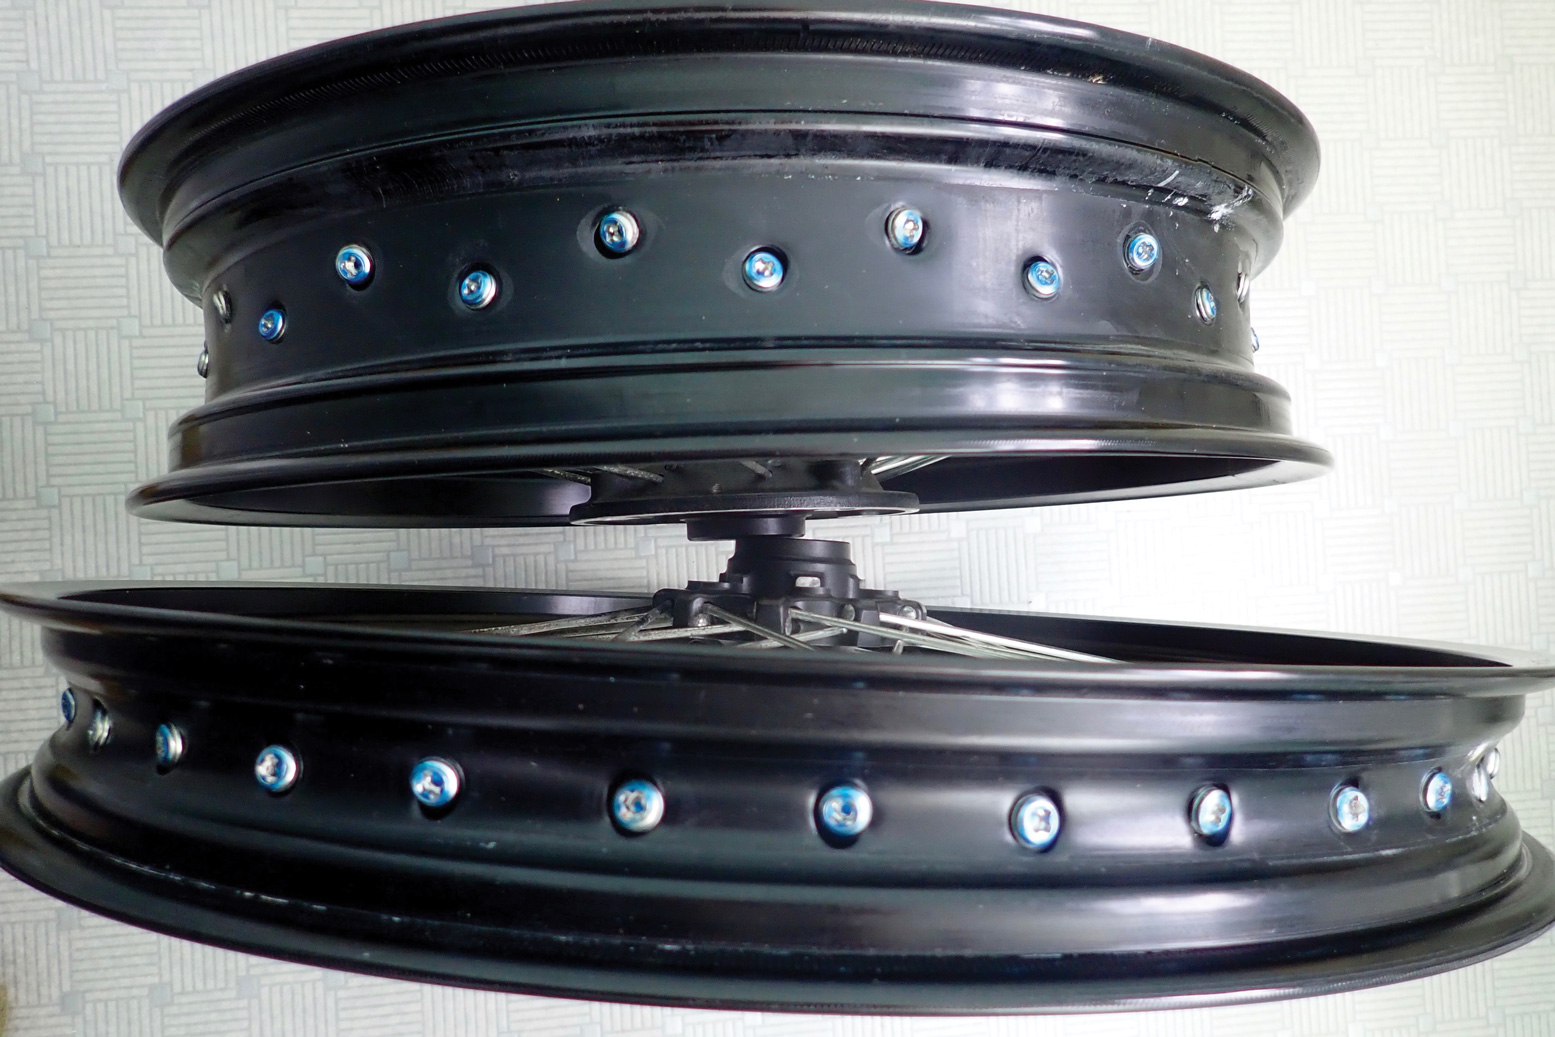
Another mile-long thread on Advrider with some good ideas and solutions. This tape works best where the well/drop centre of the rim is nice and flat, as on a wide supermoto rim shown above left, or my Africa Twin (left, upper wheel). You’d imagine a curved profile will work less well with tape, but see Cycle Pump vid above.
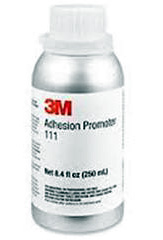
If I was doing such a DIY sealing job again, this time I’d consider forensically cleaning the rim with something like 3M Adhesion Promoter 111 (AP111; right; £20 for 250ml) (‘A quick wipe of AP111 on the ionomer is suggested for best performance of the overlapping tape. AP111 will approximately double Extreme Sealing Tape’s adhesion to its own ionomer backing).
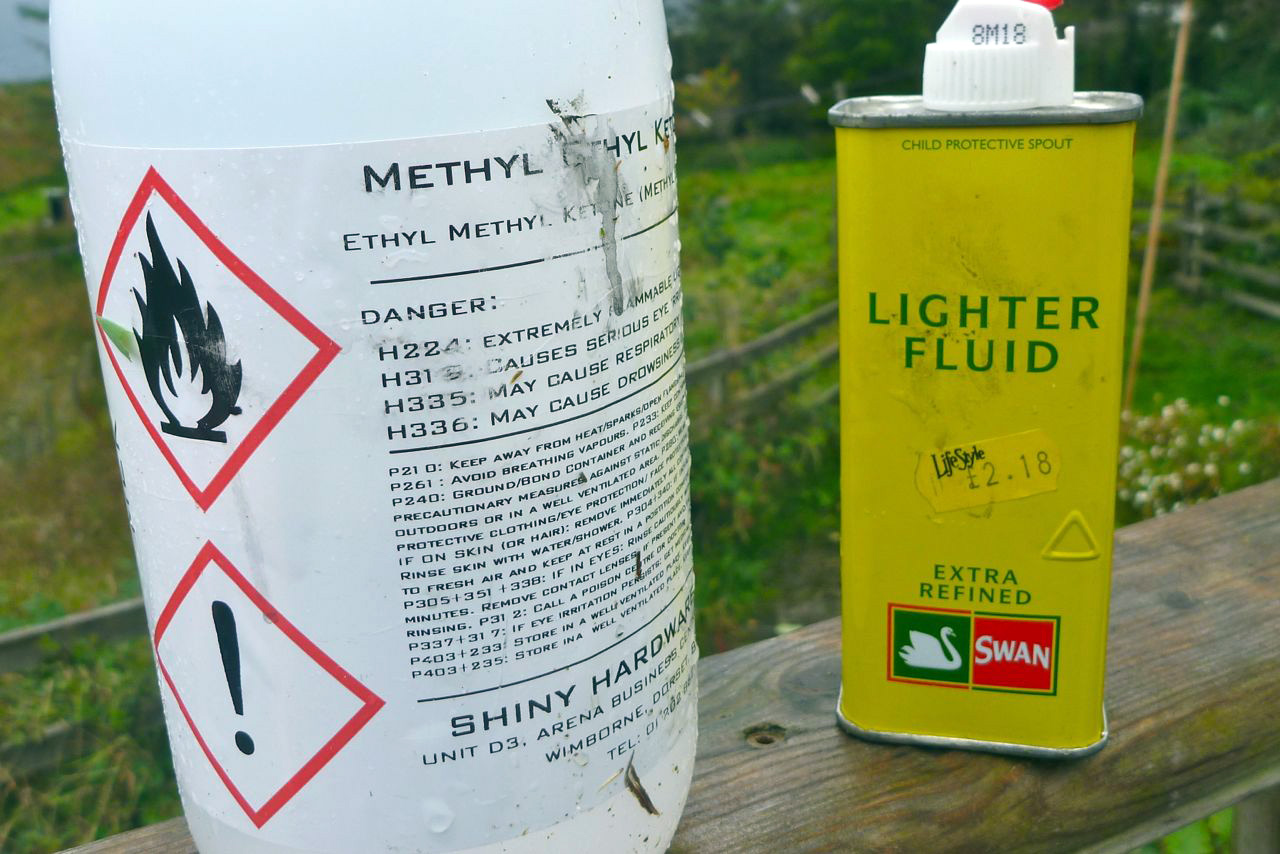
But £20 for a half pint is quite expensive. I know from kayaking that brake cleaner, acetone (paint or nail polish remover) or any number of other highly noxious solvents like rubber or plastic-eating MEK (Methyl Ethyl Ketone, (right) or Toluene also work.
Then I’d seal each nipple with some runny glue so it seeps down into the threads. Let that cure, do it again then a dab of silicon like McNett Aquasure or Bostik 1782 or a mate tried EvoStik Sticks Like Sh1t. Then cap with Goop or whatever before letting it all cure again and taping it all up (so similar to Outex, then). I note Cyb says silicone is not as oil-resistant as the glues he uses. 3M is a big name for industrial applications but there are all sorts of waterproof, self-amalgamating or self-fusing silicone tapes out there in rubber and plastic for household leaks.
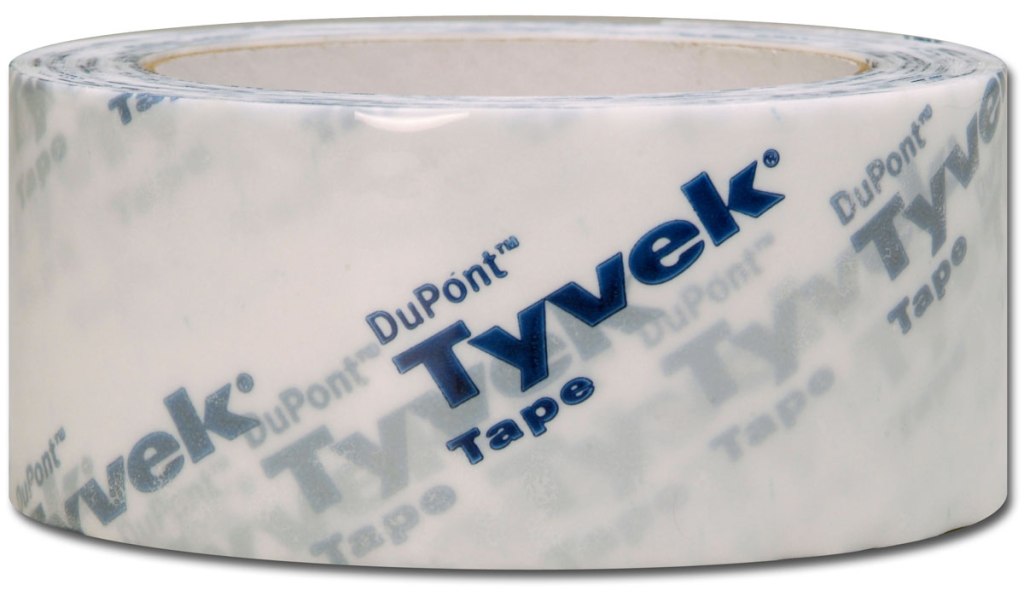
All it’s got to be is soft and pliable to contour the rim well closely, be stuck on to a very clean, oil-free surface, exceedingly non-porous and darned sticky, come what may. I’d hope 4411 or the DuPont equivalent: Tyvek, have all these properties, but Tyvek only seems to come in 60mm widths, a bit wide even for a giant adv rim.
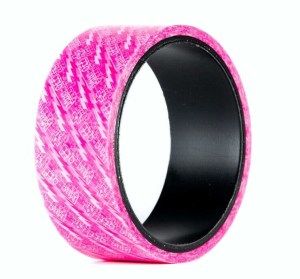
Another tape that’s been mentioned is Muc-Off MTB wheel sealing tape (left). Costs from £10 for 10m in Muc-Off pink up to 35mm wide for smaller moto wheels.
Tesa Tape 4289 (above left). It’s tensilised (stretchy), like self-amalgamating tape for leaky-pipe-repair (right). Not tried Tesa yet either but at 66 metres a roll it’s a fraction of the cost of 3M if you have several wheels to do. Yes it’s only an inch wide, but at 12 quid a roll you can do a few taut wraps round a wider back rim to get a good seal.
You might not bother with the laborious individual nipple gluing and go straight to tape (or do a continuous band, as above). It’s worth experimenting with at home before a big trip. The risk with tape-only is they might start separating when things get very hot. Don’t underestimate the centrifugal forces working on the tape inside your wheel. Warning below, the original rim tape put over a DIY sealing ‘for good measure’ span itself into pieces and blocked the valve. Things need to be glued down securely.

Outex pads and tape
I came across Outex sealant tape which a mate has been using on his TTR for years. As with many of these DIY methods, some get on with it, some don’t as this post shows. Here’s another on Adv. Central Wheel in the UK used to sell it but stopped, presumably due to unreliable results from customers. IMO you can do as good a job with the off-the-shelf items mentioned above for half the price.
Basically, it’s nothing more than a set of sticky pads for each spoke nipple plus a very sticky and wide double-sided tape applied into the rim well with as few creases as possible. And then a thicker protective tape over the top. Application video below; a higher-res video here. Costs from £90 to £125 in the UK which seems a lot when you see the other tapes, above. As mentioned, I was about to fit it to my WR, but stopped once I saw my rims lacked the safety bead I go on and on about. Take your time they say, to try and get all the air pockets out. Using an inner tube patch roller rasp (right) helps; you often get them with better puncture kits.
Have I missed any ideas? Let me know.
