See also:
Honda X-ADV
Yamaha XT700 Tenere
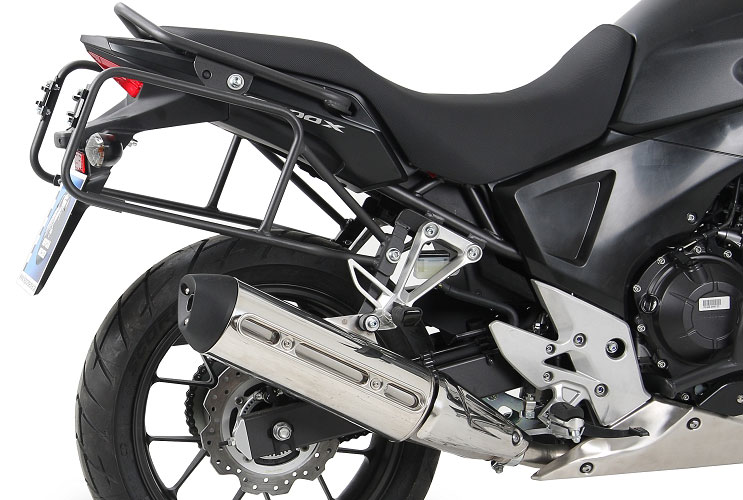
Honda NC750X DCT
BMW F750GS
In 2020 I bought myself a manual AT

There’s one problem with marrying Honda’s ‘have your cake and eat it’ DCT transmission with their 270°-crank parallel-twin engine: you can’t dip the clutch and blip the throttle for the sheer fun of unleashing the motor’s V-twin-like growl.

As for the other 999 reasons, after less than an hour’s riding I can see why this third generation of Honda’s sophisticated electro-hydraulic Dual Clutch Transmission system (baffling image right, baffling video below) is expected to outsell manual ATs. They say last year, of the Hondas sold with optional DCT (VFR1200X, Crosstourer, VFR1200F, NC750X and -S), less than half were manuals.

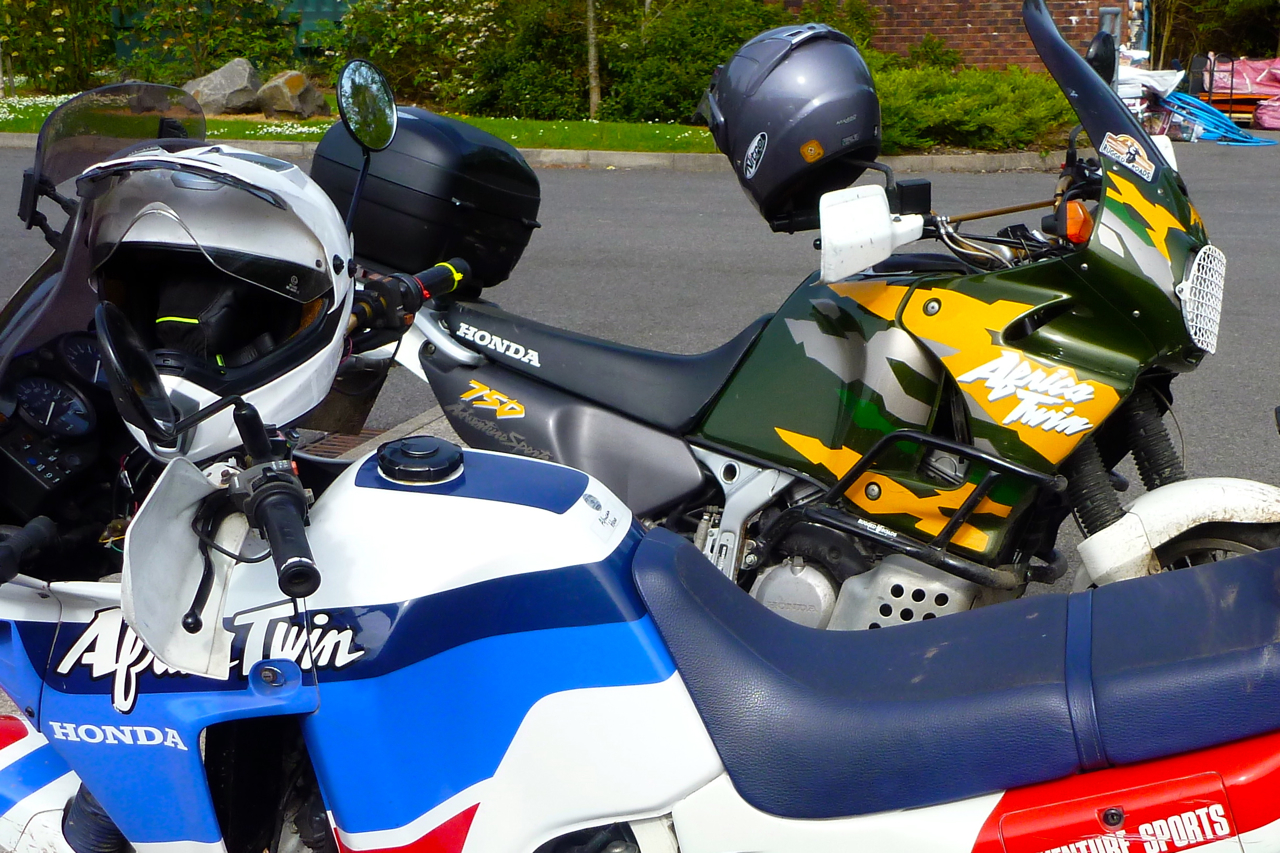

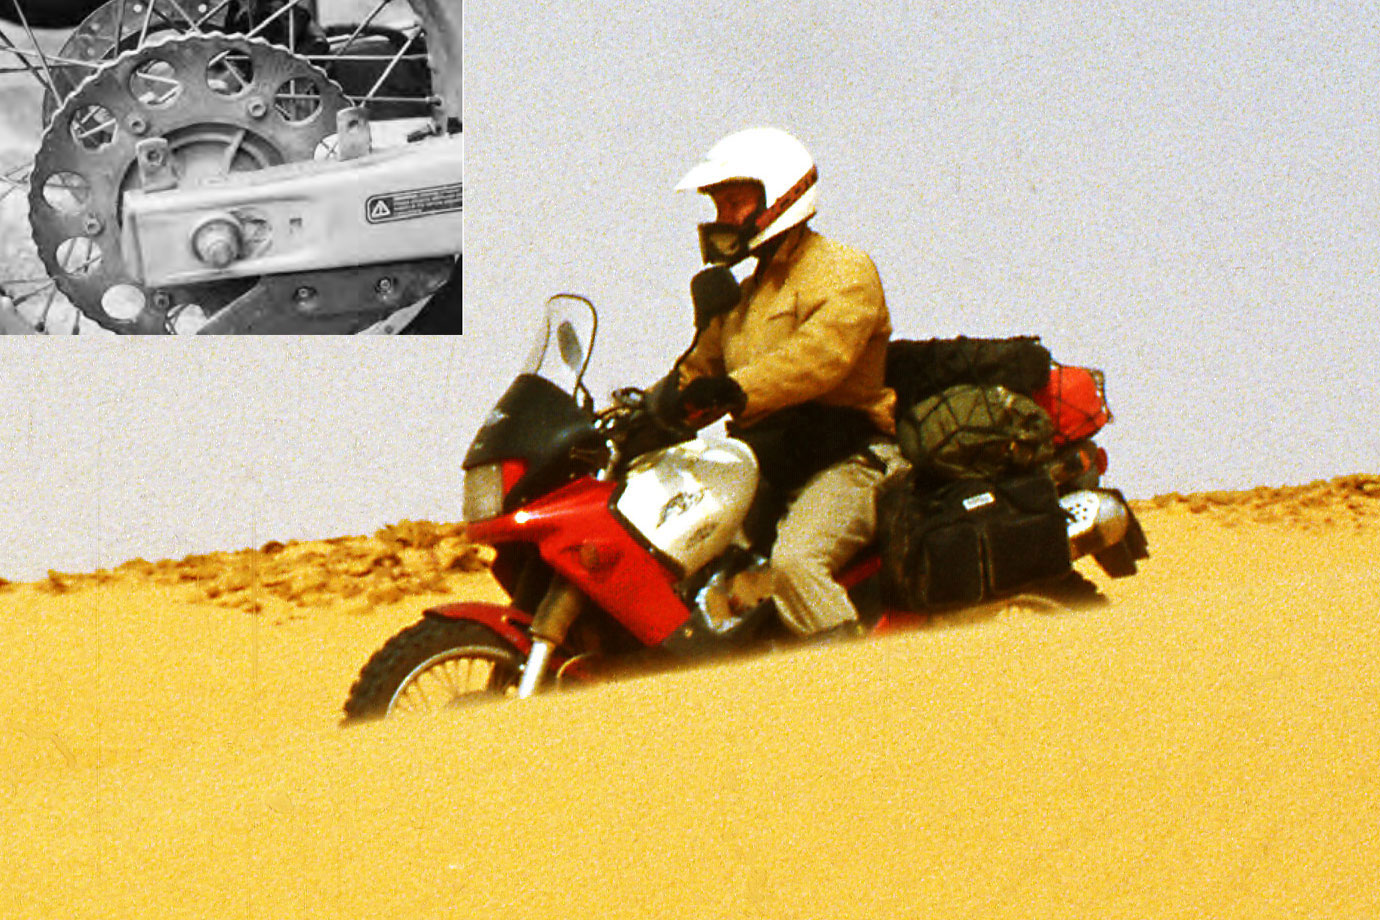
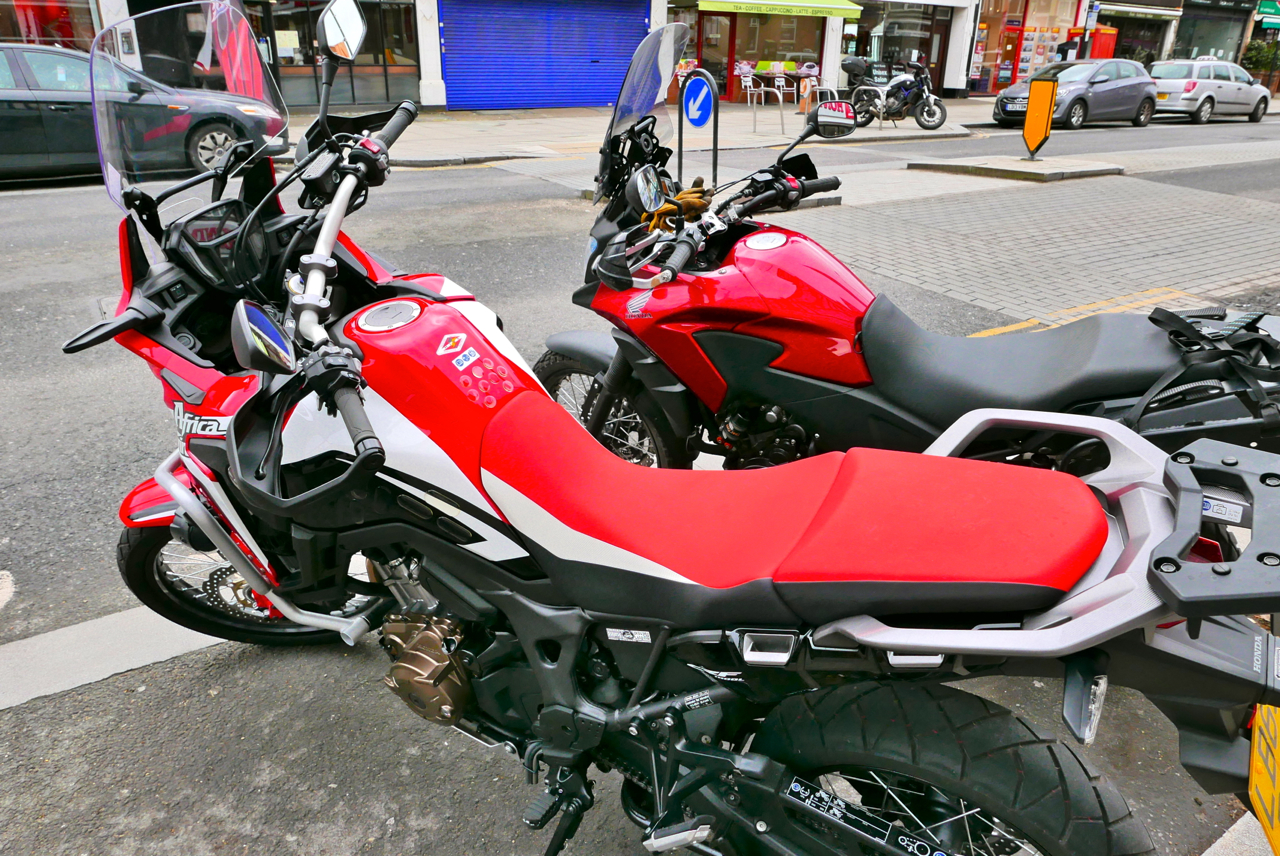
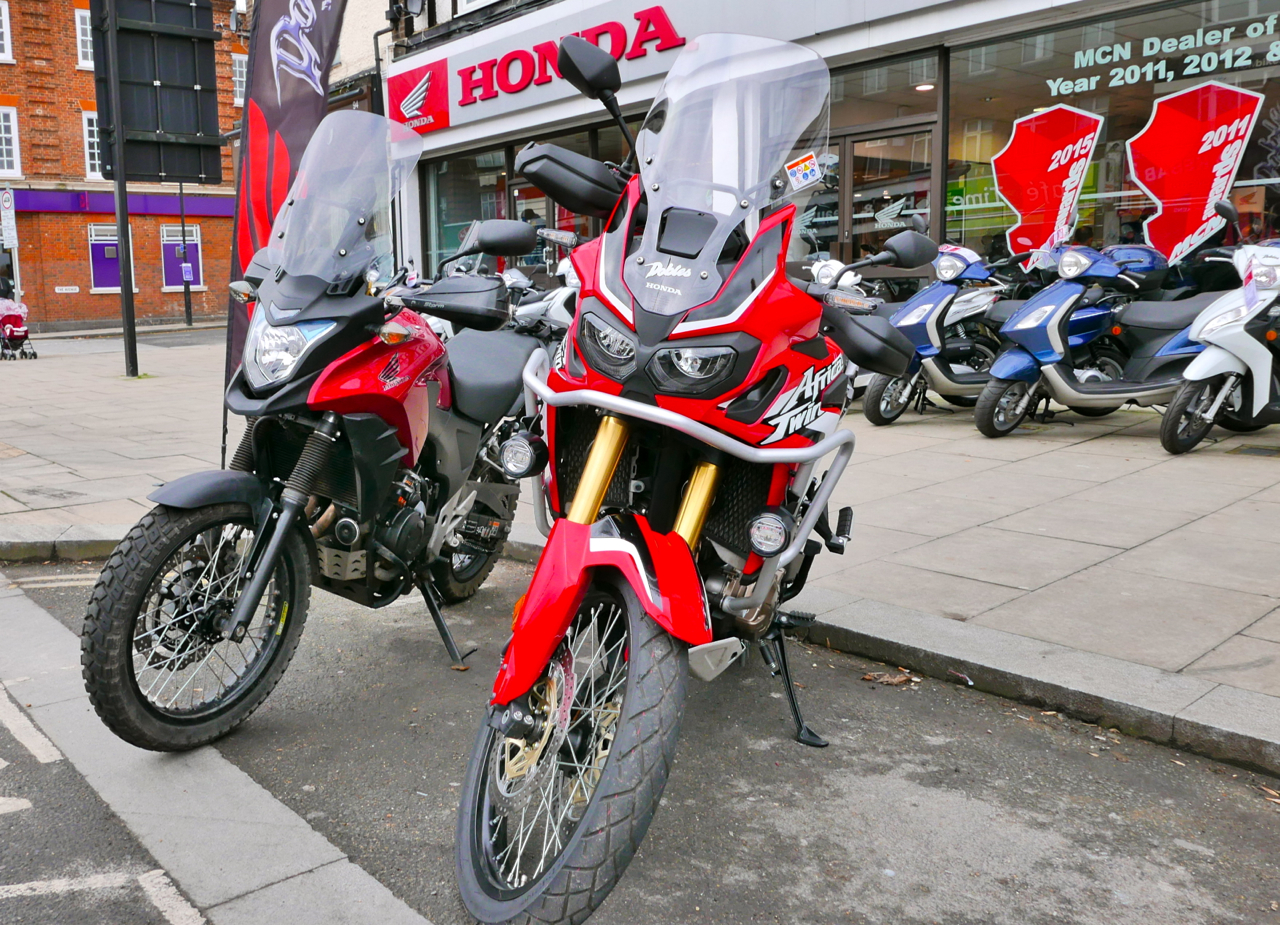
I’ve not read the recent rush of road tests to glean the impression, but Honda’s prolonged promo campaign for the Africa Twin appears to have paid off. Their nostalgia-tinted hype in reviving the rugged spirit of the original 1980s Africa Twin (right) conveniently skips the similar XL1000V Varadero (left) which sold in the UK till about 2011 and now goes used from two grand. That seems to be a bike which most actual owners recall far more fondly than reviewers or pundits, and is what Honda have succeeded in comprehensively eclipsing with the new AT – not the original AT which is from another era. Good technical article on the AT.
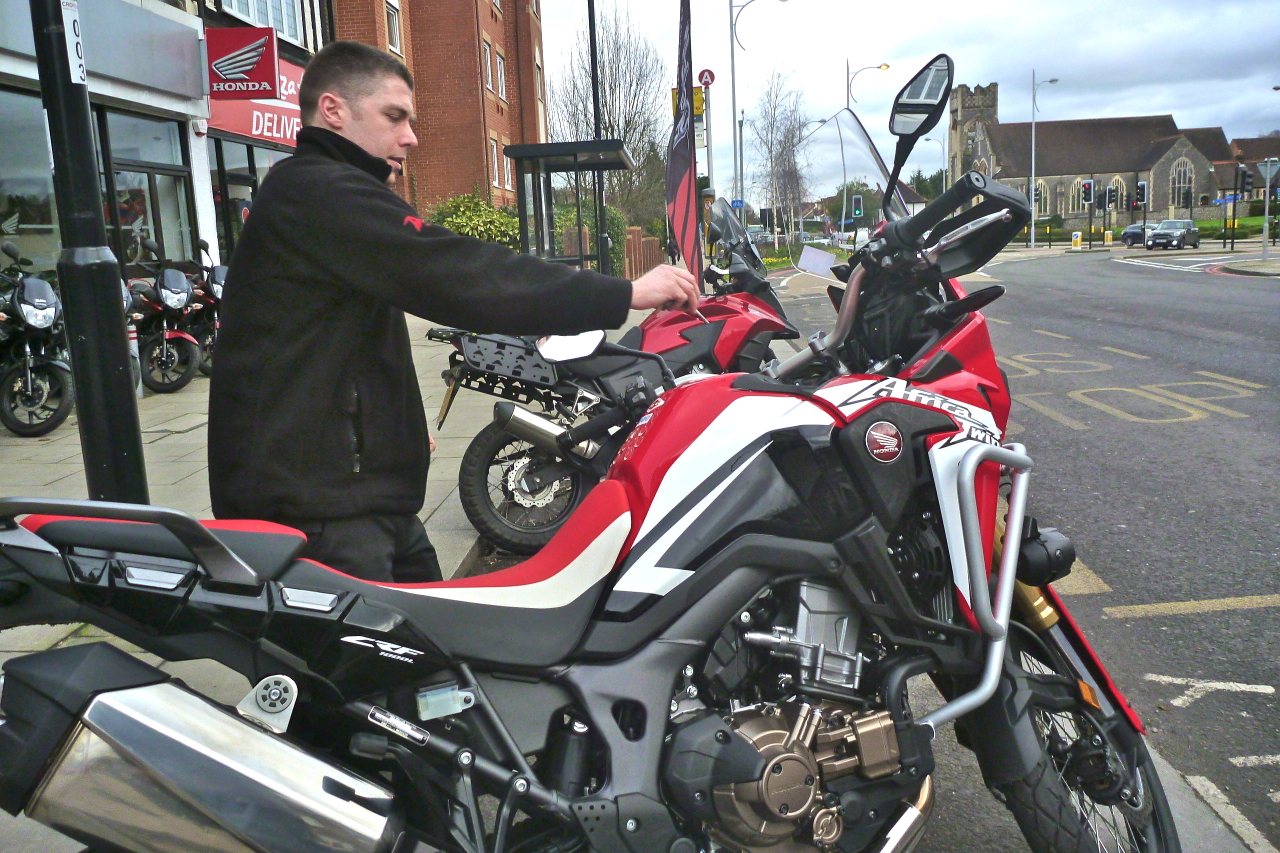
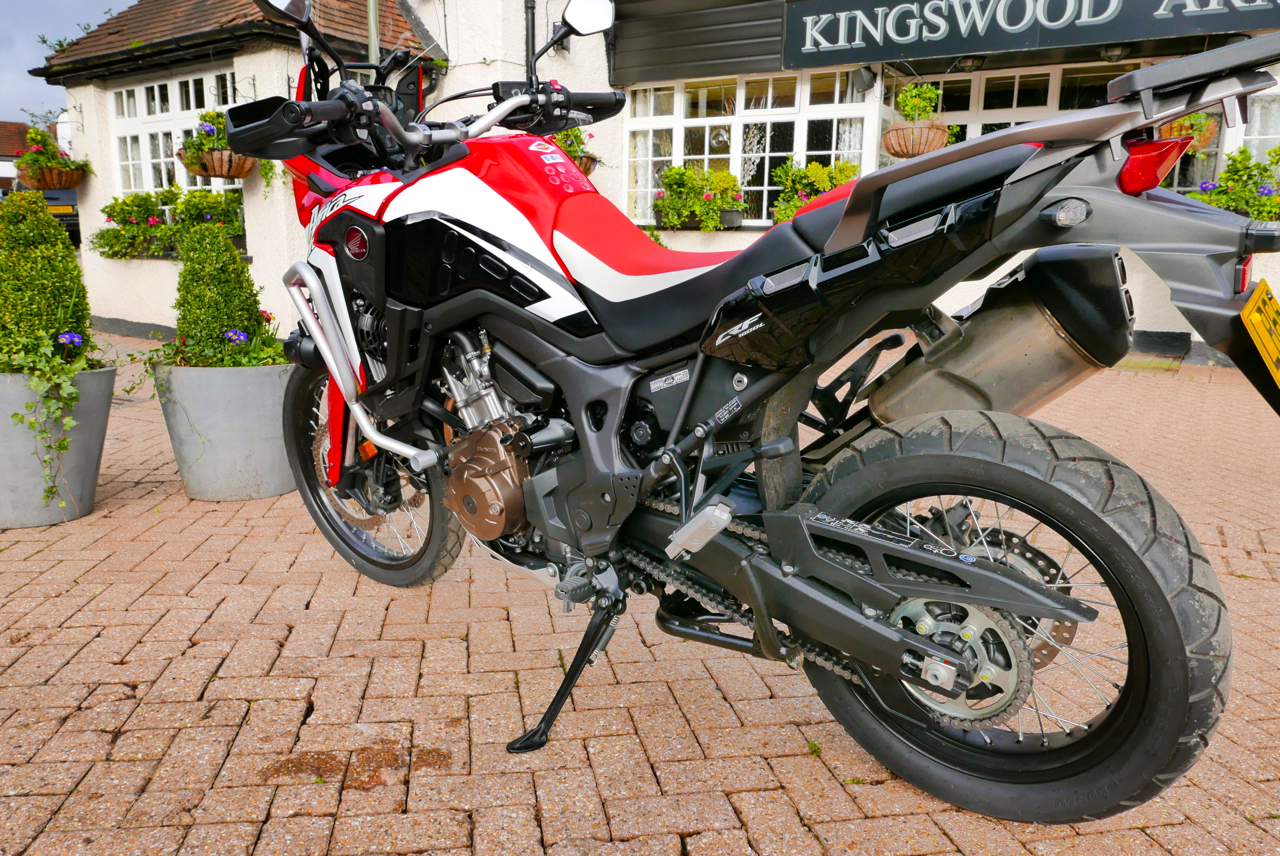
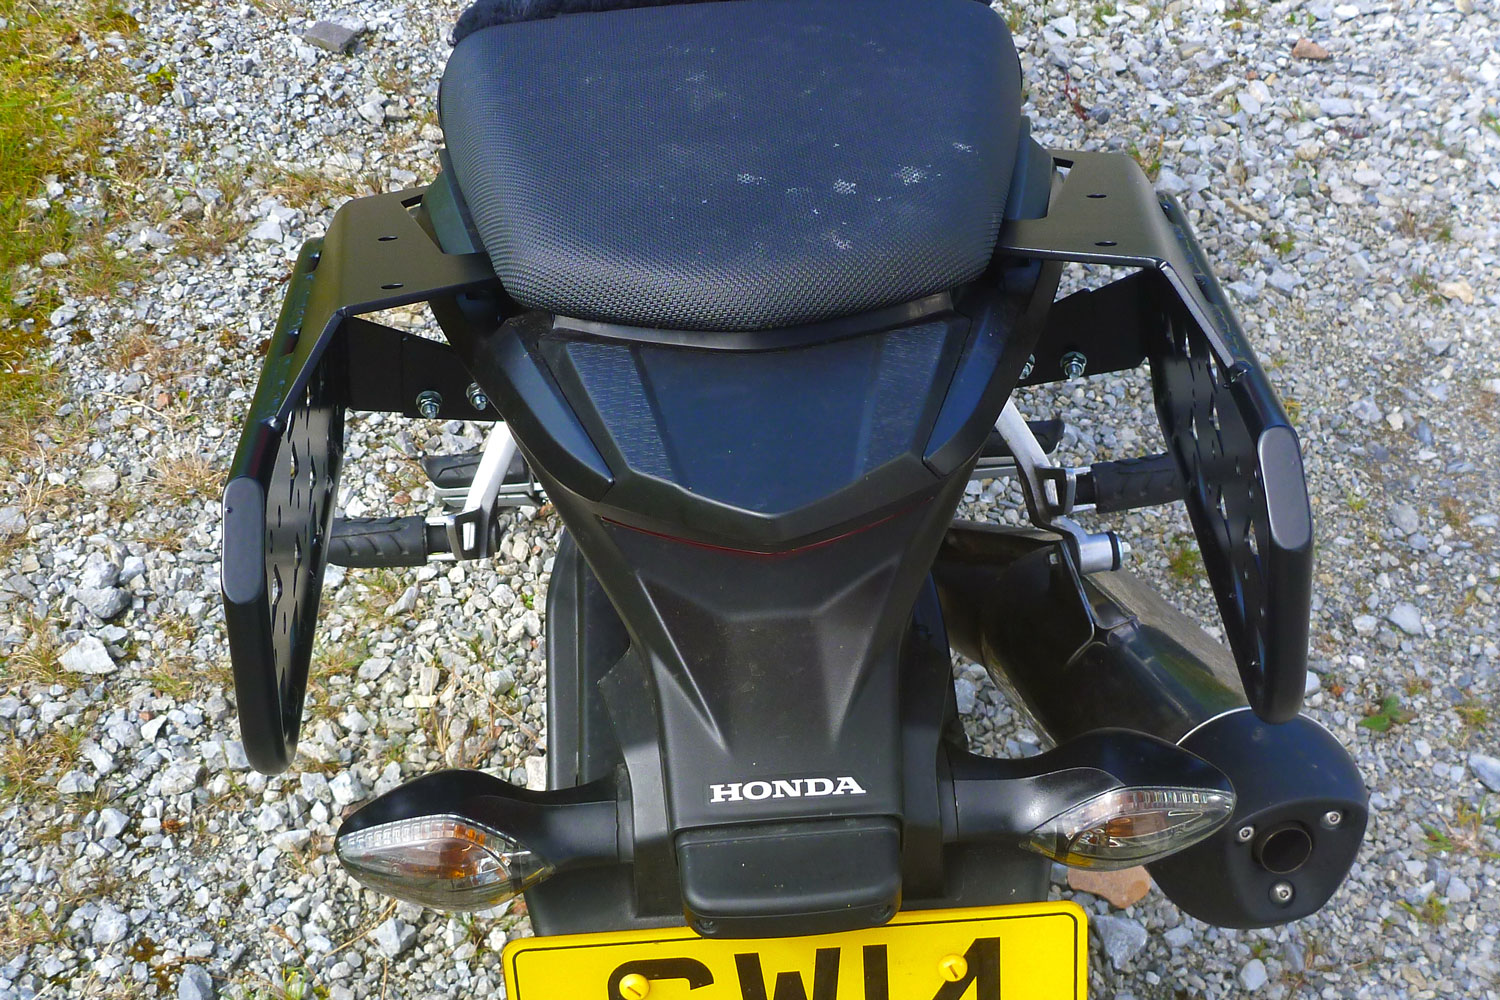
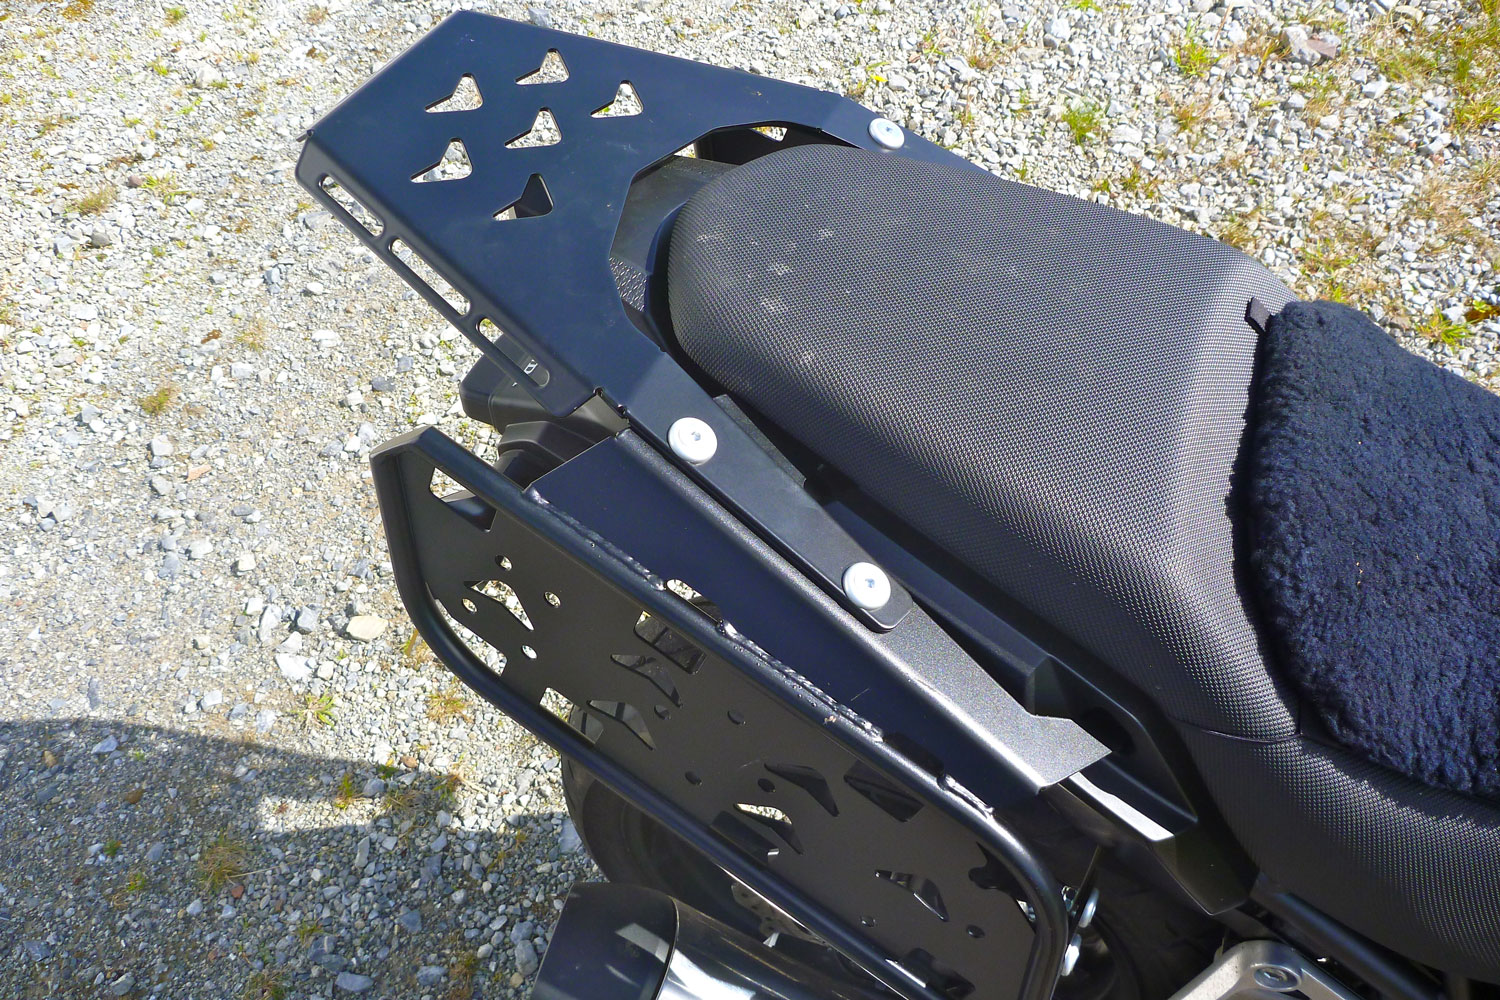
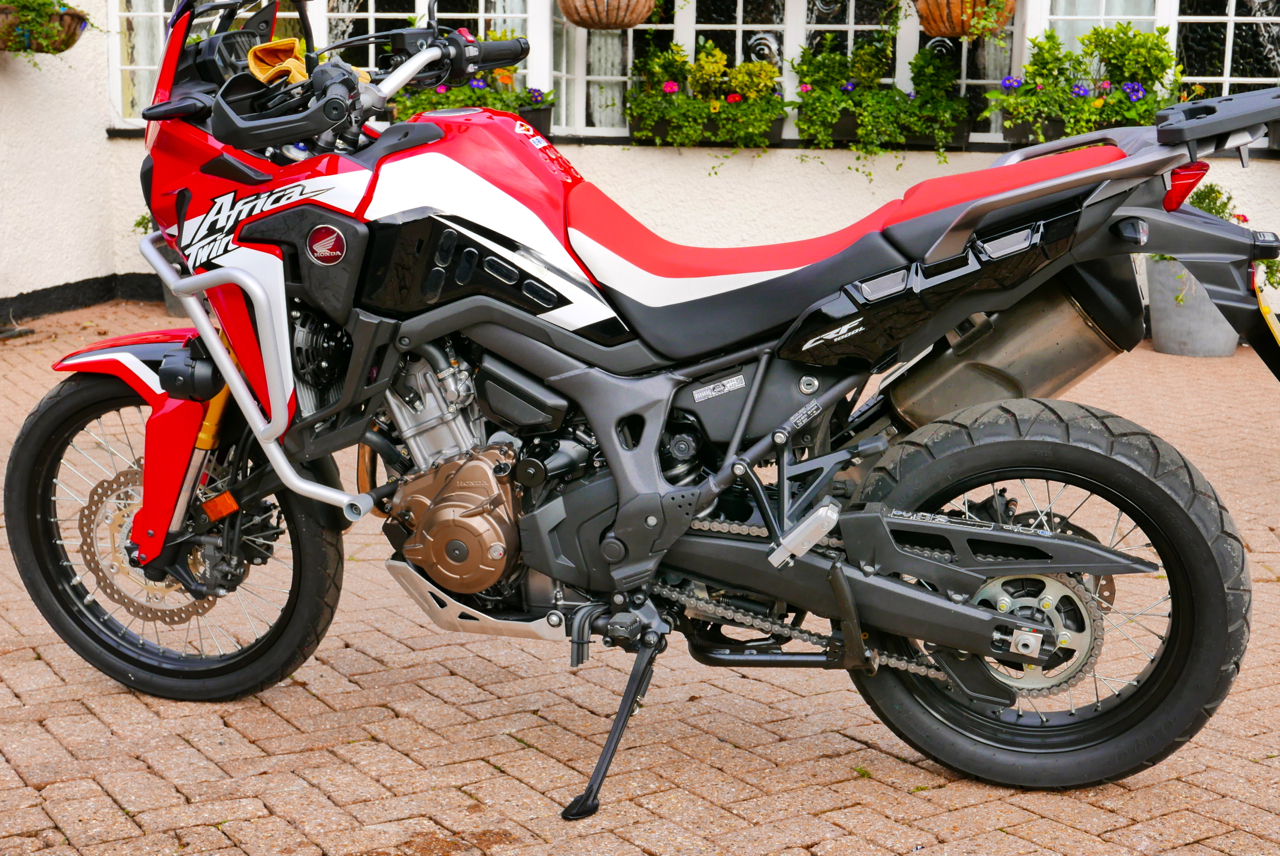
The test bike I tried was fully optioned: luggage racks (hideous topbox removed on request), crash bars, spots, centre stand, taller screen. Maybe the hot grips were extras too.
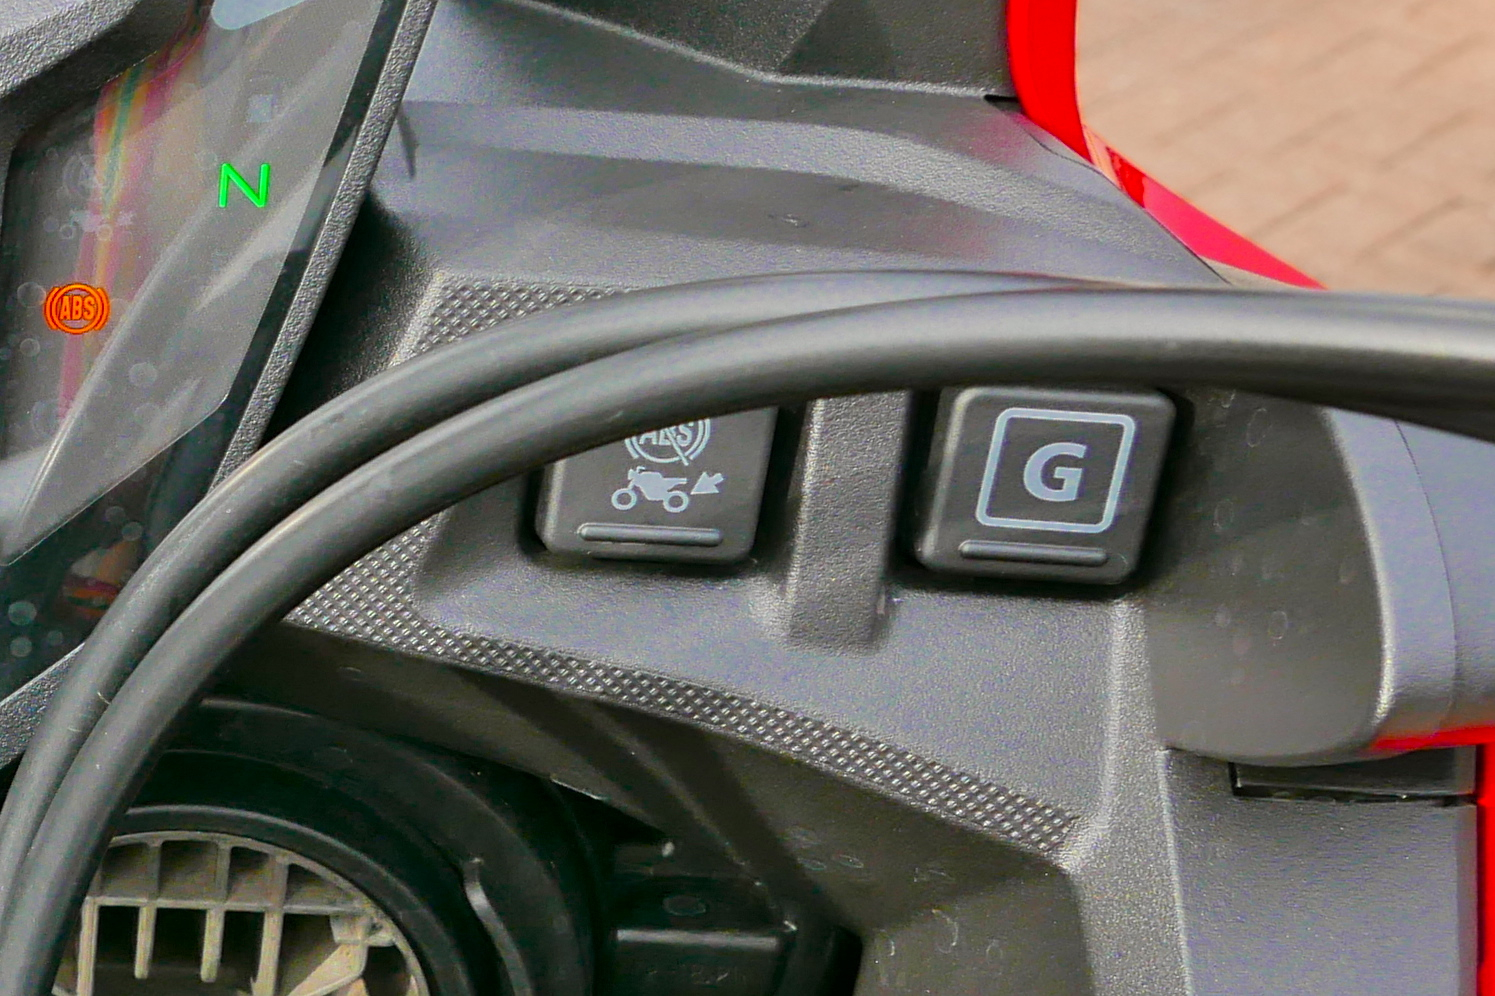
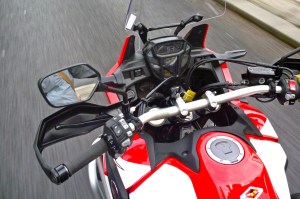
Outside the shop the dealer explained how the DCT works. On the right bar you have a rocker switch (below left) marked Neutral; Drive and – on this latest DCT – three Sport settings. Once the stand is up you press D, open the throttle and glide away like a scooter.
And this version of DCT (also on 2016 NC750s) includes refinements like gear-holding gradient sensors and a clutch-slip reducing ‘G switch’ (right), all with a matching array of ABS/Traction Control settings to help align the model’s aspirational CRF1000L moniker and potential with the like-named CRF dirt racers.
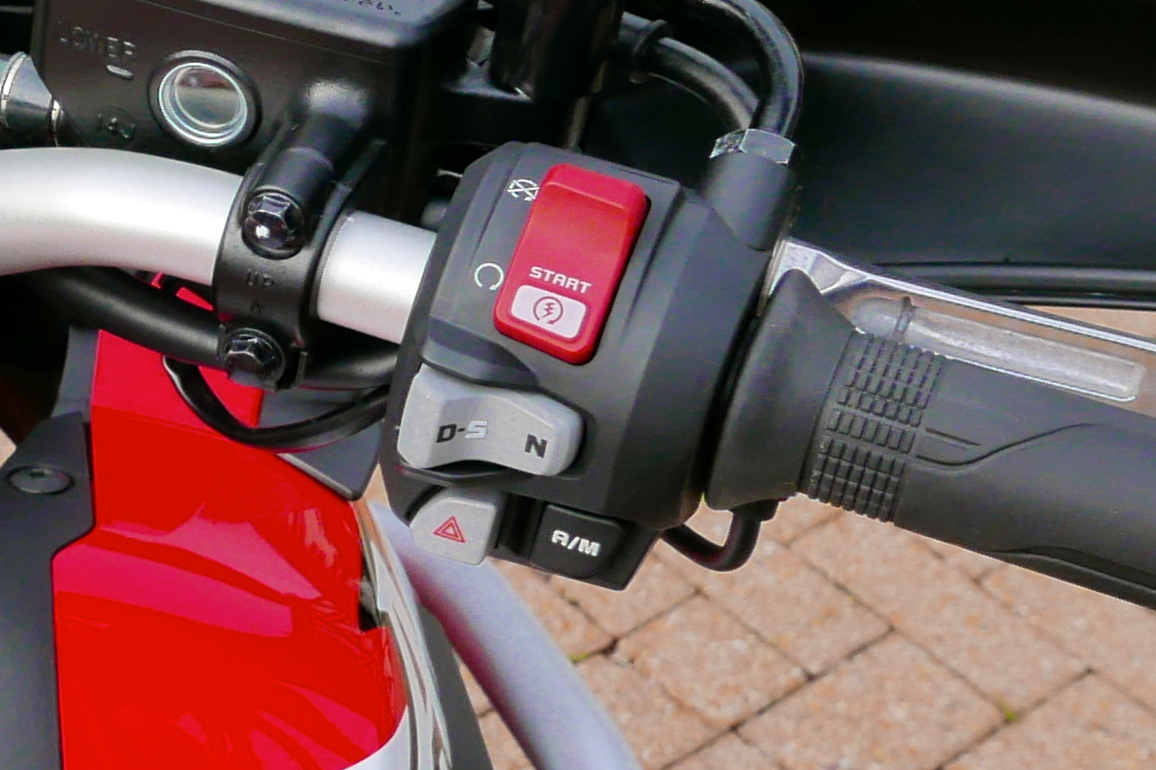
The sales guy recommended the S1 mode which holds revs longer before changing gears, and within a few miles I agreed with him. As you decelerate the DCT smoothly drops down through the gears at just the right pace – on my unhurried test ride at least. In the Sport modes it’ll do so more briskly. The regular D setting was up in sixth by 30mph which made acceleration unpleasantly juddery. It’s presumably great for economy but it felt less good for the chain and transmission. I neglected to see if there was a ‘floor it’ kickdown like on an auto car, but at any time you can use the MTB-like thumb and forefinger shifters on the left bar to manually change up or down. You can lock it in Manual too, using the A/M button below the Drive selector.
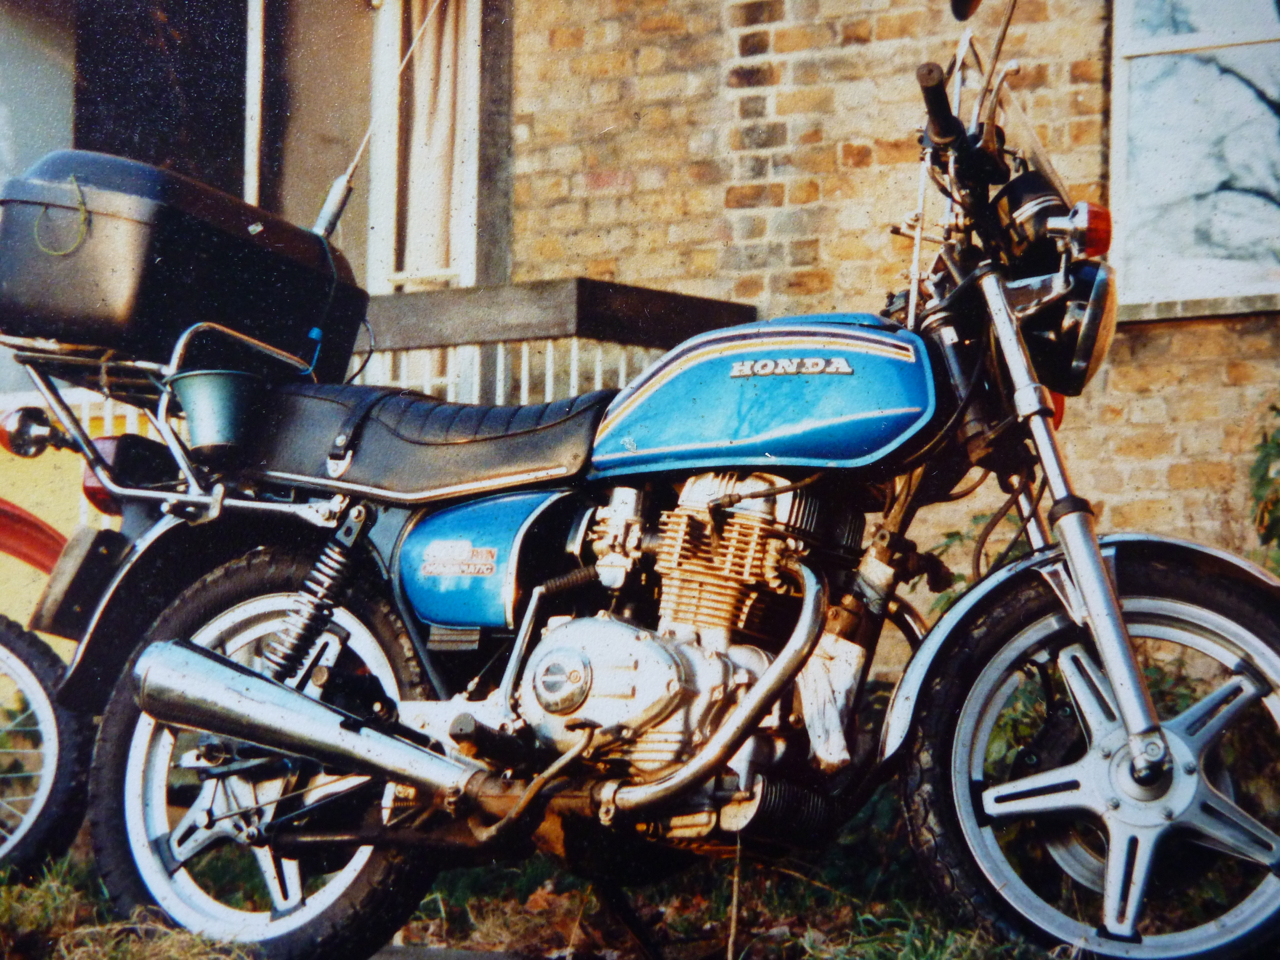
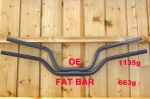
The clutch-like lever on the left bar is actually an out-of-reach handbrake, a bit like on my late 1970s 400AT (right). That bike ran a less efficient two-speed, foot-shifted torque converter using fluid and turbines. Don’t ask me exactly how, but with DCT there’s no power-robbing slippage apart from at rest and momentarily when it changes gear, so the bike responds to acceleration and deceleration much like a manual bike. And if you still have trouble getting your head around your DCT you can get an optional electronic foot-shift lever to emulate the left-bar shifters.
I did sense the weight on pulling away (probably a quarter of a ton fully fuelled), but once on the move I was surprised how quickly I adapted to that mass, as well as the DCT. No twitching left hand or foot, just the novelty of smooth, scooter-like propulsion without the small-wheel stigma. Riding gently in Drive you can detect the shifting – ride harder and it becomes barely perceptible.
Some bikers proclaim such automation emasculates the motorcycling experience – for a young, hard-charging Gixxer pilot with licence points to spare, perhaps. But aren’t sports bike quickshifters also chasing smoother progress through automation? Me, I’ve had my share of tearing around – it was my job for over a decade – but 37 years ago my 400 Hondamatic made town riding a whole lot less tiresome. I’ve had a lot of bikes before and since, but I can’t say many have had a slick gearbox and a light, smooth clutch operation which enhanced the riding experience. For the moment I’d be happy to experiment with an alternative, and just as with 4WDs, I believe auto shifting can actually make some off-roading easier. On a bike this size I bet crawling up a rocky, washed-out hairpin in the Anti Atlas would be much easier than feathering a clutch or risking a sudden stall and tip over, just because first gear is typically too high or you misjudged the input required.
Back in mid-winter Surrey. Once I popped out onto the Epsom bypass I was able to open it up and couldn’t suppress a broad grin spreading across my face. At this speed you have to concentrate hard to detect any gear changing activity as the bars on the reversed LCD digital speedo hurriedly rearrange themselves to match the pace.
That’s probably the best thing you can say about DCT – after 40-odd years of mostly manual shifting you adapt to it in no time – it’s no harder than trying an auto car for the first time, but much more fun. A better test for the DCT AT might be charging down some switchback canyon where conventional engine- and wheel-braking give the impression of greater control. That’ll have to be for another time but I do wonder how the front 21-incher would perform. Meanwhile, at the other end of the speed dial, I found feet-up, walking pace U-turns close on lock-to-lock as easy as you’d expect on a direct drive automatic. Until that tank is full, the bike feels very well balanced for its low-set weight.
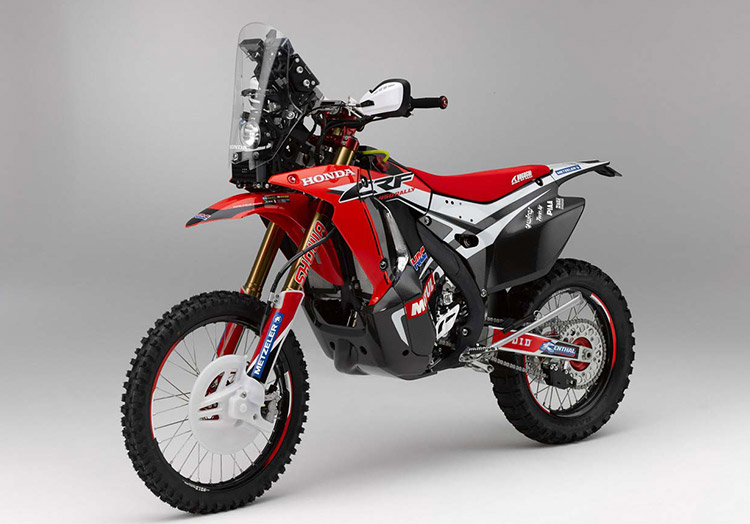
Other stuff on the DCT AT? It looks great in black, white and red, the colours of Honda’s nearly Dakar winning CRF450R-based desert racer (right). The coppery-bronze crankcases (like the new Husky 701) add a nice touch, too.

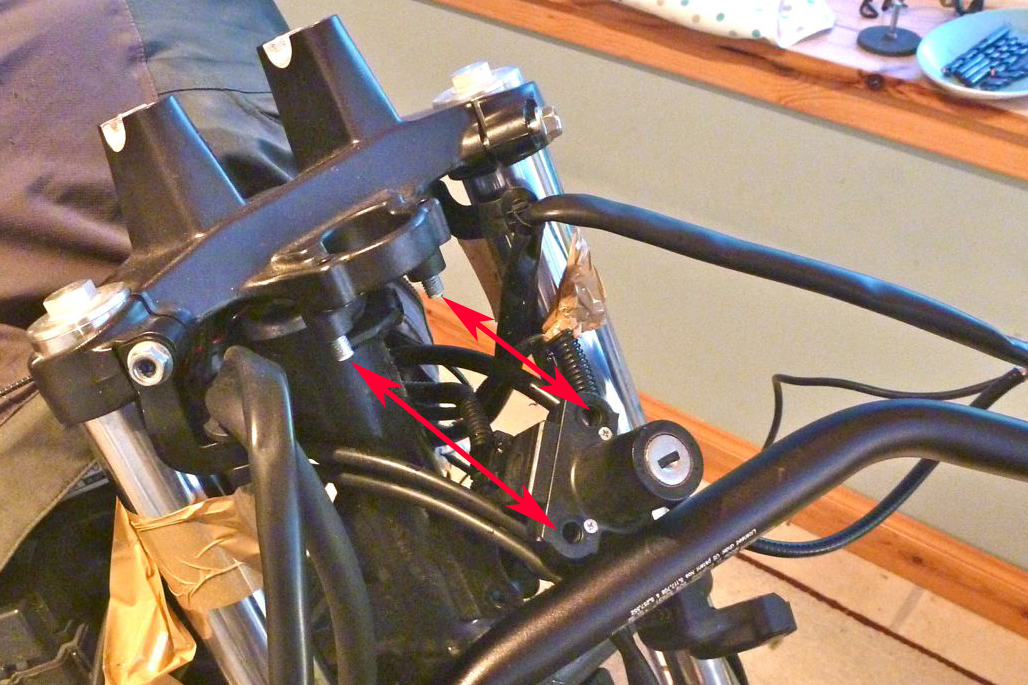
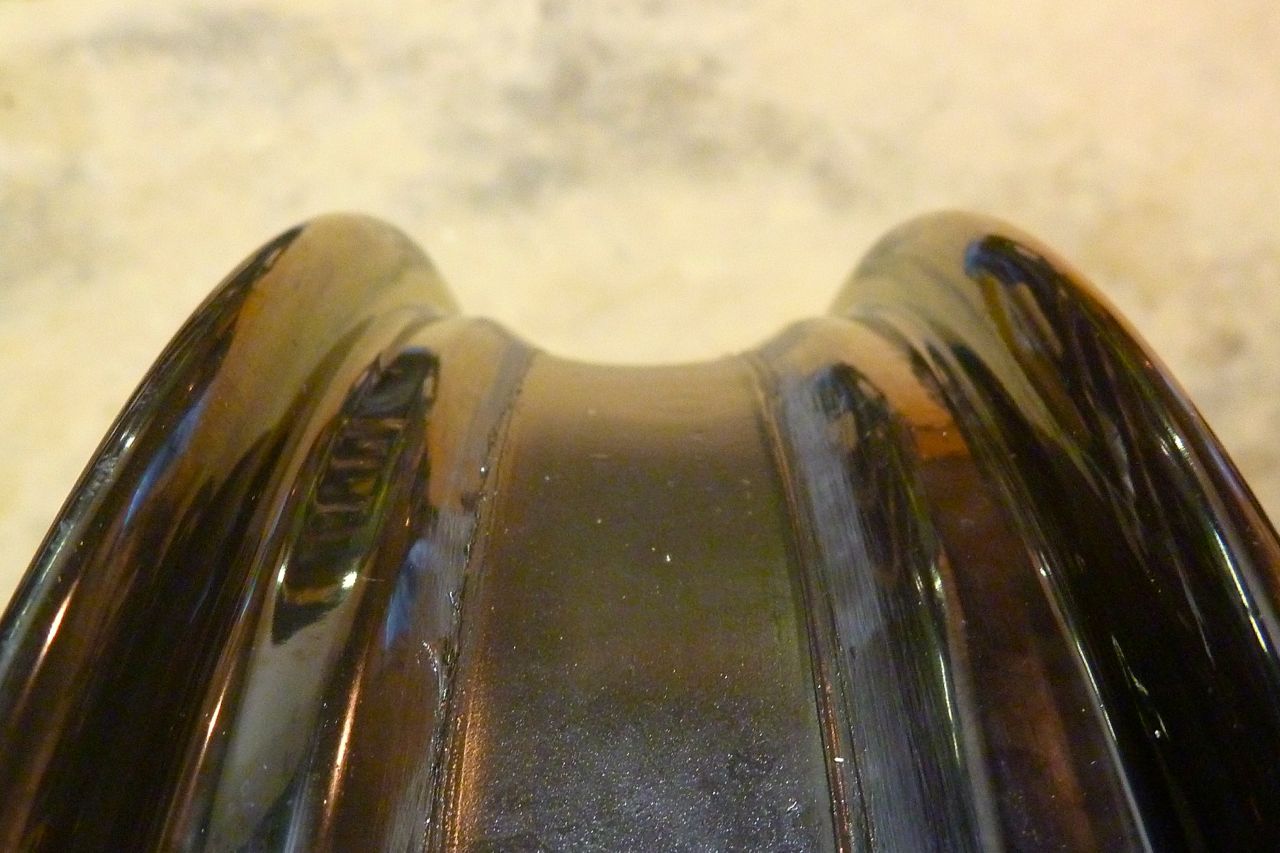
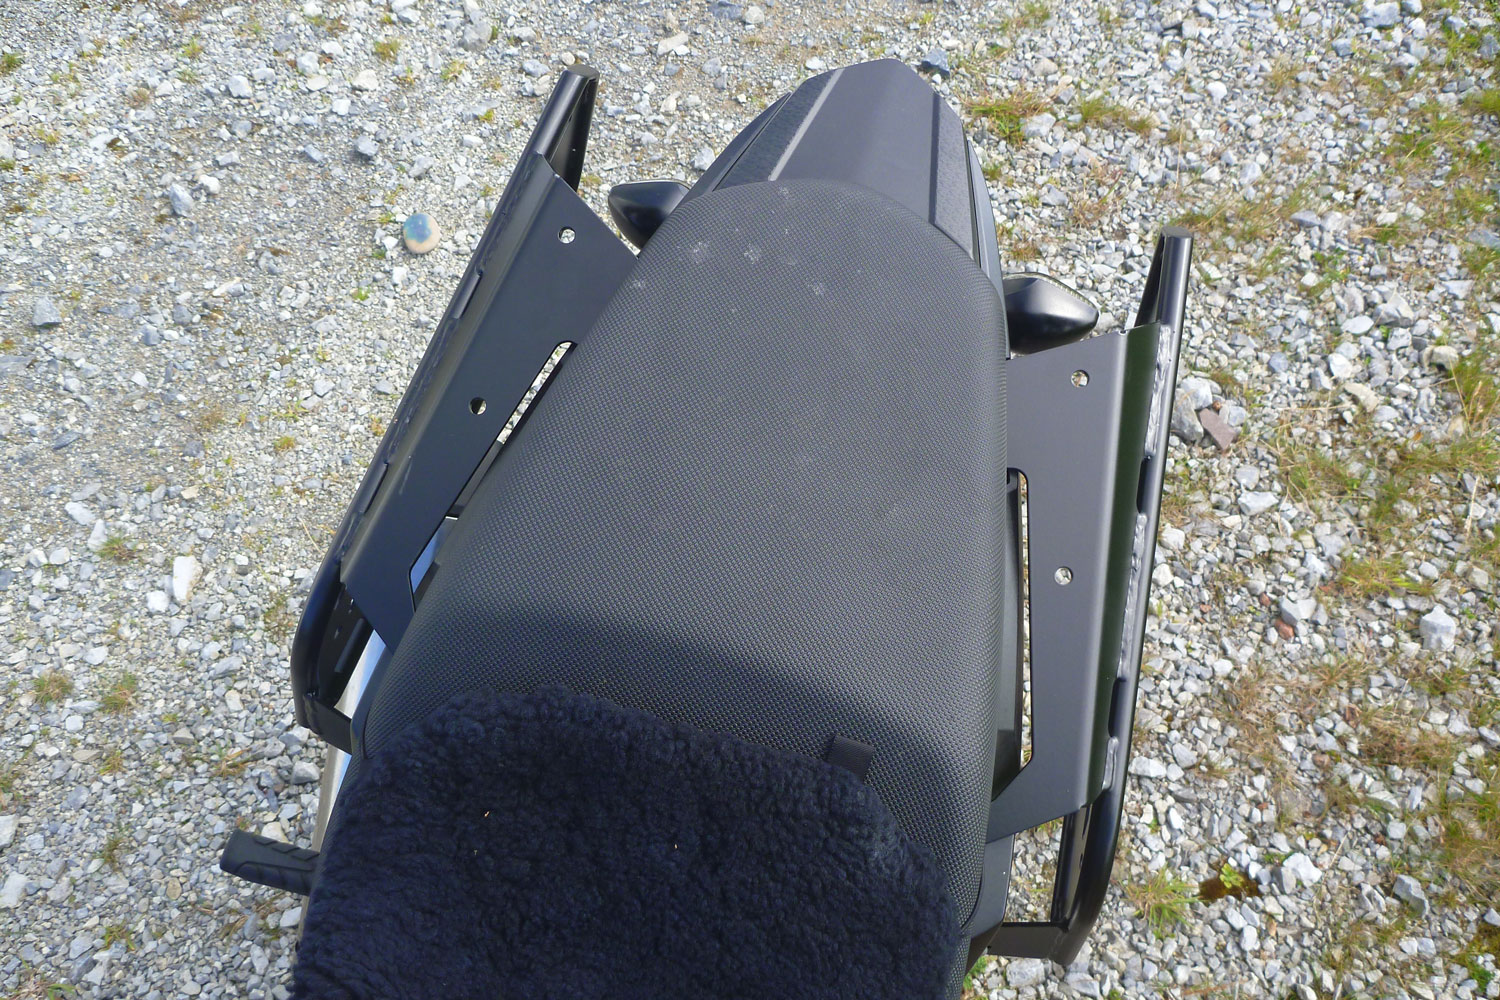
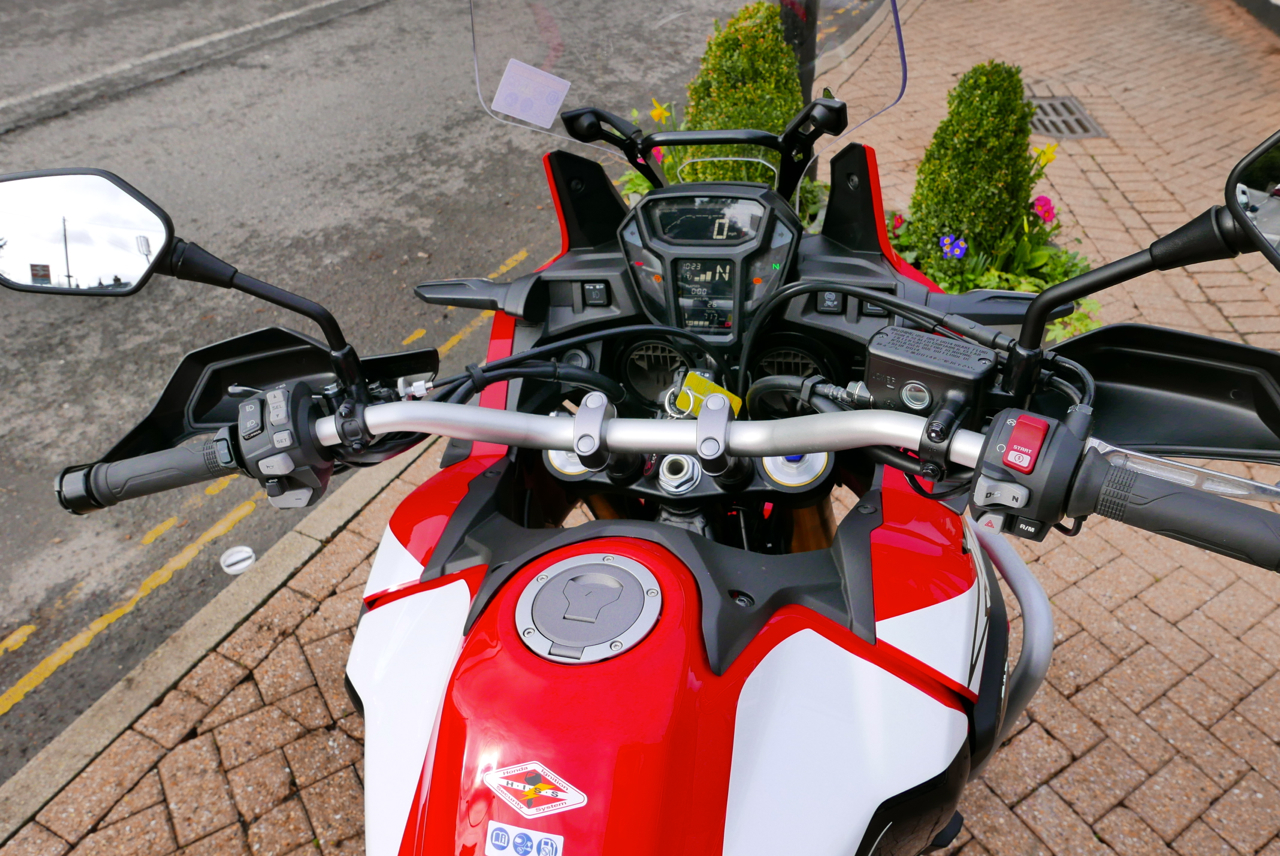
They’ve really got to grips with seat height on this bike – something that stops so many riders enjoying big Advs. With two levels (850mm and 870) and two seats offered, there’s about 50mm of potential variation, assuming I heard the dealer right. I had mine set at 870 (34.25″) and it felt lower than my CB500X RR. The suspension felt plusher too, though right now my 500X is still set for load carrying, and one back lane pothole shot a harsh jolt through the AT’s bars. On the picture above left you can see a rear spring preload adjustment knob, and doubtless there are more compression settings front and back than a squad of saturation divers.

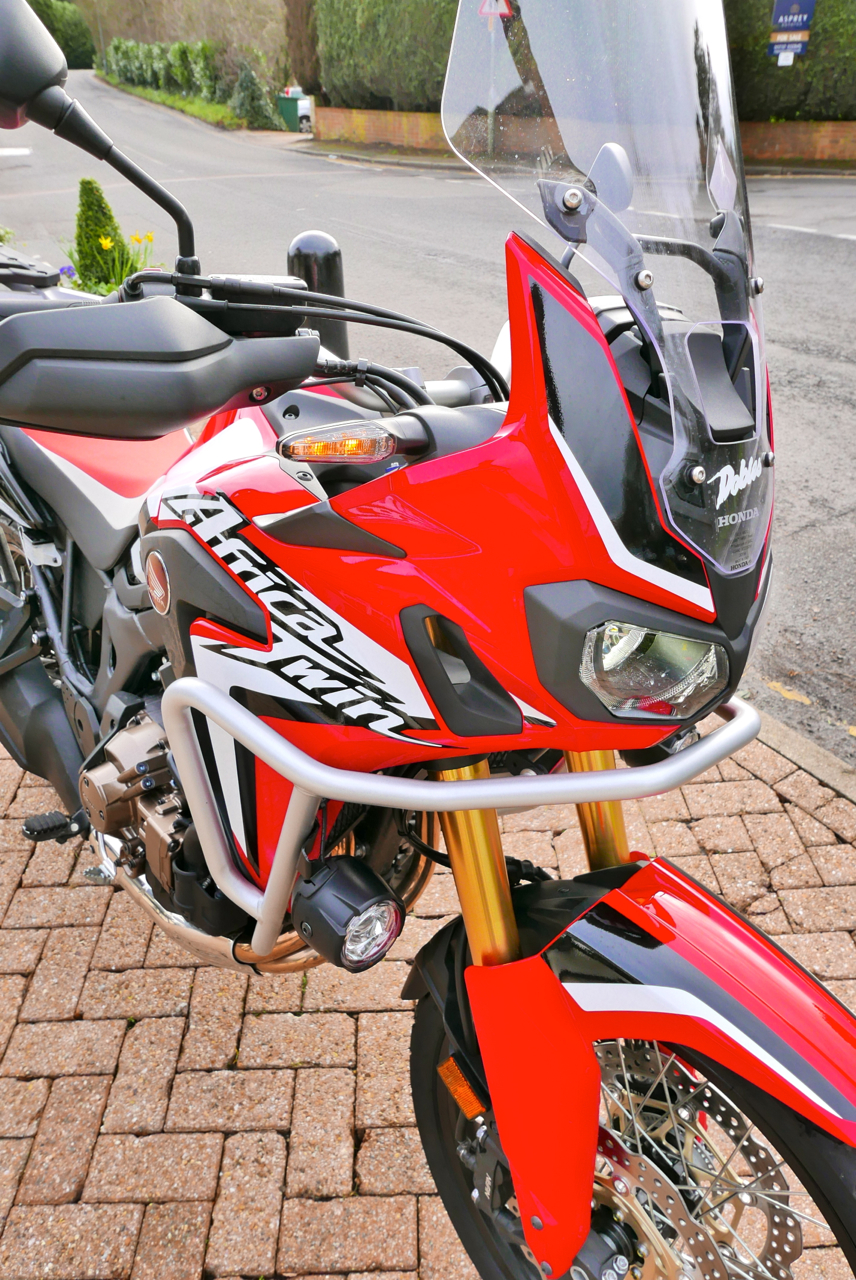
Among the accessories, the high screen worked great for me at up to 90. Heated grips were another seamless addition, with a heat-level bar packed in on the busy lower LCD display. Real-time rumination over the innovative DCT took my mind off the bike’s more mundane aspects, but the real question here is: would it make a good overlander? Or, in what way is it better than the all-conquering R1200GS?
I’ve long thought that by the time such bikes are properly equipped and loaded, they’re just too heavy for the sort of all-terrain travel I like to do, but that doesn’t stop masses buying, equipping and actually taking them on the road. The Honda looks significantly less colossal than a GSA, even if it’s probably no lighter, though I imagine it’s more economical. And the benefits of DCT is either something you appreciate or not. For overlanding I’d take it.
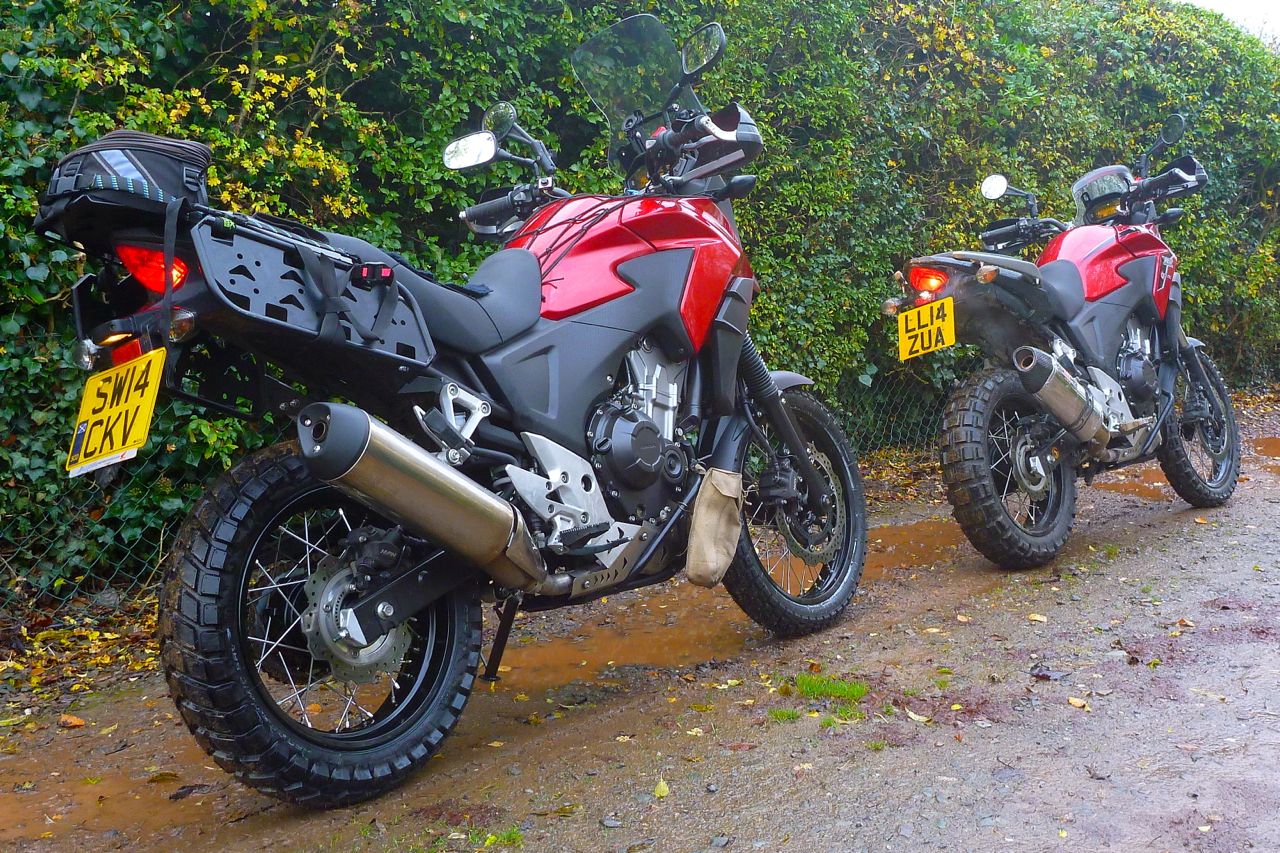
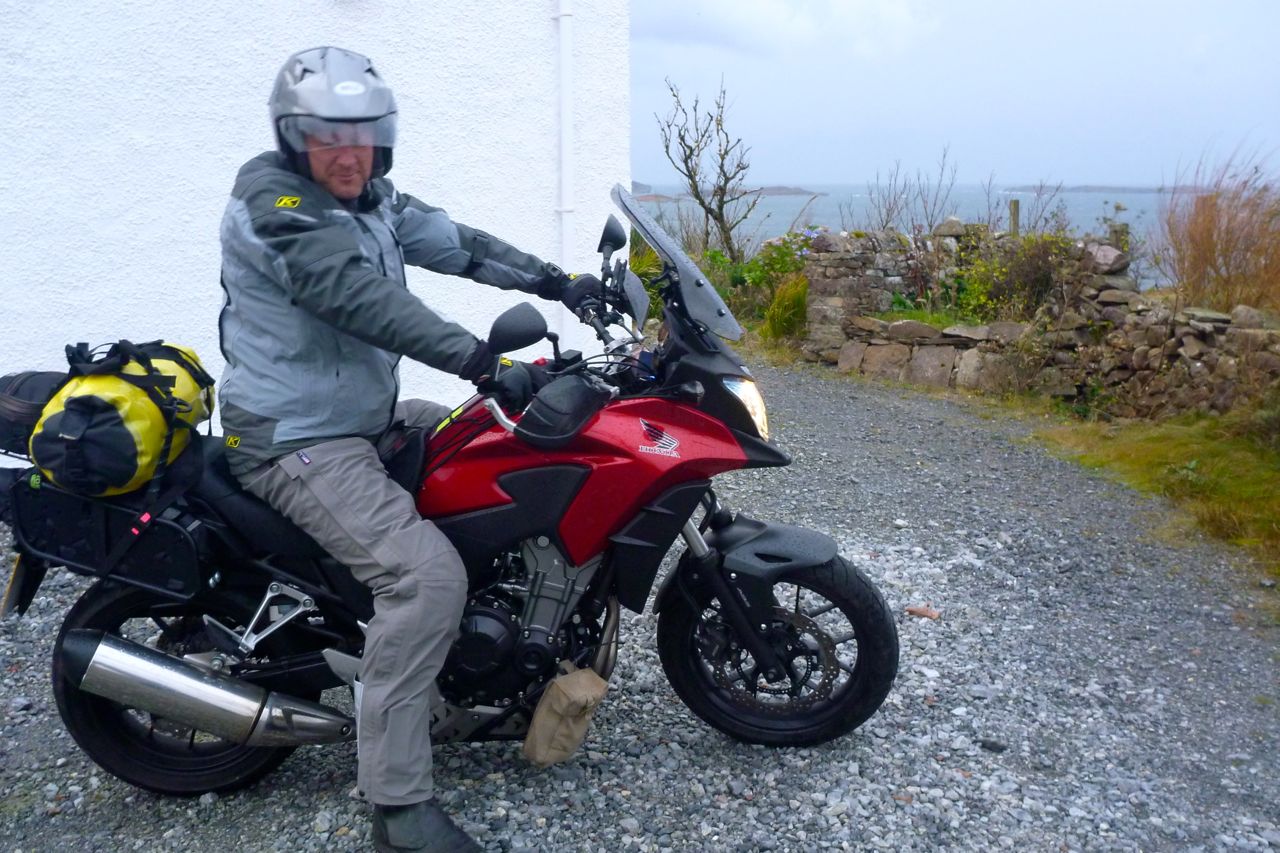
Riding back home I was reminded what a great all-round machine my Rally Raided CB500X is (left). Off-road ready for half the price with a used base bike, 10-15% lighter on the dirt, and more economical by the same amount too. The AT builds on the same great looks and performance – far outdoing what I recall of the original Africa Twin which I occasionally encountered in the Sahara. It was regarded back then as a heavy and juicy machine. I also like the fact that Honda ignored engaging in the current 150-hp mania with the latest mega Advs from Ducati, KTM and BMW. Instead, they’ve focussed hard on trying to create a full-sized machine with better gravel-road manners than most, even if the antics demonstrated in the video below require surnames like Marquez and Barreda.
The transmission system’s complexity on the road can’t be any worse than a regular gearbox, except you have two clutches to share the load. All the electronic engine management – well we’re all getting accustomed to that aren’t we, and I’d sooner it came on a high-end Honda than some other marques.
The new Africa Twin is clearly a brilliant road bike and I imagine a pretty good gravel roader, but there are a few of those already. It’s also heavier and costs way more than I’d ever spend on a travel bike – and there are many more in that category too.
But finally encountering the marvel of DCT does make me reappraise bikes like a DCT-equipped NC750X which, in the original 700 form (left) now goes for about £3000 used. Problem is NC-Xs come with the same soft, budget-level suspension as the CB500X and, like my 500, probably don’t have a bar/seat/peg set-up suited to me standing, unless I get into cable transplants. Meanwhile, for the moment there’s CRF1000L at your nearest UK main dealer so you can decide for yourself.