Klim Overland jacket – first impressions

Full Klim Overland review here
klimov-11

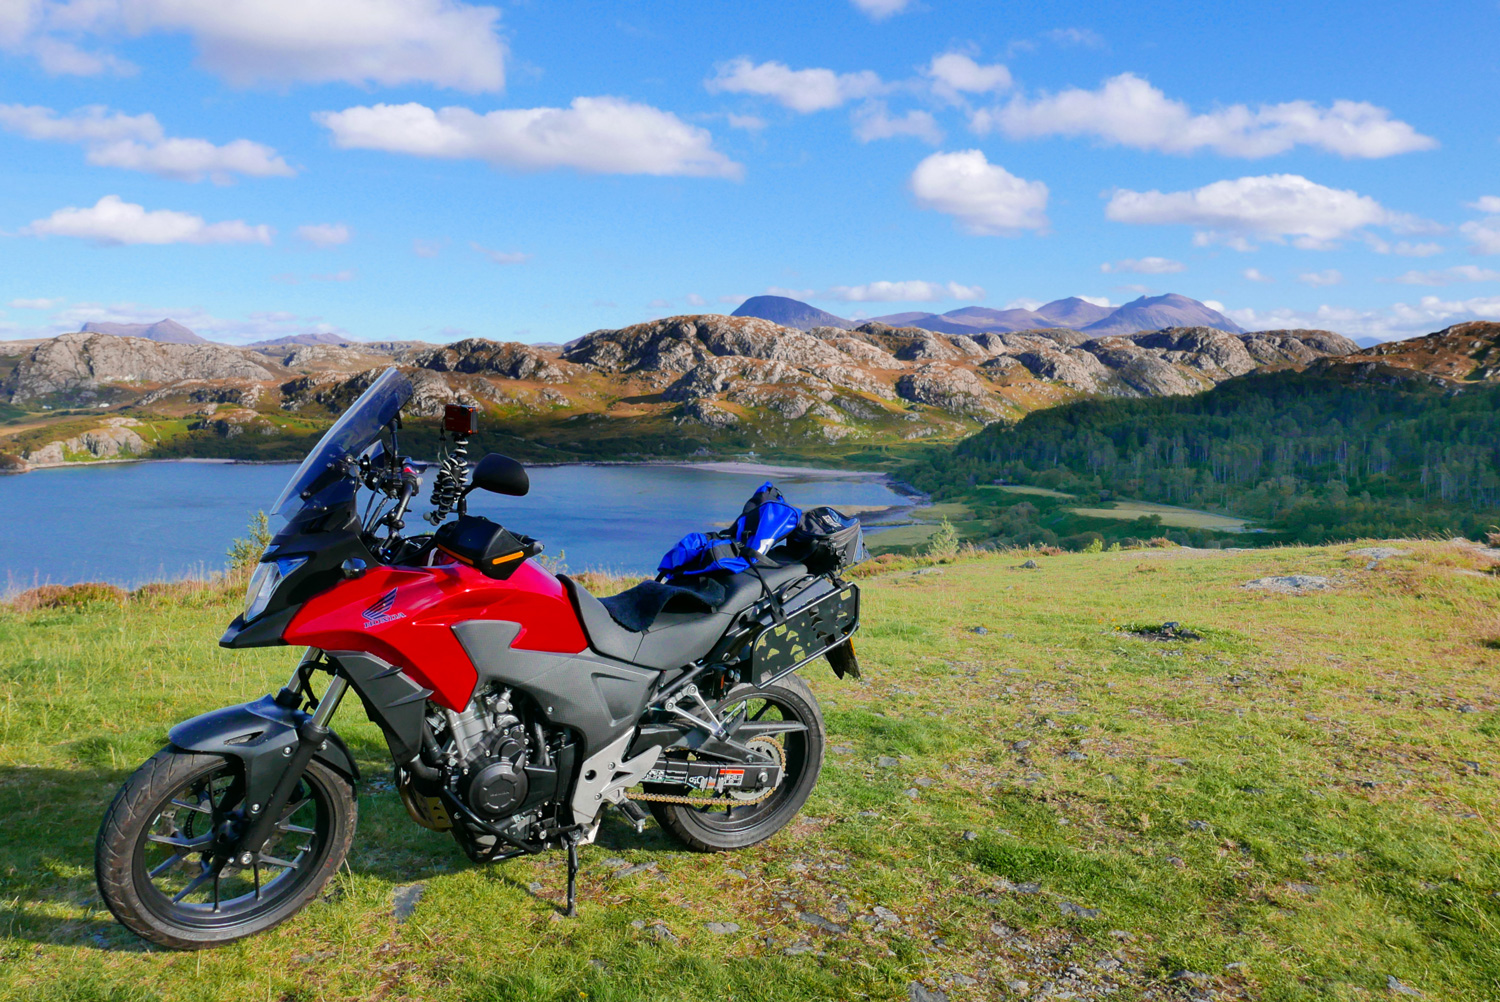
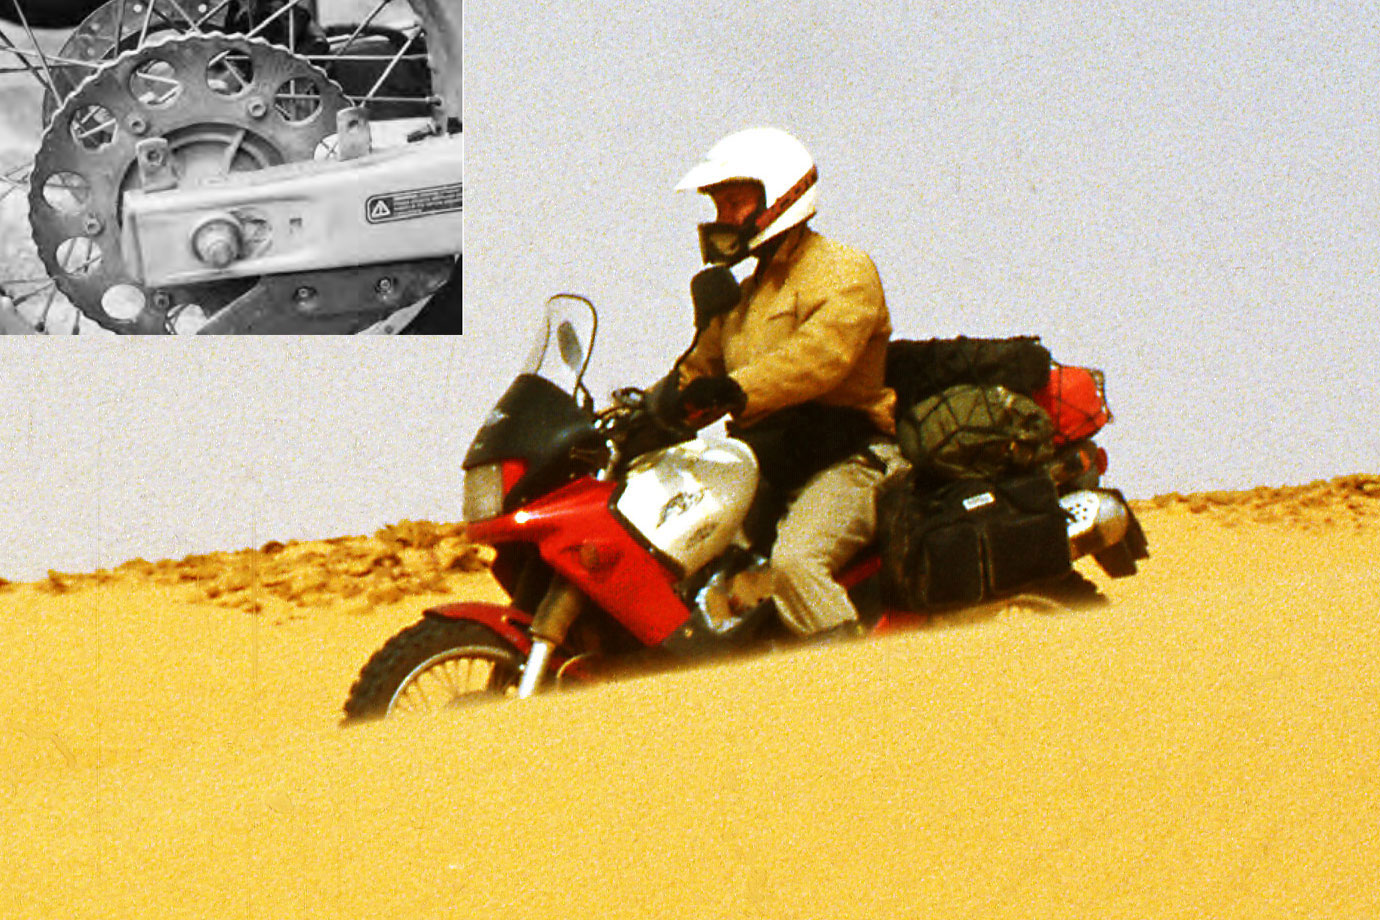
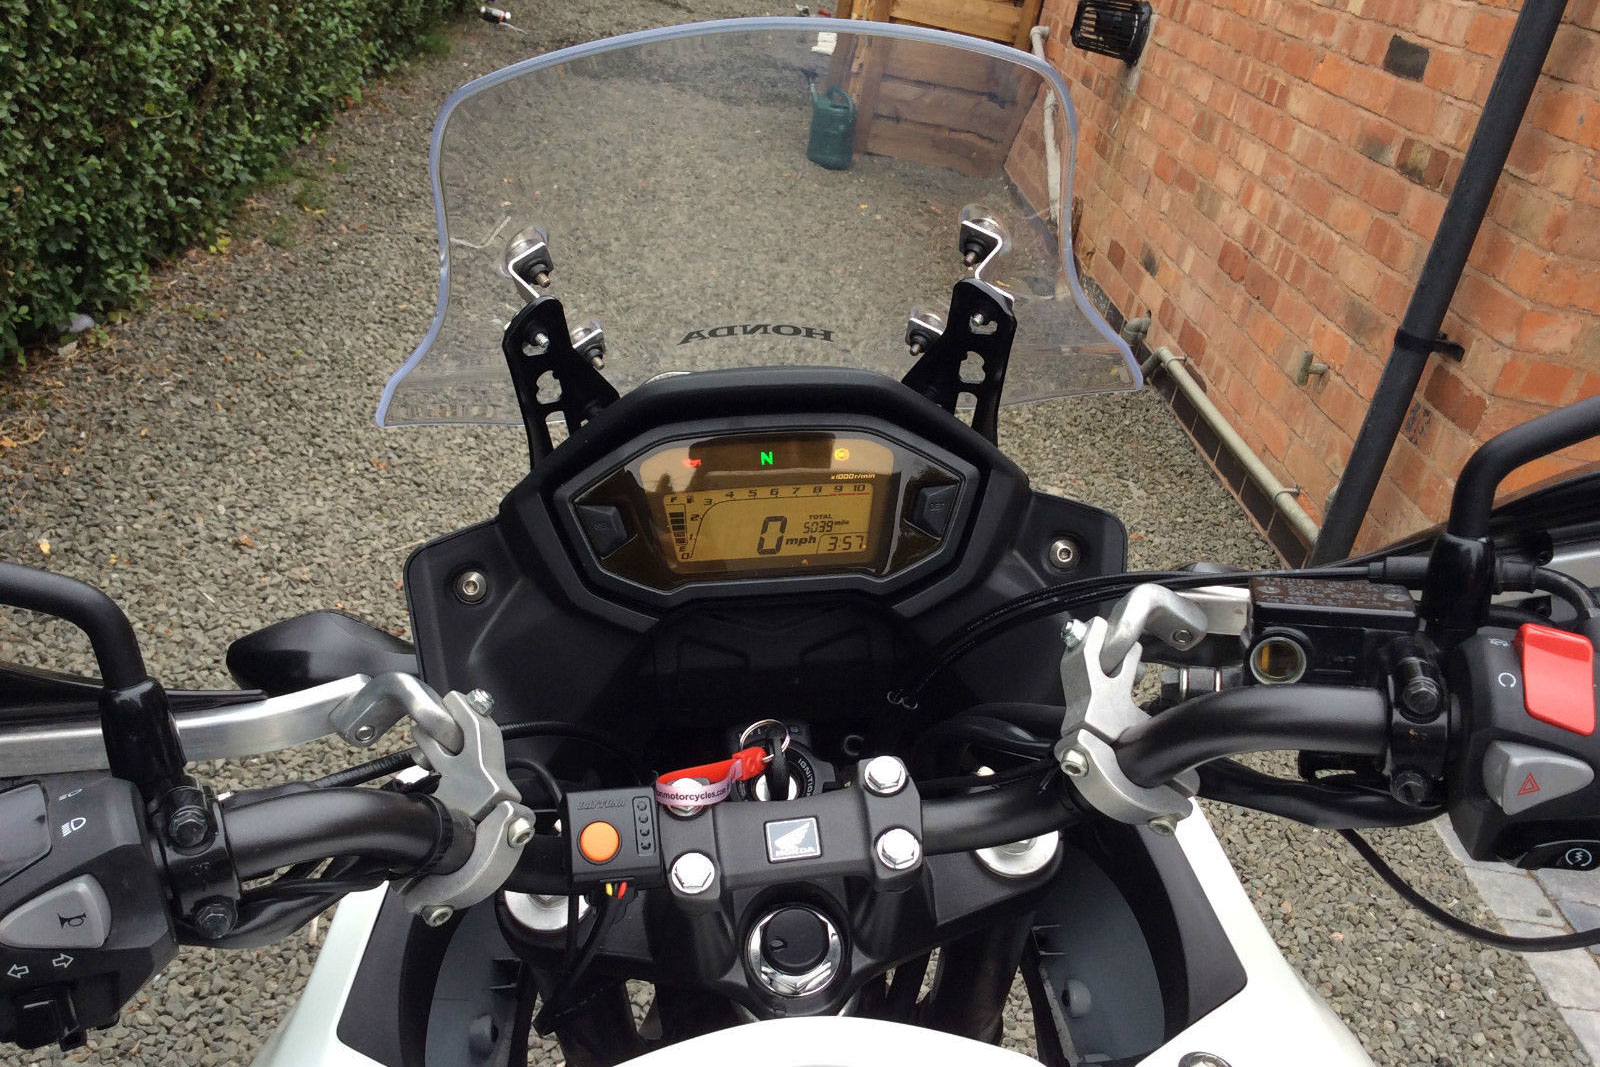
The cupboard was bare, the fridge was an icy cavern bereft of succulent goodies, and the sun was shining. It was high time for a shopping run to Ullapool. And, finding myself between chapters on the new AMH, it was also high time to saddle up the CB-X for a ride along the lochs and glens to try out some new gear.

Adventure Spec supply me with free or reduced cost gear in return for advertising in AMH

klimov-01

In need of a decent coat for a winter getting to and from the desert, Adventure Spec recently sent me a Powerlet Rapidfire heated jacket and Klim’s Overland jacket. AS had already sent me a Latitude to look at a couple of months back. But considering the investment in such a key item of gear, I found the Latitude either a little small in L, or way too big in XL. And in other ways it didn’t quite compare with an Aerostich Darien Light which I still consider a benchmark in travelling jackets.

klim_jacket_size_guide

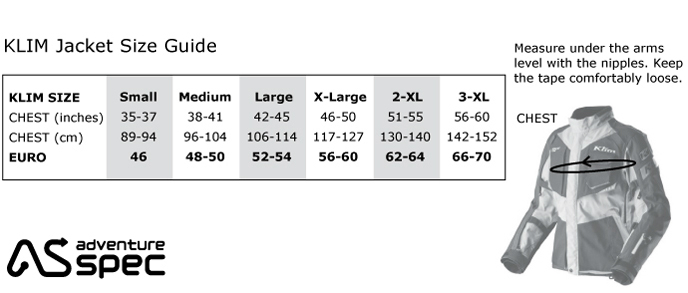
Wearing the Powerlet liner (about the bulk of a fleece), the Overland in Large felt tight across the chest and shoulders and yet, according to the chart on the right, I’m (42″ chest, 6’1″, 95kg) at the lower end of their Large range. The Overland was snug on me dressed in full gear – but still useable.

What Klim say
If you’re taking your first steps into Adventure and Adventure Touring, the all new Overland series from KLIM® is a tremendous value [sic].

My first impressions
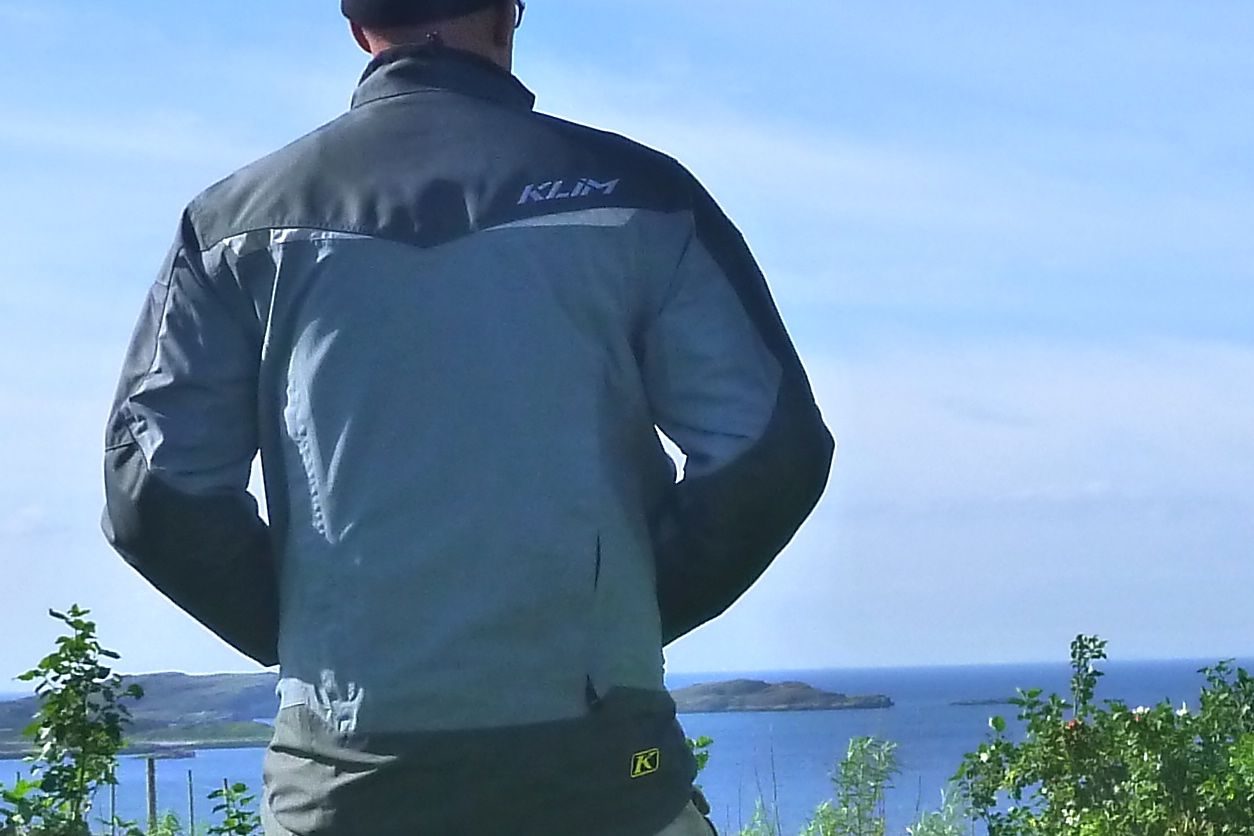
Good value, solidly built three-season shell that’s well-designed, has some tidy features and an understated look. Warmer than you think too, but could use more- or just bigger pockets in and out. And beware: Klim sizing comes up small.

Klim Overland – a quick look
• The Overland costs £379 with tax from AS and is listed as $429 + tax in the US or another $50 for the huge 3XL size
• My Large weighs 2.04kg, less 330g without back armour pad
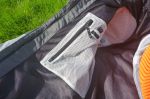
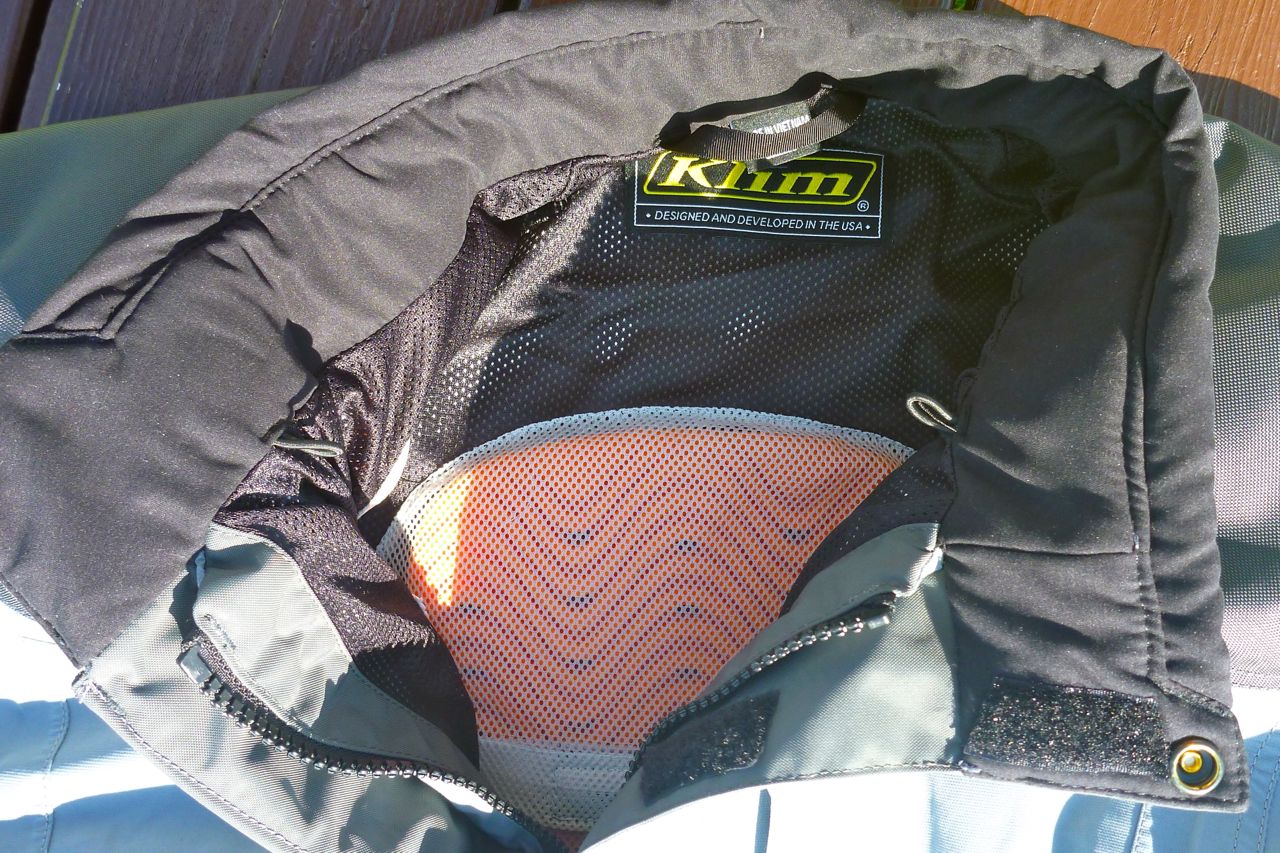
• It has four pockets: two hand pockets the hem with vertical entry water-resistant zips, a smaller vertical chest pocket and a similarly small one on the mesh inside (right)
• There are water-resistant zipped armpit vents down the sides that you might just undo on the move, and two corresponding long vertical back vents (right)
• The front two-way zip lies under a velcro flap with a stud at each end, and the soft, Tricot-lined collar can be cinched for a snug seal. There are also cinch cords on each side of the hem, velcro arm tabs below the elbow and velcro at the wrists
• The jacket has ventilated D30 E5 EVO XT armour on elbows, shoulders with a slightly less highly rated slab of non T5 D30 across the back (right)
• Eight discreet 3M Scotchlite reflective flashes front and back
• The cut is boxy and most of the arms and shoulders are over-layered with coarser and darker abrasion-resistant panels of 840D weight Cordura. The light grey body is made of much less stiff regular nylon fabric of about half that weight. The mesh lining is polyester and the membrane is Gore-Tex tw0-layer Performance Shell which is ‘Guaranteed to keep you dry ®’ and the jacket has a lifetime warranty too.

klimov-04

Review
A few years ago when Klim first came to the UK, I remember looking at a Badlands or something at the Ace Cafe Adventure Day and thinking: £800 for a jacket – really? Of course Rukka had come to price themselves up there too, incorporating what I considered fussy, over-complicated ‘technical’ designs that seems to be a way of justifying high prices on a lot of stuff these days. But 800 quid for a garment made in Southeast Asia?

Maybe ‘start high – bring in the cheaper stuff later’ is a recognised marketing strategy. That’s how it looks to me with Klim in the UK and now we have more normally priced jackets like the Traverse, and the second take on the Traverse which is known as the Overland.

As I say in the book, setting off on a long trip you’ll be wearing your jacket just about all the time for weeks or months. It’s got to work well, feel right and be up to the task as it’ll become your second skin. One thing that categorises Klim as a serious contender is they only make rugged waterproof shells and eschew what is to me the cheap measure of a zip-out membrane. If you want a serious Gore-tex type jacket, get one where it’s laminated to the outer shell. Yes, it costs more.

klimov-10

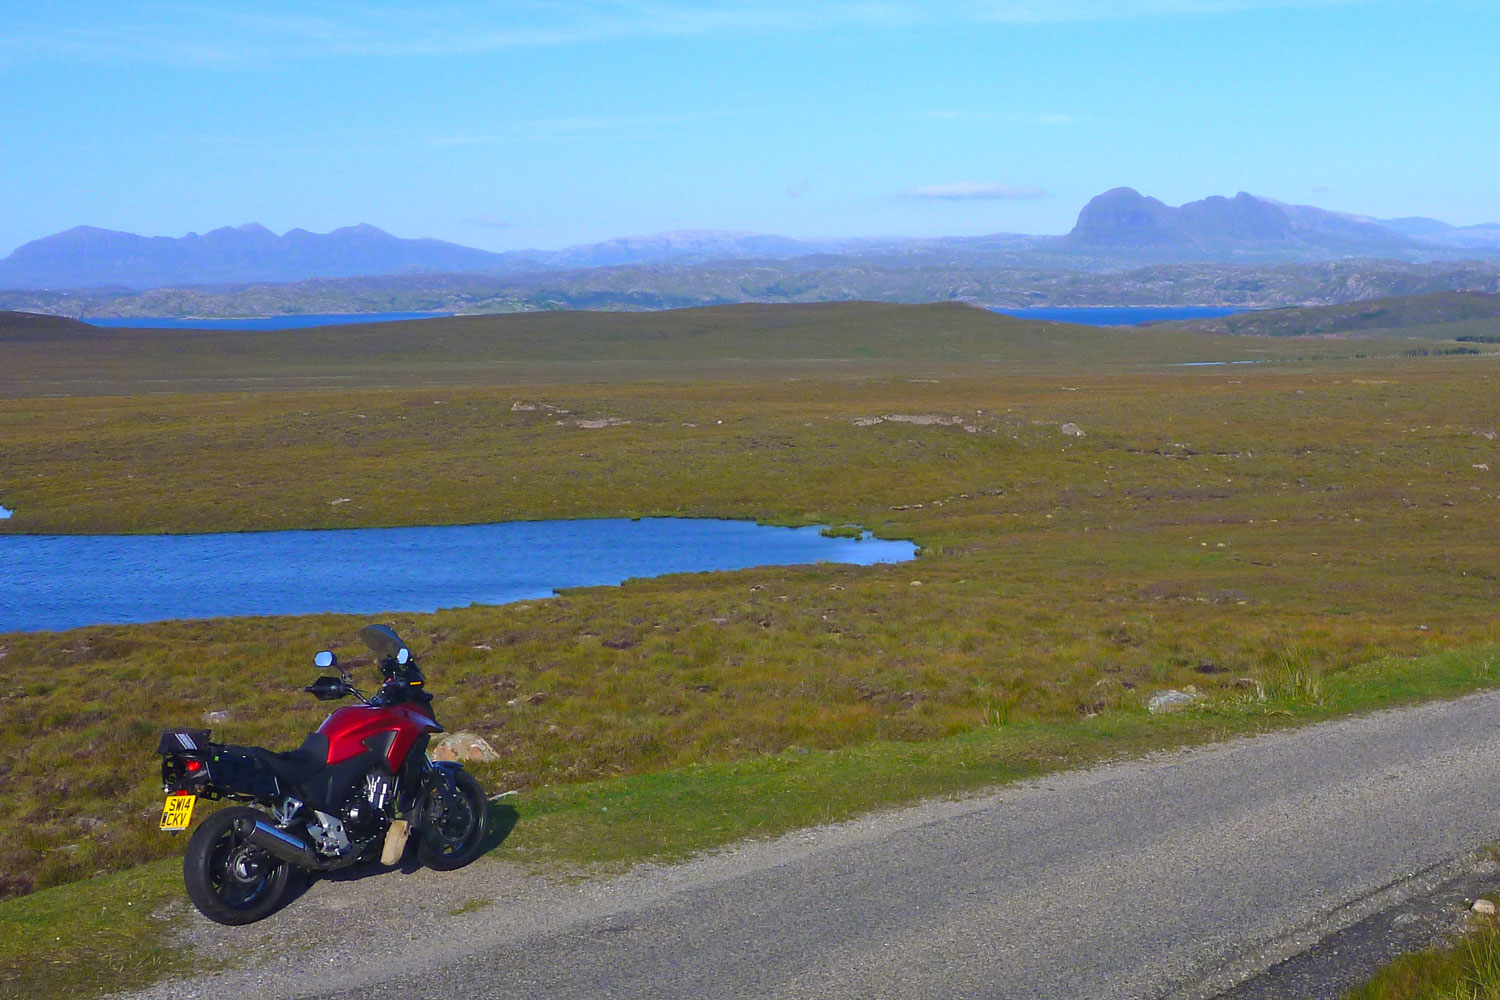
I set off for what turned out to be a 180-mile ride on an October day with temps peaking at 13° and strong winds forecast. Underneath I was wearing the Powerlet, a thick shirt and a vest, and leather trousers plus thin unlined gloves. I planned to fire up the Powerlet when the chill got to me. As it turned out – perhaps because I was stopping a lot – that never happened. The Overland kept me warm all day right up to sunset which was impressive. It means you can wear less clobber underneath but I suppose may get hot working hard off road in a warmer climate. For that reason I chose the grey version rather than the black. It really can make a difference.

klimov-07
neander

Doing it up I noticed that with the Powerlet’s high wire-laden collar and a shirt collar too, there wasn’t really room for my thin neck buff I usually wear. The front collar stud was a two hand squeeze to do up and the collar felt tight at the front while loose at the back where the cinch is. In other words the collar fitting was too upright or – like many humans in this digital, screen-staring era – my neck and head stick forward like a round-spined Australopithecus. Trying it again now it definitely presses on my Adam’s apple, but not unbearably so. Normally I prefer loose clothing and the Overland is a ‘snug’ fit round the neck and in the arms  and across the shoulders with arms pulled backed which is probably more flattering, cosier and aerodynamic.

klimov-09

klimov-08

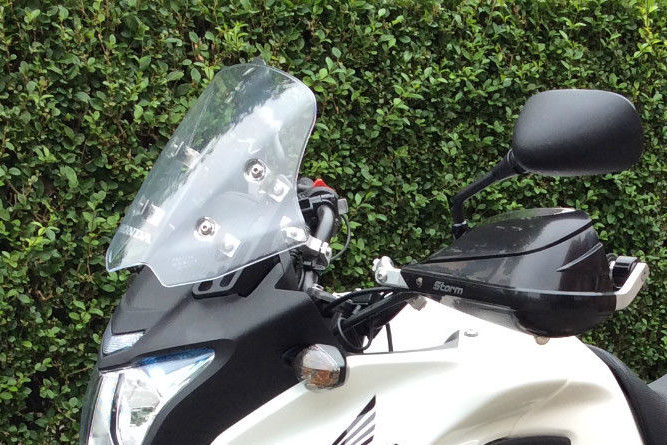
Riding along I thought I felt a chill under the arms through the vent zips, but not enough to plug in the heated jacket. And anyway this could be attributable to my bike / screen /posture / speed. Later on I didn’t even notice it.

P1000435

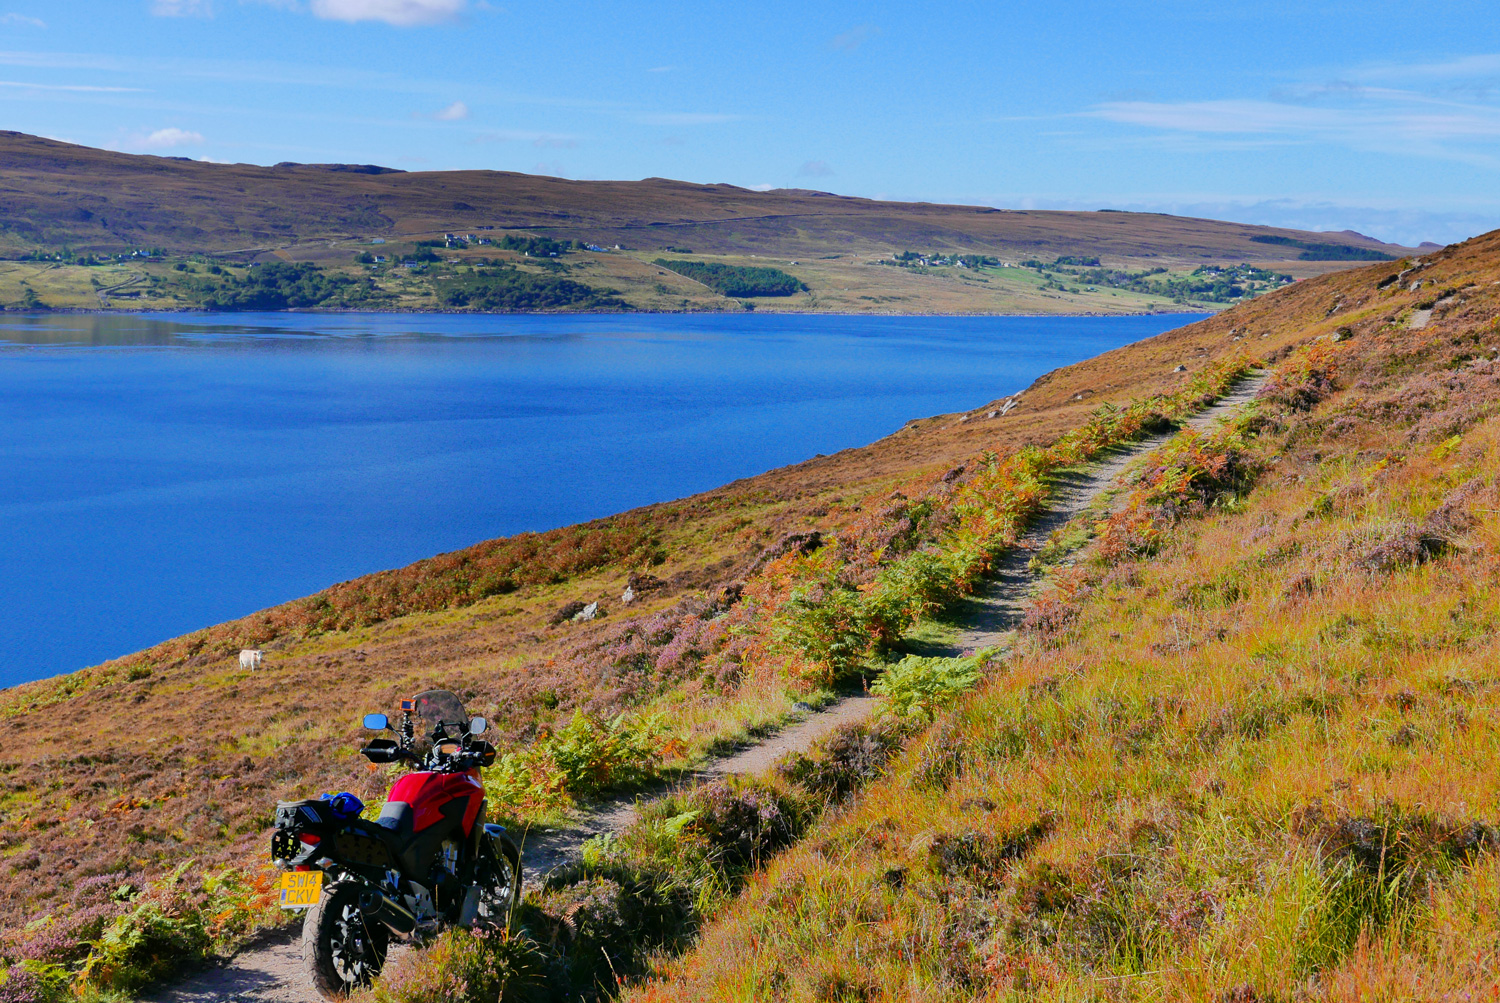
At one point I left the bike perched on a sunlit hillside track and walked on to recce the route. In a black jacket I’d have cooked like a Findus boil-in the-bag cod in parsley sauce, but the Overland was surprisingly cool. By the time I got back to the bike I did have a bit of a glow on, but rode back the few miles to the main road unzipped and flapping by which time normal operating temps had resumed.

klimov-05

An hour and lots of lipsmacking pics later I pulled in at a cafe near Poolewe and instinctively went to slot my gloves into a pocket to came up against the Overland’s main flaw: too small pockets. I suppose I could have stuffed then into one of the lower pockets but what I’d like a decent, map-sized chest pocket or some meshy drop pockets low down inside (they could actually be easily tacked on to the mesh. What do other riders do? – cart around a tank bag or backpack – or slip them in a topbox I suppose. A jacket called Overland needs overlandable storage. For the return run I also removed the back armour to free up some room. It made the jacket lighter and more flexible, but I can’t say it felt significantly more roomy. For that the shoulder pads need to come out but I’ll keep those for the moment.

P1130862

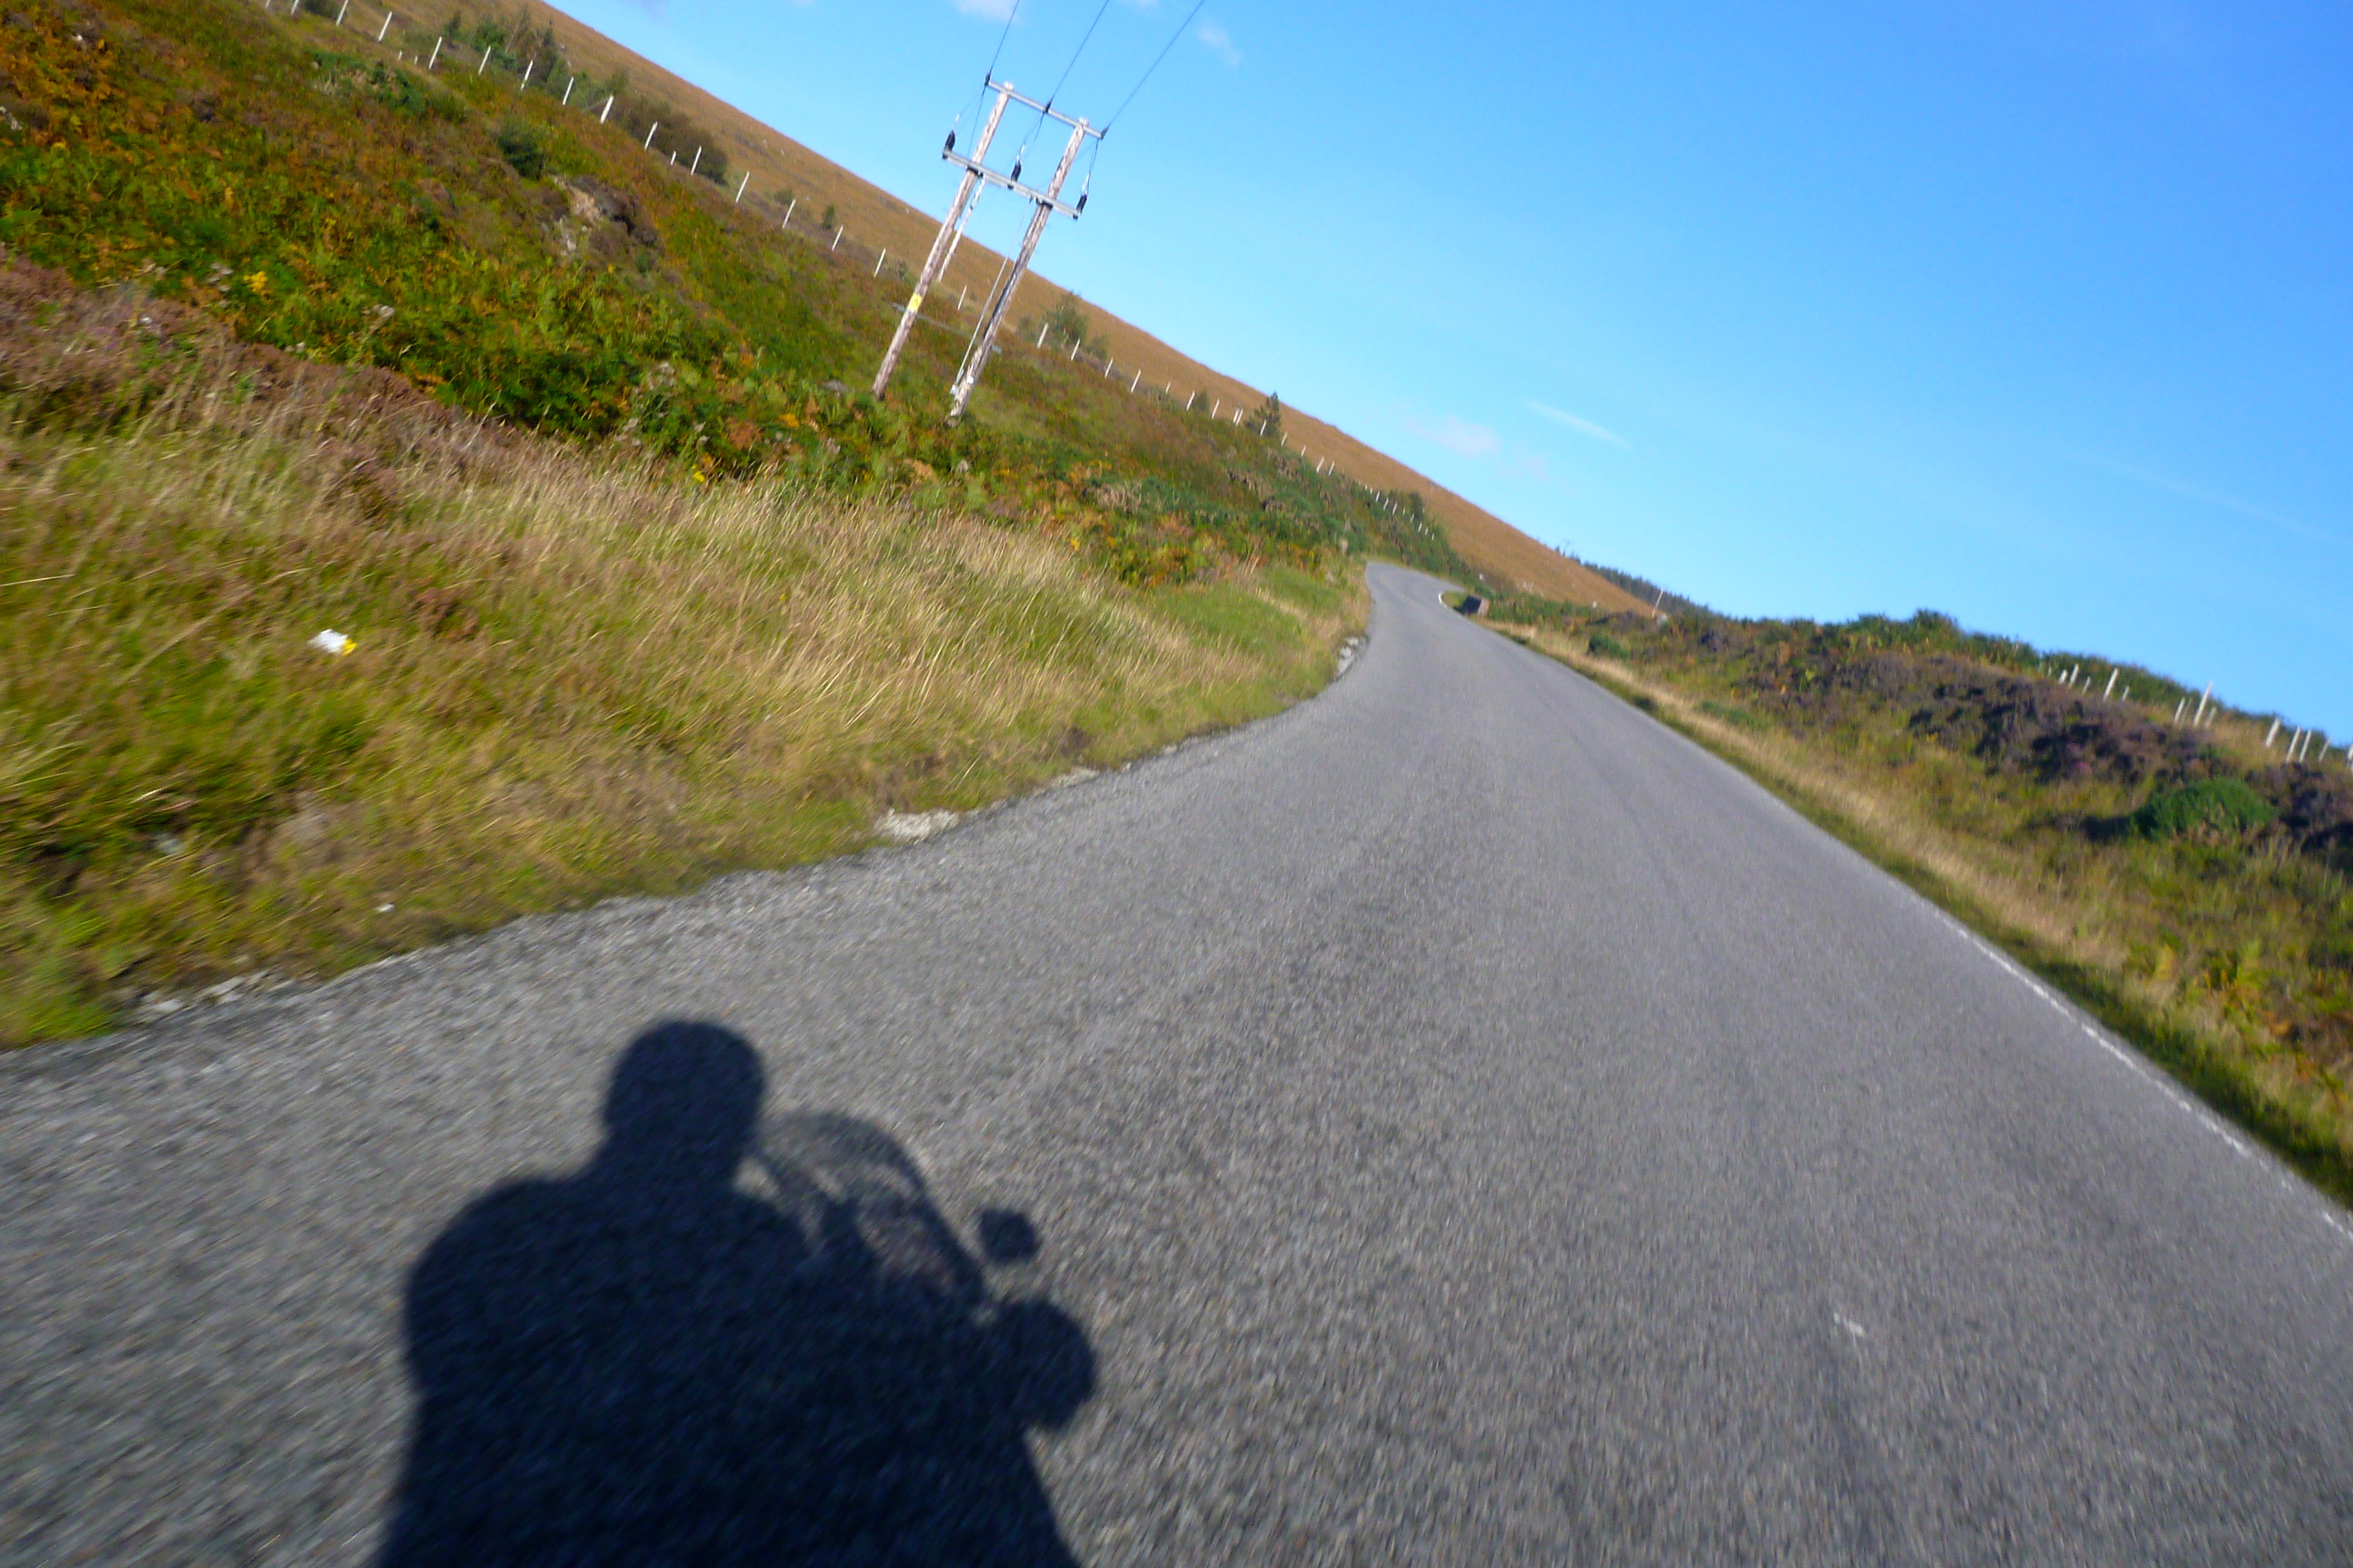
Riding back with the sun now dipping behind the hills, I expected to resort to the Powerlet, but riding up to 80mph the Klim still hung in there. The wind was up now too, pushing me around on the single track roads and at one point coming over a pass I distinctly felt the wind catch the back vent flaps and pull me around in the seat.

klimov-12

So – preliminary findings on the Klim Overland adventure touring jacket. Warmer than you’d think, under pocketed but the plain looks that are growing on me. Great armour and adjustability too. Resistance to pelting rain and ventability to be established. I always wonder if the latter might compromise the former.

Full Klim Overland review here
P1000489

CB500X Tutoro Oiler Take 2 – and grab handles

CB500x Index page
cb5-10
previo

Previously… on the AM Website… I fitted a rack and chain oiler to the CB-X. But my chain oiler by the rad (right) wasn’t such a good idea according to Tutoro – too hot for the oil and too hot for the reservoir.
At one point I thought somewhere inside the fairing or on the fork would work. I noted some dirtsome travelling KTMs put their oilers up front for the same reason: out of the way of flying rocks. But on the more cluttered CB-X the fairing makes access and topping up too awkward. Can’t be having that.

I had another look and decided inside the fold of the Rally Raid pannier rack was as good as it would get on the back. Easy access for flow adjustment and topping up, and anyway it will be the feed nozzle that will get knocked about before the reservoir. The kit with the Tuturo Auto Pro comes with a range of brackets (right) to help you fit it in the best space available.

cb5-1

While in the area I also took a chance to beef up the support for the twin-feed nozzle by adding a spring-coiled section of hose and supporting the sacrificial white nylon bolt with a bit of hard-to-see rubber between it and the swingarm, then zip-tied together (left). Like I say, one flying stone and it’s all gone – better ideas may evolve.

I fitted a JT x-ring chain. At only 2600 miles I wasn’t convinced the OE chain – branded a ‘DID’ no less – would last the distance (see the previous post).

It gave me a chance to use a Motion Pro chain breaker (left) to separate the linkless OE chain – a solid, compact and easy to use bit of kit. I can’t recall the last time I actually did this – usually I just sell the bike. I also had a Motion Pro chain press (right) but decided to go with the spring link despite dire warnings from JT. If it was that deadly they wouldn’t include it in the kit. Adventure Spec sells the Motion Pro chain tools.

cb5-14

Speaking of broken chains, it was good to see that there was a semblance of a case saver tucked in around the front sprocket (right), though if that hefty JT gold-plate lets go I don’t think there’ll be much to hold it back.

cb5-8

Also, re-adjusting the new chain gave me a chance to use the nifty RRP axle wrench (left) which, it must be said, fits in the hand very nicely and spins round 360° behind the pipe without snagging. Well worth a tenner.
Why oh why can’t we have snail cam chain adjusters back? I’d happily pay the extra £3.76 on the price of a bike. There are no usefully visible alignment marks worth noting on the Honda.

With the new x-ring and chain oiler I’m hopeful I’ll get a good 15,000 miles worth of chain life, even with some desert biking thrown in.


cb5-2

This lack of grab rails with the new RRP pannier rack was driving me nuts. With plate rather than tube there’s nothing solid to grab on to when you want to move or pick up the bike. As it looks like getting a sheep rack made for the back isn’t going to happen, I decided on a quick, easy, free and light solution: a thick bit of belt (right).

cbx5-16

cbx5-17

Even before the new chain was dry they came in handy hauling the bike back up to vertical. And if they break I can make another from a passing postman’s satchel or whatever’s lying around. As for the sheep rack; if it’s that important to get a bit of useful width on the back I can screw a bread board to the RRP tail rack. More next time on the AM Website.

cbx5-17

CB500X – chain oiler and rack

CB500x Index page
cbx4-tut1

On the CB-X there wasn’t an obvious place around the back to mount a new model Auto Pro 1 Tutoro chain oiler. I saw a couple of people on the forum perched theirs on the pillion footpeg mount, but with off-roading and stone flying on the agenda, I can’t see mine lasting too long back there, even with the reservoir rock guard that comes with the latest model.

cbx4-tut2

The next best place I could find was on a front downtube behind the radiator. Who knows, the warmth might make the oil runnier and better penetrating – or maybe just more splashy. The delivery tube needed an extra 6 inches which I had from an old Tuturo kit.

cbx4-tut3

They have a new nozzle swingarm mount too: a plate and nylon bolt (right) you zip tie on to better secure the twin nozzle in front of the sprocket, instead of positioning it with a coil of bent wire. I think I’ll add some more support to the nylon bolt at the inside of the swingarm to stop it getting snapped off. As it is, I can see it all getting swept off by off-road debris. At least with the bendy coil you can bend it back. I may add that too.

cbx4-chain

I’m a bit concerned about the state of my chain. At only 3000 miles there’s rust on the outer plates which probably means rust on the inside too which will ruin the o-rings soon enough. Neither I nor I doubt the previous owners neglected it that much, so it must have been a cheap batch, like those that found their way onto some F-series BMW twins a few years back.

Even though it’s far from worn out, I think I’ll have to take a leaf out of my own book and fit new. The upcoming trip to Western Sahara and back will rack up at least 7000 miles, and even with the new oiler, in the sands I doubt my dud OE chain will make it to 10k.

cbx4-libya

I made that mistake on a Funduro ride to Libya once  (left). Lots of sand on that trip and the no-name chain was slipping by Tunisia on the way back and despite my best efforts, the back sprocket was totally shot by Maidstone. I had to hire a van the last 25 miles home. On other Sahara trips o-ring DIDs have lasted fine.

cbx4-xring

Again the forum has mixed reports on chain life, even with very regular maintenance. A quality chain wants to get on there quick before the sprockets wear. Normally that would be a DID gold x-ring, but I couldn’t find an X on ebay so let’s take a chance on a JT X1R version for £53. It’s good to try new stuff anyway, and I’m sure it will last the run in the desert sands, now the Tutoro is lubing it.

cbx4-lawn

cbx4-hepco

Rally Raid’s pannier rack arrived, along with a few extras. At £230 delivered, it was a good deal more expensive than a regular Hepco pannier rack (right) which seems to be the only one that’s a general purpose rack, and not specified for a certain type of luggage. As it is, it’s way too far back like so many of these racks, though with throwovers that doesn’t matter too much.

cbx4-sidrak

The RRP side rack weights 4.7kg in steel and seems based on their KTM690 rack, a bike whose plastic fuel tank is the rear subframe and so needs a bit of extra support. Being more heavily built than your H&B, the RRP CB-X rack does away with the rear cross brace and is said to be made to fit the Giant Loop Siskiyou throwovers.

cbx4-toprak

The rack replaces the 1.8kg pair of grabrails and uses their six mounts on the chunky subframe, so that’s actually less than 3 kilos added overall. The third mount is a bracket that goes behind the pillion peg mounts and the whole lot was easy to fit and lined up precisely.

cbx4-bakrak

I did wonder if the short side height might not support my tall Magadans so well. As it is on the right the upswept silencer will get in the way whatever set up you use. Sticking out equally on both sides, there’s heaps of room to stash stuff behind (left) or fit one of those tool tubes. Though I’d rather have a slim rack, I can see those spaces becoming handy.

cbx4-tailrak

RRP also sent me their 1.8kg tail rack to look at, though I’m not a fan of these CNC ‘plate racks’.  I fitted it anyway to see how it looks, as it mounts on the side racks very easily.

cbx4-xrak

I prefer traditional tube racks and the reason becomes clear once the grab rails are removed: there’s nothing to grab on to! Not so much for a pillion but when picking up or manoeuvering or back-end dragging the bike into the cow shed where it currently lives. It’s really quite frustrating. For a while I thought I might bolt on grab loops to the tail rack mounts, but have decided to try and get an X-rack style sheep rack made (right).

cbx4-resgard
cbx4-levers

Other RRP goodies included a nifty rear brake reservoir guard (left). Now I look at it, it’s quite exposed, just as the oiler would have been back there. And a nifty pair of adjustable shorty levers. I’ll get round to them when the new front end arrives.

cbx4-landrak

CB500X – Auxillary power + satnav mount

CB500X Index page

Normally I’d plug a 12-volt power plug for GPS etc direct to the battery via a fuse – not ideal but it’s less of a faff than finding a place to take power that’s switched via the ignition (usually off the always-on lights).

cbx-plug

But on the CB-X forum someone unearthed a stray ‘options plug’ under the seat (left) that does just that and so is ideal for electrical accessories. It even comes with an unwired wiring block clipped to it that’s ready for spade terminals. In the UK it’s a 6-wire block but with only 5 wires (inset left). Trial, error and much discussion on the forum divined which wires do what. Short version: purple is switched live and green is negative. These are the two you want to wire up stuff that will only work with the ignition on.

cbx-plugg

I thought about tracking down the exact correct terminals (right), slipping them into the unwired block with the seals and wiring it up, but realised it would be as simple if less neat to simply shove two wired spades directly into the live block’s end and ditch the unwired block. It all wants to be waterproof of course, so I carefully taped over the block and dabbed rubber solution where the chopped down spade connectors went in. I then repositioned the block in a plastic channel alongside (above left) and hopefully out of the way of any back-wheel spray. And while I was in the area, with a hacksaw blade I trimmed off bits of sticky-out plastic molded into the mudguard (right) to make more room for underseat tools and stuff.

cbx-pto

Getting the wire to the ignition key area  for the 12v PTO socket was easy too: just two hex bolts removed the black LHS side panel and the wire feeds through over the radiator. It would have been neat to set the PTO into a hole in the dash below the speedo but I’m told there’s not much room behind there and finding out for sure would require protracted disassembly. Life’s too short for that so a secure slot was zip-tied next to the ignition key (above left).

Still awake? From bike to bike I’ve been running my Nuvi satnav on a RAM mount off the mirror stalk, but it’s a cumbersome combination of hardwear, better suited to a camera. My Palmer screen mount came with a half-inch accessory bar for that very purpose. I wanted something tucked in close to the bar to avoid leverage and wobbling, and the only idea I came up with was taking apart a spare Nuvi sucker mount, cut it down a bit then drill a half-inch hole through the neck and glue it onto the accessory bar. The irresistible lure of bodging.

93mpg

Looking forward to a long, 700-mile ride to the other end of the country this weekend. A chance to test out the screen, assess the seat which I think may not be so good, and get a feel for the bike in readiness for Morocco and beyond this winter. Latest mpg is 93 and that was trying a little, so I reckon 100mpg might take some doing. Plus this is off the odo though unlike the speedo (7-8% over) is actually only 3% over. Had this same odd discrepancy with the CRF; you assume they’re linked. Anyway, more like a true 90.

Honda CB500X Rally Raid bashplate, Palmer windshield adjuster

Main CB500X Index page
cbx-jmo

The CB-X comes with an 80s-style plastic belly pan which then as now, just keeps the flies off te engine. Along the right side is a thin, stainless cat guard but none of this will protect the pipes or the sump from a heavy dump onto a rock or from flying debris.

cbxbash-12

cbxbash-14

The Rally Raid bashplate crashbar cost a hefty £238 but is more than just a few slices of alloy bent, cut and welded into a protective clam shape. The CB-X is a bit different from a typical single cylinder trail bike in that the pipe goes under the motor. The slim cat is actually neatly integrated in the headers which tuck in alongside the sump (right) so cleverly, no extra depth is added unlike my last two ‘under pipe’ bikes. But the oil filter sticks out the front and the engine cases are vulnerable and so proper protection is needed all around.

plates
cbxbash-17

I didn’t look for alternatives but they are a couple out there (left) – both at around £100 but in relatively flimsy 3mm alloy and both retaining rather than replacing the thin stainless cat guard. SW Motech do make lower engine bars and upper tank guards at about €100 each, but it’s unclear whether their sump guard and the crash bar are compatible – it looks like it could be one of the other. With the Rally Raid unit the steel crash bars are integrated with the steel underplate and the whole thing weighs 3.4kg. Separate thin stainless panels are added behind the frame over the cat, across the front of the oil filter (right), and underneath the shifter on the left.

cbxbash-15

After removing the bellypan and cat cover, fitting started by slotting a pin to mount the back of the plate on the unused centre stand pivot tube. The powder-coated RRP pin felt just half a mil too thick, actually because a bit of rust has developed inside the centre stand pivot tube (left). Once that was scrapped out with a hacksaw blade it fitted in with some hammer aid, but even with a good greasing I get the feeling that pin may be in there for good.

cbxbash-19
cbxbash-16

The RHS stainless cat cover (left) lined up just right – 10/10 for bend and cut – and the steel plate was ready to swing up into place to be bolted in place with the replacement front engine mounting bolts supplied. RHS bolt went in OK but on the left it was 5mm ahead (above right). Seems ‘they all do that, Sir‘ and some tactical levering with a hammer handle sorted the alignment to get the bolt in without cross-threading the engine’s alloy which would be deeply vexatious.

cbx-bashside
xtank7

I’m not quite sure what the separate plate behind the side stand is protecting (left). Something to do with the shifter linkage? That’s reasonably well protected by the side stand mount and held on with a single bolt the plate looks a bit flimsy to do anything substantial, assuming it’s trying to be similar to plates which Erik Bok makes for X bikes (right).

tr-waterbot
cbx2-bash

All up that took about an hour, plus another hour of going back and forth to the house to get extra bits and pieces, but I’m confident that any rock that dares to intimidate the steel base of this plate will end up with quite a headache. I did a 100-mile run and was pleased to noticed no resonance as you can get with some slabby bashplates, and the handy bars mean I can attach my ‘signature’ ammo pouch.


Rally Raid wheel wrenches

My bike came with no tools, even though the (used) test bike I rode in January had a set under the seat. Odd thing is they’re not even appearing on ebay or listed anywhere and word is some CB-X markets get them and some get nothing more than a hex key with which to pick your nose. Not even a C-spanner for the shock. It’s a bit like a car not coming with a jack. I know we know OE Jap tools aren’t exactly Snap-On Platinum Line but you do wonder if there’s some autistic bean-counter at Honda who isn’t able to fully appreciate the ill-will caused by absent tools with the tiny cost of sticking some under the seat. But we’ve been hearing this ‘spoil for a hap’orth of tar…’ business for years.

Rally Raid’s hard-working laser cutter to the rescue: two double-ended ring spanners in 2mm zinc coated steel (left) to cover all fittings for front and rear wheels and even a spoke key for the optinal wire wheel.

RRPspans

Windshield Adapter

cbx-beforescreen

On the CB500X forum there’s  a  l o n g  thread on screen options, and one thing you’ll soon learn is that what’s sauce for the goose is something else entirely for the gander. Some riders say stock is best, others find an aftermarket screen to be perfect/terrible and others even claim the bike is best with no screen at all. Well that just about covers it all then.

cbx-palmersid

My bike came with a taller Honda screen installed which at 17″ (430mm) high x 15″ wide (curved) is OK but leans too far back (left). I can feel the air hitting the top 4 inches of my lid but I can’t say it’s unbearable buffeting or especially noisy. Let’s face it, I’m riding a motorbike not reposing in the back of a stretch limo listening to the Chemical Brothers. The bloke of the woman who sold me the CB-X suggested spacing the top mounts out by an inch or so to set the screen more vertically. It’s the sort of bodge I’d do without thinking on an old hack, but let’s try and keep this relatively new Honda looking proper for a while.

cbxbash-02

After reading that thread it seems to me that screen adjustability is the key if the goose and the gander are to be accommodated. There’s much more choice out there for CB-X windscreens than bashplates, from the likes of Givi, Puig, MRA, Madstad and others, some of them with fully adjustable mounting brackets. But because my screen is tall enough but just at a bad angle, I figured all I needed was a repositioning frame and the thread mentioned just such a thing: an adapter kit by Palmer Products who make them for dozens of bikes, and other stuff besides. Never heard of Palmer until now but their adapter fits between the OE screen and the fairing mounts to give three heights and three angles. Added to the Honda’s high or low position, that’s 18 possible positions. The full kit weighs 520g.

cbxbash-01
cbxbash-07

It took only 20 minutes to fit, reusing some of the Honda bolts despite a full set of fittings supplied. I paid extra for the knobs option to be able to adjust without tools, and in black rather than bare steel to perhaps make it less obtrusive on the move. With an accessory bar (not fitted yet), that came to £116, quite a lot but all nicely powder coated, well made and fitting right.

madstad

In the end I set mine up on the higher Honda level and then height 2/3 on the Palmer and 3/3 fully forward. The Palmer system looks broadly similar to a Madstad I saw recently at an overland show (right – a bar-mounted kit; they do CB-X too, see link below), but has indexing notches to give the three height and forward positions (though I suppose you could position between notches if you wanted). As it is with a US-made Madstad you have to buy their screen, costing over £200 although the few comments I’ve read not surprisingly rave about it because of the fine tuning.

cbxbash-11

I’m off on a long ride to far north Scotland next week and hope that before I arrive I’ll also have found an optimal position for the PP adjusted screen. More news about how it fared later.

Other bits lying in wait for the CB-X include a pair of fat Renthals to go with the RRP triple clamp when that gets in, and some RRP fat pegs which they kindly chucked in with the plate after John put me off some Pivot Pegz I was going to try off Adventure Spec. Right now I’m still enjoying the Honda’s  non-pivoting rubber-capped units but in the dirt they say wide platform pegs are the way to go and as part of my mission is to try new stuff, new stuff I shall try.

London to Ullapool ~ 777 miles later…

cbx-byrness

Even before I got to the end of Park Lane (a rare 40mph road in London) I could tell the Palmer wasn’t going to transform my ride to like sitting in the back of a stretched limo. Later, out on the A1 it didn’t feel much of an improvement, but as the OE screen wasn’t bad, this wasn’t bad either.
Good impressions (or indeed a comparison)  weren’t helped by the fact that I was now wearing my cheaper, noisier and more rattly Bell Moto 9 lid and not my X-Lite. And I keep forgetting to use earplugs.
At one point in the journey I moved it from Palmer height 2/3 and 3/3 fully forward to ⅔ and 2/3 – in other words angled a little more back. Well that didn’t make things worse so I’ve left it at that. The screen catches most bugs but a few still get to the visor – same with rain drops so the visor’s not out of the airflow which you’d think is the point. And the screen feels far forward for it’s slim width. The arms and shoulders catch some blast but, as has been said, I am on a motorbike. Later I noticed that over 70mph the flow does go right over which would suggest re-steepening the angle to 3/3 to make it do the same as slower speeds.

cbx-screener
cbx-cropper

Interestingly, a quick scan on ebay found a CB-X for sale and though he doesn’t mention it, at some point in 5000 miles of commuting he added some crude angle brackets to space his short OE screen forward an inch and at the same time raising the height a bit.  So there must be something to it. More experimentation is required with the Palmer, or just accepting I’m on a bike and remember the earplugs to retain what’s left of my hearing.

post
80mpg

Other observations: helped a little by an Aero wool pad, the seat actually supported a 520-mile day. While doing 70mph where possible and down to 50 in traffic, the mpg was 80, with the odometre some 3.2% over (measured against roadside PKs (right) over 20km. So that’s a true 78mpg. And all in all, a great machine that’s about to get even great-er.

cbx-sunnyscot