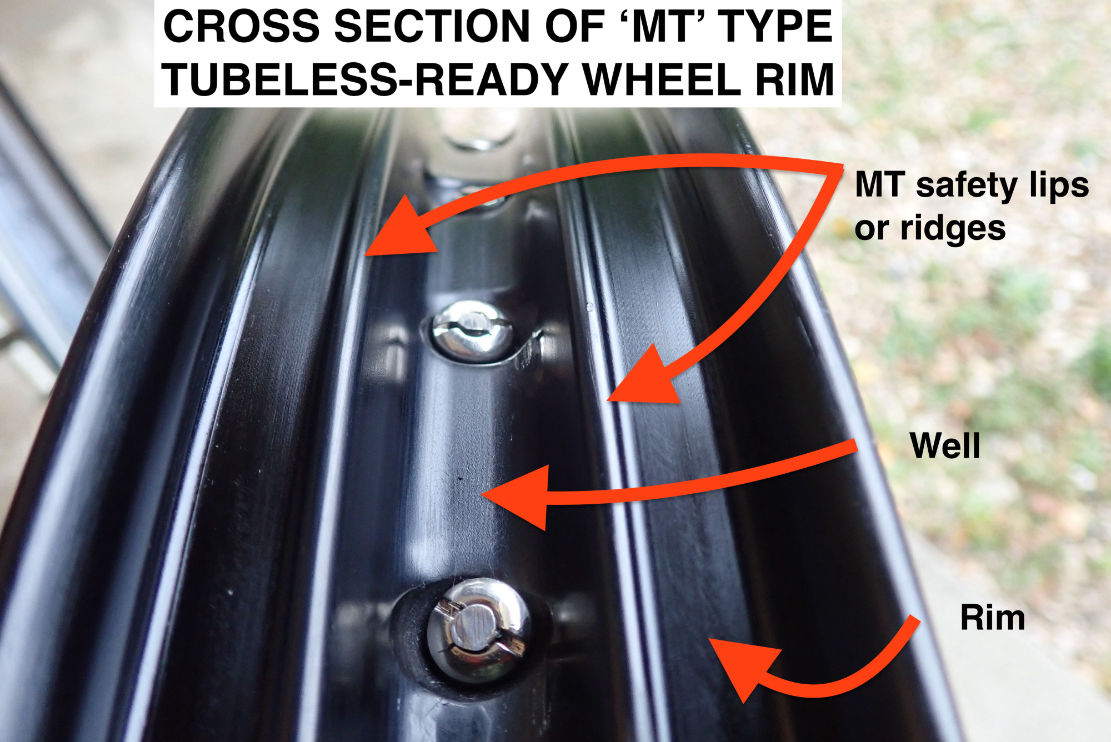
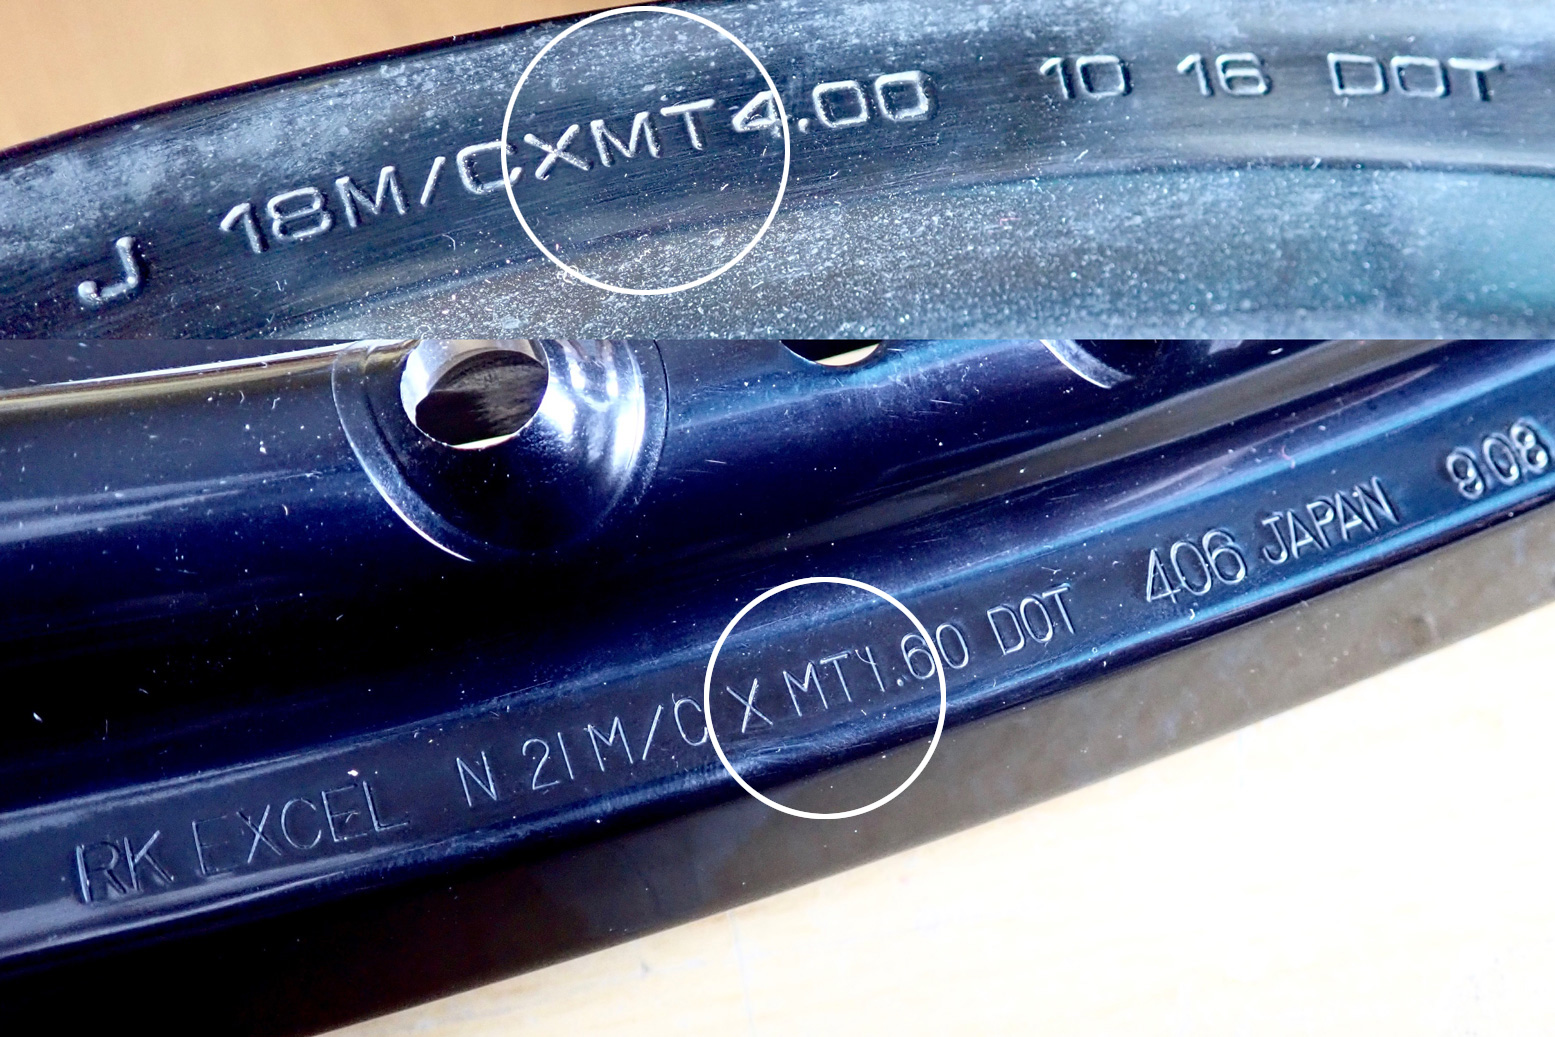
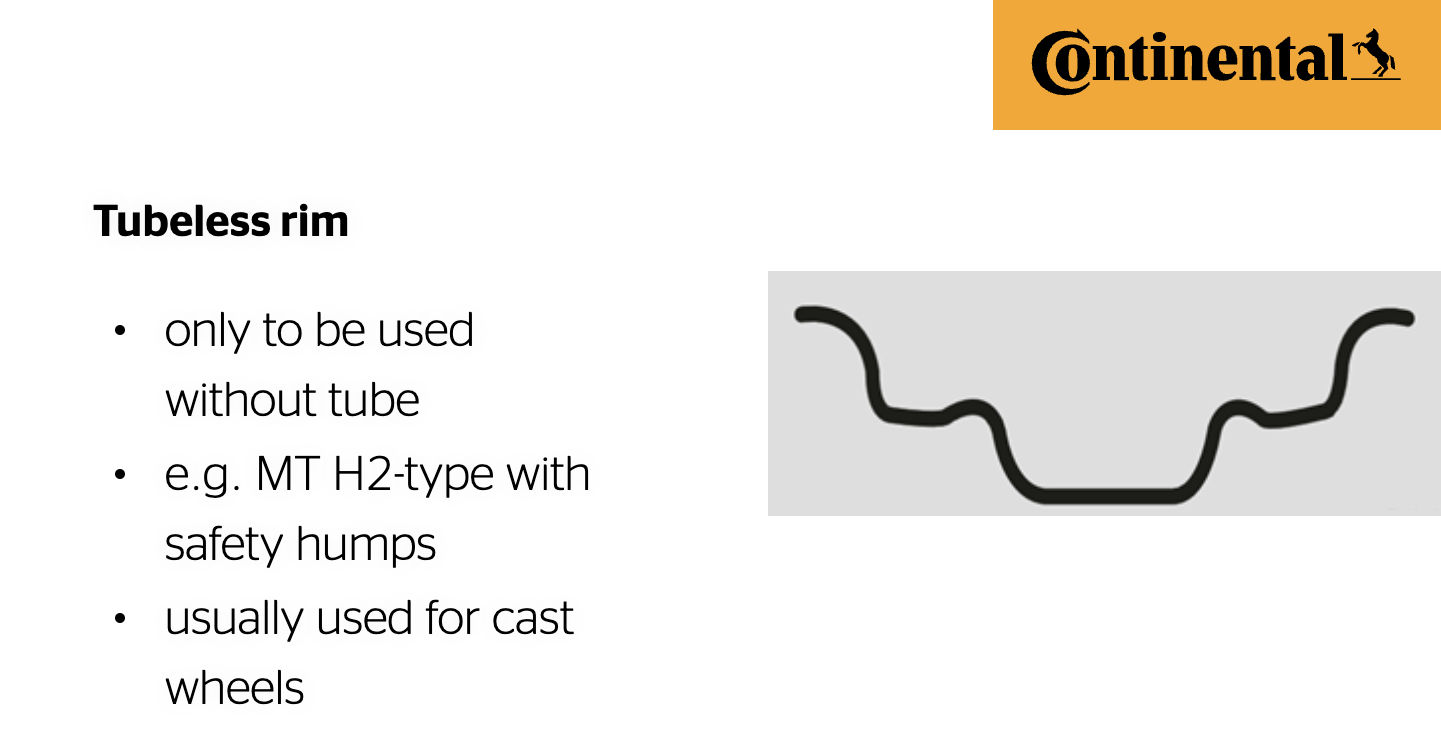
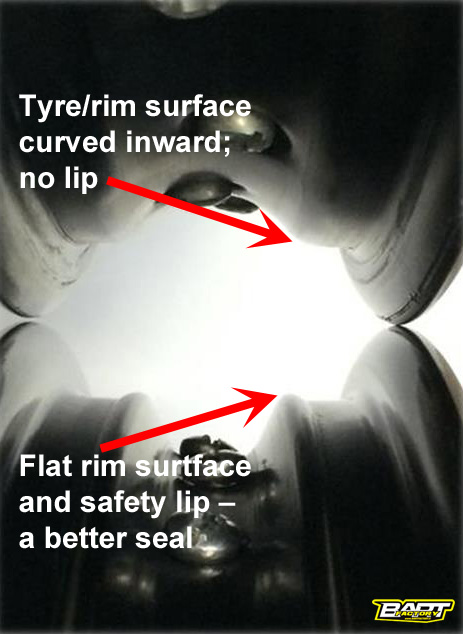
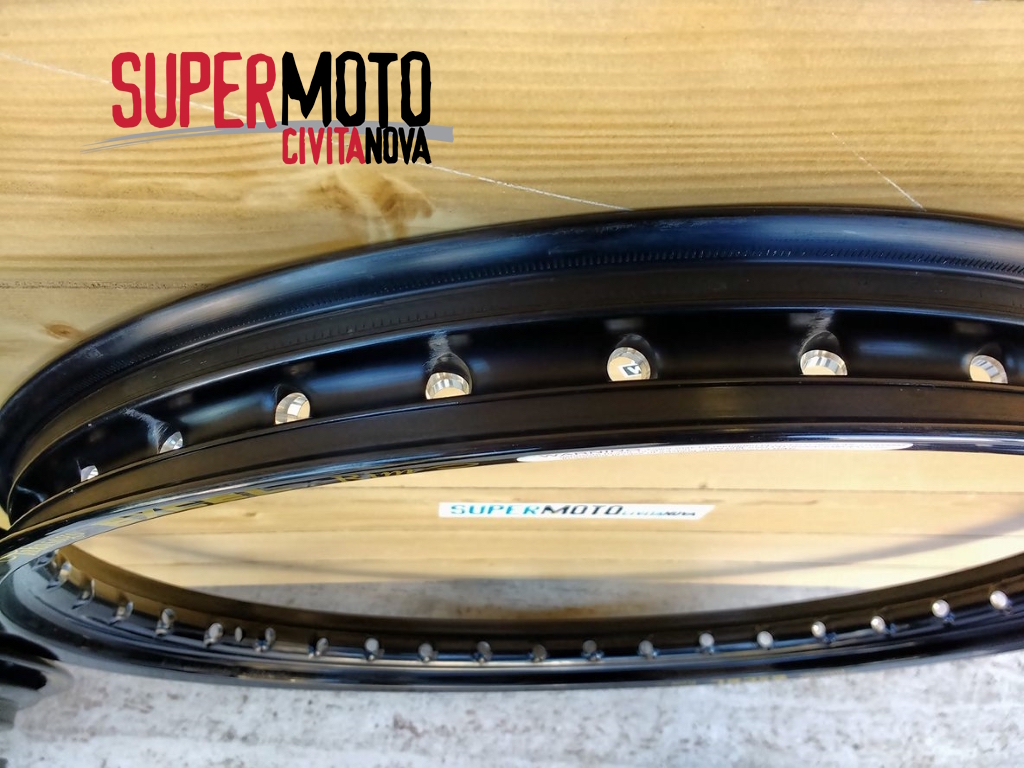
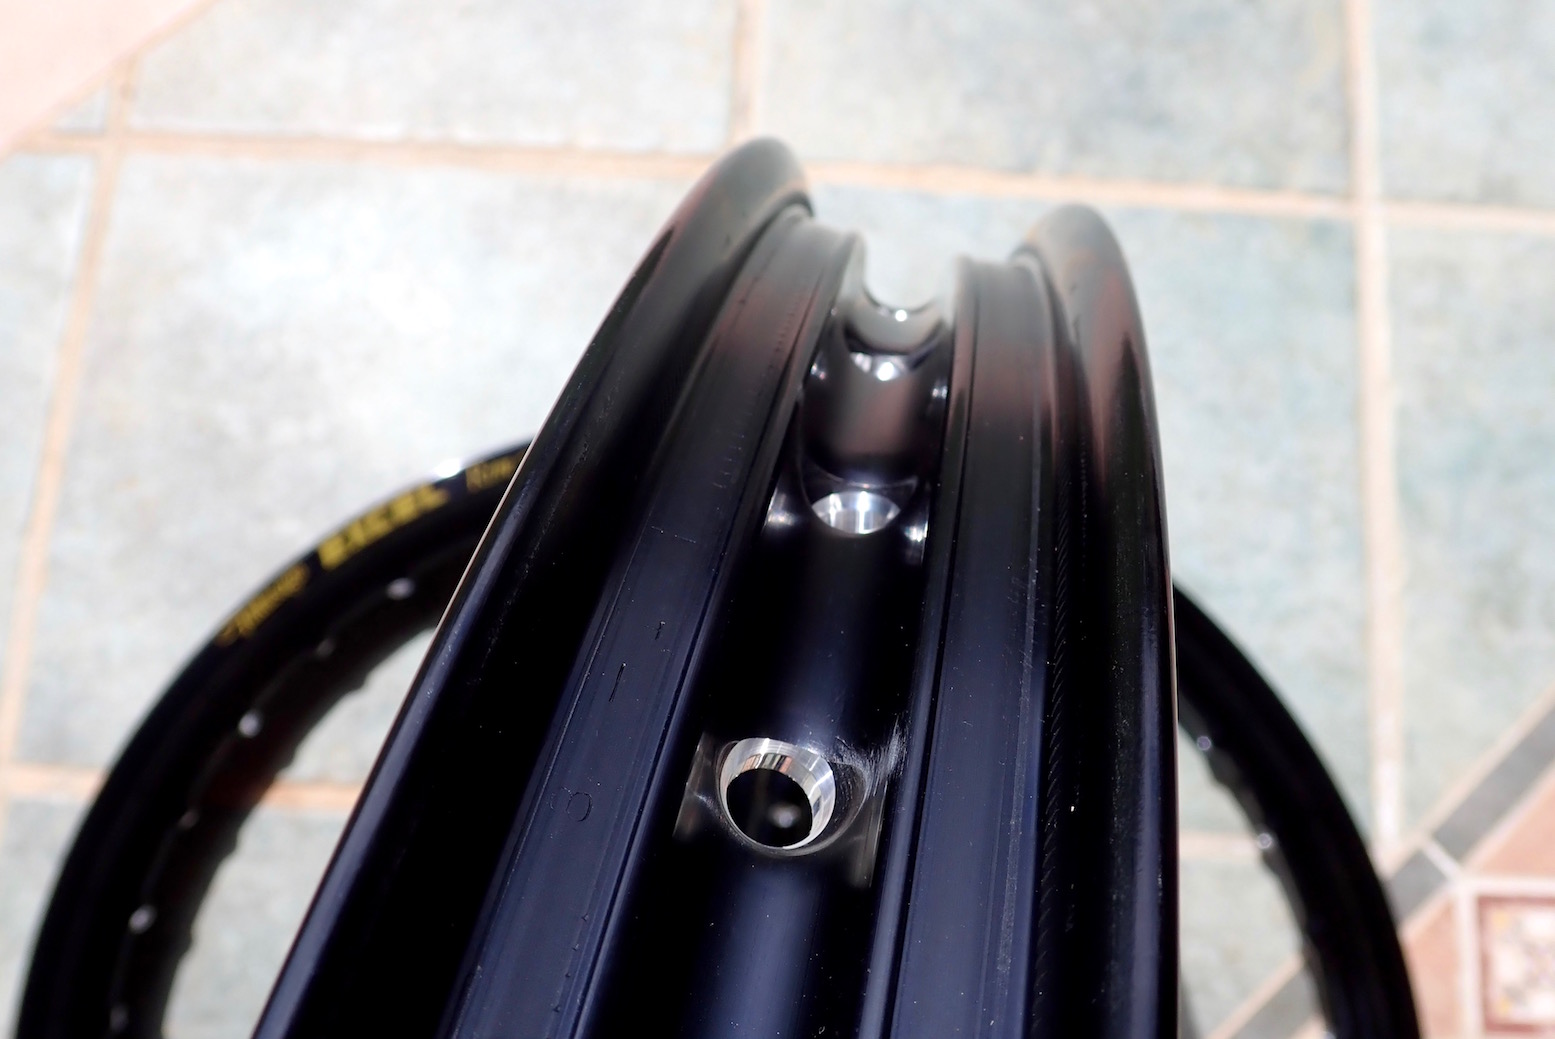
Tubeless rims are usually cast wheels with a lip or ridge (left) to help locate and seal the tyre bead securely on the rim. This lip is also considered a safety feature which stops any tyre coming off the rim should the tyre deflate on the move. In my experience, it works. You will feel the softened tubeless tyre long before it comes off the rim and can keep riding slowly without it coming off. These ridges have been a feature on the rear wheel only of some tubed motorcycles since the 1980s.
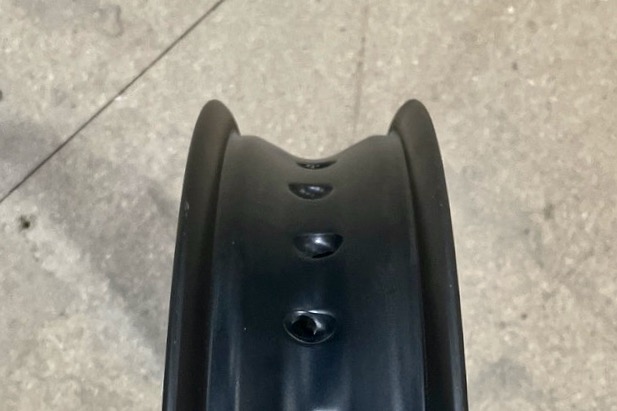
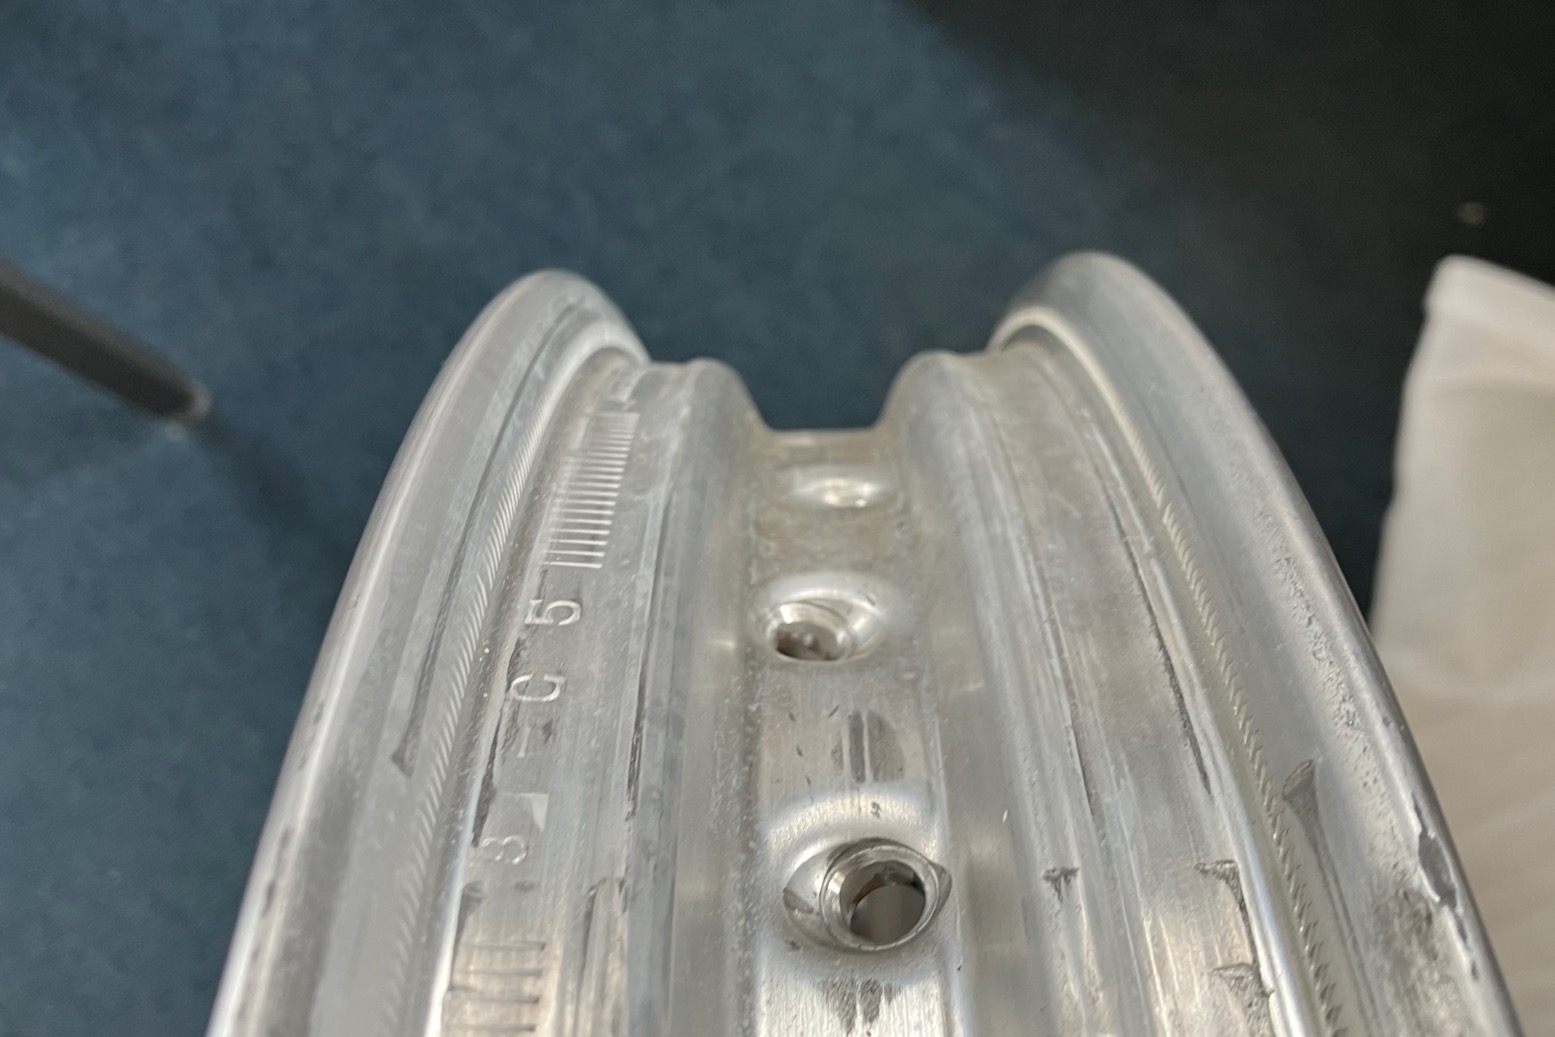
Unbranded, unstamped ‘WM’ no lip rimMT stamped Excel lipped rim
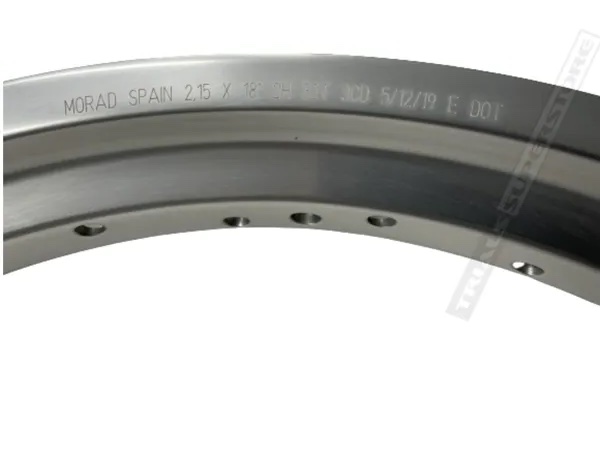
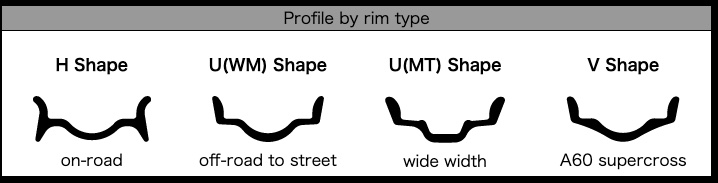
The ‘MT’ or ‘2H’ (‘H2’) rim code Spoked rims with the safety lip suited to TL tyres are often stamped ‘MT’ on the rim, as opposed to ‘WM‘ or nothing, but usually only by Asian rim brands like Excel Takasago, but not SM Pro. As said, even bikes running inner tubes may use an MT-type lipped rim (which questions the claim that ‘you can’t put a tube in a tubeless rim’). European brands may use ‘2H’ (‘2 hump’) to mean the same thing, as with the Motad wheel below right who now own the Akront brand.
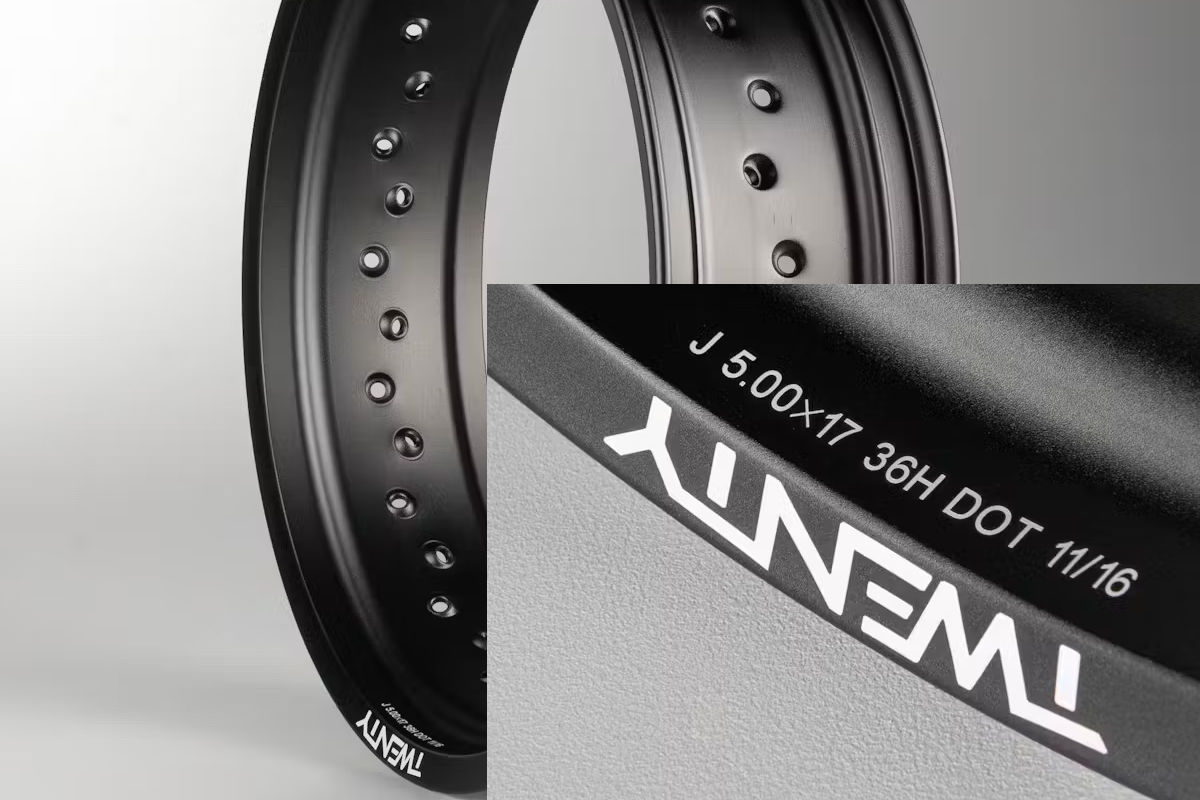
But as AD comments, his 2005 KTM’s German Behr rim (no longer made) was stamped MT but has no lips, so … [not] all MT-code wheels have the safety lip. What’s more, other rim brands like Twenty (below left) may have the lips but don’t use any discernible code on the rim. The only way to know for sure is to verify the profile of the rim.
Twenty: no code but lippedMorad: ‘2H’ code for a lipped rim
This lip also makes removing and mounting the tyre difficult by the roadside if you need to repair an inner tube. It varies from bike to bike and tyre to tyre, but with tubeless you only need to remove a tyre to replace it when it is worn out (or destroyed), not to fix endless punctures. And unlike punctures, fitting a new tyre is usually done at a time of your choosing and in a tyre shop which has the know-how and tools, including a powerful compressor and lube to force the new tyre over the lips and into the rim’s groove with a nice ‘pop’. See this.
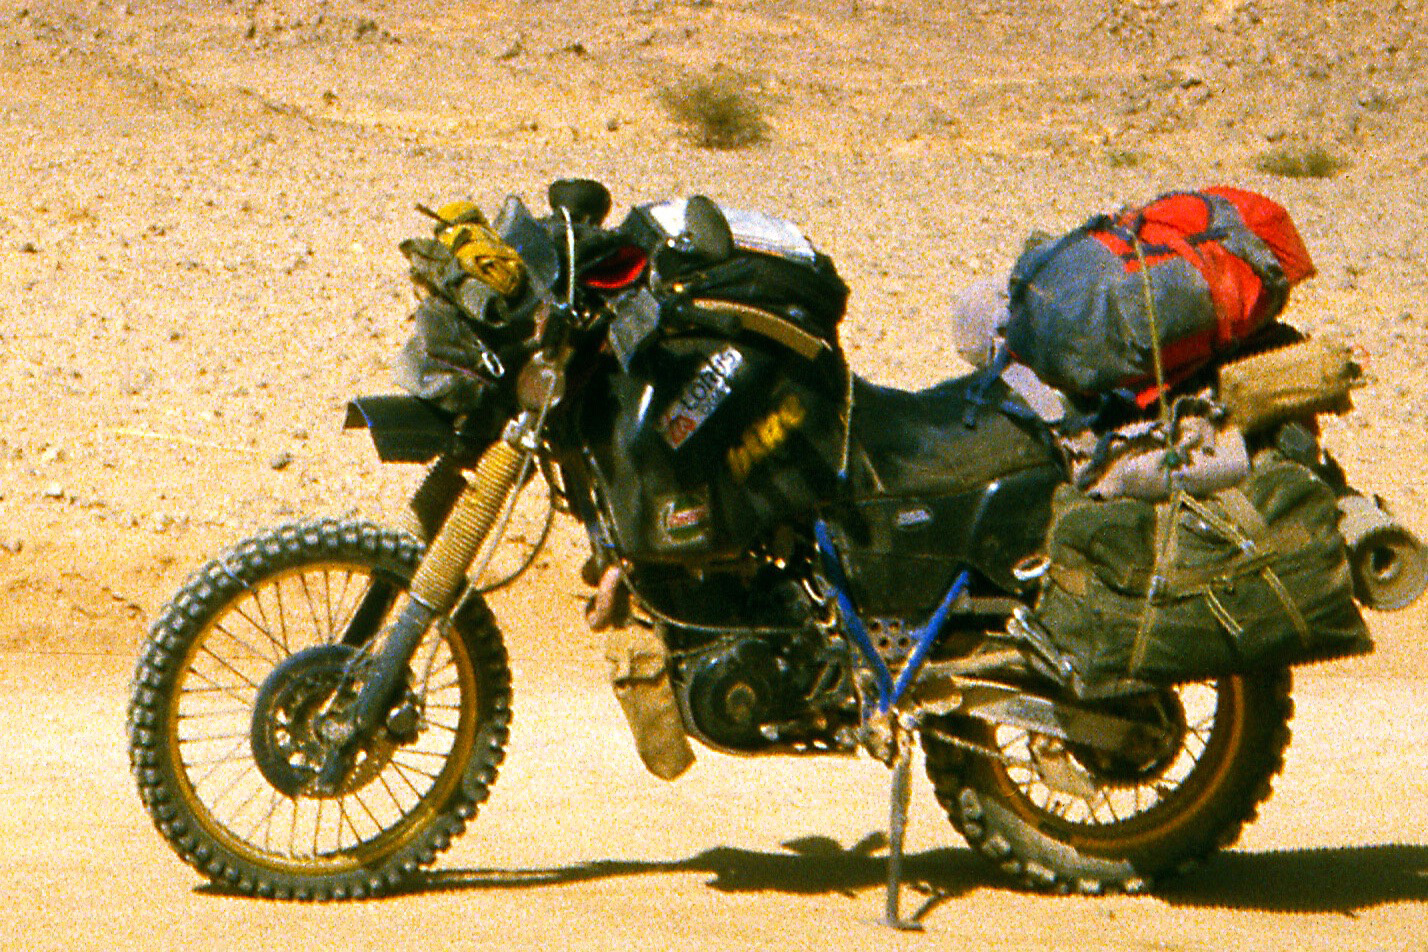
For years and years bikes running tubes also have this safety lip, but never on 21-inch wheels. Old Yamaha XTs like the one above had it on the rear wheel. Out of interest, this disproves another tubeless urban myth: you can only stick a tube in a TL rim to ‘get you home’ because it will eventually rub on the lip and explode with terrible consequences. Well, clearly not on a stock tubed ’86 Tenere with a lipped DID rim (above). I know because I remember putting that bike on a crate with the rear tyre removed, sticking it in gear and ‘hand-lathing’ off that safety lip with a chisel so that I’d not get stuck in the desert trying to break the bead to fix a flat. And as importantly, remounting it with – back then – just a bicycle pump. All this faffing is why we like tubeless!
2008 XT660Z, heavy MT rear wheel but came with tubes
But to convert spoked tube rims to tubeless, these lips are an important safety attribute. My 2008 Tenere (above) had them on the back wheel. The front rim was normal which is a risk when converting to tubeless. But can it be any worse than a tubed tyre puncturing? Tubed tyres deflate faster and therefore more dangerously than tubeless tyres, so even without the safety lips or humps on the front, with tubeless you’re already ahead. But, as I found, with no lips you may get slow leakage along the seal. These days I would not convert any spoked wheel which did not have these lips (usually OEM 21s), even if it gets expensive.
Pictured left: the top ‘WM’ rim has no sealing lip; the lower ‘MT’ rim does. Note also the angle of the tyre bead–rim interface; the lower rim with the lip is flat which helps make a better seal and keep the tyre bead in place. The upper lipless rim slopes into the well making it easy to mount by hand, but it won’t hold or seal a tubeless tyre half as well. My 2008 Tenere front-wheel sealing problems were because the rear wheel was like the lower rim – good for tubeless. The 21-inch front was like the upper rim; less good seal.
21-inch spoke rims with safety lips
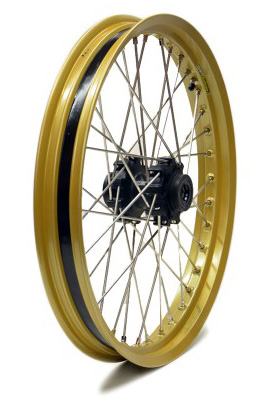
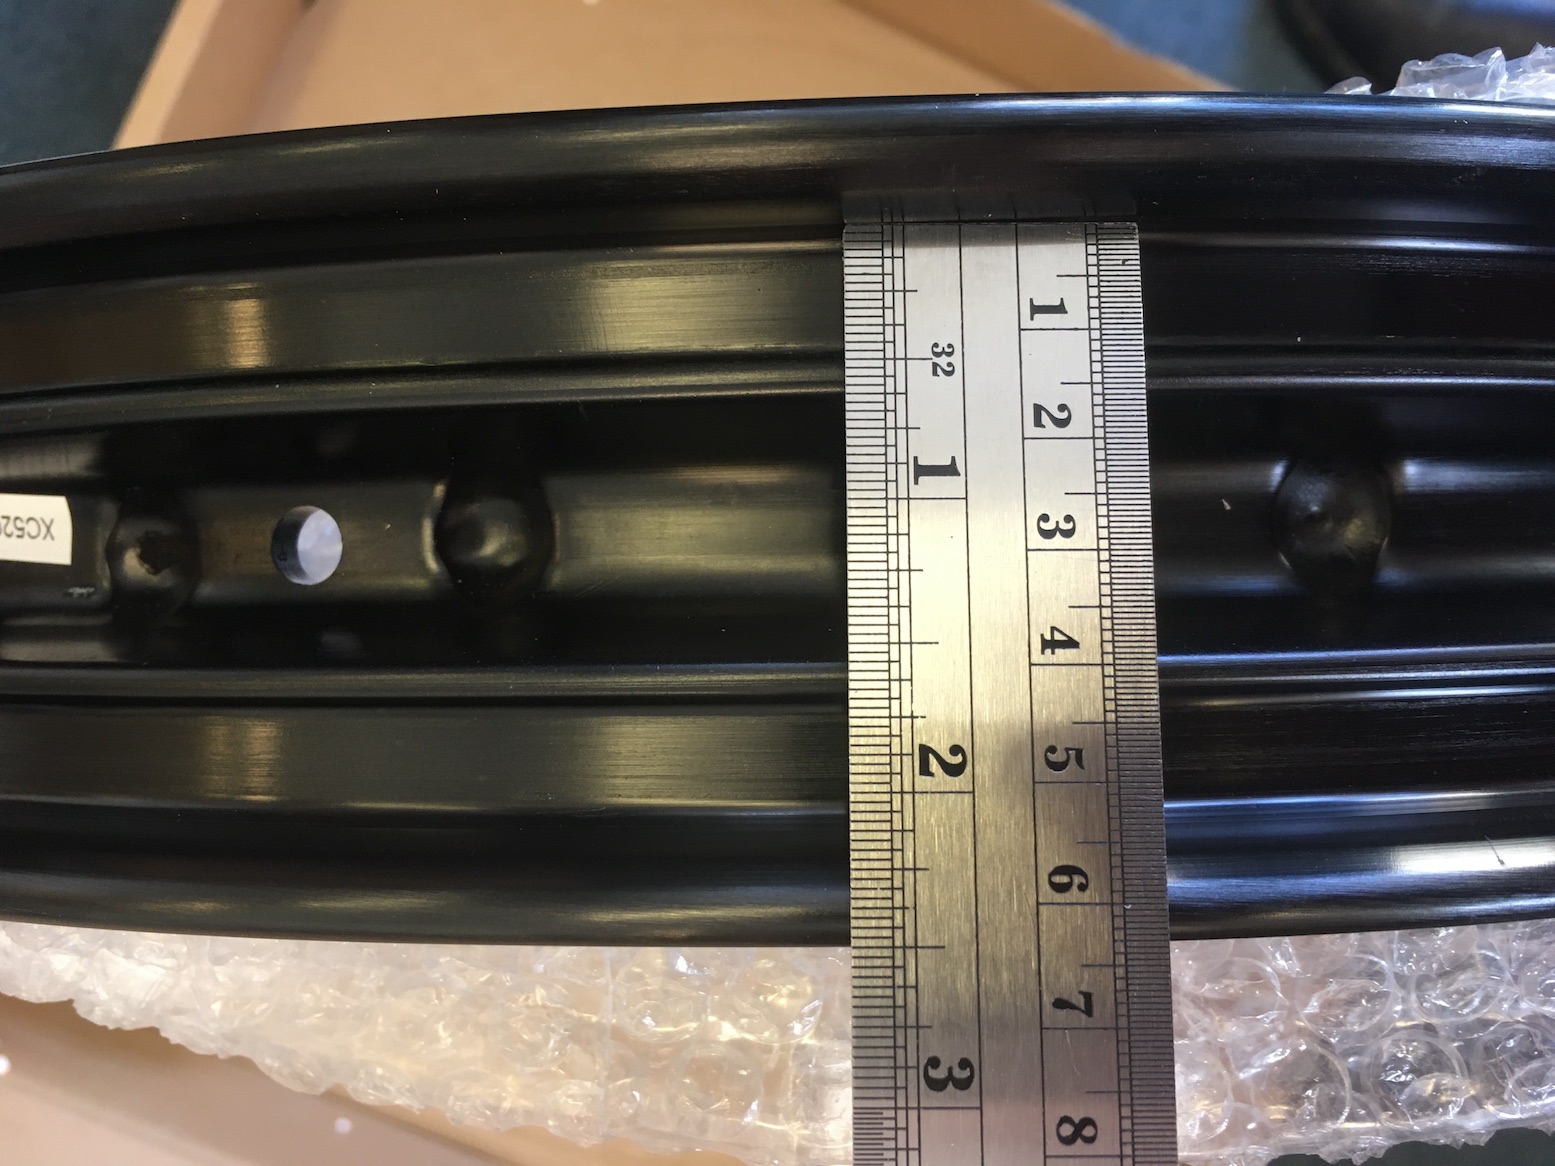
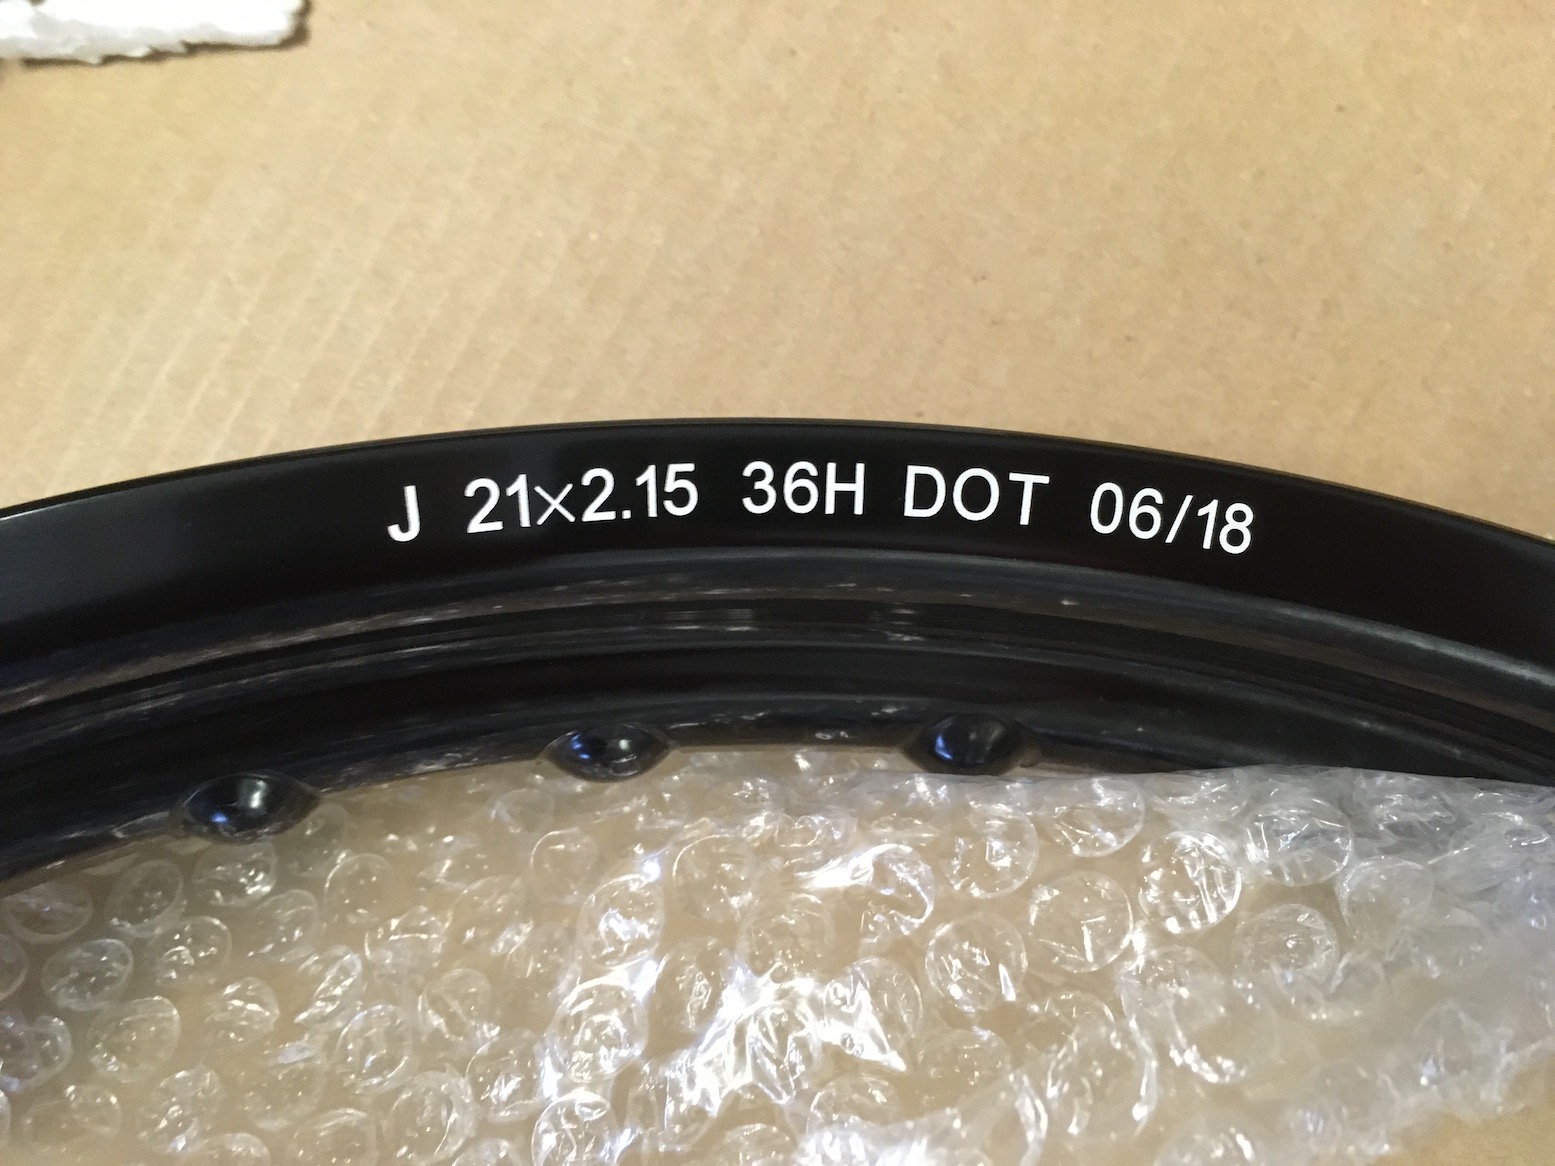
I spent weeks online tracking down a 21-inch alloy rim with the safety lip suited to converting to tubeless. They used to be rare, but not anymore it seems, as OEM spoked tubeless wheels become a ‘thing’ on adventure bikes. Taiwan-based Giant (or GLM) is the biggest bicycle and motorcycle rim manufacturer in the world. They make such a rim in ‘big bike’ 2.15 width with 36 holes (bigger BMWs have 40; lighter trials bikes have 32). In the UK Central Wheel Components sell them for £111 (2.15kg) + 24 quid to anodise. It may be branded SM Pro (see bottom of the page). Rally Raid use this rim on their own wheelsets with BARTubeless conversions for Africa Twins (left) at a staggering £1500 a pair.
A quote to build that rim onto my Himalayan hub and seal it with BARTubeless (done in Italy) came in at £420. A quote to do the same for my AT: new 2.15 GLM rim £135; S/S spoke set and wheel build £105; Airtight TL band £120; post £21 (£381). Some claim the GLM rim is a bit soft. More research unearthed Japanese Excel Takasago TL rims in 21-inch, but only a 1.60 size (left; p/n ICK408, and below) which is OK for dirt bikes but not adv twins. Talon in the UK import them at £165; I bought a pair in Italy for a lot less and have kept one for a rainy day. This rim has an unusually deep well which should make for easy tyre mounting, even after you’ve sealed it whichever way.
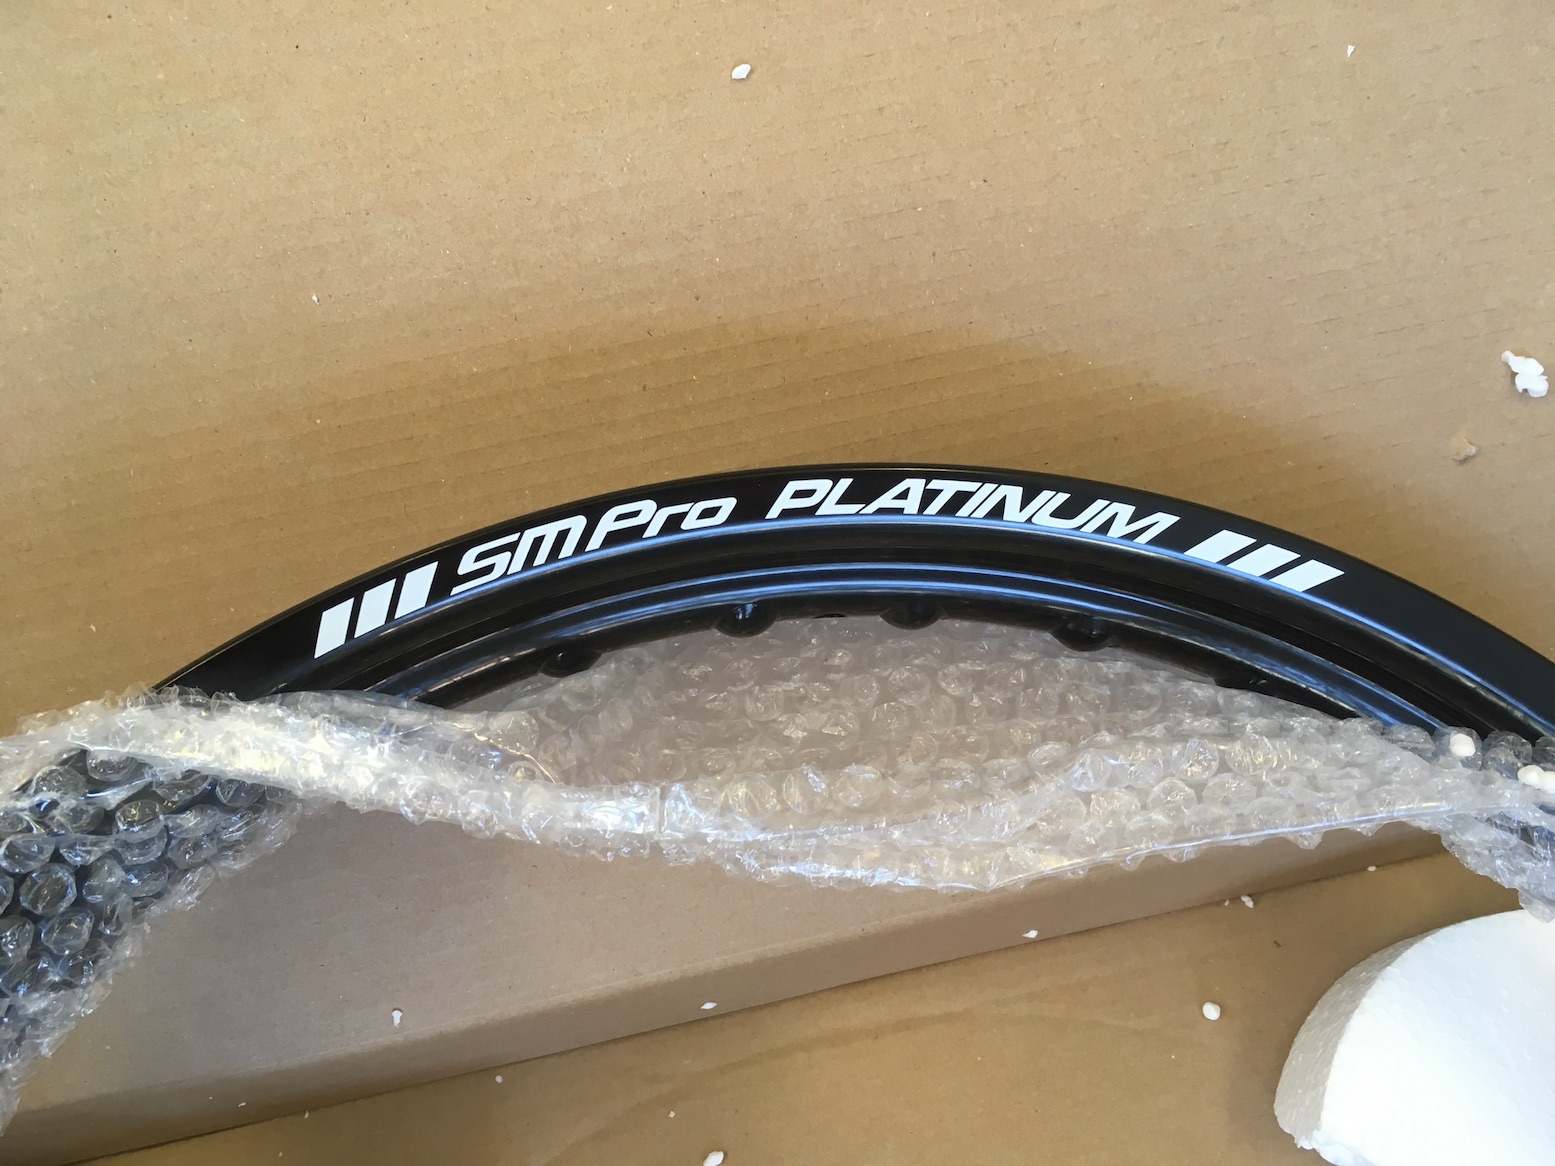
In 2018 there was talk of Excel making a wider 21 x 2.15 suited to bigger bikes and in 2019 it was produced, apparently. And in 2021 a mate bought a 2.15 x 21 SM PRO Platinum from Central Wheel for £135, as mentioned above. So these 21″ MT rims are out there now in black or gold.
While I was busy dodging the winter under the shady mangroves of the Coromandel peninsula, Simon-with-a-workshop quietly worked on my Himalayan, like a gnome chipping away in a pink rock-salt mine. The long list included:
Bolt-ons
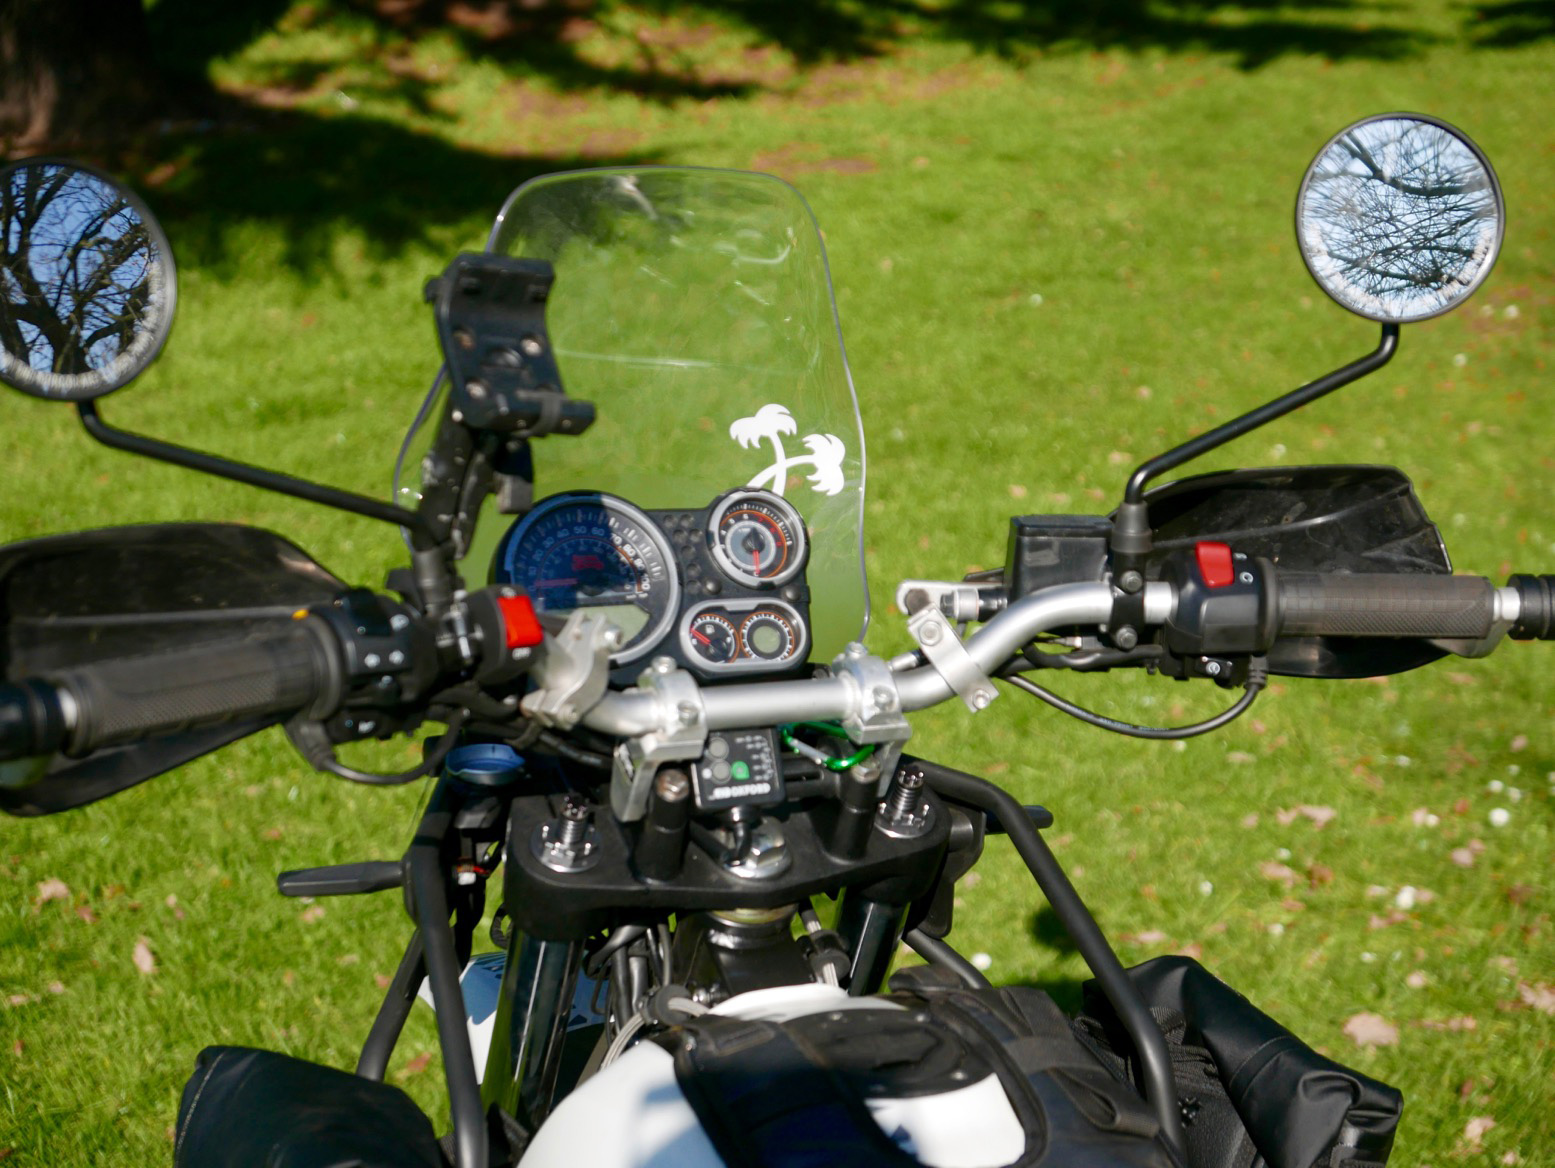
Move the Oxford heated grips control module to an accessible position and rewire it to the ignition, not the battery, as the original owner had done.
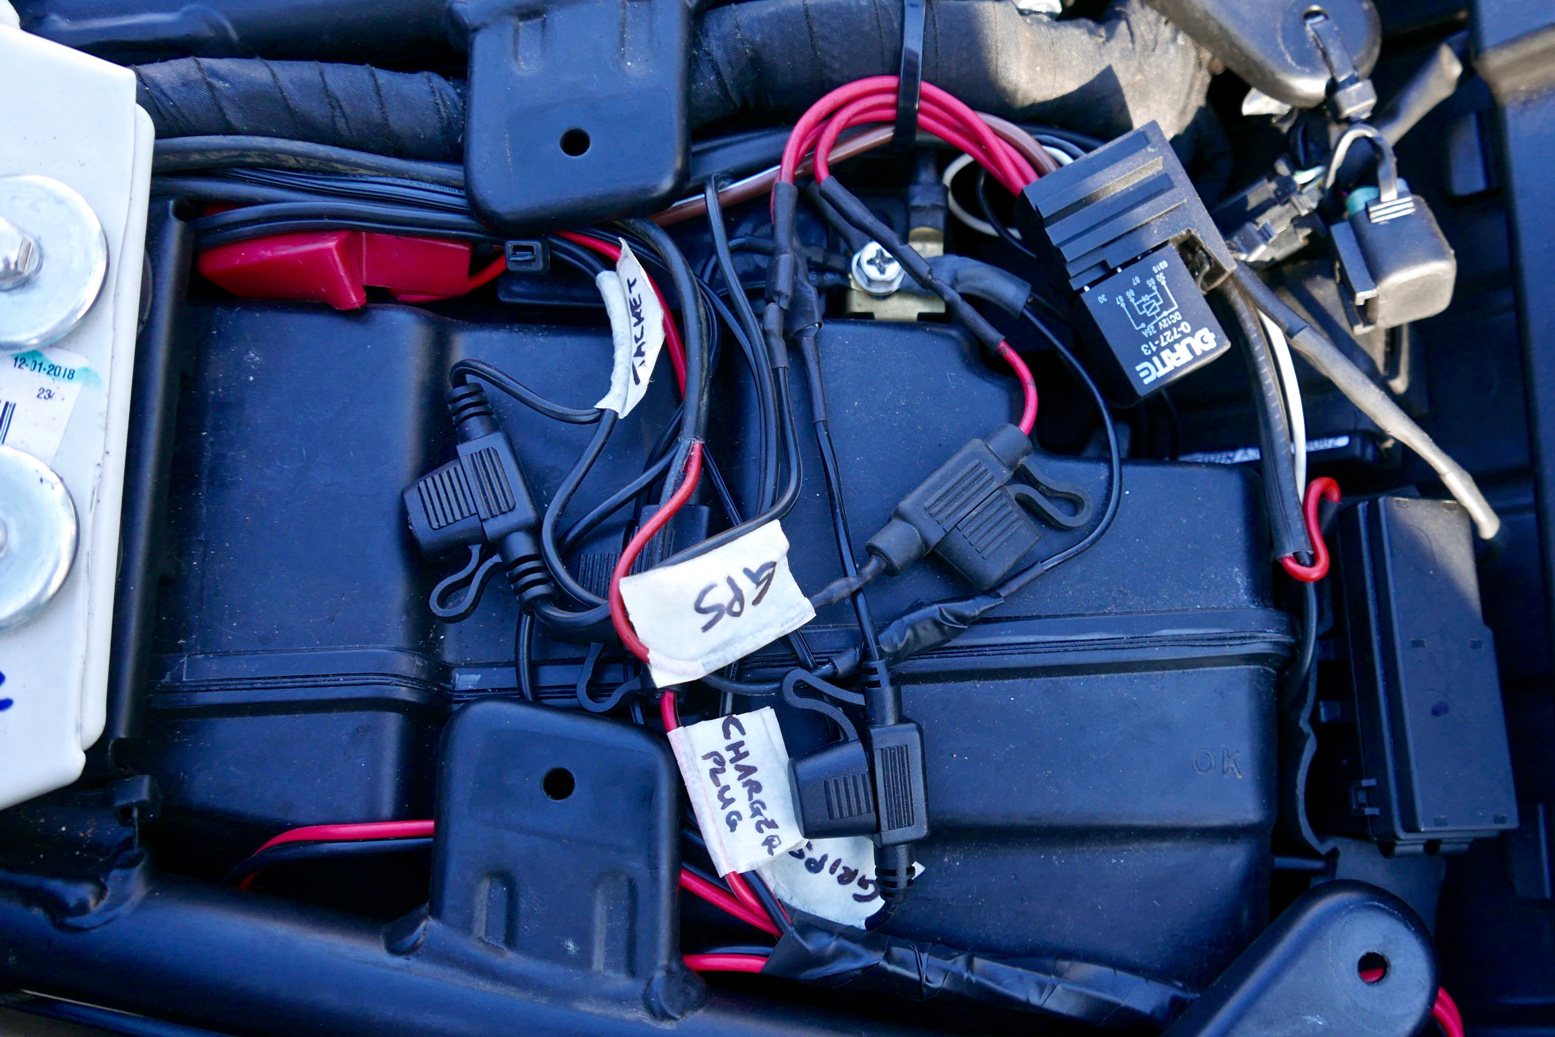
Fitting ancillary leads off the battery for my heated jacket and Cycle Pump/battery optimiser.
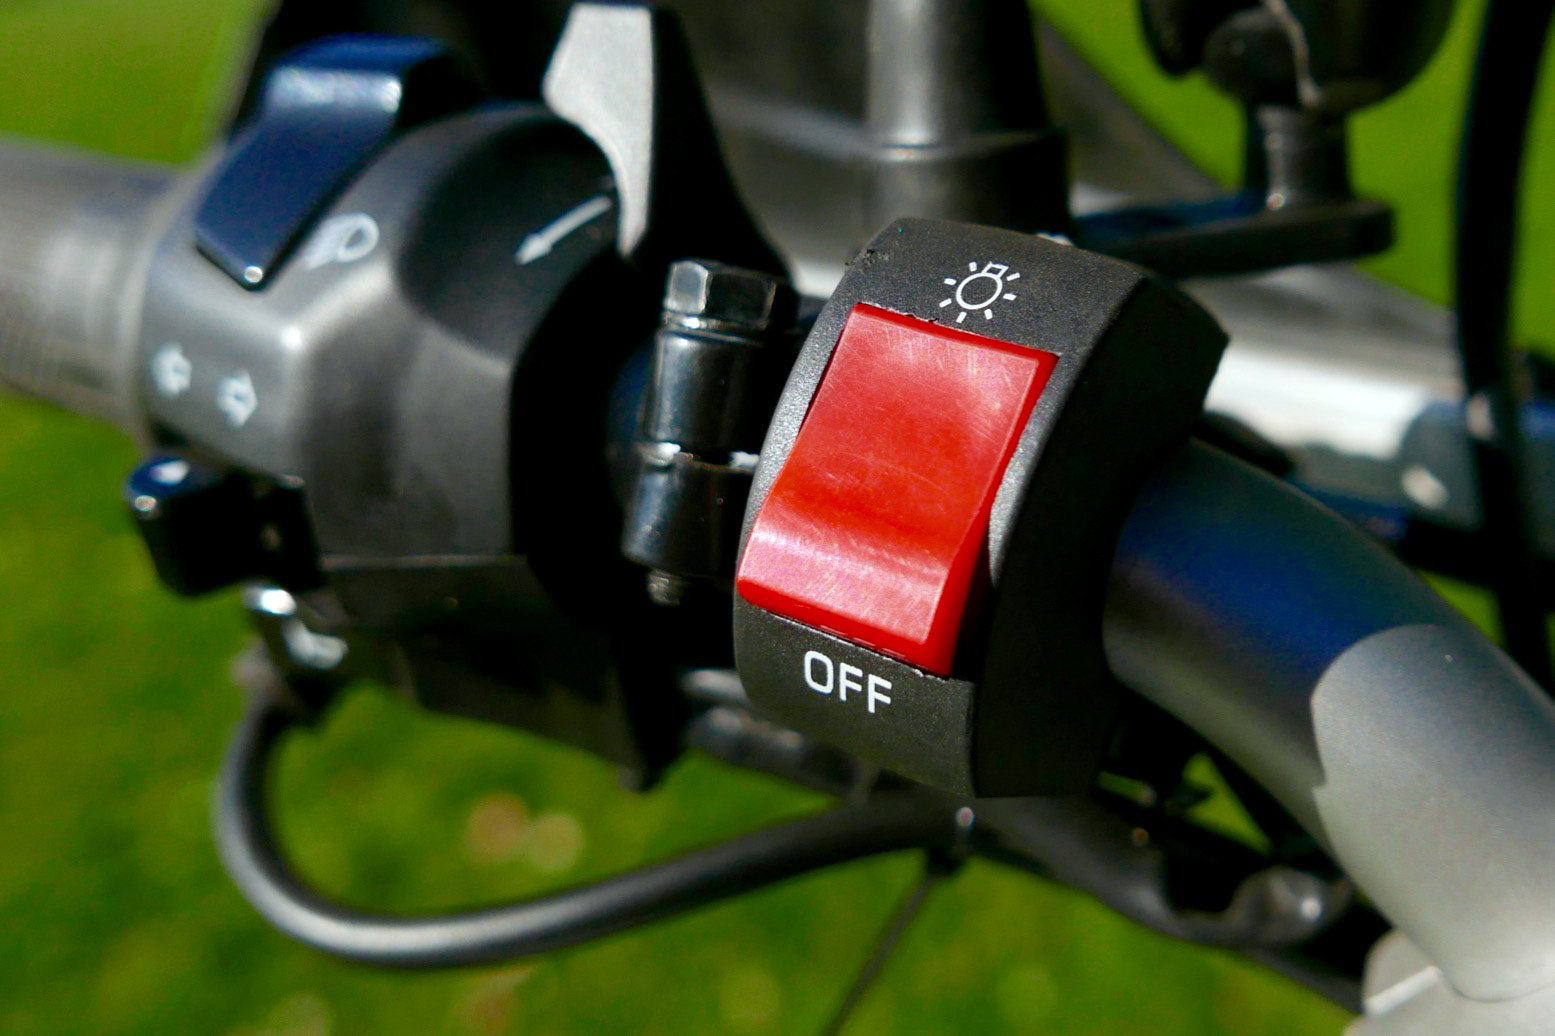
Fitting a switch to kill all lights. Handy for battery saving as well as leaving the highway unnoticed for stealthy wild camping.
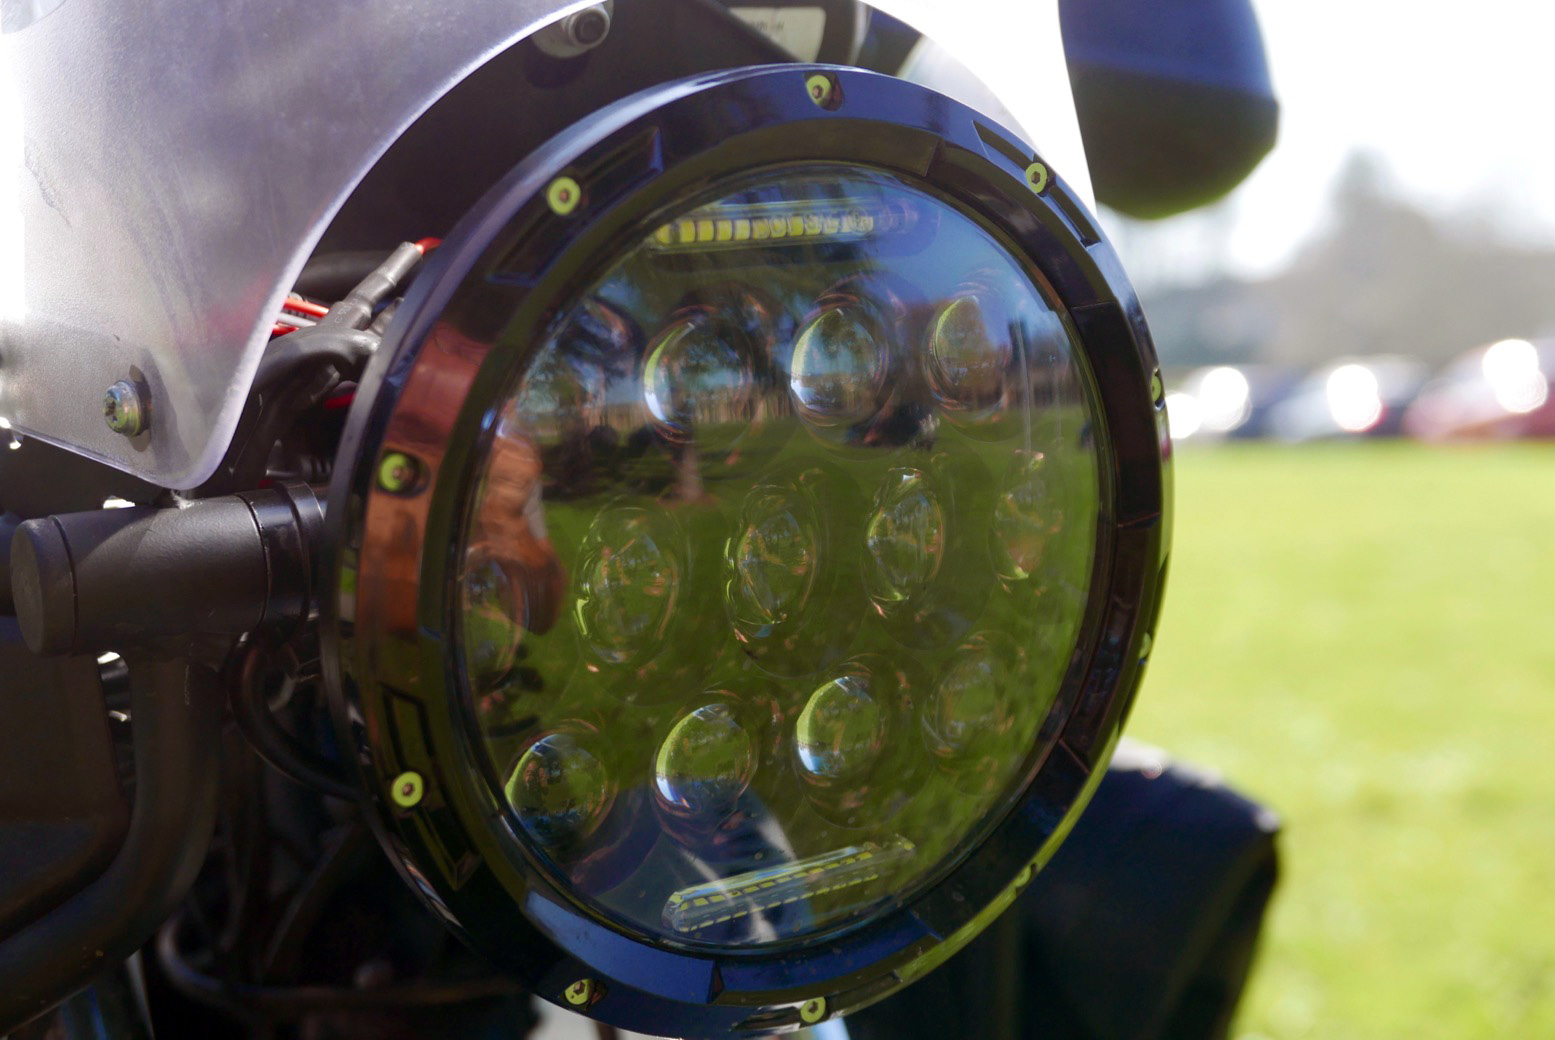
Refitting the cheap LED headlamp which came with the bike. It’s the same one I put on my XScrambleR. Never rode that bike in the full dark but although it saves watts (or is it amps?), I suspect the LED lamp looks better than it shines.
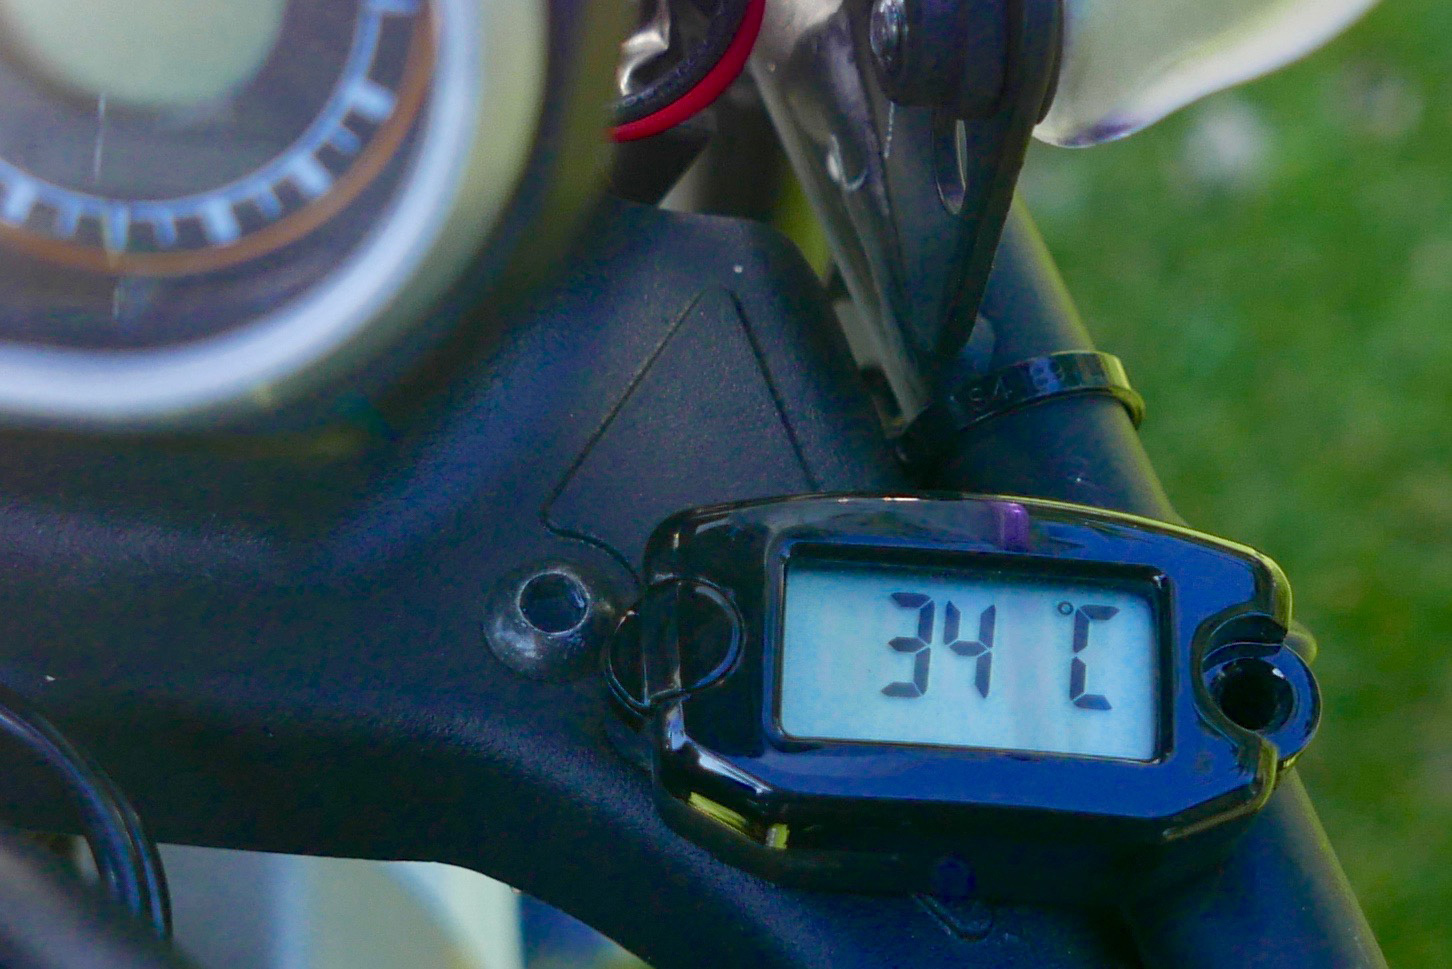
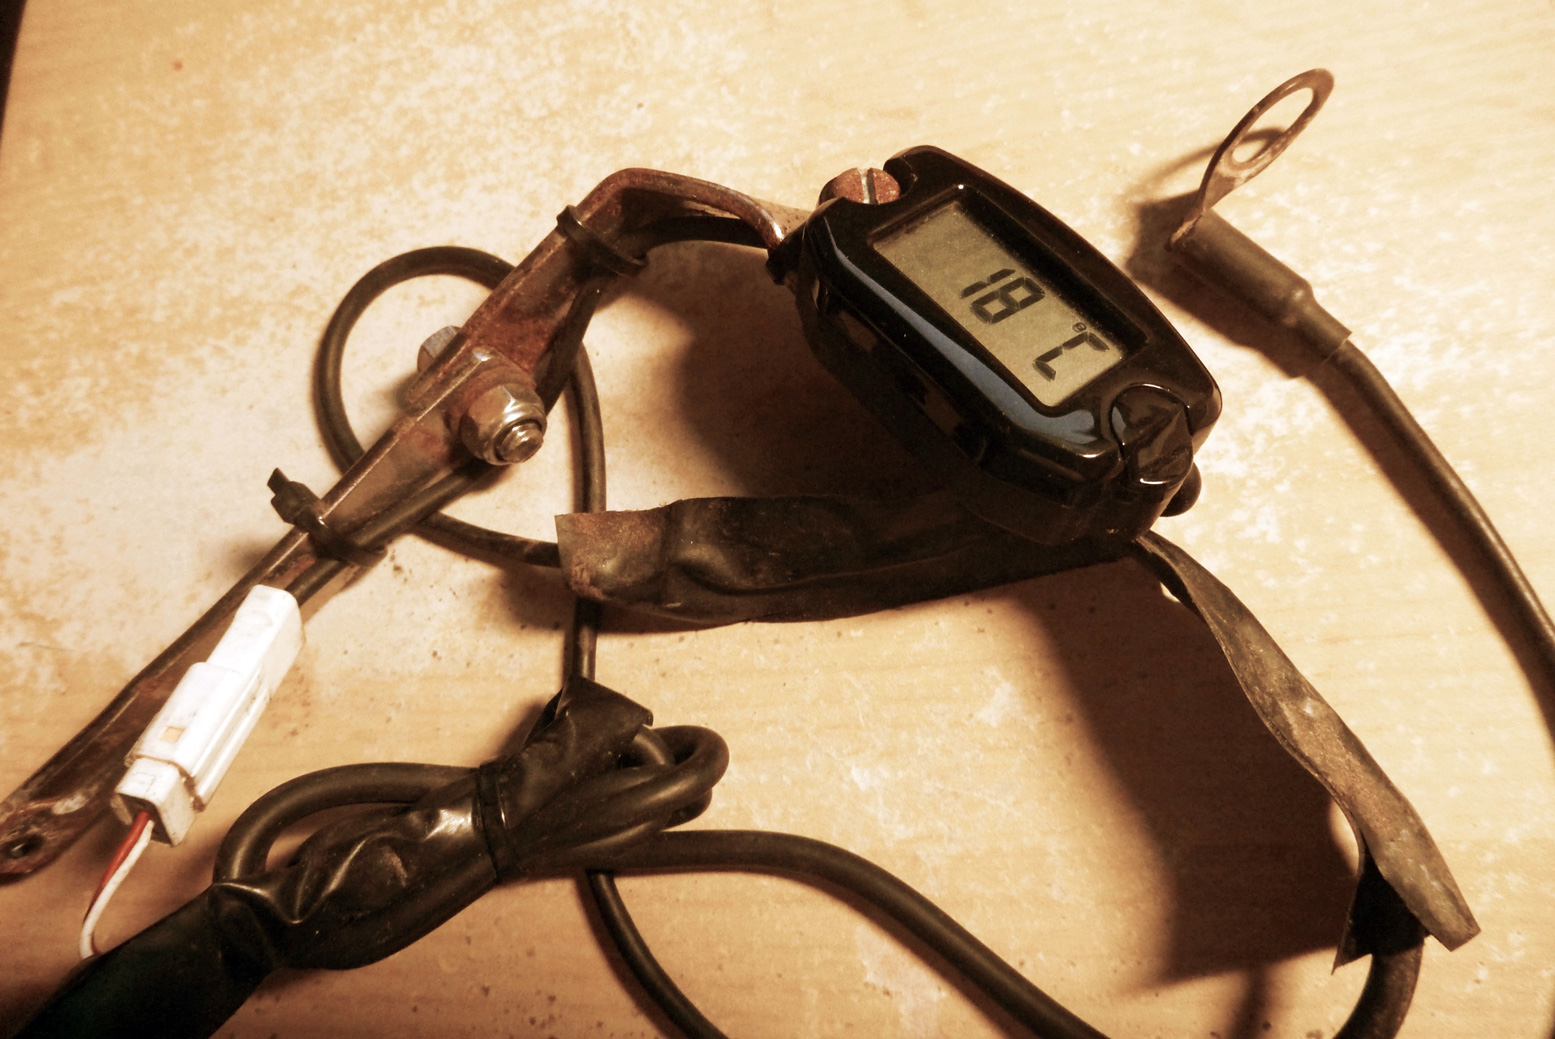
To monitor engine temperature a Trail Tech engine temperature sensor is more useful, accurate and quicker responding than relying on the stock ambient air temp sensor. At a cold start it will show ambient anyway, same as the stock in the dash, but once running, reading off the spark plug, the TTech soon shoots up. Even with the oil cooler and the ‘under piston oil sprays’ we read about, the low-tuned, air-cooled motor’s reading reaches a staggering 240°C at 65mph on the motorway, dropping to around 175°C in town. The spark plug is of course just about at the hottest point of an engine so basically it’s quite normal. ‘They all do that – sir‘. Under the seat the Himalayan’s ambient air temperature sensor got relocated anyway to a position less affected by the motor’s downwind heat flow so it gives a truer ambient reading once on the move. It’s a common mod.
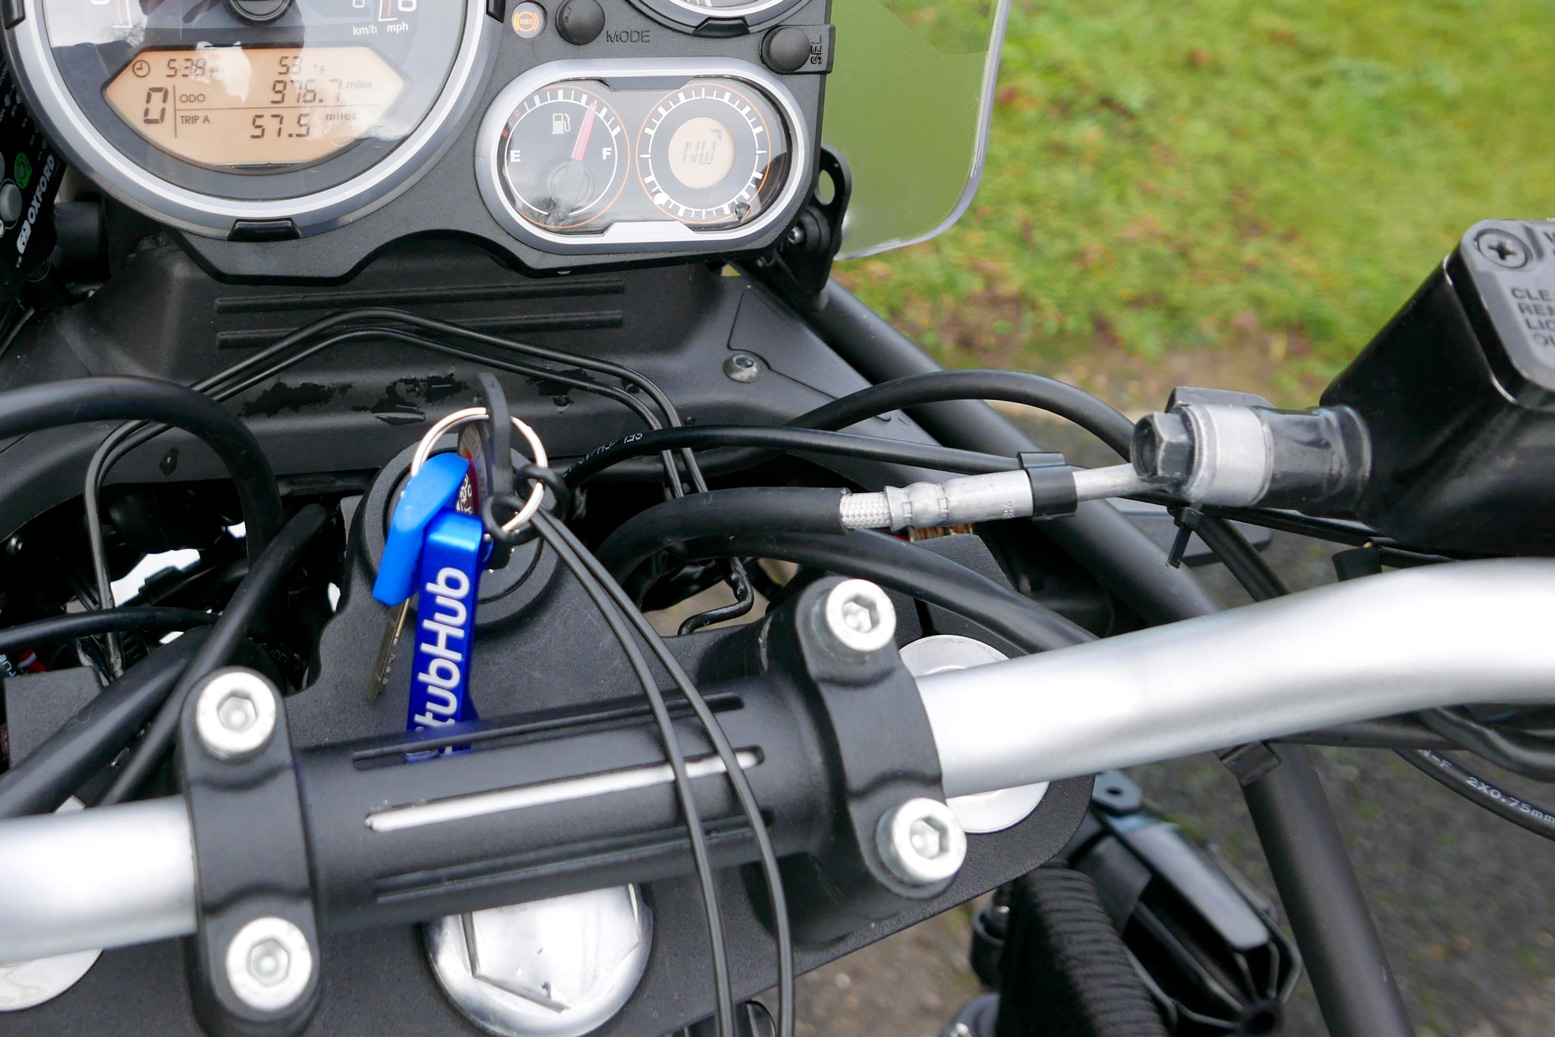
Garmin Montana cradle fitted to left mirror stalk with RAM mounts and hardwired to the ignition. I thought they’d not fit for want of cable slack, but I was wrong and the adjustable Rox Risers have raised the stock bars a healthy 50mm. It required releasing a clip off the braided ABS brake line under the tank somewhere, and the barely needed cold start cable was also on the limit. With the raised seat it’s now easy to stand up and to not stoop once I’m up there. Halleluia.
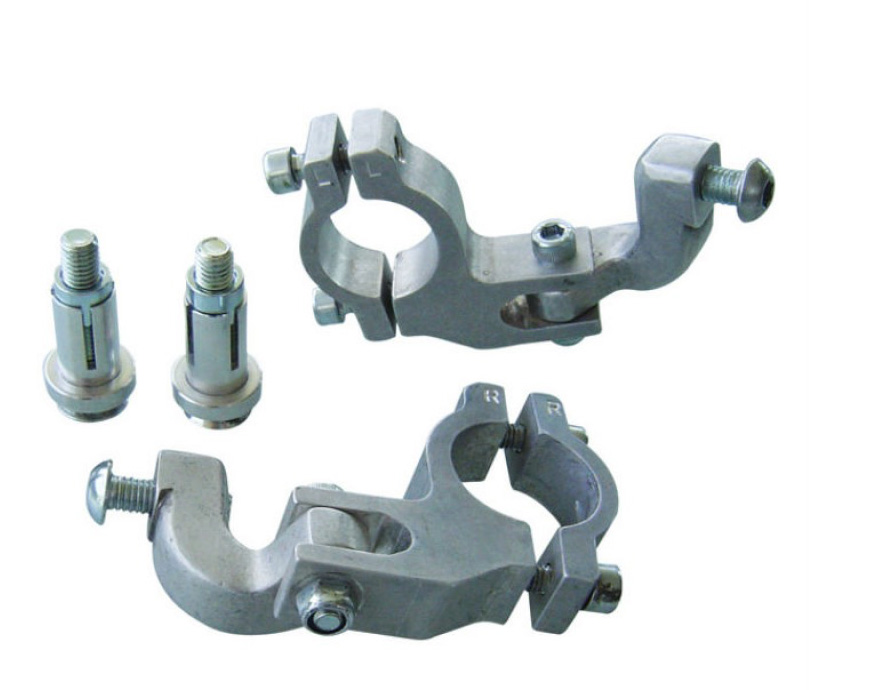
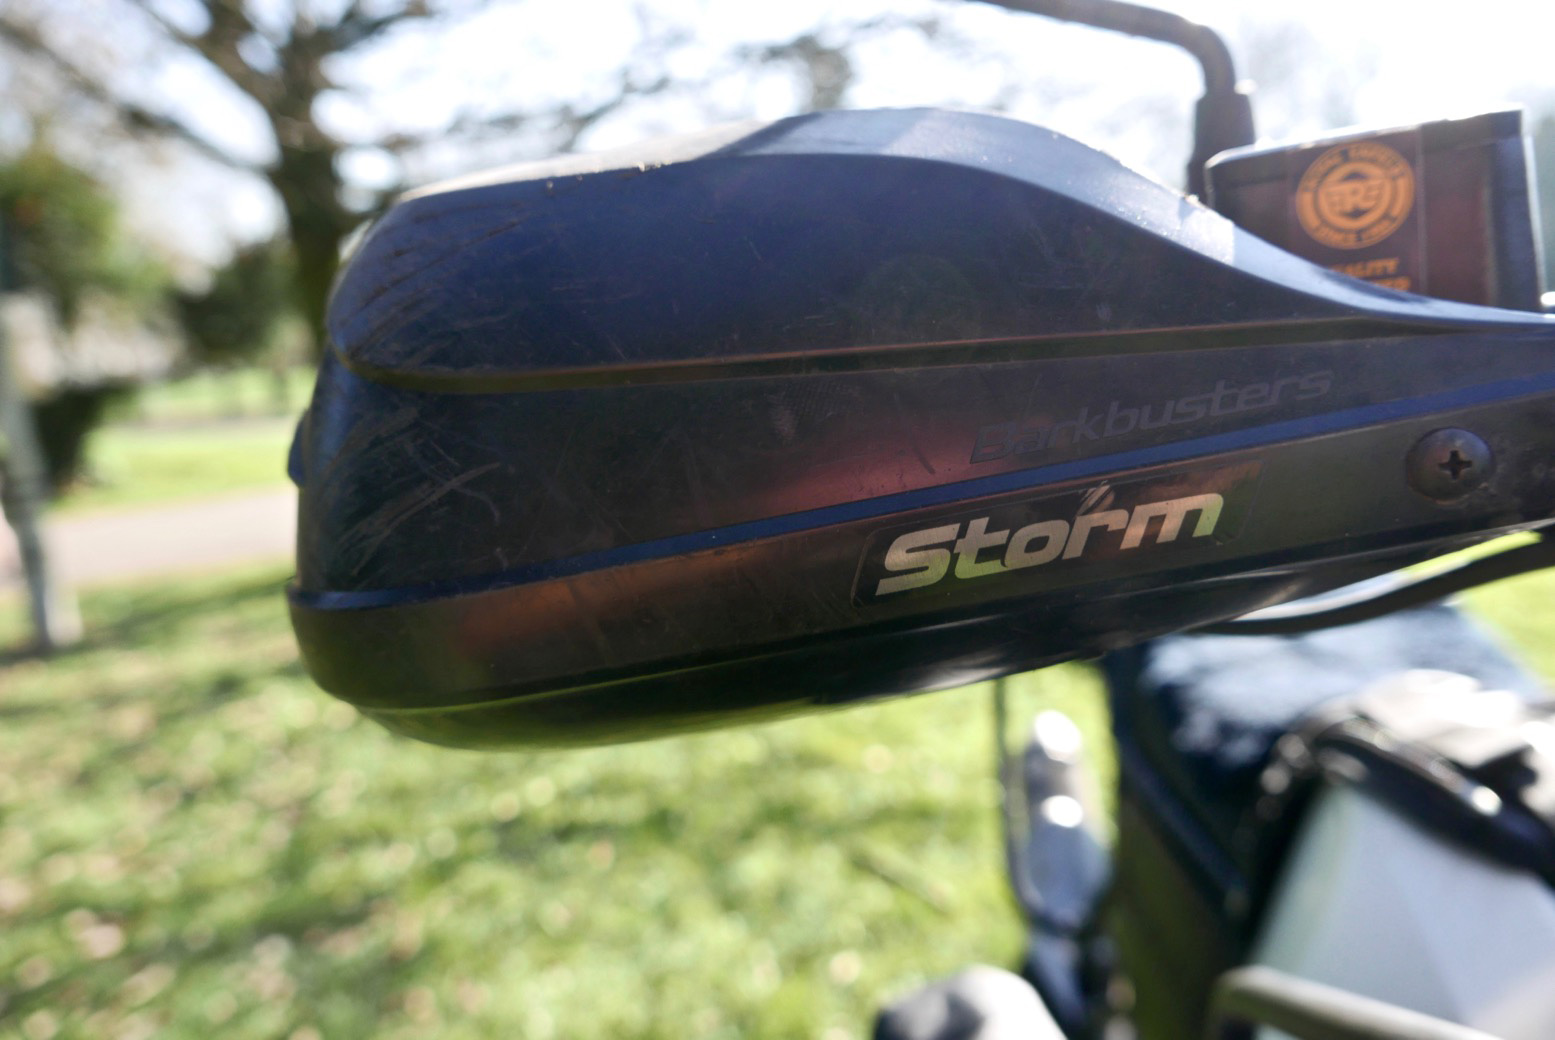
My ancient Barkbuster Storms are now on their 7th outing since fitting to my XT660Z back in 2008. I should win some sort of recycling award. Simon had to make some simple mounts as for some reason, the curvy BTC 06 adaptors (right) which were recommended didn’t fit. Could be that a decade on, newer Barks have changed shape. The Barks require the slightly adjustable stock screen to be set fully forward, but riding back I can’t say the turbulence was any better or worse than in the original position. I think that at the speeds the REH can achieve, it’s all a bit academic. And as it is I’m sat on a motorbike out in the open air. There will be turbulence.
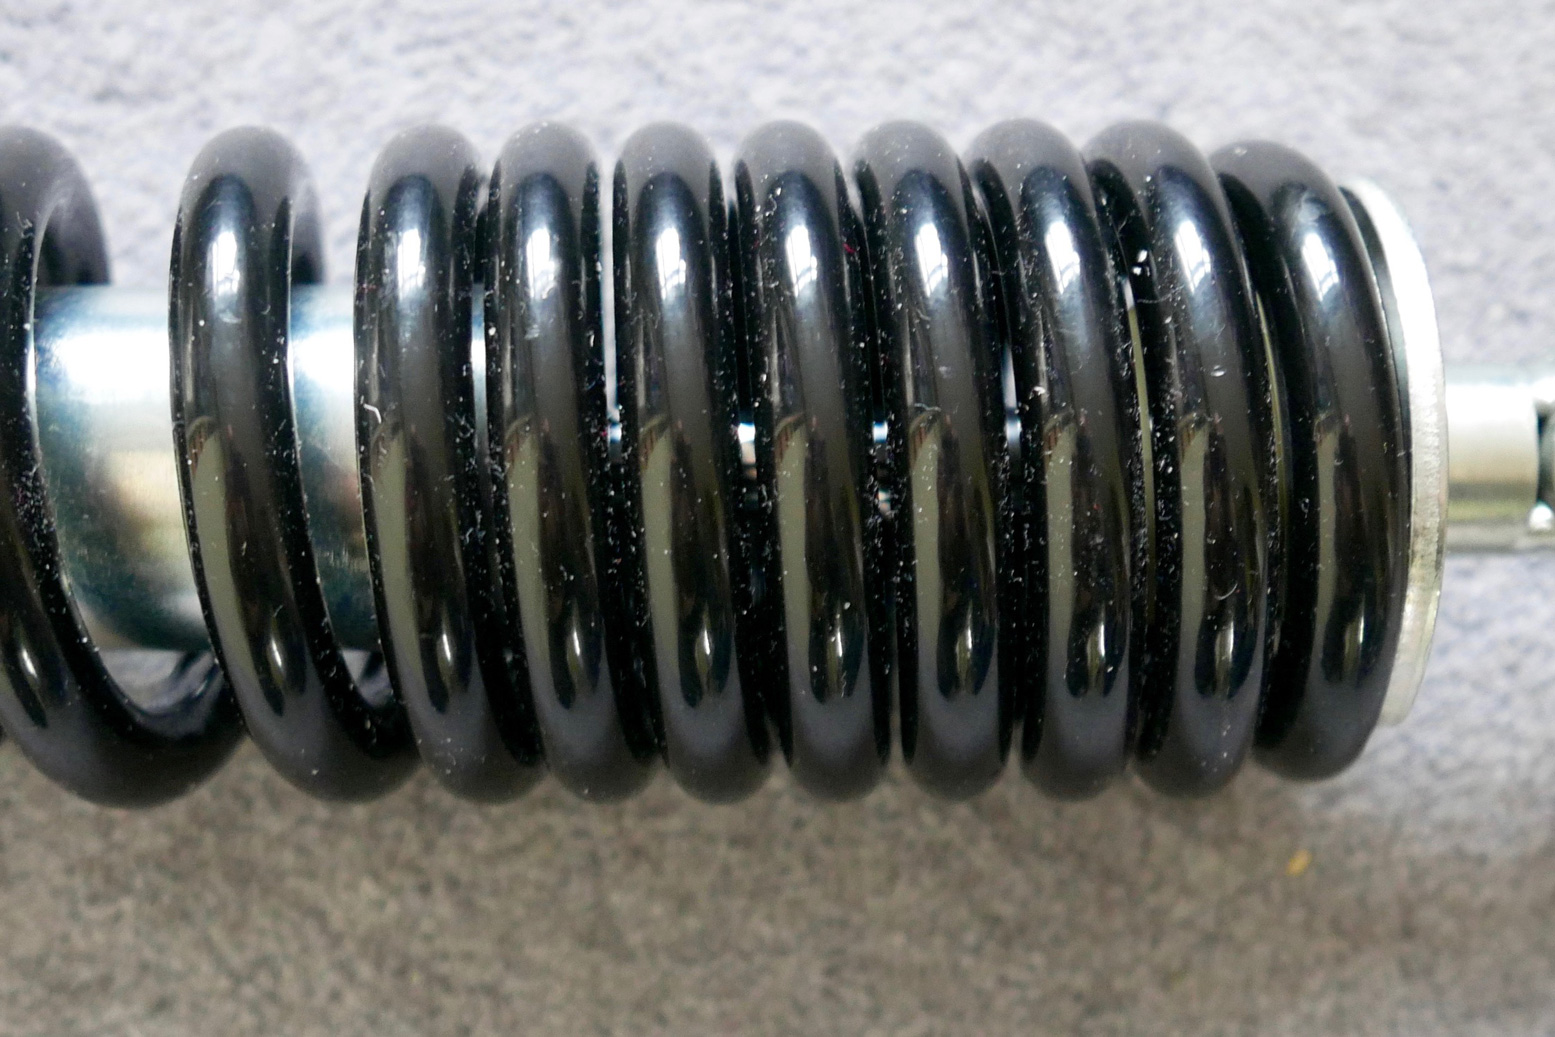
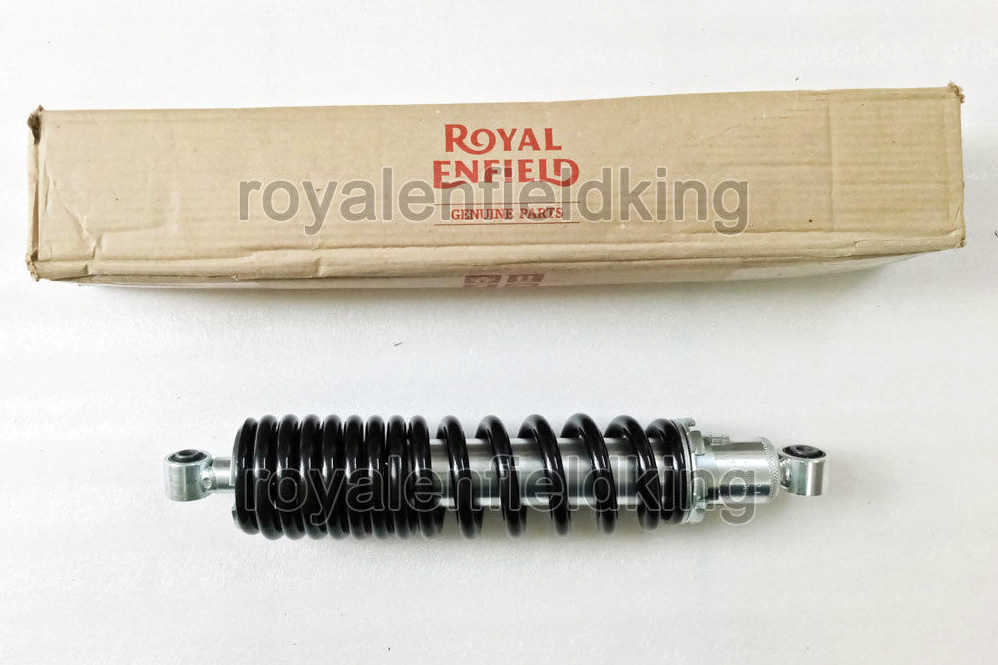
Like so many bikes I’ve owned lately, I assumed the stock shock would be a budget keep-the-fender-off-the-wheel job, so I pre-emptively ordered the Thai-made YSS which took a few weeks. Some reports claim the stocker is too harsh, others say too soft, others just right. On the road it didn’t feel too bad – perhaps the usual mix of over-sprung and under-damped. It weighs over 4.8kg and half appears to be coil-bound, but in fact there’s a couple of mm gap in the coils (left) which adds some progressiveness.
It would have been good to evaluate it properly, but the shiny red YSS is sat there like a cream cake on cushion. Getting it fitted, I asked my LBS to check the linkage grease. Who knows if they did. I may also rivet on a flap to stop it getting plastered with crud spun off the back wheel.
The YSS is about a third lighter at 3.3kg, costs £290, is length adjustable by 10mm, has 35-click rebound damping and will work with an HPA which probably costs half as much as the shock. Out of the box rebound came at 20/35 clicks and with 12 threads exposed below the spring preload collar. Looks like a good place to start. On the short ride back from the LBS I did detect a little more compliance with small irregularities. Otherwise it felt the same. With most suspension upgrades, I’ve found you can’t tell much difference until road surfaces deteriorate or the speeds increase.
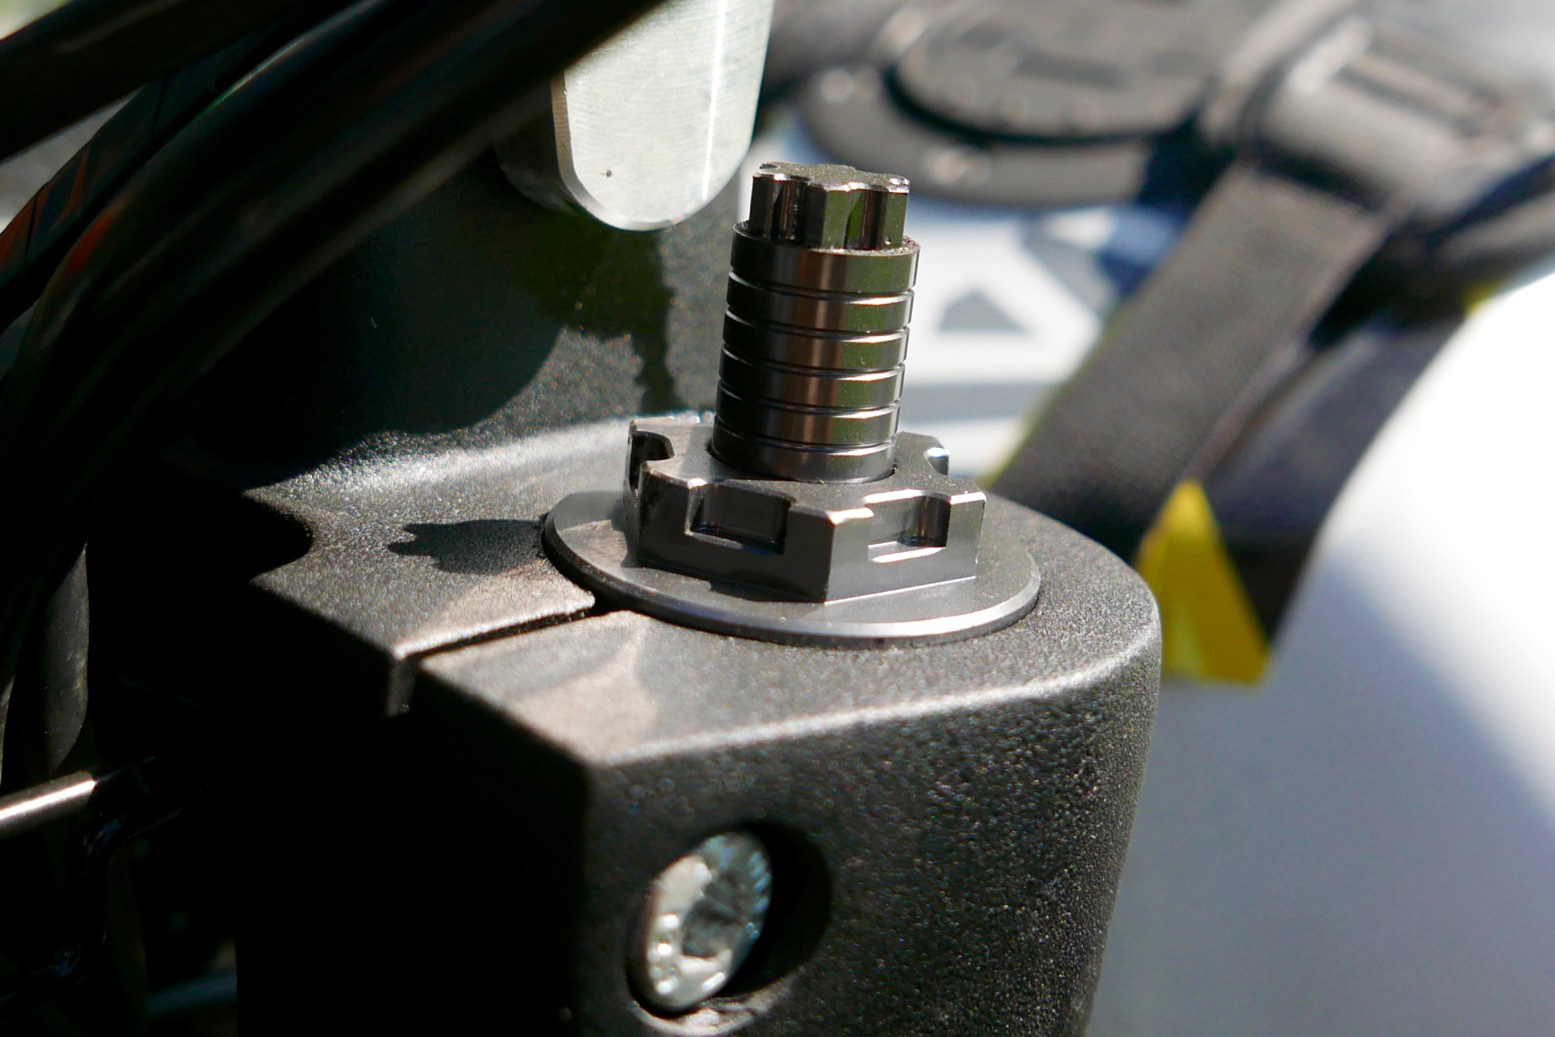
YSS fitting advice: The preload collar at the top of the YSS is now quite hard to access – removing the airbox lid on the LHS may help, as will a shorter, right-sized hex key, as opposed to the rod supplied. There is a tiny hex screw on the collar which locks it to the threads (hex key supplied). Either risk leaving it loose (collar may unwind), or make sure when fitting the shock that it’s in a position where you can get to and loosen it from the LHS – about ‘7 or 8 o’clock’ if 12 = forward. You will then probably need to wind or unwind the collar a full 360° to get the screw back in a lockable position.
A tenner’s worth of Chinese fork preloaders were also fitted on the front but are currently set at zero. The stock spacer inside the top of the fork needed to be shortened.
The steering head bearings got regreased. Along with swing-arm linkages, it’s a common precautionary requirement, and not just on inexpensive Indian bikes. My BMW XCountry’s head races were shot at just 6k.
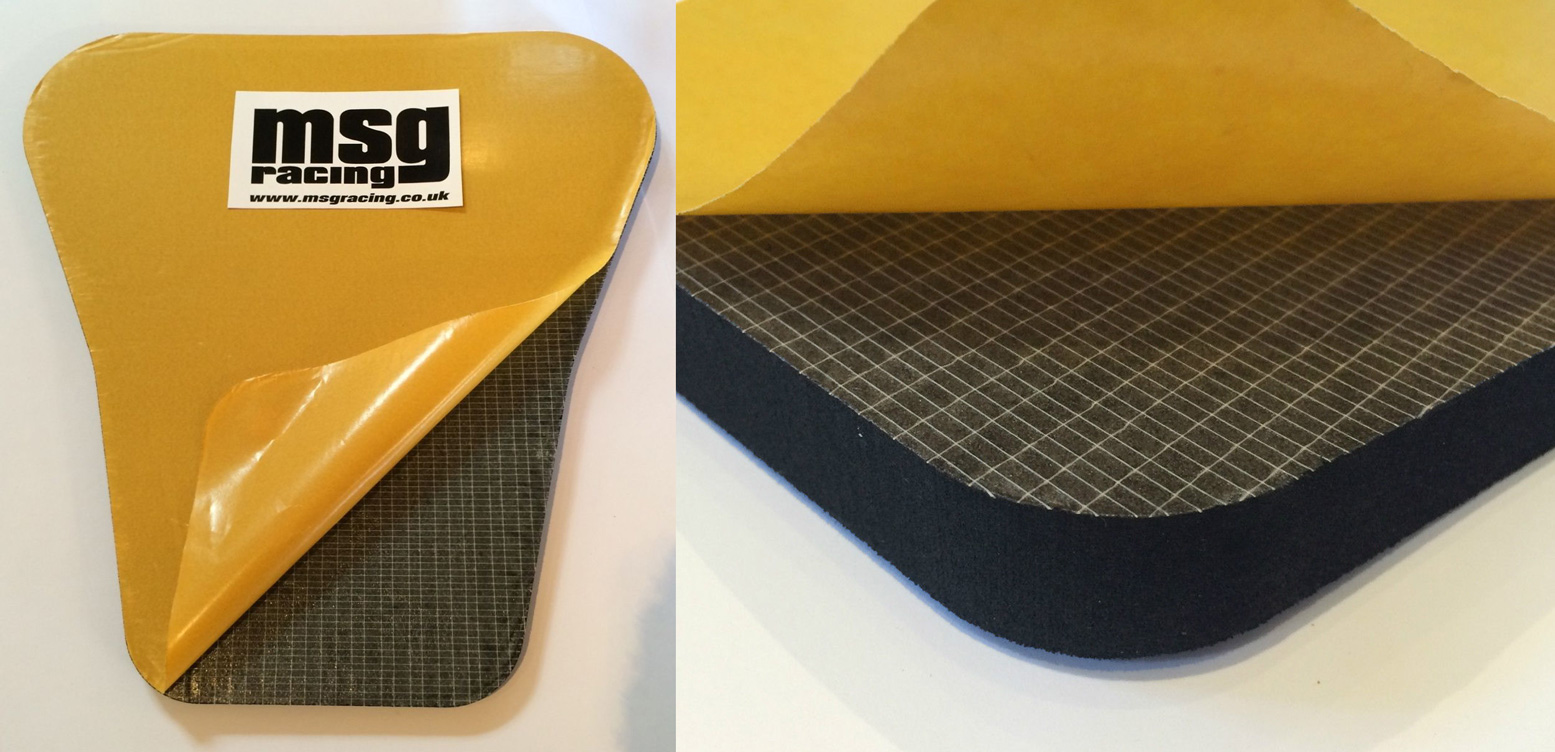
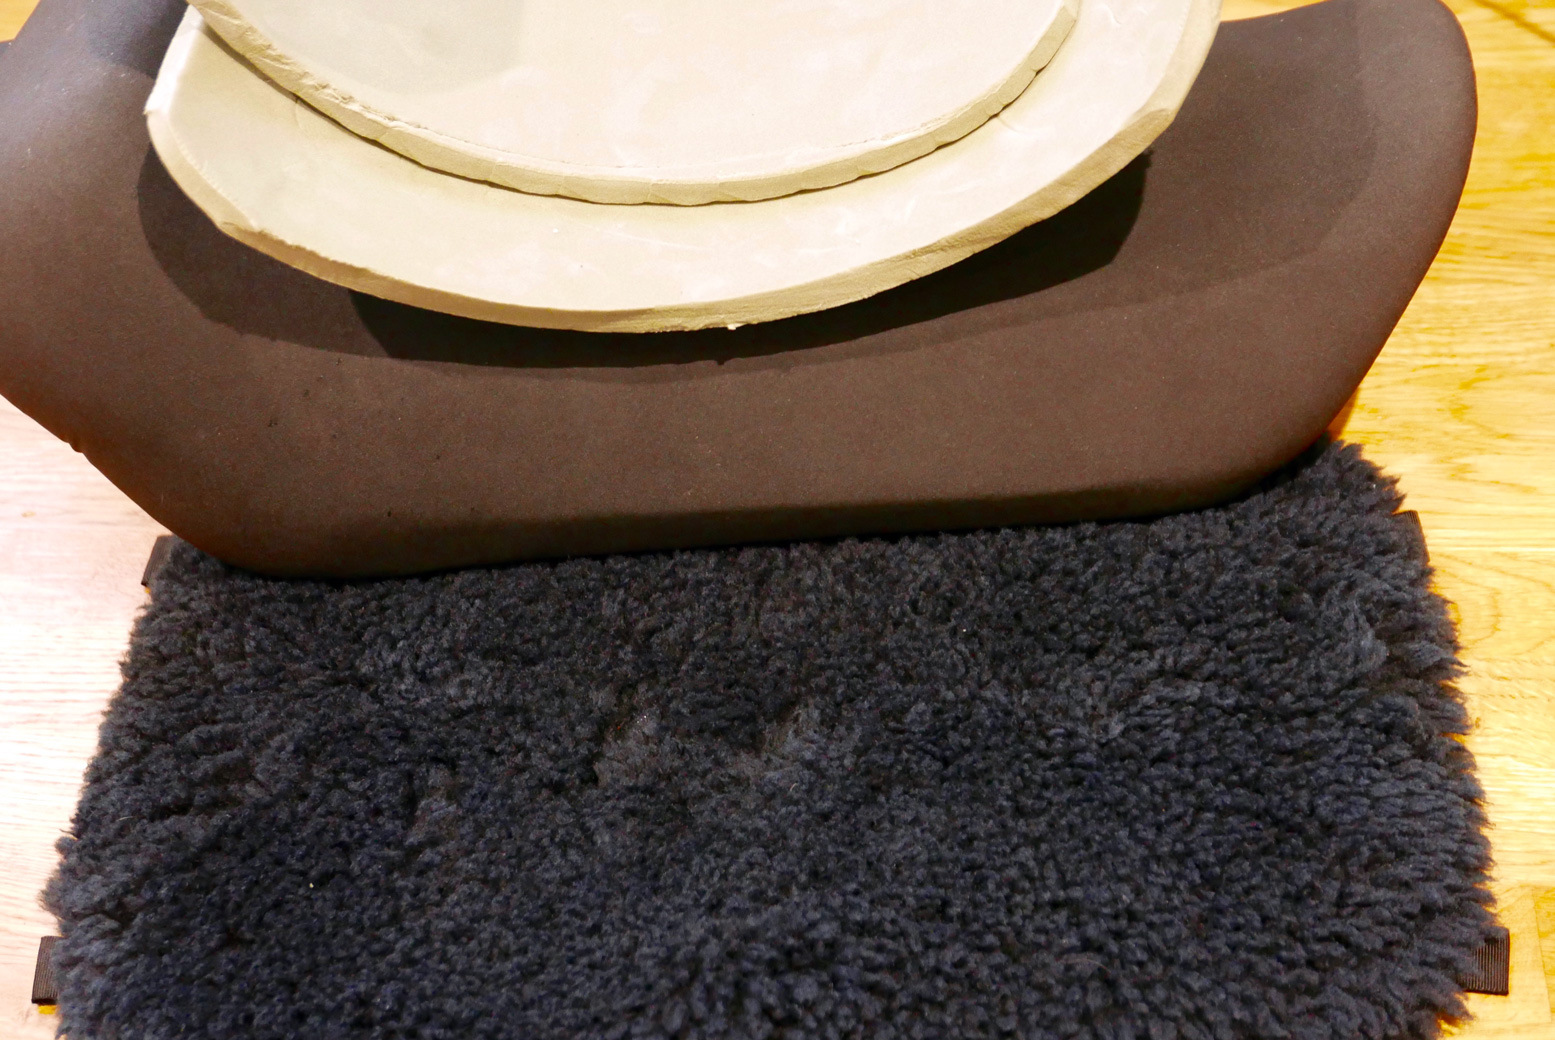
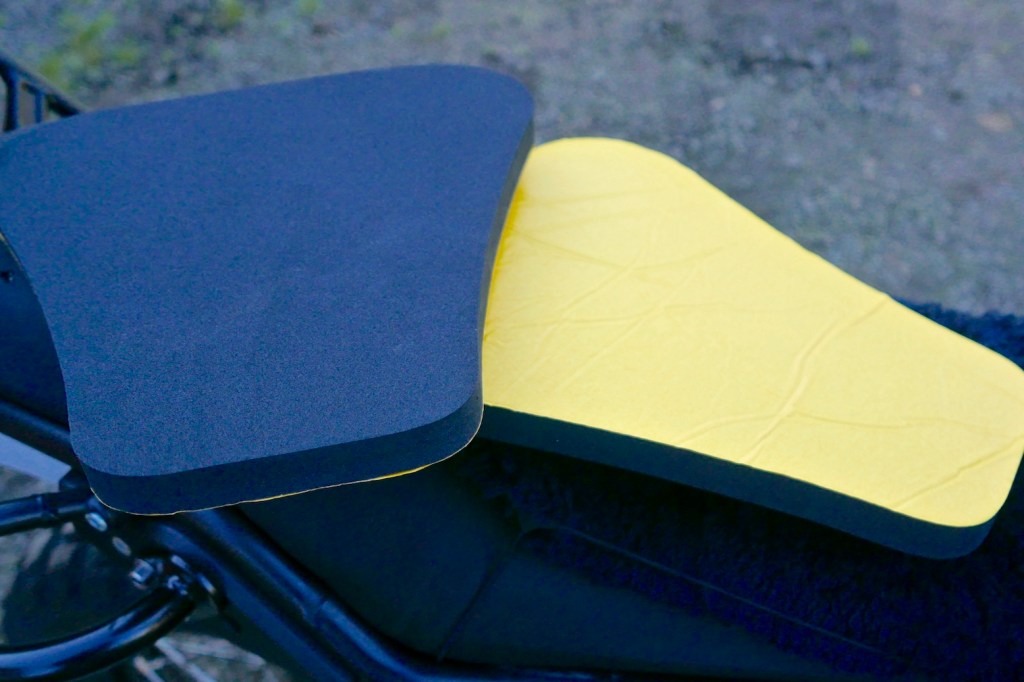
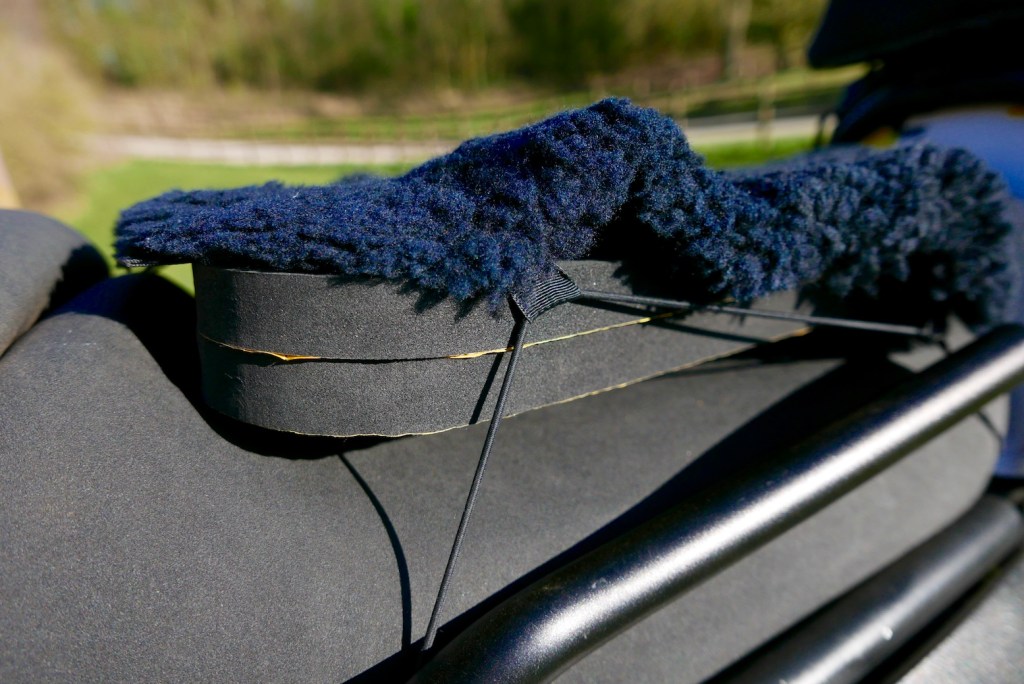
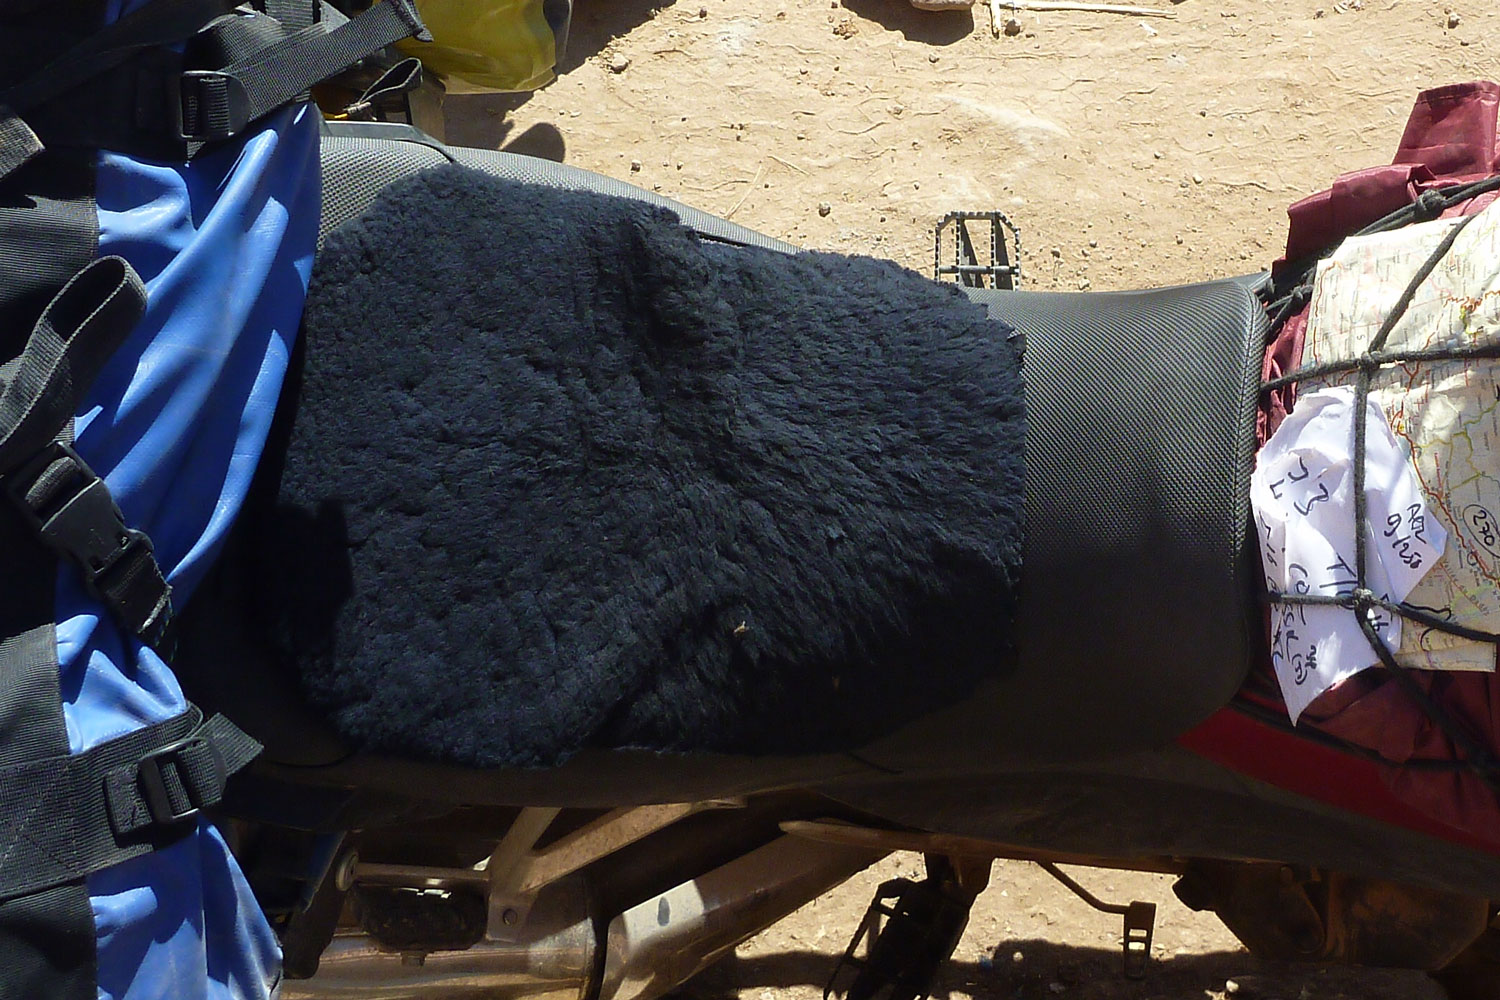
My initial seat foam bodge proved to be poor, mostly because the foam I used had the springiness of Philadelphia cheese. A fellow Himaliste recommended some pre-cut stick-on foam seat pads on ebay (left; £15 each). At 20mm I bought two and rode home with them shoved under the Aero lambswool pad.
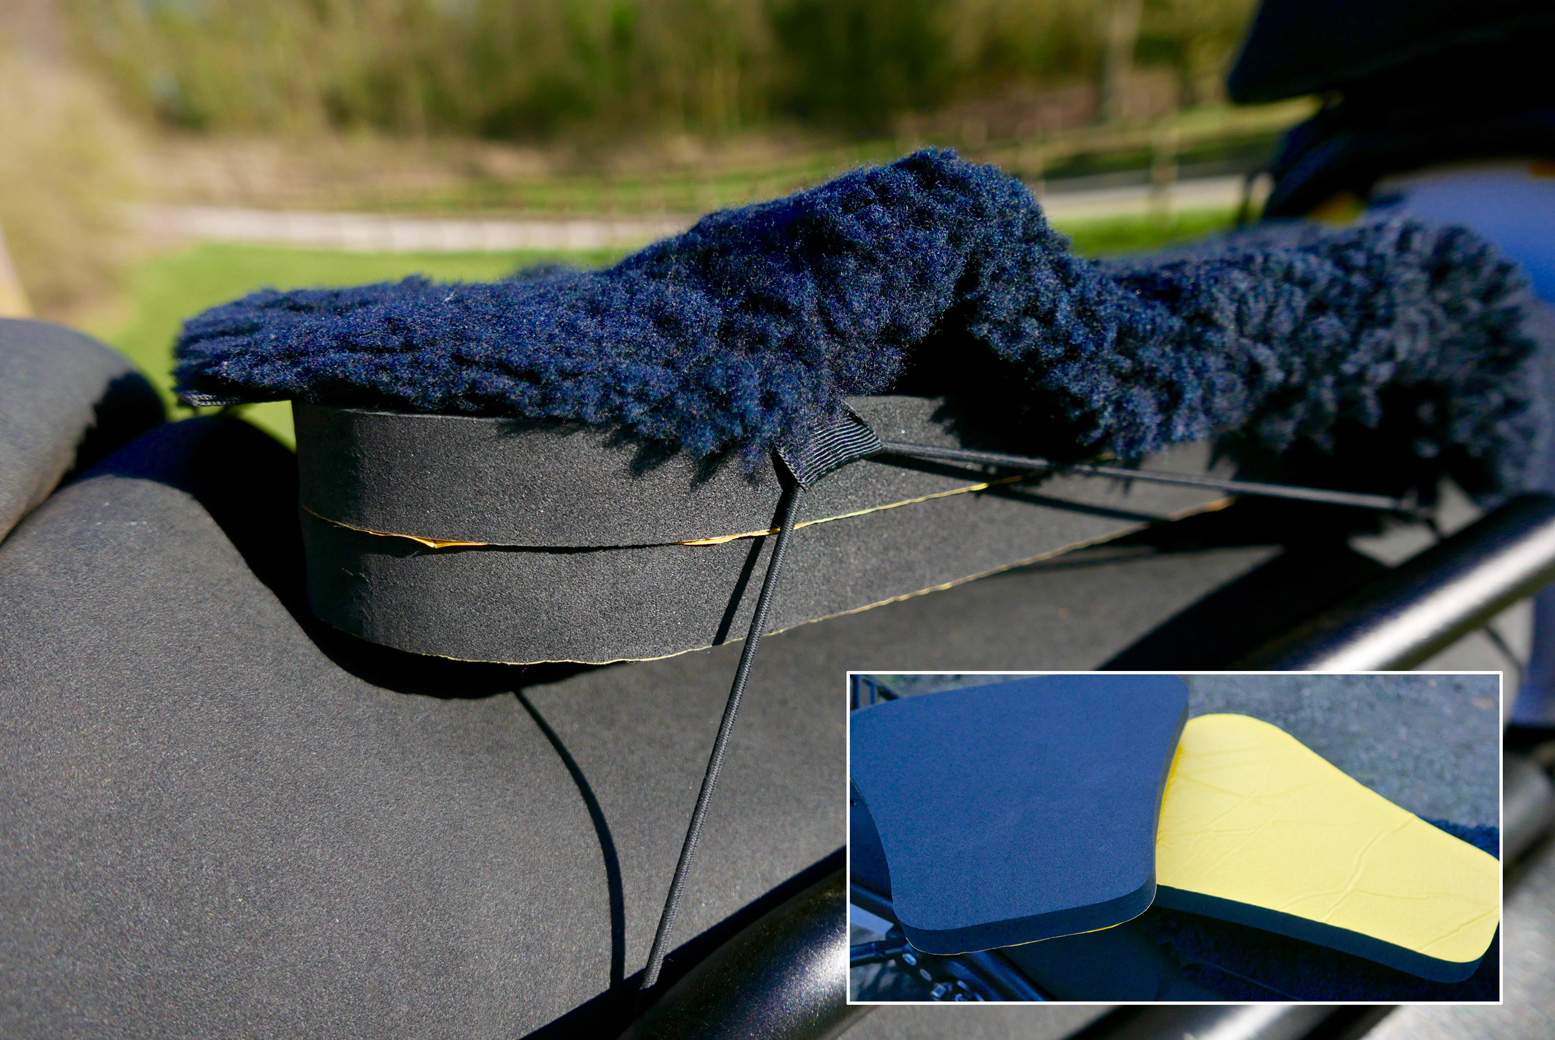
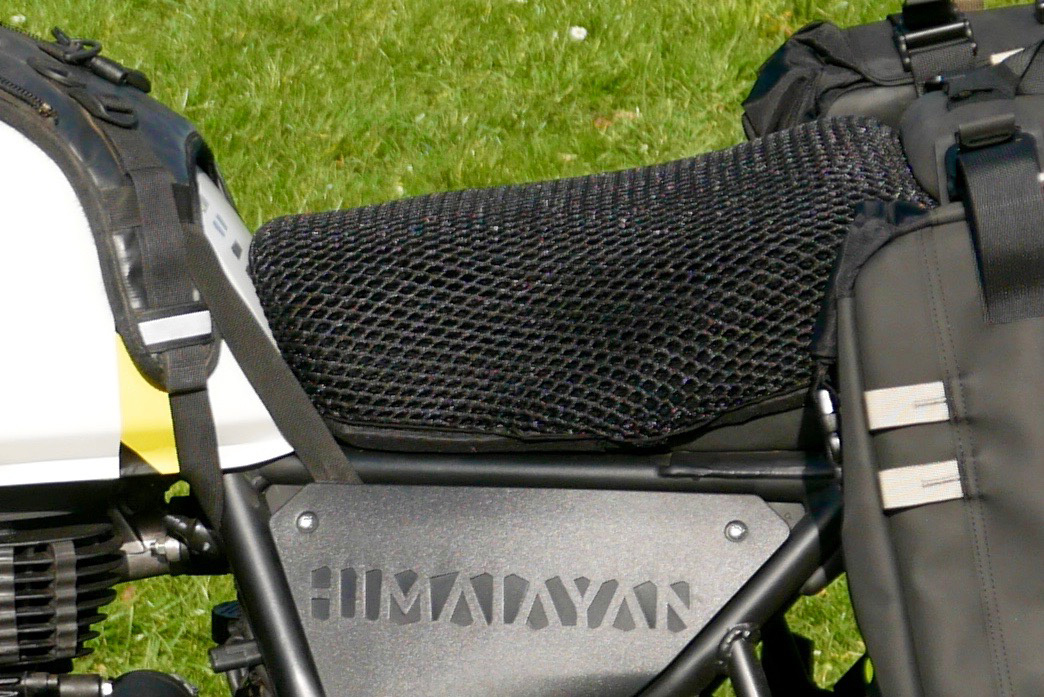
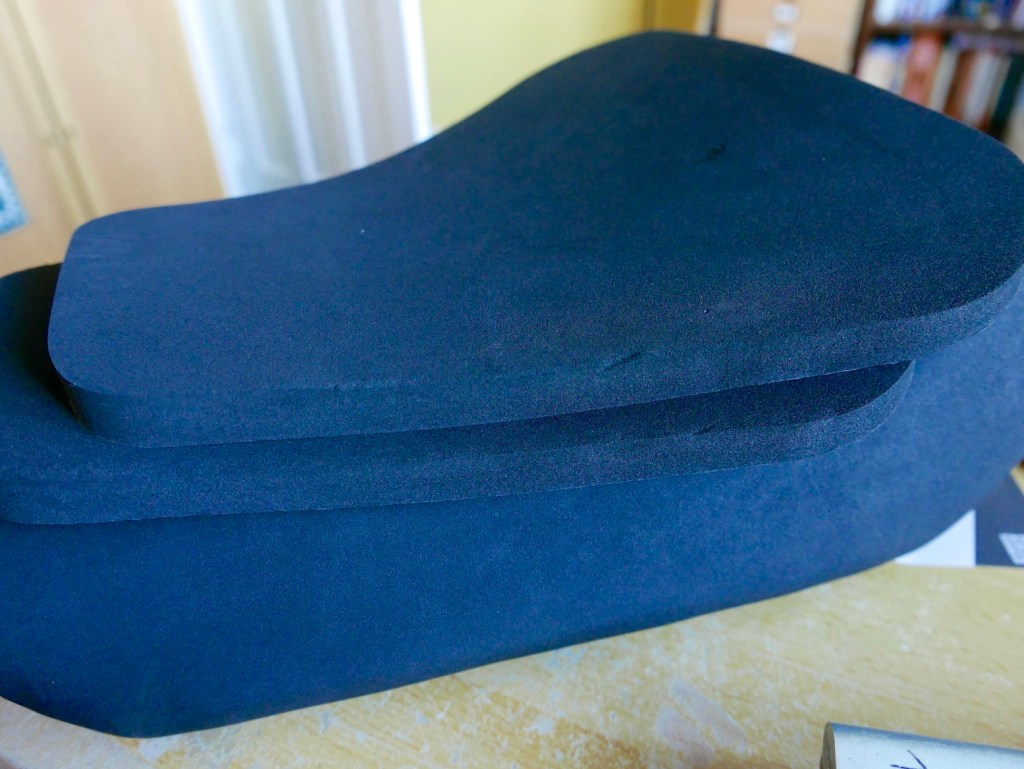
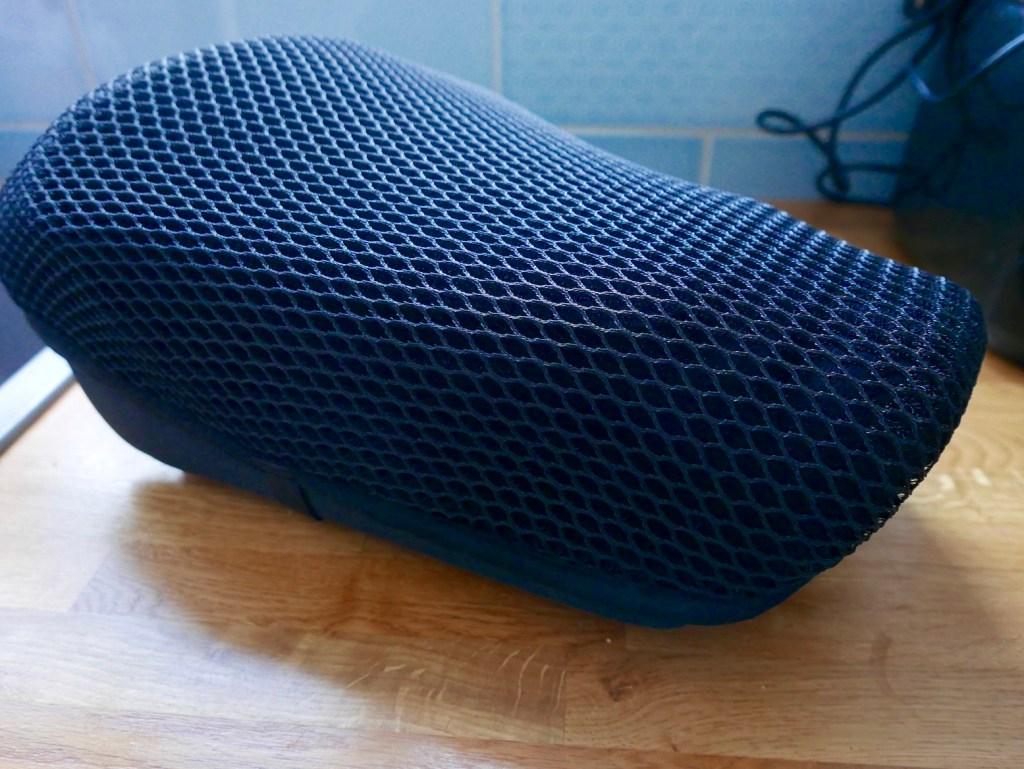
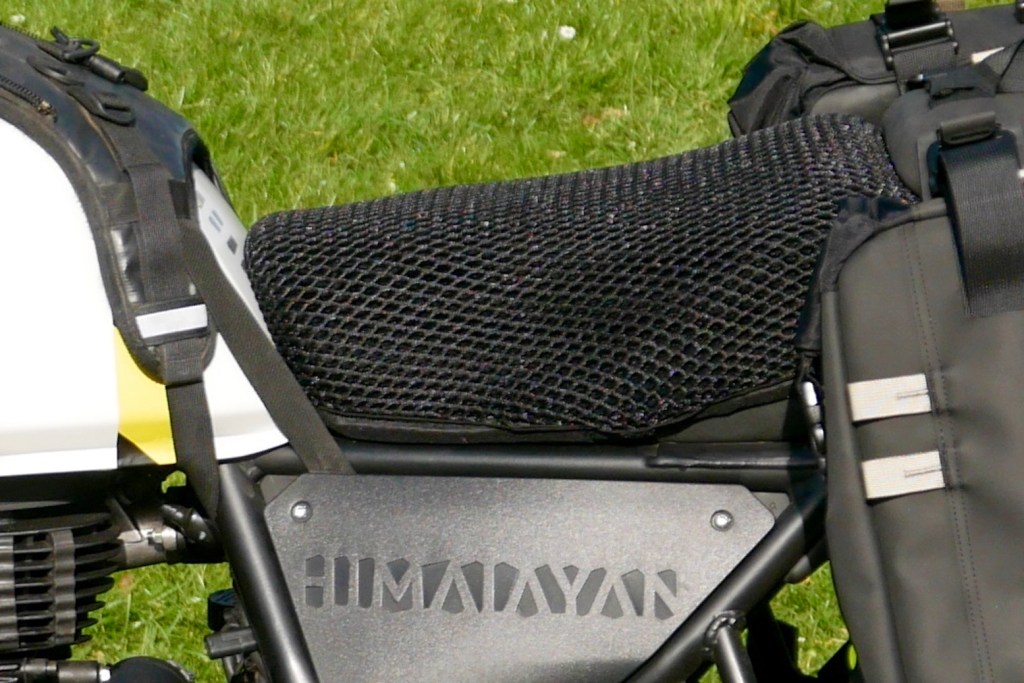
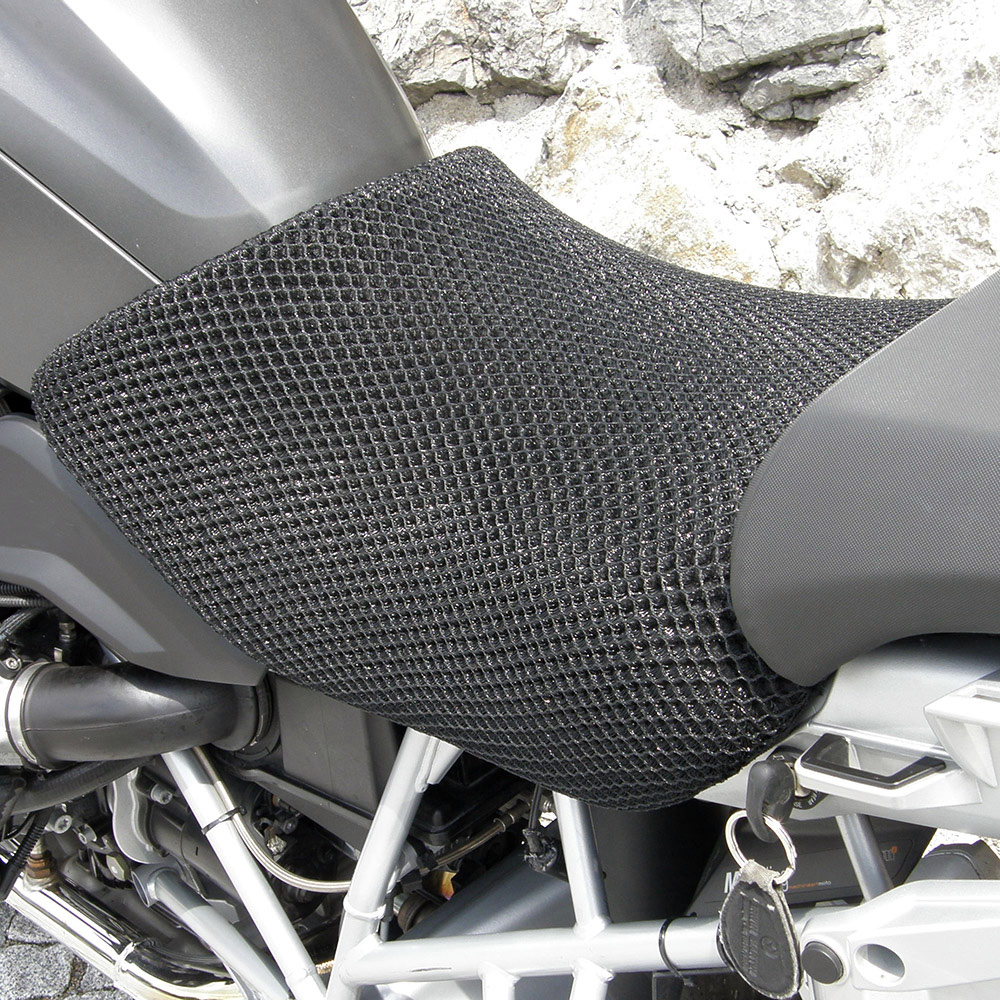
With the yellow backing still on, it all slithered around a bit and after only 120 miles the butt was sore, but I can definitely see the potential in raising the seat height. And I do wonder if the old lambswool pad makes things worse. Cool Covers sent me one of their durable aerated mesh seat covers to try. Like wool, the idea is that air circulation reduces heat and improves comfort, but with bike saddles, one man’s fur-lined throne is another man’s agony. Luckily, the Cool Cover just stretched over the two racing pads now glued to each other and the stock seat. The back edge of the top pad was crudely trimmed to level it off. In the picture below the seat looks like it’s sloping forward – not good – but it’s actually the taut cover over an air gap. The foam below is more level than it looks.
Let’s hope it makes a difference but bike saddles are usually more miss than hit. Seat foam apart, the combination of seating position, bars, footrests and the presence of a screen all have an influence, but it’s also down to tank range – in other words how long you sit riding uninterrupted. My CRF250L should have been the usual agony, but because I could only do 120 miles before reaching for the fuel can, the 5 minutes it took to do that rejuvenated the cheeks. One of the worst saddles ever was the BMW F650GS, probably because it easily did 200 miles between fill ups. One of the best was my GS500R Overlander. I never worked out why.
Wheels and Tubeless Tyres
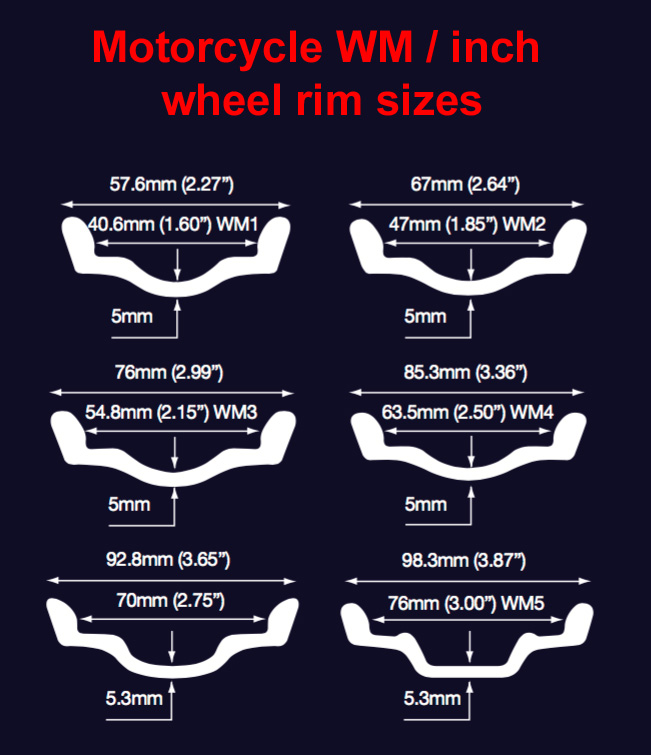
Note: being a maddeningly illogical Imperial British standard, the ‘WM’ wheel rim width designation you commonly see (in the UK at least) doesn’t correlate with actual rim width in inches. But it is close – see table right. They say ‘MT’ is a modern, fully logical (but little seen) equivalent, where the MTxx number refers to the actual rim width in actual inches.
As confusingly, rim width in inches does not correlate with notional tyre width where, for example, a 120 section width (120mm; 4.7”) is converted to inches. But it is close-ish.
Stock REH rims are WM1 (MT1.85) on the front and WM3 (MT2.15 – need to check) on the back with a 120/90 17 tyre.
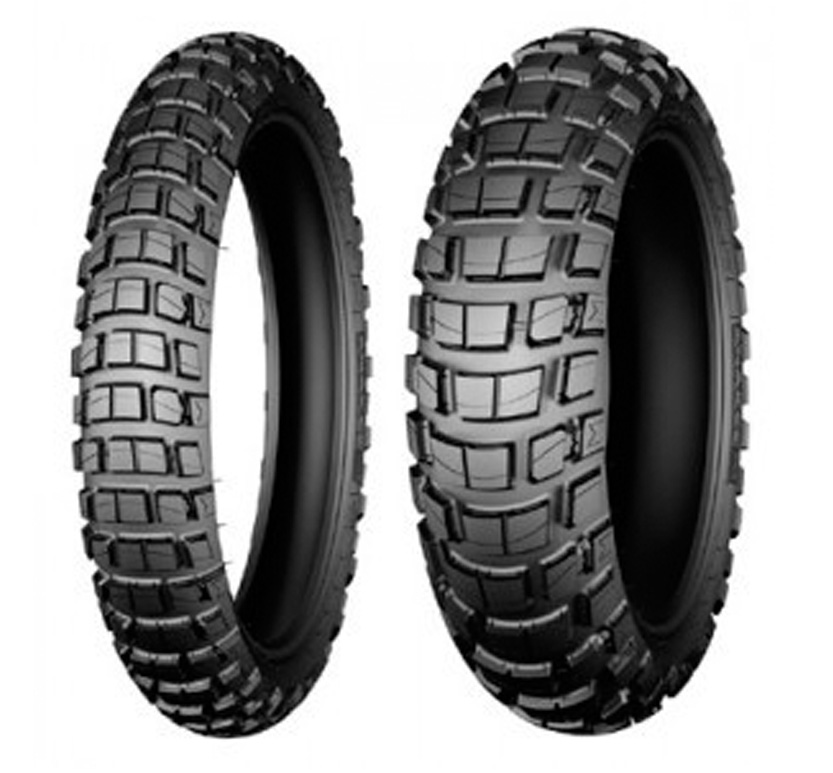
To enable easy puncture repairs I wanted reliable tubeless wheels which meant sealing the spoked rims. Along the way I was happy to ditch the steel rims in the hope of saving unsprung weight which I keep going on about. A mate had given me some ageing 18 and 21 Tubliss. The back was a bit too old to risk; a BNIB front got fitted and Slimed with the new Michelin (left). On the back, for the sake of simplicity I wanted an Excel 18-er with a new Tubliss (Tubliss don’t do 17 size). Then I was told max width for an 18-er Tubliss is 2.15” rim, like the stock, I think. The Anakee Wilds were recommended for a 2.5-inch rim. We’re talking a notional discrepancy of a third-of-an-inch here, but let’s try to do it by the book for once. Shame as an 18-er would have saved a couple of kilos in tyre and rim and greatly opened out the range of off-road tyres. But another problem is tubeless tyres (which do differ significantly from tube type) are rare in 18-inch size. Seventeen TL tyres are much more common.
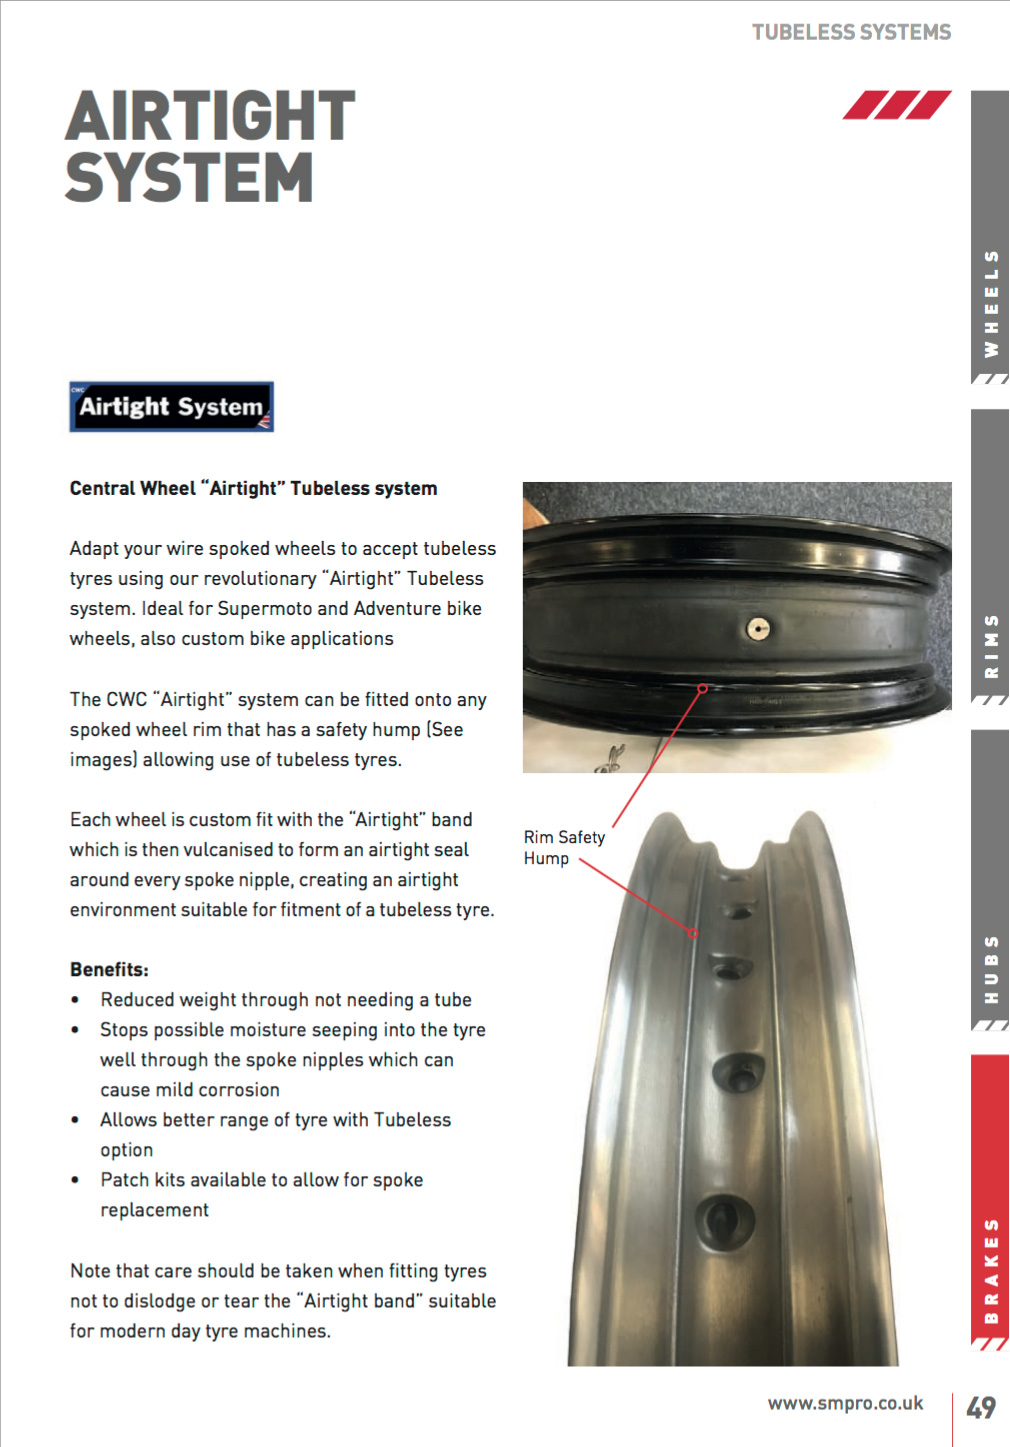
It wasn’t on their website but CWC’s brochure mentions an Airtight™ vulcanised spoke-sealing band (left). It’s similar to the Italian BARTubeless polymer sealing I had on the Rally Raid CB500X of a couple of years back (and which CWC also offer). I’m always keen to try something new for my Ongoing Tubeless Saga, but not so fast, chum! CWC can only Airtight a 3-inch (WM5) or wider rim. Next problem: there were no 18-inch Excel rims in that width, so it was back to a 17-inch rim in WM5 to fit an Anakee Wild. Confused? So was I but we got there in the end.
Tyres were always planned to be Michelin Anakee Wilds, one of the few do-it-all travel bike tyres I’ve not yet tried. On hearing about my plans Michelin kindly supplied them for free, along with a couple of back-up tubes which I hope I won’t need. Rear is a 130/80-17 M/C 65R TL. The front gets the larger 90/90-21 M/C 54R TL to balance the lift on the back. And it all comes with lashings of Slime. Simon did some weighing before Sliming (add about 250g per wheel):
Stock front wheel with Pirelli MT60 90/90 + tube 13kg Front wheel with 90/90 Anakee Wild + Tubliss 14kg (Stock steel front rim 3.77kg – source)
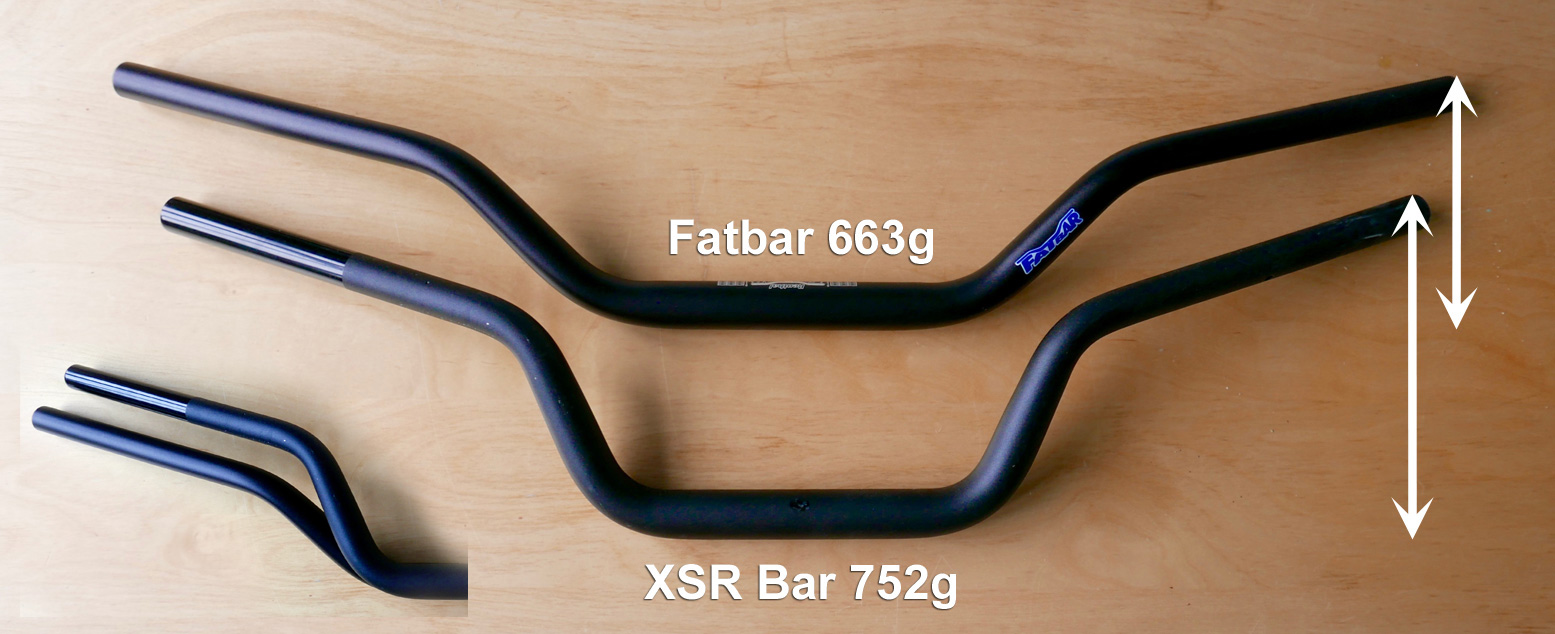
So, a kilo gained on the front due to Tubliss and heavier Wild tyre; a kilo lost on the back despite the wider Excel being barely lighter than the steel stocker. I wonder if there’s an error somewhere, considering the new Michelin is 1.5kg heavier than the stock MT60 and tube. The whole ‘alloy is light’ thing can be a bit of a myth until you get to the exotic stuff. Look at MTB frames or an old, two-ton Range Rover or handlebars (below). But, although it’s been decades since I’ve had wheel problems, I’m pretty sure the CWC-built Excel will be stronger than the steel stocker.
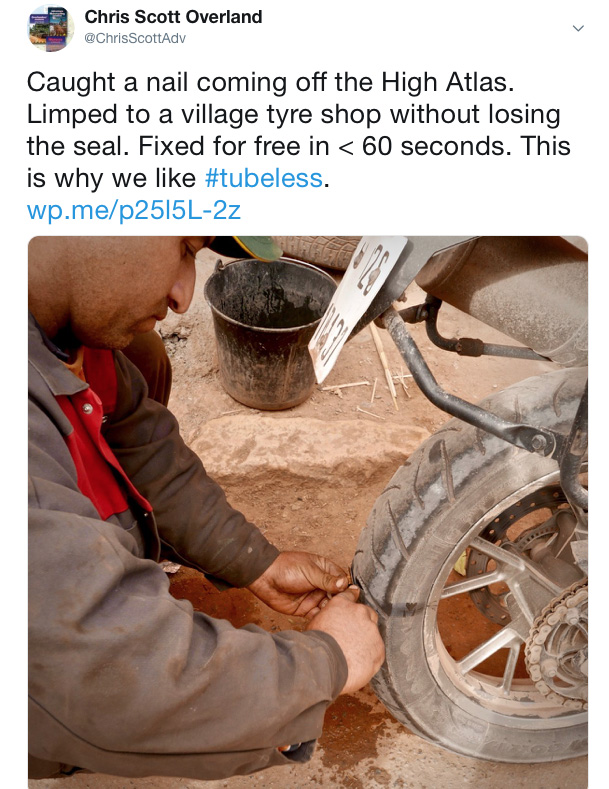
At 7.5kg, the TL Anakee on the back is hefty. I rationalise that the added mass is down to the tougher tubeless carcass. If it’s anything like the punctured Anakee or Tourance I rode on last November, it’ll be stiff enough to cautiously ride airless while staying on the rim until I reach a village tyre menders. Here are some more dims regarding 18 or 17-inch Anakee Wild tyres:
Anakee Wild 120/80-18 M/C 62S TT Max sectional width 131mm, max diameter 663mm, weight 5kg, Recommended rim width 2.75”
Anakee Wild 130/80-17 M/C 65R TL Max sectional width 142mm, max diameter 654mm, weight 7.5kg (verified by SV), Recommended rim width 3.0”
Both will easily fit the width of the Himalayan’s swing arm, but at the front of the swing arm, clearance gets down to less than an inch with the taller 18. A bit of chain wear and you’re good to go. On the front the mudguard now looks fairly close to the new Wild, so for mud clearance I’ll lift it a bit as mentioned below. Riding back 120 miles, the fresh Anakees rode a lot more securely than some also-new K60s I’ve ridden with other bikes. No weirdness in bends and no vibration or noise (a common complaint) that I could tell.
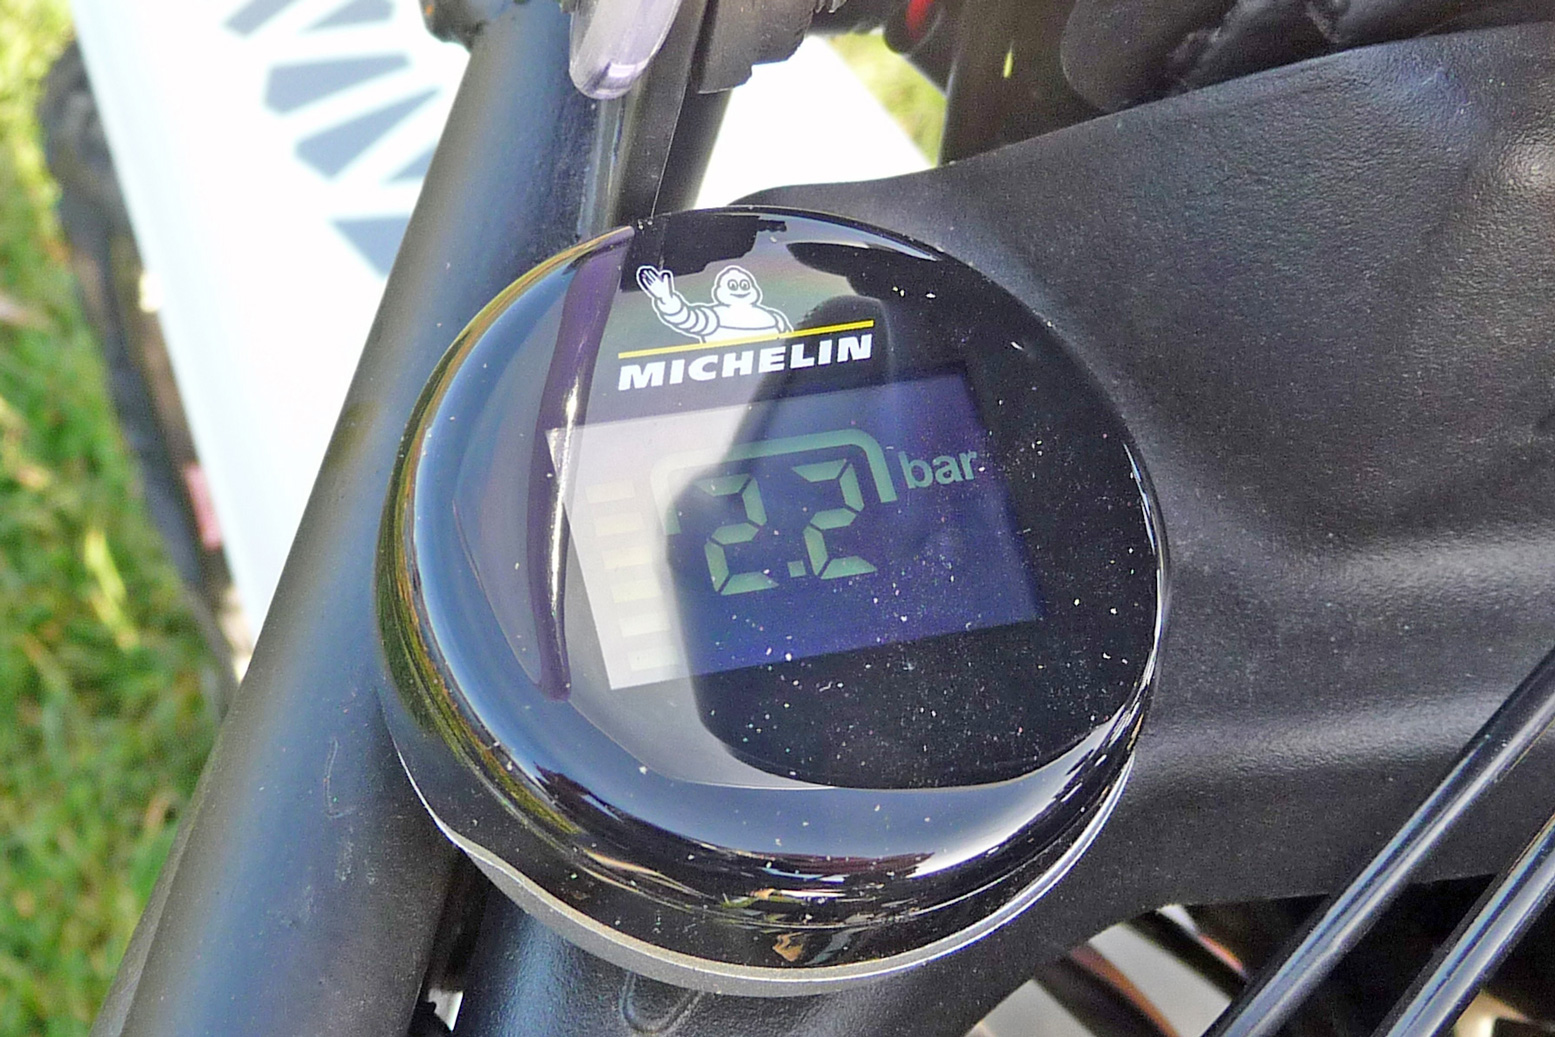
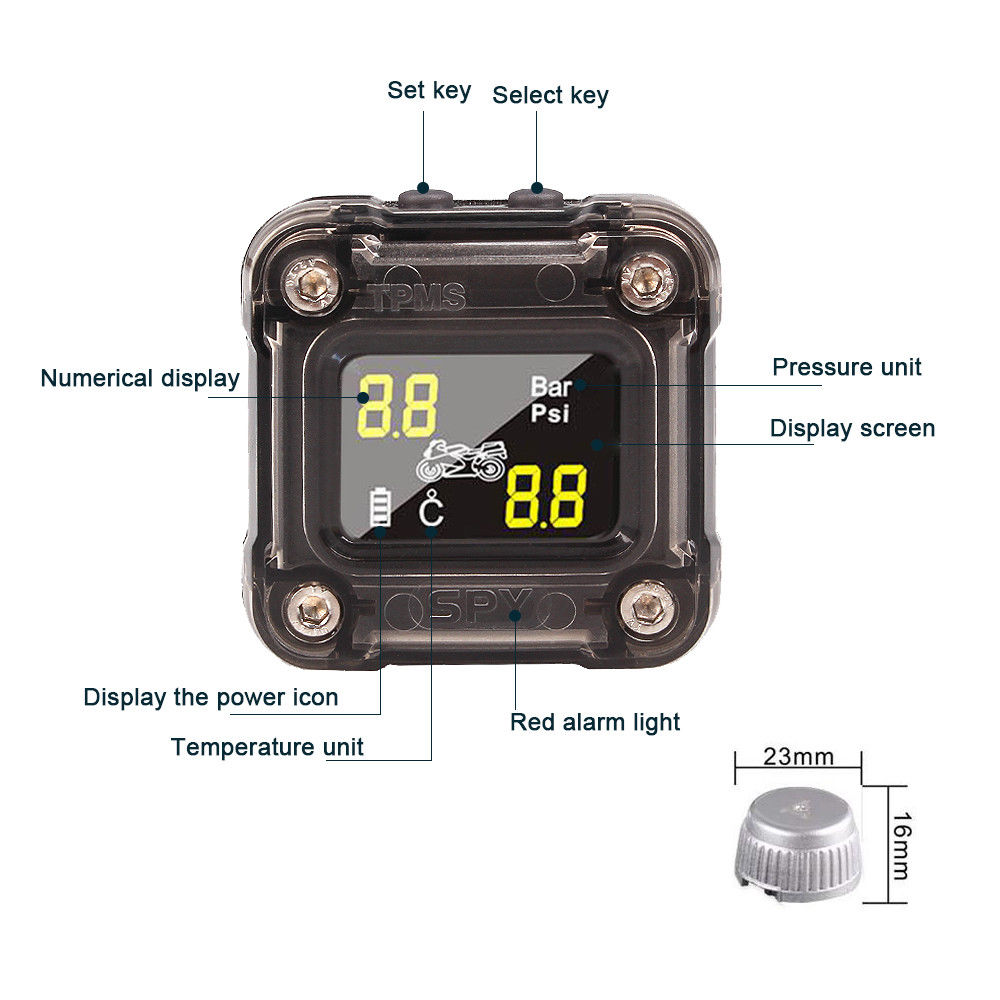
Michelin have just brought out a new TPMS and sent me one to try out. It will be particularly welcome for keeping tabs on my untried tubeless set up. The unit is USB rechargeable and sits magnetically in a stuck-on dish. So it’s easy to remove or nick, and might fall out on rough ground without an extra method of adhesion.
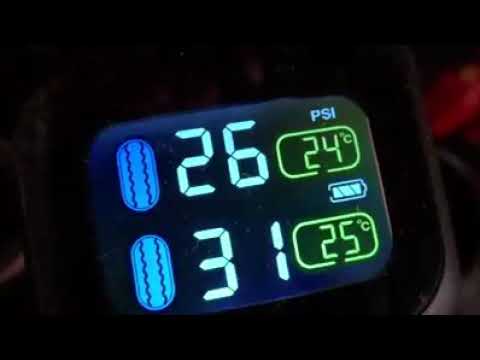
The read-out (psi or bar) flips every few seconds between front (as shown below) and rear. It’s interesting to note how pressure climbs by up to 20% as the tyre warms up.
Fabrications and load carrying
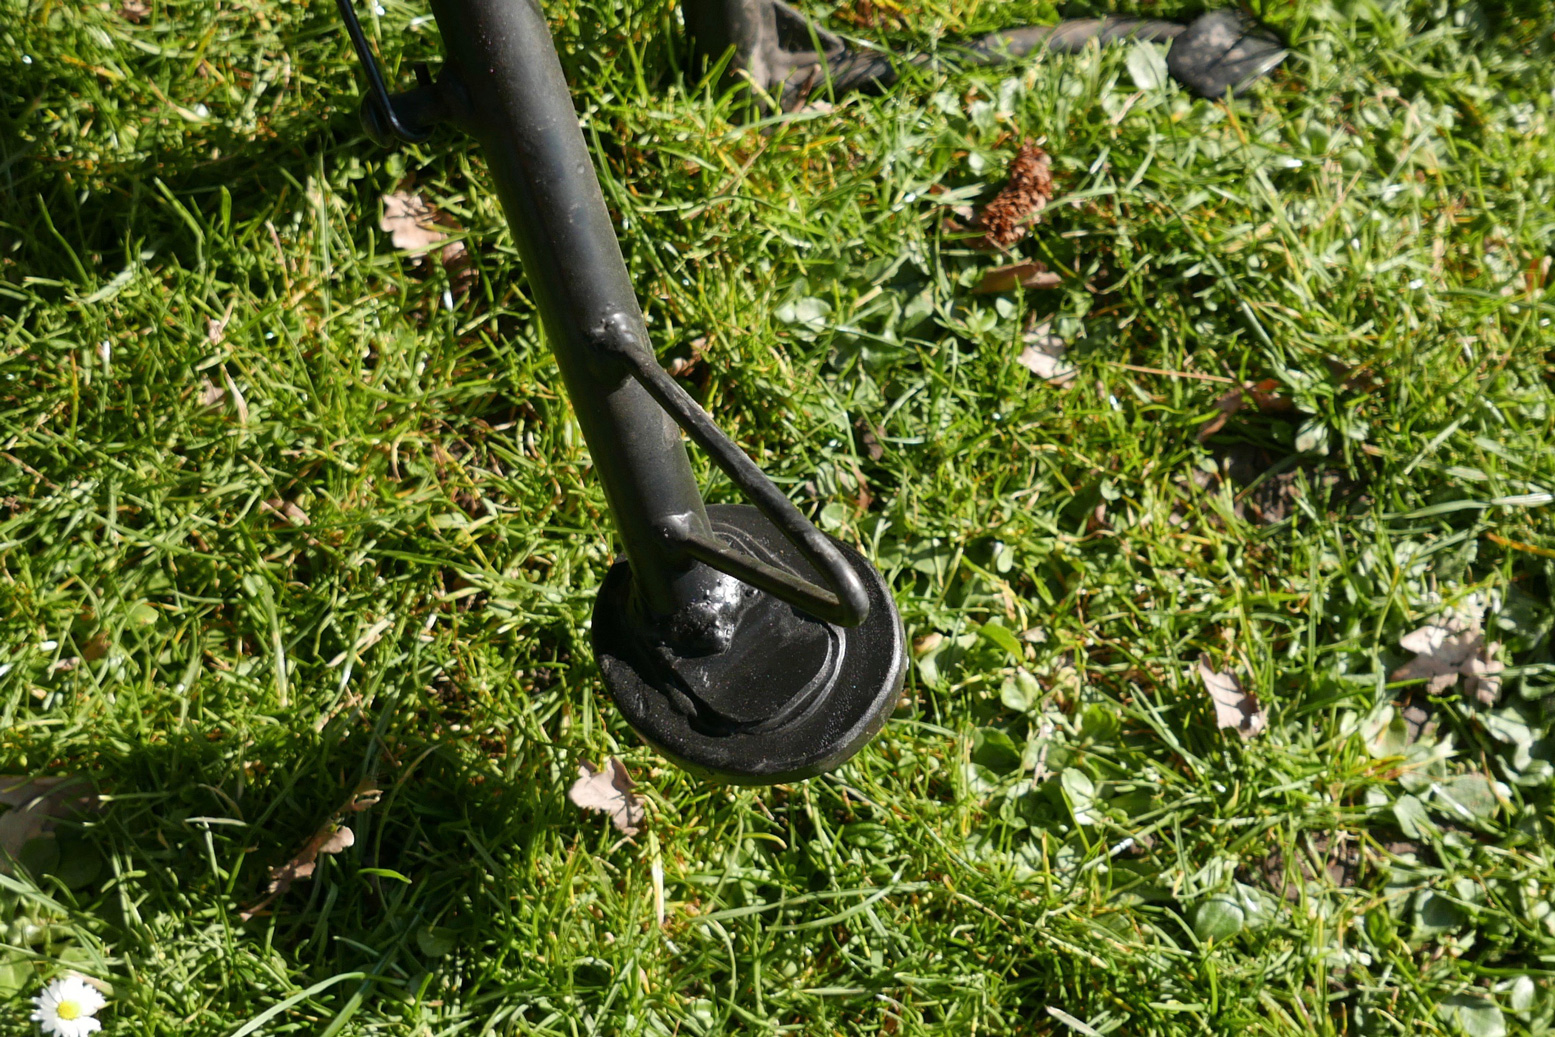
Apart from some custom Bark mounts, all the Him needed made was a sand foot plate welded on the end of the sidestand.
Cheap and hefty
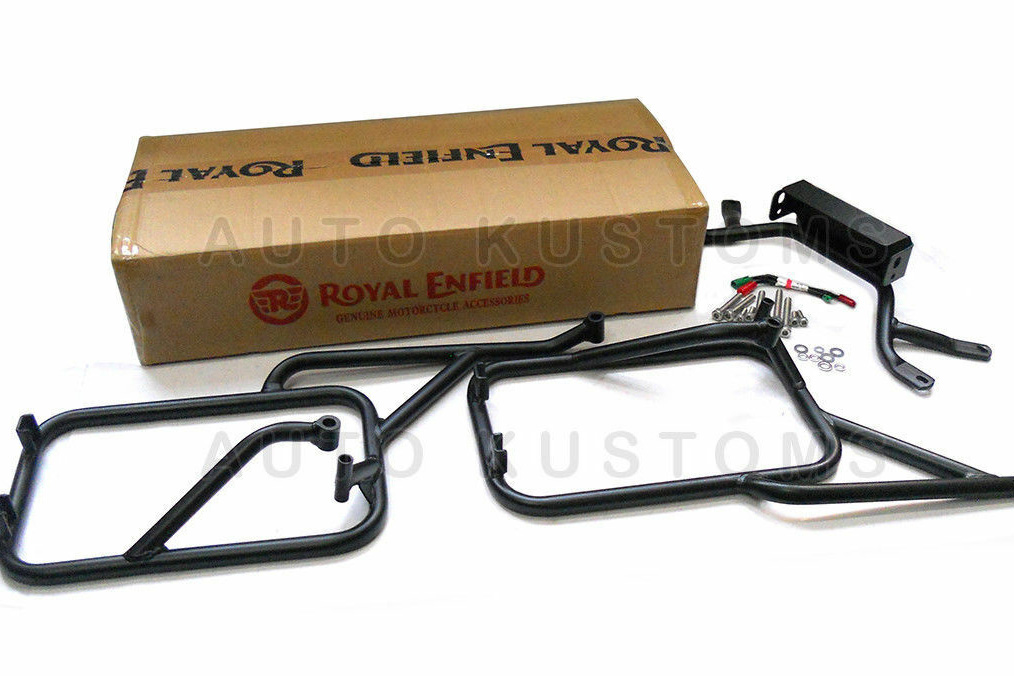
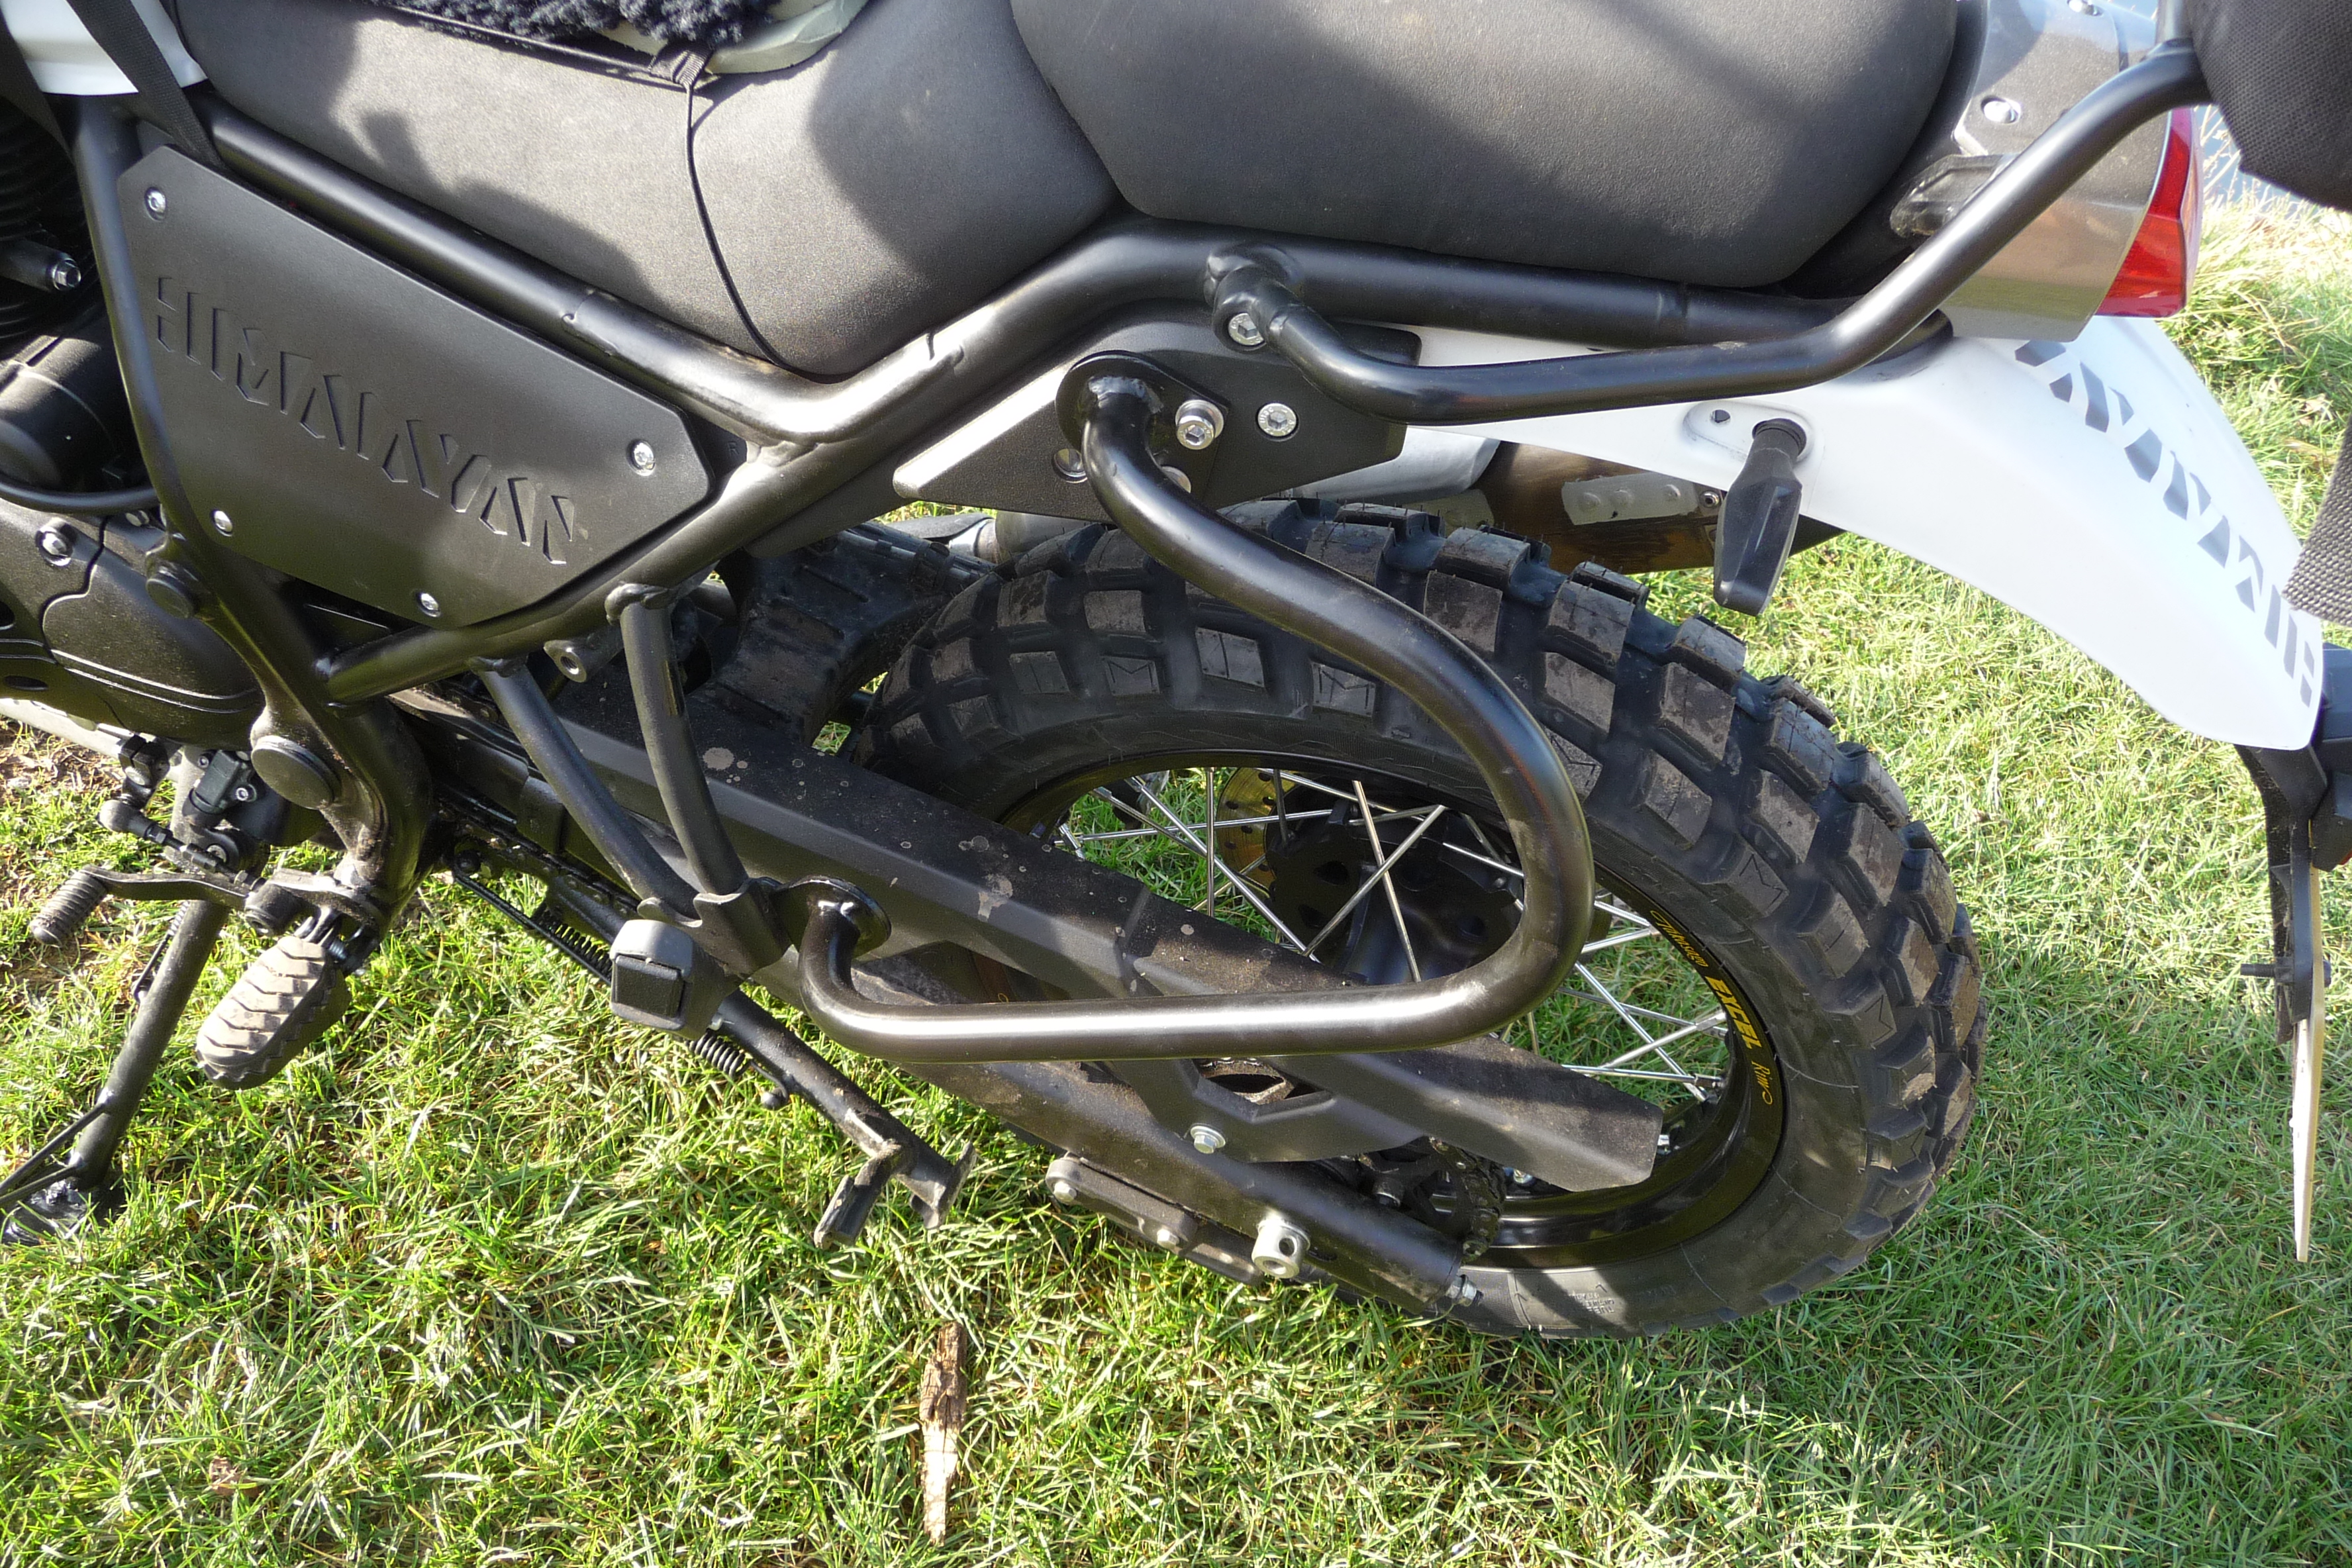
And Simon managed to hand bend and bolt on a pair of very nice unbraced Ear-racks (as I’ve decided to call them). I’d originally bought the RE pannier rack from India for only £77 (right), but while cheap, the thing weighed over 5kg. You don’t need all that metal unless you’re running alloy cabinets. Inset in the circle below, Simon pointed out a weak spot where the lower Ear-rack bolts to the pillion mount which is welded rather bolted to the subframe. But the unbraced rack has some give, plus the soft bags will also absorb impacts, so hopefully it will take quite a crash to break the mount. It actually wouldn’t be hard to brace from the upper curve of the Ear-rack to a point on the stock tail rack, just above the indicator.
Custom-made ‘Ear rack’
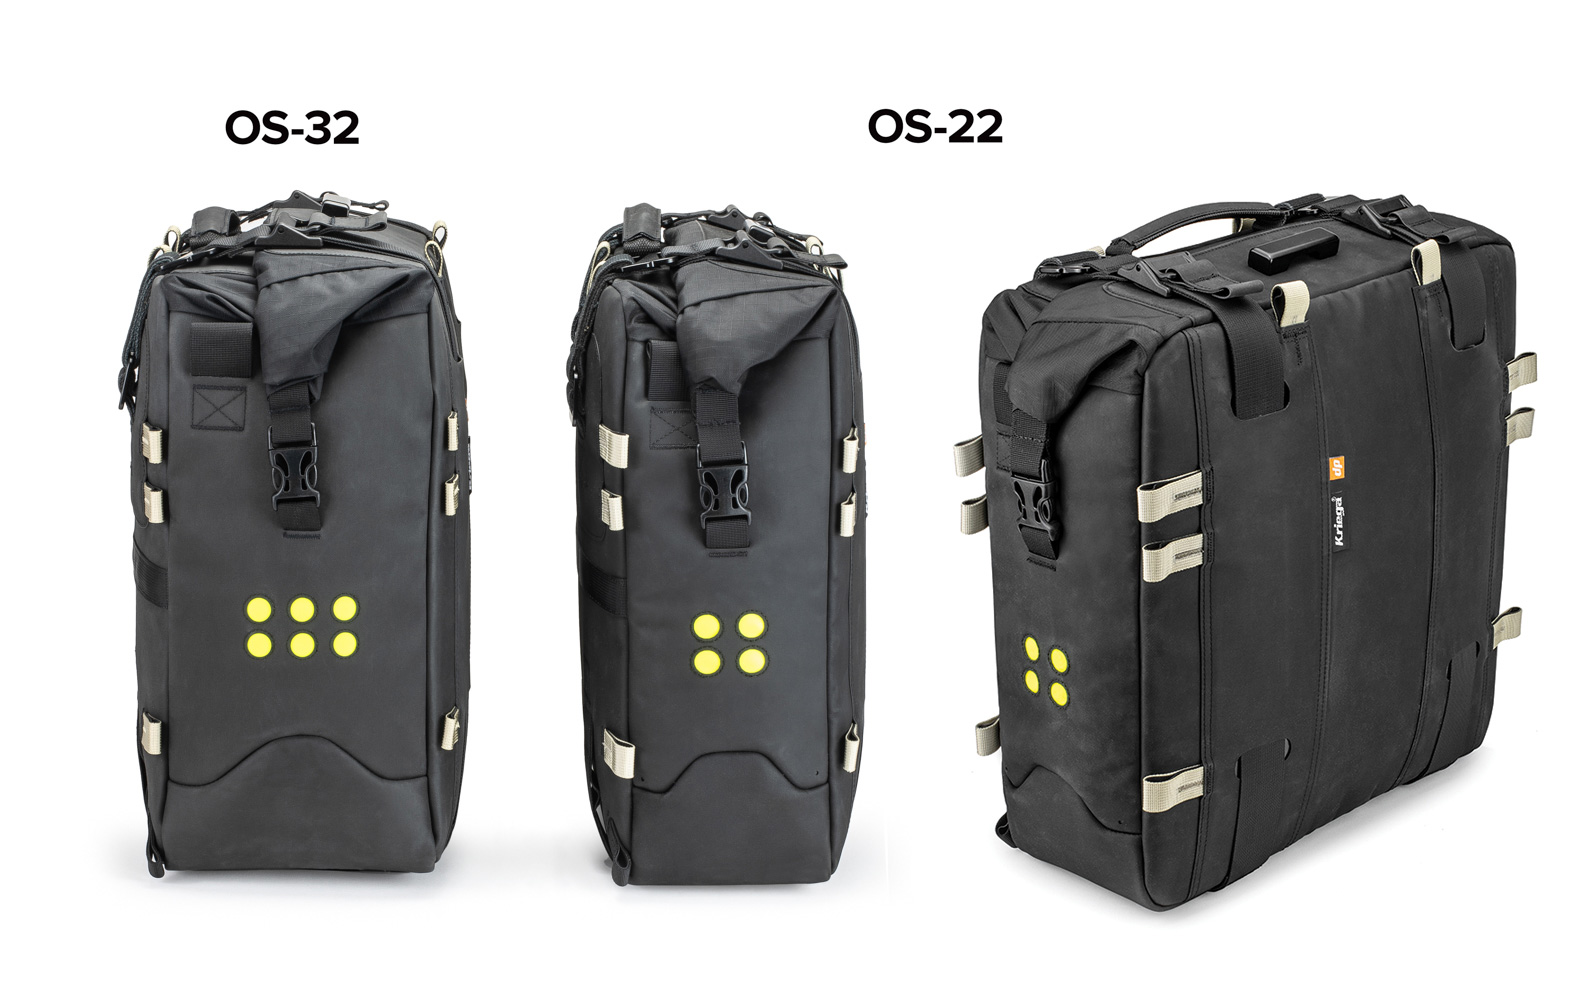
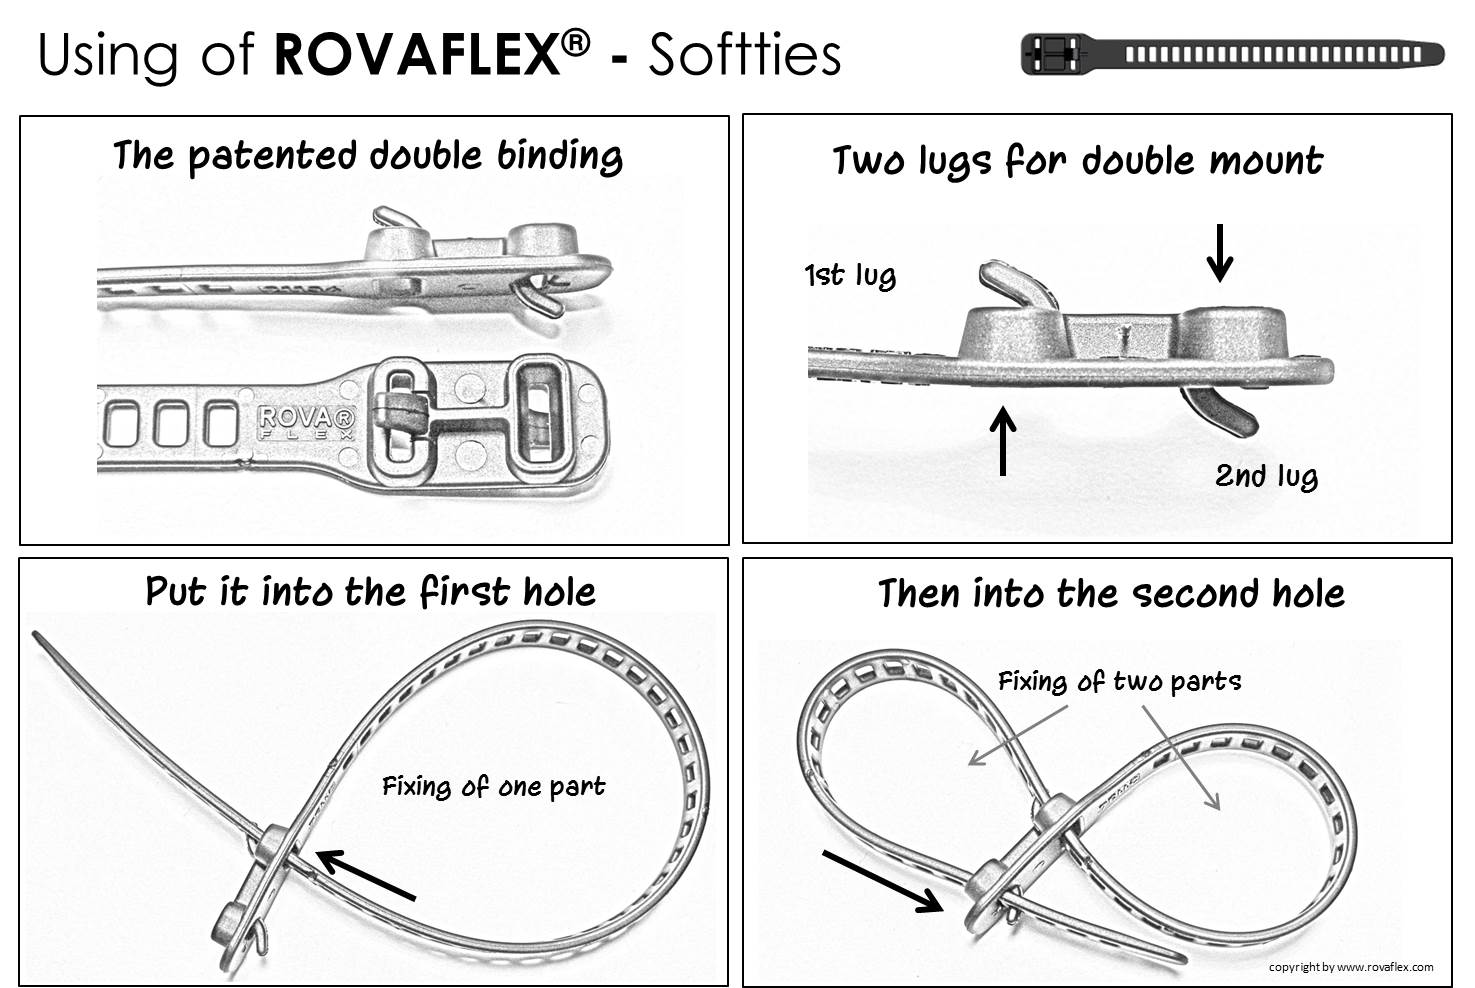
I forget that I’m an unsung Kriega Ambassador; they’ve just sent me a set of their new OS22 throwovers (below) to try out. I was a big fan of the OS32 on my WR250R a couple of years back. The OS22s feel very rugged and weight in at 2.5kg each. This time, to save weight I’ll fit them as throwovers without the platform, and use the tabs on the back to secure it to the Ear-rack with brilliant q/d RovaFlex cable ties (right).
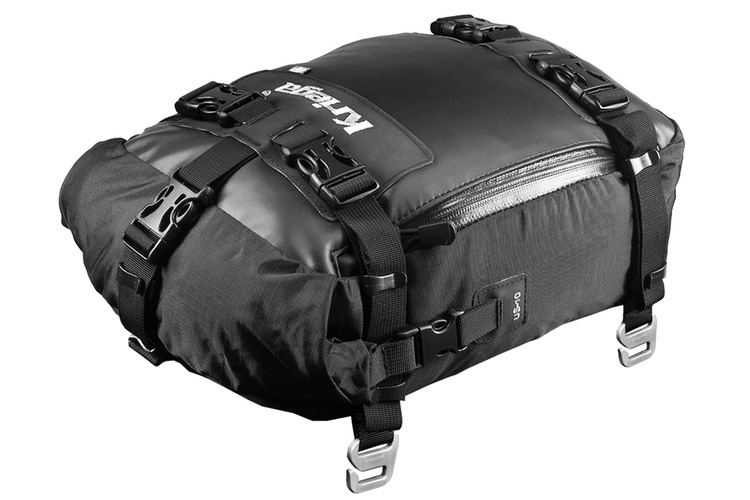
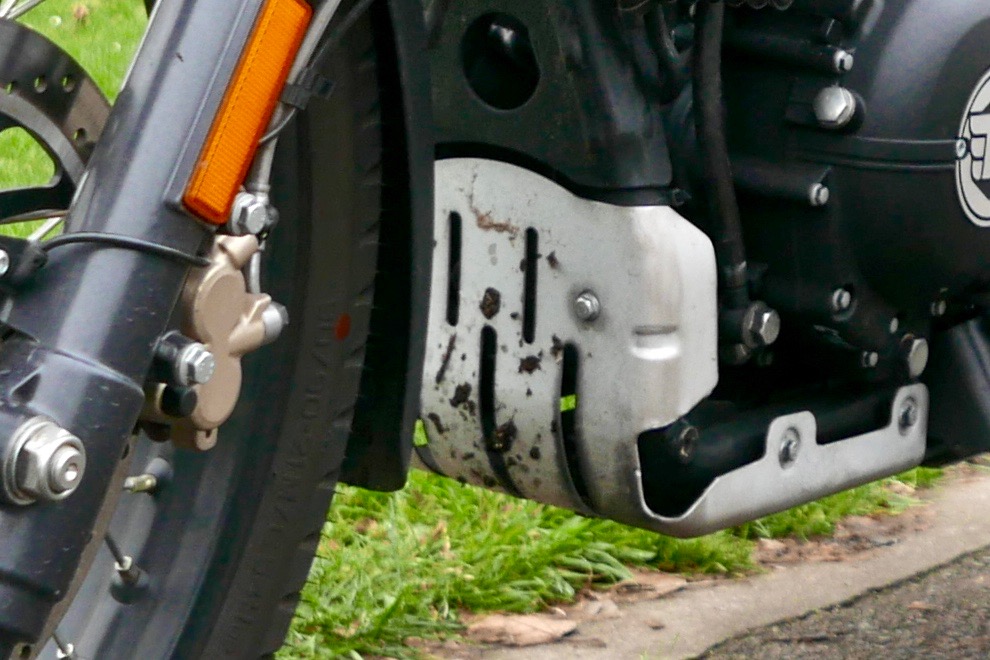
They’re the same size but 40mm slimmer than the 32s which looks quite a lot, but the slack will be taken up on the front by the 6-litre Lomo Crash Bags (left). Hopefully I can get away without my 30-L Ortlieb Travel Zip which can make getting on an off a chore. I have a 10L Kriega Drypack (right) knocking about if I need more capacity.No six-megaton bashplate you say? On the tracks I ride these days they’re more useful at keeping flying gravel from damaging the engine paint. When it gets that gnarly, I’m down to walking pace, ready to deploy outriggers. The new tyres and firmer shock have raised the clearance a bit so the tinny, stock bashplate (below) will do fine for the moment.
Lifting the front mudguard is a good idea now that the fatter 90/90 Anakee Wild is closer to the plastic. One time on the Tenere in Morocco I rode onto recently rained on clay which jammed the front wheel solid. A right faff to clear with Moroccan farm workers milling around saying ‘Oi, you’re front wheel’s jammed, mate!’.
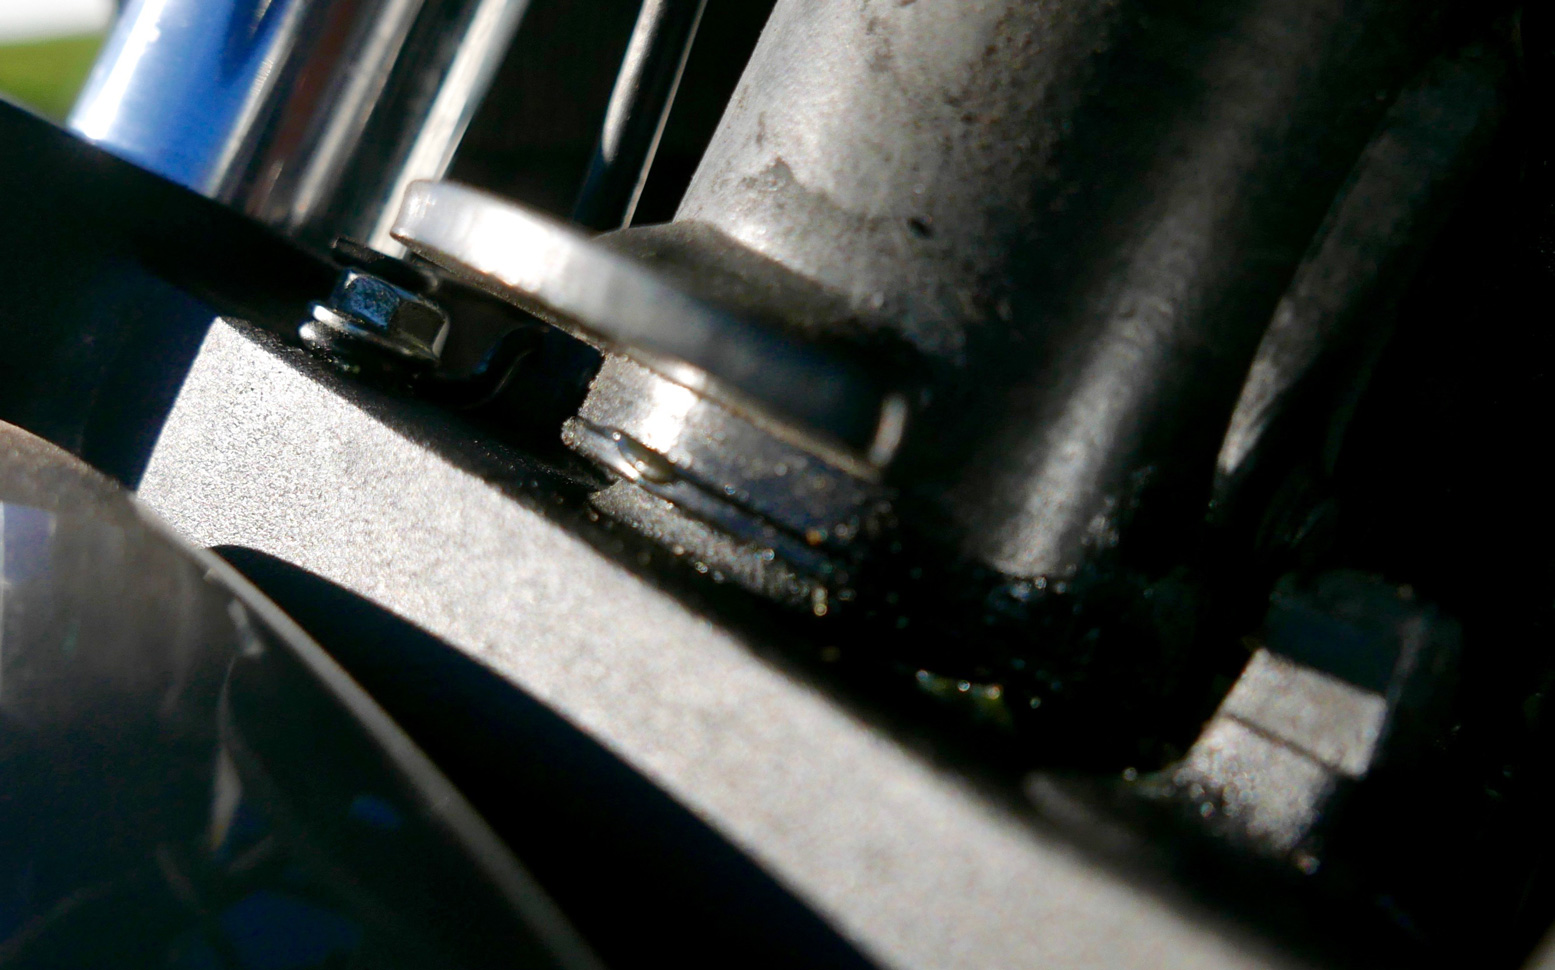
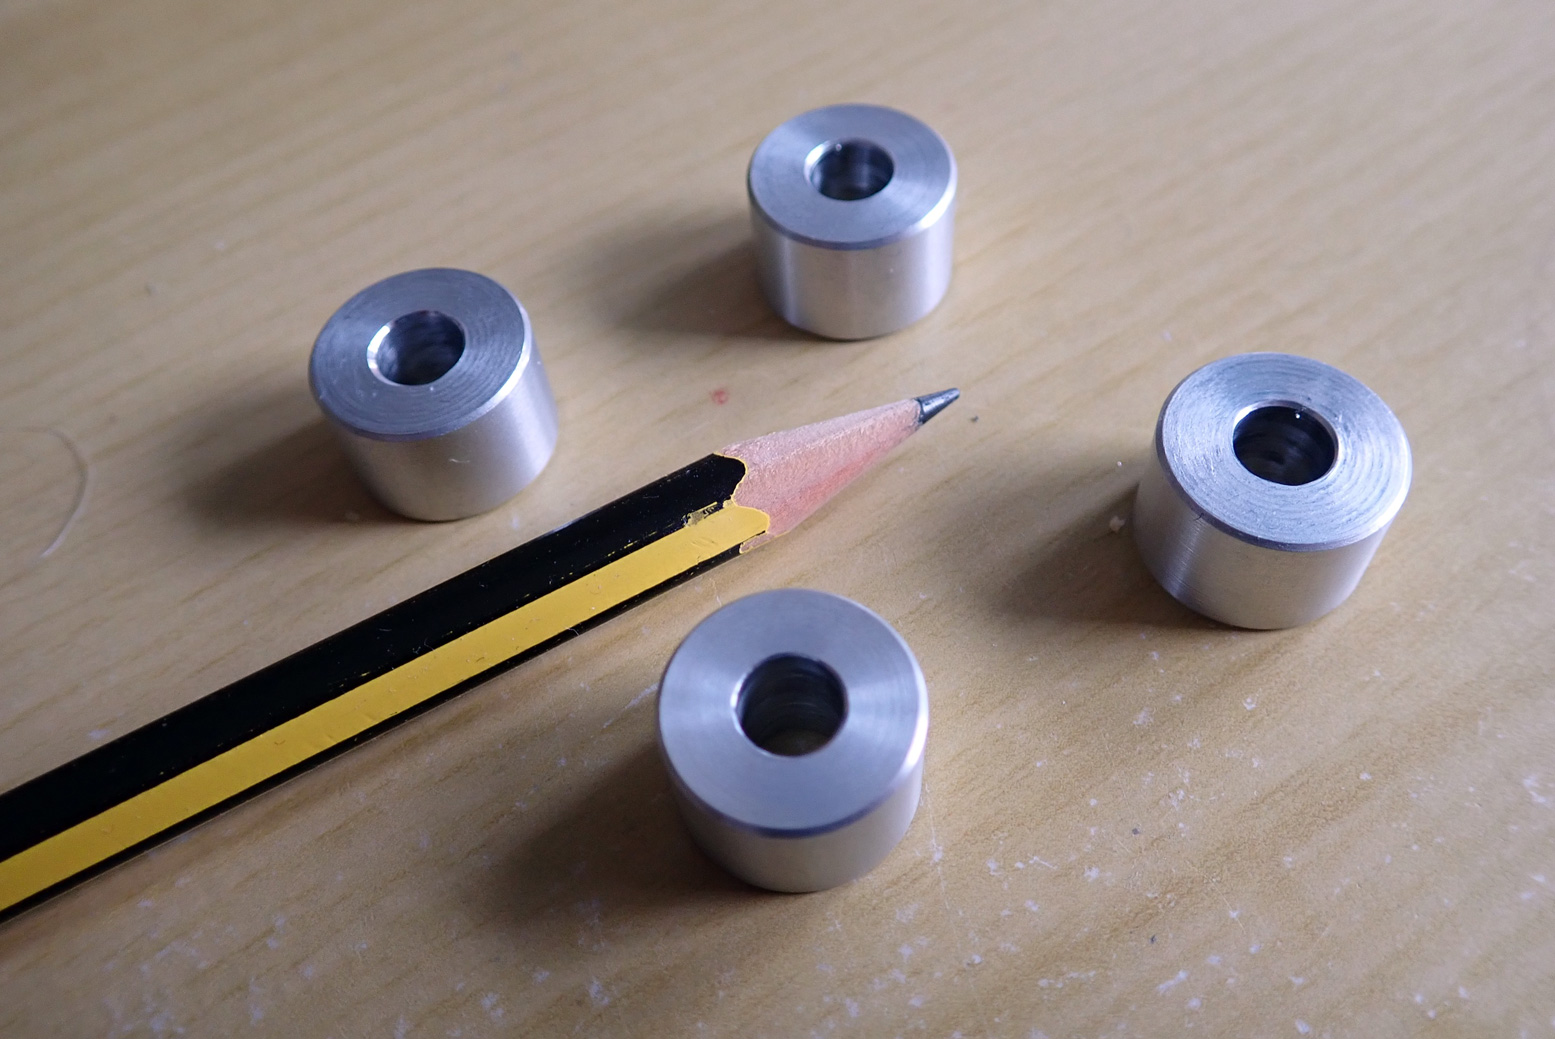
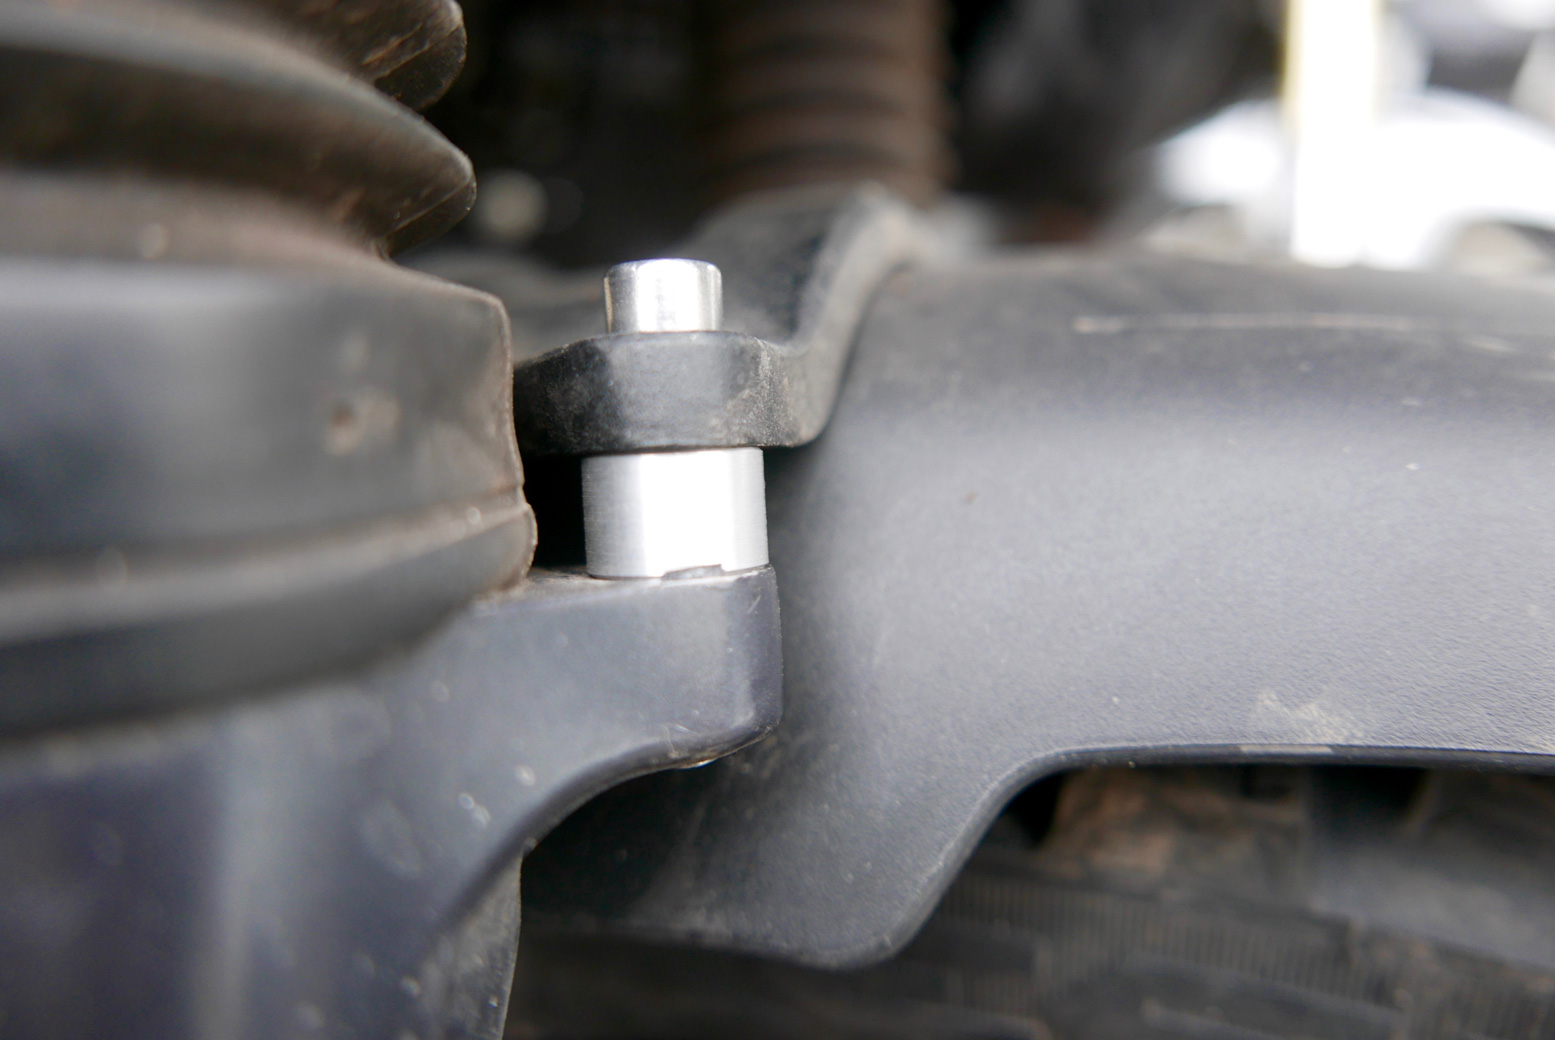
On the Him it’s easily done with slightly longer fork brace bolts (below) and some M6 spacers raising around 10mm, before the mudguard hits the downtube on full compression. It’s worth remembering these spacers (search ebay: ’15mm ø aluminum bushes M6 hole’; right) want to keep a broad contact between the brace and fork mounts as there’s some leverage stress here.
So there it is. Just about all done in one fell swoop, as they say in Simon’s neighbourhood. Riding back to London, initially the Him felt a bit odd as modified bikes always do. The jacked up shock and new Michelins have given the bike an altered stance, but despite the sliding seat pads I soon settled back in to it. It’s not fast, but somehow that’s not frustrating and I’ve yet to put my finger on exactly why. Am I still in the honeymoon period of enjoying the novelty and kidding myself it’s better than it is, as so many owners claim with their bikes? Or with the Himalayan, have Royal Enfield stumbled on some magical combination of looks, gearing, power delivery and value for money which, for the moment ay least, still makes this bike such an enjoyable ride? It’s getting trucked to southern Spain shortly – a liaison stage to Morocco which I’ve done enough times already. We’ll see how I feel once the shine has worn off after a month on the trails and backroads of southern Morocco.
Just back from my first long ride on the REH; a chilly 130 miles up to Simon’s near Bromsgrove to get some work done while I’m away. After what feels like weeks of dawn-to-dusk clouds, I picked a bright sunny day with a very cold northwest headwind. Wiring up the heated jacket would have been too obvious; instead I settled for my old onesie which did pretty well considering it was 2-4°C. I did lessen the windchill by spinning off the M40 at Oxford onto the lovely A44 through the Cotswolds, instead of slabbing all the way up the M40/42/5. So a good road test: weaving across busy London, dual carriageway then motorway, A roads and finishing off on B and C roads. All that was missing was some piste. That will come later.
I have to say I am really quite impressed with the Him. Or should that be relief it’s not anywhere near half as crap as I feared. It starts from near freezing with a bit of cold-start lever and settles readily down to an efi-steady tickover; it manoeuvres through town easily, then spins up to an indicated 65mph with no effort and with what feels like a little in reserve. Things may change but there’s something about the wide, 5-speed gear ratios allied with a long-stroke and low-compression motor which makes the Himalayan satisfying to ride not very fast. Maybe it’s the high torque-to-power ratio – an engine characteristic that’s always appealed to me but rare these days. You’re never in a rush to change up a gear to avoid annoying buzziness because there isn’t any. The speed range in each gear is broad so you can chug through villages without changing. It’s something I’ve not felt on a bike for years – a ride to Cornwall on an SR500 in 1980 comes to mind. And I suspect the weight with a low centre of gravity is a factor too, aiding the planted feeling. Whatever, it works for me for the moment. In the city it felt manoeuvrable, slim and adequately responsive and on the motorway I didn’t feel unduly vulnerable. Once warmed up the fuelling feels spot on and the gearbox is fine as long as you don’t rush it. With long shadows all day, the country roads stayed wet with dew or melted frost, but the Pirelli MT60 tyres gave no moments. The brakes are OK for the speed potential, with one ‘ABS moment’ which unnerved the hard-braking car in front more than me. The shock preload is on the lowest setting but suspension is firm and might even be classified as harsh. Better that than the opposite, although I presume it will soften up and eventually go off. I’m wondering if the YSS shock will even be needed for Morocco. So, my first impressions pretty much match those of my short test ride a few months ago. Some of the negatives I’ve got used to or have proved not to be deal breakers. End of February I look forward to picking up a much transformed machine, ready for the desert.
• Feels easy to ride and manoeuvre, despite the 194-kg kerb weight • Low seat height (800mm; 31.5″) • Indian build quality looks solid • Torquey efi motor starts and fuels smoothly • Pirelli MT60 tyres (as opposed to some obscure brand) • Suspension surprisingly firm • No vibration at up to 65-70 • Oxford grips pack out some heat • It’s different!
• Soft seat foam (for my weight) • Screen too small (for my height) • LED display could be larger and tidier
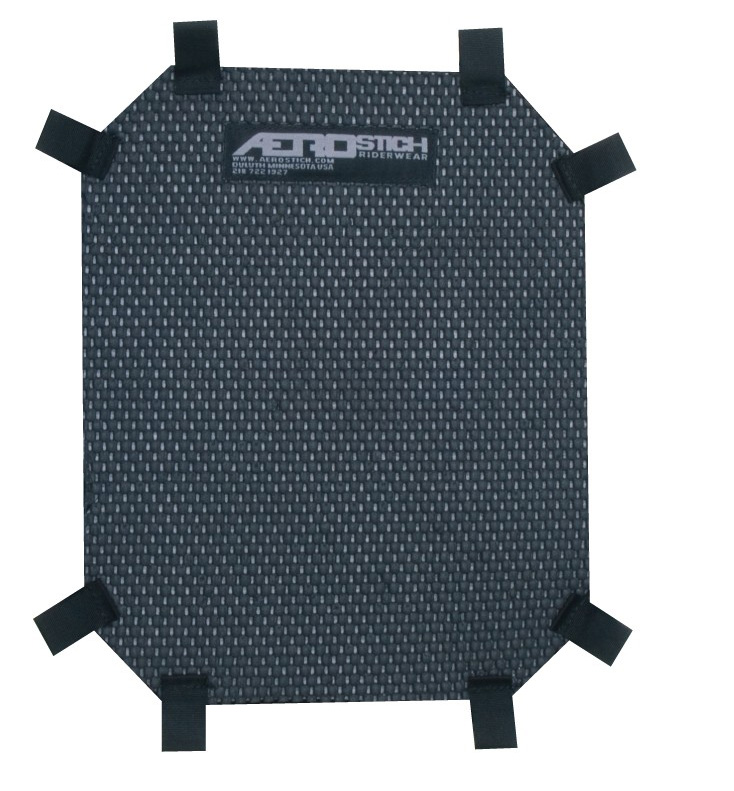
Quick seat bodge A 50-mile round trip to Crawley revealed the need for some urgent attention to the seat, just as I noted on the original test ride. The seat sets my back off, like the WR250 did two years ago. That led to months off games – don’t want that again. I couldn’t put my finger on what’s wrong but assume it’s a combination of dead upright seating position on to soft foam + cramped shuffle space due to the seat step + lowseatheight for my stature (too much knee bend). Unlike the WR, the Him has loads of seat height to spare for my height, so the simplest fix is more padding. I snipped out a couple of layers of cheap 10mm closed-cell sleeping pad (‘karrimat’) kept in place by my Aerostich Sheepskin Saddle pad. You can buy something similar on ebay.uk for £22 but they look rather ‘nice-to-stroke’ furry rather than the tight, woolly curls of the Aeropad which is presumably what provides the required spring and ventilation. The foam sits against the bike’s grippy seat, and the underside of the Aero also has a non-slip texture (right). Came the day I set off up the A44 and… for the 10-minutes of bodging the ride comfort was a slight improvement, but not night-and-day. I did the 3-hour run non-stop and didn’t feel crippled on arrival which must say something, but I was too cold to feel anything much. Any height gain felt negligible but the step did feel a little reduced so I can move back a bit from time to time. The cheapo foam I fitted was way too soft, but now the idea’s proven, I found some firmer slabs of rubber foam, trimmed and rounded them off to profile the seat, then fixed it under Aeropad. It looks a bit rubbish and the wool of course prone to getting- and staying wet. I later fitted the foam slabs under a Cool Cover and it worked well.
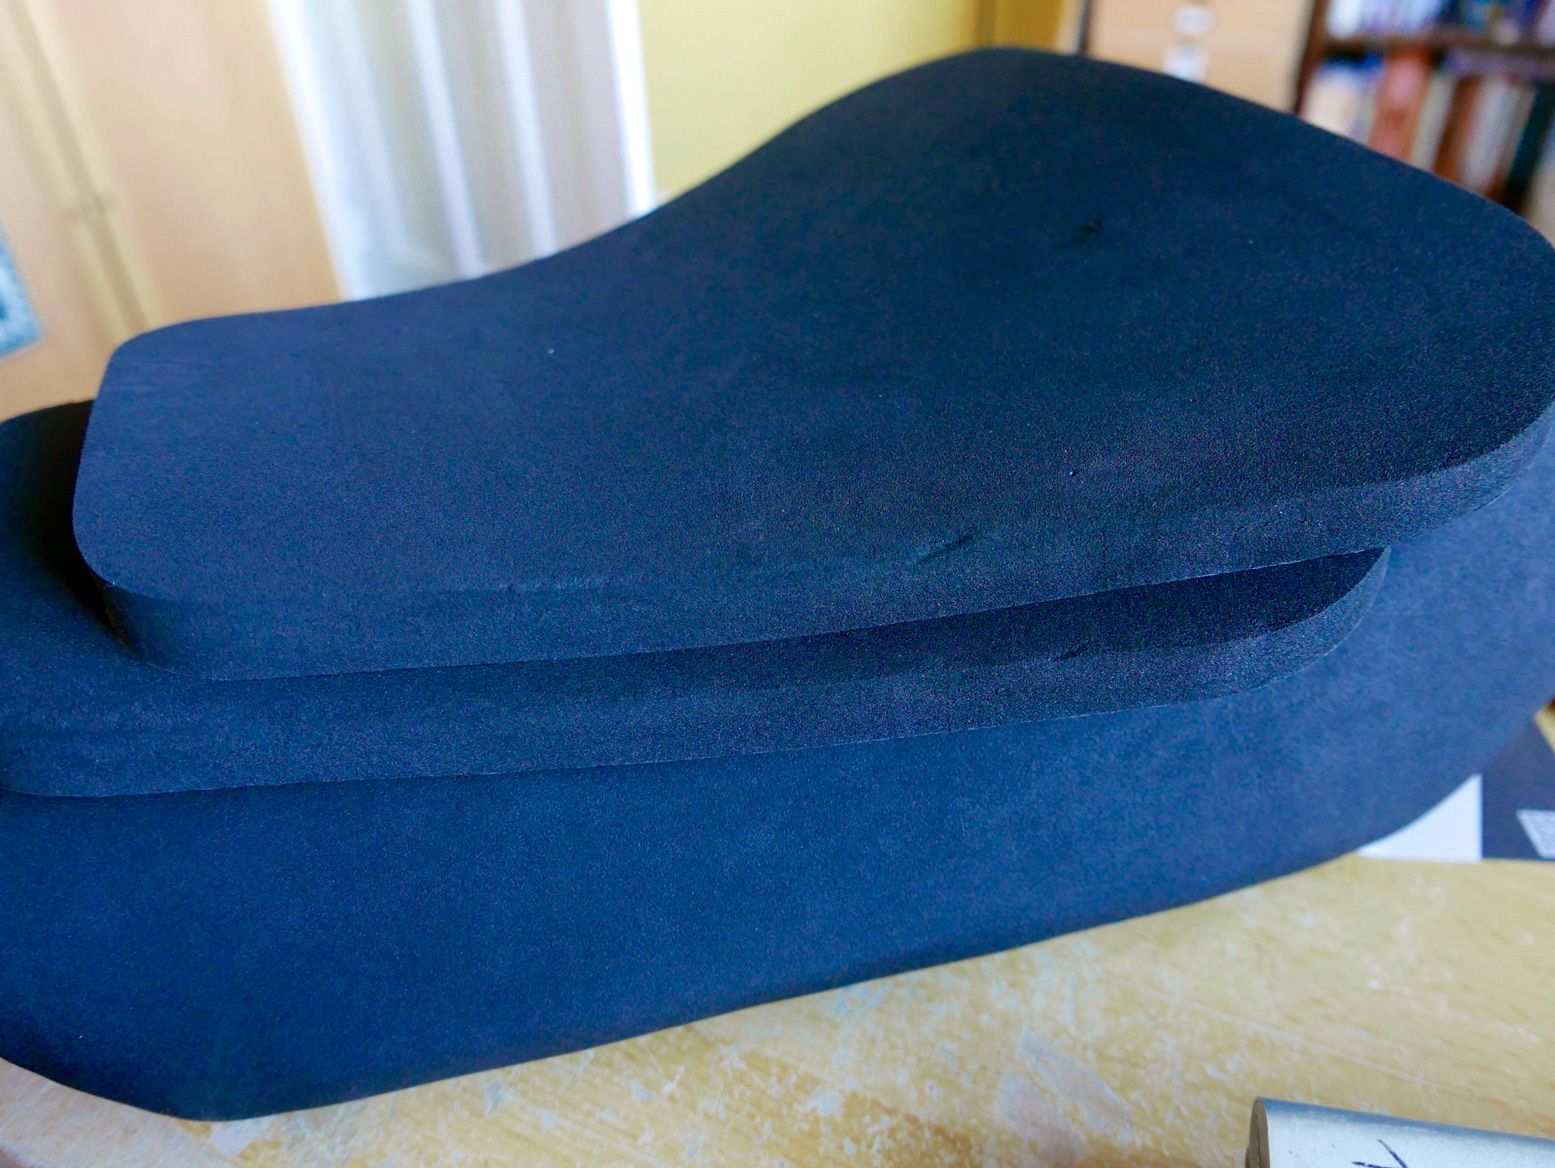
Rubber foam slabs cut to shape. Not sure it’s rubber? Stick a lighter to it; you’ll recognise the smell.Under the Aeropad – it helped level off the 2-part seat but looks a bit crap.Adhesive surfece peeled back and two 20mm trimmed pads stuck together.Underneath the Cool CoverInstalled on the bike – nearly level. A few years later I used the same bits of foam to improve my 300L
It’s not impossible to get a bit cynical about the flood of gimmicky gadgets, products or optional features which modern technology has enabled, not least when associated with ‘adventure’ + ‘motorcycling’. But I believe that for the: • price • ease of fitting and • non-interfering redundancy a wireless Tyre Pressure Monitoring System is a worthwhile addition to your bike, whatever you do with it.
For as long as I’ve been on the road, tyre makers and road safety tsars have harped on about the importance of maintaining correct tyre pressures. They’re right of course: doing so is a major contribution to road safety for the reasons illustrated vividly in the videos below. But modern bike tyres are so good that I’ve often inadvertently ridden on drastically under-inflated tyres for weeks and not even noticed.
Add the fact that on some bikes the valves can be awkward to access with tyre gauges which themselves are hard to read or flakey in les developed countries. Plus it’s all grubby down there and your knees/back are no longer like Nureyev in his prime. Unless you’re a certain type of ATGATT swot, for day-to-day riding it’s all a bit of a faff to check tyre pressures as regularly as they advise. And yet your bike’s other vital signs: oil pressure, battery charge, temperature, lights and even which gear you’re in – are all conveniently lit up right there on the dash.
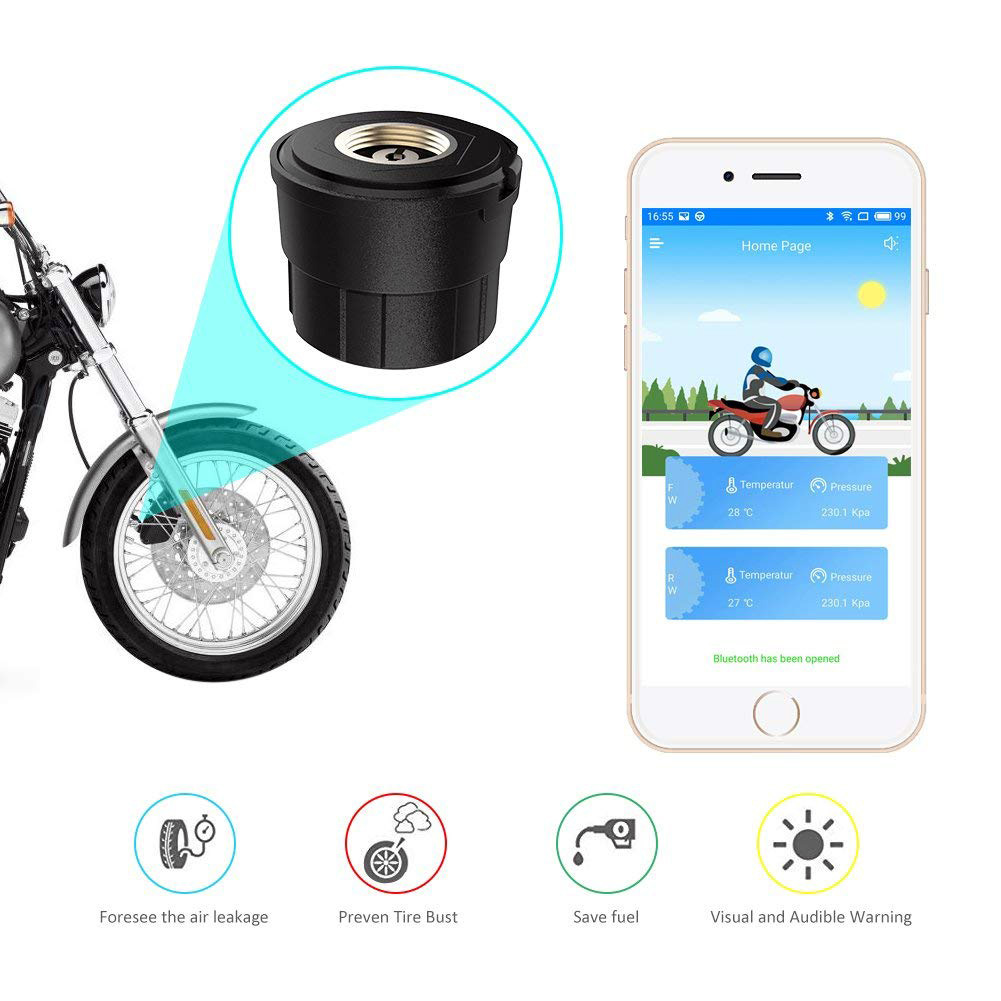
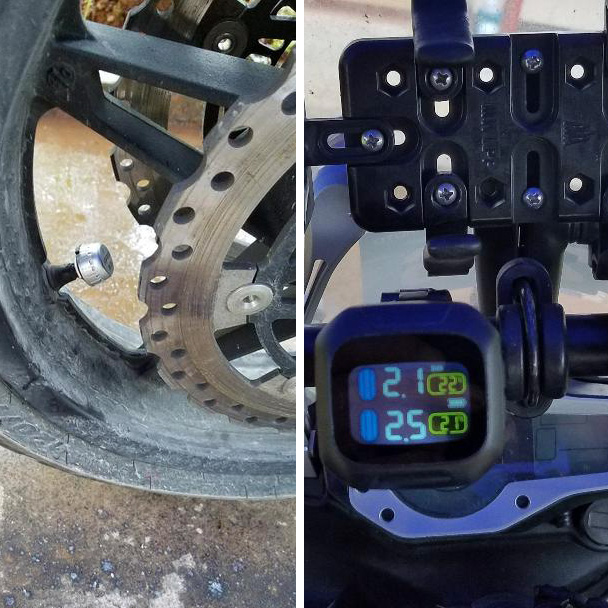
Tyre Pressure Monitoring System The problem has always been how to read the pressure inside a tyre that’s spinning around at 1050rpm. Solution: inexpensive wireless technology. A TPMS is ingeniously composed of two replacement valve caps fitted with centrifugally activated pressure sensors.
They pair wirelessly with a watch-sized display mounted where you can see it (or beamed to your indispensable smartphone; right). The TPMS display is either powered off the bike’s battery or is rechargeable in some way, so it’ll work on anything else with a regular Schrader valve, even a pushbike. Result: real-time tyre pressure and even temperature monitoring (right). And best of all, the USB rechargeable ones like the Michelin-branded one I tried, don’t interfere with the bike’s systems in any way. If the caps play up, just refit the old ones. They weigh as little as 8 grams so are unlikely to cause tyre-balancing issues at normal road speeds. Over the years I’ve found DIY, as well as other tubeless conversions like Tubliss and BARTubeless, have gradually lost air pressure faster than a regular tyre, tubed or OEM tubeless. And this is even when not run at very low psi where the tyre could conceivably ‘burp’ out some air over a bump. With any sort of DIY tubeless conversion, I highly recommend fitting a TPMS; certainly in the early days until you know how good the seal is.
Tyre pressures increase with elevation as ambient pressure falls, but they also drop as temperatures fall. For every 2000 feet (600m) you climb, the pressure will increase by 1 psi and will fall by the same amount for every drop of 4°C (10°F). But as temperatures naturally drop with elevation, things kind of balance themselves out.
Riding Off-Road As we all know, lowering tyre pressures greatly improves traction on loose surfaces and can transform a bike from a mindless shopping trolley into a hyper-sapient roller blade. But when you lower tyre pressures, temperatures in the tyre carcass soar as it flexes and influxes much more on each rotation, just as you get hot exercising because your muscle tissue is rubbing. And as tyres heat up pressure readings climb. (This is why cold tyre pressures should be your baseline). In this hot, rubber-softened state a tyre is much more prone to punctures and other woes.
Off-road I tend to keep pressures as low as necessary but as high as possible. Usually erring on the high side at the cost of a comfy ride, so weary am I of repairing flats on tubed tyres in the middle of nowhere (left). A TPMS won’t stop punctures but at least you’re able to observe how pressures climb from a cold start and what they’re actually doing on the dirt, so helping eliminate the guesswork of ‘press valve for 2-3 seconds’ or the nagging feeling of ‘should I stop and inflate a bit?’
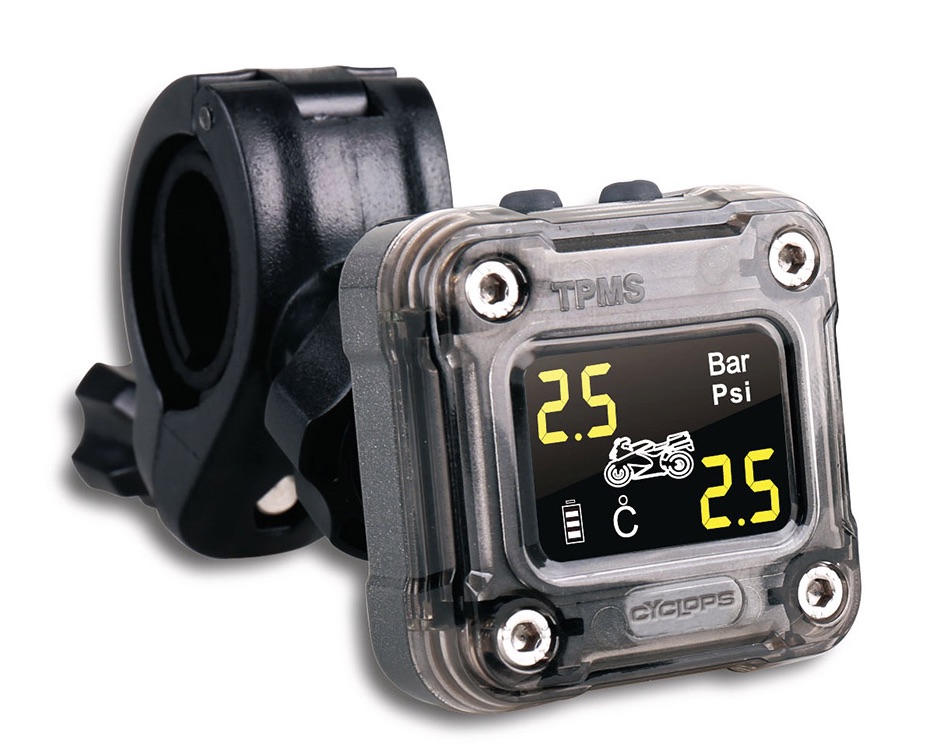
You can buy obscure-brand TPMS kits for your bike off ebay from £30 for the smartphone-only ones. About £50 seems a good price for a decent one. Here’s an Advpulse review on a hardwire Cyclops TPMS (above left) which sells in the US for $130. Cyclops aren’t tyre specialists, they just sell gadgets and a near-identicallooking kit can be bought on ebay UK for about half that price (above right).
A TPMS is one gadget I wish I’d had on my Tenere back in 2007, if not all my desert bikes over the years. I fitted Michelin’s one to my all-tubeless Himalayan and semi-tubeless Africa Twin in 2020. Read the review.
For what you pay and compared to vaguely similar bikes, Royal Enfield’s 2018 BS4 Himalayan comes very well equipped: centre stand; small tail rack plus tank sideracks; small screen; 15-litre tank giving a 400-km range; a small bashplate plus suspension that need not be instantly written off. Most of those items won’t need improving, but when did that ever stop anyone? Below, I throw out some ideas to help turn the Himalayan into a functional overlander. As with all my project bikes dating right back to the XT500 of 1982, I like to experiment with new stuff and new ways of doing things, much like Enfield’s Himalayan itself. It’s all part of the adventure and if nothing else, it’s good for the book.
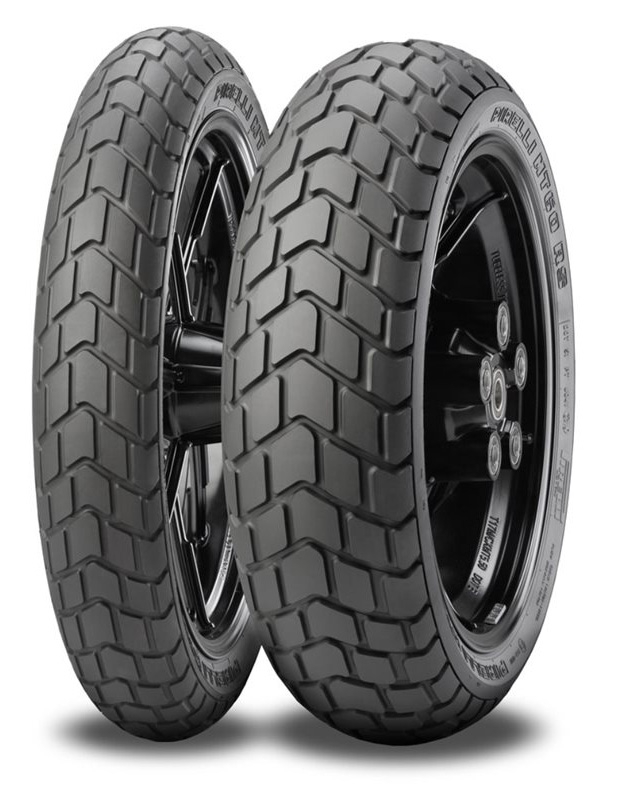
Wheels & Tyres Out of the showroom REH’s come shod with Brazilian Pirelli MT60s (right; mine stamped ‘2012’…). The spoked rims are steel: 21 front, 17 on the back. The Pirellis would have been OK for a regular Moroccan ride, but because I’ll be heading into the sands this time, tread becomes a little more critical. Below, some tyres of interest: Motoz Tractionator Adventure; Anlas Capra X and Michelin Anakee Wild.
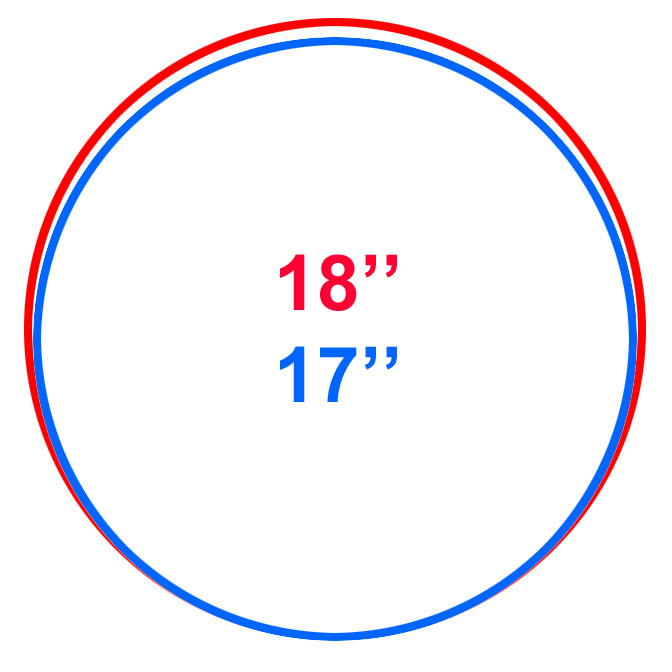
Confirmed: 17 is smaller than 18!
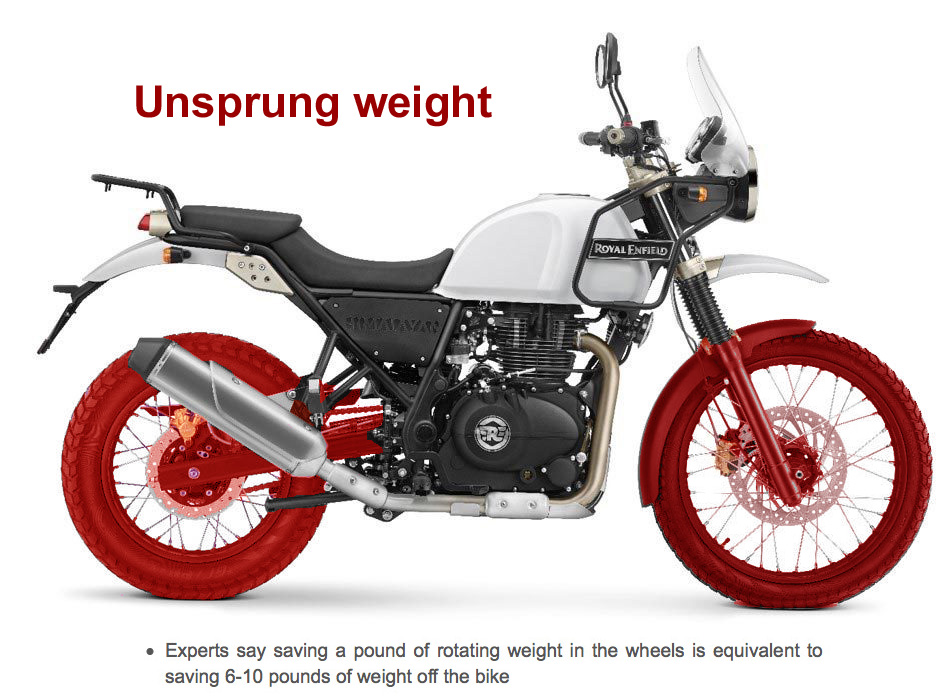
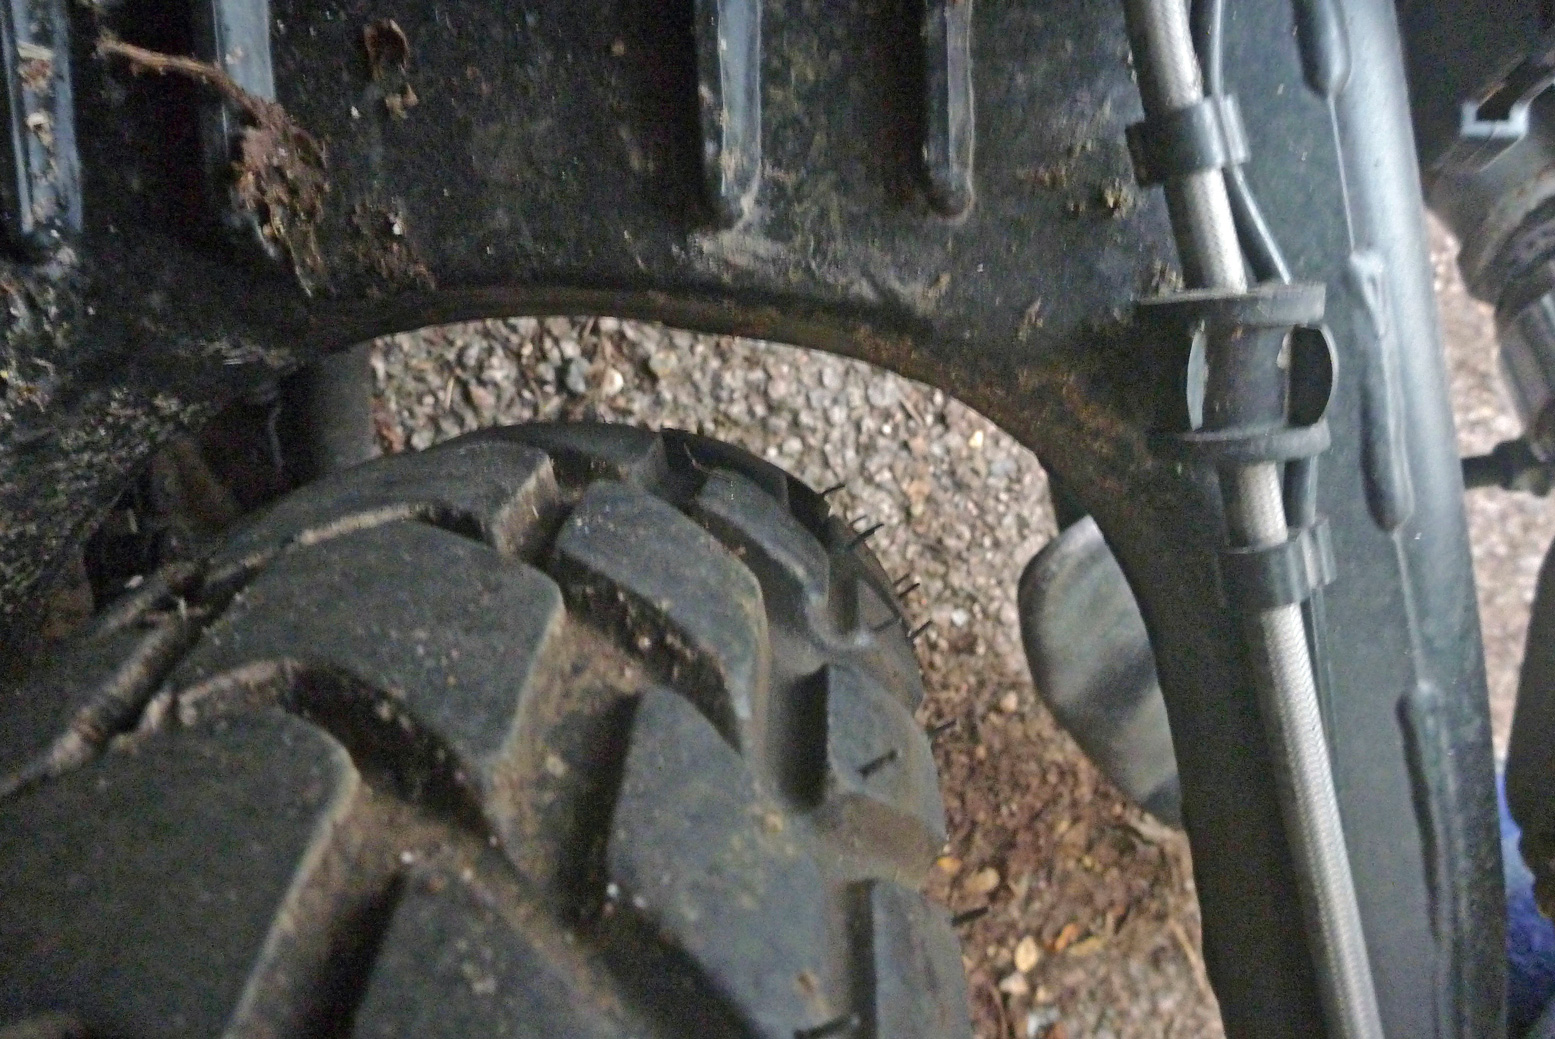
One thing I’ve quickly discovered is that none of the above tyres come in the stock 120/90 17 size. The only similar tyre I know of is Mitas’ E-09 which I tried on the XR400 in Algeria; a great desert tyre. Generally 17s tend to be low profile tubeless-ready adventure tyres suited to bigger, more powerful machines, and 18s are for traditional dirt bikes with taller profiles giving more sidewall ‘suspension’ or ‘footprint’ at low pressures. The above trio come no smaller than 130/80 17. There’s probably only a few mil in it, but I’d rather not go overboard with a ‘bigger-must-be-better’ rear tyre. Too much rubber to rotate will make the Him even more sluggish. Swingarm space with the stock MT60s (left) shows plenty of room to the sides but about an inch at the front, so for a replacement, actual dimensions may matter. The MT60 is 122mm wide and currently 93mm high from the edge of the rim. The swingarm gap will increase a little as the tyre wears and the chain stretches. Ratio-wise, 120 x 90% technically = 108mm tyre height, while 130 x 80% = only 104mm, so a 130 ought to have a lower profile or height. So even a 10mm wider 130/80 17 tyre will easily fit the Himalayan. Interestingly, an Anakee Wild 130/80-17 M/C 65R TL weighs nearly 50% more than a Wild in 120/80-18 M/C 62S TT (5kg) because the former is tubeless and aimed at heavier 17-rear bikes. An Anlas CapraX 130/80 B17 weighs 6.1kg. Motoz don’t know yet. Fitting an 18-inch rim might expand tyre choice at the slim 120/90-ish end. But with half an inch more radius in the rim, taller 18s could become a squeeze against the front of the swingarm unless a chain link is added to move the wheel back a bit. An additional incentive to move to an 18 is a chance to replace the stock steel rim with an alloy rim which will be a bit lighter. Suspension and steering, as well as acceleration/braking all react more readily if the unsprung weight– red, below – is kept to a minimum.
I read on the internet that the effects of unsprung weight includes the rotational mass of the gyroscoping wheel, plus – at non-rallying speeds – the less critical up-and-down mass the suspension has to control (image below). Additional unsprung weight takes more power to turn that mass, more brakes to slow it and better suspension to control it. This mass can be reduced by carefully considering tyre weight, not just the size, tread and price, going tubeless (eliminating heavy-duty inner tubes), as well as lighter rims, chain, rear sprocket materials; forks/swing arms and braking components. I’ve always thought this is a much overlooked area of weight saving on bikes, where changing a pipe is often used as an excuse to save weight. I remember the alloy front wheel on my XT660Z weighed a ton, partly because of the OTT twin discs when one good disc was all that was needed. Cheap stuff can be heavy, even in alloy. The image below illustrates how much greater the reaction forces are with heavier wheels. Put another way, it’s why your trainers weigh only 320g. ‘Add lightness’ as the old racing adage goes.
Unsprung durch Technik
And if I’m messing about with rims it would be a shame not to go tubeless, for all the usual reasons. See the link, but basically it’s: DIY mastic as on my 660 Tenere, Outex tape (~£70, never tried), BARTubeless (~£320, as on the 500X RR) and Tubliss (~£180 a pair; as on my GS500R), or a suitable rim (rare/expensive). If I go to an 18 I’m thinking of giving the 2nd generation Tubliss (right) another go as it’s an easy and inexpensive fit, but they only come in 21, 19 and 18 inch, not 17.
Is this all going a bit far with a humble Himalayan, or making the most of its potential? Will I or the bike notice the difference of a lighter wheelset, once all the other junk is added? Unfortunately I don’t have enough time to get a solid riding impression of the stock bike before setting off.
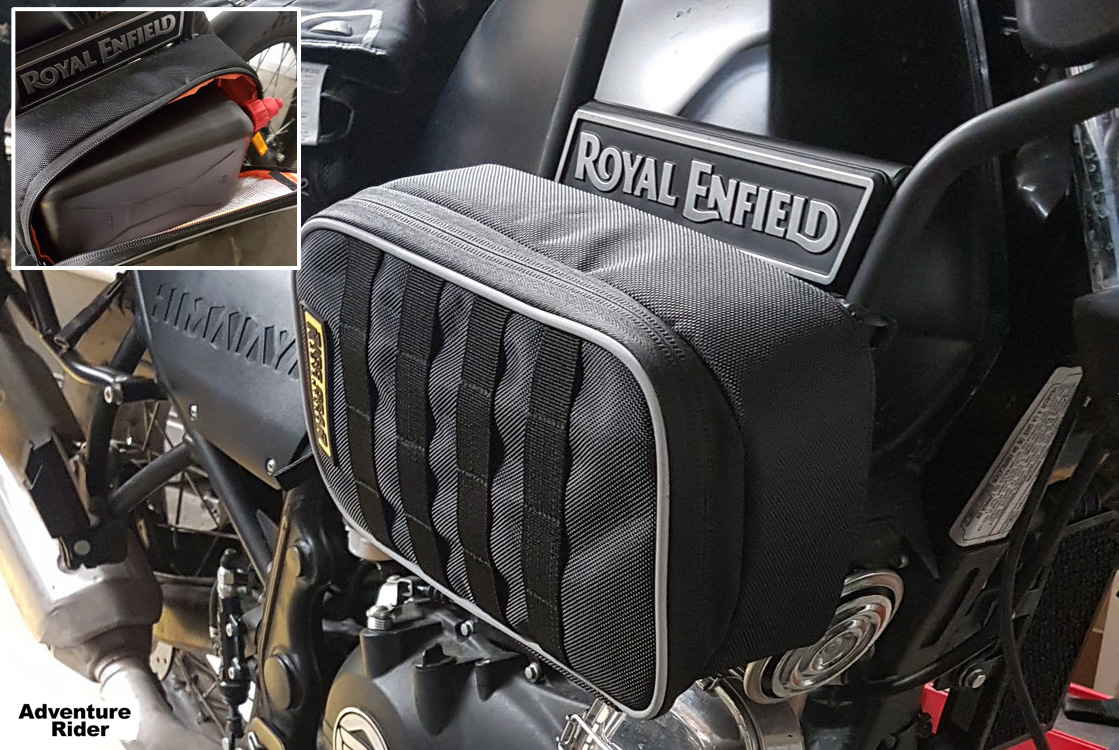
Load Carrying One of the REH’s distinctive features are the tank racks which some mistake for tank protectors. They’ll do that too but to me they’re clearly a handy place to lash items or bags. The previous owner had a similar set-up using Kriega drypacks and helpfully wrapped the Royal Enfield badge in string to stop it getting worn away.
Kriega is one way of doing it, so is Lomo who’ve sent me a pair of their PVC roll-top crash bar dry bags to try (£39 pair). At around 6 litres each they look ideally suited to the racks. I plan to mount them semi-permanently and will use Lomo’s same-sized orange ultralight dry bags (£3) to lift everything out easily when lodging. In the US the more boxy, 3L Rigg fender bags (right) look like a neat fit too.
Then, once I zip on my Giant Loop tank bag, most of my daytime needs will be in view and at arm’s reach, meaning what’s behind can be left strapped in place. It may even mean I can do without a daypack on my back, plus the crash bags will keep the wind and rain off my creaking knees.
For the back an Enfield pannier rack is has just turned from India for under 80 quid. Looks like a hefty set up – it weighs over 5kg. You’ll find them sold on ebay, or at twice the price from UK sellers. I’ve not decided what bags I’ll use on the side. At the simplest I can just lash on a couple of rugged PVC dry bags, as I did with the Rally Raid 500X a couple of years back.
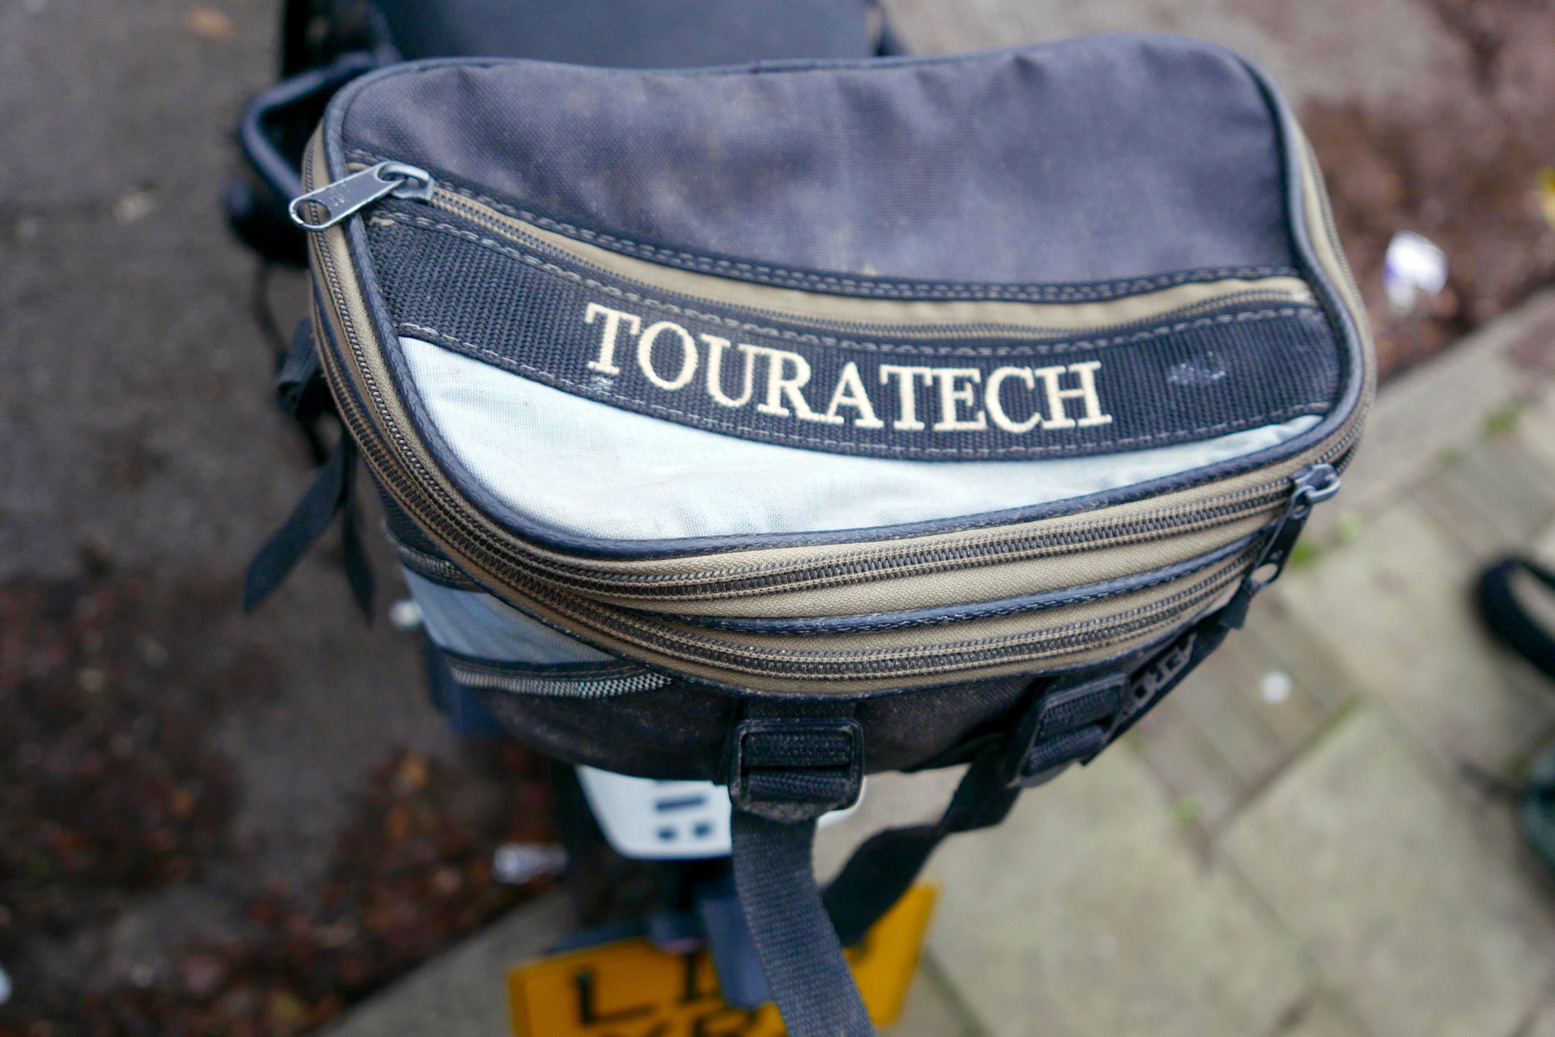
And right at the back the narrow tail rack has taken my long-suffering Touratech tail bag – one of my all-time travel luggage favourites. Having all these bags spread around the bike is handy for access, compartmentalisation and weight distribution but at, quite literally, the end of a day, it does mean more faffing about to get it all indoors when the parking is less than secure.
Comfort: handlebars; screen; saddle The bike came with Oxford heated grips – luvlay juvlay. My old Barkbuster Storms will also get their nth outing on an AMW project bike, but it looks like they’ll require BTC 06 curved adaptor clamps (right) to get under the brake lines and so on (they didn’t fit).
Talking of which, with this ABS model (brake line goes under tank to the pump, not straight down to the wheel) I’m not sure there’s enough slack to get much more than an inch of lift on the bars, which means my 50mm Rox Risers may have to sit this one out (they didn’t). Non-ABS Hims ought not have this problem. As it is the stoop for me isn’t too bad and the general position is of course much better than the XSR. I only tend to stand when I must, but that’s partly because I rarely ride a bike where prolonged standing off road is comfortable. One way to dodge the stoop is to lower my height by removing footpeg rubbers. Wearing very thin socks also helps. Fyi: ABS switch hack.
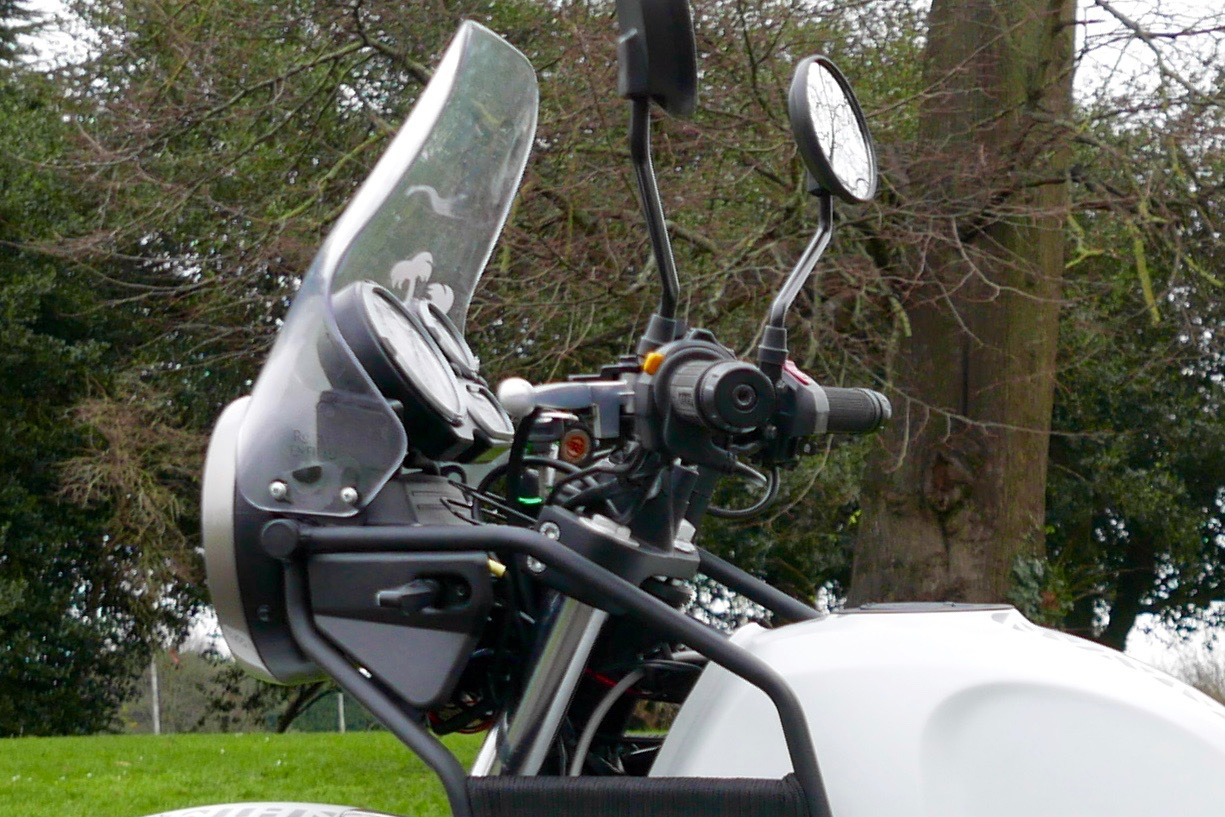
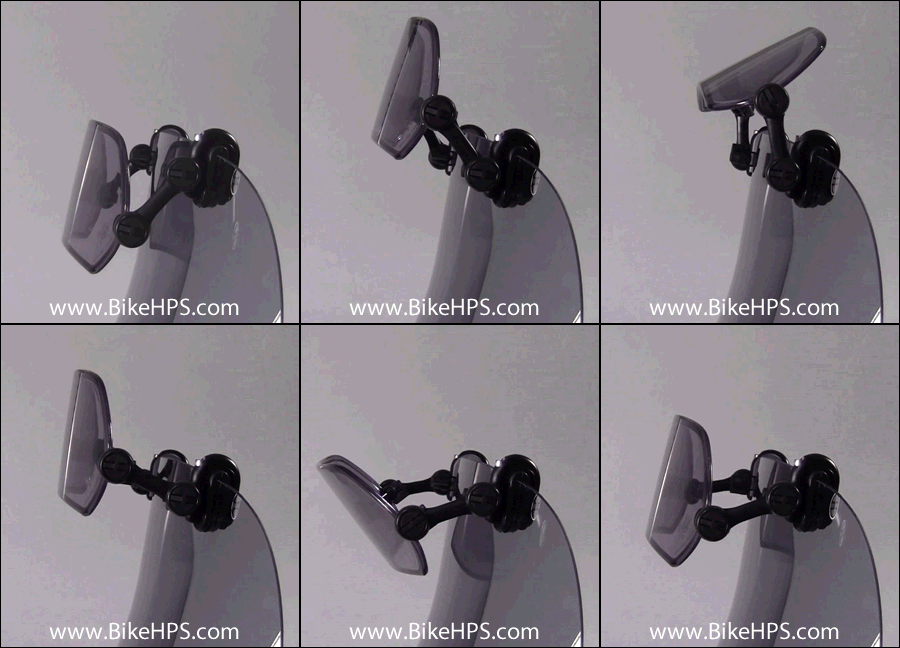
The screen is better than nothing and has a tiny bit of fore and aft adjustment. It’ll be all that’s needed off-road; less so for a long cross-country ride. You can get those clip- or bolt-on deflectors like the adjustable MRA Xcreen (below right) which I had on a recent Tiger (we don’t talk about that bike) and which worked well for what it was. Or Hitchcocks Enfield specialists do a taller version, but only by 60cm. Changing a fixed screen is a gamble while others have found chopping it right down greatly reduces buffeting. Much depends on your helmet, height and attitude to discomfort. You’ll never get it right all the time and it’s all part of the biking experience, so unless you know what works for you, by far the best screen is something adjustable like the Xcreen or the Palmer I had on the CB-X.
It doesn’t feel like the seat will sustain my post Xmas mass, sprung or otherwise, for more than an hour or two. Nothing new there. I’m getting a mesh Cool Cover to test. One good thing with fitted covers like this, as opposed to airbag seat bags, is that you can securely stuff added padding underneath without having to do a reupholstery job. I’ve got an old Aerostich lambs wool seatpad (left) which used alone may have had its day, but under the Cool Cover may add a bit more cushioning. One good thing on the REH is the two-part seat; it makes any foam-hacking job a bit less terminal.
Suspension I’ve often wondered how much more it costs in time and money to make stock suspension which works out of the crate. There must be no shortage of data and algorithms, so maybe it’s the time in fine tuning an individual model where the costs pile up. We’re so used to regular bikes coming with great engines which can sing and dance in four time zones, but have adequate suspension which presumably is expected to work for most riders at moderate speeds. Crank up the speed or reduce the surface quality and composure soon slips away as suspension travel gets eaten up, as I found on my CB500X and XSR700. But on my BMW XCountry I discovered what decent suspension actually meant: not that obvious on road, but a whole new world of control as dirt turns gnarly. Problem is that’ll be no change from €1000 and trip to Holland, please.
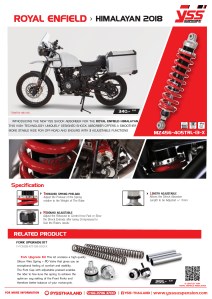
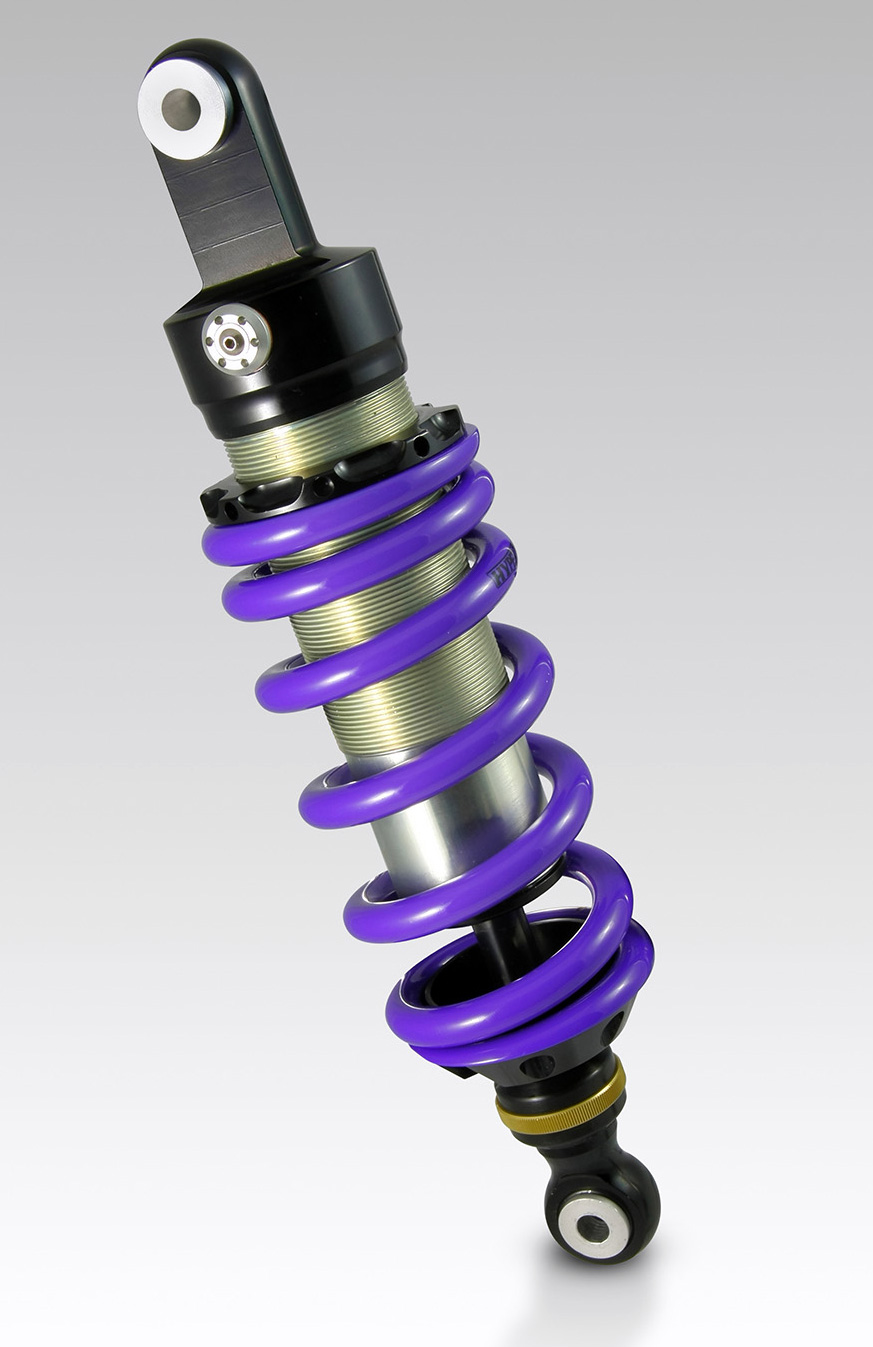
Many reviews say the Himalayan’s suspension is pretty good for what it is, which is all the more surprising when you look at the seemingly spring-bound stock shock above. I read it’s not trying to be progressive but a dual rate spring and in fact there is a 2mm gap between the closely set coils. Currently the only outfits offering shocks are Hyperpro (right; €500) and YSS (left; made in Thailand). Unusually, both come with rebound damping but the YSS also has adjustable height and was just £270 from Wemoto on special. For that price it’ll be worth a shot and the option of dialling in a bit of extra height will be handy. As it is, the bike tends to sit a little too upright on the sidestand and adding a sandfoot won’t help. And also if I do go for an 18-inch rim where the tyre range is taller, a bit more space will be handy
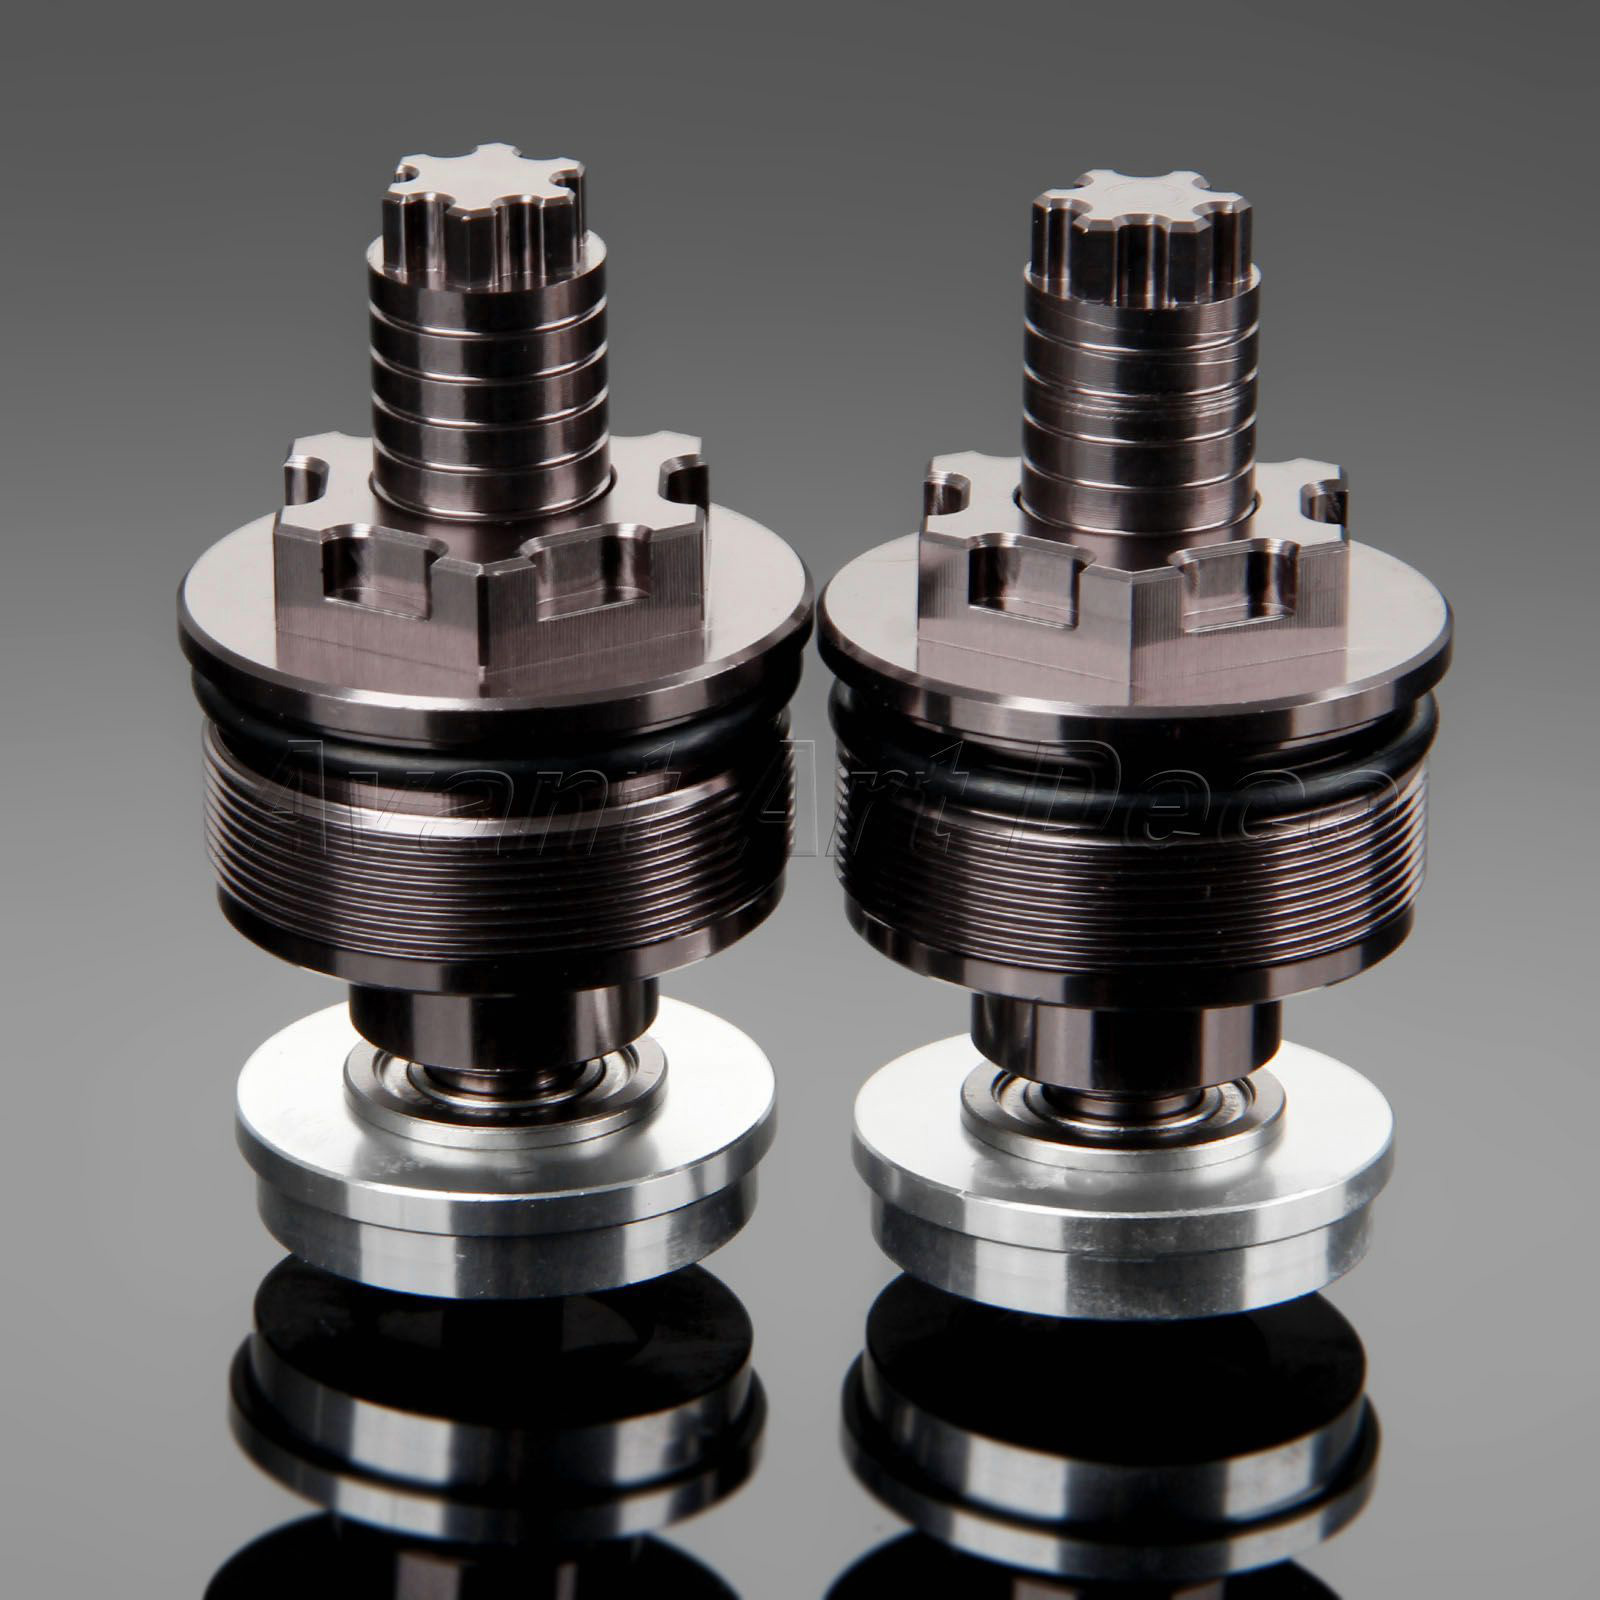
For the fork YSS also make a kit (above left) costing not much less than the shock. It includes valve emulators (available separately for around £80), something I’ve read of but never tried. For the moment there’s nothing to be lost by starting with some Chinese ebay fork pre-loaders (£10; left; as tried on the XSR). After that I may move up to a firmer K-Tech spring if they’ll make me one. Firmer springs may be enough to bring the front end back up if an 18-inch rear rim is fitted.
Ancillaries I’ll hard wire the trusty Montana in and fit a RAM mount on the bars. I’ll also add a PTO for the Powerlet heated vest and type pump. The claimed 220w alternator output is nothing special, but some wattage has been freed up with dinky LED indicators and there’s a spare LED headlamp which came with the bike. Otherwise I plan to add a switch so the lights aren’t on 24/7. There are times when you don’t want to be seen too easily. Last but not least, the Trail Tech engine temperature gauge from last year’s XR will get wired on to some very hot part of the Enfield’s engine. With an oil and air-cooled motor, even a low output one like the REH, it’s all the more important know how hot things are getting down in the engine room.