Update: After problems with the original 2019 kits (explained below), Fit2Go (who sold the Michelin branded product) updated their TPMS software for 2020. They also redesigned the magnetic mounting following negative reviews on amazon. In 4000 miles of riding on and off road, the magnetic fitting wasn’t a problem for me.
I tried the seemingly identical Mk2 version in March 2020. UK Michelin stopped listing the TPMS in 2023 following poor reviews. Fit2Go had plans for a new version, but in 2026 the website was no more.
Tested: Michelin TPMS (tyre pressure management system)
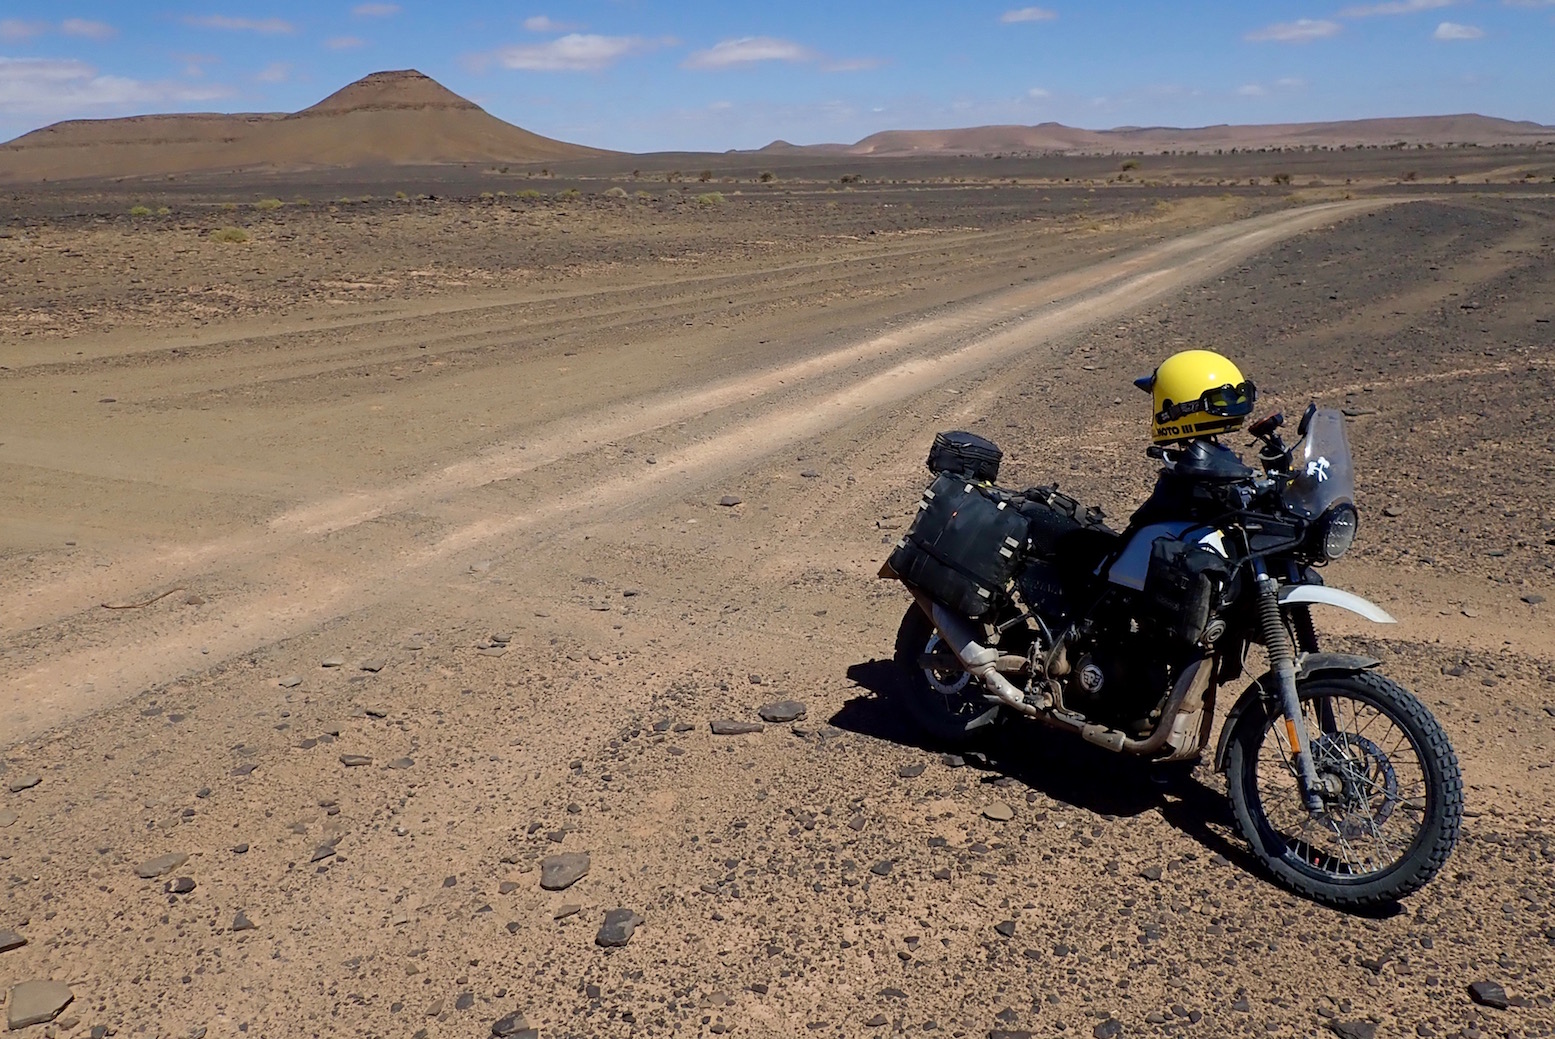
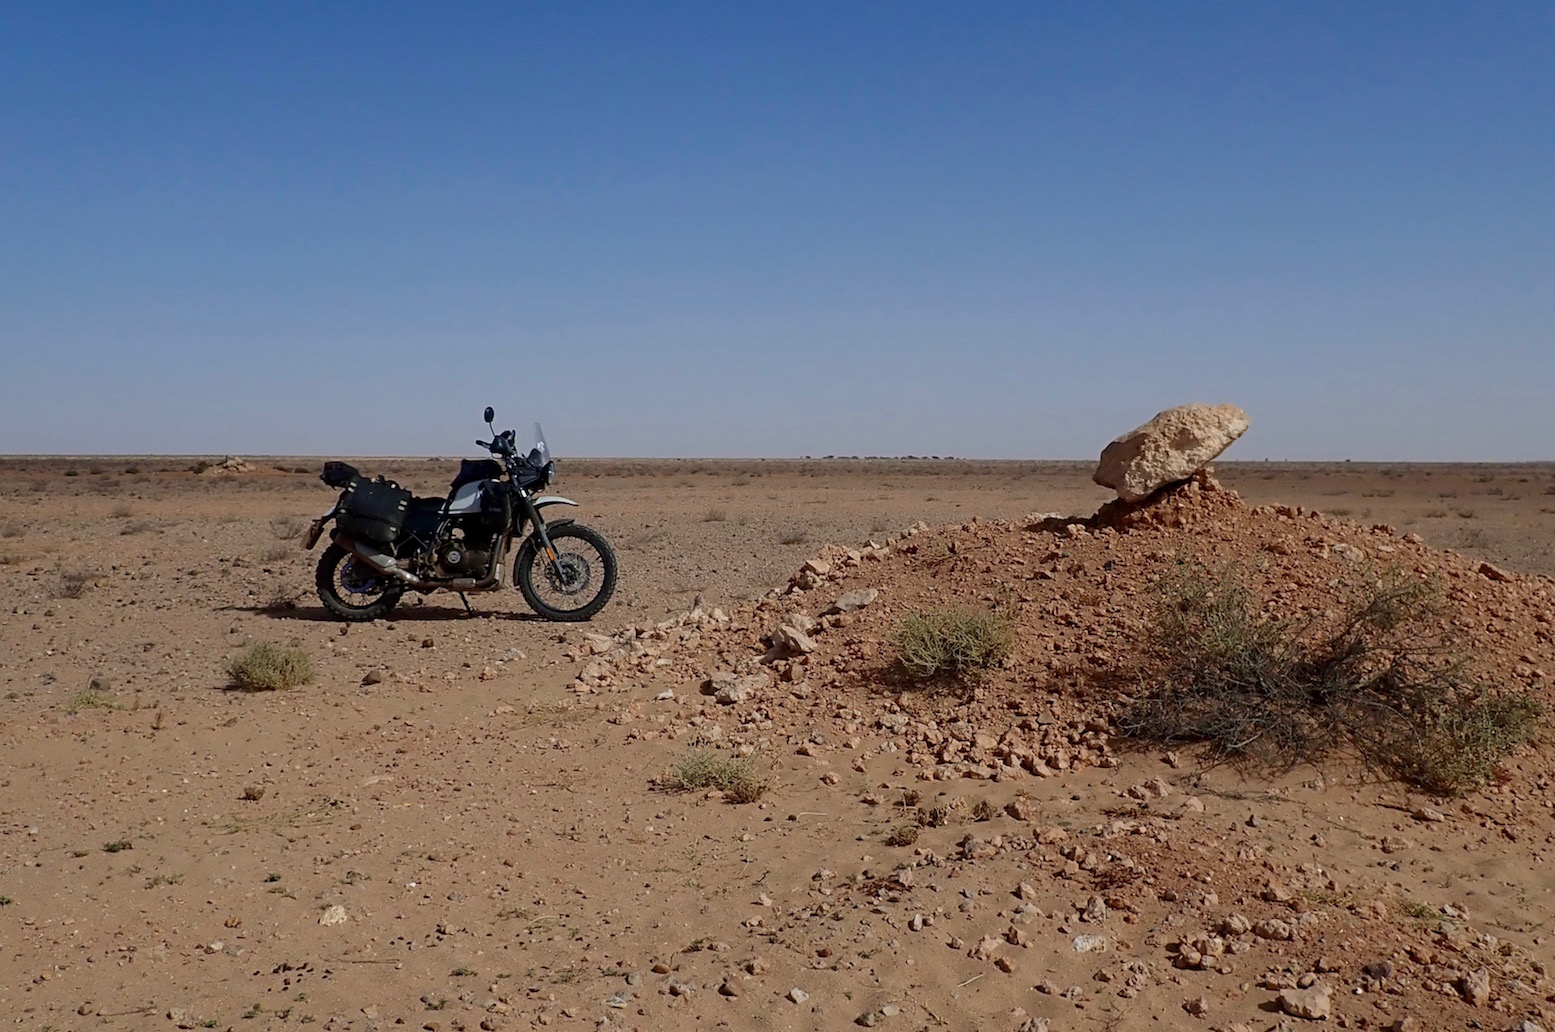
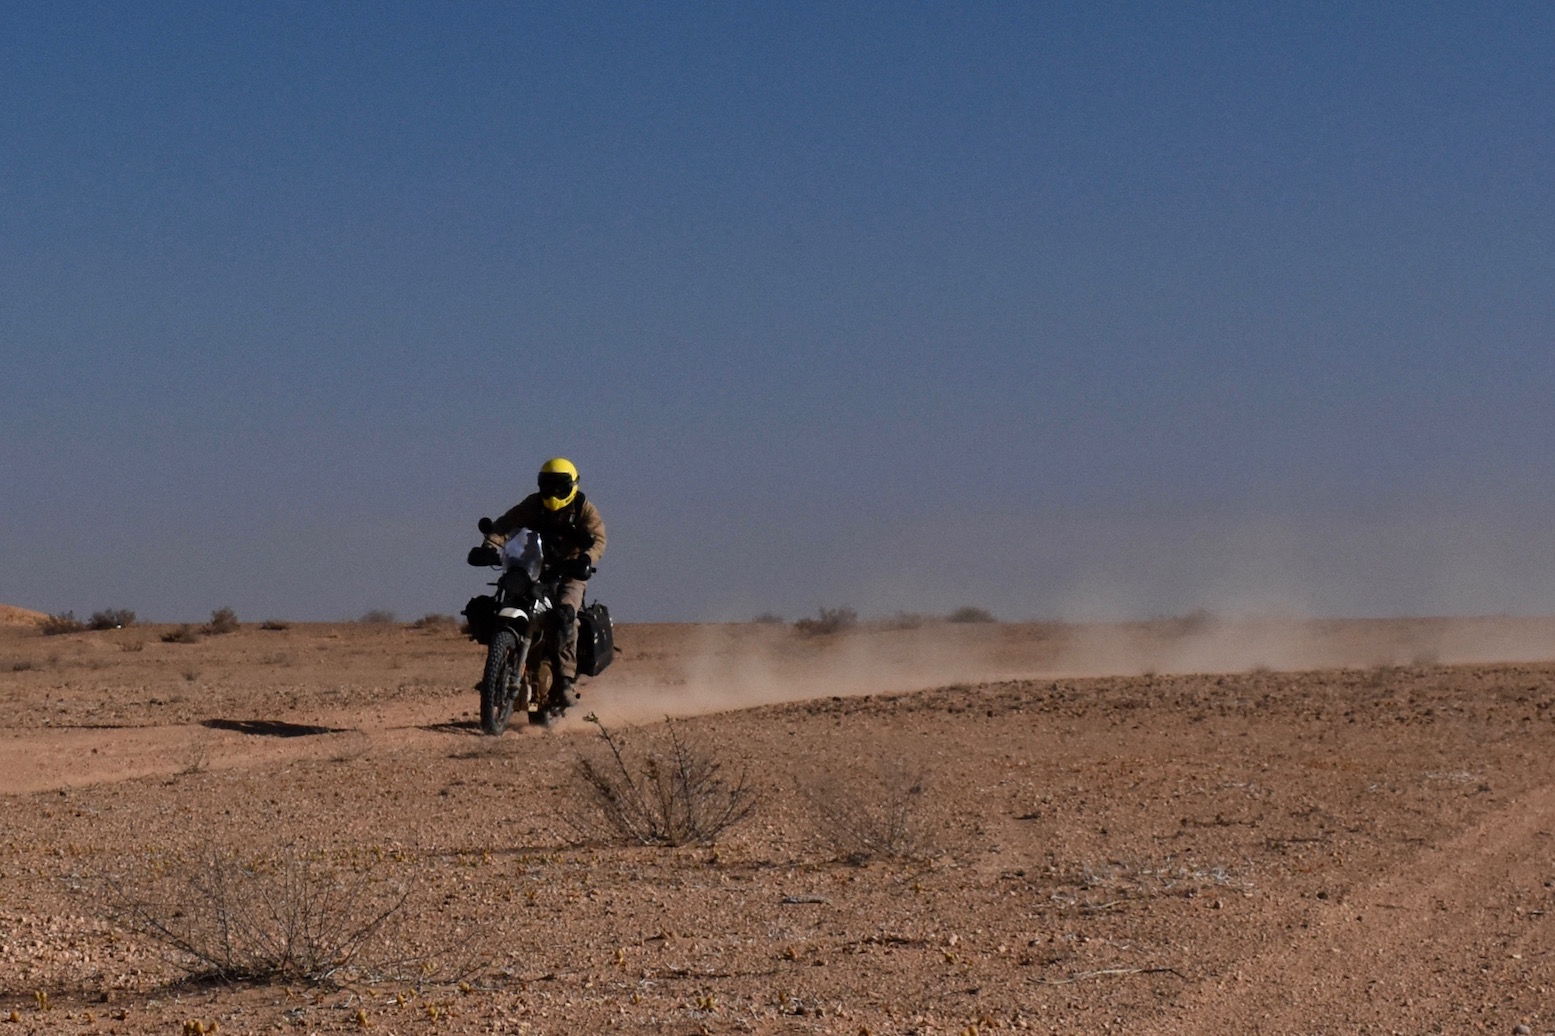
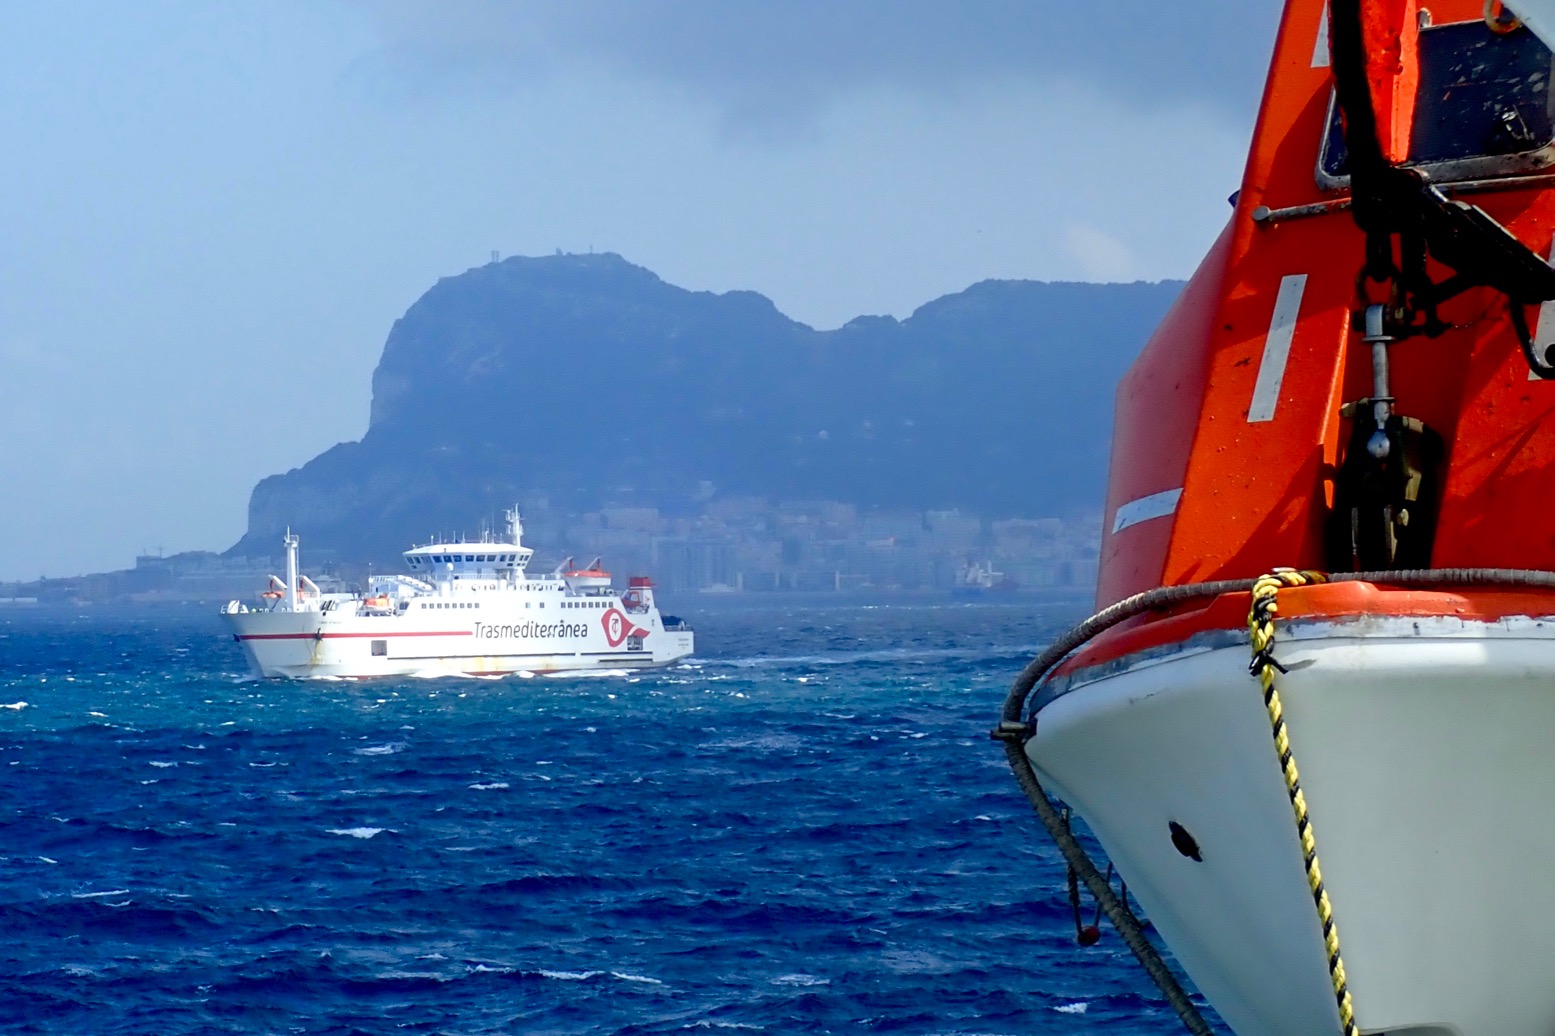
Where: Spain and Morocco 2019 and again in 2020 and 2021
Cost: £80 (kits suppled free by Michelin for review)
Weight: Negligible
In a line: Once you discover TPMS there’s no going back. (More here)
What they said
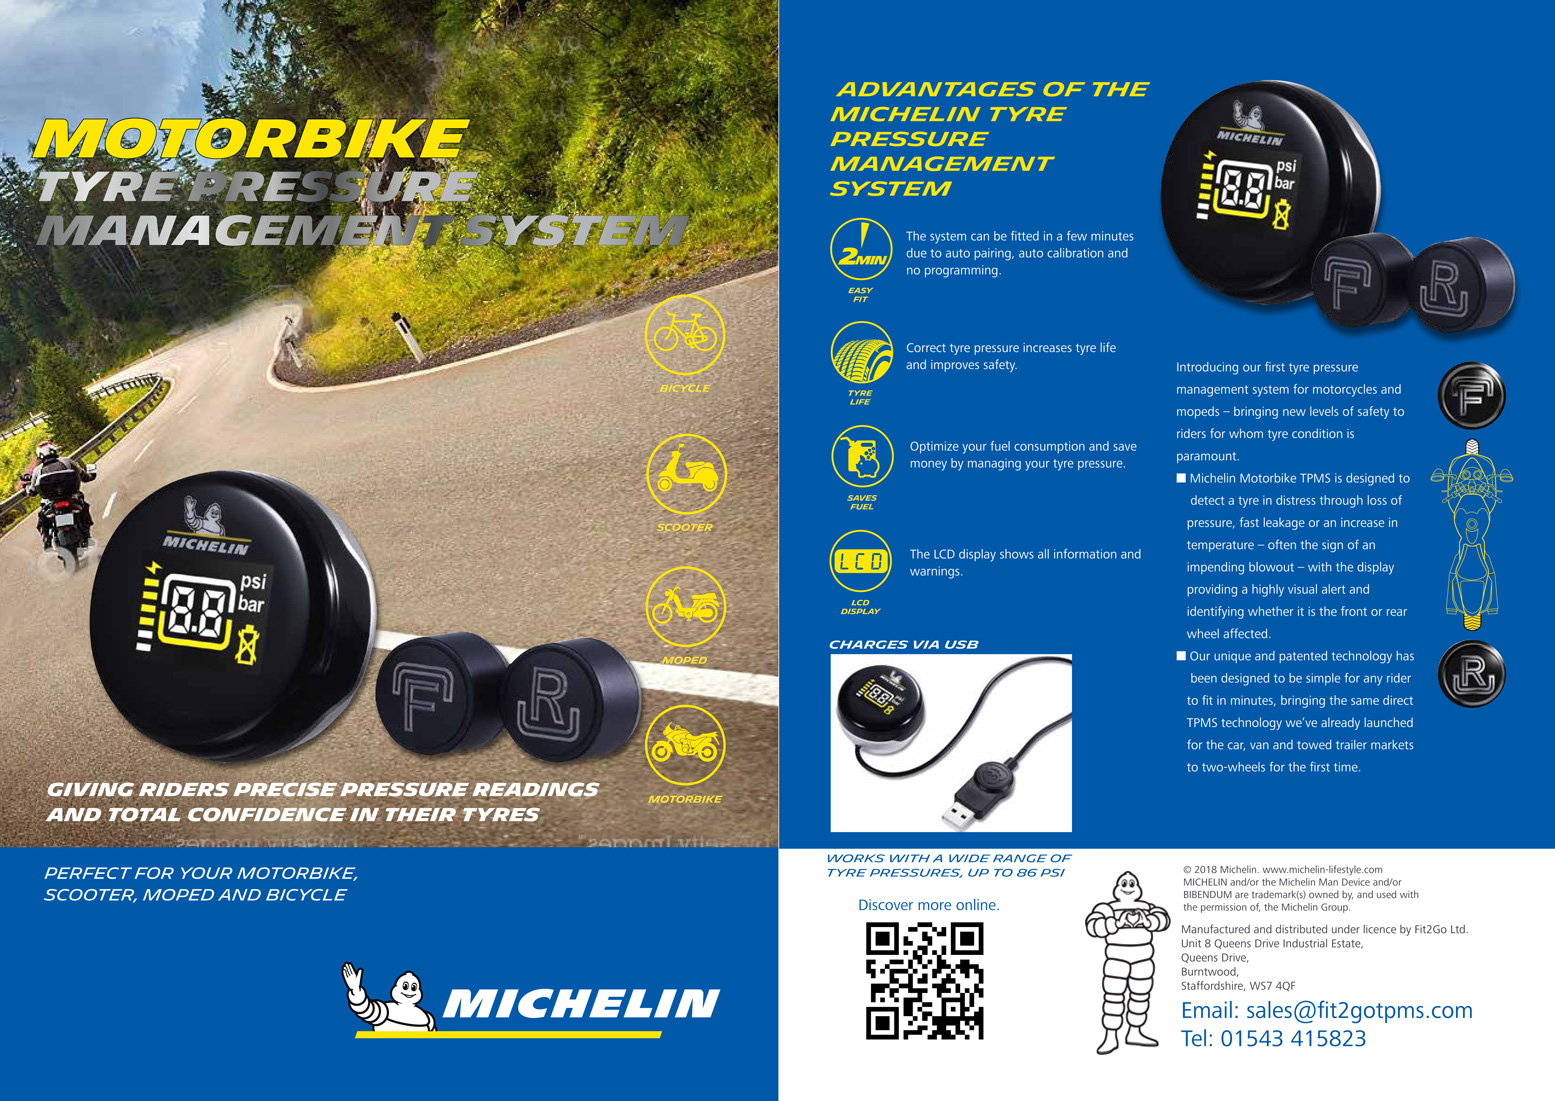
Introducing our first tyre pressure monitoring system (TPMS) for motorcycles, mopeds, scooters and all two-wheel modes of transport – bringing new levels of safety to riders for whom tyre condition is paramount.
MICHELIN TPMS – Bike detects a tyre in distress through loss of pressure, fast leakage or an increase in temperature – often the sign of an impending blowout. Its compact display flashes as brightly as a mobile phone torch if it detects an issue, plus identifies whether it is the front or rear tyre affected.
Our patented solution can be fitted in less than two minutes, bringing the same direct TPMS technology already proven in the passenger car and van markets to two-wheels for the first time.
This wireless system needs no programming and features a compact LCD screen which fits into a magnetic mount placed on a prominent part of the bike. The fully sealed and buttonless device can be quickly removed for security and is small enough to fit in a pocket. The display offers a battery life of up to three months, with the USB-powered inductive charger making it simple to top-up.
Once fitted, the unit displays the pressure of both tyres, in either psi or bar, toggling between the front and rear at set intervals.
Riders will see a low-pressure warning if a tyre becomes under-inflated by 15%, an enhanced alert when the pressure either drops by 25%, or if over-inflated by 35% or more. There are also alerts for high tyre temperatures or fast leakage (at least 2 psi per minute).
What I think:

• Real-time tyre pressure data at last
• USB rechargeable – should last a couple of months
• No hard-wiring so fits in a couple of minutes
• Magnetic retaining dish secure off road
• Reads bar or psi
• Rated up to 7.5 bar (100psi+)
• Various warning displays
• Mk2 2020 kit paired up fast and worked seamlessly

• In 2019 original and replacement units played up after a few days (see below)
• Doesn’t live-read from a static start (e.g.: overnight). Wheels need to turn first
• Expensive at £80. There are now less elegant Chinese kits from £15
• Green/yellow on black background hard to read unless under your nose
• Valve-cap lock-nuts complicate tool-free topping up of air
• The valve caps can be too shallow (not enough threads to grip the valve body)
• On the 2020 version the F&R display interval was too slow for a quick glance
Review
There are some metrics I like to know while riding: speed, engine temperature, fuel level are the obvious ones.
Now wireless technology has enabled inexpensive TPMS kits to display live tyre pressure readings, too. This is something that’s really useful too.

I only realised how much I missed my Michelin TPMS kits once they both packed up mysteriously after a few days in Morocco.
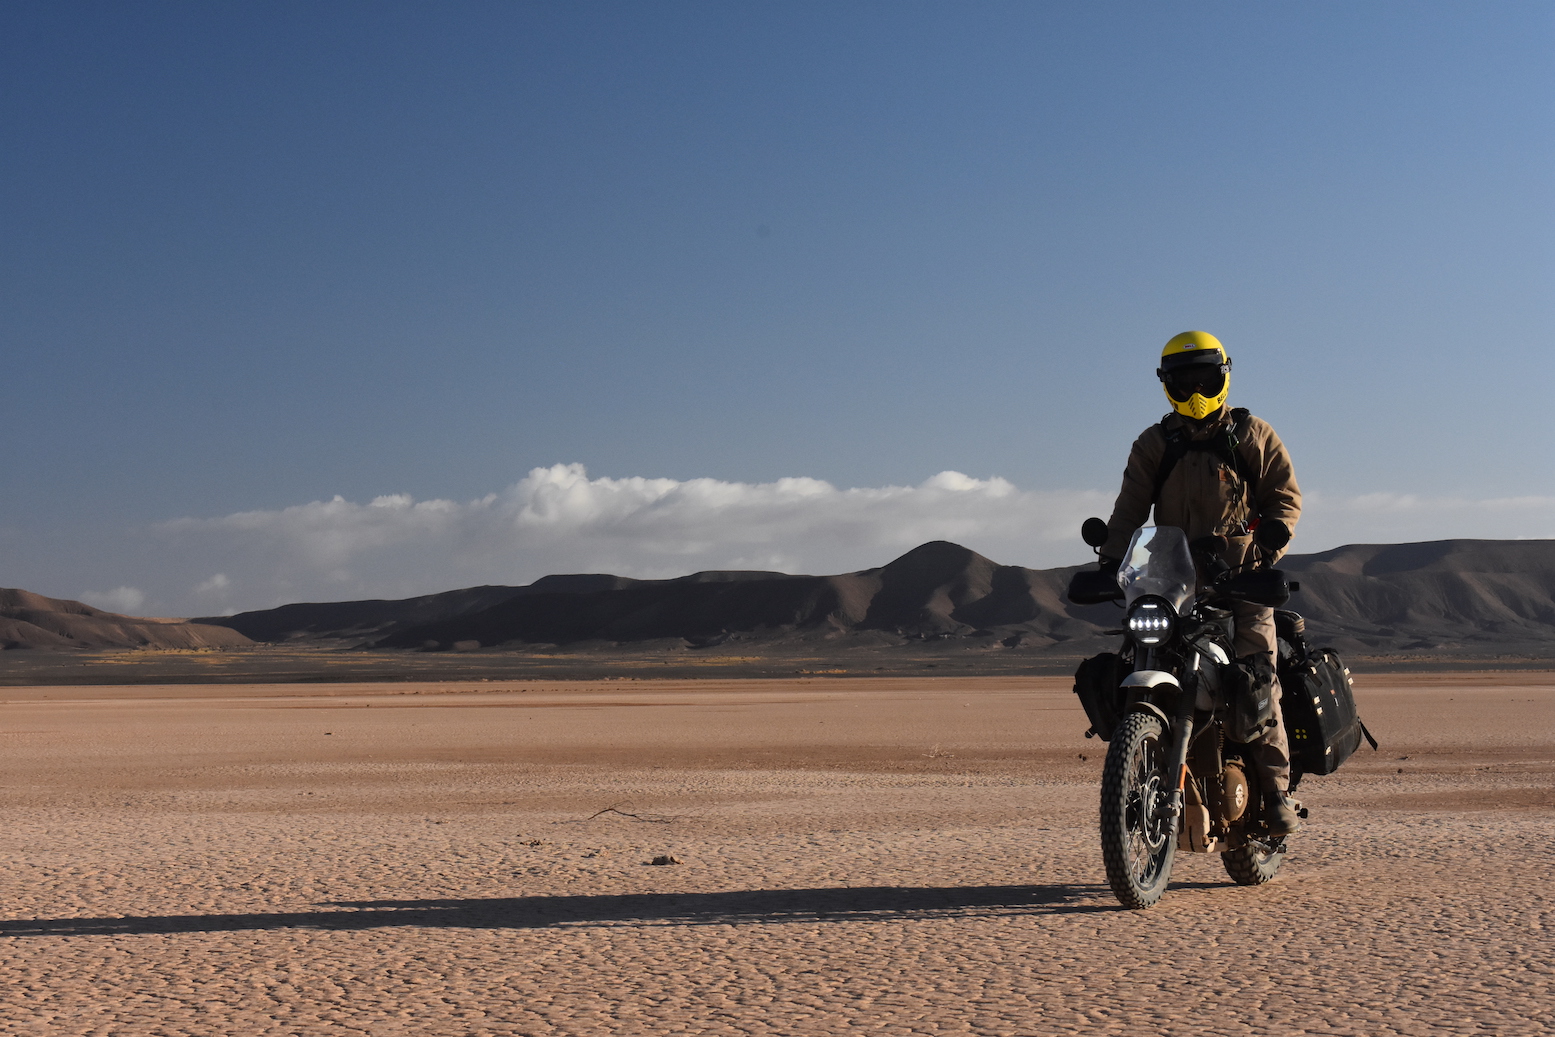
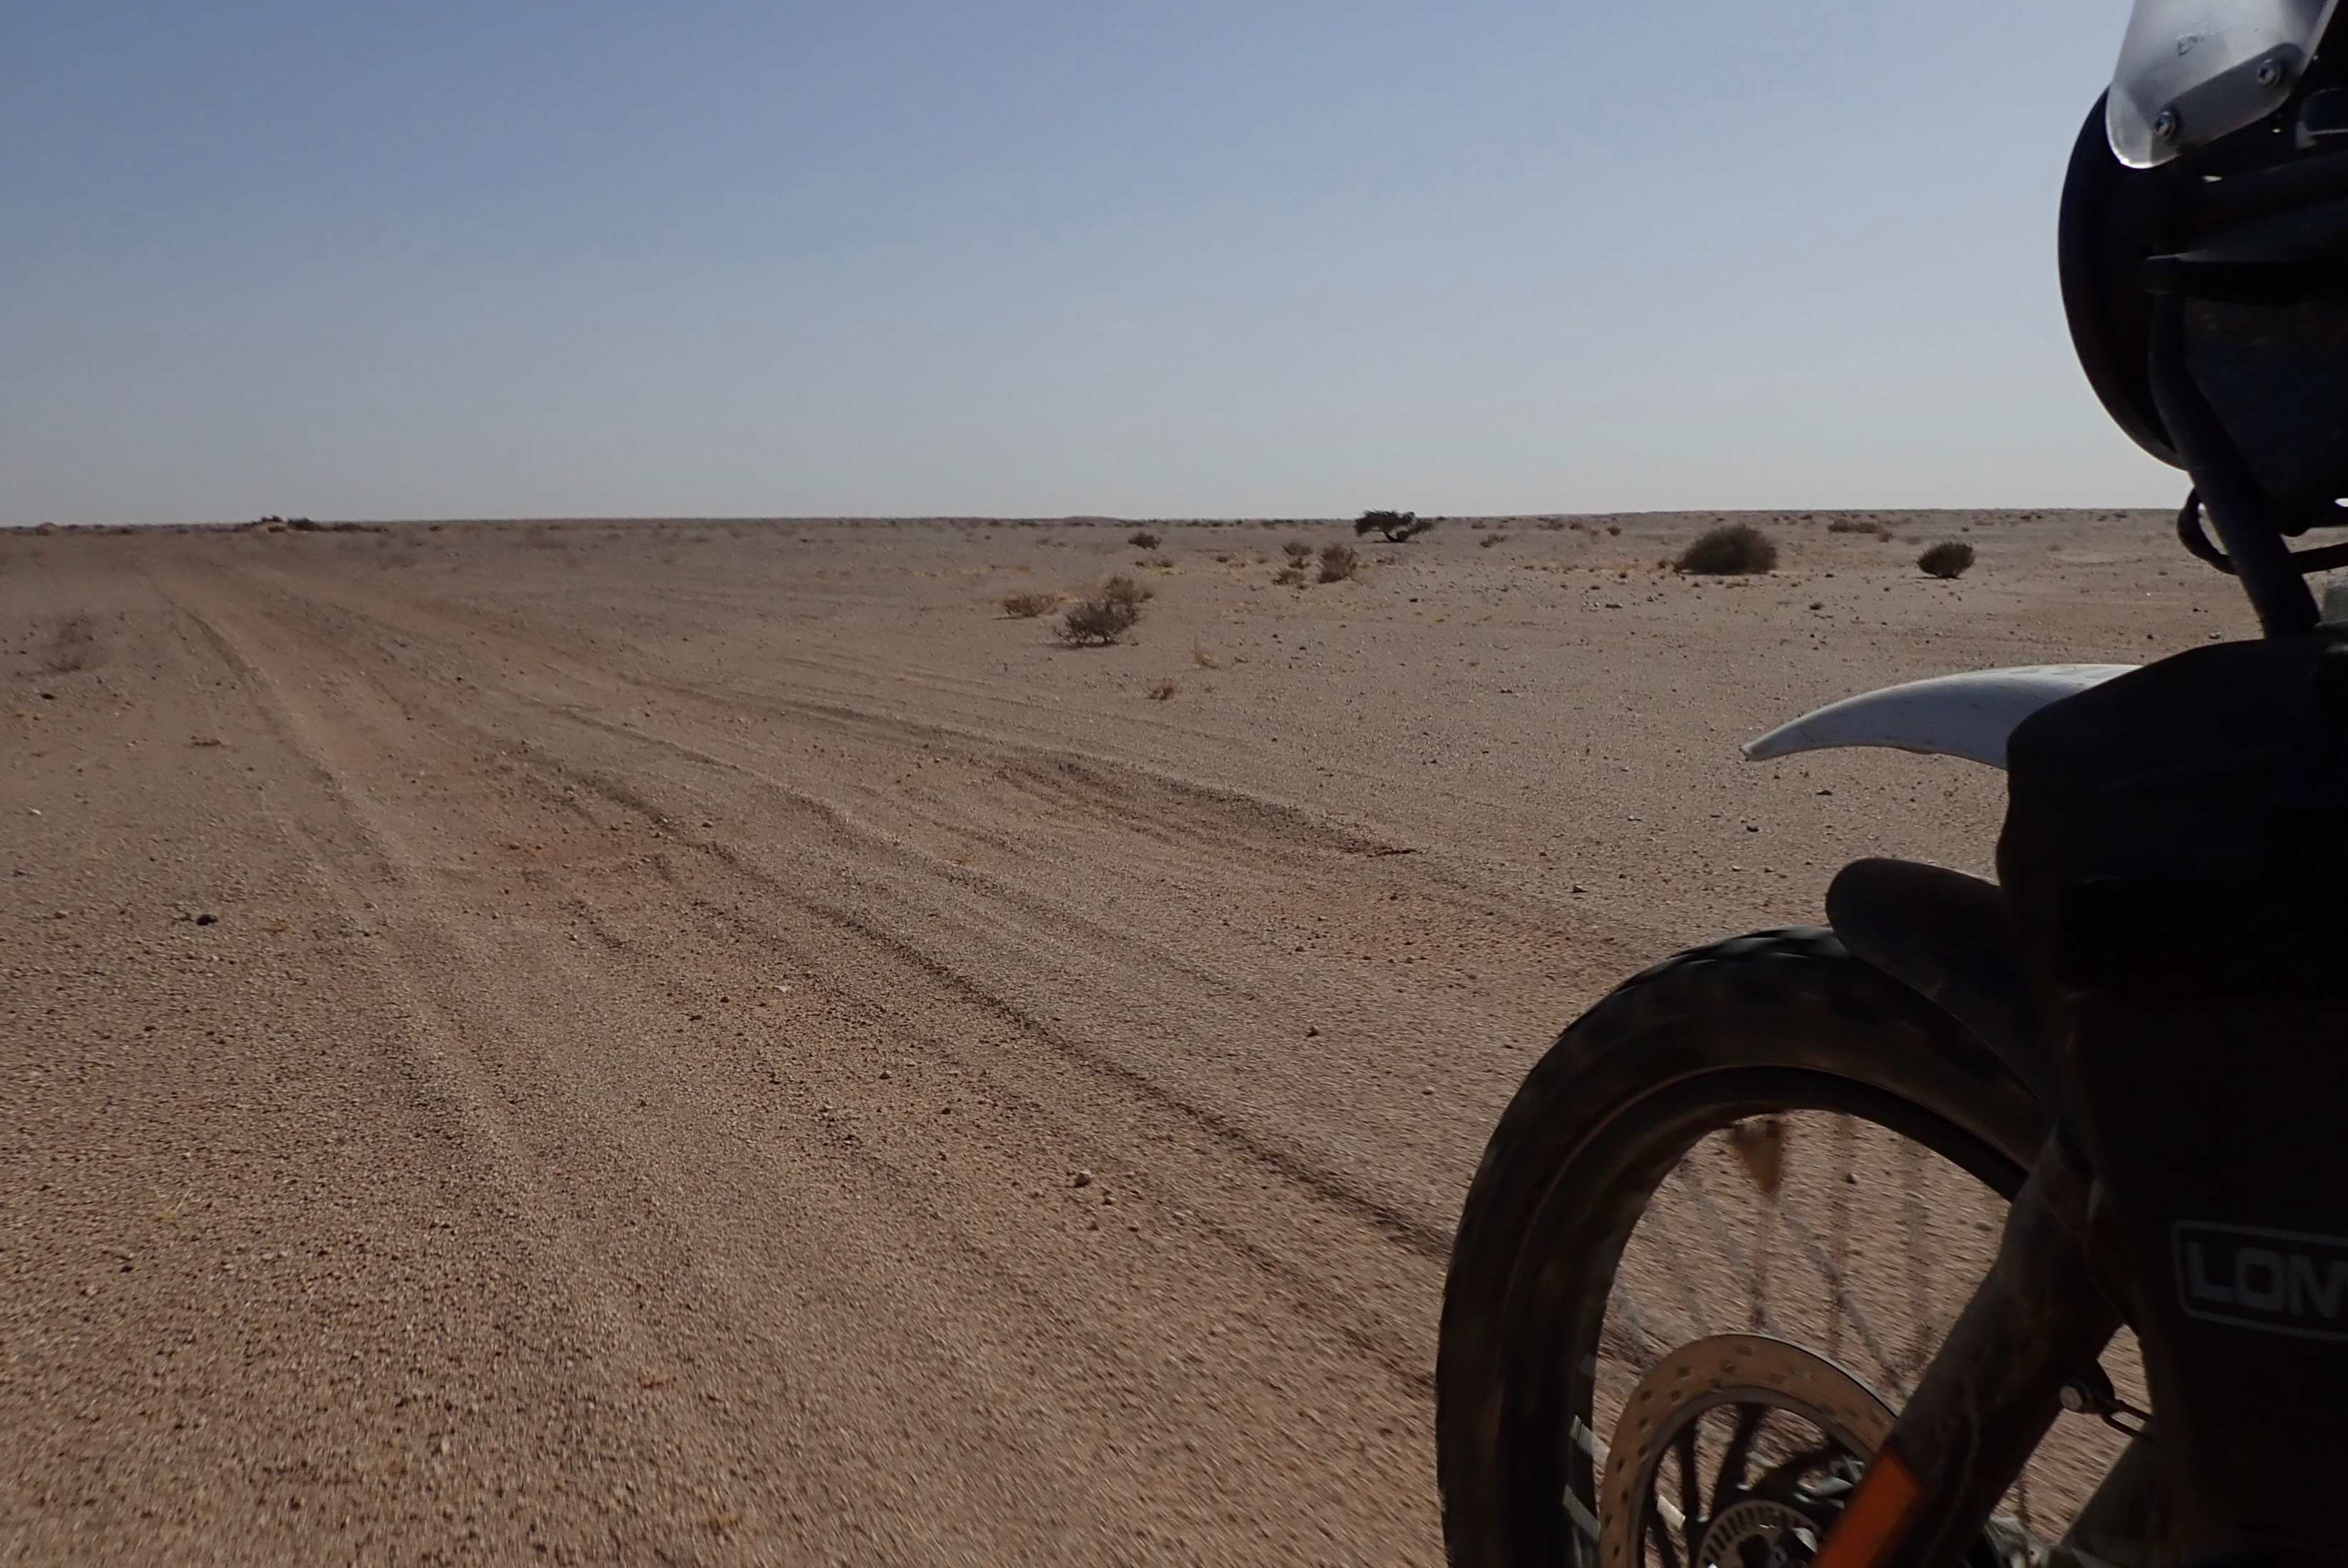
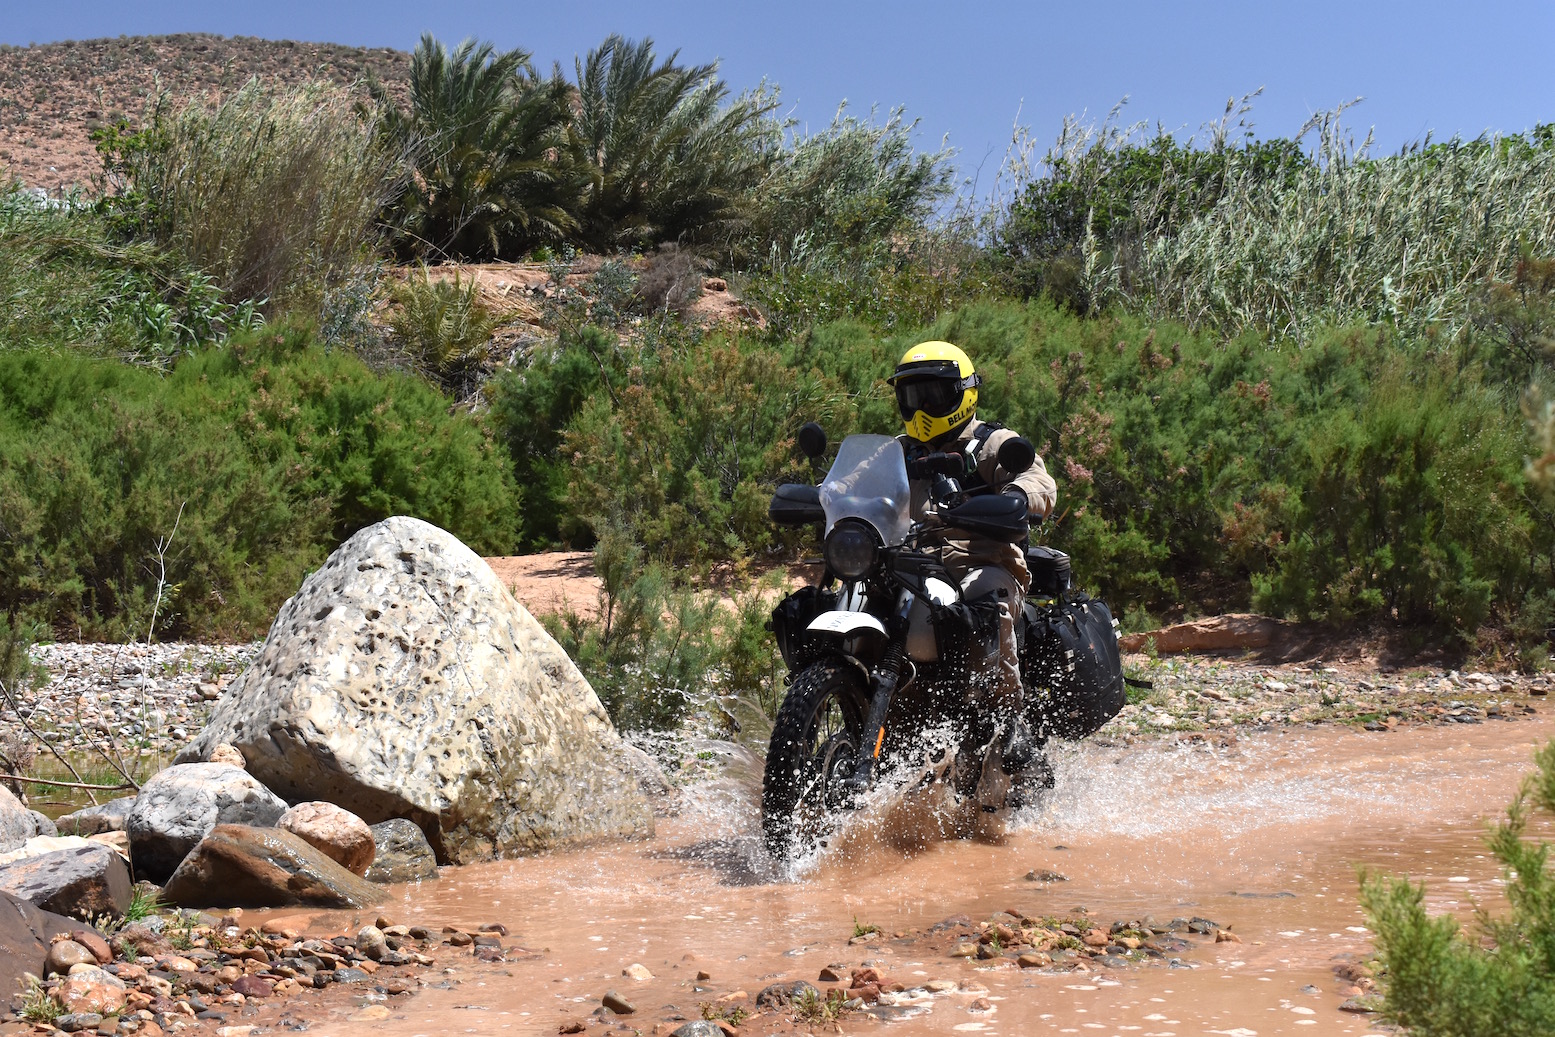
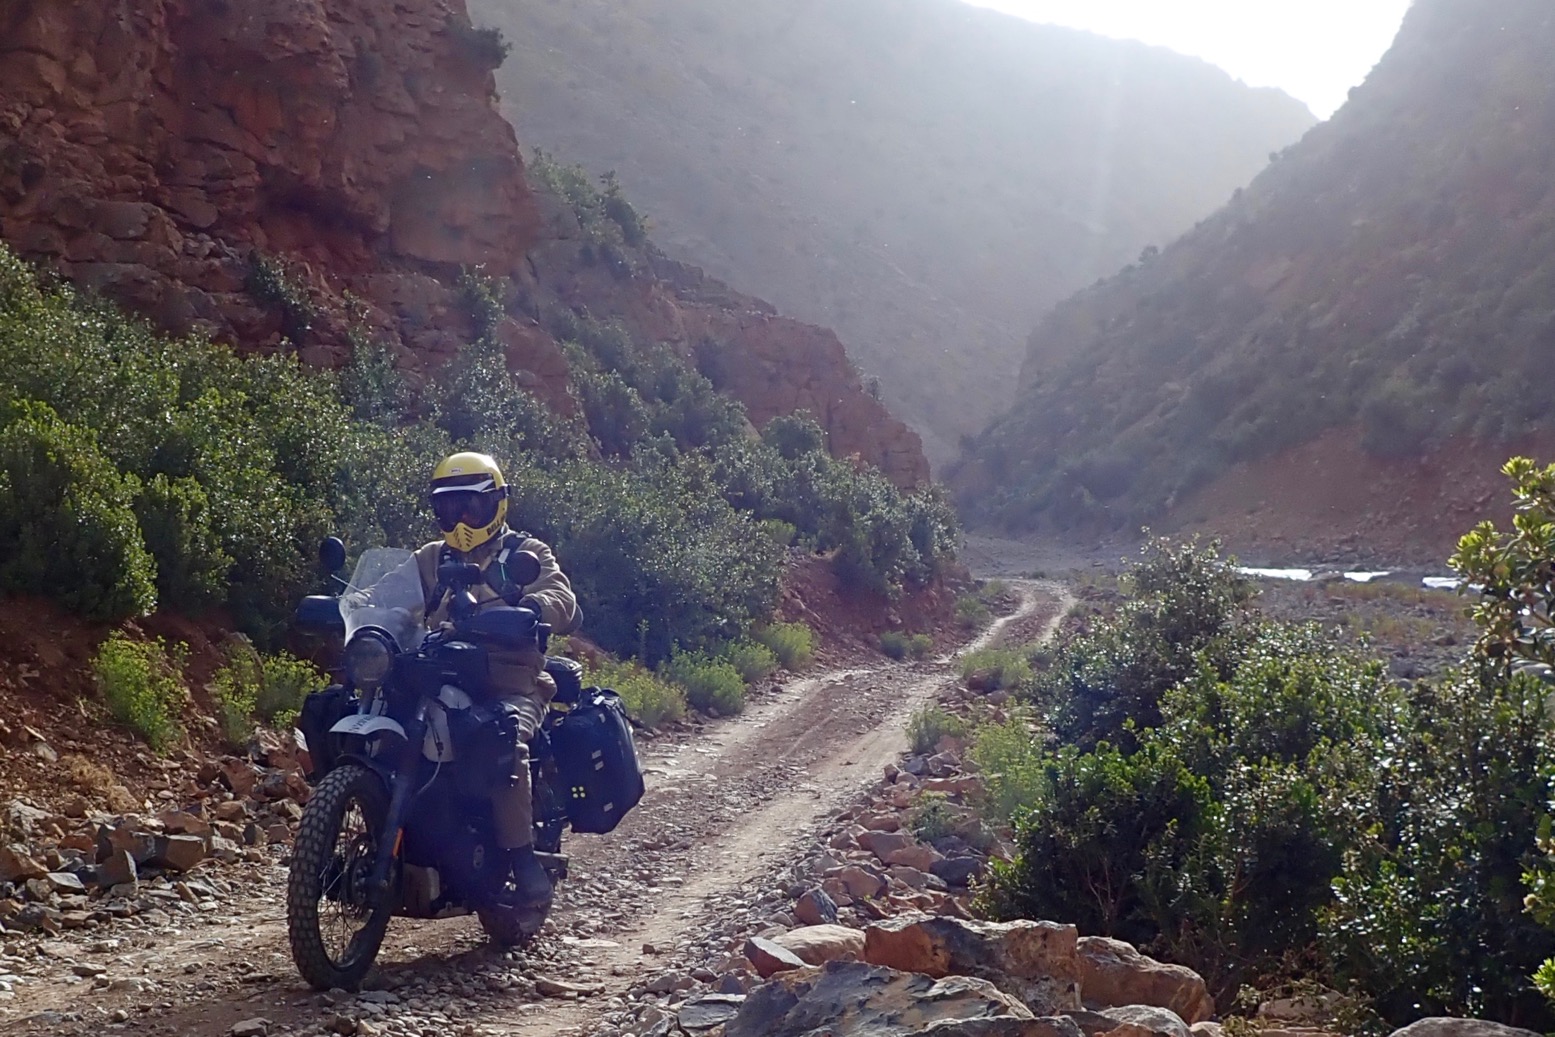
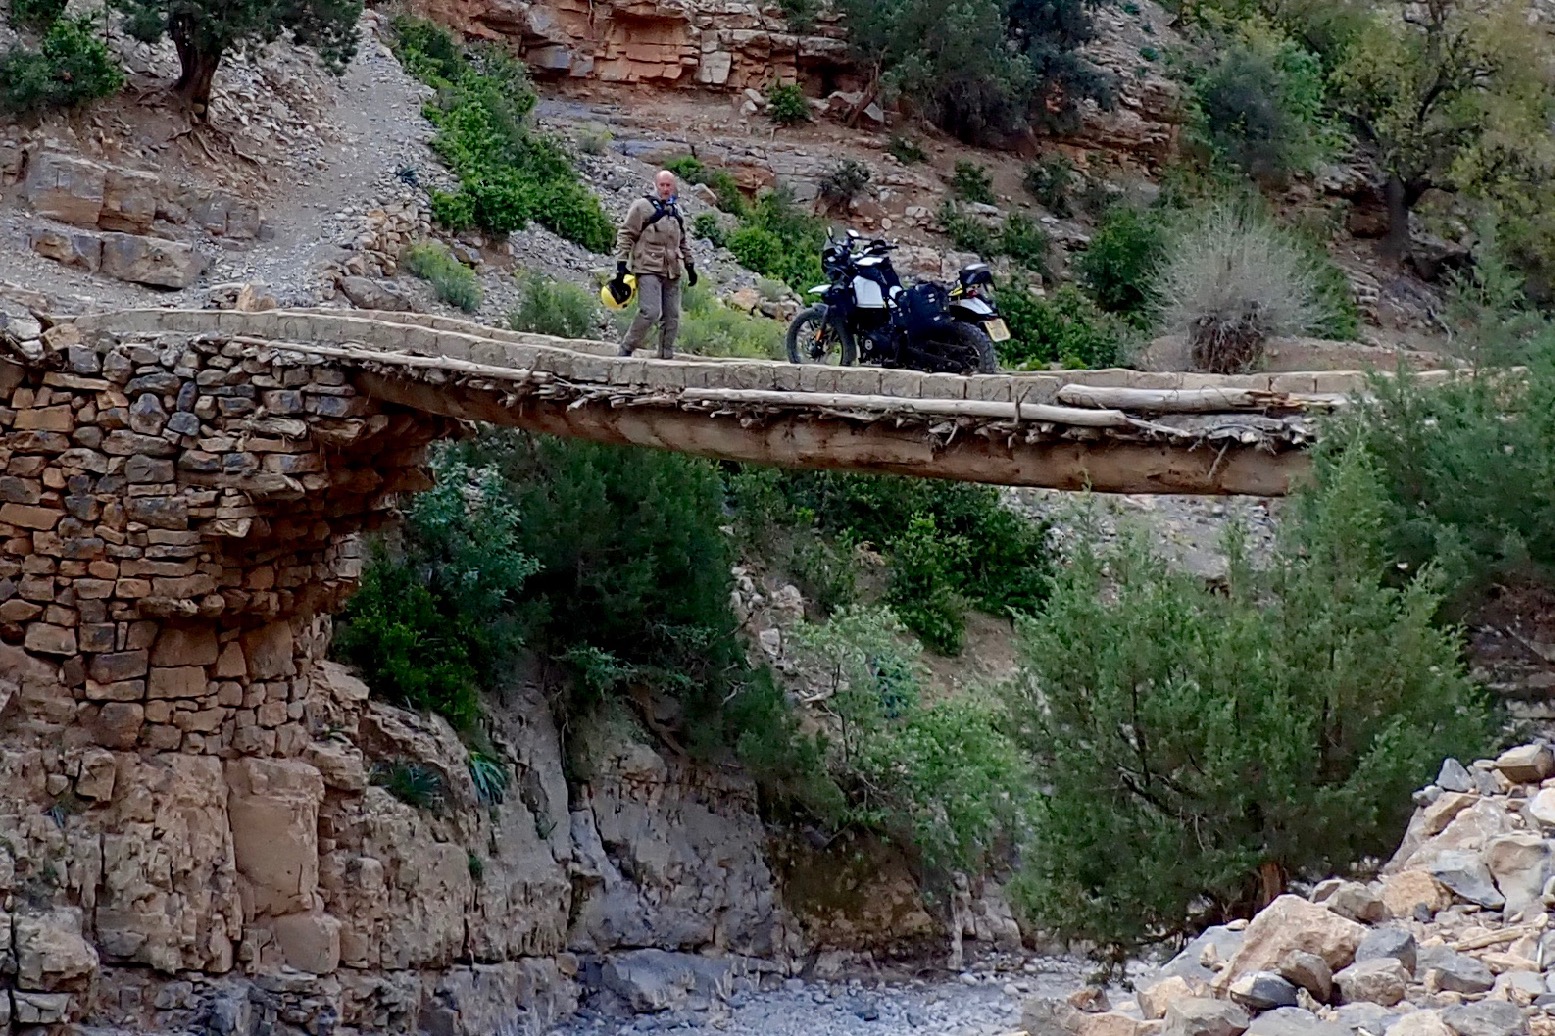
A few days later I hit Tubliss tyre troubles in the middle of the desert. Luckily I wasn’t alone, there was a road 25kms back, and I was able to ride on the flat tyre slowly for hours to the coast and fit an inner tube. But being forewarned of low pressures or other tyre anomalies is what TPMS is all about.
I headed back north and a day or two later the tube slow punctured, then went suddenly after a dirt road short-cut pushed it over the edge. This time I couldn’t ride the collapsed tyre ten feet. Cue more laborious roadside repairs. This is why we like tubeless.
Because you never, ever get just a single puncture, I’d wisely bought a spare tube and was back on the road in 40 sweaty minutes. But especially with a slow puncture, with a TPMS I’d have been aware of it much earlier.

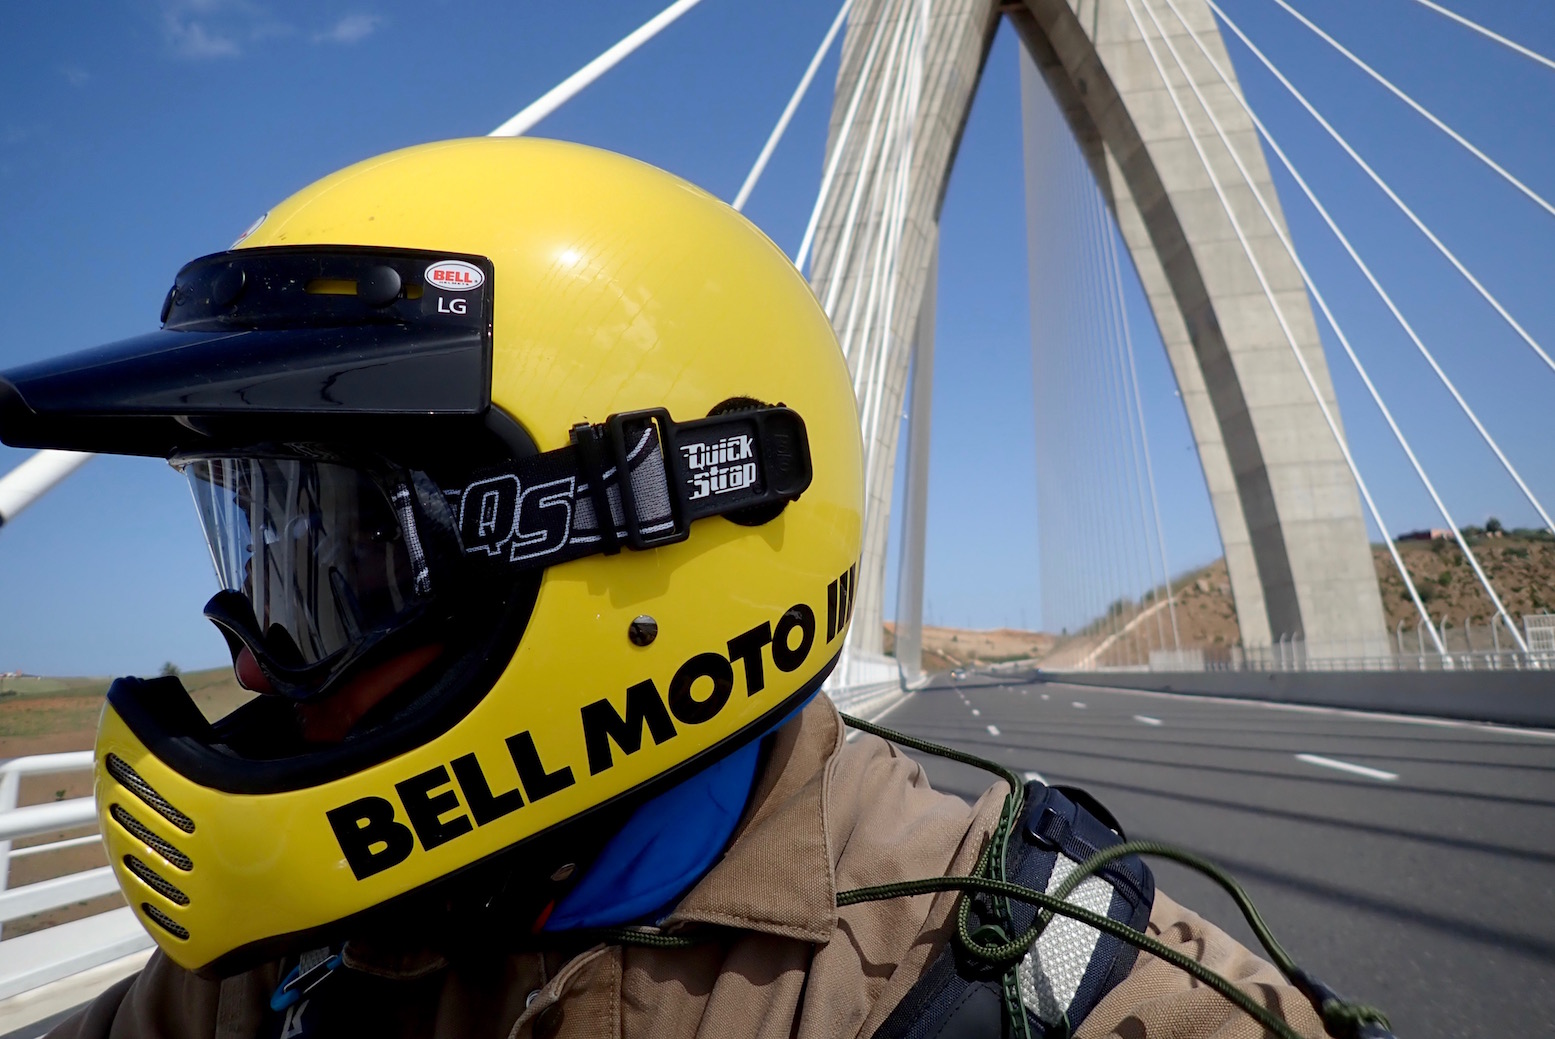
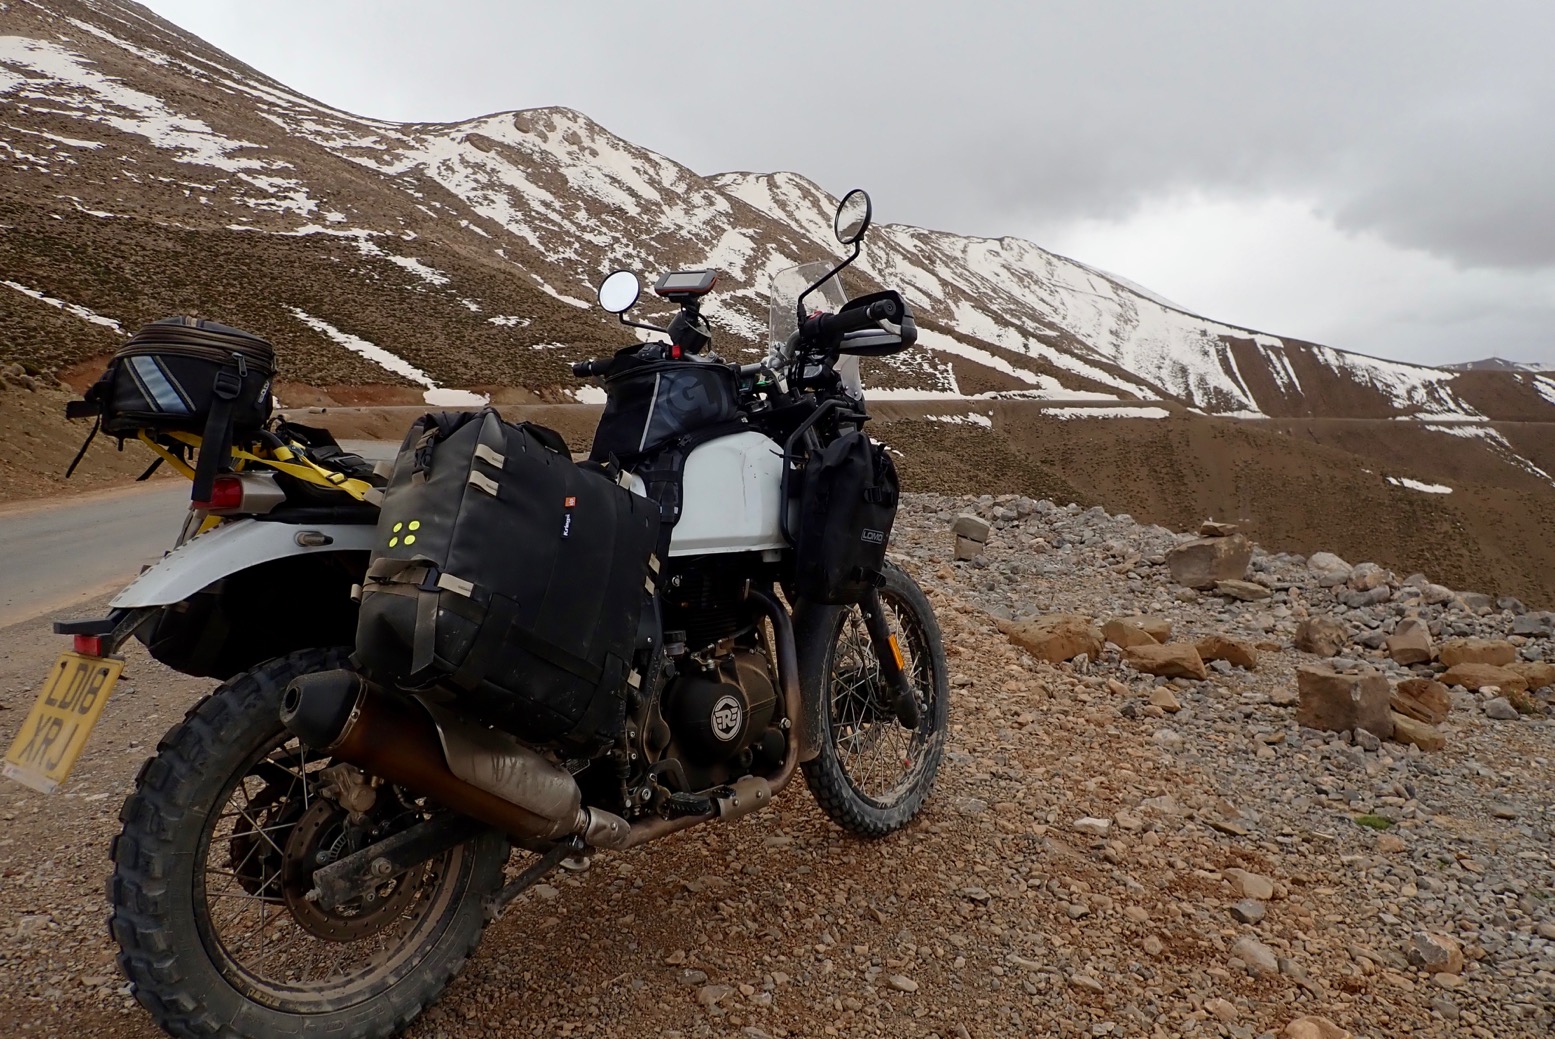
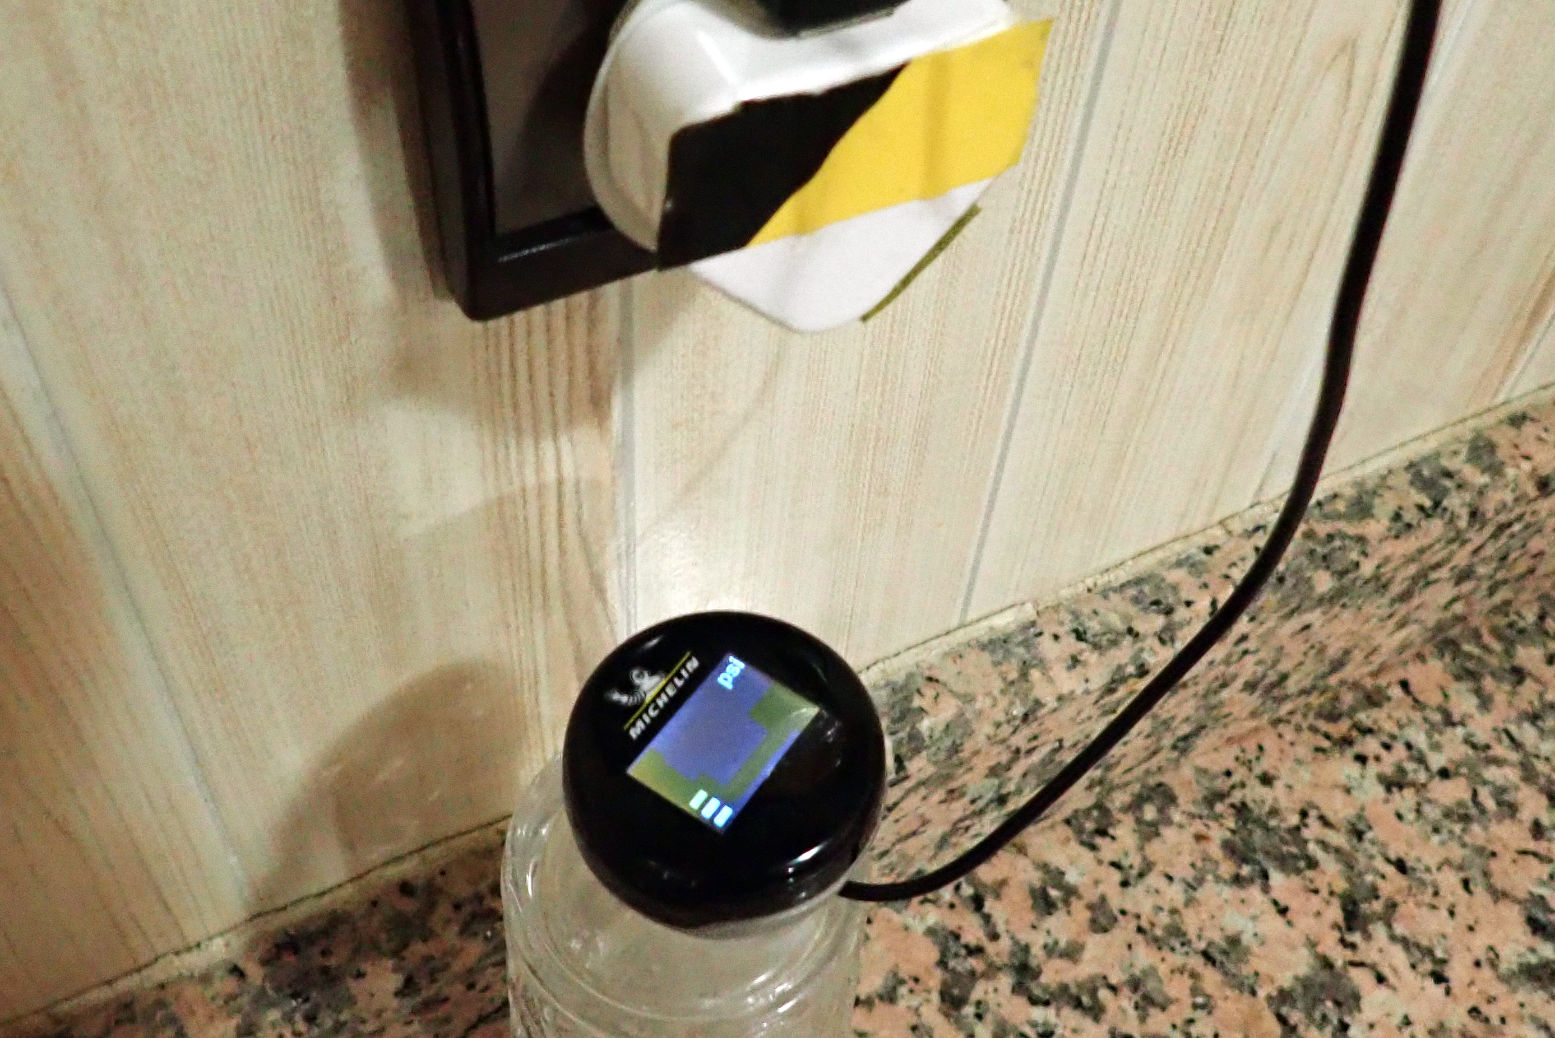
Michelin TPMS
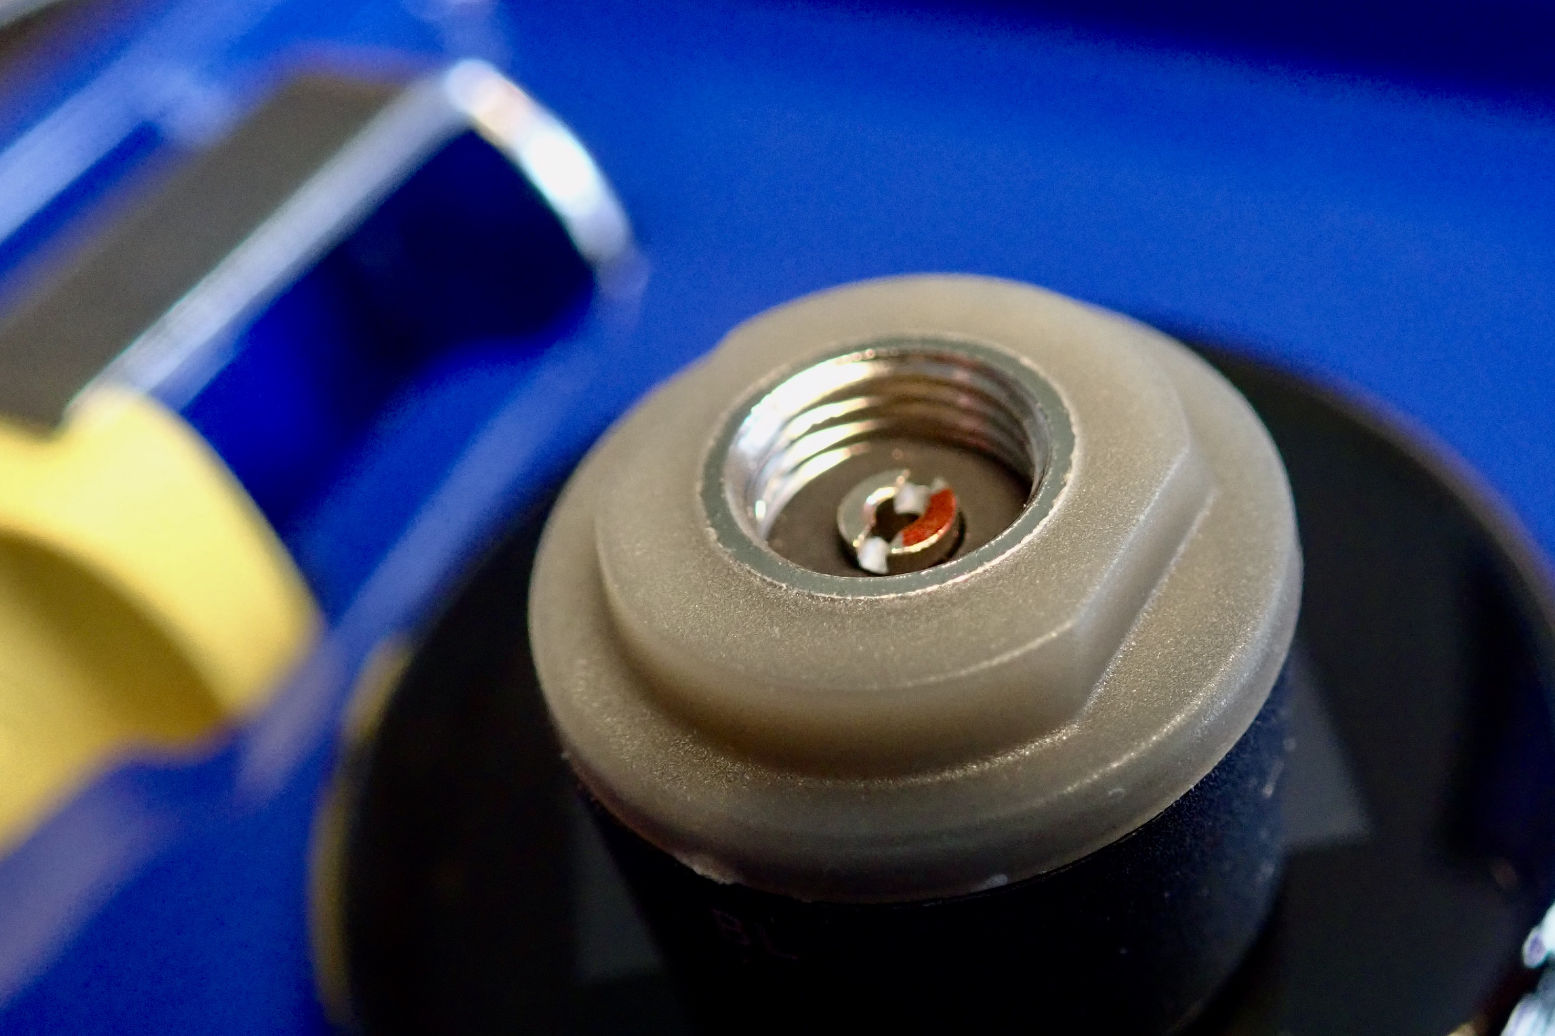
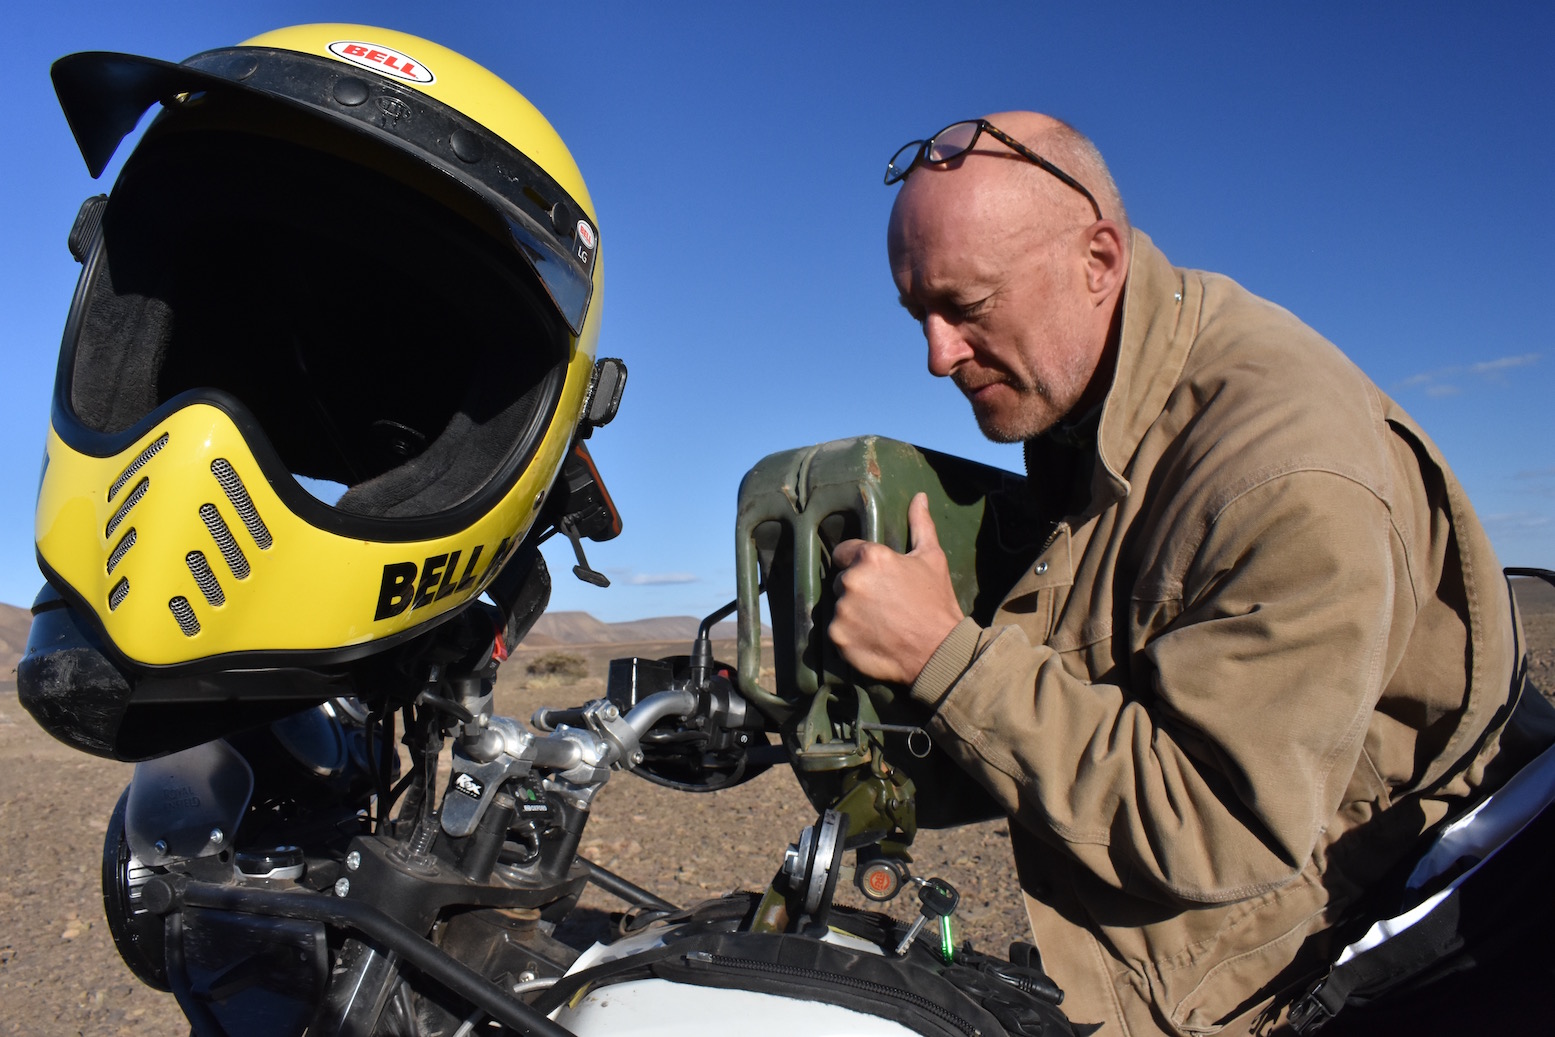
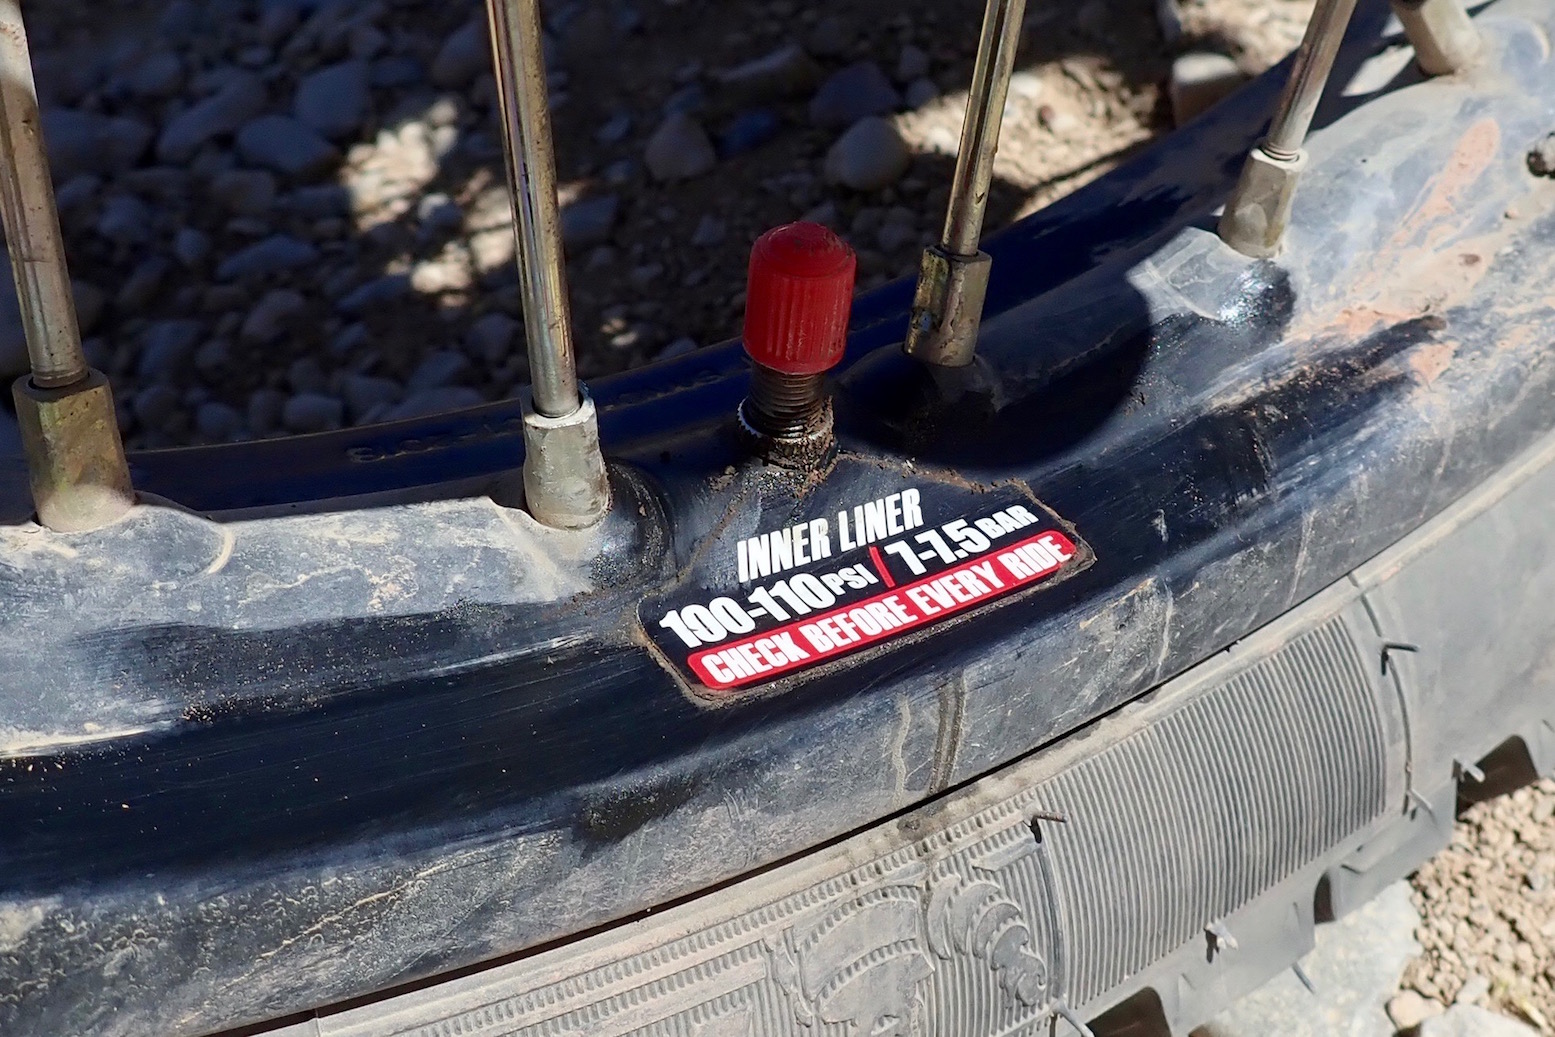
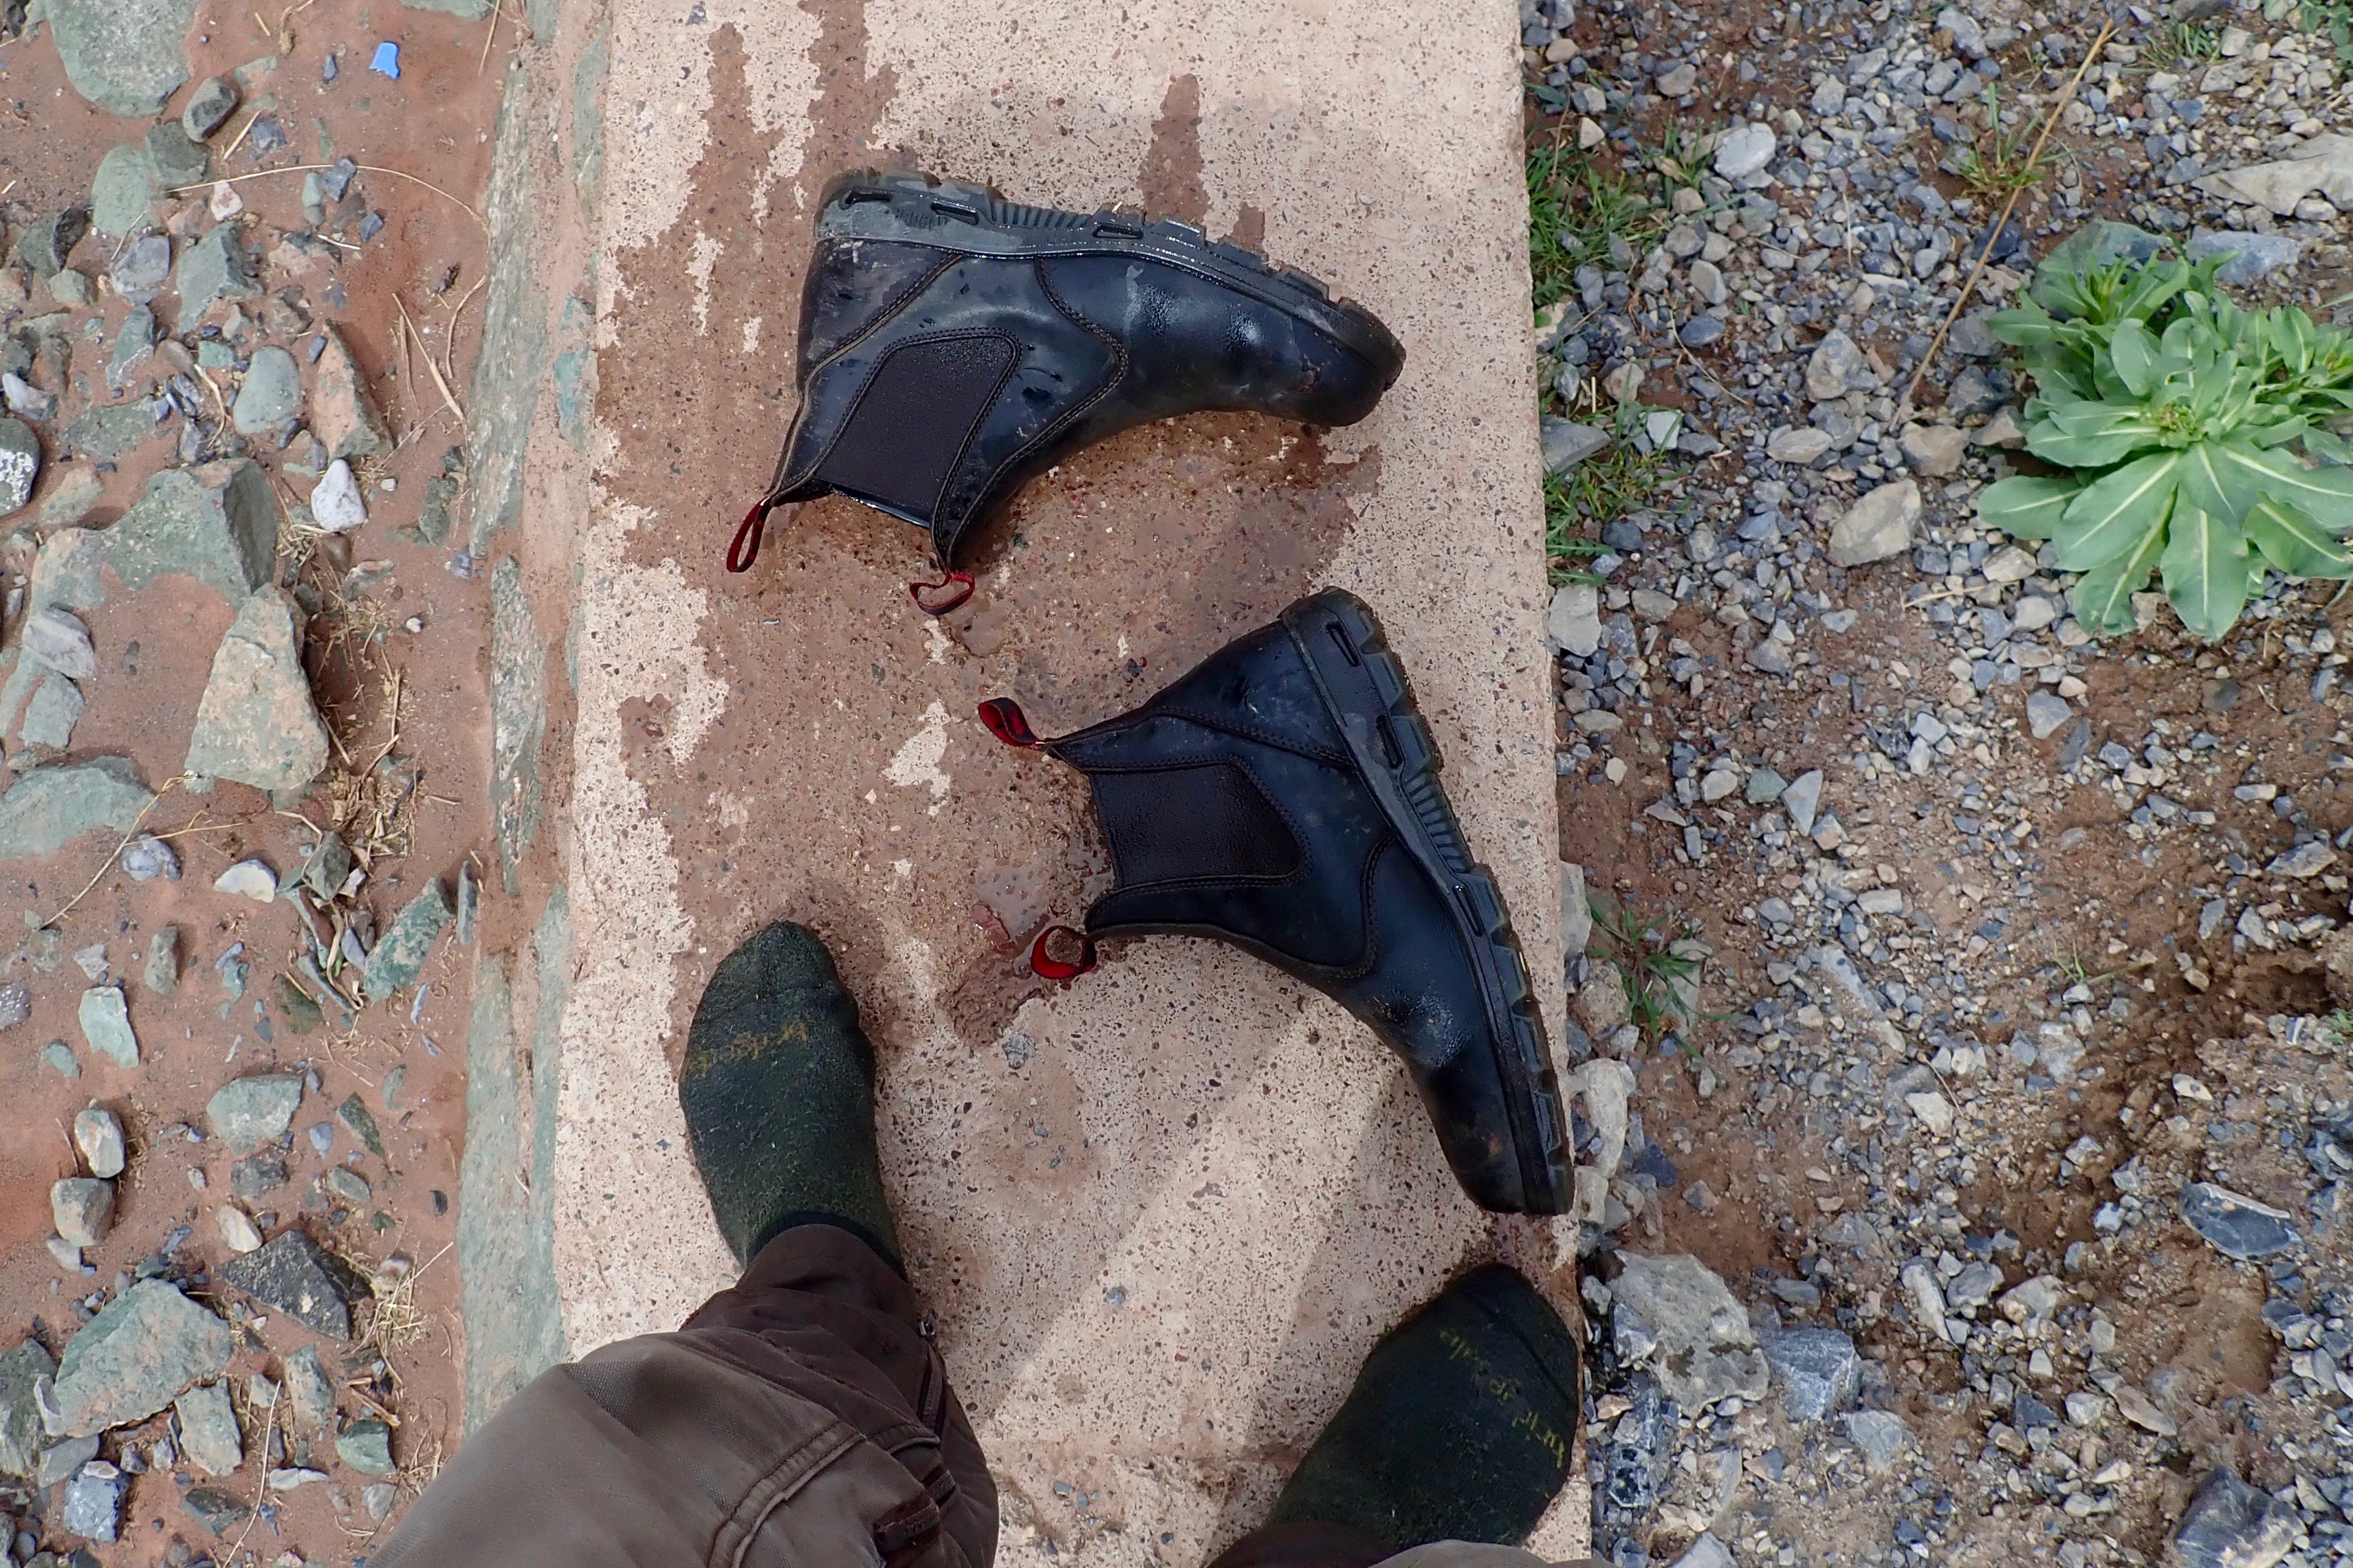
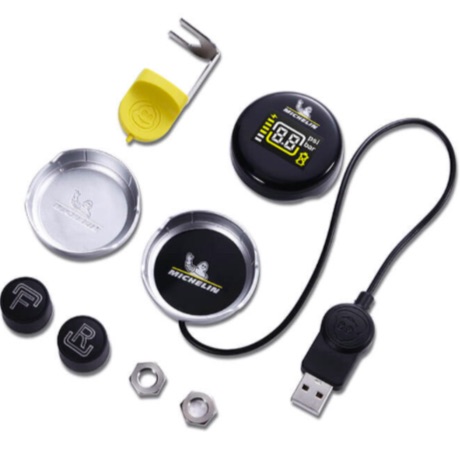
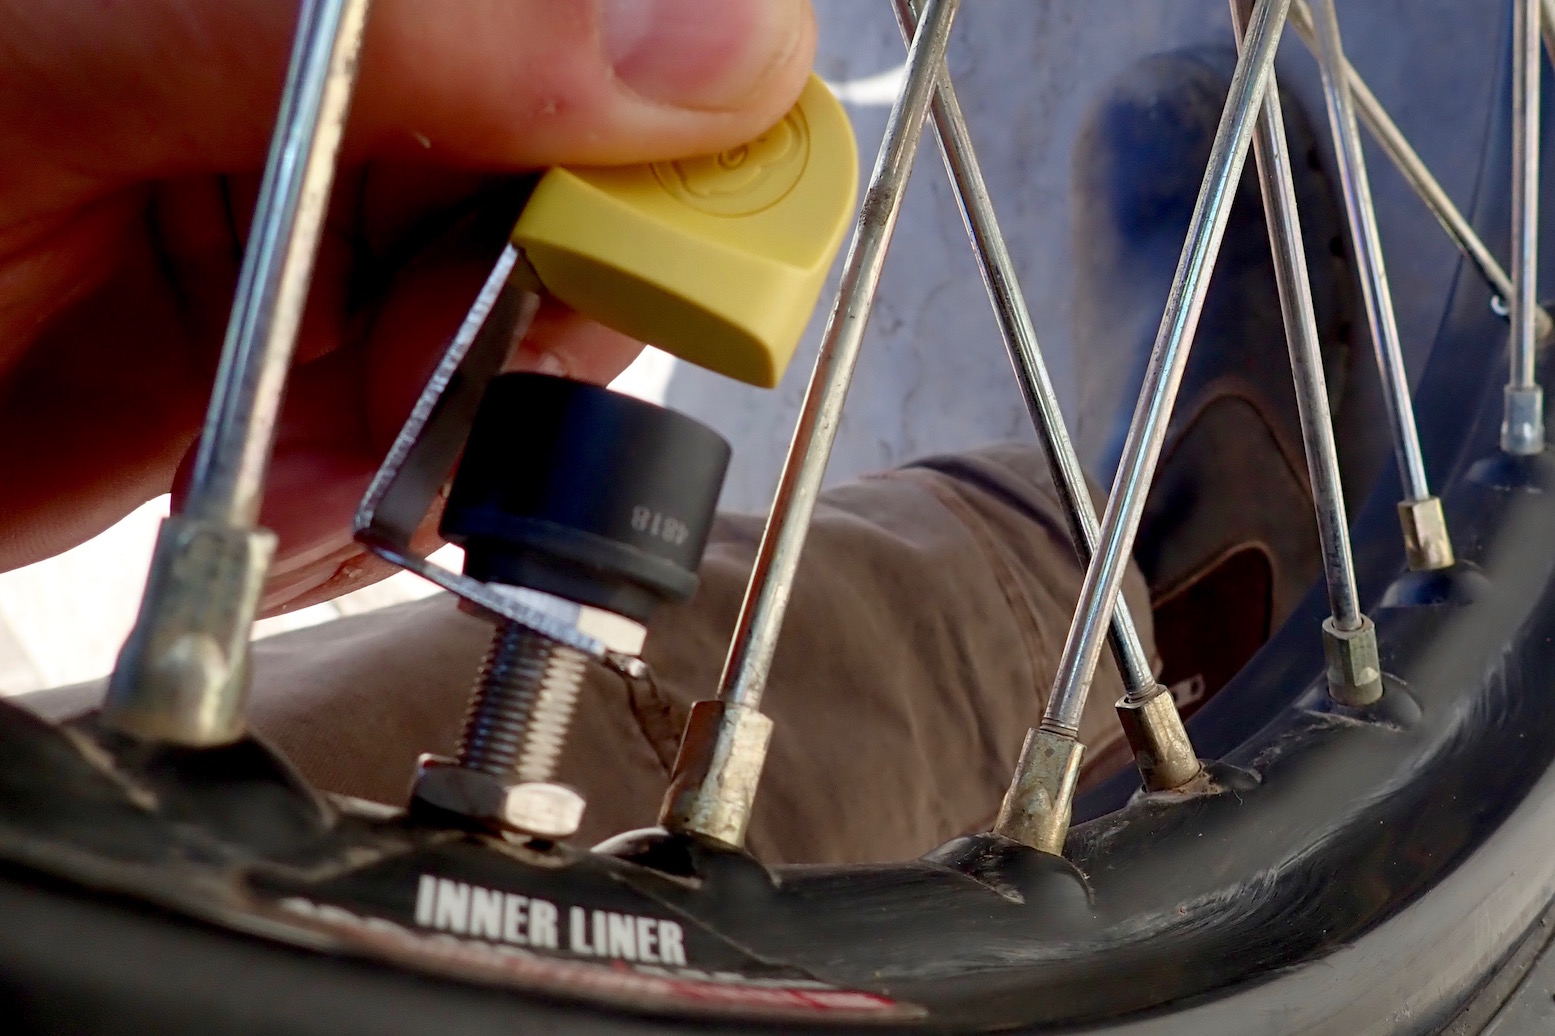
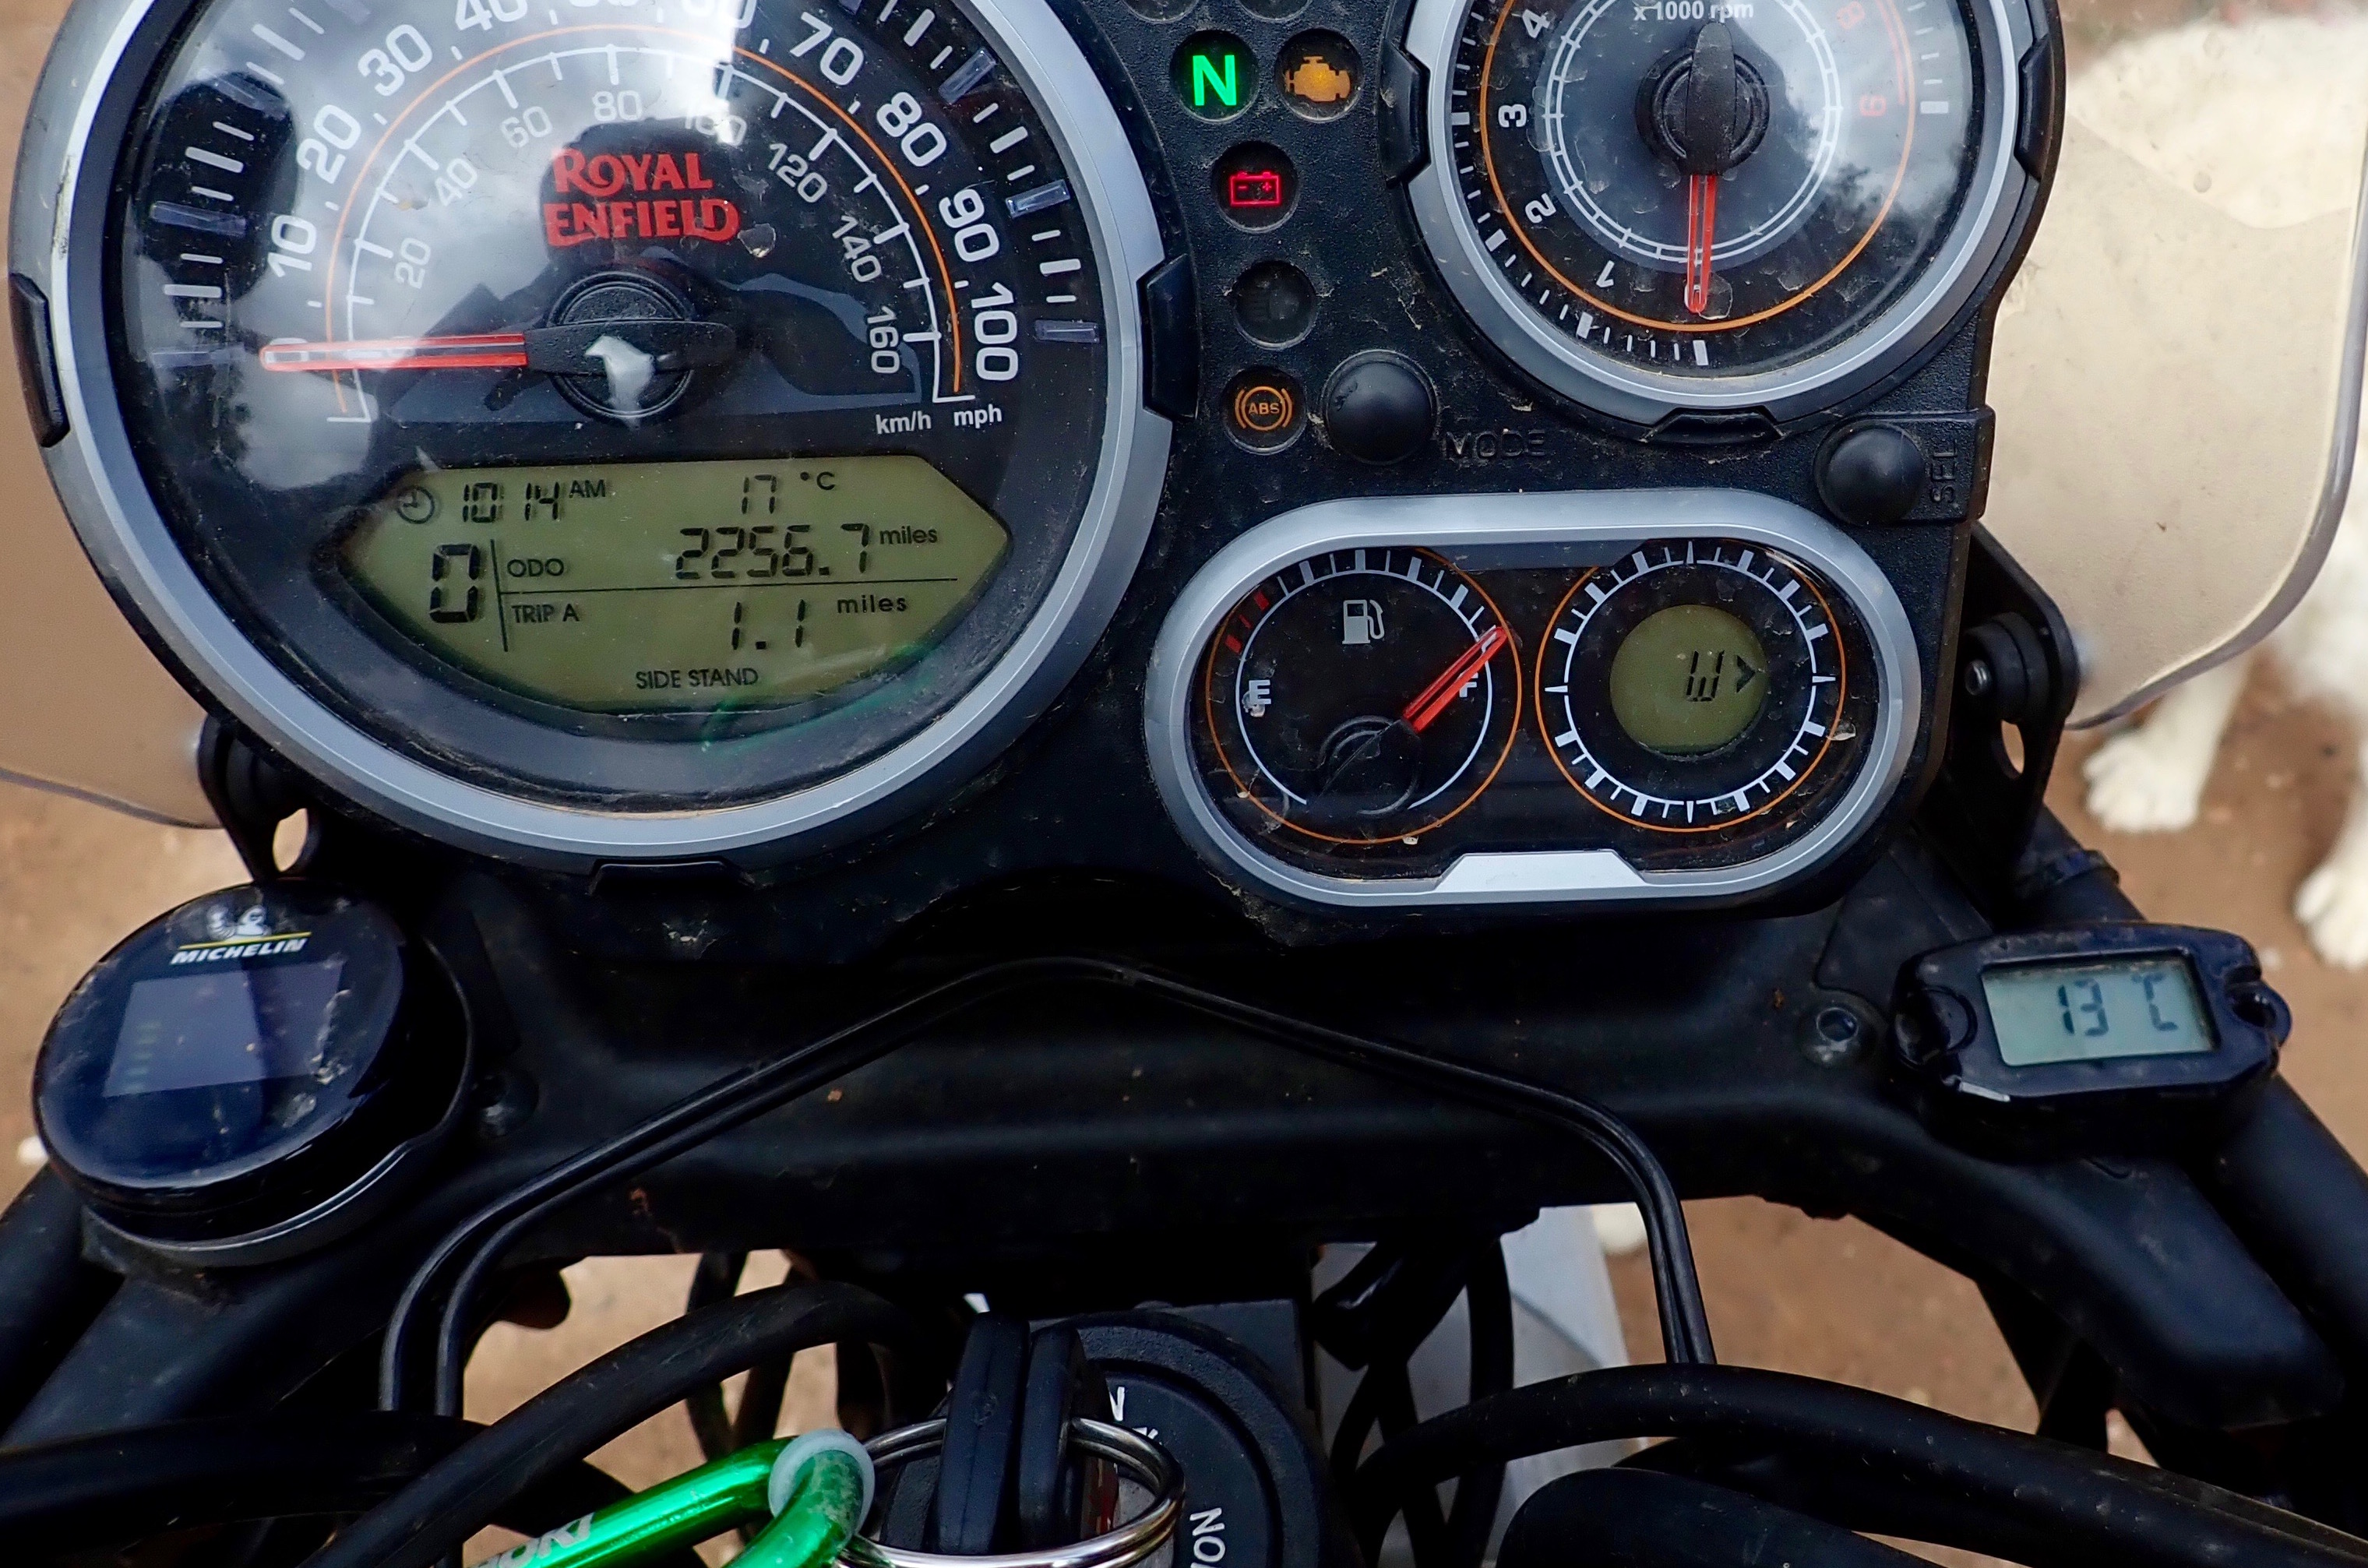
The Michelin kit was made by Fit2Go TPMS, an official global licensee of Michelin. It was composed of two over-sized valve caps marked F and R. You screw them on finger tight to the appropriate wheel and lock them off with a valve stem nut (yellow tool and nuts supplied; left). The round display module sits in a stick-on magnetic dish fitted wherever suits your eyeline and an appropriate surface. Putting the module in the dish activates the display: usually battery level (said to last for 3 months) plus front and rear pressures which flash up alternatively every few seconds. You may not get a pressure reading until the wheels are turning. There are no buttons or switches; place the module in and out of the mag dish three times and the display changes between bar and psi, though it may take a few minutes to read.
Playing up
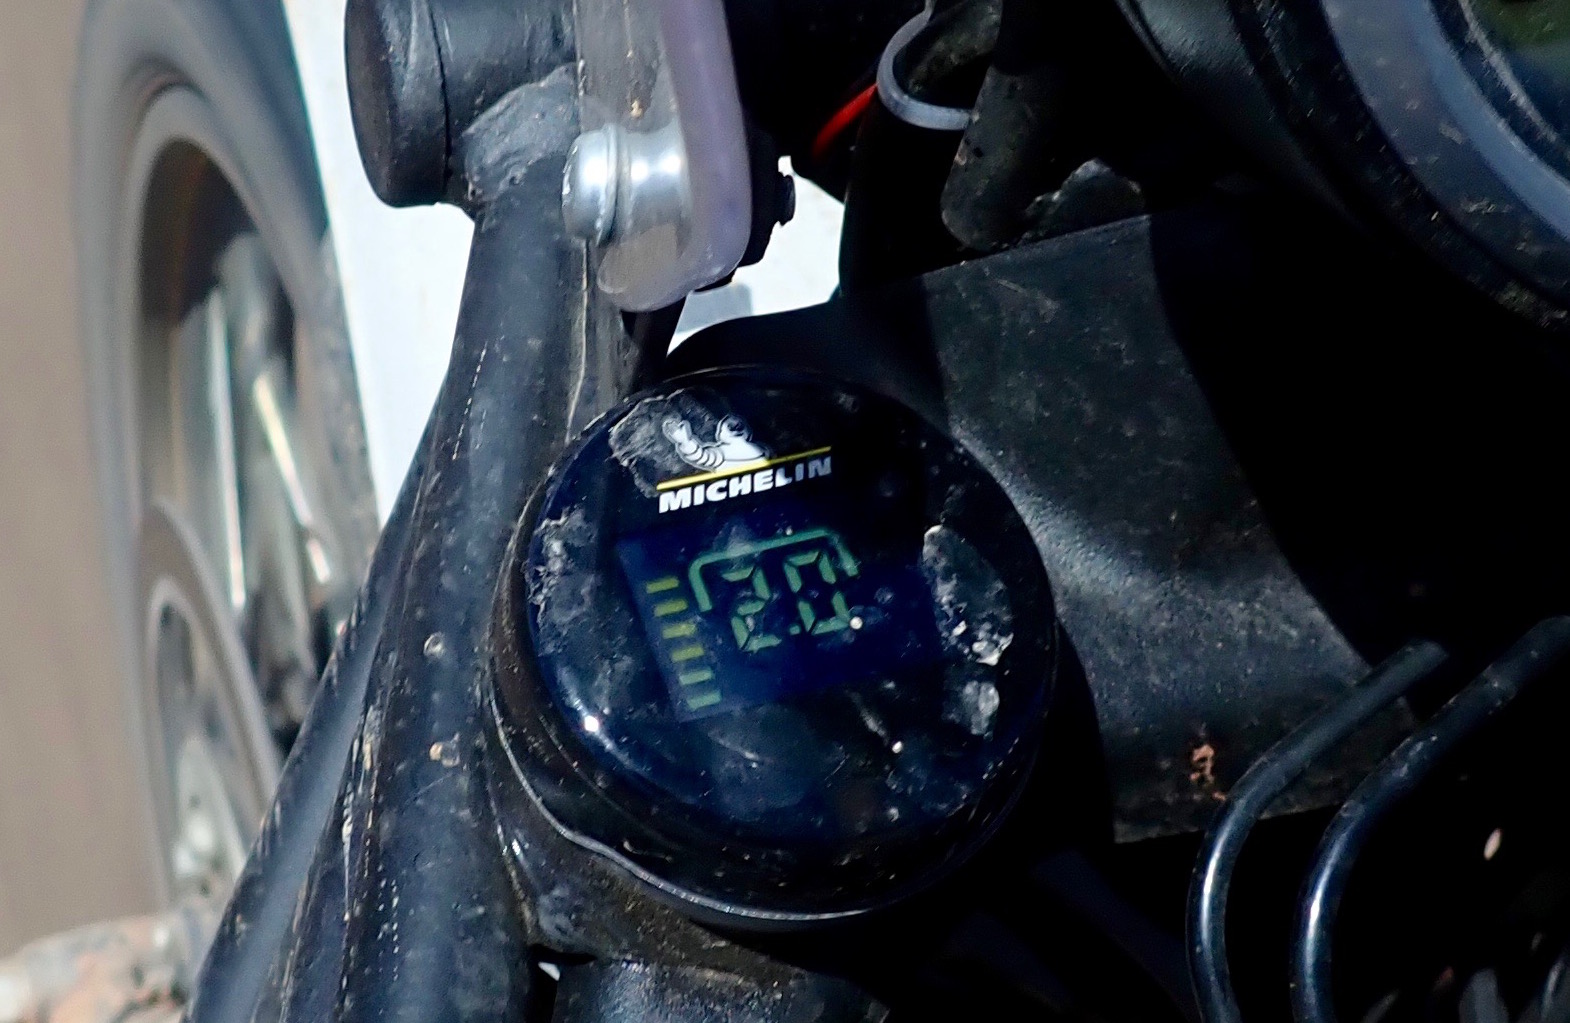
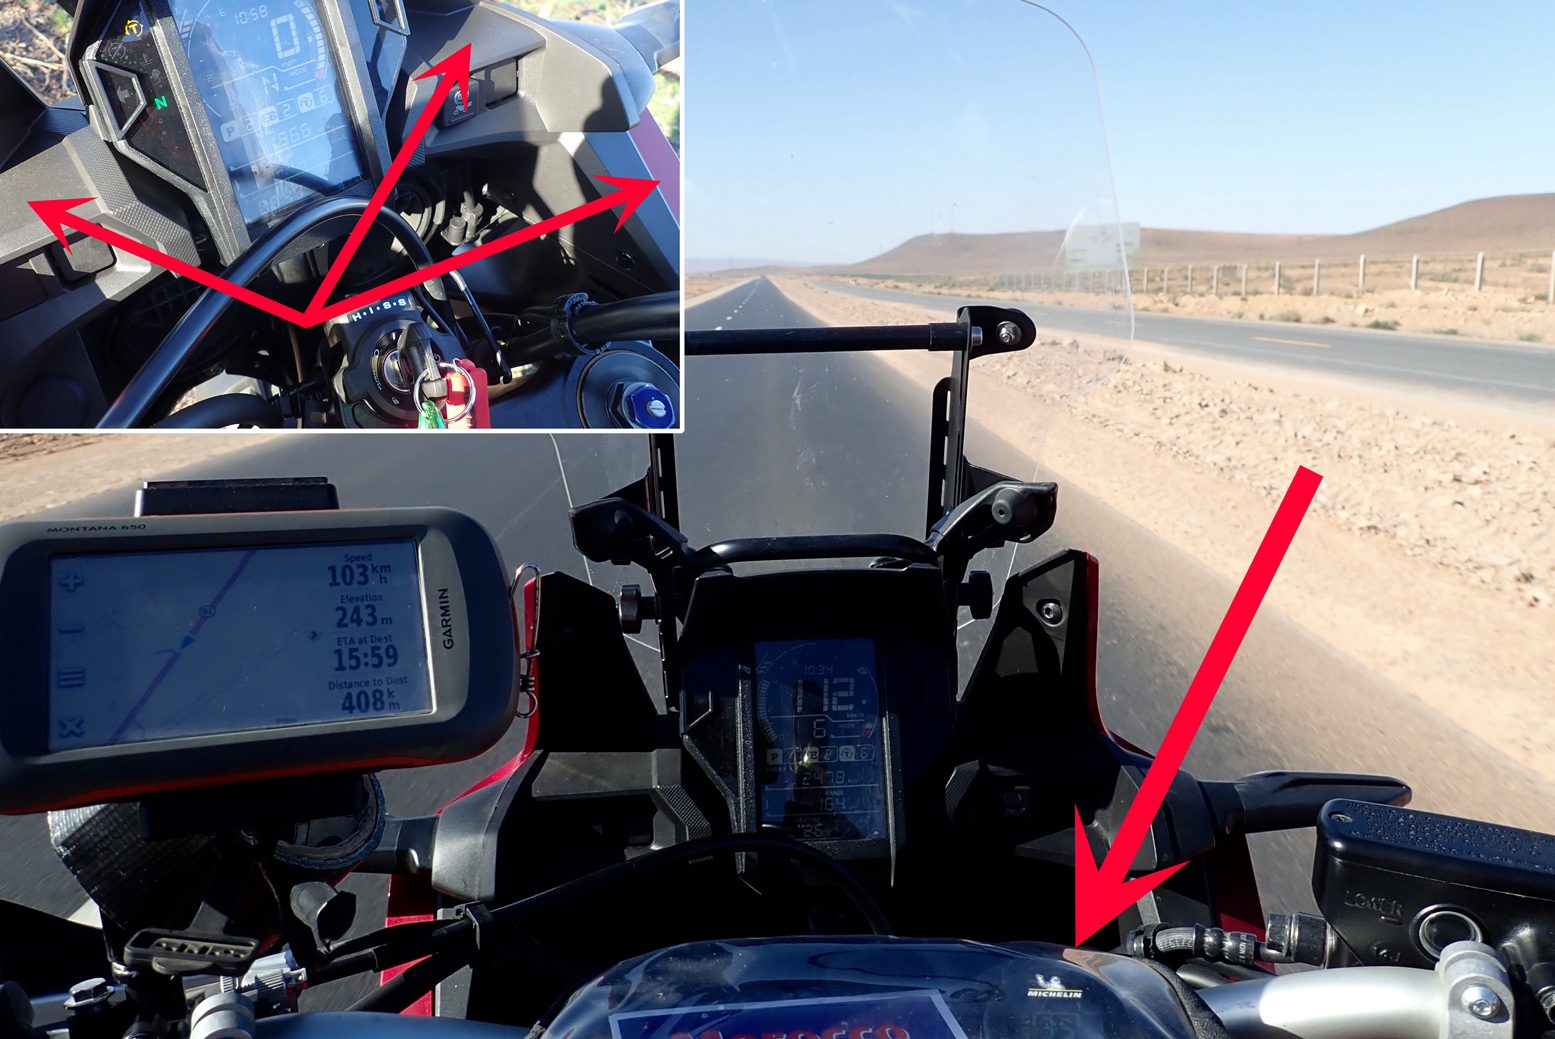
The first kit I had was fully charged by me, but on fitting in Spain took many hours of riding to pair up and show pressure readings. That would be inconvenient if you regularly removed the module to save it getting pinched. Once things worked, I left it in place. (As I was only out for a month, I’d not brought the USB recharge dish.) Fitted flat like a plate on a table, it didn’t budge on rough tracks but was hard to read at a glance; at an angle like the bike’s clocks would be better, and probably still secure. Or there’s always the tank bag. I’d also find black digits on a light background easier to read – like my Trail Tech temperature gauge, below right. Ten days in, after briefly removing it, the module went blank.
A replacement kit was brought out to Morocco, appeared to show a nearly full charge, and this time paired up in seconds and flipped to psi with no bother. But it also went blank after just five days. Neither unit was more than half discharged. I decided to put the original unit into the USB recharging dish from the replacement kit on the off chance, and it responded by charging from ¾ full (as it had been when it went blank). After just half an hour it was fully charged. Back on the bike it showed pressures in the original bar, and on changing to my preferred psi, displayed that too after about 20 minutes of being blank.
This suggests the display modules might discharge in a few days rather than three months, but while still indicating they’re more than half charged. Popping it in the recharge dish revives it, but it can be slow to pair up. This discourages you from removing it, if it indeed discharges when immobile. The blurb doesn’t advise removing it when not riding, but if it does discharge unused, it’s not reflected in the battery level status display.
Especially when travelling in the AMZ where – as I found – tyre troubles can leave you up the creek, knowing the state of your tyre pressures is less a convenience and more an important safety measure. Now, when I could swear I have a puncture, I glance at the TPMS and relax; it’s just the road surface vs tyres and paranoia. Very reassuring. Best of all, the easily fitted and recharged Michelin TPMS kit now makes maintaining your tyres at optimal levels a whole lot easier.
But because my two kits seem to play up, I’d wait a bit before buying one. They sort of work, but not as they should. I sent both kits back to Fit2Go for analysis and will update this review with any news.
Updated kit – 2020
Fit2Go sent me their revised kit which I used on my Africa Twin ride in Morocco in March 2020. The kit was welcome as again, I’d DIY converted my rear tyre to tubeless and so wanted to keep tabs on pressures. (The wheel lost 20% over a few days – fixed by adding Slime).
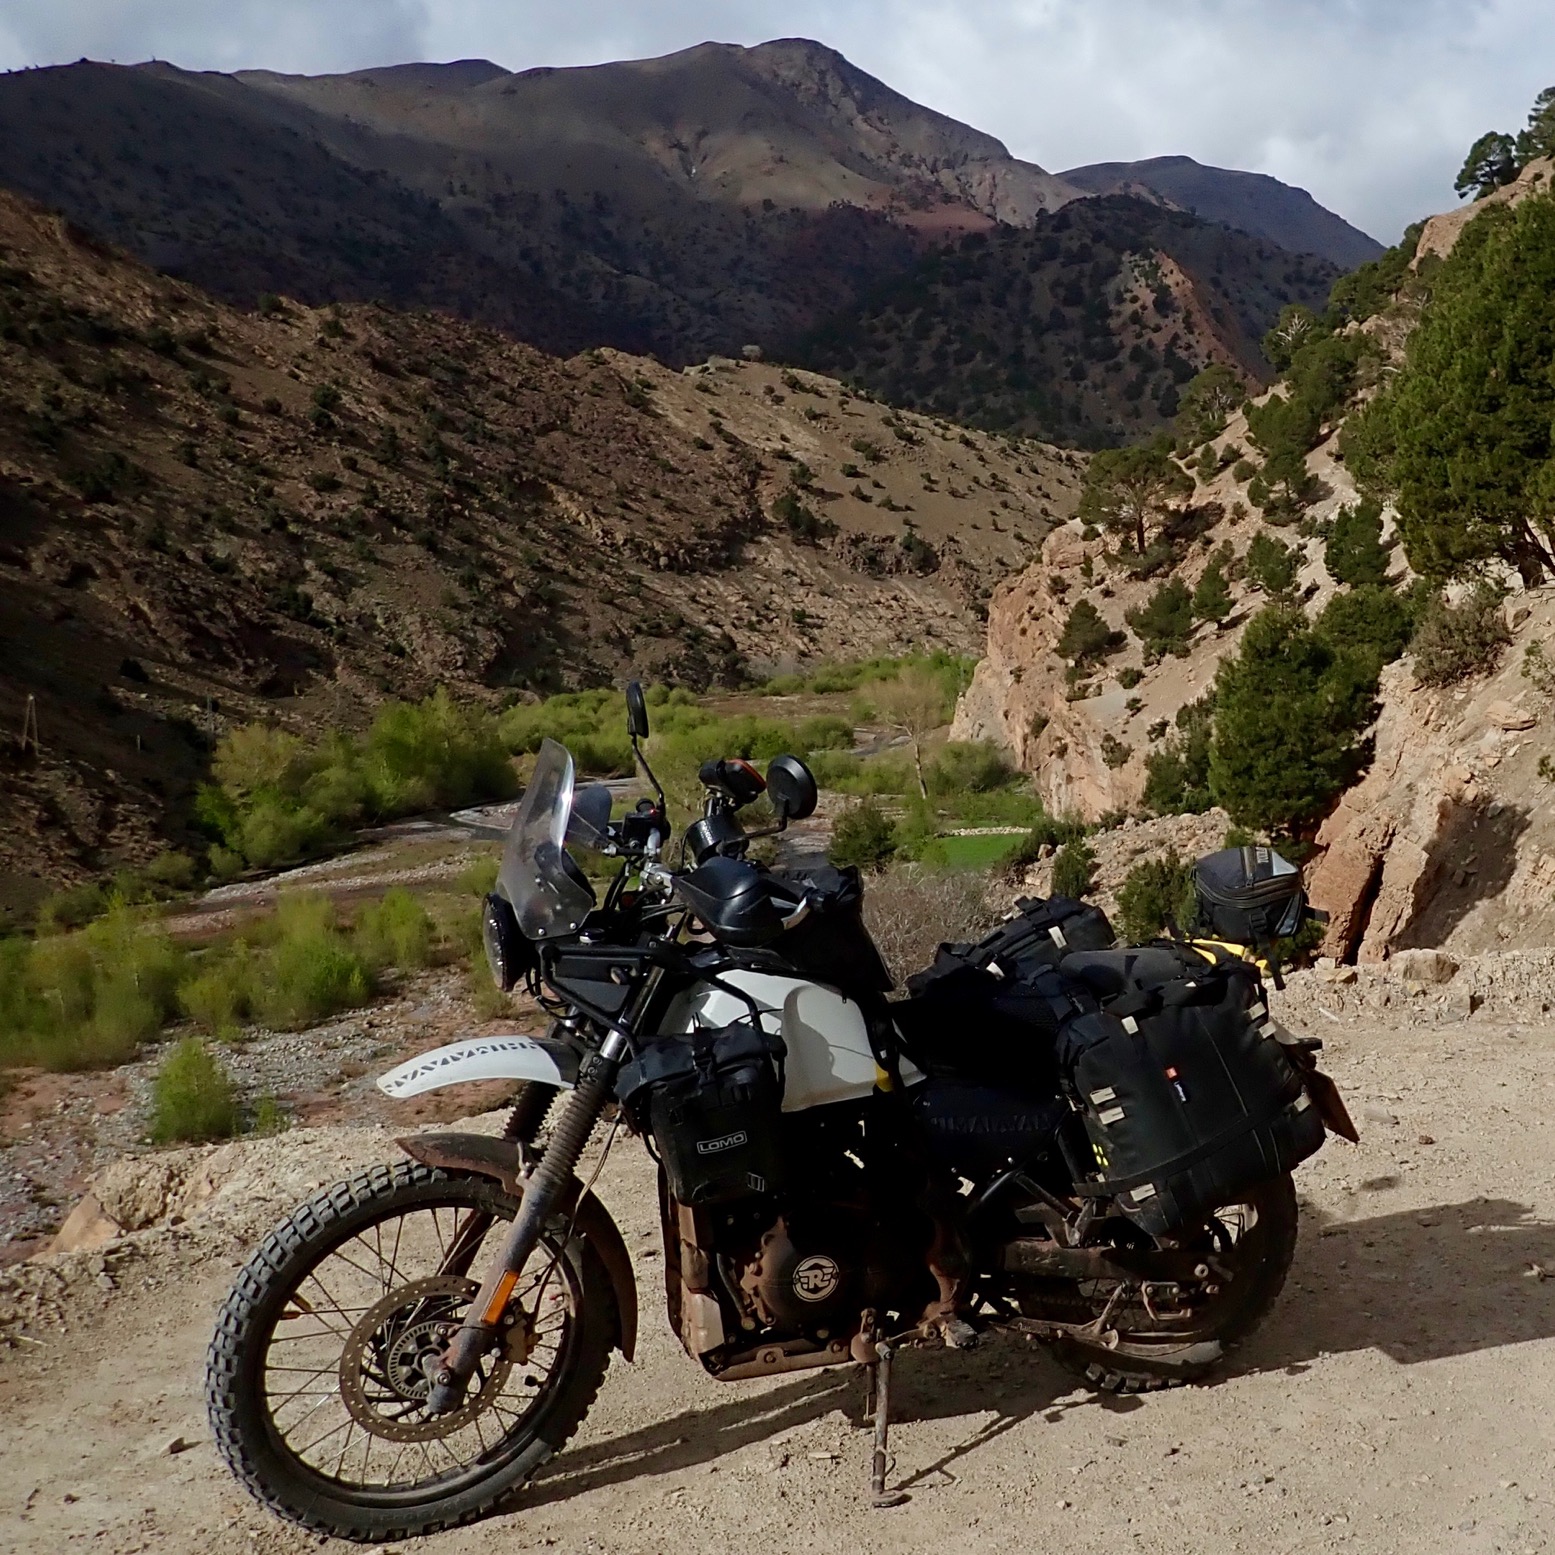
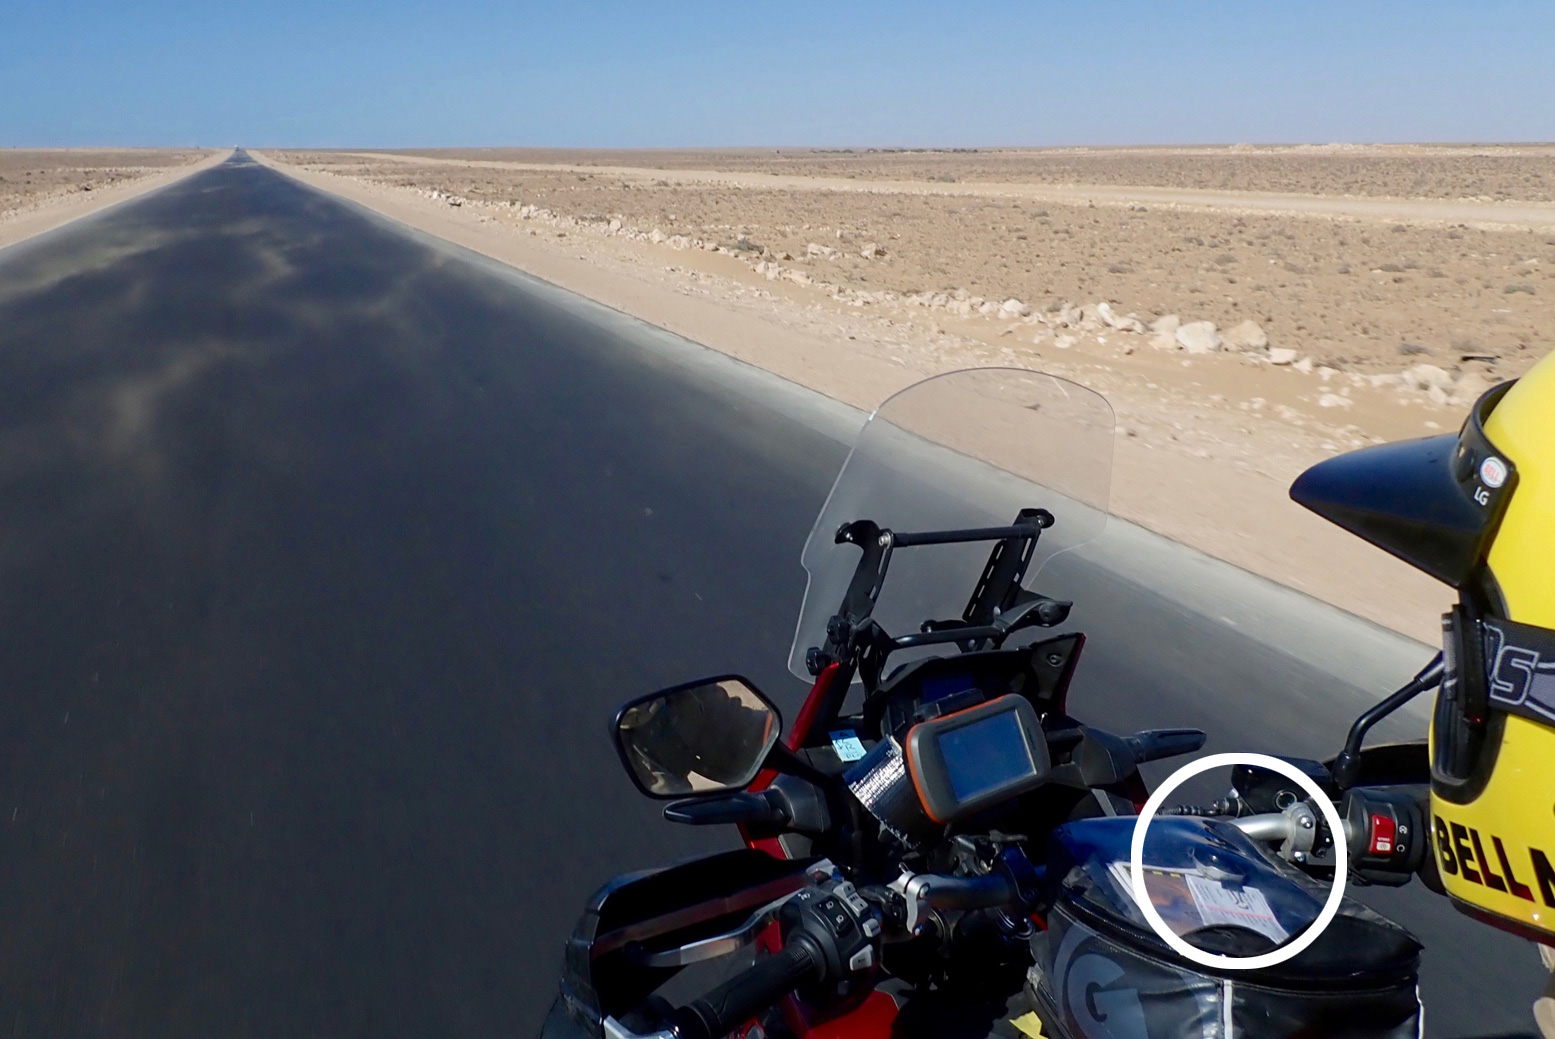
The kit looks identical but no problems at all this time. Without making an angle bracket, I couldn’t find a secure and legible position on my AT (red arrows, left inset below) so put the display and dish inside the clear lid of my tank bag (below right). The opaque vinyl made it hard to read easily but there was no danger of it falling off. Had that ride not ended prematurely I’d have worked out some legible-angle bracket in the cockpit or stuck the dish on top of the tank bag.
The only complaint is that the display intervals seem slower than before: 10 seconds on Front then 10 on the Rear. It means you need several glances to ascertain both pressures, whereas a higher flip-count might mean you catch both in one glance. I still think the display could be brighter, too. Other than that and the high price (which dropped for a while), all good.
Update 2021
I got my AT running again in October 2021 and needed to recharge the TPMS unit which after 18 months would have been flat. It recharged in less than two hours.
But when it came to topping up the tyres after 20 months, I had to faff about with that cheap valve cap locknut removal tool, and then found the rear TPMS valve cap wouldn’t screw on to the rear tyre’s valve body. I remember having this problem last time I topped up in Spain, February 2020. It felt like the TPMS valve cap was too shallow: there were not enough threads to bite onto the tubeless tyre valve before the pin in the cap pressed on the tyre valve stem and let the air out.
It could be a problem with whatever TL valve I have on my tyre. In Spain I’d managed to over-inflate the tyre and then cram the cap on before too much air escaped. This time in baking hot Marrakech, I didn’t have the patience to re-learn the knack and gave up on re-fitting the TPMS.
But travelling alone on road and trail over the next week, I sure did miss not knowing what my tyre pressures were doing, just as I’d miss not knowing what my fuel level or engine temperature were.
I’m not finished with TPMS yet: I will give it another go on the 300L once it gets its tubeless wheels.