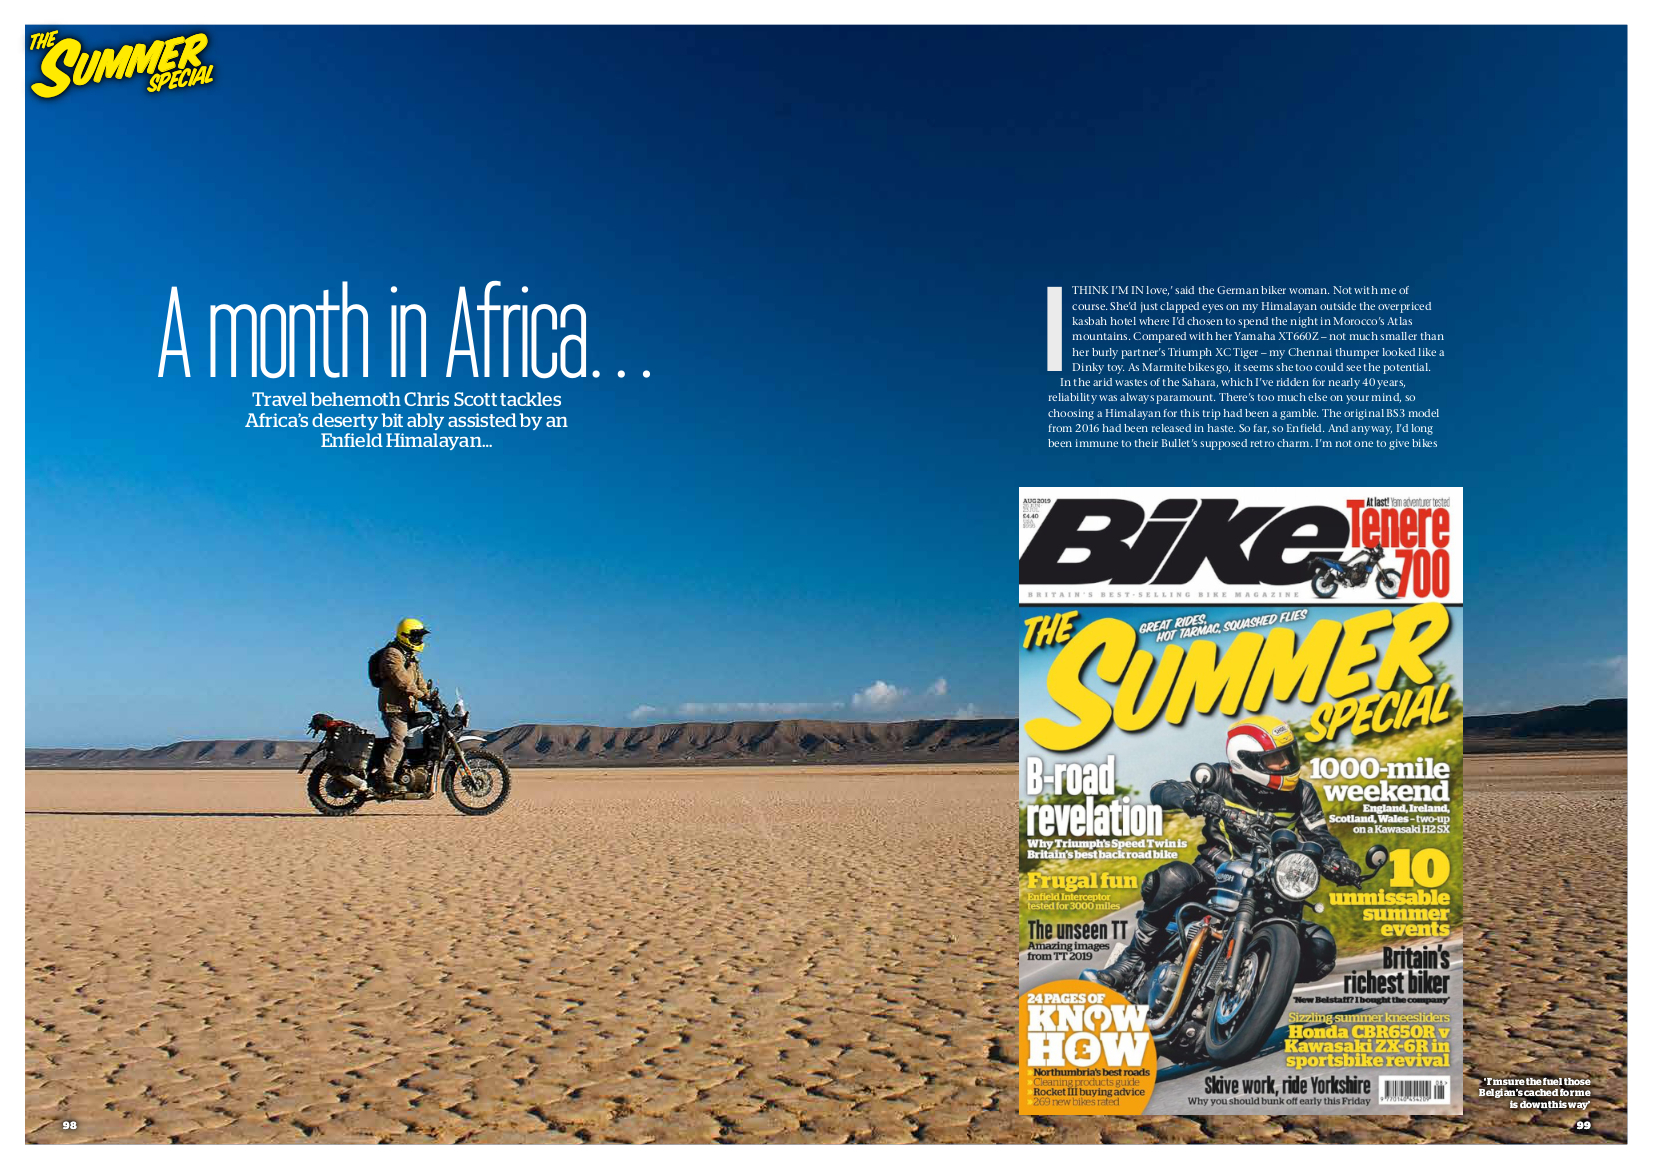
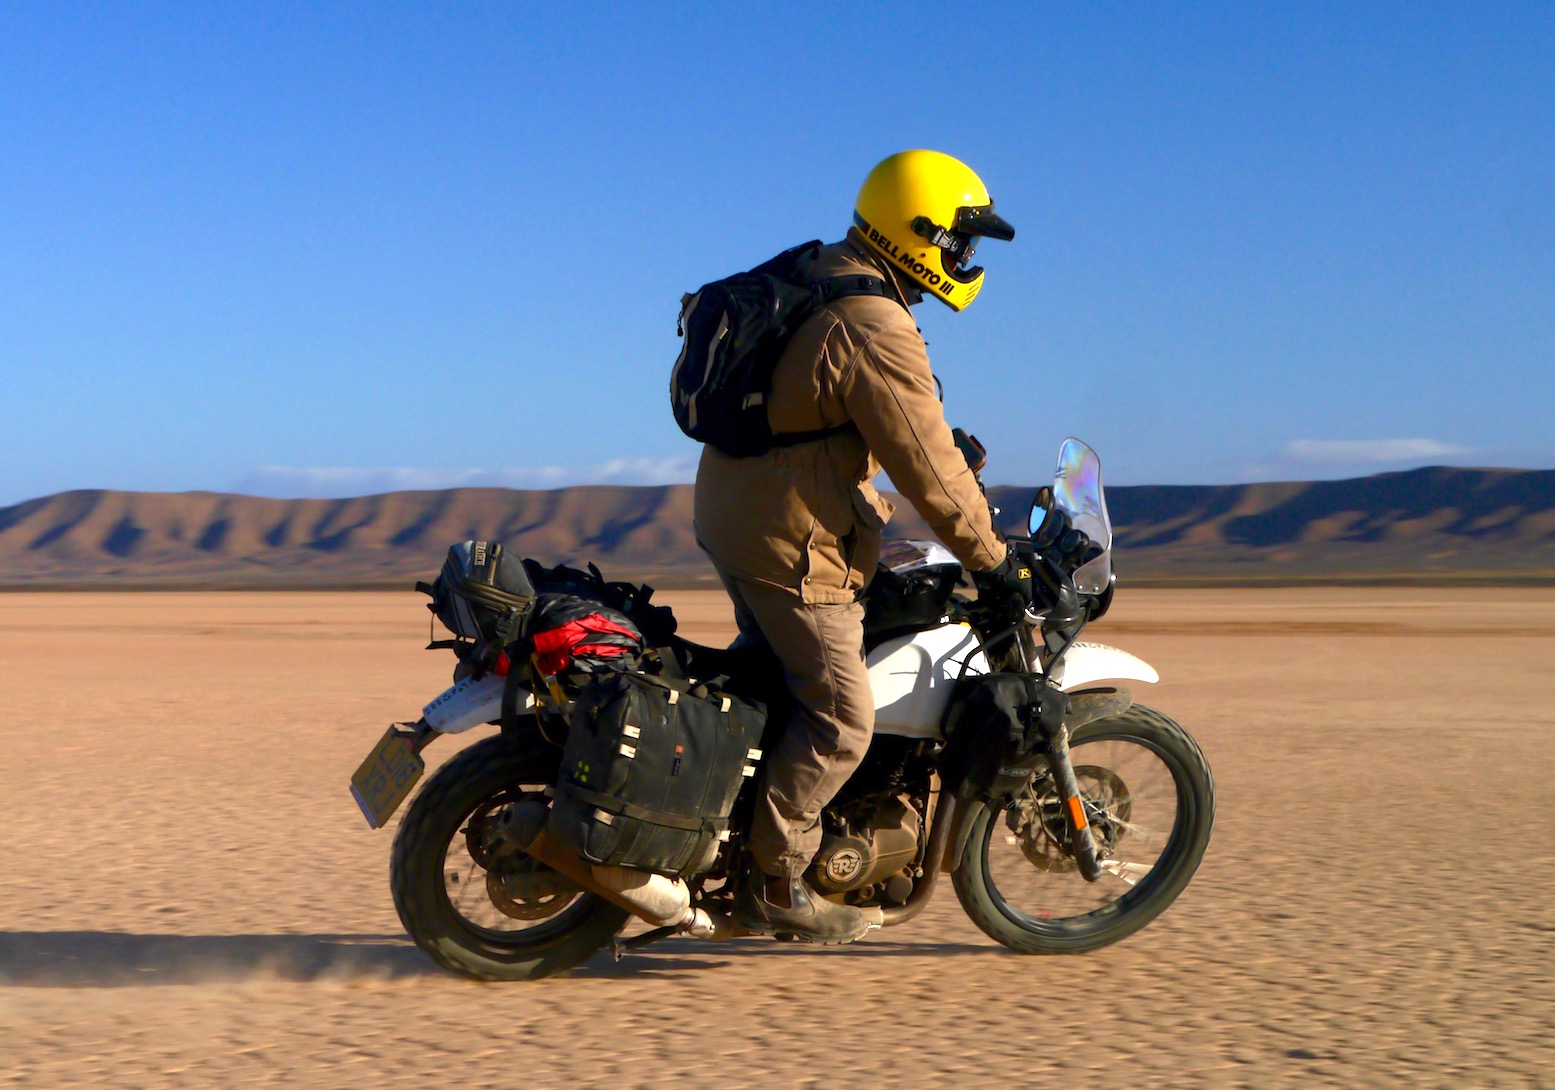
Michelin’s Anakee Wild came out in 2016, replacing the venerable T63 which we used on Desert Riders in 2003 (with similar patterned Mich Deserts on the rear). Since then, adventure motorcycling – aka: touring on big trail bikes – has become a thing. The Wilds address the need to give heavier, more powerful machines some genuine off-road ability – or looks – without resorting to expensive competition tyres like the famous Dakar-inspired Michelin Desert. I ran these Anakee Wilds tubeless in Morocco and Western Sahara on my Enfield Himalayan: 130/80-17 M/C 65R TL on the back on a wider, sealed Excel rim, and a 90/90-21 M/C 54R TL on the front, initially with a Tubliss core, then tubed. Both wheels were initially Slimed, too. Best price new in the UK is £85 for the rear and £66 for the front. Unlike some new knobbly-ish tyres, on my Himalayan the Wilds rode and cornered normally from new, with no odd, K60-like squirming until bedded in. With the aid of Michelin’s new TPMS, I ran them at around 28 psi or 2 bar, dropping only a couple of pounds for long, multi-day off-road stages.
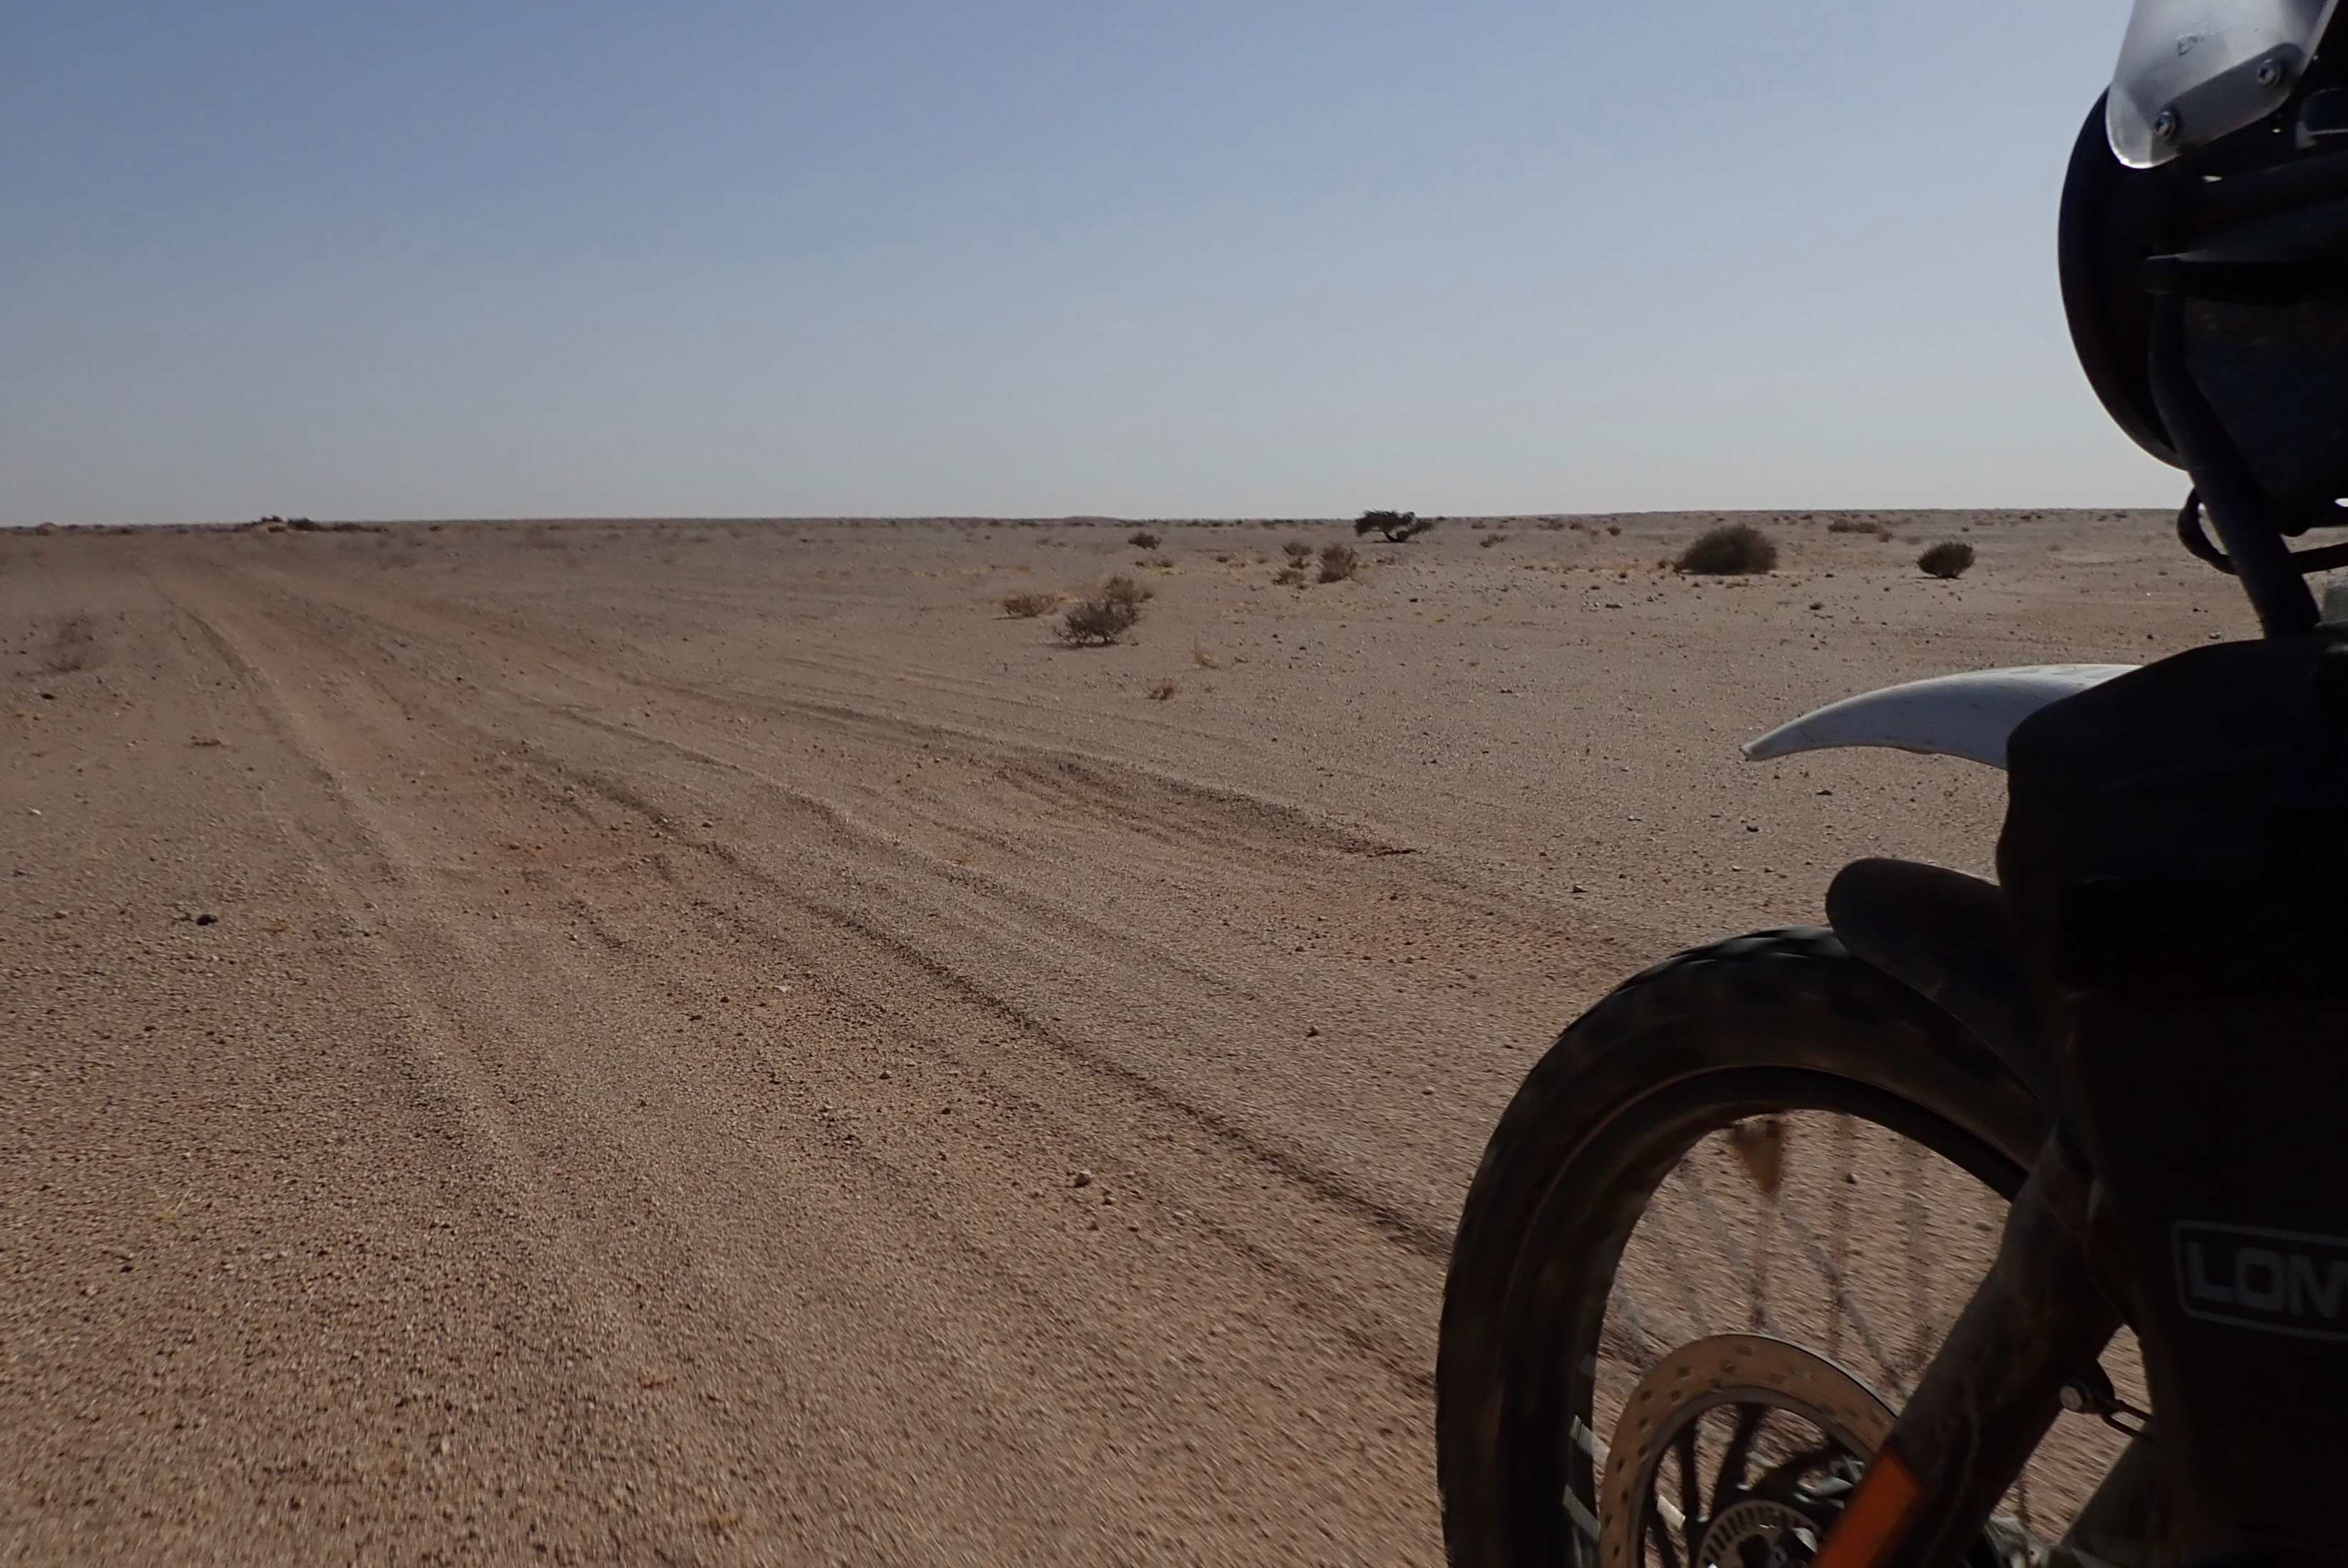
Let’s face it, there’s no great mystery in tread patterns – you can see the Wilds will work well on loose surfaces, while the shallow knobs won’t flex disconcertingly on the road. The Himalayan may be heavy for what it is, but it hasn’t got the power to put these Anakees in a spin. On good mountain roads I pretty much forgot about the reduced contact surface of the knobs and was able to swing through the bends up to the point of grounding the centre stand or the soles of my boots. They never budged. On the dirt it was the same feeling of reassurance tempered by a riding style aware of where I was (when riding alone). The Anakees never made any unpredictable moves, just bit down through the gravel and grit to help make the Enfield easy to manage. Perhaps the tyres’ biggest test was having to ride 250 clicks on a flat front when the Tubliss core packed up irreparably in the desert. To be fair the punctured core helped keep the tyre on the rim, making straight-line riding easy. But to keep the tyre from over-heating I kept the speed down to 30mph. I’m not so sure a non-premium brand tyre would have survived such use so well. It also suggests that the firmer carcass of a TL tyre is more robust, even if it weighs substantially more than a tube type tyre. On a long rugged ride with a heavy, tubed bike like a one-litre Africa Twin, there may be something to be said for running a heavy TL tyre, even with inner tubes. The extra meat will provide added protection against flats.
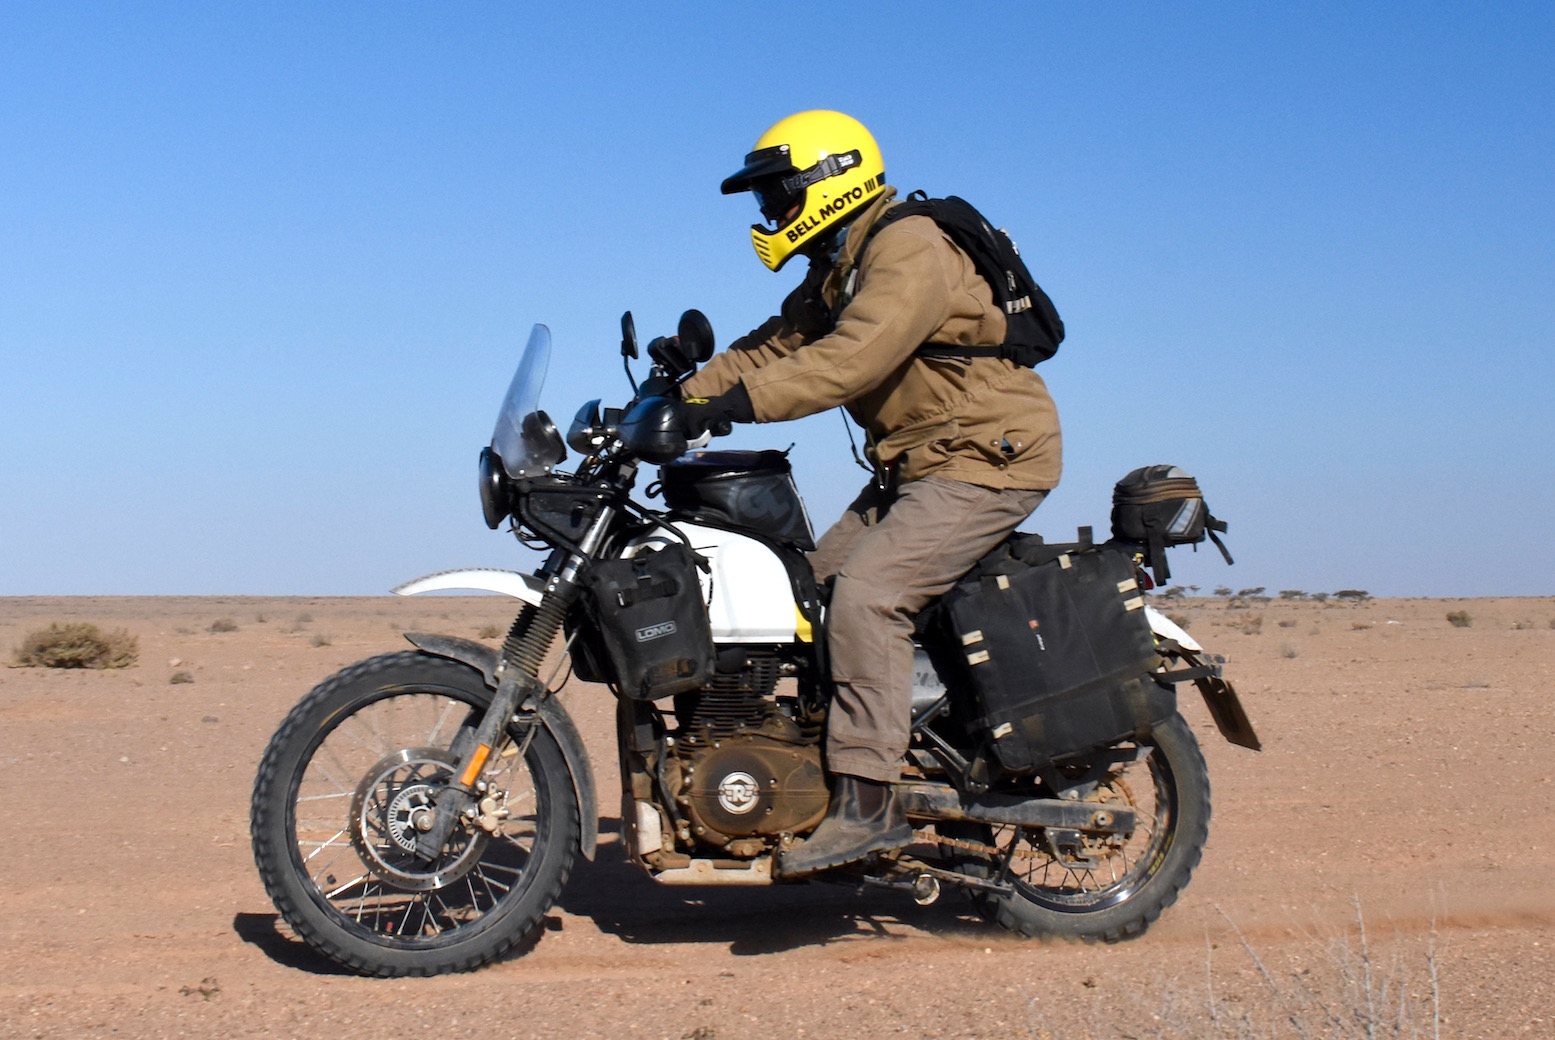
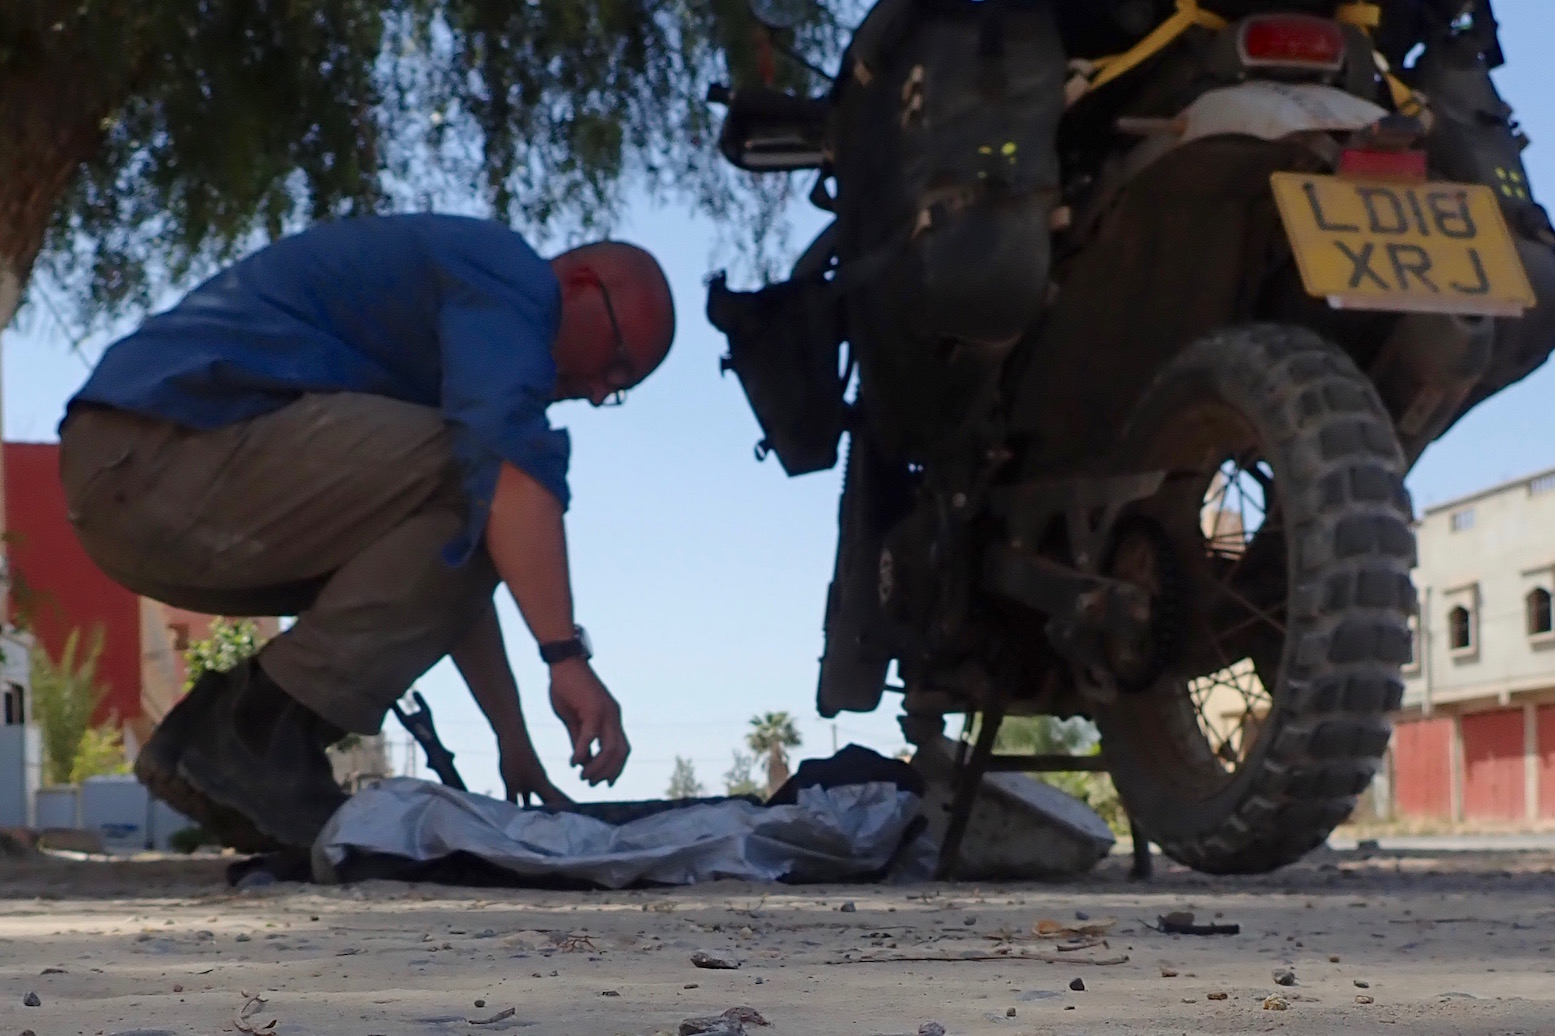
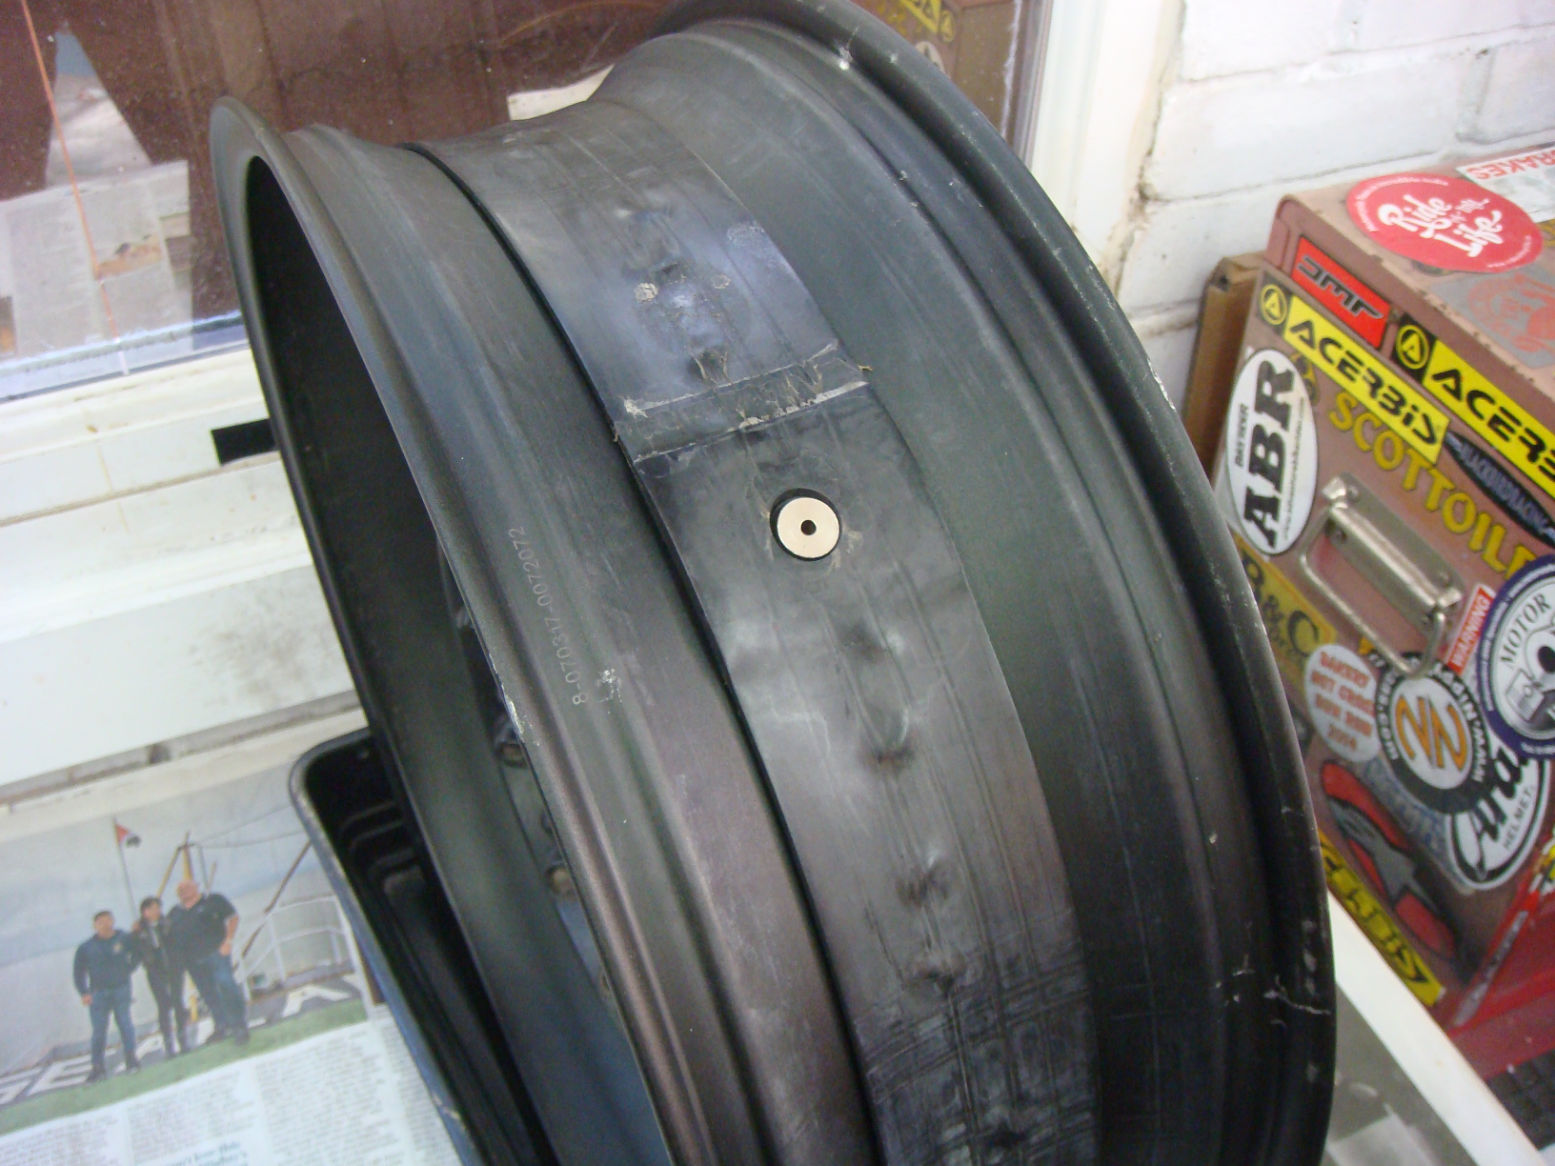
I did experience one flat on the front while running a cheap, paper-thin tube. I get the feeling a rocky off-road stage may have benefitted from slightly reduced tyre pressures to allow the tyre to form around the sharp stones, rather than press hard into them. It did seem to be a genuine puncture, not a result of hasty kerbside mounting (above), remnants of Slime or a duct tape rim liner. The rear also picked up a nail early on between the knobs, but I’ve left it there. By the end of the 3,700-mile trip, the last week guiding a tour of mostly 310GSs, the back had 5mm in the centre of the tread and the front a few mils more. It suggests at least 5000 miles from a rear with about 30% off-road use. As the miles have passed it feels like the smooth, stable edge has come off the ride in corners – normal with any ¾ worn tyre I’ve found – but the front knobs have no evidence of vibration-inducing cupping. The Himalayan’s front brake hasn’t got the bite to achieve that. The Anakee Wild is a harder-wearing 60/40 tyre than the ubiquitous, soft and similarly all-road performing Conti TKC80.
After problems with the original 2019 kits (explained below), Fit2Go (who sold the Michelin branded product) updated their TPMS software for 2020. They also redesigned the magnetic mounting following negative reviews on amazon. In 4000 miles of riding on and off road, the magnetic fitting wasn’t a problem for me. I tried the seemingly identical Mk2 version in March 2020. See pros and cons, below.
Update Summer 2023: UK Michelin no longer list TPMS for bikes and the Fit2Gopage says a new version is due in 2023 after the original Michelin branded product was discontinued following scathing reviews.
Where: Spain and Morocco 2019 and again in 2020 and 2021
Cost: £80 (kits suppled free by Michelin for review)
Weight: Negligible
In a line: Once you discover TPMS there’s no going back. (More here)
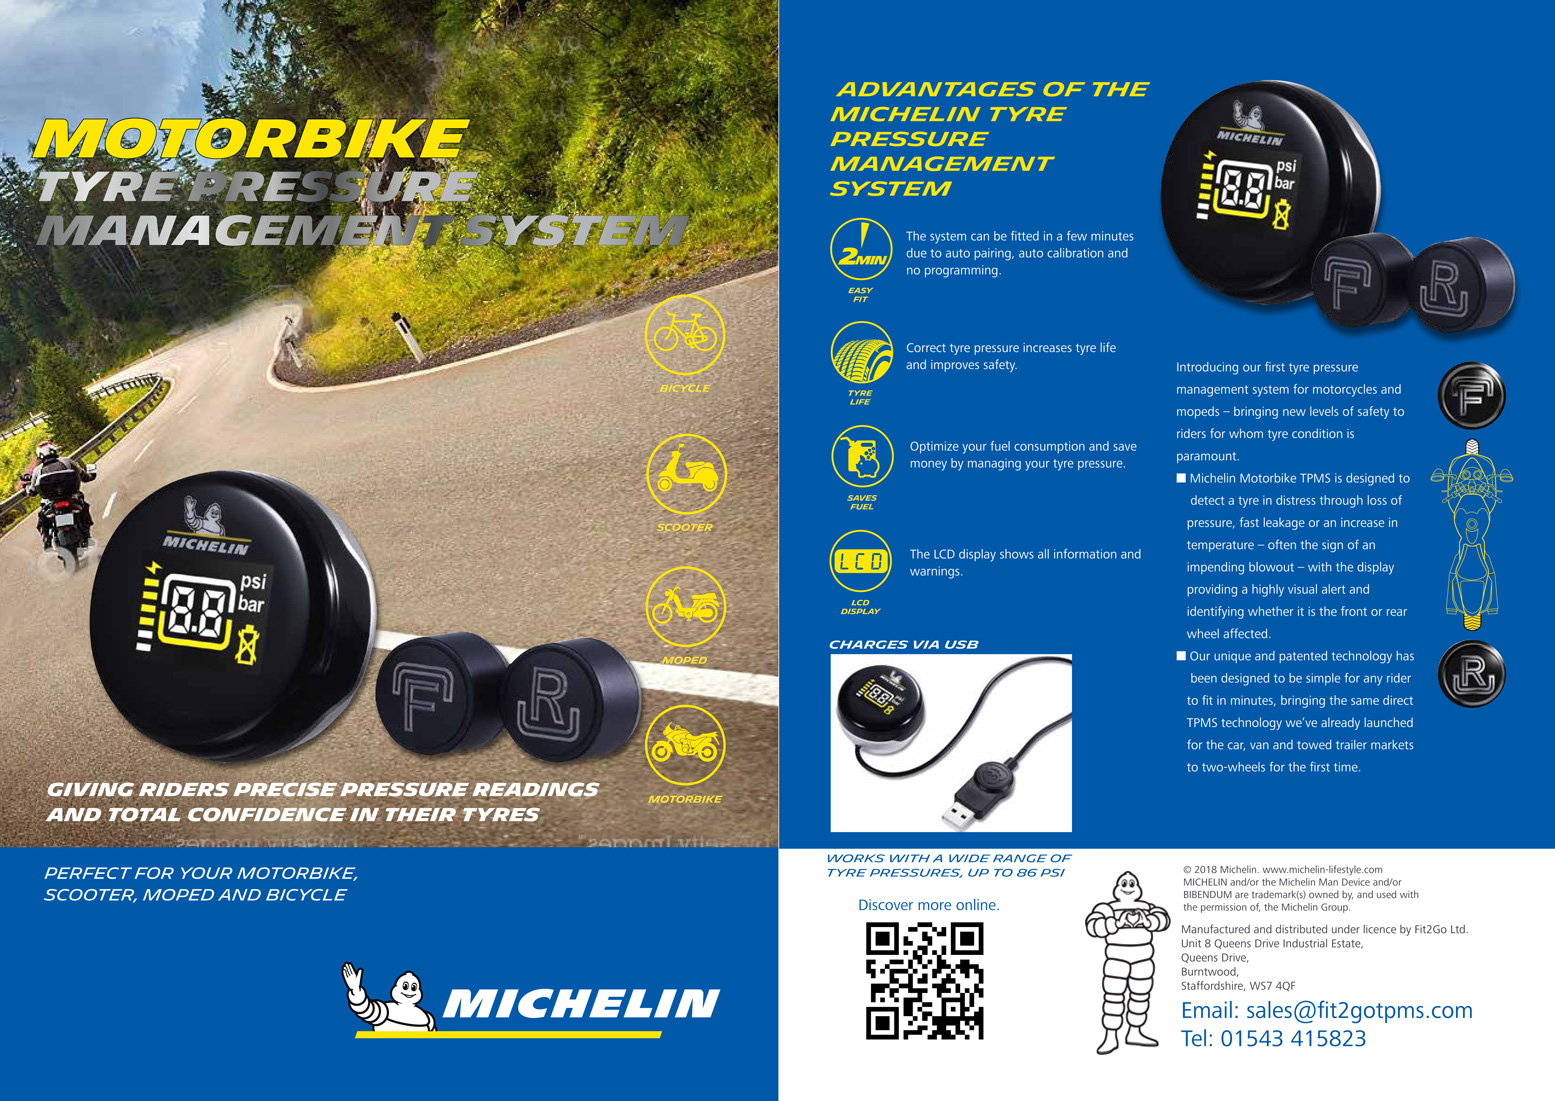
What they said Introducing our first tyre pressure monitoring system (TPMS) for motorcycles, mopeds, scooters and all two-wheel modes of transport – bringing new levels of safety to riders for whom tyre condition is paramount. MICHELIN TPMS – Bike detects a tyre in distress through loss of pressure, fast leakage or an increase in temperature – often the sign of an impending blowout. Its compact display flashes as brightly as a mobile phone torch if it detects an issue, plus identifies whether it is the front or rear tyre affected. Our patented solution can be fitted in less than two minutes, bringing the same direct TPMS technology already proven in the passenger car and van markets to two-wheels for the first time.
This wireless system needs no programming and features a compact LCD screen which fits into a magnetic mount placed on a prominent part of the bike. The fully sealed and buttonless device can be quickly removed for security and is small enough to fit in a pocket. The display offers a battery life of up to three months, with the USB-powered inductive charger making it simple to top-up. Once fitted, the unit displays the pressure of both tyres, in either psi or bar, toggling between the front and rear at set intervals. Riders will see a low-pressure warning if a tyre becomes under-inflated by 15%, an enhanced alert when the pressure either drops by 25%, or if over-inflated by 35% or more. There are also alerts for high tyre temperatures or fast leakage (at least 2 psi per minute).
What I think:
• Real-time tyre pressure data at last • USB rechargeable – should last a couple of months • No hard-wiring so fits in a couple of minutes • Magnetic retaining dish secure off road • Reads bar or psi • Rated up to 7.5 bar (100psi+) • Various warning displays • Mk2 2020 kit paired up fast and worked seamlessly
• In 2019 original and replacement units played up after a few days (see below) • Doesn’t live-read from a static start (e.g.: overnight). Wheels need to turn first • Expensive at £80, but there are both less elegant kits and pricier kits out there • Green/yellow on black background hard to read unless under your nose • Valve-cap lock-nuts complicate tool-free topping up of air • The valve caps can be too shallow (not enough threads to grip the valve body) • On the 2020 version the F&R display interval was too slow for a quick glance
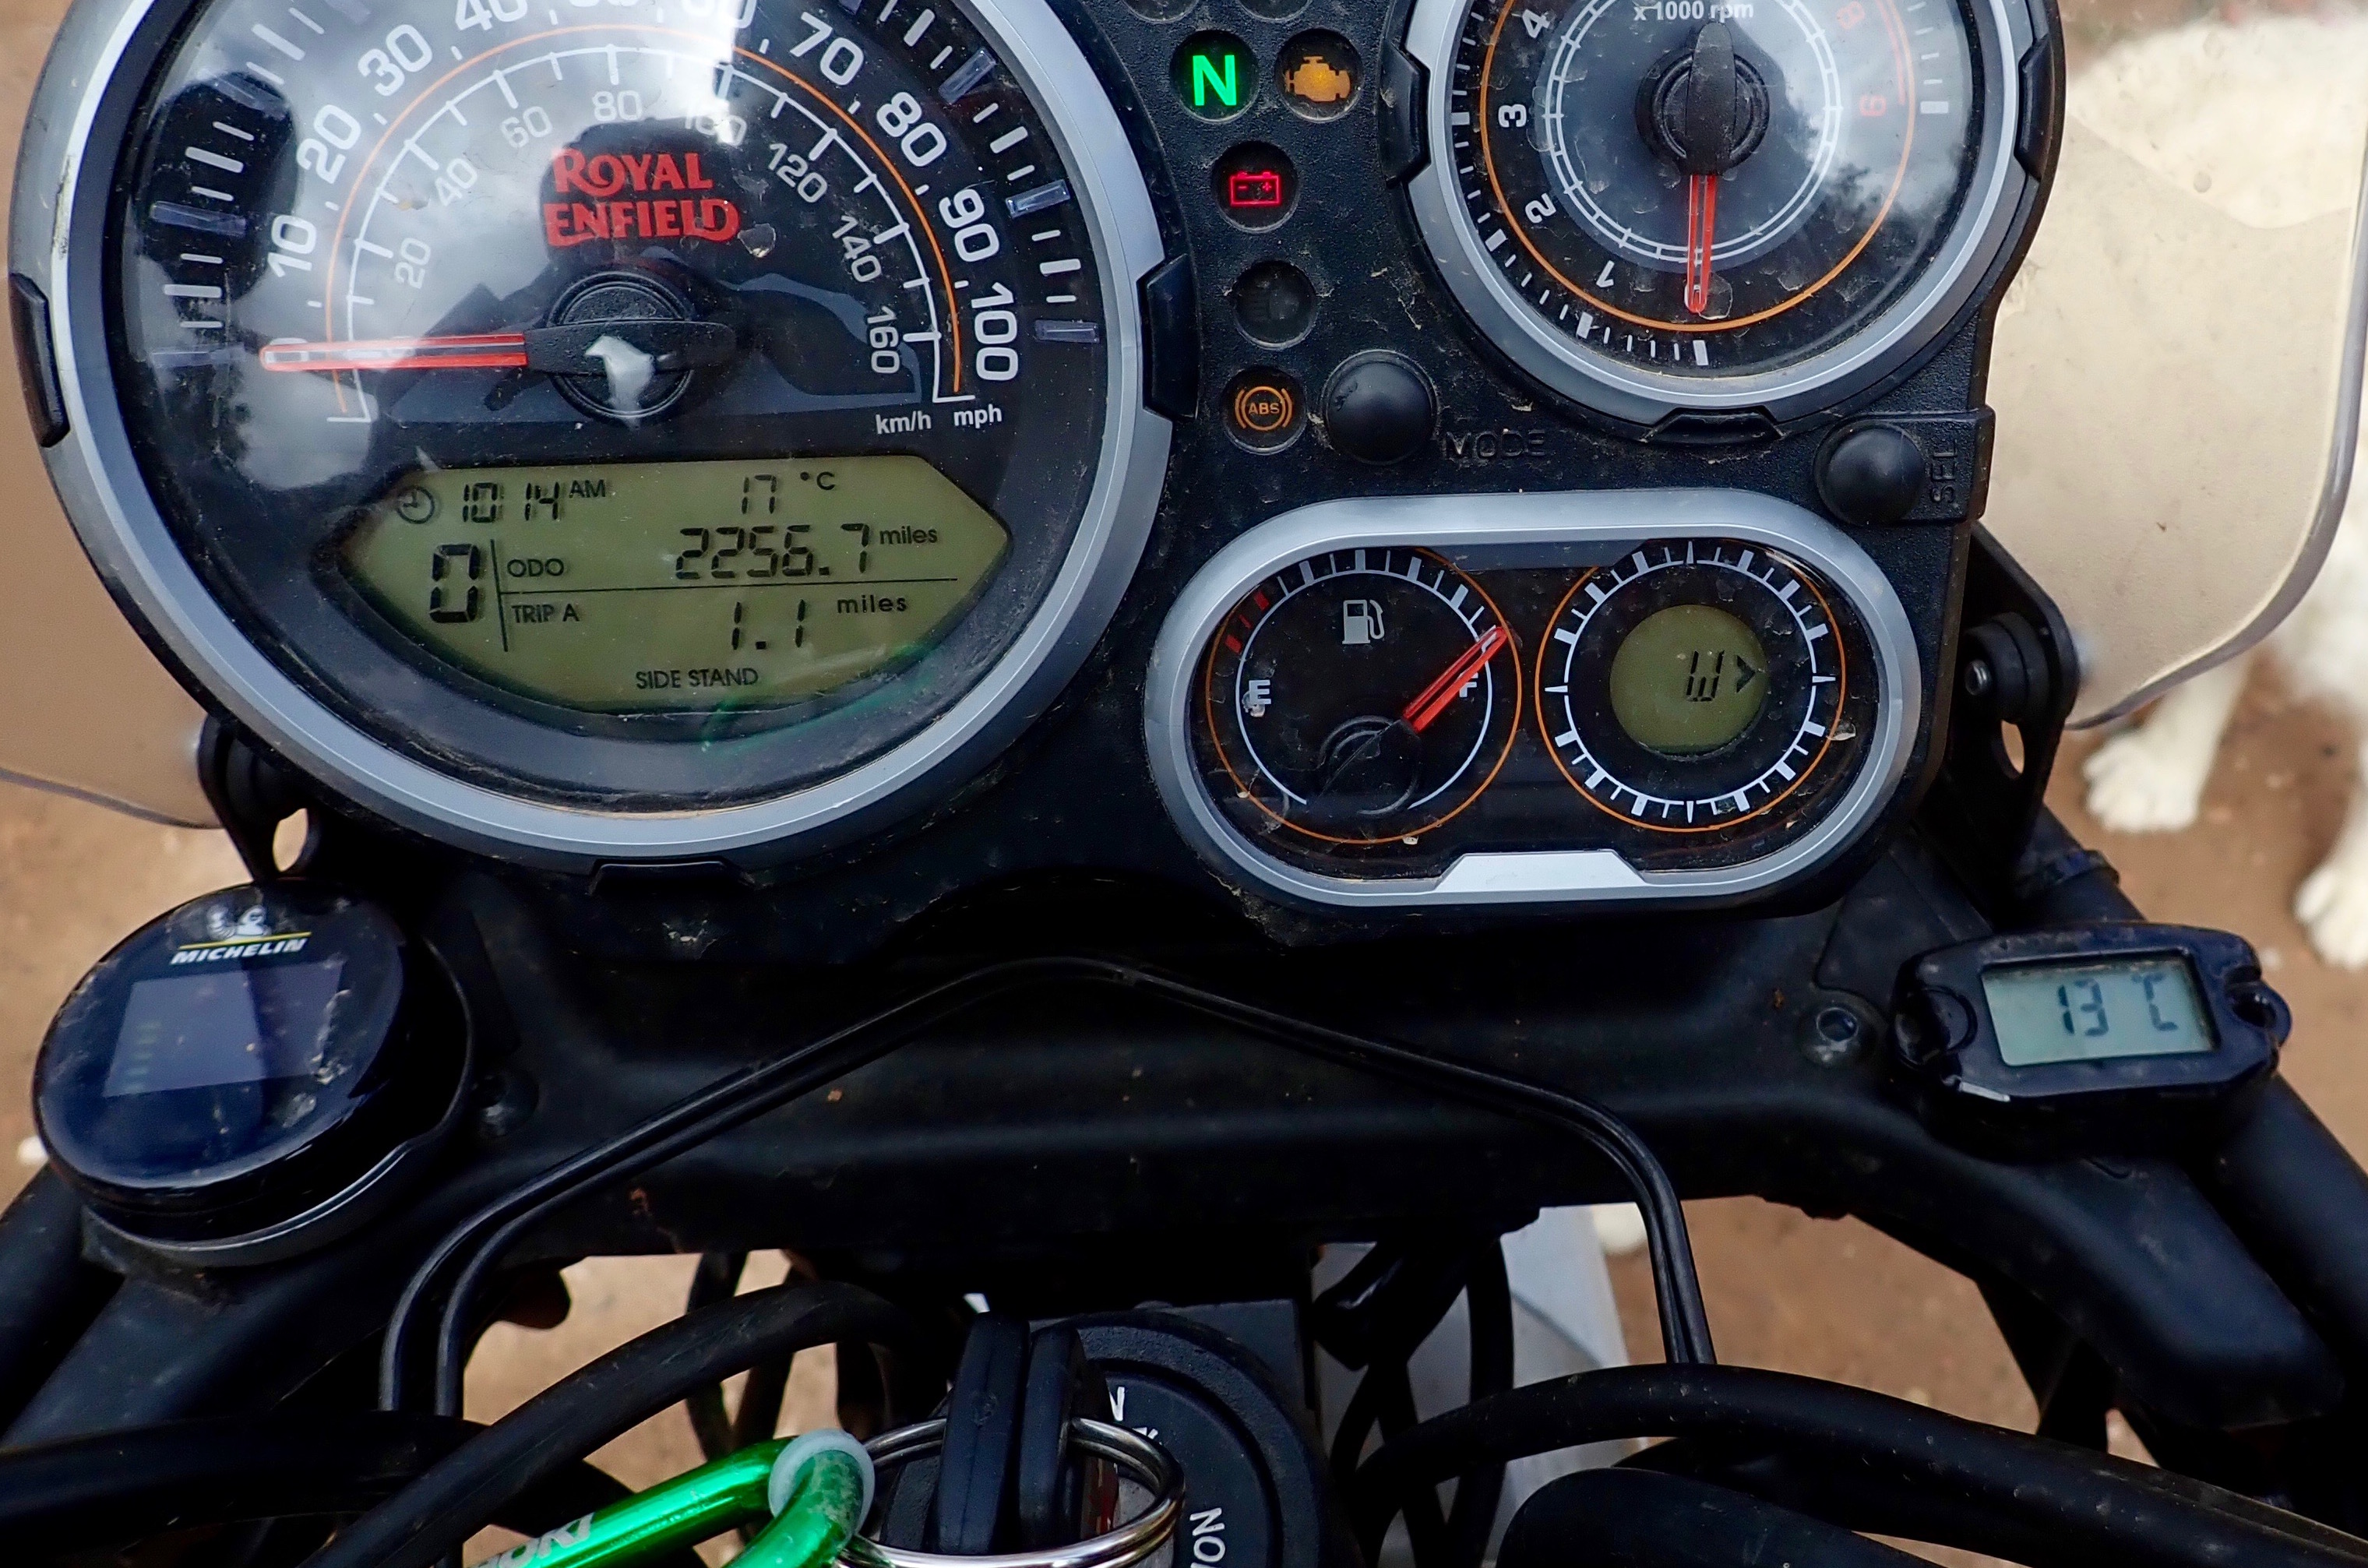
Review There are some metrics I like to know while riding: speed, engine temperature, fuel level are the obvious ones. Now wireless technology has enabled inexpensive TPMS kits to display live tyre pressure readings, too. This is something that’s really useful to.
I only realised how much I missed my Michelin TPMS kits once they both packed up mysteriously after a few days in Morocco. A few days later I hit Tubliss tyre troubles in the middle of the desert. Luckily I wasn’t alone, there was a road 25kms back, and I was able to ride on the flat tyre slowly for hours to the coast and fit an inner tube. But being forewarned of low pressures or other tyre anomalies is what TPMS is all about. I headed back north and a day or two later the tube slow punctured, then went suddenly after a dirt road short-cut pushed it over the edge. This time I couldn’t ride the collapsed tyre ten feet. Cue more laborious roadside repairs. This is why we like tubeless. Because you never, ever get just a single puncture, I’d wisely bought a spare tube and was back on the road in 40 sweaty minutes. But especially with a slow puncture, with a TPMS I’d have been aware of it much earlier.
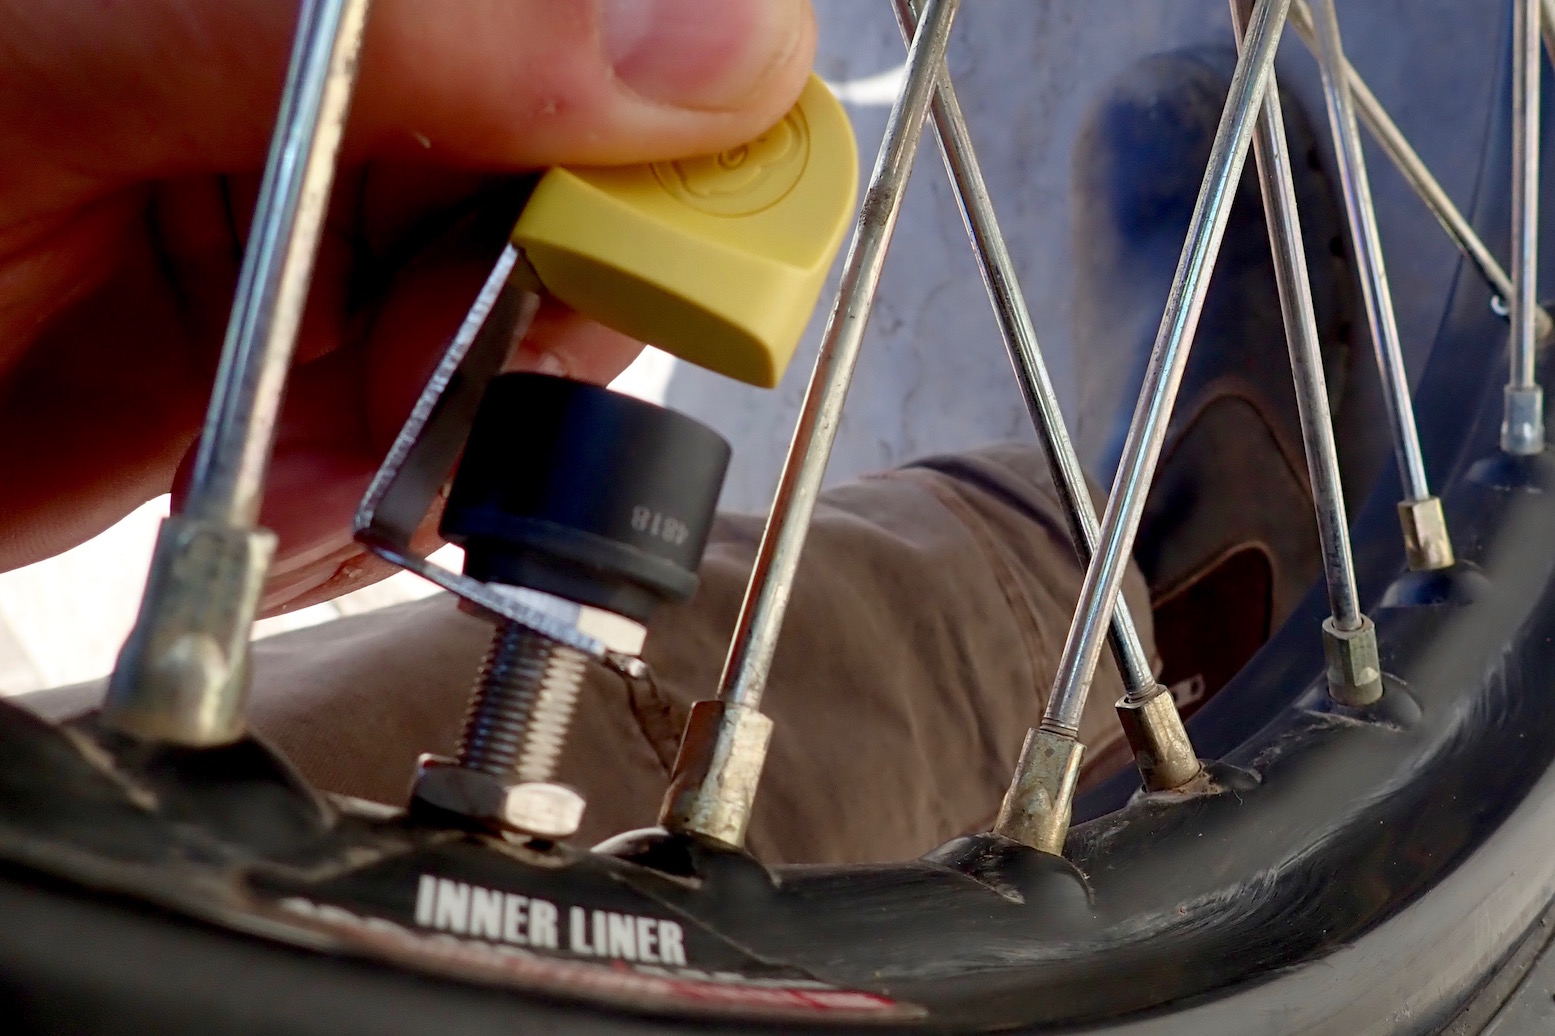
Lock nut is a faff
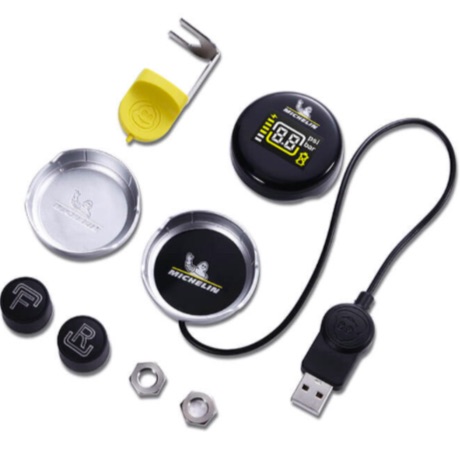
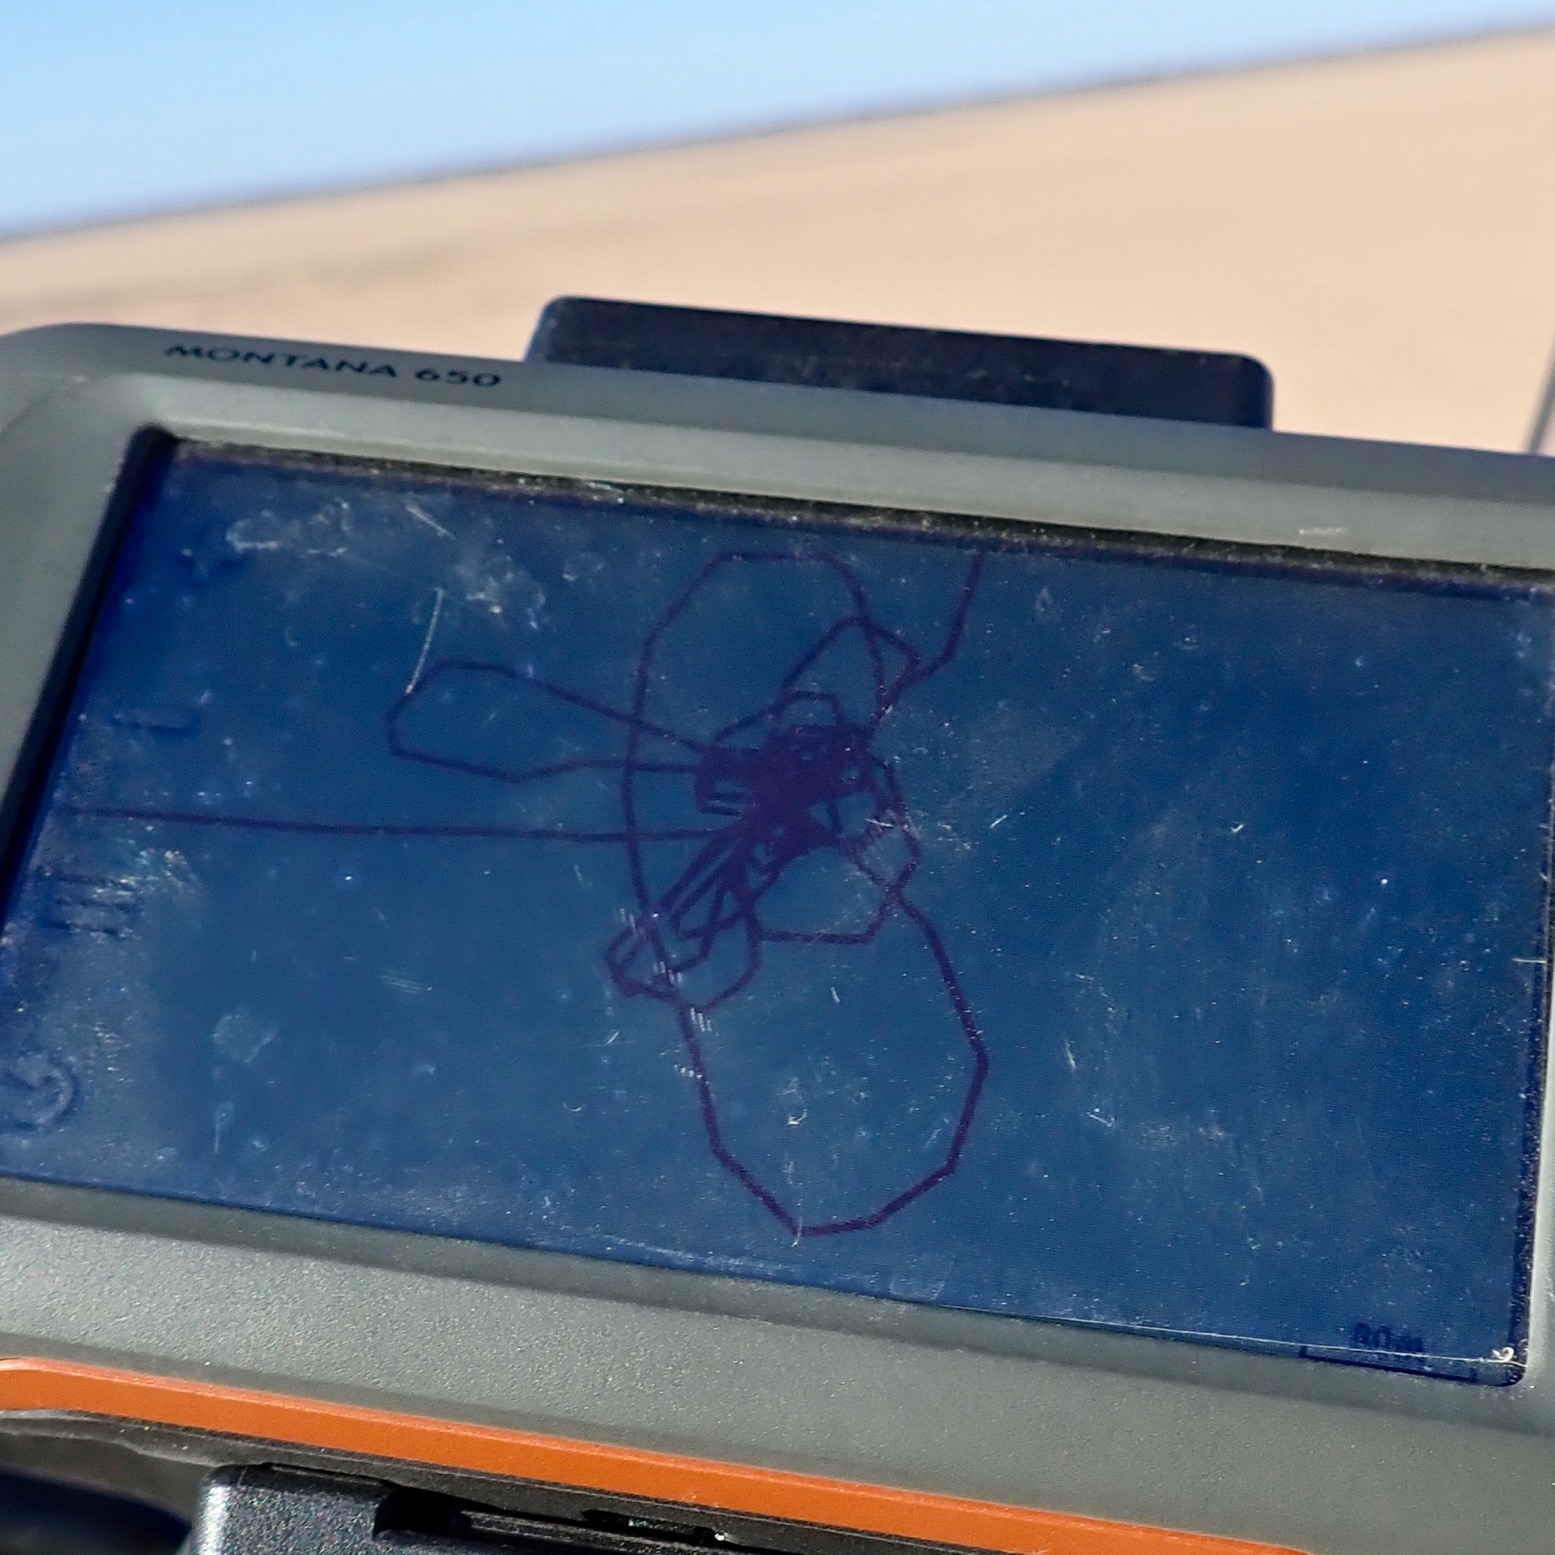
Michelin TPMS The Michelin kit was made by Fit2Go TPMS, an official global licensee of Michelin. It was composed of two over-sized valve caps marked F and R. You screw them on finger tight to the appropriate wheel and lock them off with a valve stem nut (yellow tool and nuts supplied; left). The round display module sits in a stick-on magnetic dish fitted wherever suits your eyeline and an appropriate surface. Putting the module in the dish activates the display: usually battery level (said to last for 3 months) plus front and rear pressures which flash up alternatively every few seconds. You may not get a pressure reading until the wheels are turning. There are no buttons or switches; place the module in and out of the dish three times and the display changes between bar and psi, though it may take a few minutes to read.
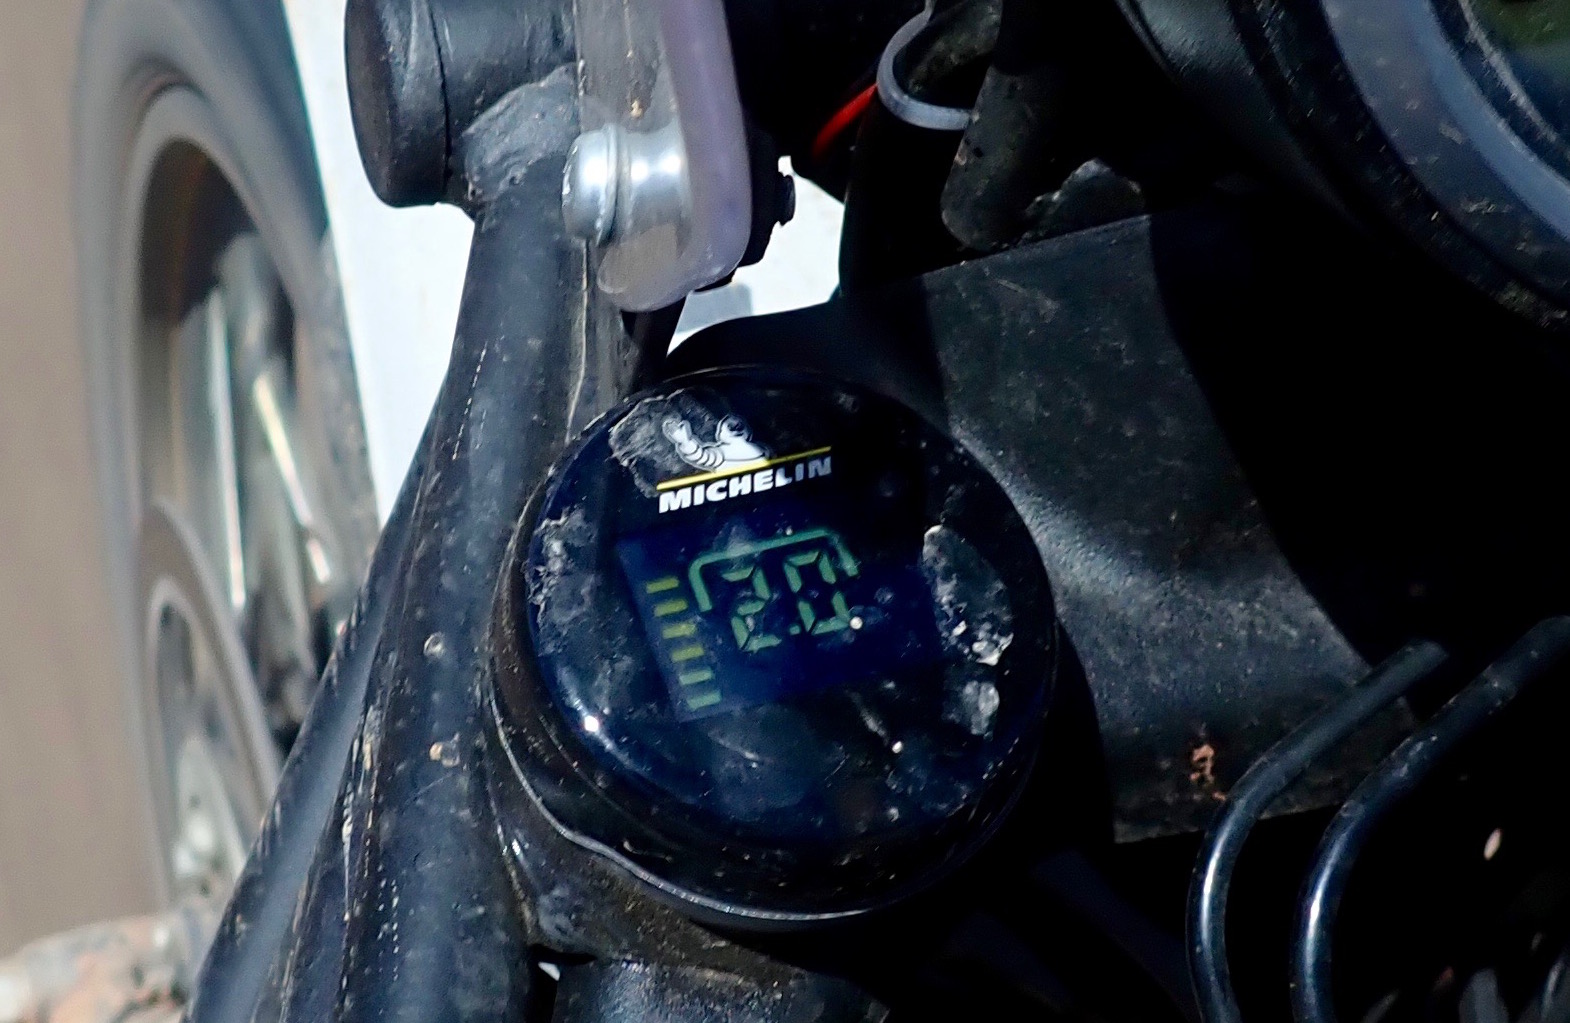
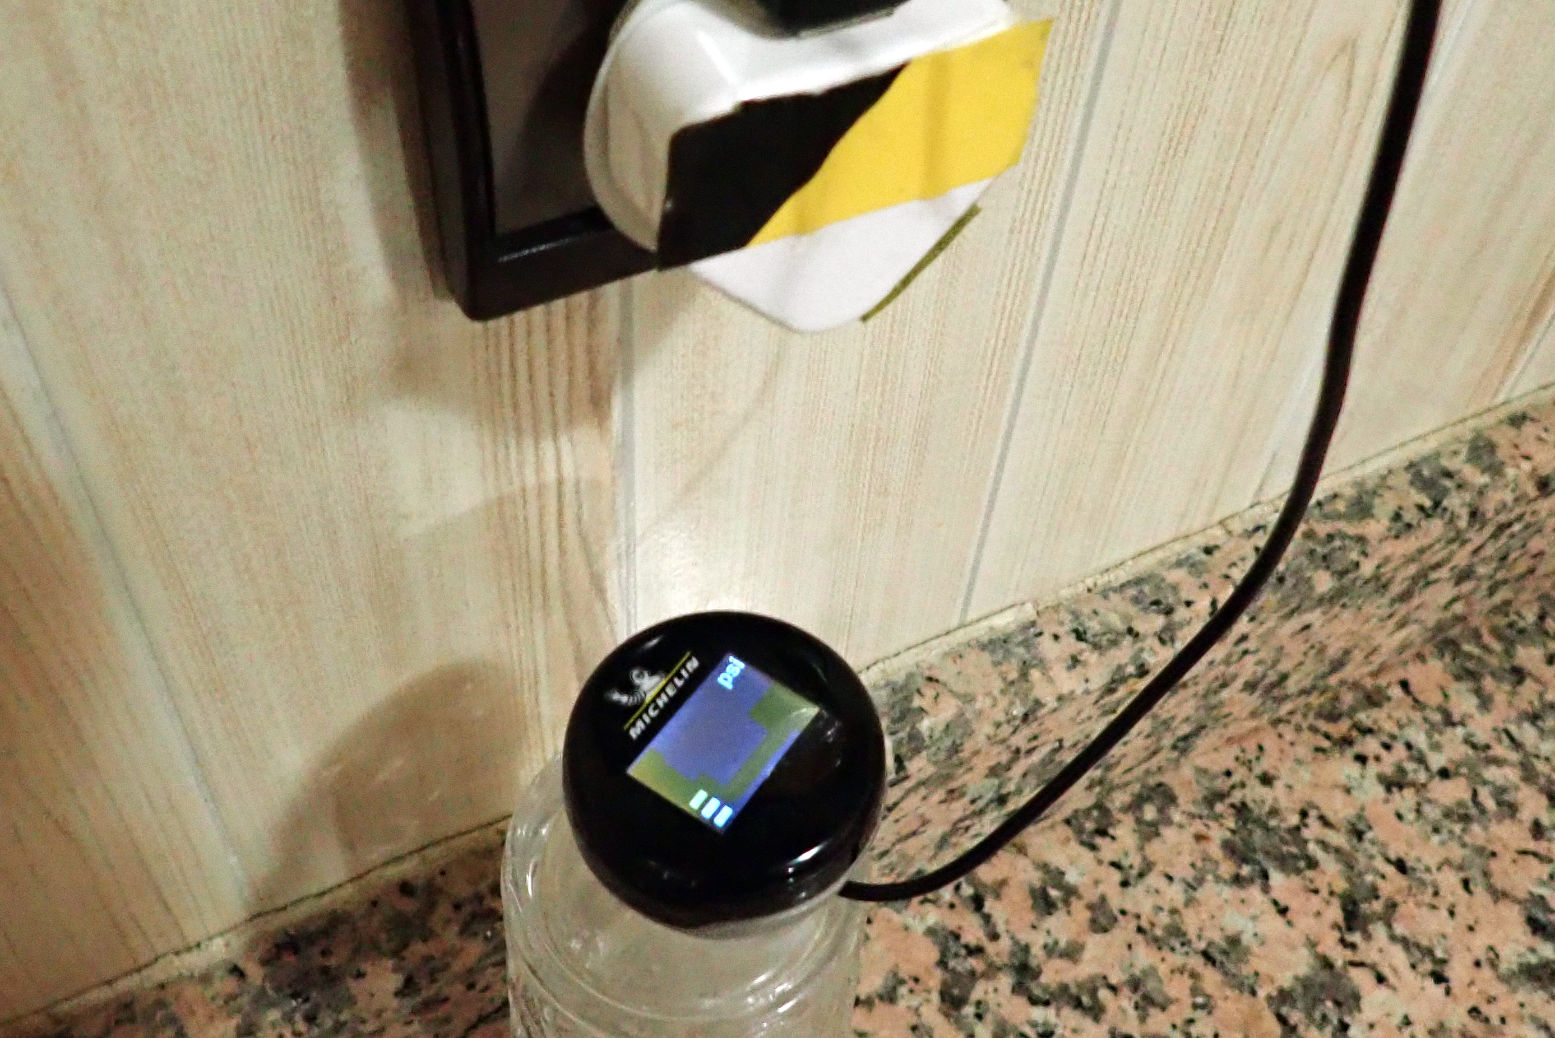
Playing up The first kit I had was fully charged by me, but on fitting in Spain took many hours of riding to pair up and show pressure readings. That would be inconvenient if you regularly removed the module to save it getting pinched. Once things worked, I left it in place. (As I was only out for a month, I’d not brought the USB recharge dish.) Fitted flat like a plate on a table, it didn’t budge on rough tracks but was hard to read at a glance; at an angle like the bike’s clocks would be better, and probably still secure. Or there’s always the tank bag. I’d also find black digits on a light background easier to read – like my Trail Tech temperature gauge, below right. Ten days in, after briefly removing it, the module went blank. A replacement kit was brought out to Morocco, appeared to show a nearly full charge, and this time paired up in seconds and flipped to psi with no bother. But it also went blank after just five days. Neither unit was more than half discharged. I decided to put the original unit into the USB recharging dish from the replacement kit on the off chance, and it responded by charging from ¾ full (as it had been when it went blank). After just half an hour it was fully charged. Back on the bike it showed pressures in the original bar, and on changing to my preferred psi, displayed that too after about 20 minutes of being blank. This suggests the display modules might discharge in a few days rather than three months, but while still indicating they’re more than half charged. Popping it in the recharge dish revives it, but it can be slow to pair up. This discourages you from removing it, if it indeed discharges when immobile. The blurb doesn’t advise removing it when not riding, but if it does discharge unused, it’s not reflected in the battery level status display.
Especially when travelling in the AMZ where – as I found – tyre troubles can leave you up the creek, knowing the state of your tyre pressures is less a convenience and more an important safety measure. Now, when I could swear I have a puncture, I glance at the TPMS and relax; it’s just the road surface and my paranoia. Very reassuring. Best of all, the easily fitted and recharged Michelin TPMS kit now makes maintaining your tyres at optimal levels a whole lot easier. But because my two kits seem to play up, I’d wait a bit before buying one. They sort of work, but not as they should. I sent both kits back to Fit2Go for analysis and will update this review with any news.
Updated kit – 2020
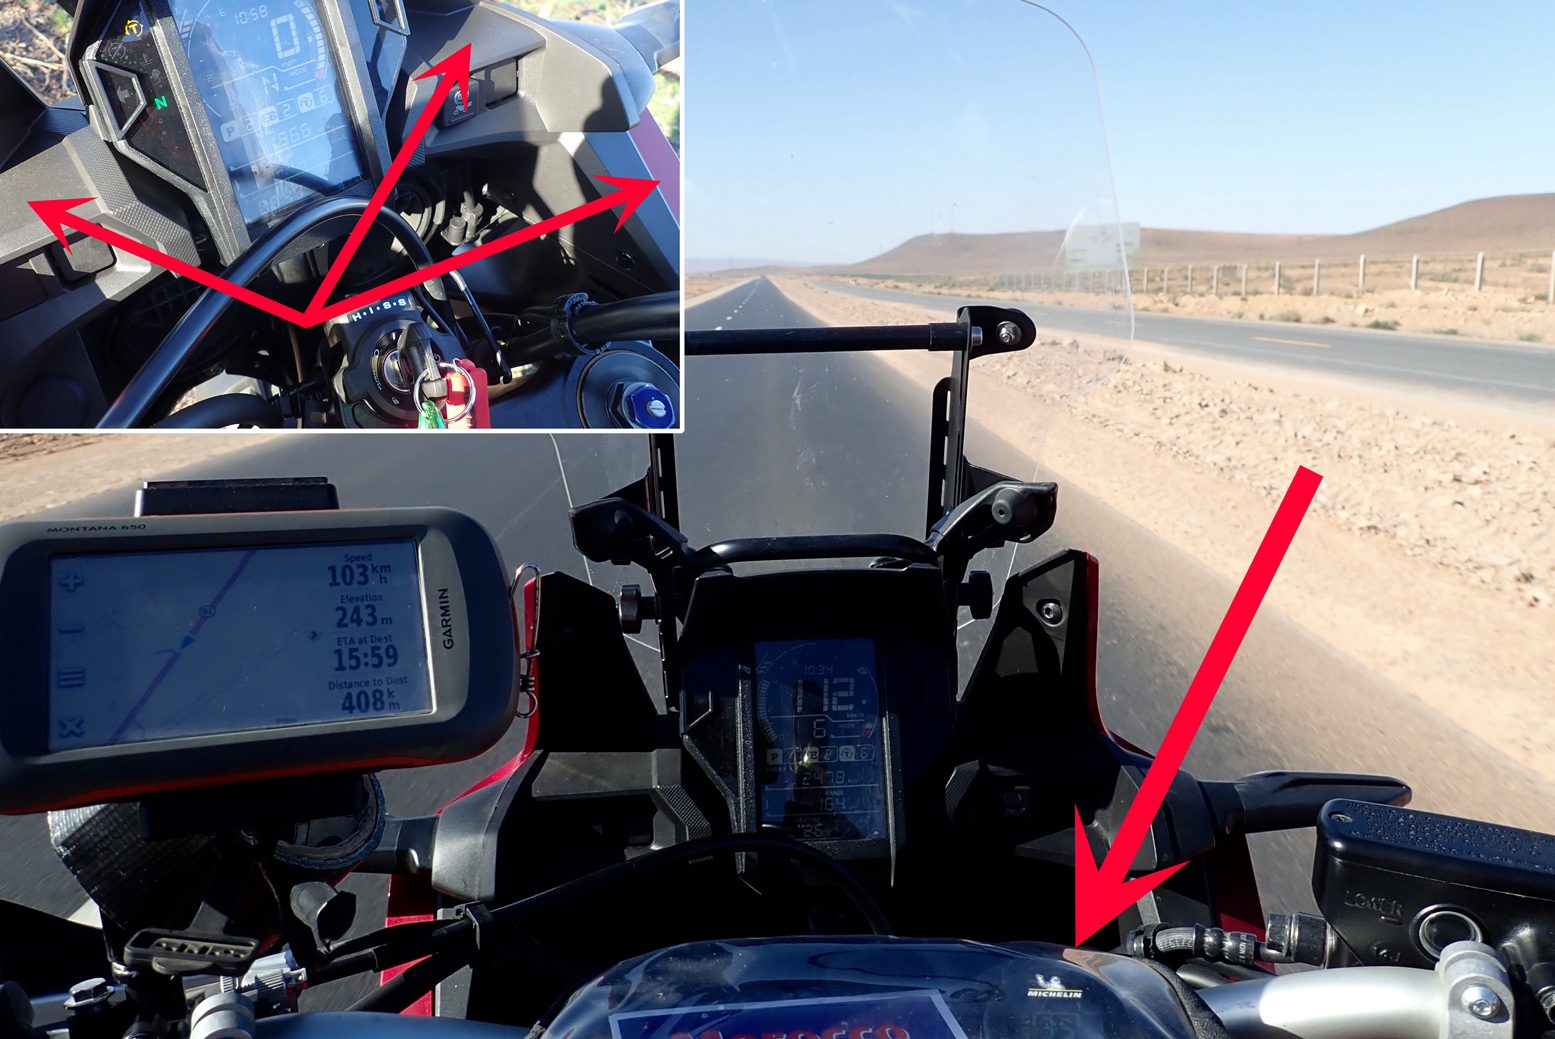
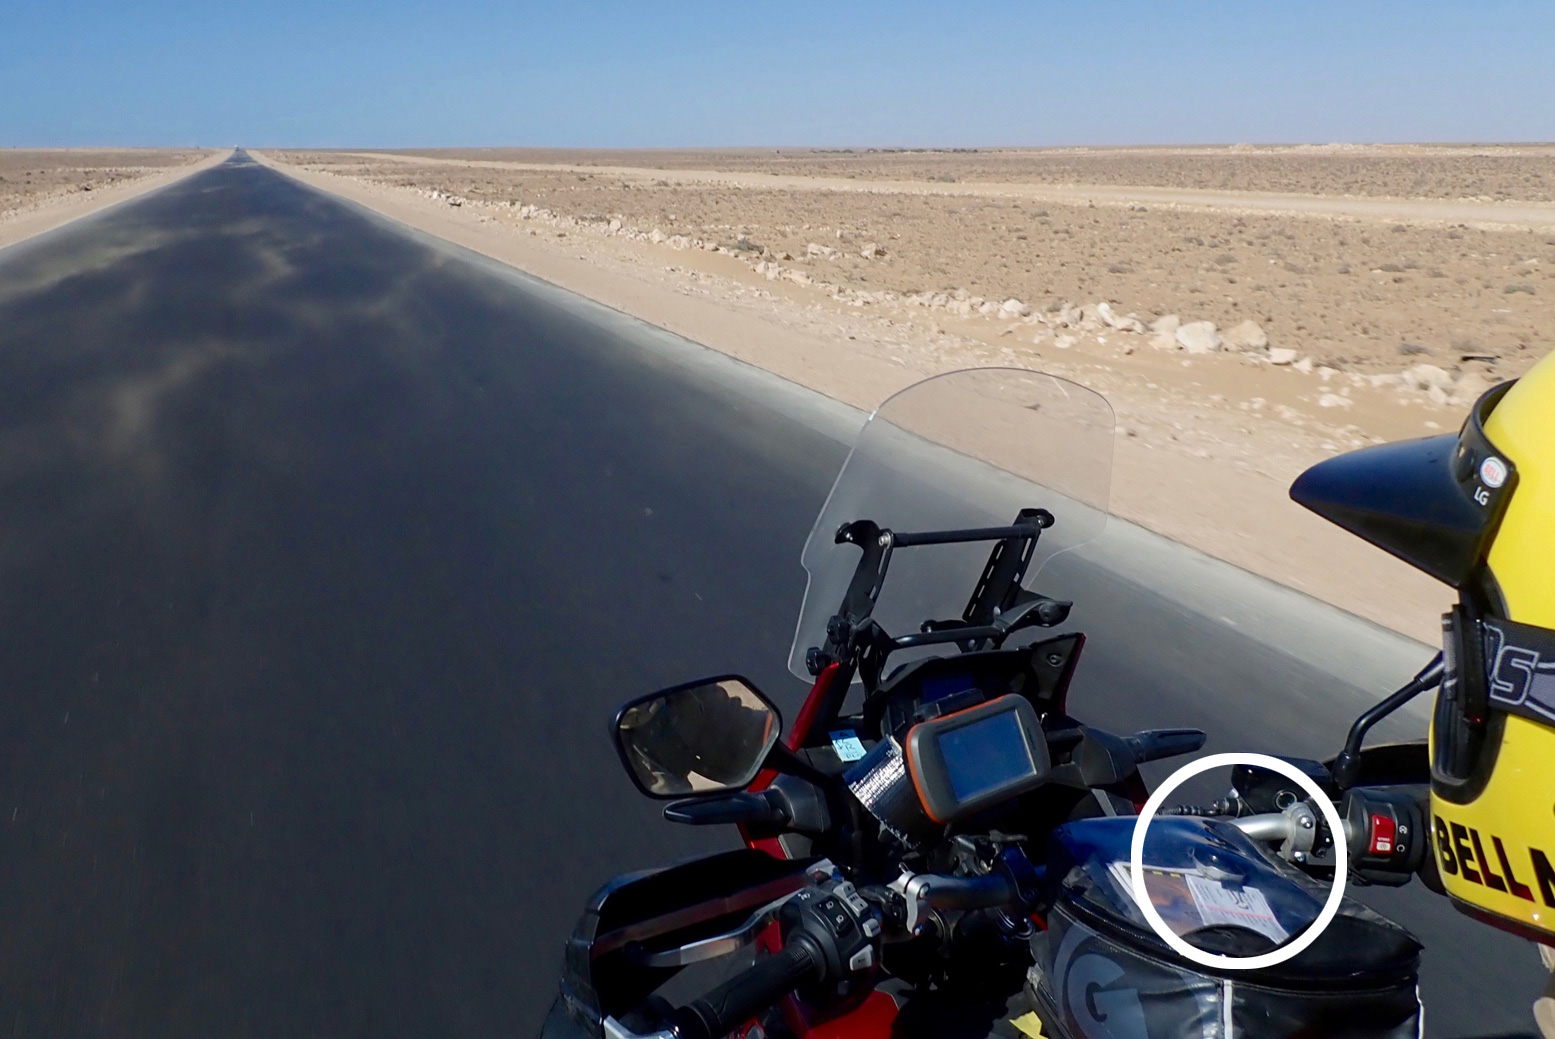
Fit2Go sent me their revised kit which I used on my Africa Twin ride in Morocco in March 2020. The kit was welcome as again, I’d DIY converted my rear tyre to tubeless and so wanted to keep tabs on pressures. (The wheel lost 20% over a few days – fixed by adding Slime). The kit looks identical but no problems at all this time. Without making an angle bracket, I couldn’t find a secure and legible position on my AT (red arrows, left inset below) so put the display and dish inside the clear lid of my tank bag (below right). The opaque vinyl made it hard to read easily but there was no danger of it falling off. Had that ride not ended prematurely I’d have worked out some legible-angle bracket in the cockpit or stuck the dish on top of the tank bag.
Places to fit on a AT
The only complaint is that the display intervals seem slower than before: 10 seconds on Front then 10 on the Rear. It means you need several glances to ascertain both pressures, whereas a higher flip-count might mean you catch both in one glance. I still think the display could be brighter, too. Other than that and the high price (which dropped for a while), all good.
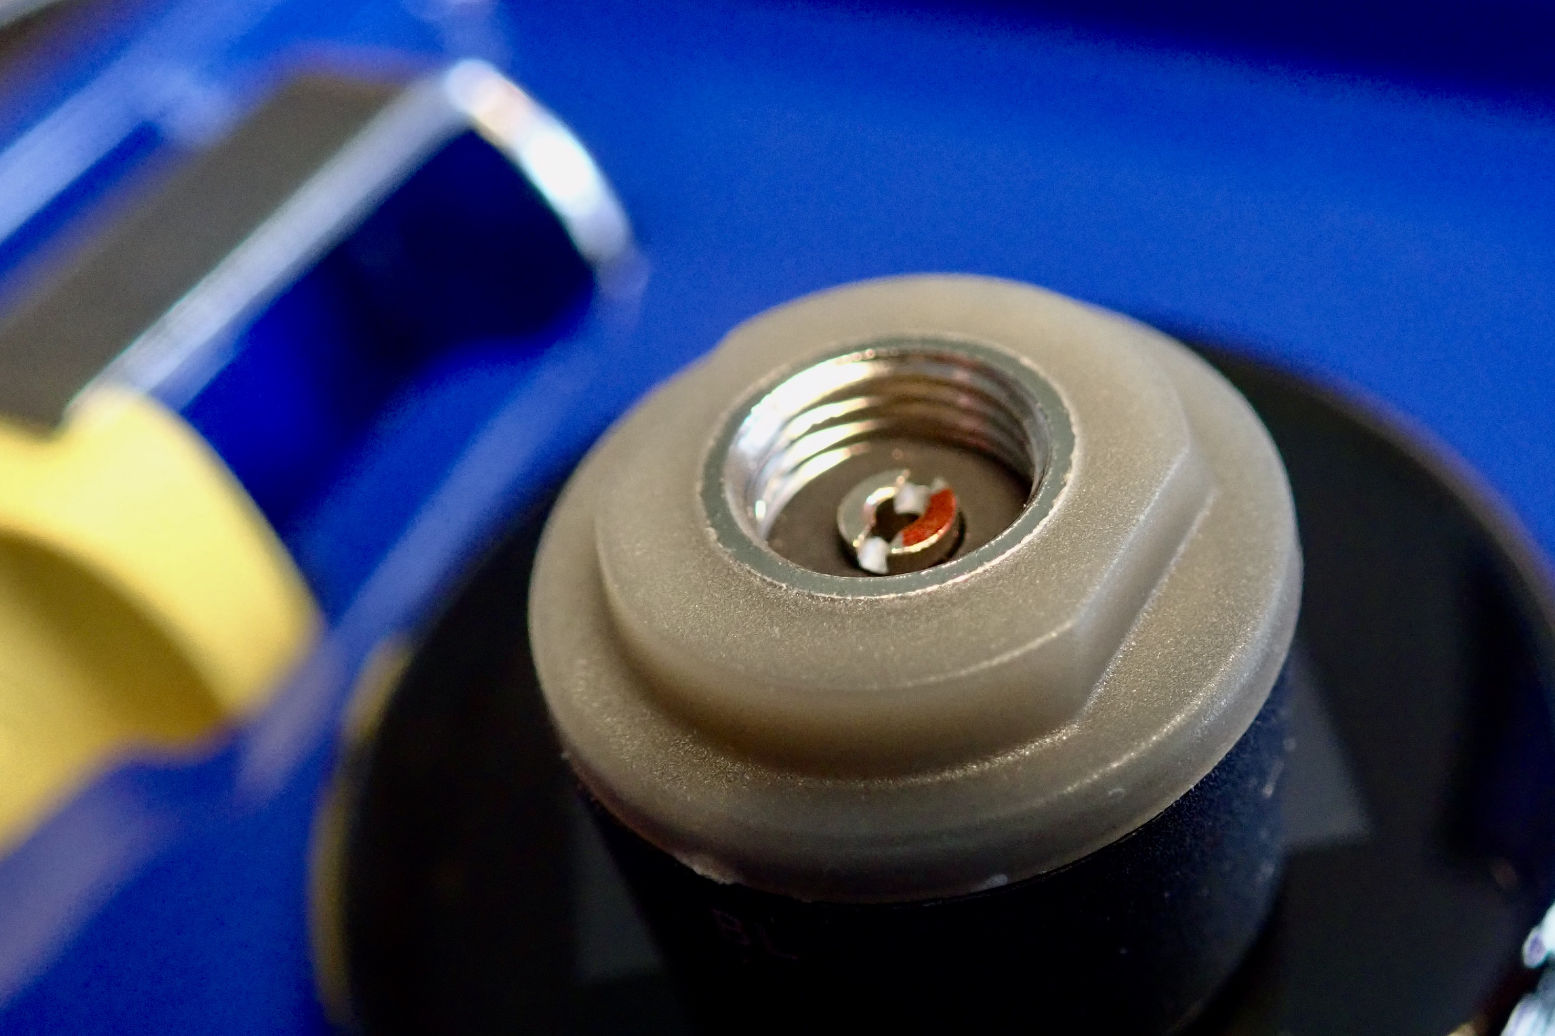
Update 2021 I got my AT running again in October 2021 and needed to recharge the TPMS unit which after 18 months would have been flat. It recharged in less than two hours. But when it came to topping up the tyres after 20 months, I had to faff about with that cheap valve cap locknut removal tool, and then found the rear TPMS valve cap wouldn’t screw on to the rear tyre’s valve body. I remember having this problem last time I topped up in Spain, February 2020. It felt like the TPMS valve cap was too shallow: there were not enough threads to bite onto the tubeless tyre valve before the pin in the cap pressed on the tyre valve stem and let the air out. It could be a problem with whatever TL valve I have on my tyre. In Spain I’d managed to over-inflate the tyre and then cram the cap on before too much air escaped. This time in baking hot Marrakech, I didn’t have the patience to re-learn the knack and gave up on re-fitting the TPMS. But travelling alone on road and trail over the next week, I sure did miss not knowing what my tyre pressures were doing, just as I’d miss not knowing what my fuel level or engine temperature were. I’m not finished with TPMS yet: I will give it another go on the 300L once it gets its tubeless wheels.
Not enough threads in the TPMS cap to grip the valve before air is released
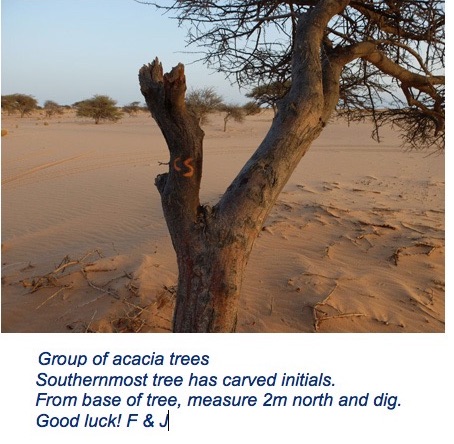
With back up from Mark in a 4×4 sat alongside Colin on a Nikon, we set off for the 1100-km ride from Assa through the Western Saharan interior to Dakhla via Smara and the Digtree (left), a fuel cache I had buried in 2015. I tried to get there alone on a WR250 in 2017 but when push came to turn left, it felt too risky.
The fuel may have been getting a bit ripe by now, but all was going well until I hit irreparable tyre troubles just 100km from the Digtree. I limped back 250km to Layounne, got fixed up and, now out of time before I meet my tour group, we settled for a leisurely drive north up the windswept Atlantic coast. Not for the first time, my Sahara plans slipped through my fingers.
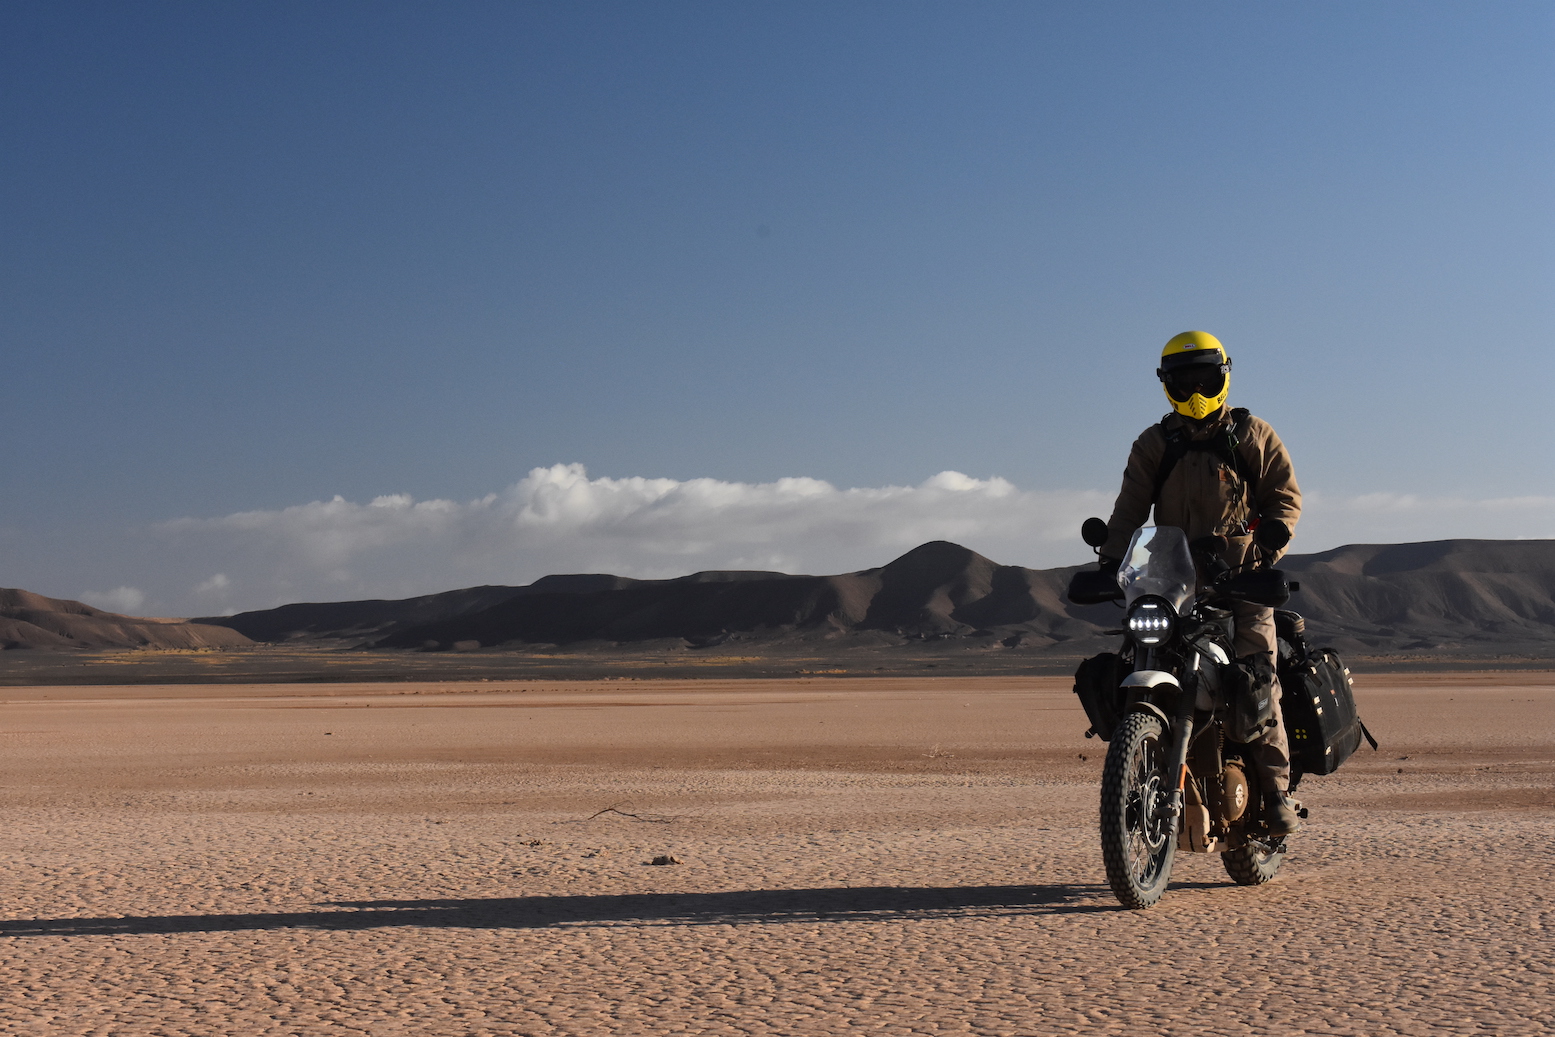
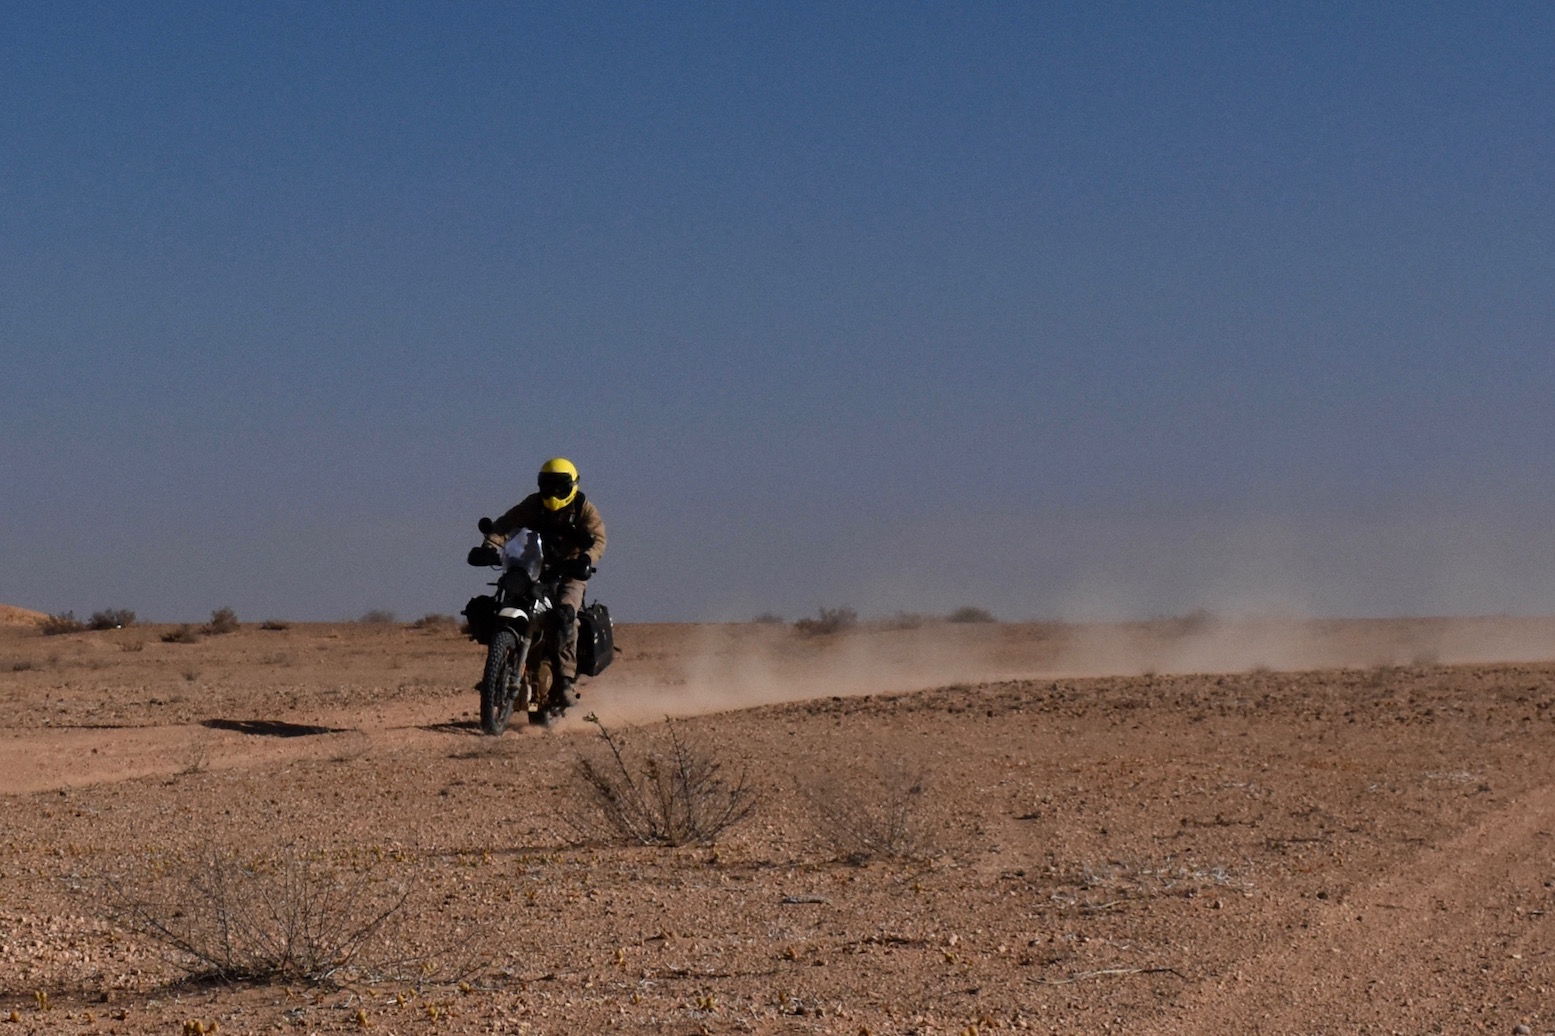
Hooning about on a clay pan.
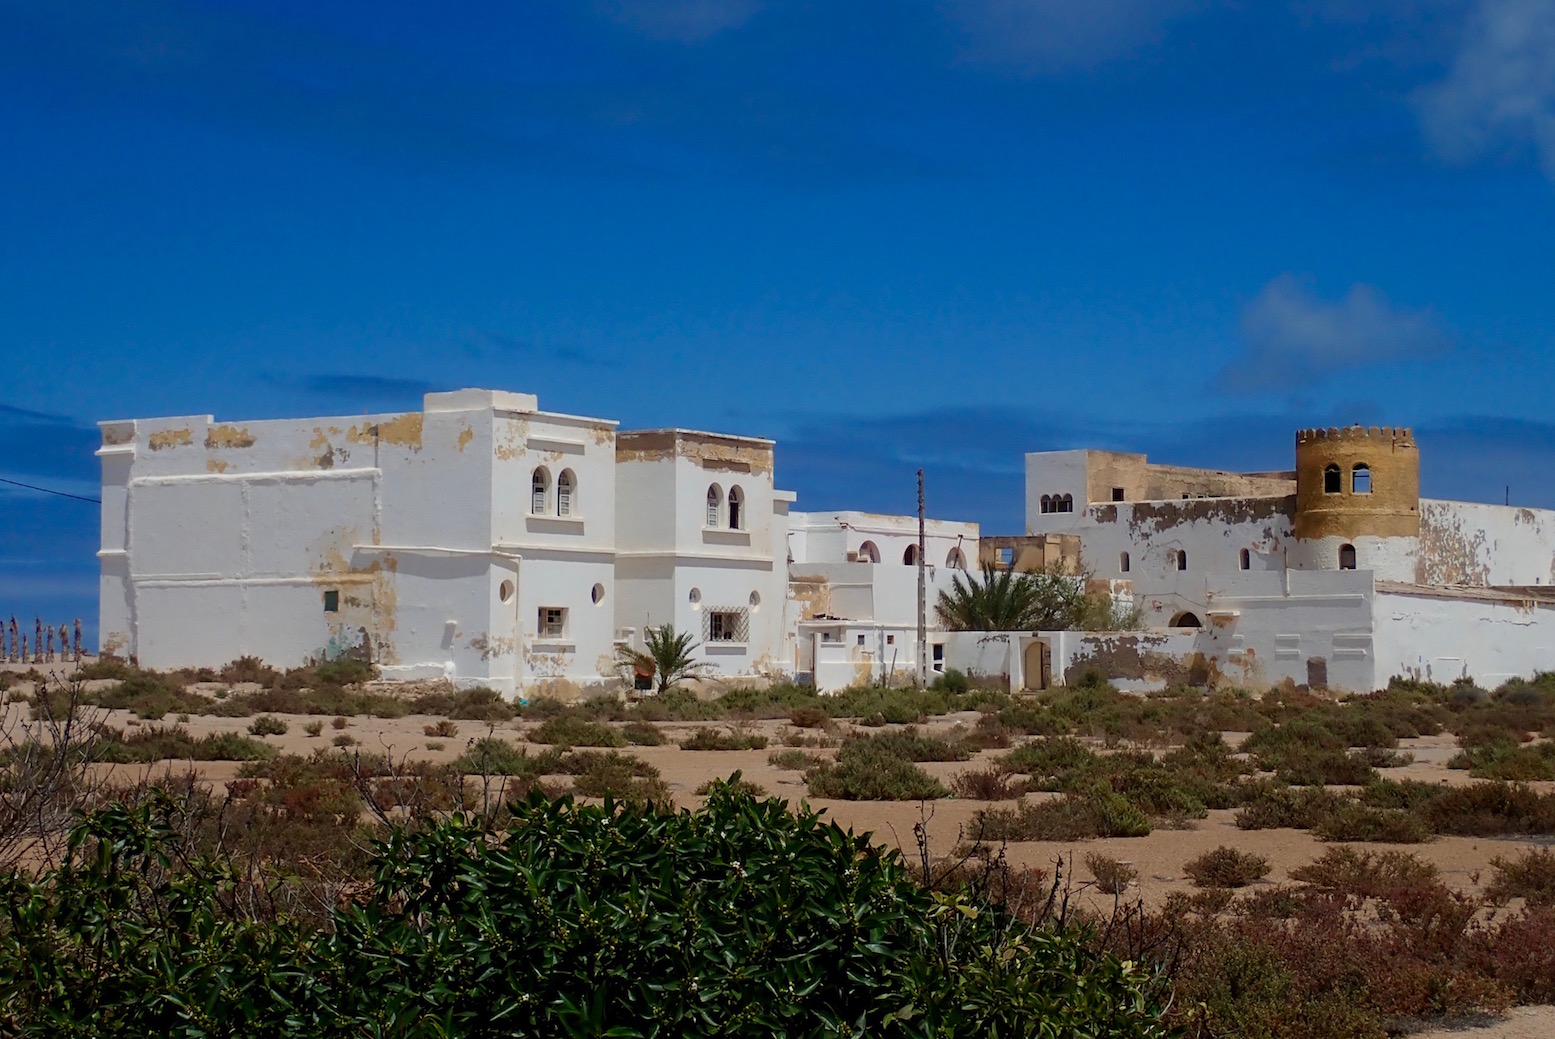
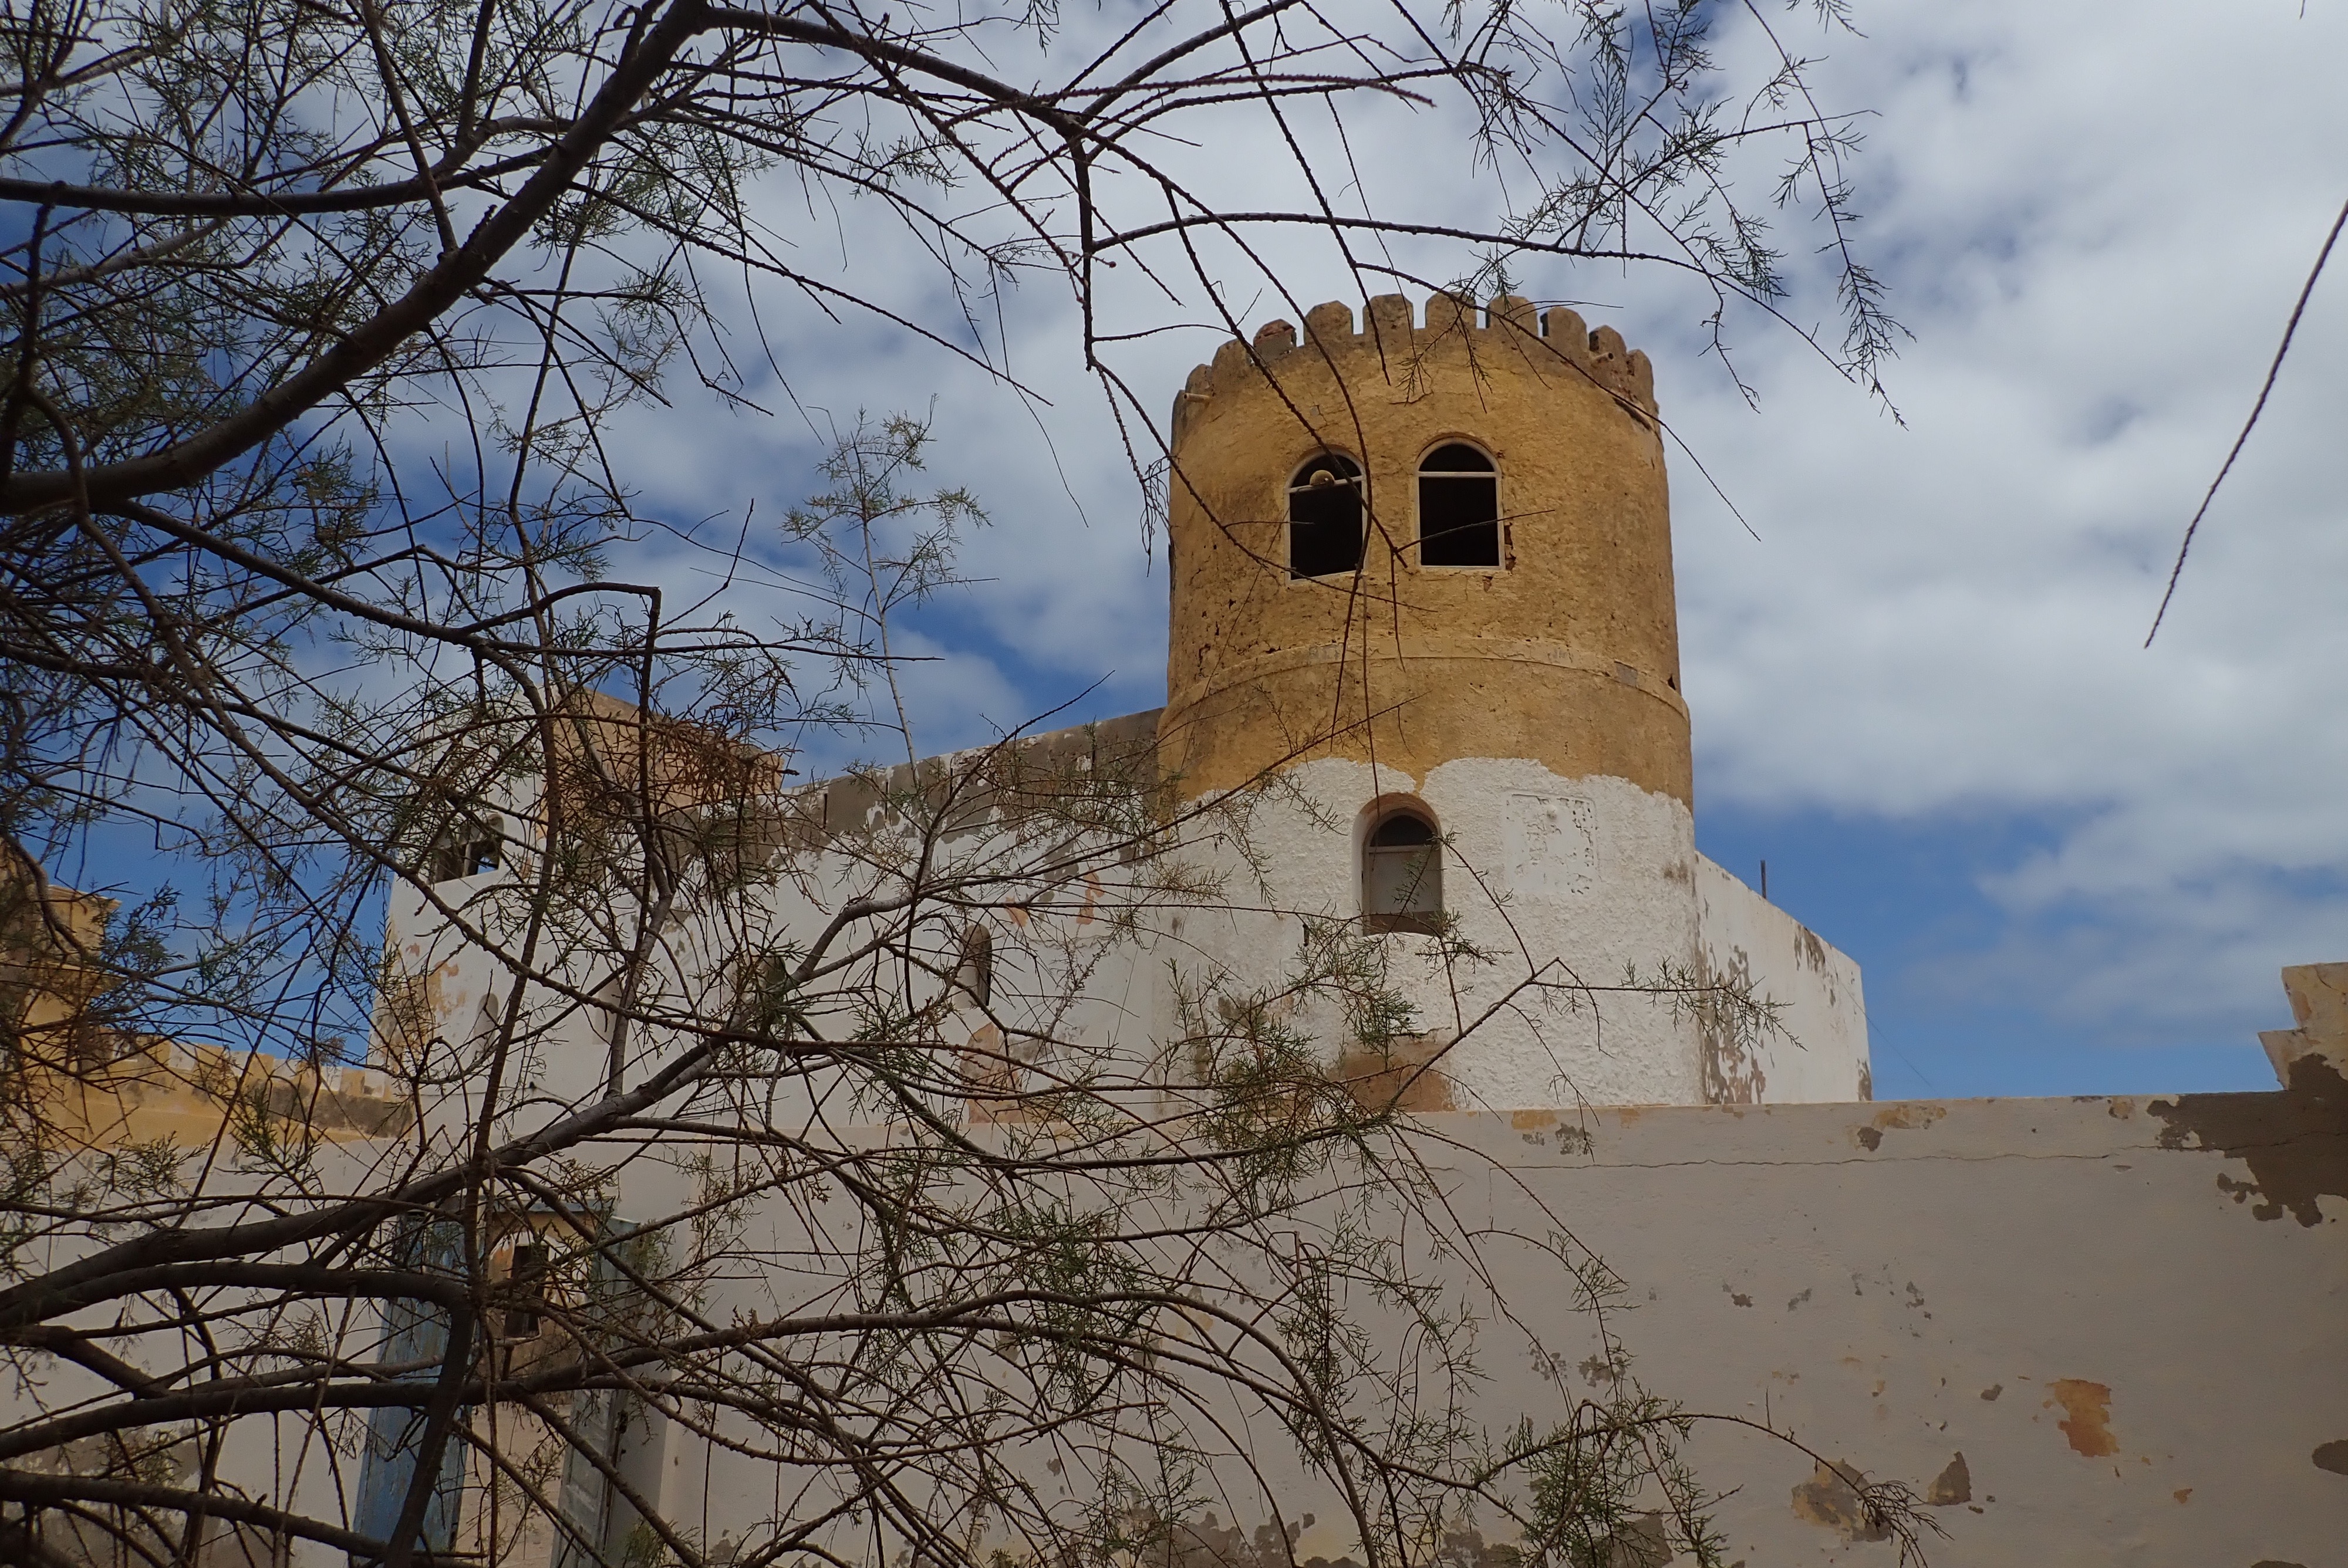
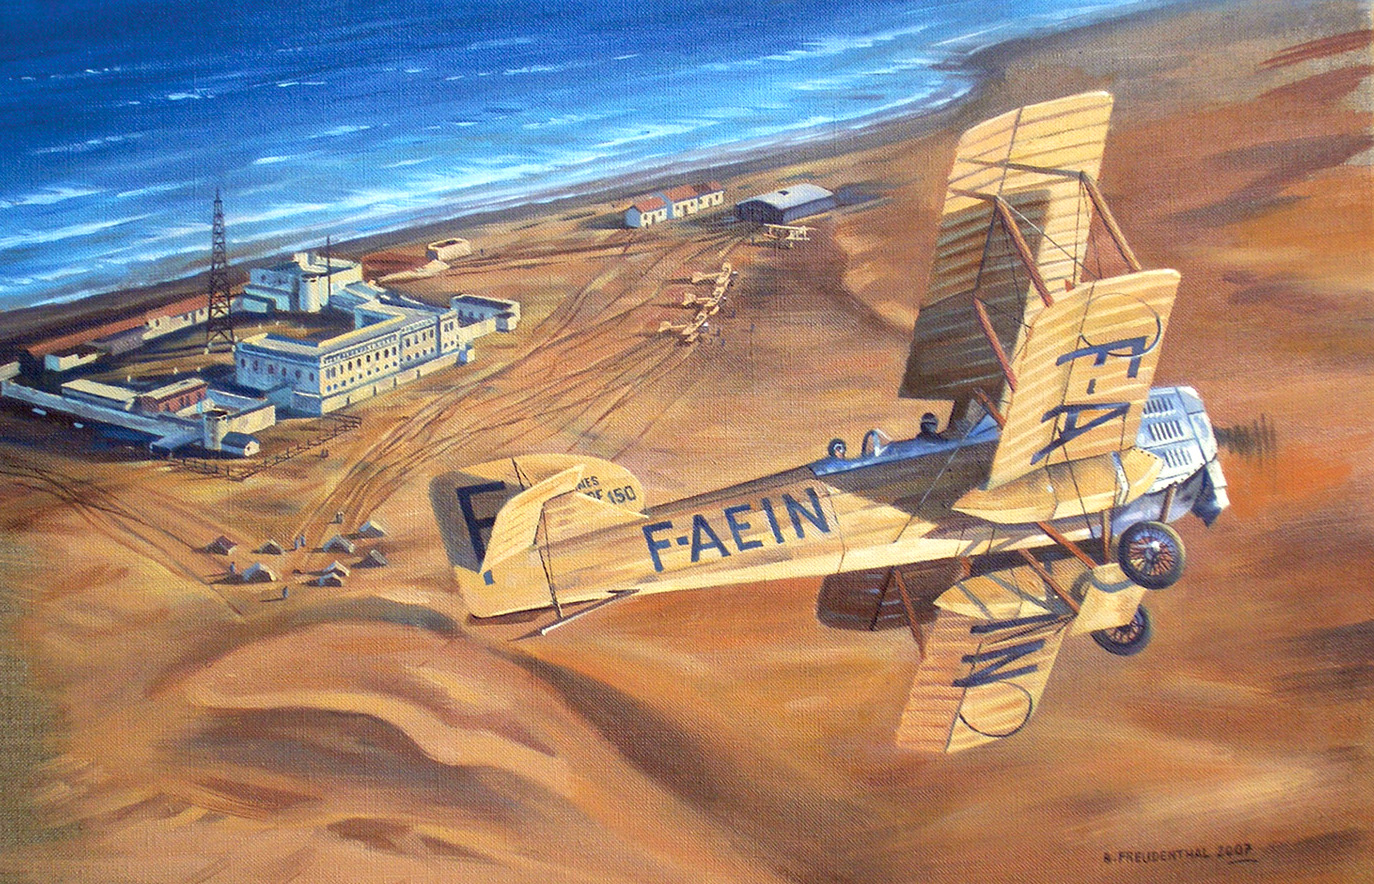
The century-old Aéropostale base at Cape Juby (Tarfaya).
Inside the base.
Cap Juby in its heyday.
Tojo wheels + jerries – the only windbreaks for miles.
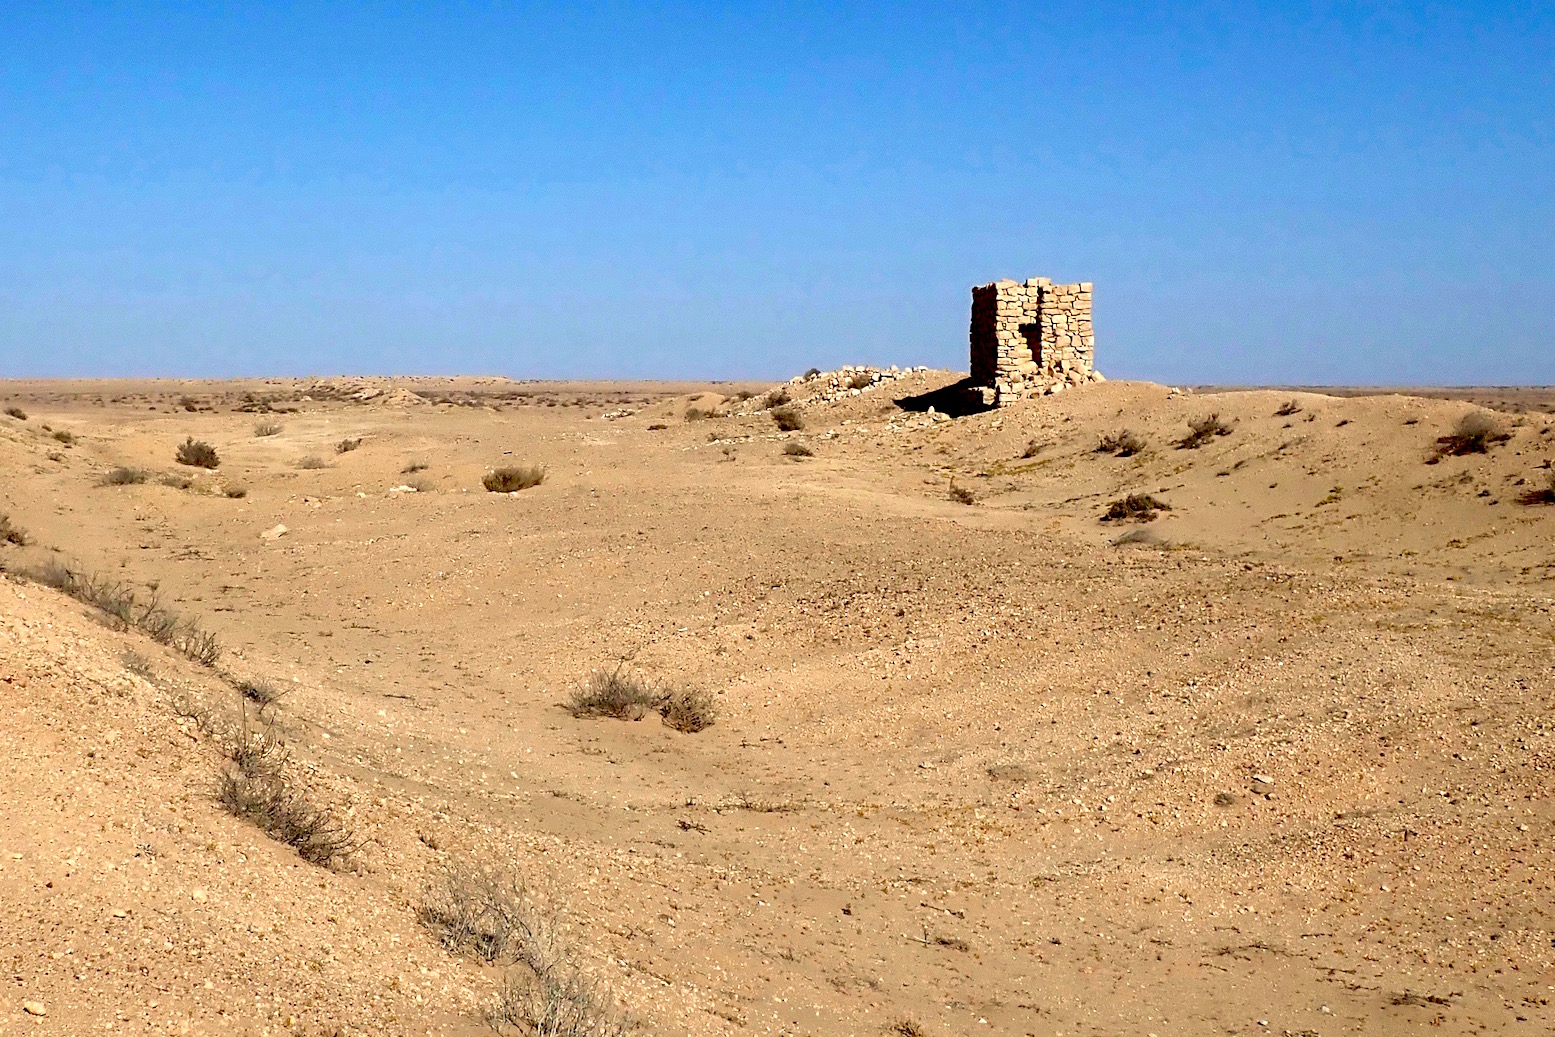
Watchtower on a berm just 50km from the Mauritanian border.
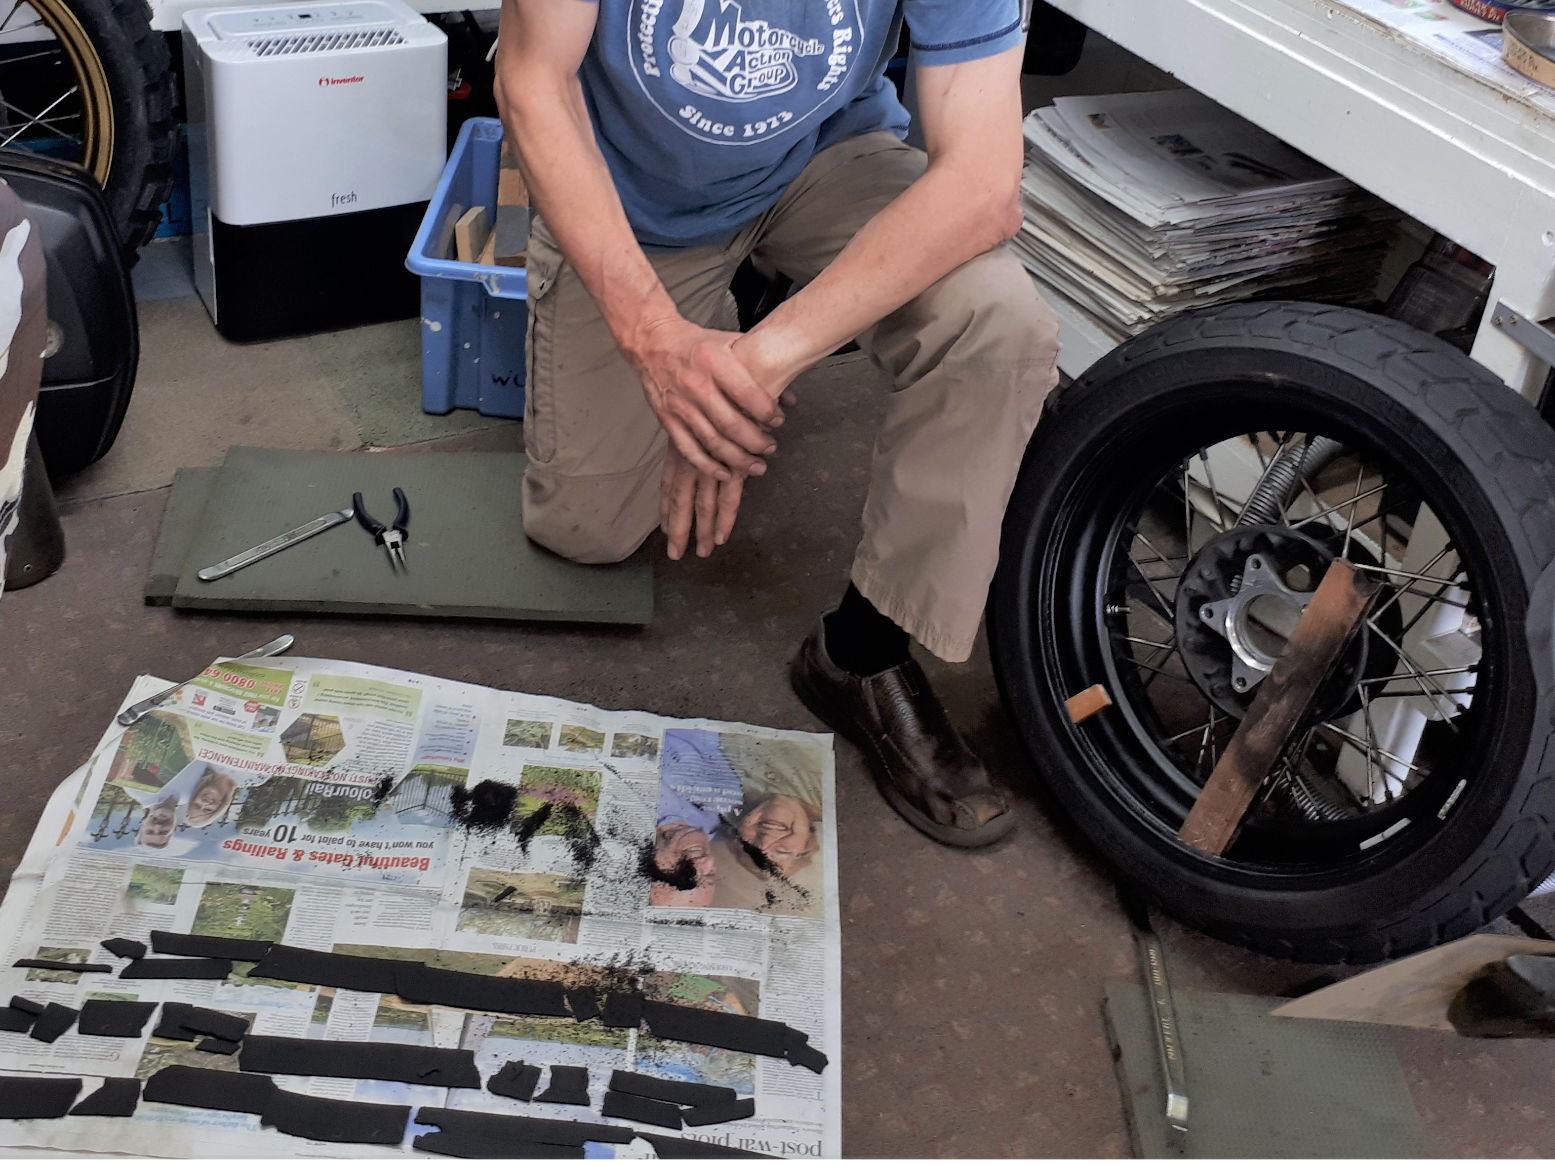
Hot steam and rubber. Cleaning out the Slime.
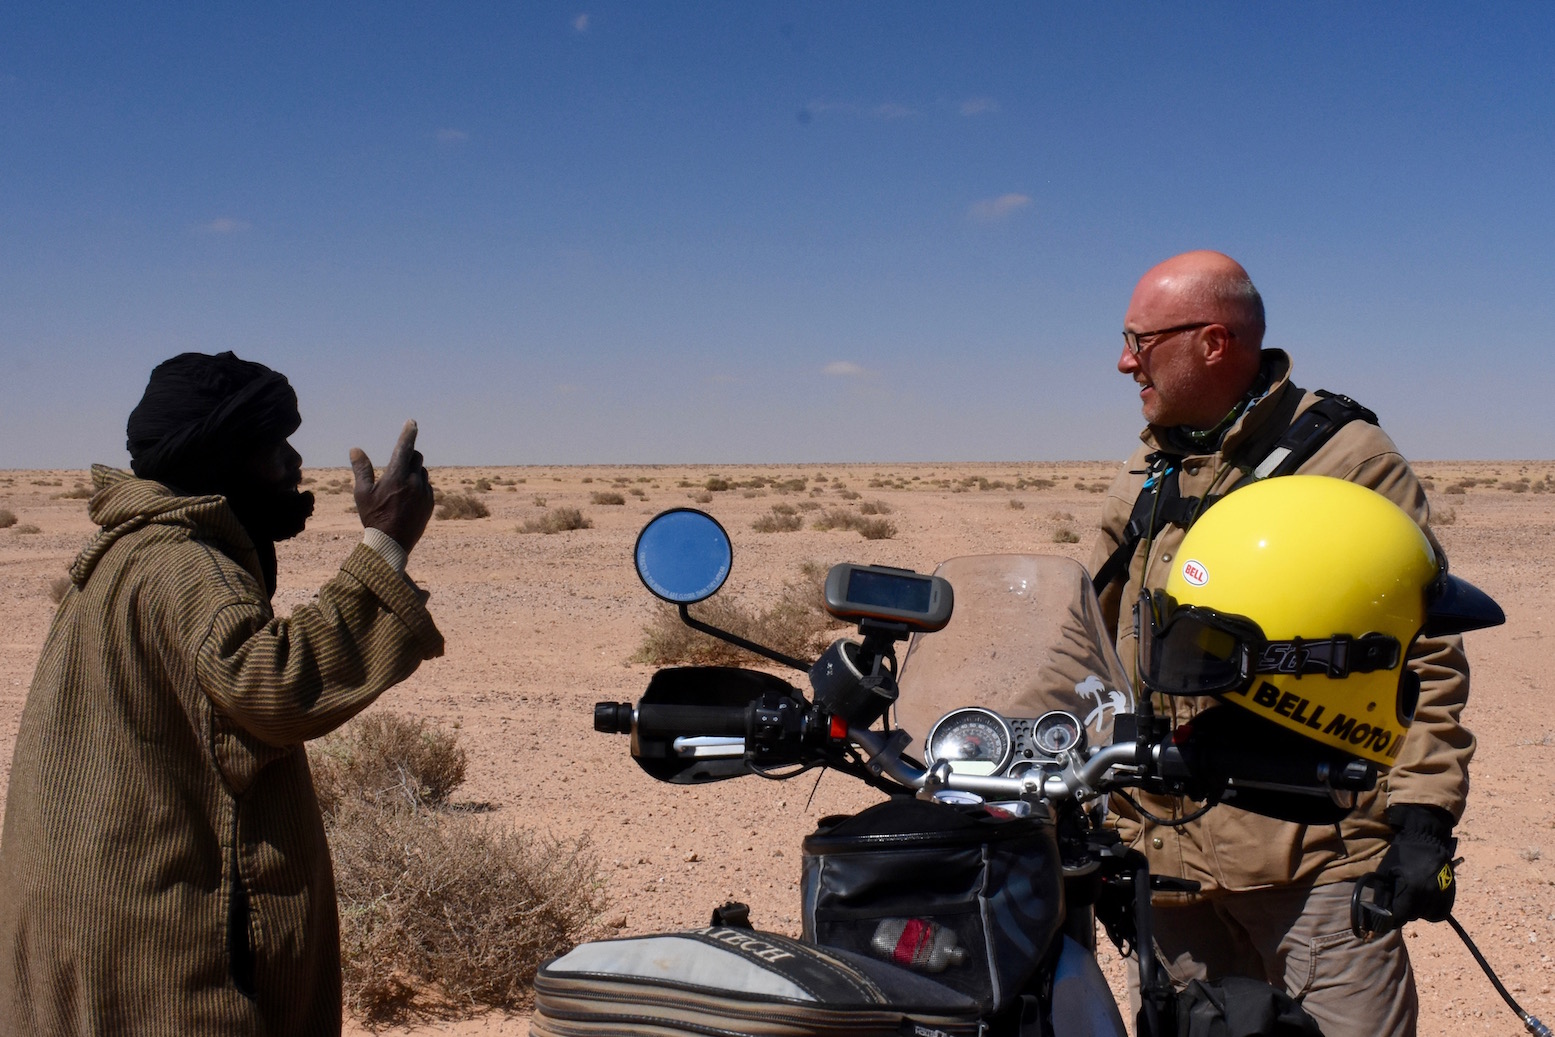
‘Moto – Landrover – Layounne?’ I point to each and try and persuade a Saharawi to transport my bike to the coast.
Churned up, sandy gorge at MW6 KM246. The Himalayan meets it’s limit.
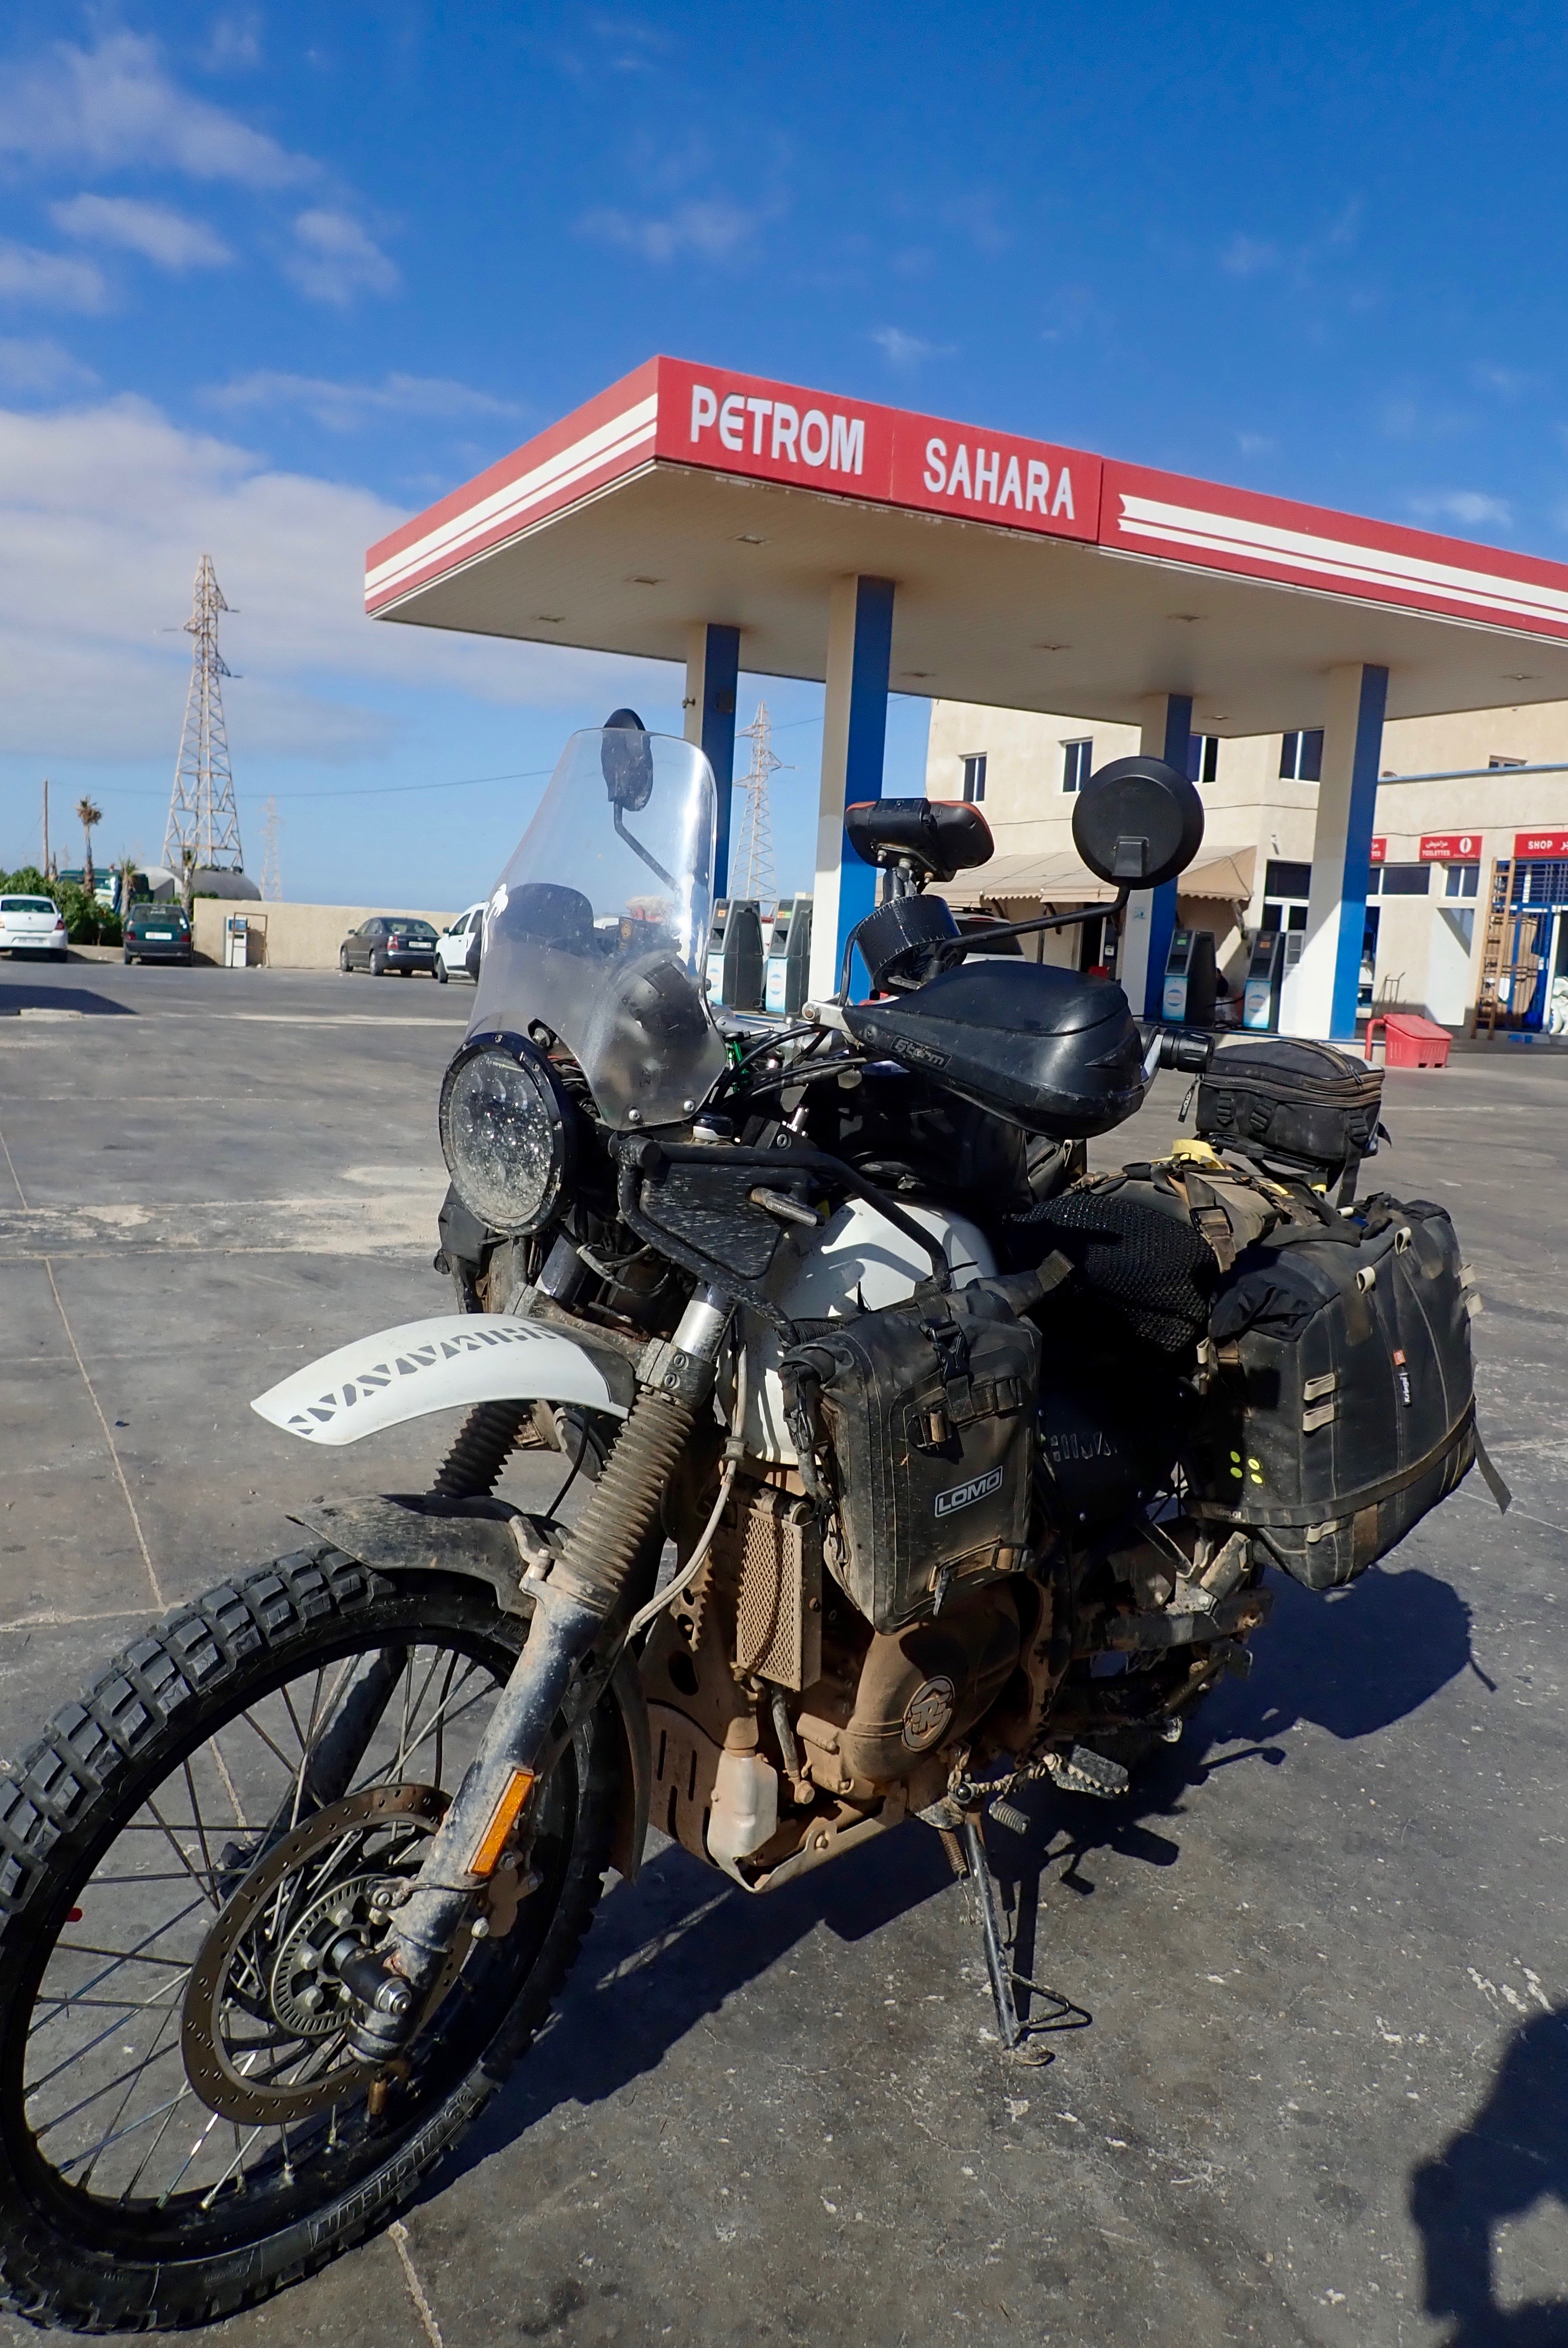
They like the word Sahara out here.
Crossroads where MW6 joins MW7. Came from the left on the WR in 2017.
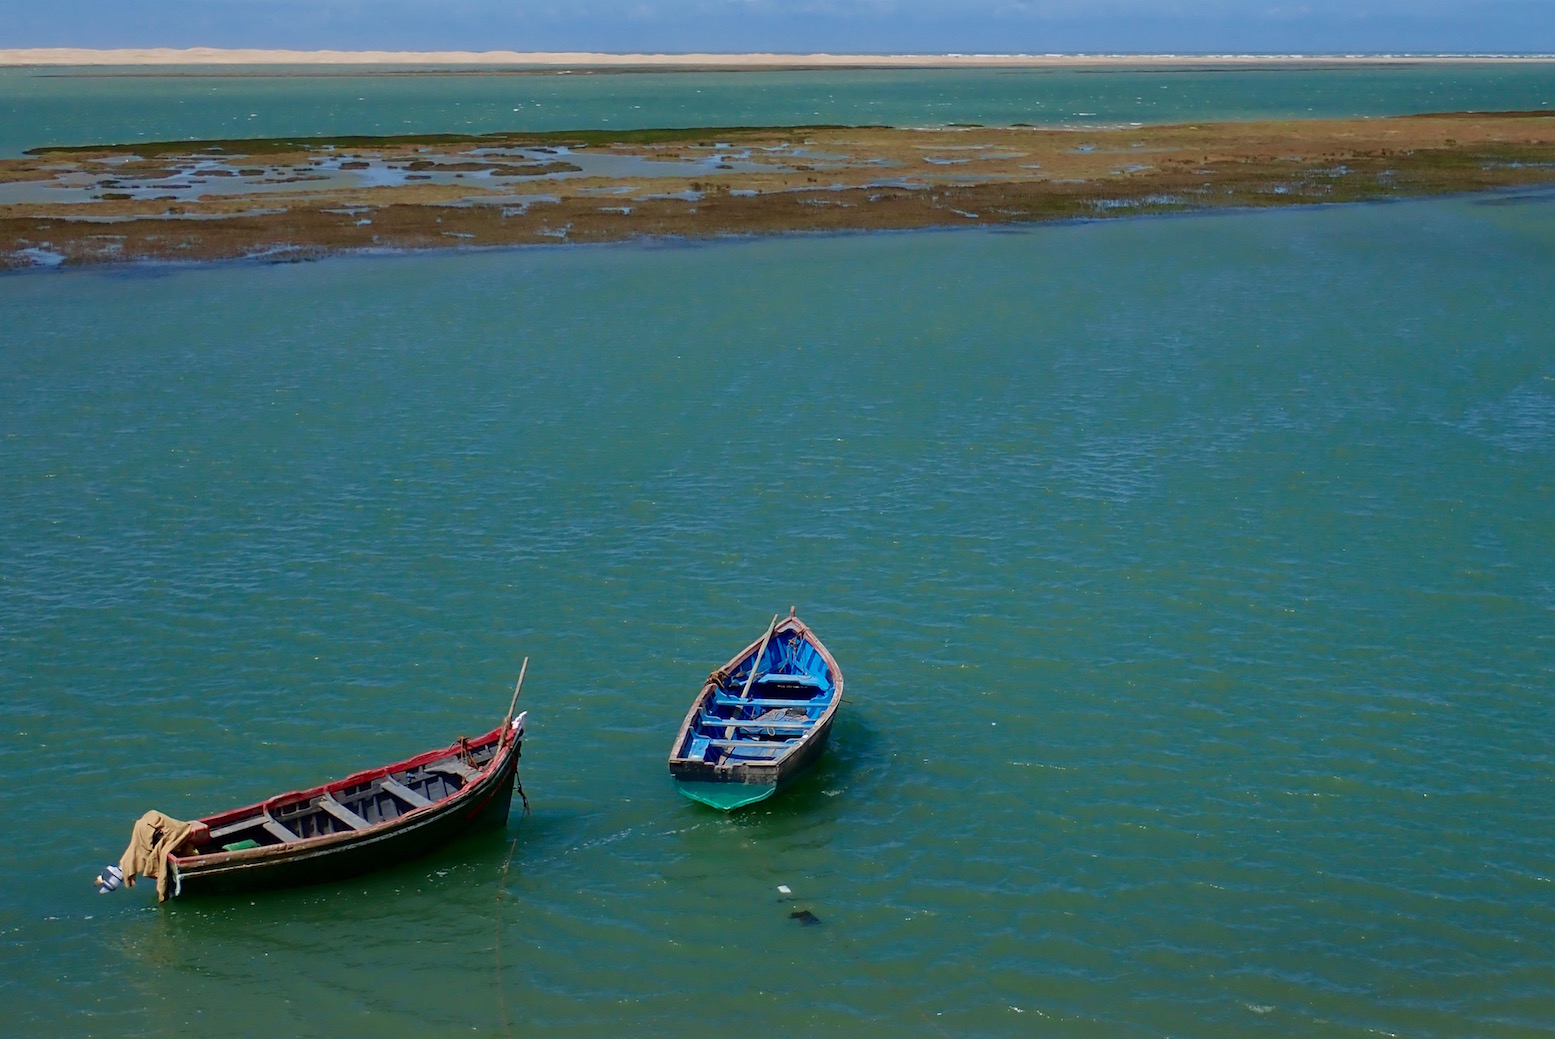
Khnifiss Bird Lagoon.
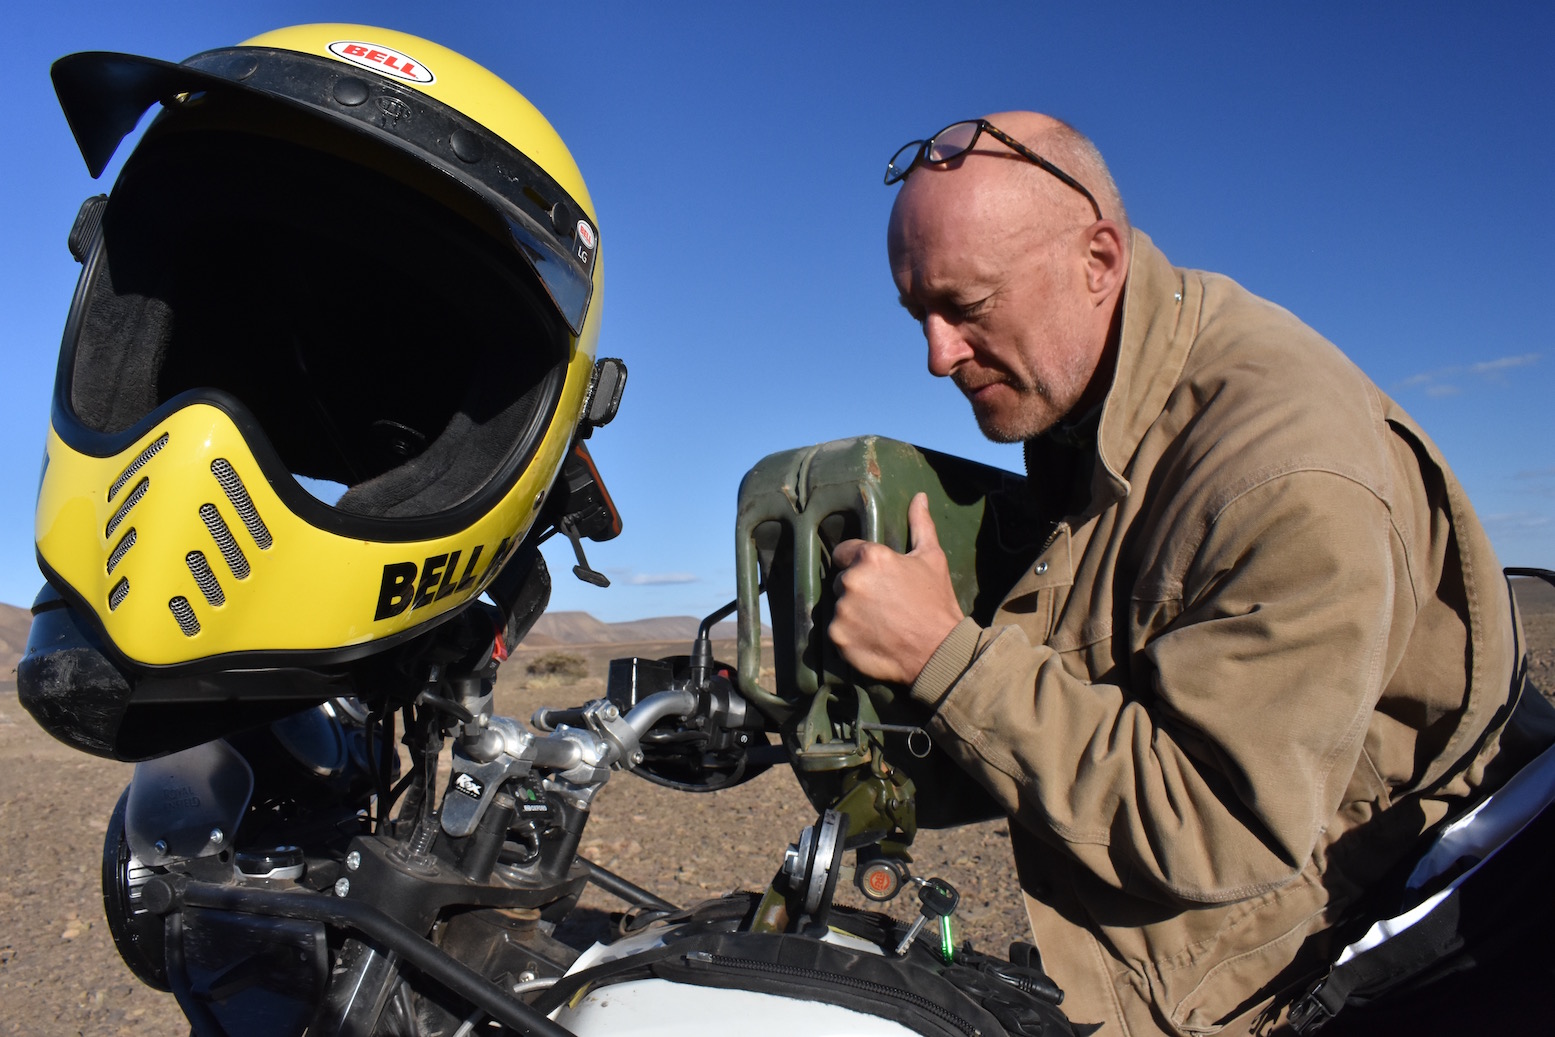
Topping up for the day. A can will do me at least 500km.
Desert dawn near Gueltat Zemmour.
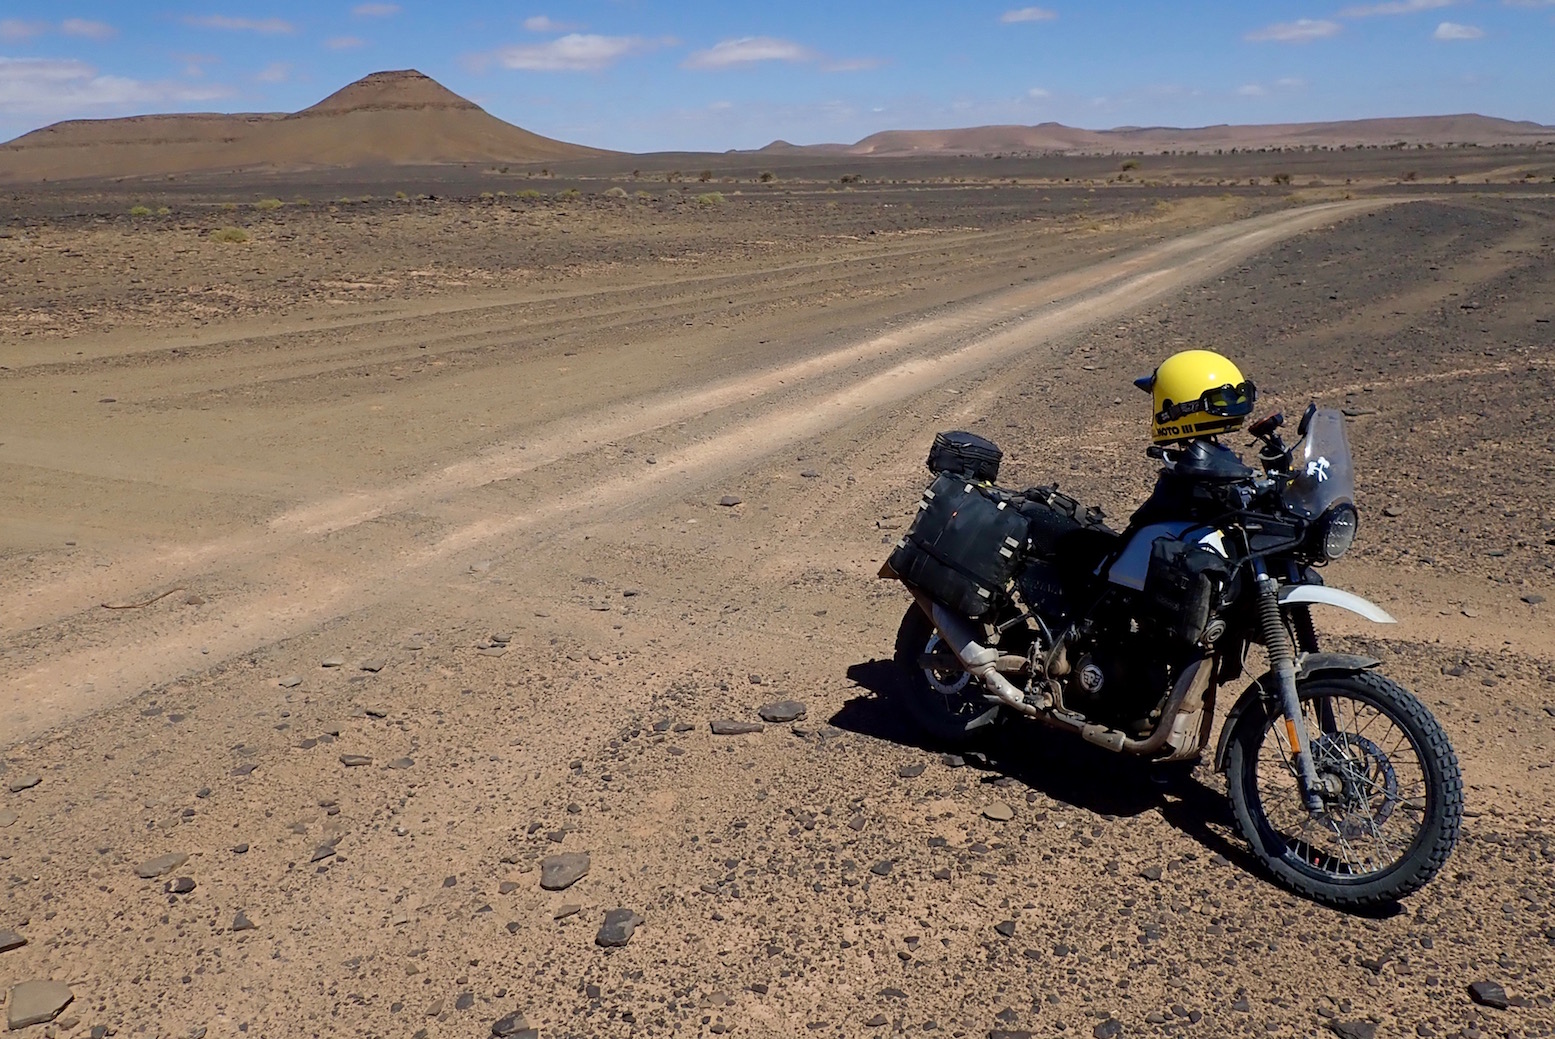
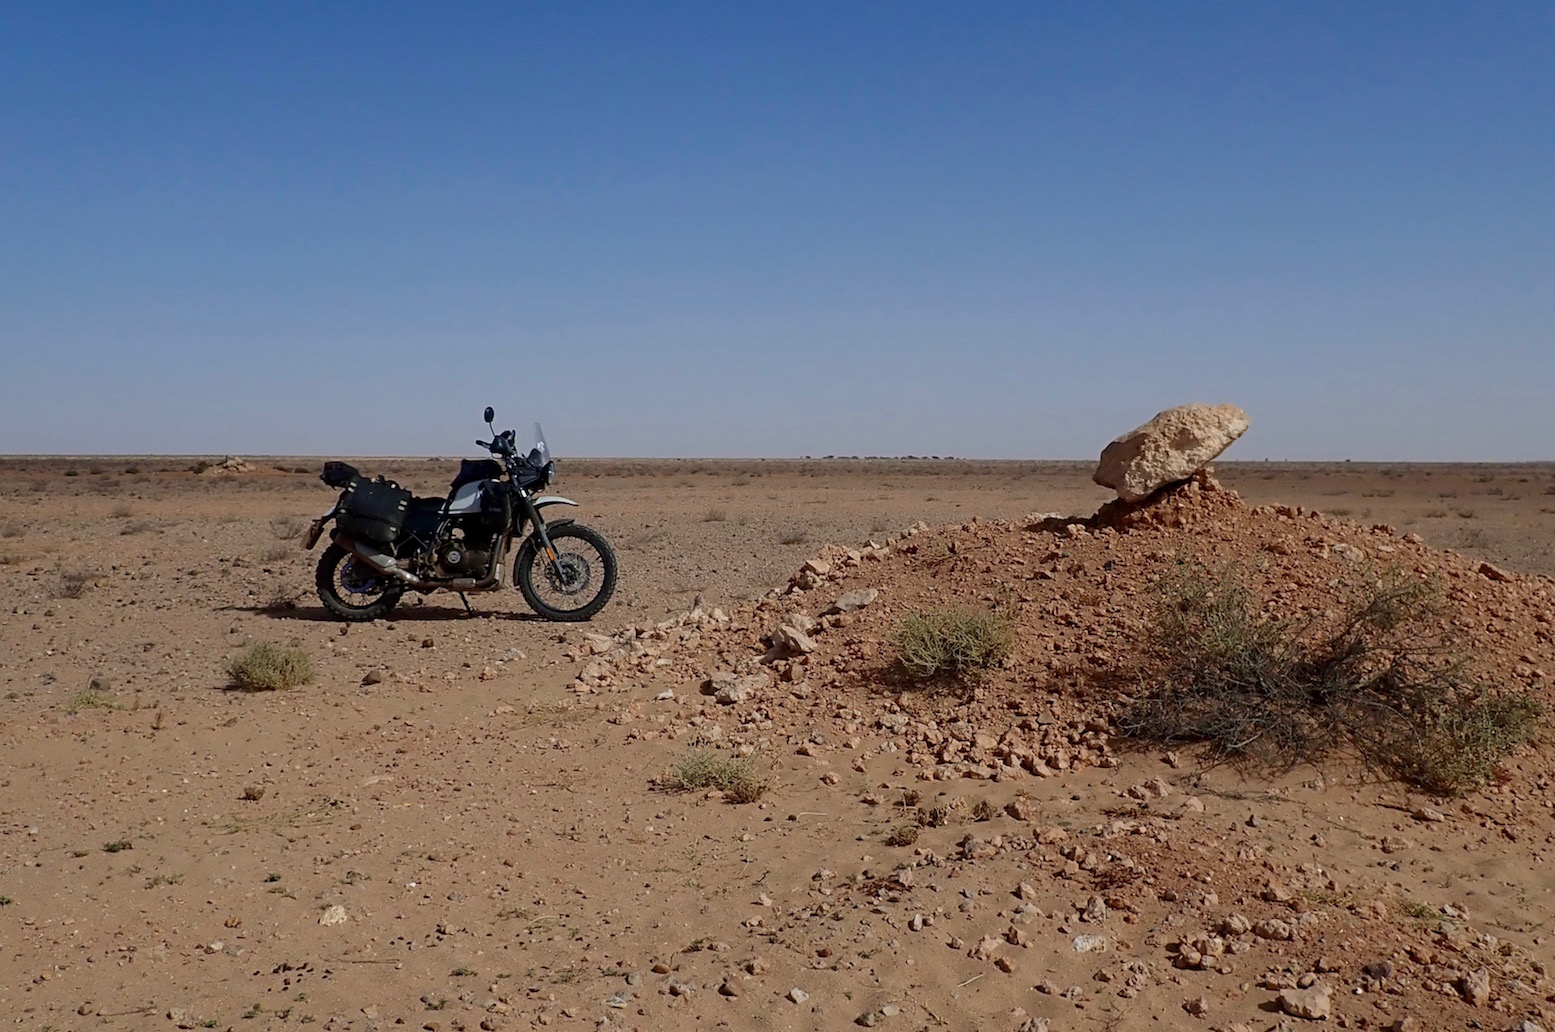
A Dakar Rally mound. Pushed up every kilometre or so as landmarks right along our route to the Digtree and beyond.
Most of the riding is easy, as above. But it only takes one lapse in concentration.
Removing the punctured Tubliss core in Layounne.
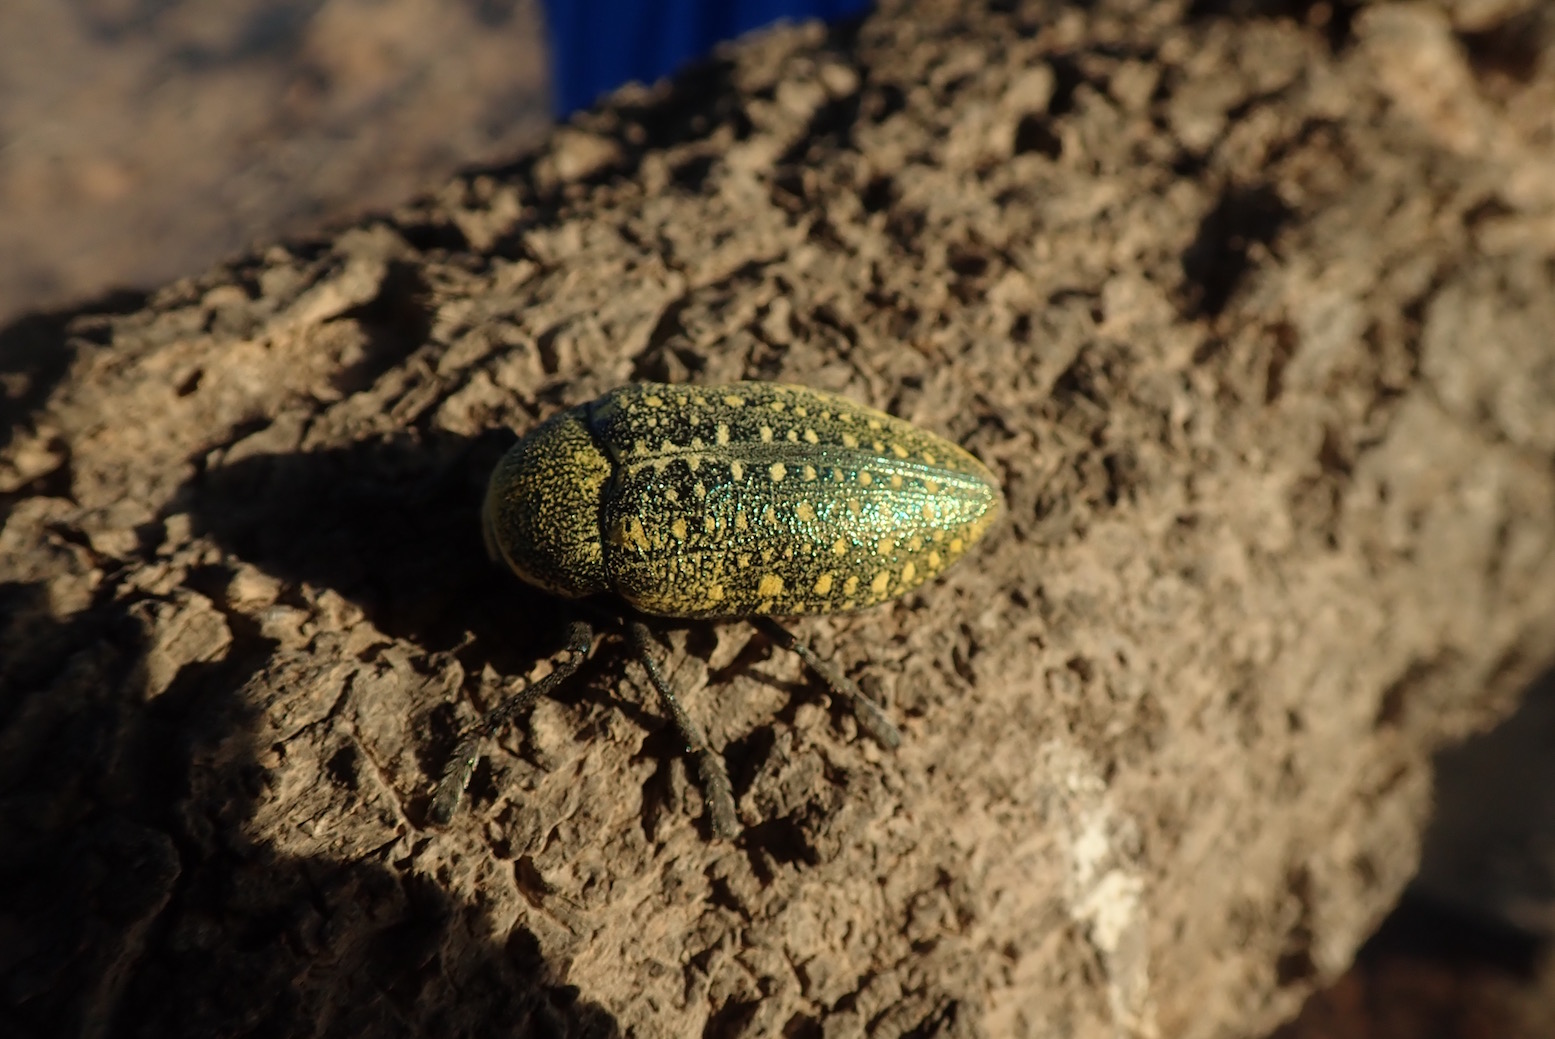
Colourful beetle.
Ex-Dakar track.
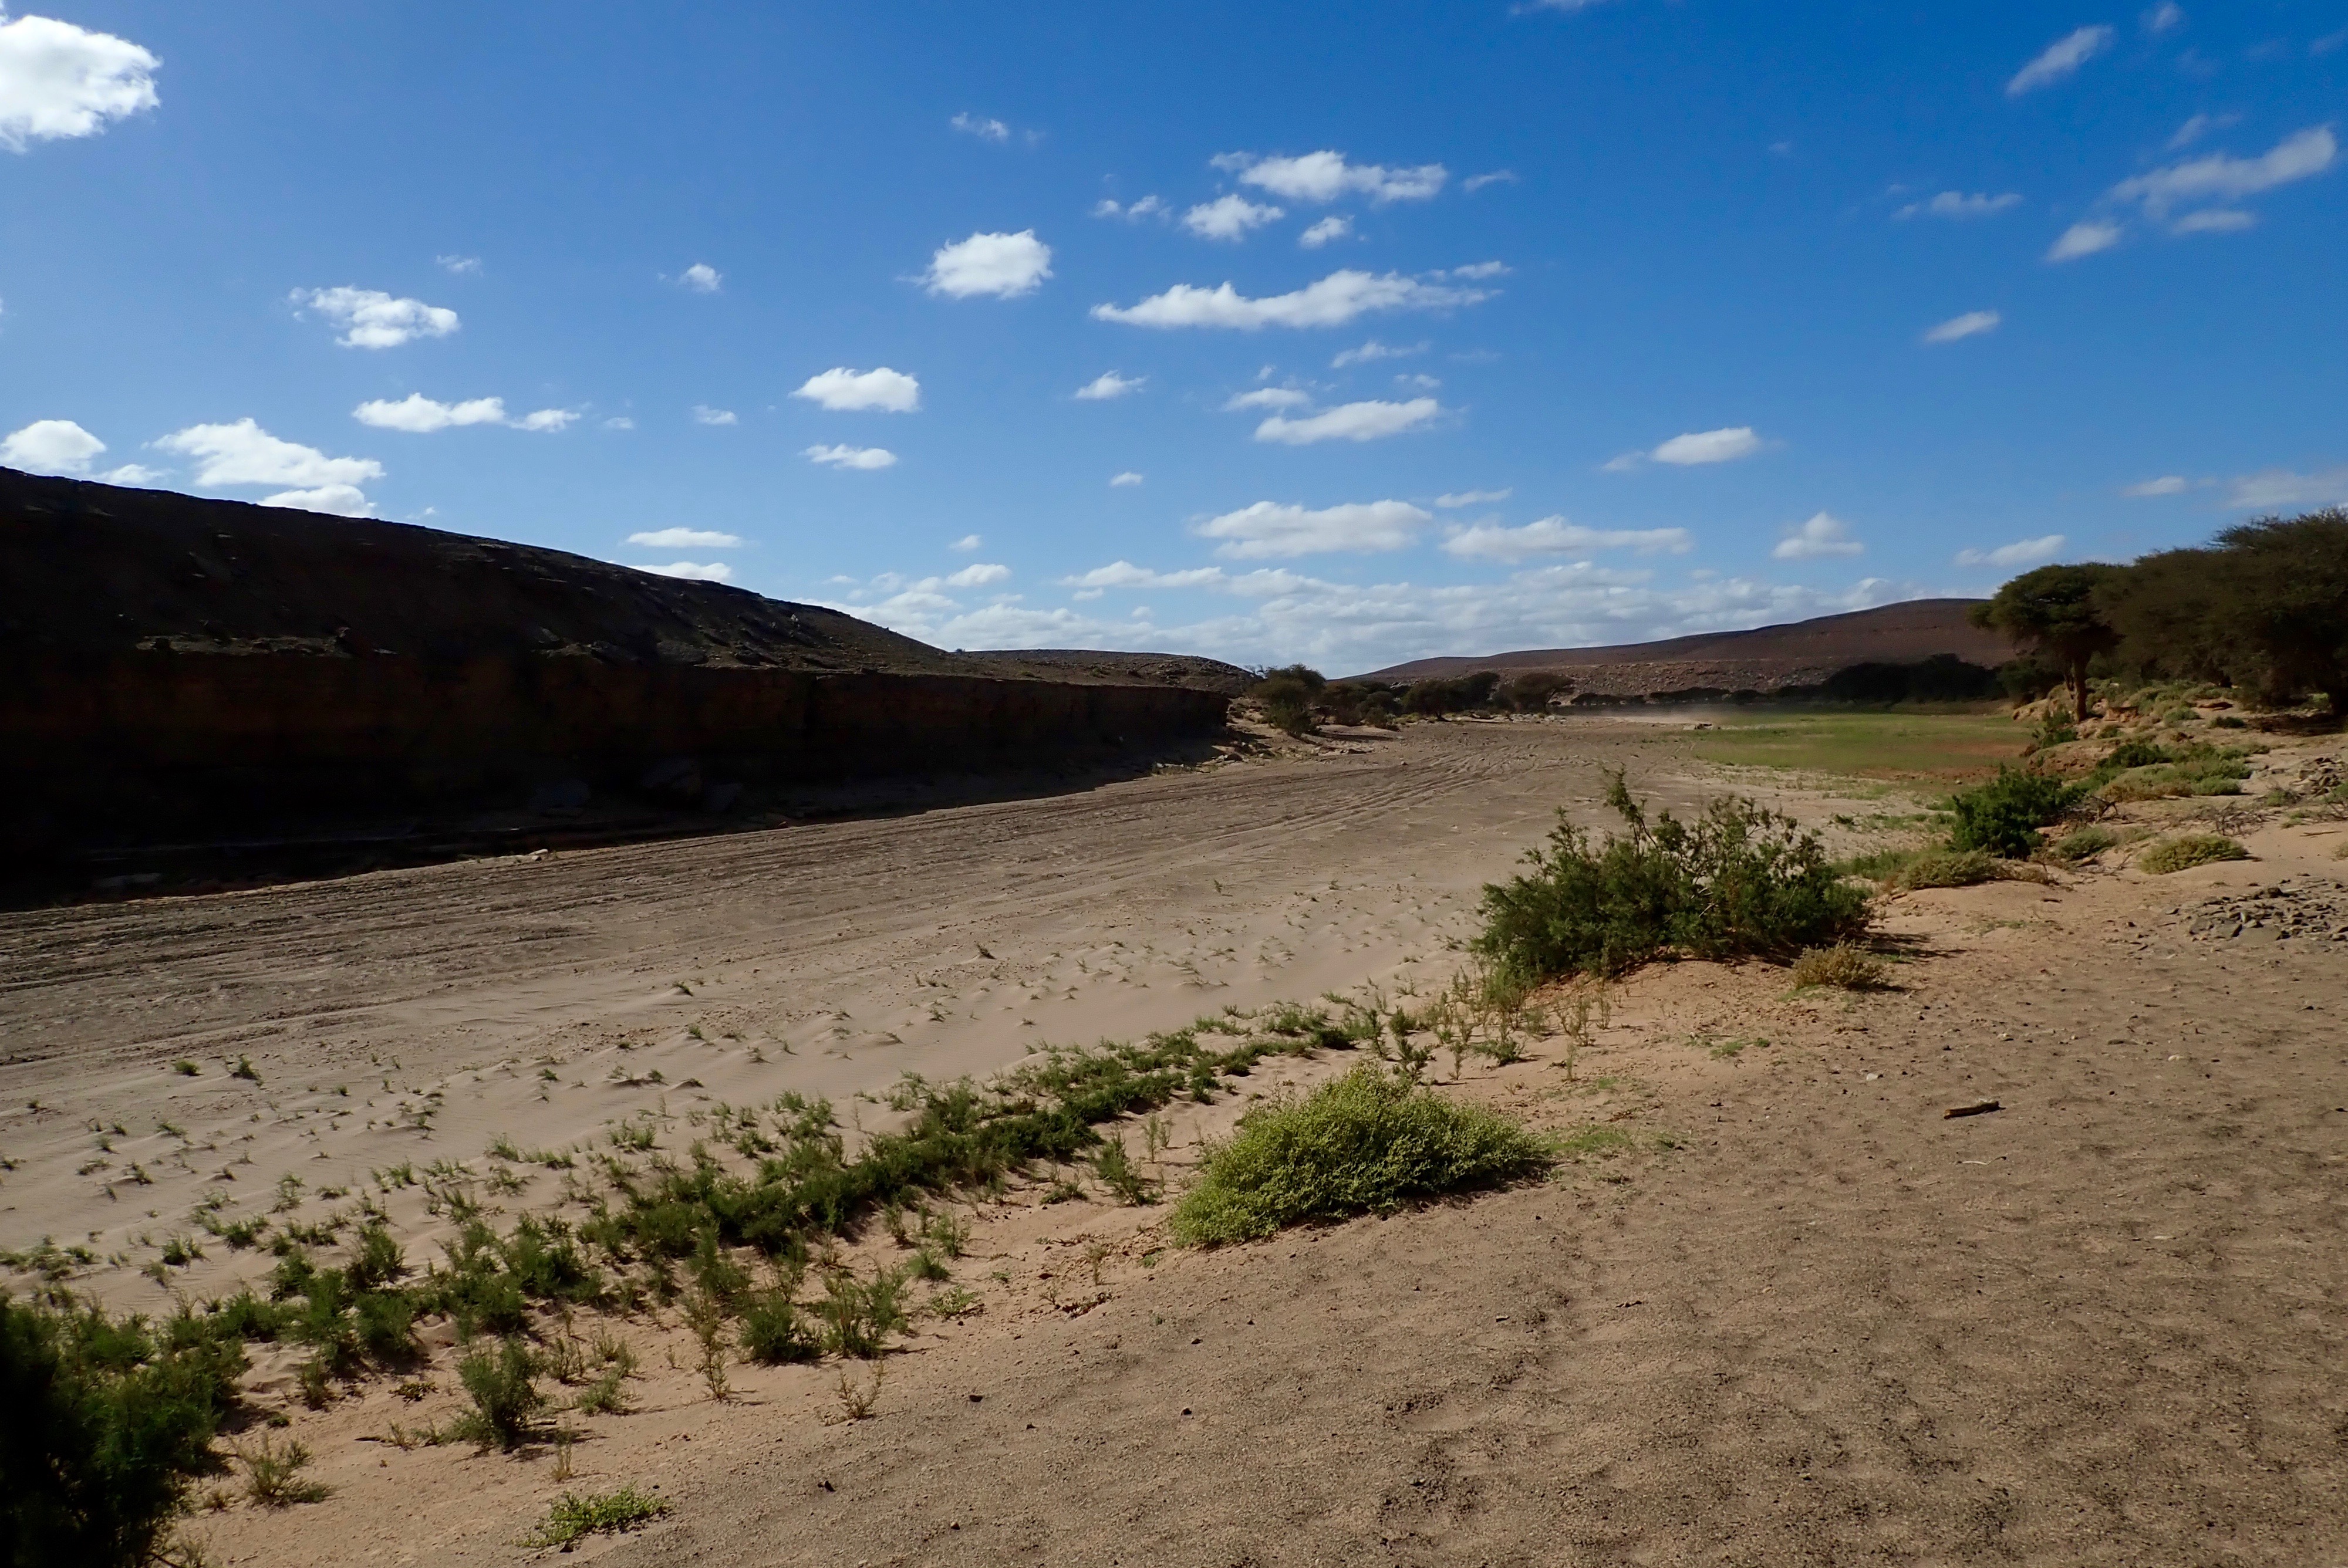
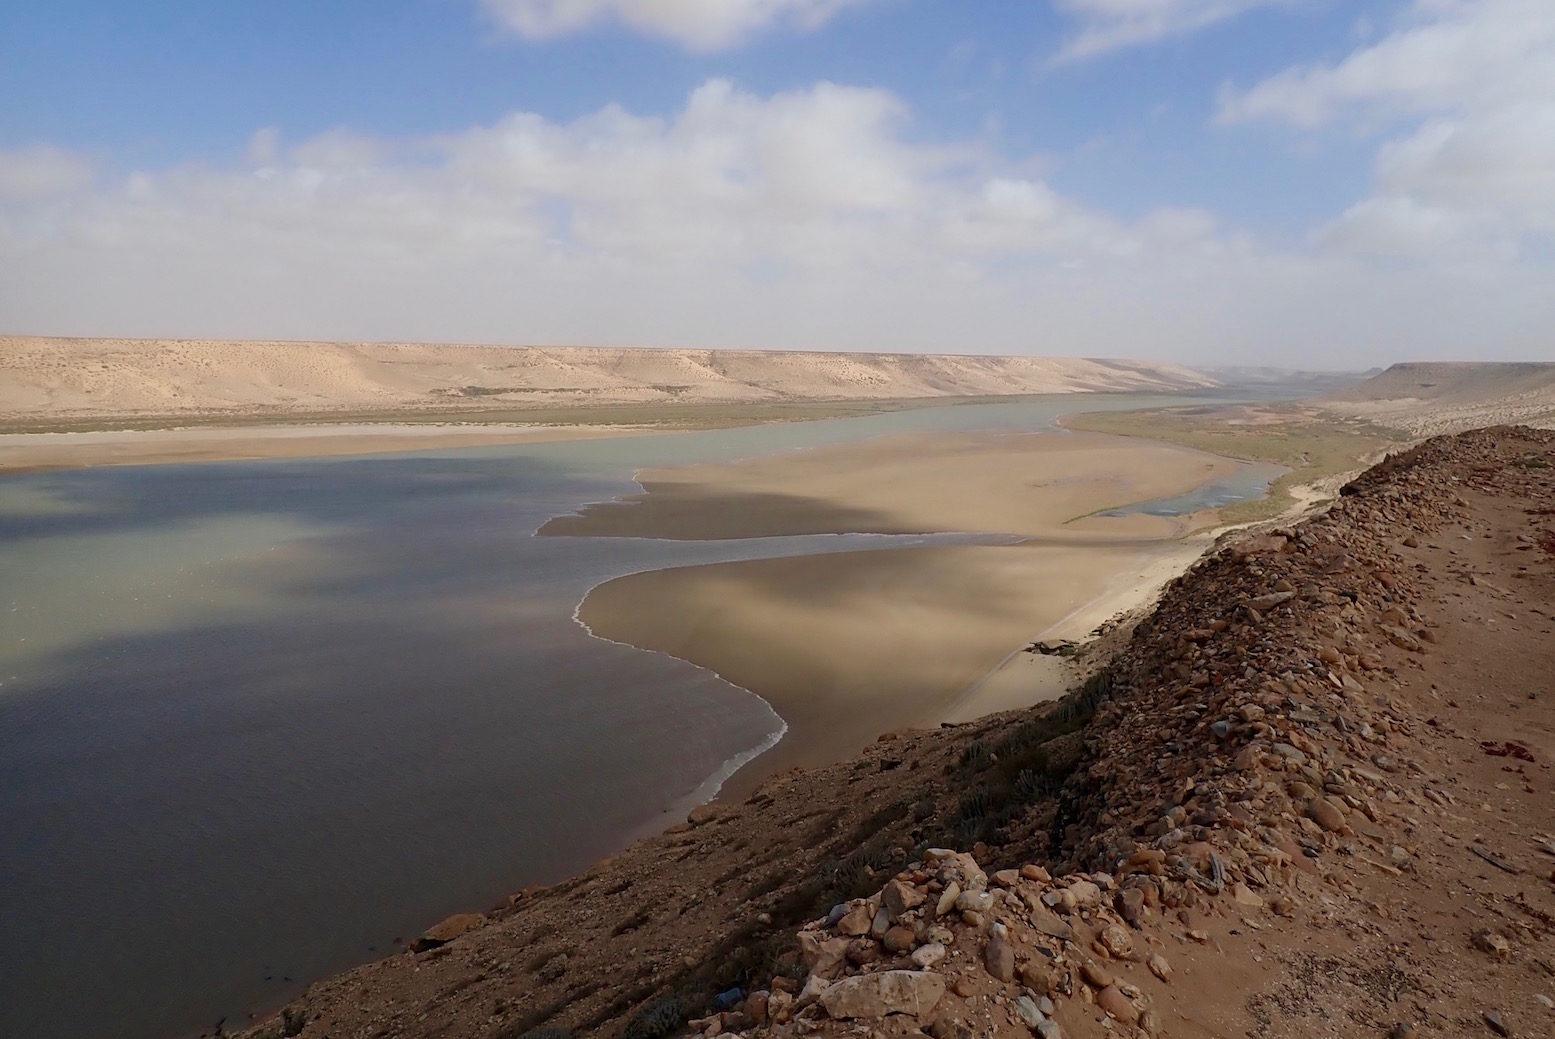
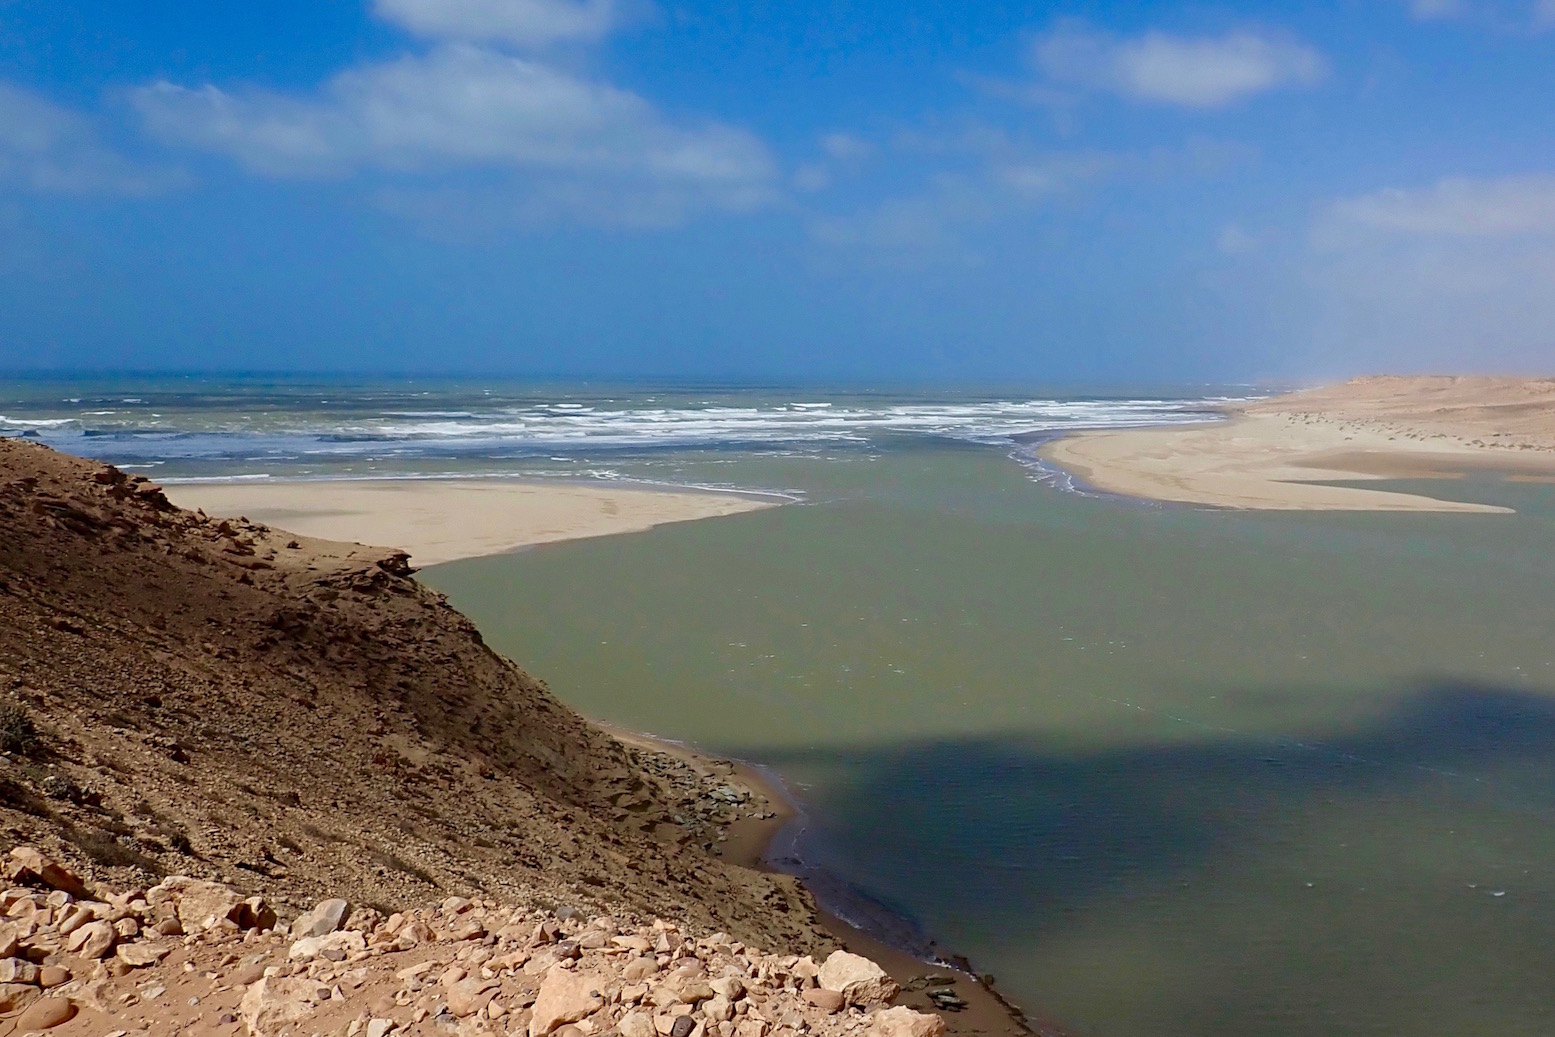
The mouth of the Draa which rises near Ouarzazate in the High Atlas, but very rarely flows in its entirety the 1000-odd km to the ocean.
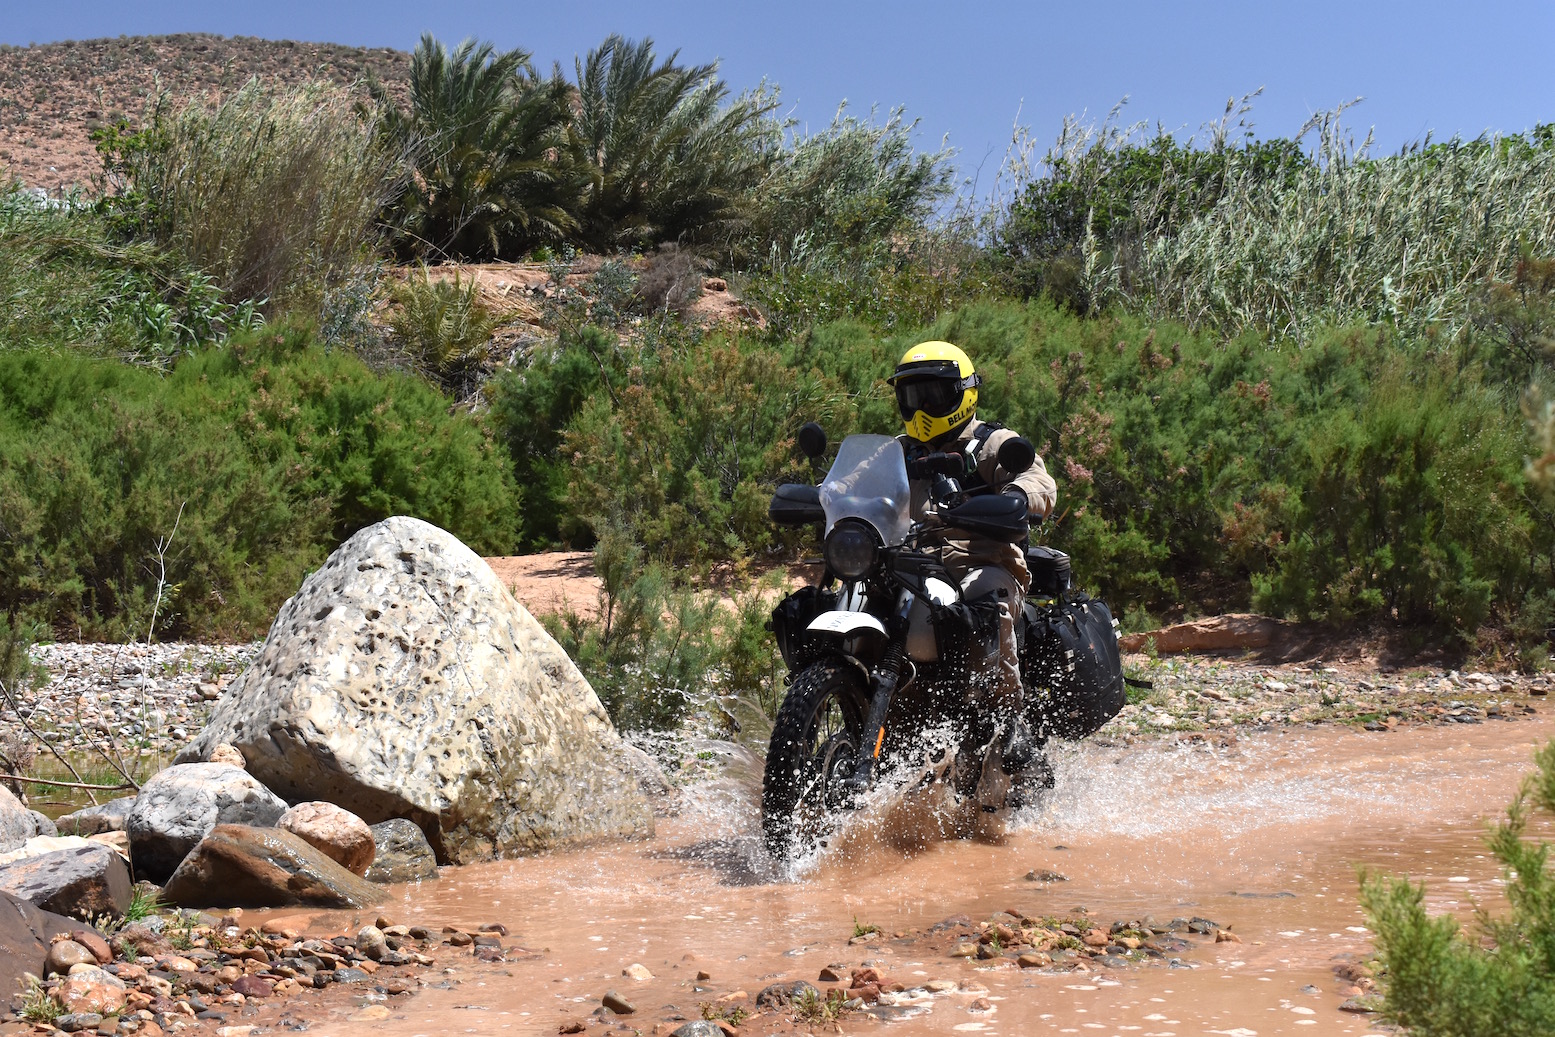
Out of Tiznit we took an interesting track along the Oued Assaka to Fort Bou Serif ruins for a spot of lunch and some filming.
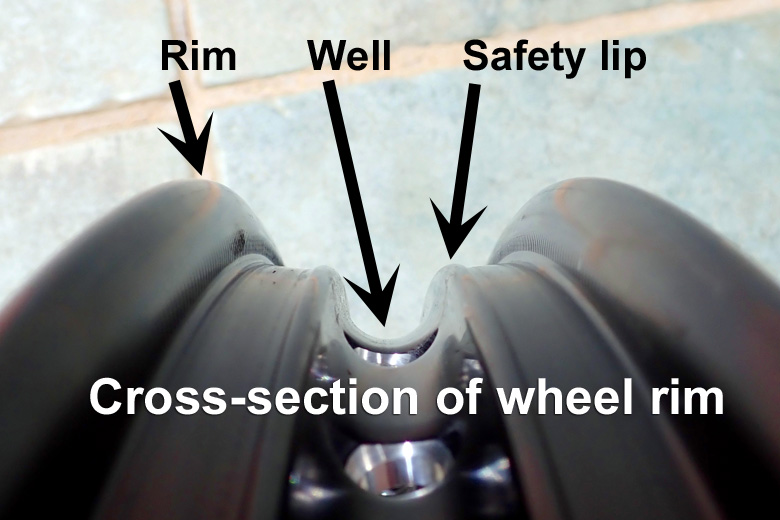
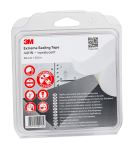
I and others have come to the conclusion that the key to successful and safe DIY spoke sealing is using a rim with the safety lips (right). These rims are stamped ‘MT’ as opposed to ‘WM’.
SHORT VERSION: AT rear wheel: easy to DIY • Front 21s: use an MT rim
L o n g e r explanation All cast tubeless wheels have these lips, and just about all rear spoked, tube-type rims have them too, right as far back as IVJ Teneres from the mid-80s. These humps/ridges/lips keep a tyre’s bead seated on the rim and out of the well (but make tyre changing harder). However, stock 21-inch tube-type spoke rims hardly ever have them. I don’t know why as having a flat tyre come off the rim is more perilous than on the rear. So with a typical 18/21 spoked bike, like my AT, DIY-ing the stock lipped back wheel is easy and safe. But the front requires tracking down a lipped 21. Giant and Takasako Excel (above right) make them from about £110 but you won’t find ebay flooded with them. Once you have laced that rim on you can try and DIY seal it too, or you can spend from £120 on a BARTubeless or Airtight professional sealing.
The video above demonstrates the rim sealing procedure. Nice job but can you see the big flaw? The rims, even the rear, do not have the TL safety bead or lip to make a good seal. I see trouble ahead.
PU sealants Way back in 2008 I bought the new XT660Z Tenere for a research trip in Morocco. I asked on Horizons if sealing the well of the spoked rims to make them tubeless (left) was a good idea. The discussion concluded it was do-able and had been done.
I like to experiment with new ways of doing things, so I went ahead. Full DIY XT660Z article here. Short version: the stuff I used (right) didn’t adhere that well, plus I didn’t do a good enough job in preparing the rim: and then on the road, I forgot all about it, tyre pressures dropped after 1500km and I dinged a rim and lost the seal.
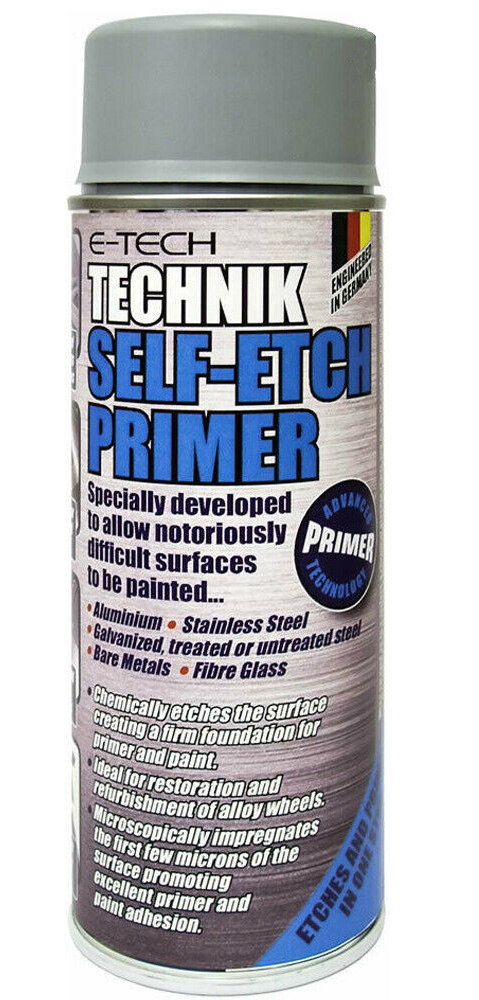
Above: over a decade later Ian C. tells me he once had good results on his KTM V-twin with Ever Build Puraflex 40 PU sealant; about £6 for 310ml. This was after thoroughly degreasing and then spraying etch primer (right) on the wheel before applying a couple of layers of black Puraflex and screeding it down smoothly.
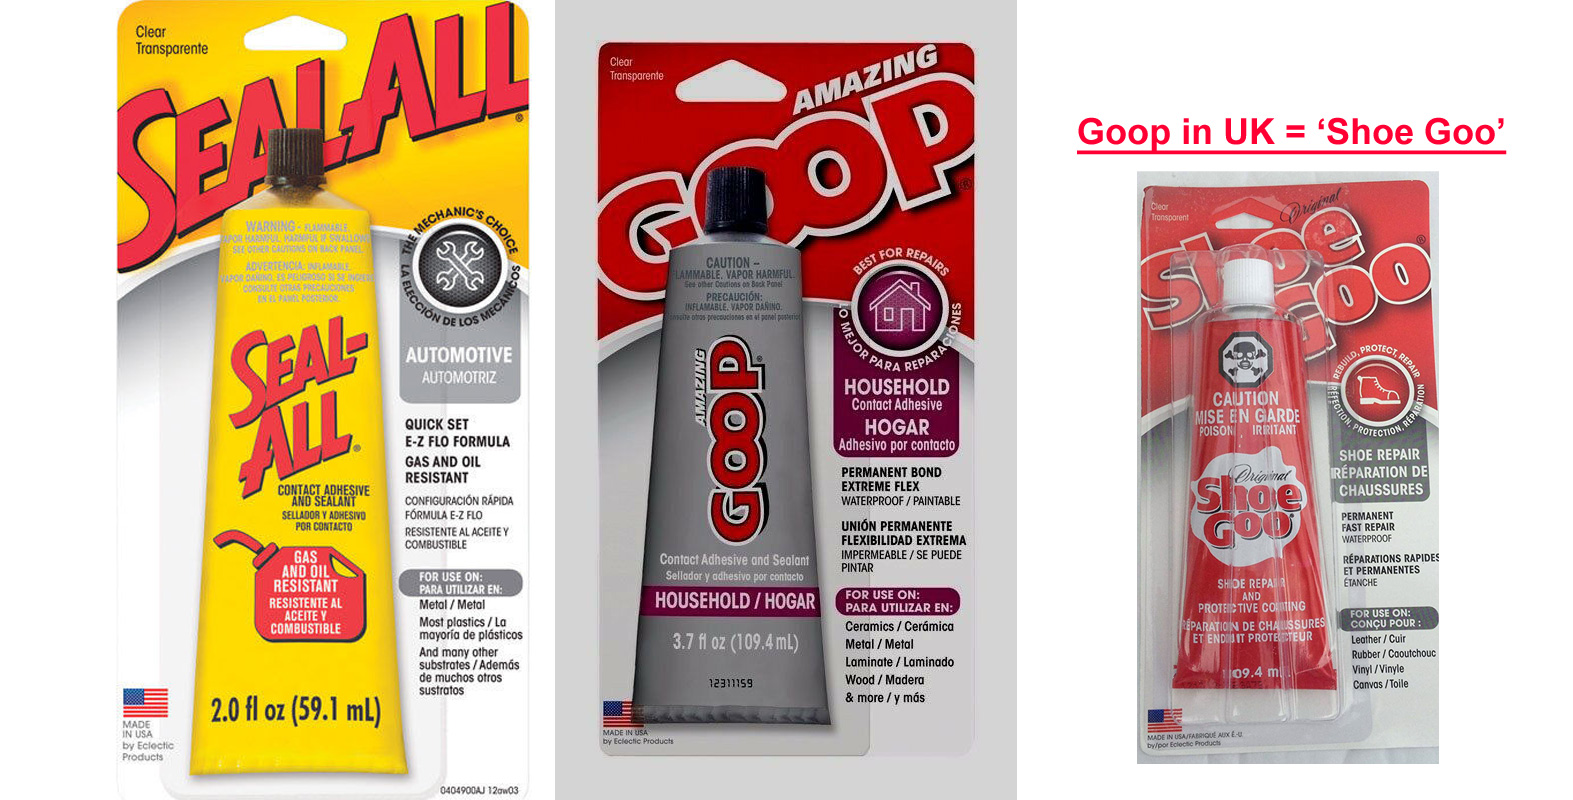
Cyb’s DIY procedure listed on the index page does it another way: carefully sealing each nipple with two types of sealant but not covering them in an overall band or even a tape. There’s much to be said to this: individual leaks can be more easily pinpointed and fixed. He recommends specific glues: which he seems to have researched rather than hoped for the best. First, two applications of runny Seal-All on each spoke nipple (see below). Runny – even like SuperGlue – is the key so it will seep down into the nipples’ threads and along the outer collar.
Don’t forget there’s a curved spoke washer (right) between the spoke nipple and the rim, so that’s an extra leakage surface to seal. Then, once cured, each nipple is capped with a thicker blob of Goop from the same manufacturer, Eclectic Products in Oregon.
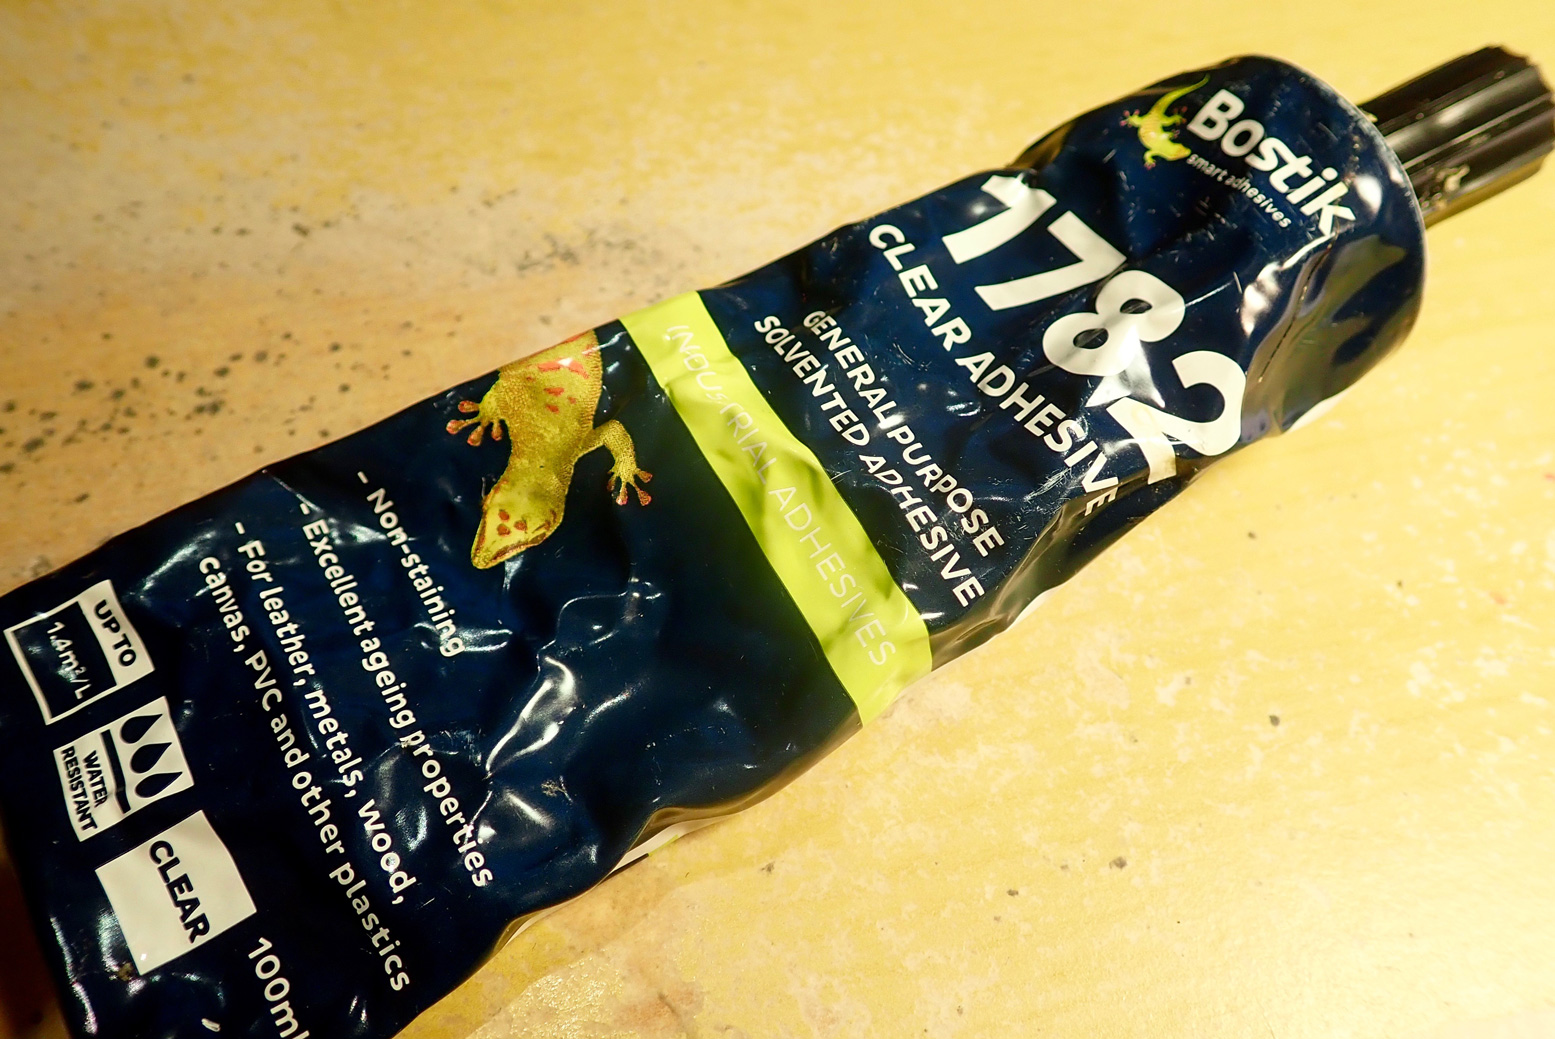
In the UK Cyb’s exact products are hard to find or are expensive if bought from the US where Seal-All is just a couple of dollars. I found Goop for a tenner. There must be something identical here to Seal-All – is it so different from the Bostik 1782 I have in the desk drawer? I put a test blob of 1782 on a rim to see if it would peel off easily. It didn’t so I used it on my Africa Twin’s back rim, then cap with the Goop.
Others have used plain old Silicone sealant. Something that’s designed for tent seam sealing (Seam Grip, Seam Seal) will be runny enough. Another good thing with Seal-All and Goop (and 1782) is they’re clear so you can see any too-big bubbles or lifting. They definitely look better than the creamy texture of the 3M 5300 mastic I tried years ago.
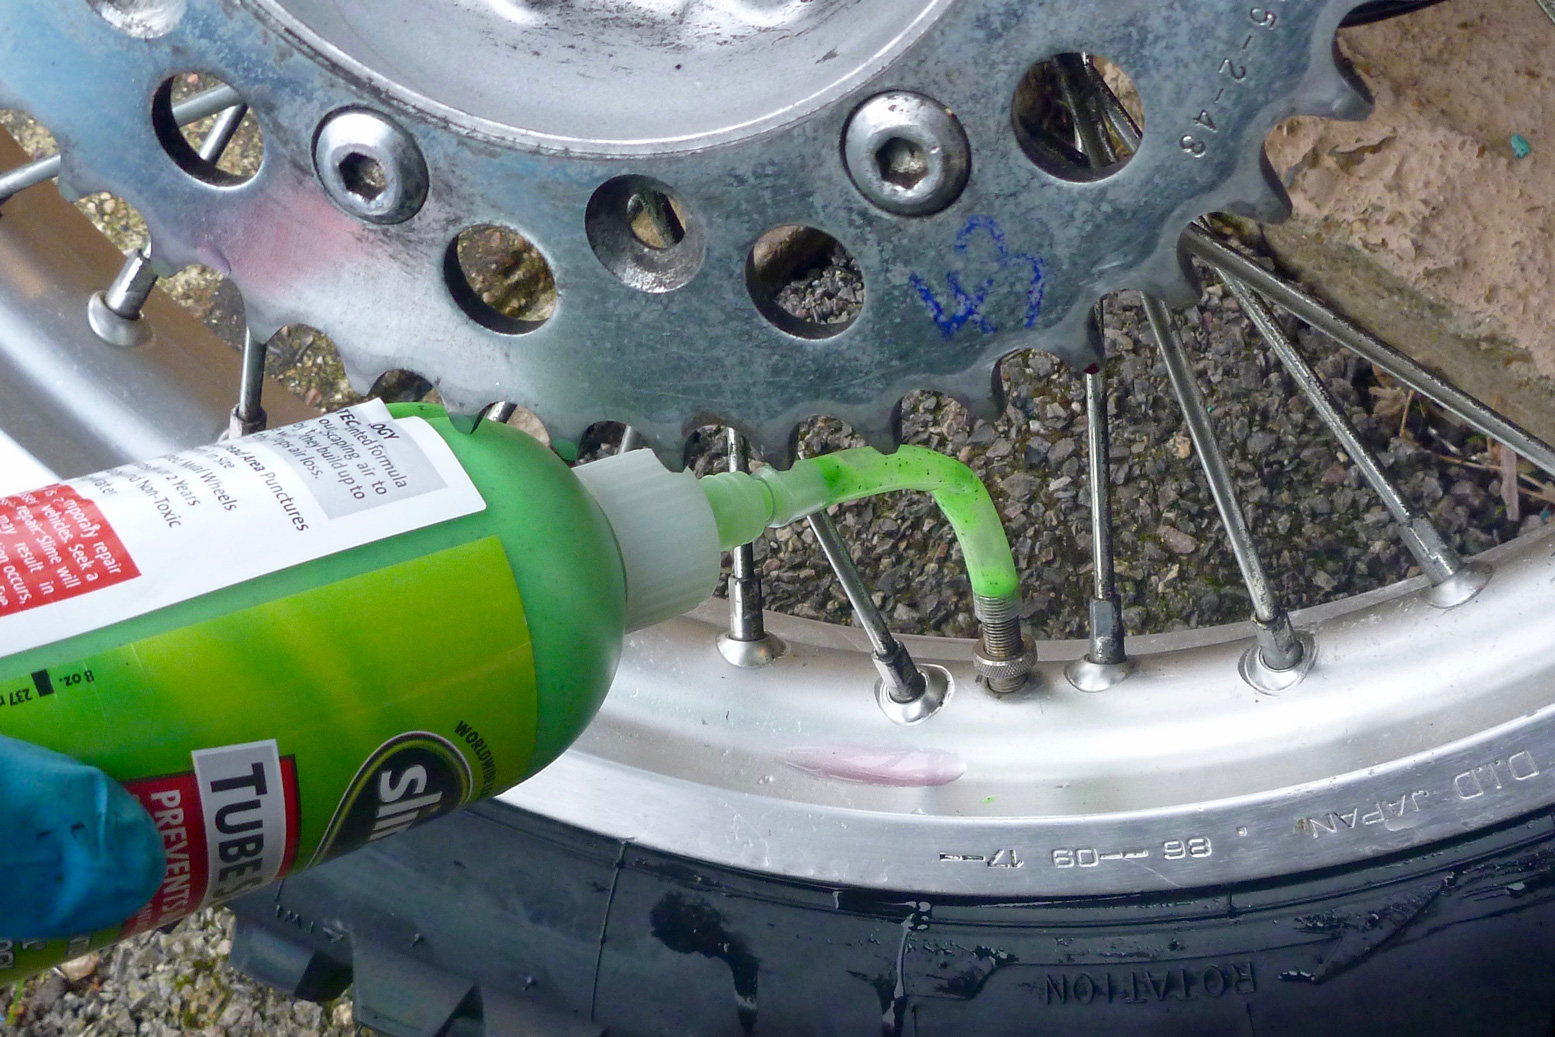
The good thing is tyre pressure pushes these tapes and sealants into the rim, so improving the seal. But if you inject water-soluble Slime or similar instant puncture sealant (right), it may not agree with your sealants and it will all come apart. As it is, water can seep down a spoke collar from the outside and get under your sealant. If you’re doing wet trip, like Siberia, there’s something to be said from sealing the nipple/rim/spoke contact area from the outside too. Just a smear of whatever you got ought to do.
Glass sealant DIY Another DIY suggestion is using glass sealant again, being meticulous with your pre-cleaning and patient with your sealant curing – see below. Sounds similar to Cyb’s process.
1. Glass (windscreen) sealant 2. 16″ Harley inner tube or rim band 3. Glass cleaner or oven degreaser
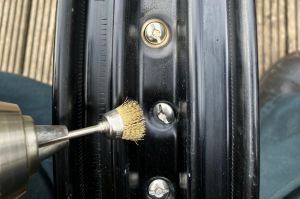
• Clean the wheels with the degreaser/cleaner, mini wire brush wash (left) if old, then with water to make sure any swarf or chemical is washed off. Wait for a day in dry. Use a blast of air if indeed • Apply the sealant to each spoke nipple, wait for a day to cure, apply another layer, wait again • Apply sealant to the inner part of the wheel. One layer for one day, do it twice then wait until it’s completely cured • Fit the rim band (or tape, see below)
Good tip from CyclePump man: check spoke tension before your seal the nipples forever. A bit slow but worth watching in full.
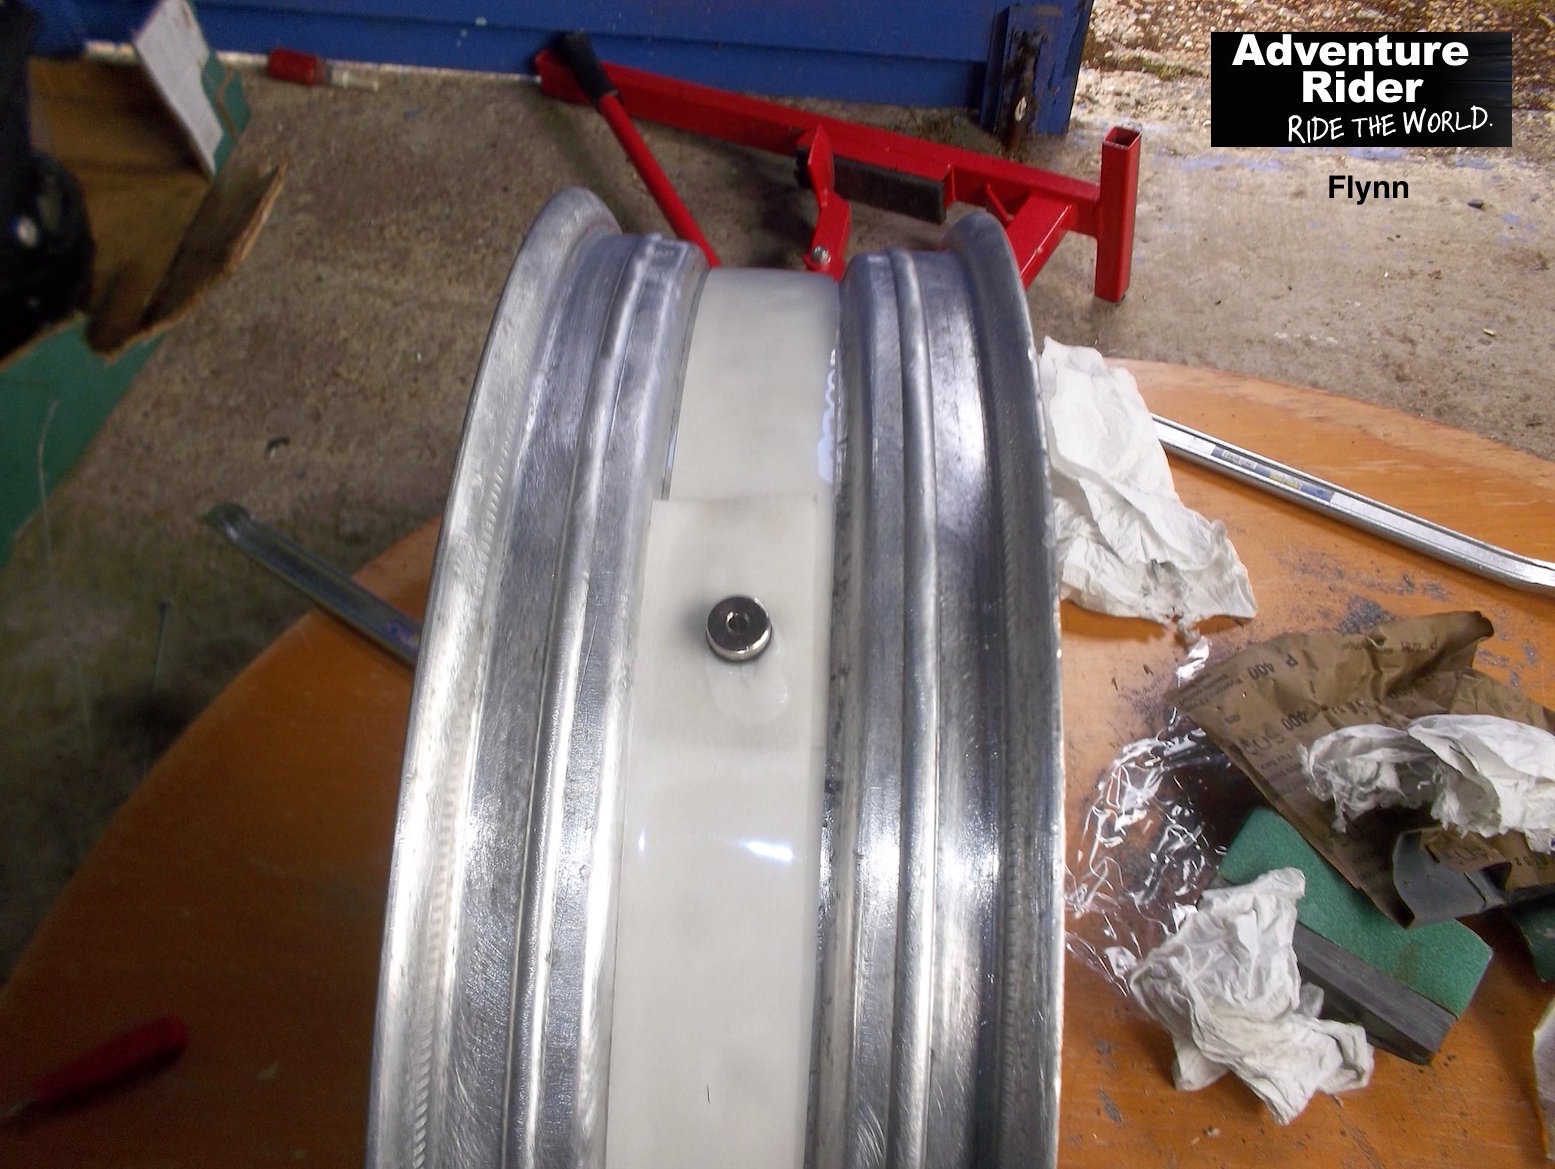
Builders’ Sealing Tapes One guy told me he simply taped up his rims with duct tape and topped up his tyres once a week. Using something more airtight might even enable a proper job.
I’ve seen 3M 4411 Extreme Sealing Tape mentioned (right; technical sheet). In neutral (N), grey (G) or black (B), it’s 1mm thick (more pliable than the 2mm 4412N) and comes in 50mm width for big bike rims, or 38mm (1.5 inches; product code: BLA193840). A 5.5-m roll of 38mm costs £20 and is enough to do three ~1.5m circumference rim wheels once.
Another mile-long thread on Advrider with some good ideas and solutions. This tape works best where the well/drop centre of the rim is nice and flat, as on a wide supermoto rim shown above left, or my Africa Twin (left, upper wheel). You’d imagine a curved profile will work less well with tape, but see Cycle Pump vid above.
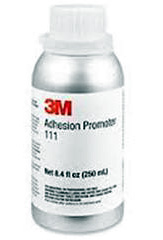
If I was doing such a DIY sealing job again, this time I’d consider forensically cleaning the rim with something like 3M Adhesion Promoter 111 (AP111; right; £20 for 250ml) (‘A quick wipe of AP111 on the ionomer is suggested for best performance of the overlapping tape. AP111 will approximately double Extreme Sealing Tape’s adhesion to its own ionomer backing).
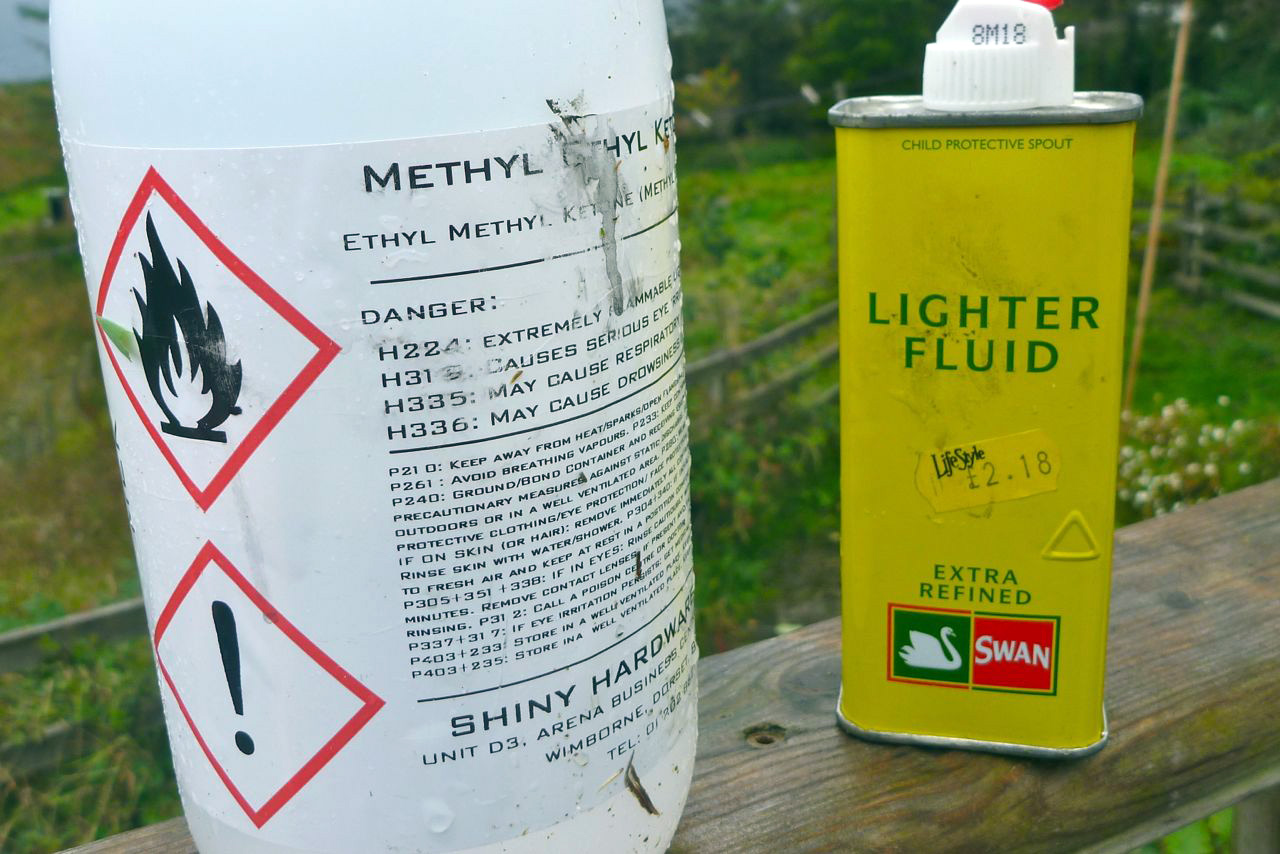
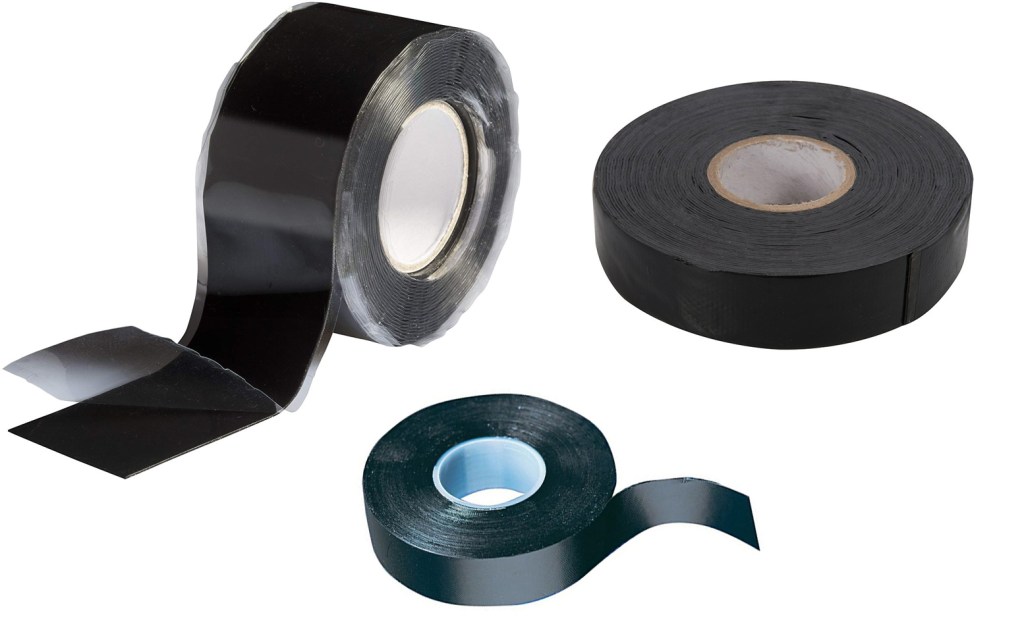
But £20 for a half pint is quite expensive. I know from kayaking that brake cleaner, acetone (paint or nail polish remover) or any number of other highly noxious solvents like rubber or plastic-eating MEK (Methyl Ethyl Ketone, (right) or Toluene also work. Then I’d seal each nipple with some runny glue so it seeps down into the threads. Let that cure, do it again then a dab of silicon like McNett Aquasure or Bostik 1782 or a mate tried EvoStik Sticks Like Sh1t. Then cap with Goop or whatever before letting it all cure again and taping it all up (so similar to Outex, then). I note Cyb says silicone is not as oil-resistant as the glues he uses. 3M is a big name for industrial applications but there are all sorts of waterproof, self-amalgamating or self-fusing silicone tapes out there in rubber and plastic for household leaks.
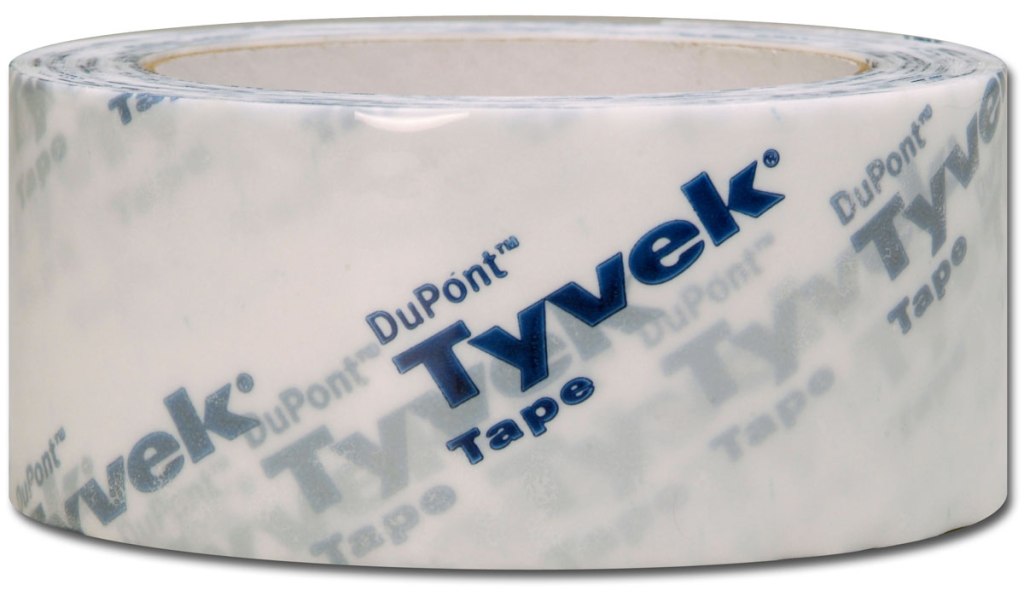
All it’s got to be is soft and pliable to contour the rim well closely, be stuck on to a very clean, oil-free surface, exceedingly non-porous and darned sticky, come what may. I’d hope 4411 or the DuPont equivalent: Tyvek, have all these properties, but Tyvek only seems to come in 60mm widths, a bit wide even for a giant adv rim.
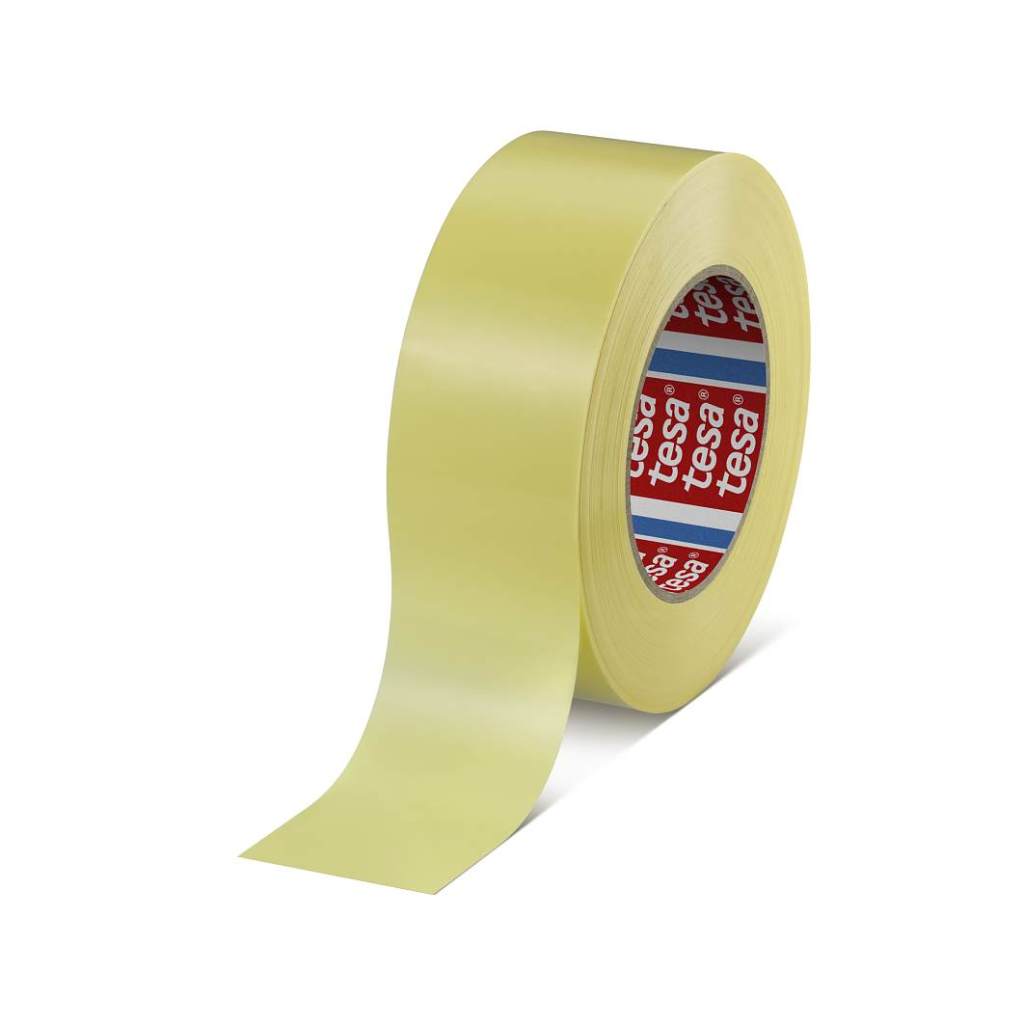
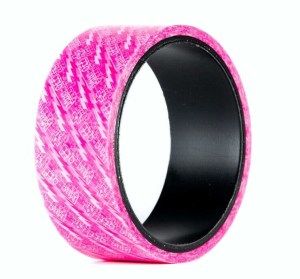
Another tape that’s been mentioned is Muc-Off MTB wheel sealing tape (left). Costs from £10 for 10m in Muc-Off pink up to 35mm wide for smaller moto wheels. Tesa Tape 4289 (above left). It’s tensilised (stretchy), like self-amalgamating tape for leaky-pipe-repair (right). Not tried Tesa yet either but at 66 metres a roll it’s a fraction of the cost of 3M if you have several wheels to do. Yes it’s only an inch wide, but at 12 quid a roll you can do a few taut wraps round a wider back rim to get a good seal. You might not bother with the laborious individual nipple gluing and go straight to tape (or do a continuous band, as above). It’s worth experimenting with at home before a big trip. The risk with tape-only is they might start separating when things get very hot. Don’t underestimate the centrifugal forces working on the tape inside your wheel. Warning below, the original rim tape put over a DIY sealing ‘for good measure’ span itself into pieces and blocked the valve. Things need to be glued down securely.
Rim tape on top: not always a good ideaSpun off into little pieces
Outex pads and tape I came across Outex sealant tape which a mate has been using on his TTR for years. As with many of these DIY methods, some get on with it, some don’t as this post shows. Here’s another on Adv. Central Wheel in the UK used to sell it but stopped, presumably due to unreliable results from customers. IMO you can do as good a job with the off-the-shelf items mentioned above for half the price.
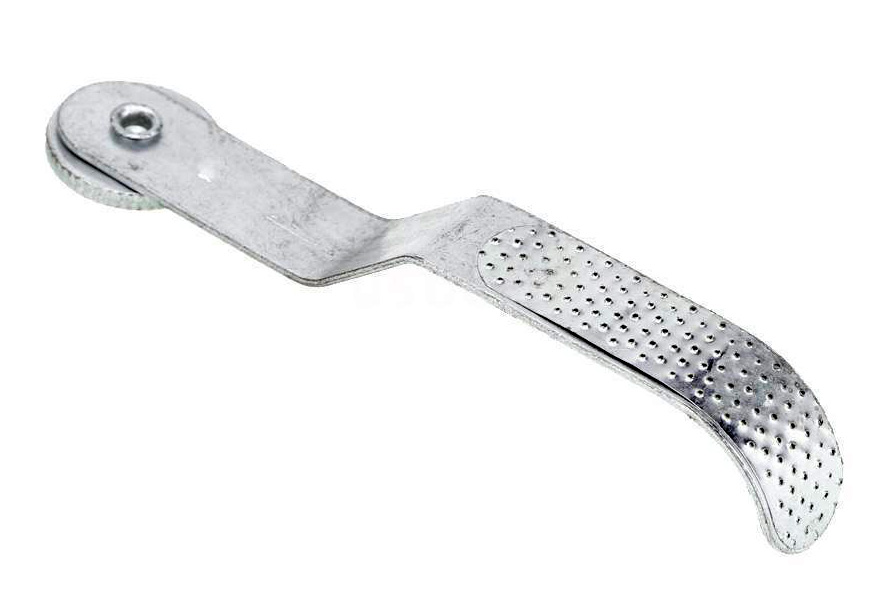
Basically, it’s nothing more than a set of sticky pads for each spoke nipple plus a very sticky and wide double-sided tape applied into the rim well with as few creases as possible. And then a thicker protective tape over the top. Application video below; a higher-res video here. Costs from £90 to £125 in the UK which seems a lot when you see the other tapes, above. As mentioned, I was about to fit it to my WR, but stopped once I saw my rims lacked the safety bead I go on and on about. Take your time they say, to try and get all the air pockets out. Using an inner tube patch roller rasp (right) helps; you often get them with better puncture kits.
These methods are the professional spoked wheel options I know of available in the UK. In the US Woody’s Wheel Works have been sealing rims for years, but even they admit it’s a tricky business. All will probably insist your supplied rim has a safety ‘MT’ bead.
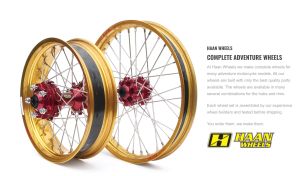
Based in Netherlands, Haan seal handbuilt wheels using Excel MT rims and their own CNC’d hubs (below left). They wrap the spoke nipples in a tape which allows tension adjustments (good for racers), then apply their secret sealant. It’s about £1500 for an Africa Twin wheel set. They also cater for retro-fitting spoke TL rims for looks, ie: replacing a bike’s perfectly good stock cast wheels which are tubeless anyway.
BARTubeless polymer band
I was one of the first in the UK to try this in late 2015 on my CB500X: permanent rim sealing by BARTubeless in Italy (left). They come with a 4-year guarantee. A polymer is applied and sets hard in the well of the wheel, which has been heated by steam. The tyre was a Golden Tyre GT 201 tubeless on the back and a similar K60 on the front. More here and here. One thing with Bart and similar thick linings is that they take up a bit of well depth in the rim which reduces the slack needed for easy tyre fitting or removing. I recall the rear GT tyre was hard to fit.
I thought I had no air loss but tbh I don’t think I checked much, and over a couple of months there was quite a lot of leakage. Could have been the tyre bead, the valve, even the alloy rim might be porous. At an MoT weeks later they noticed the pressures were well down, but the stiff TL tyres disguised this, as they so often do. Note in the picture top left the label says not to drop below 1.6bar (21psi) because the rims used by RR then did not have MT safety lips. They probably offer safety-bead rims now; certainly on the Africa Twin Bart rims they now sell. In the UK, wheel specialists Central Wheel Services near Birmingham will BARTubeless two wheels for you. Balance the cost of either of these proprietary rim sealings with the many hours but modest cost and possible satisfaction of doing it yourself.
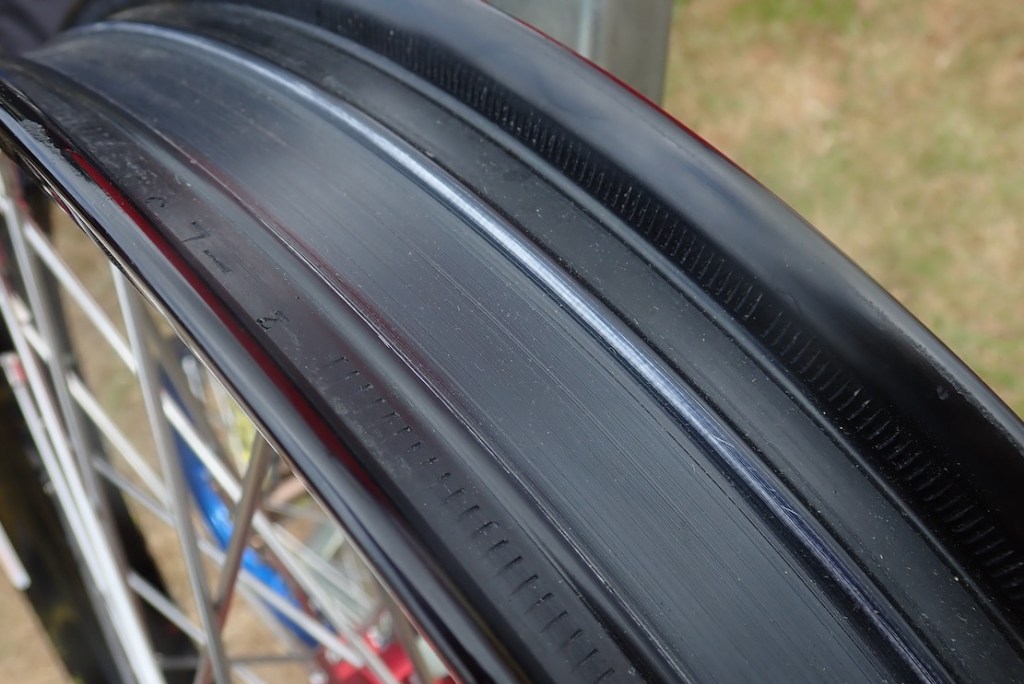
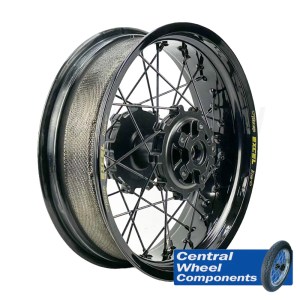
CWC Airtight Central Wheel Components in the UK do a version of the Haan sealing band. They call it Airtight. and again, as far as I know, I was among the first to try it on my Himalayan ride to Western Sahara in 2019. It cost £120 a wheel then but it’s done in the UK (by ATS Euromaster, a UK tyre outlet owned by Michelin).
A hooped band whose size matches the wheel rim is fitted to the rim and heated to vulcanise in two stages over two days. Alternatively, on narrow front wheels liquid rubber is applied in three stages and cures in air but takes four days.
Airtight new style
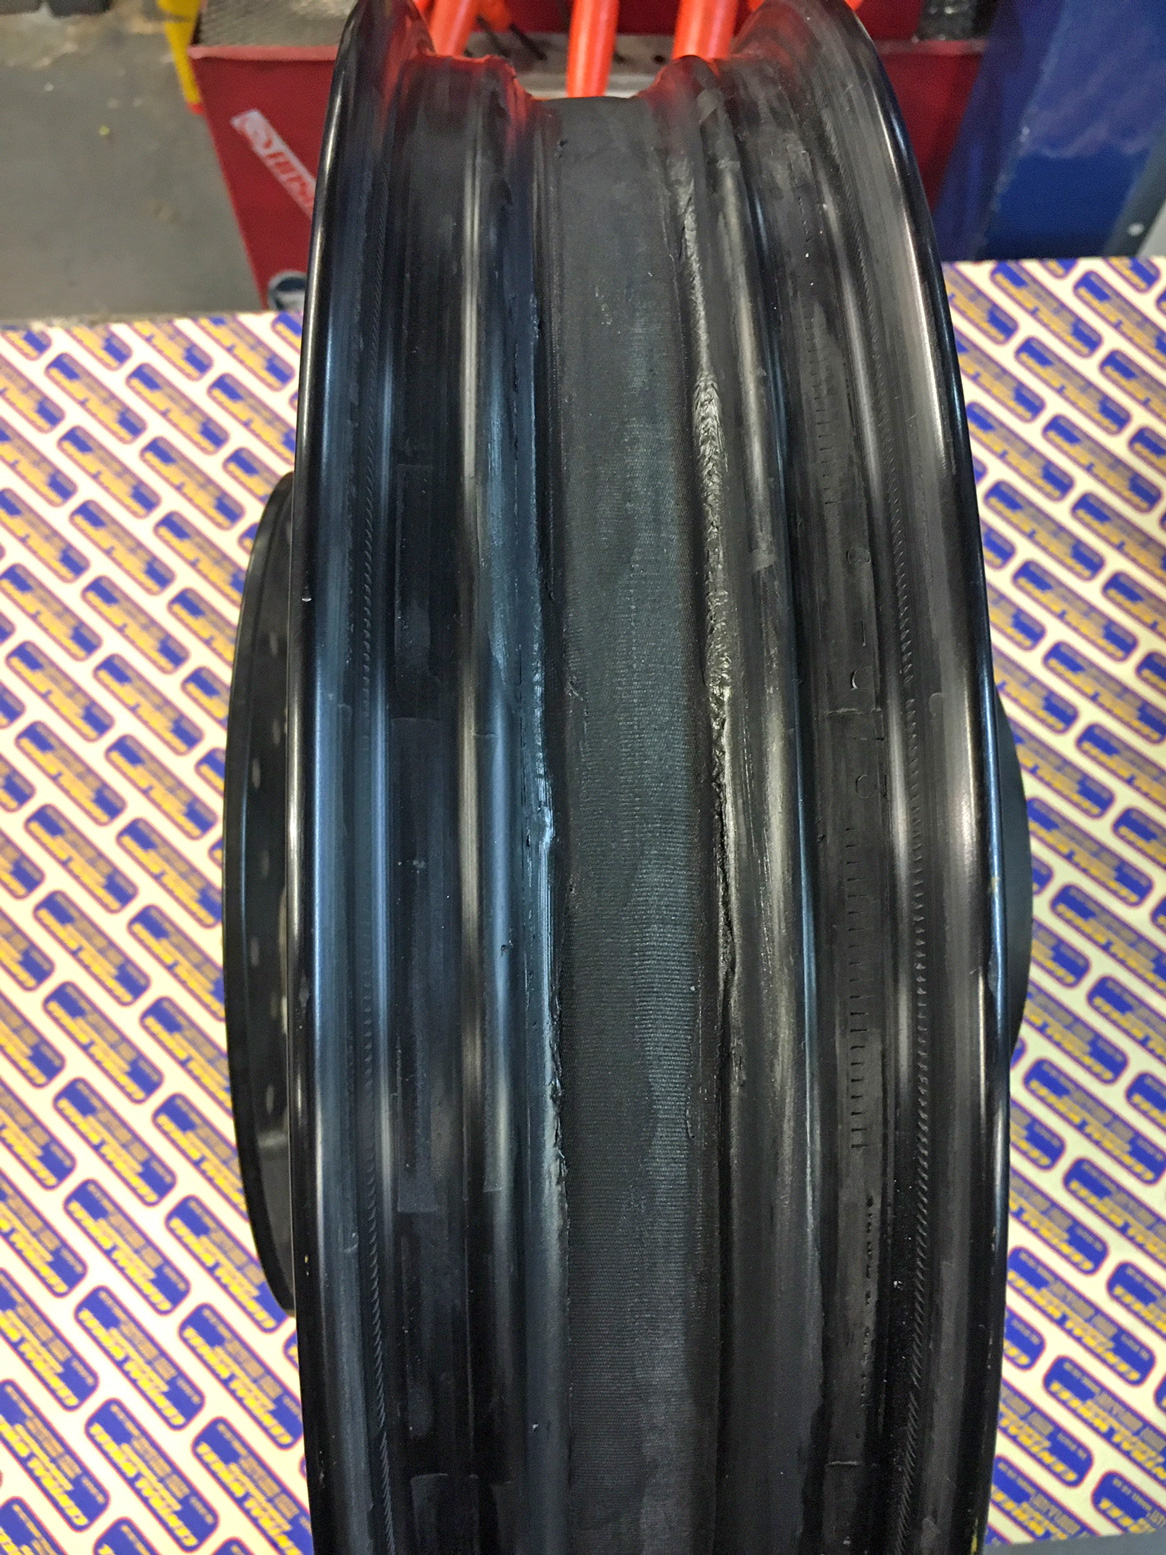
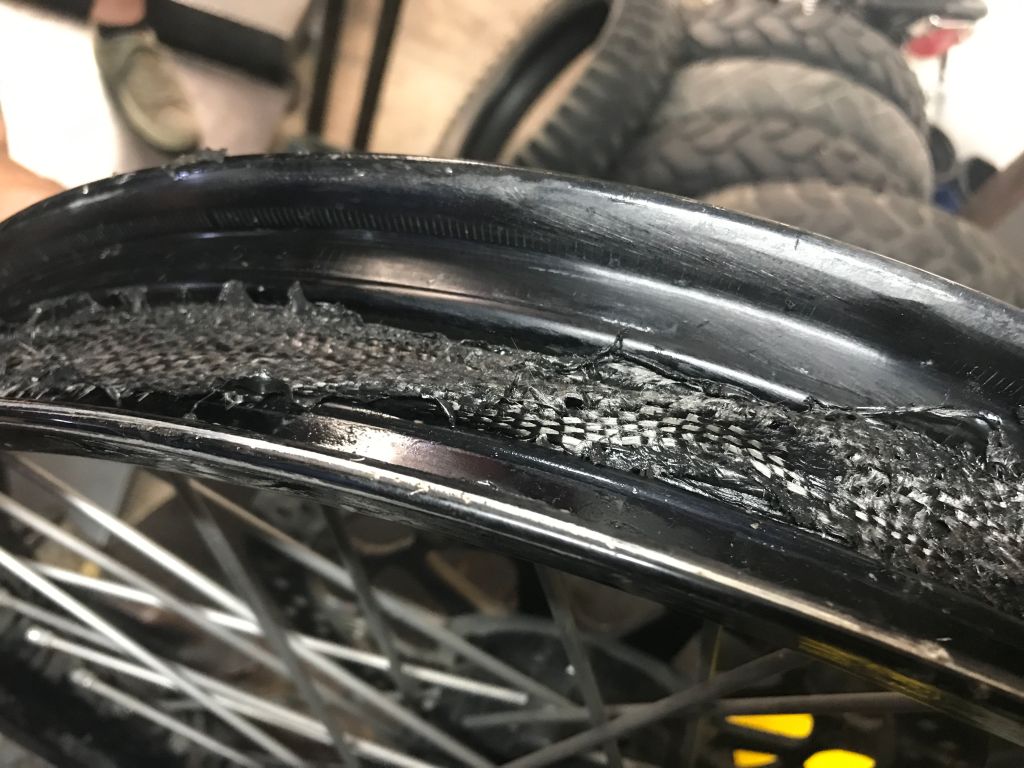
More on this page. Because the band version is vulcanised – a form of chemically assisted rubber ‘heat welding’ – rather than just glued like tapes or sealants, you’d hope the seal will be more secure and permanent, certainly more than tape which can come away when it gets hot. I had this system on the rear wheel of my Himalayan on an Excel rim with the safety lip and fitted with a Michelin Anakee Wild 130/80-17 M/C 65R TL plus a splash of Slime. In Morocco I’d guess it lost a pound or two psi a week judging by the readings off my TPMS – though with elevation and temperature changes it was hard to evaluate accurately. This was with Slime plus a small nail in the back which I chose not to remove. I prefer Airtight over the BARTubeless as the rubber may be lighter, would flex with the wheel and it takes less long. In late 2024 a mate Airtighted his Ducati Desert X, but a tyre swap in Marrakech revealed quite a messy application with some new woven covering mine didn’t have. It looked a right mess but didn’t leak.
Messy. Fraying from going too fast?
Alpina sealed spoke nipples The Italian Alpina system individually seals each spoke nipple with a rubber o-ring, and is sold for many road bikes and so must be considered road legal. The benefits of this system is that spoke tension can be adjusted while maintaining the tubeless seal. But how often do you do that on a decent rim? The permanently sealed bonding systems above may not work so well doing this, but as we know we’re usually talking very small turns of the nipple to adjust tension, and should a leak develop it can be re-sealed. Also, there are 36 potential leak points. It seems a way over-complicated way of doing it compared to a single band like Airtight or BARTubeless inside the well.
Kineo wheels Beautifully forged after-market Italian Kineo tubeless rims, popular with custom builders. They’re the only ones I know of and for a Transalp will be at least €1000 each. You’re welcome.