Category Archives: AMH News

Olympus TG5 – the ‘Top Gear Hilux’ of cameras

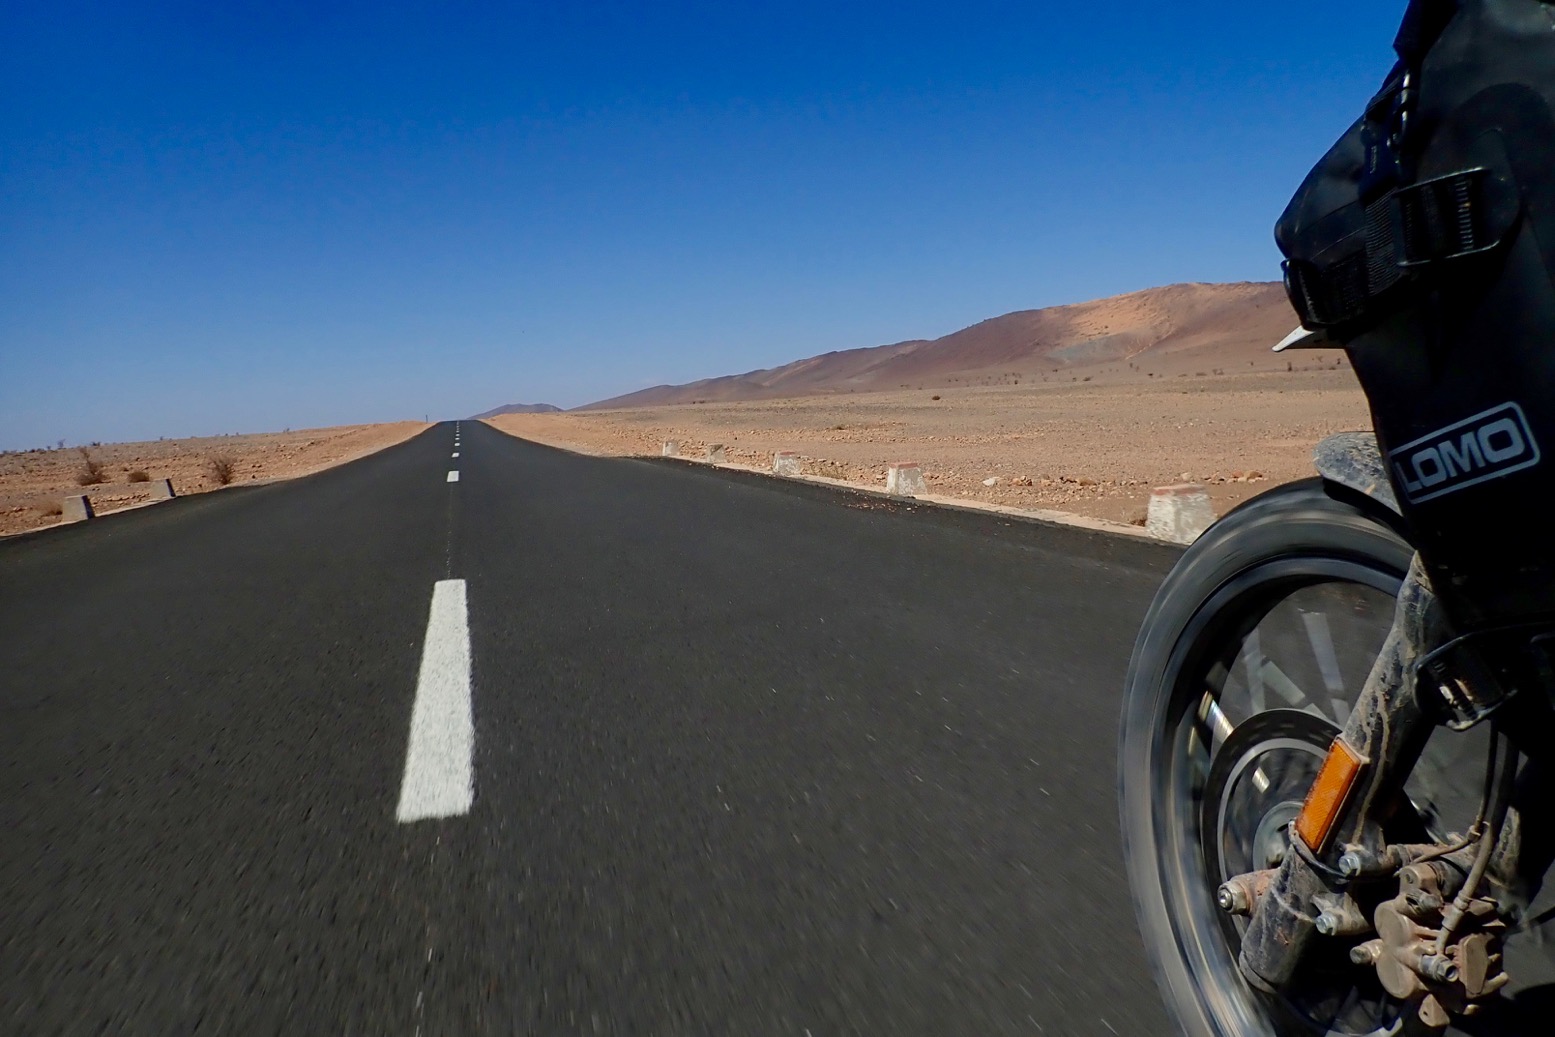
Dropped and bouncing the desert highway like a tumbleweed, submerged unnoticed in a Scottish burn, like the unkillable TG Hilux, my Olympus TG never stopped working.

You’ll have read it again and again: the best camera is one you can whip out and shoot off in a jiffy. On a bike, that won’t be a bulky 3/4 mirrorless or DSLR stuck in the tankbag. It’ll be a back-up P&S in a quick-access chest pocket or mounted on your belt or daypack strap. The exposure of bike riding means it wants to be weatherproofed if it’s going to last, chiefly against dust, but if you can use it in the pouring rain, so much the better.

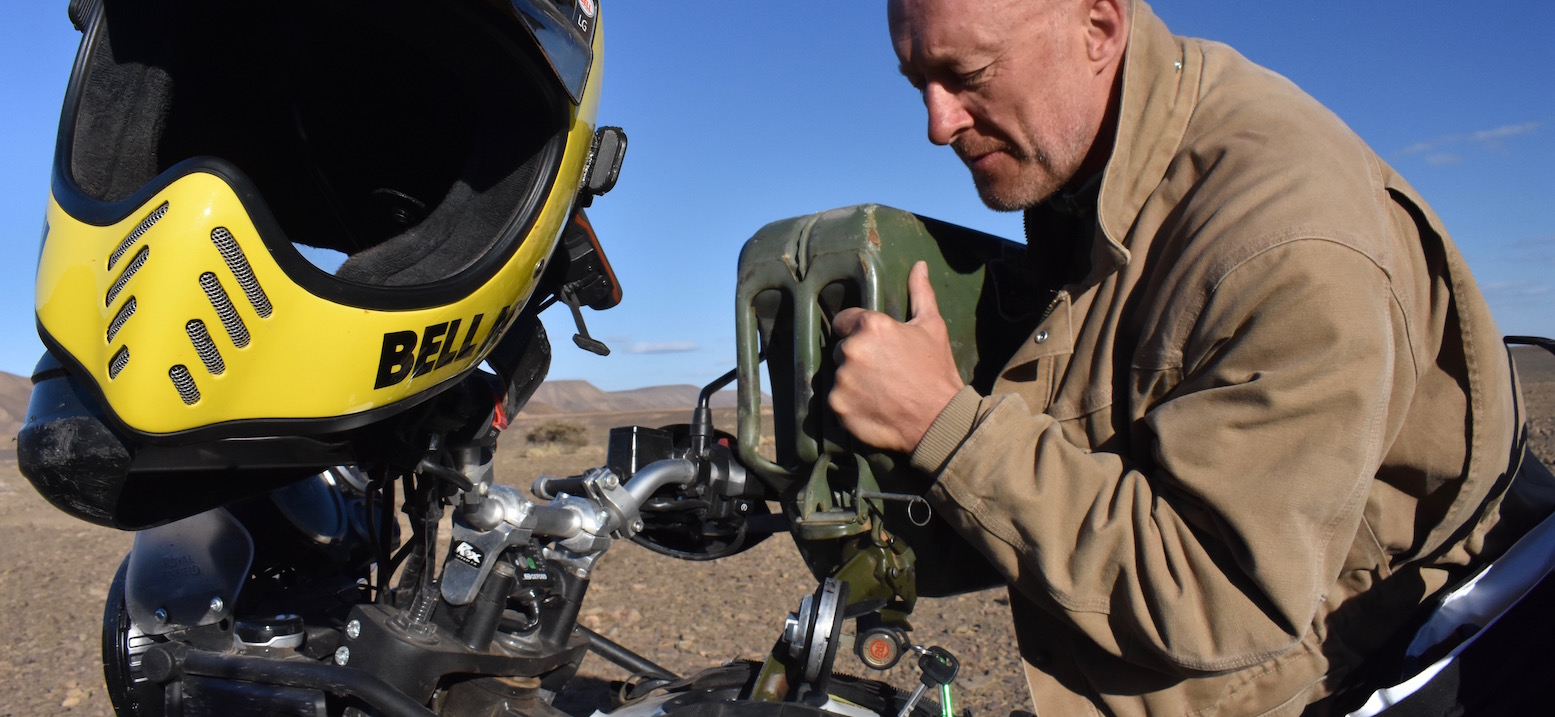
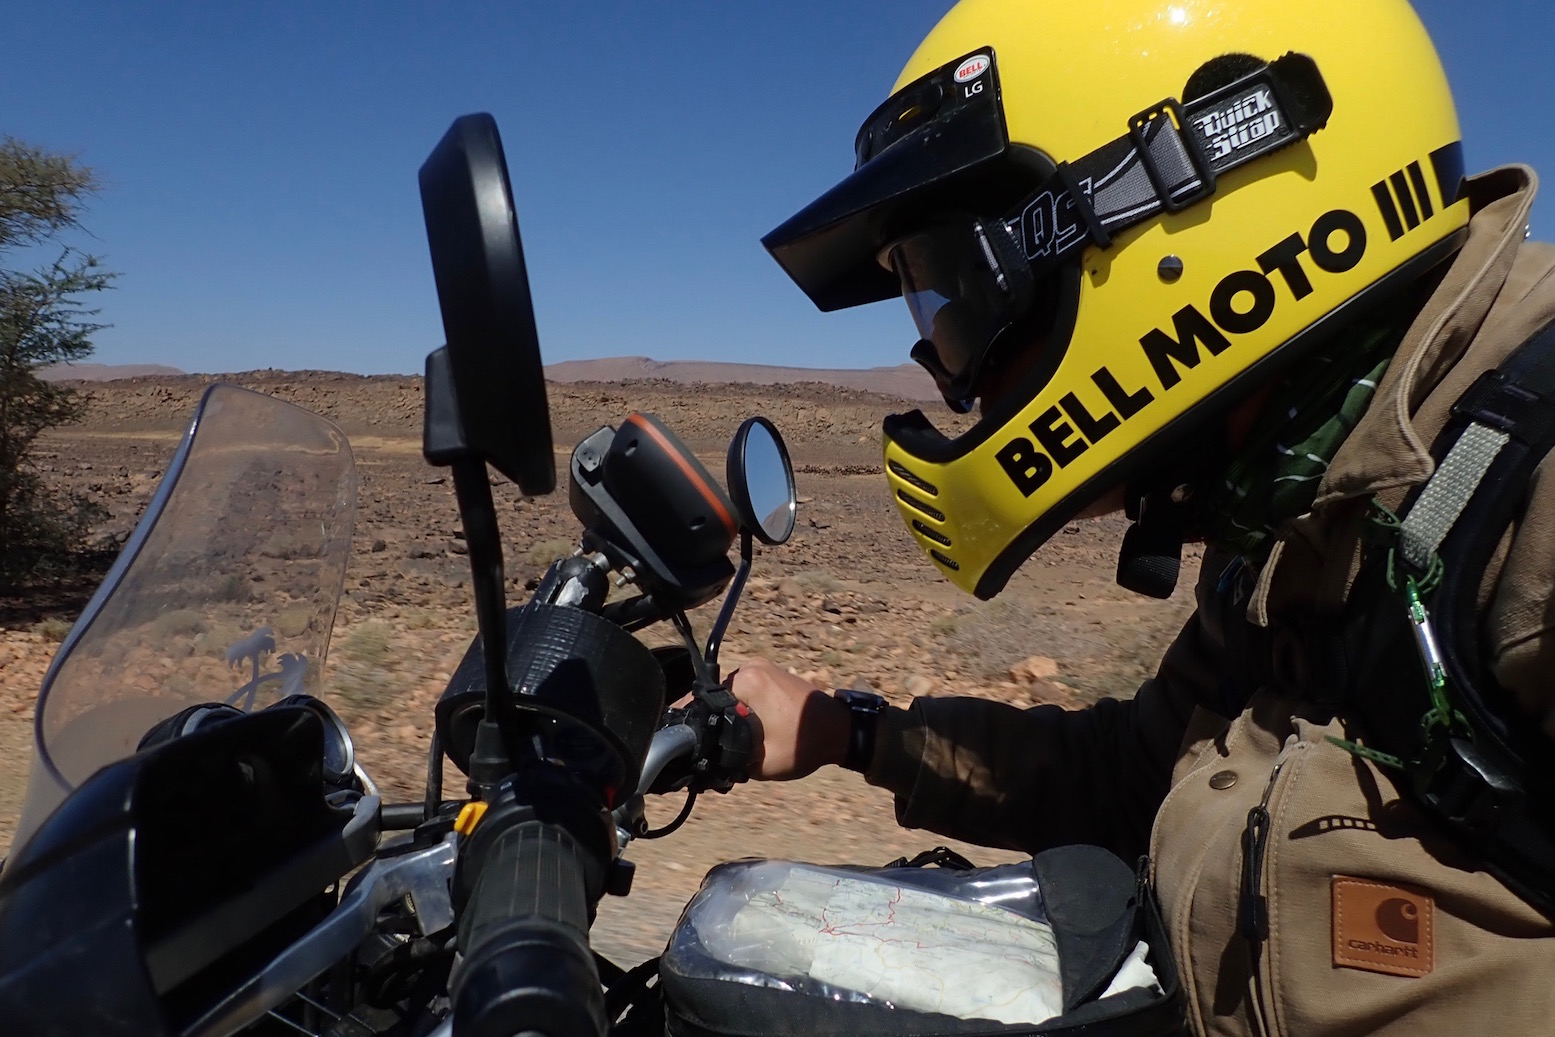
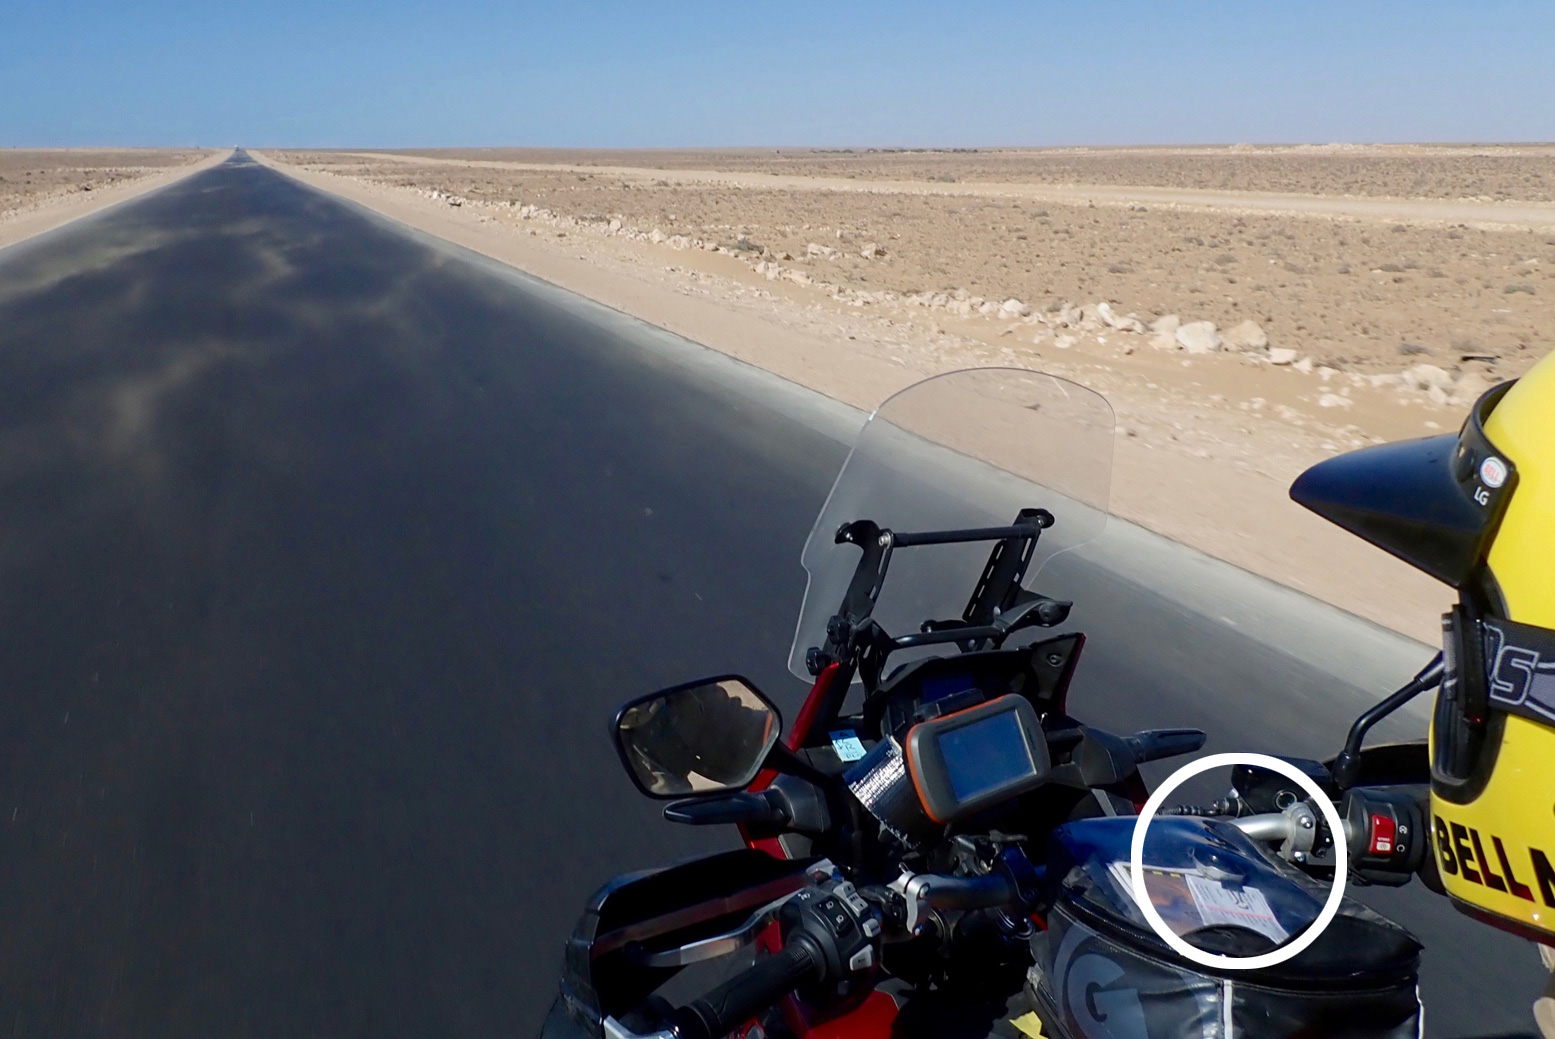
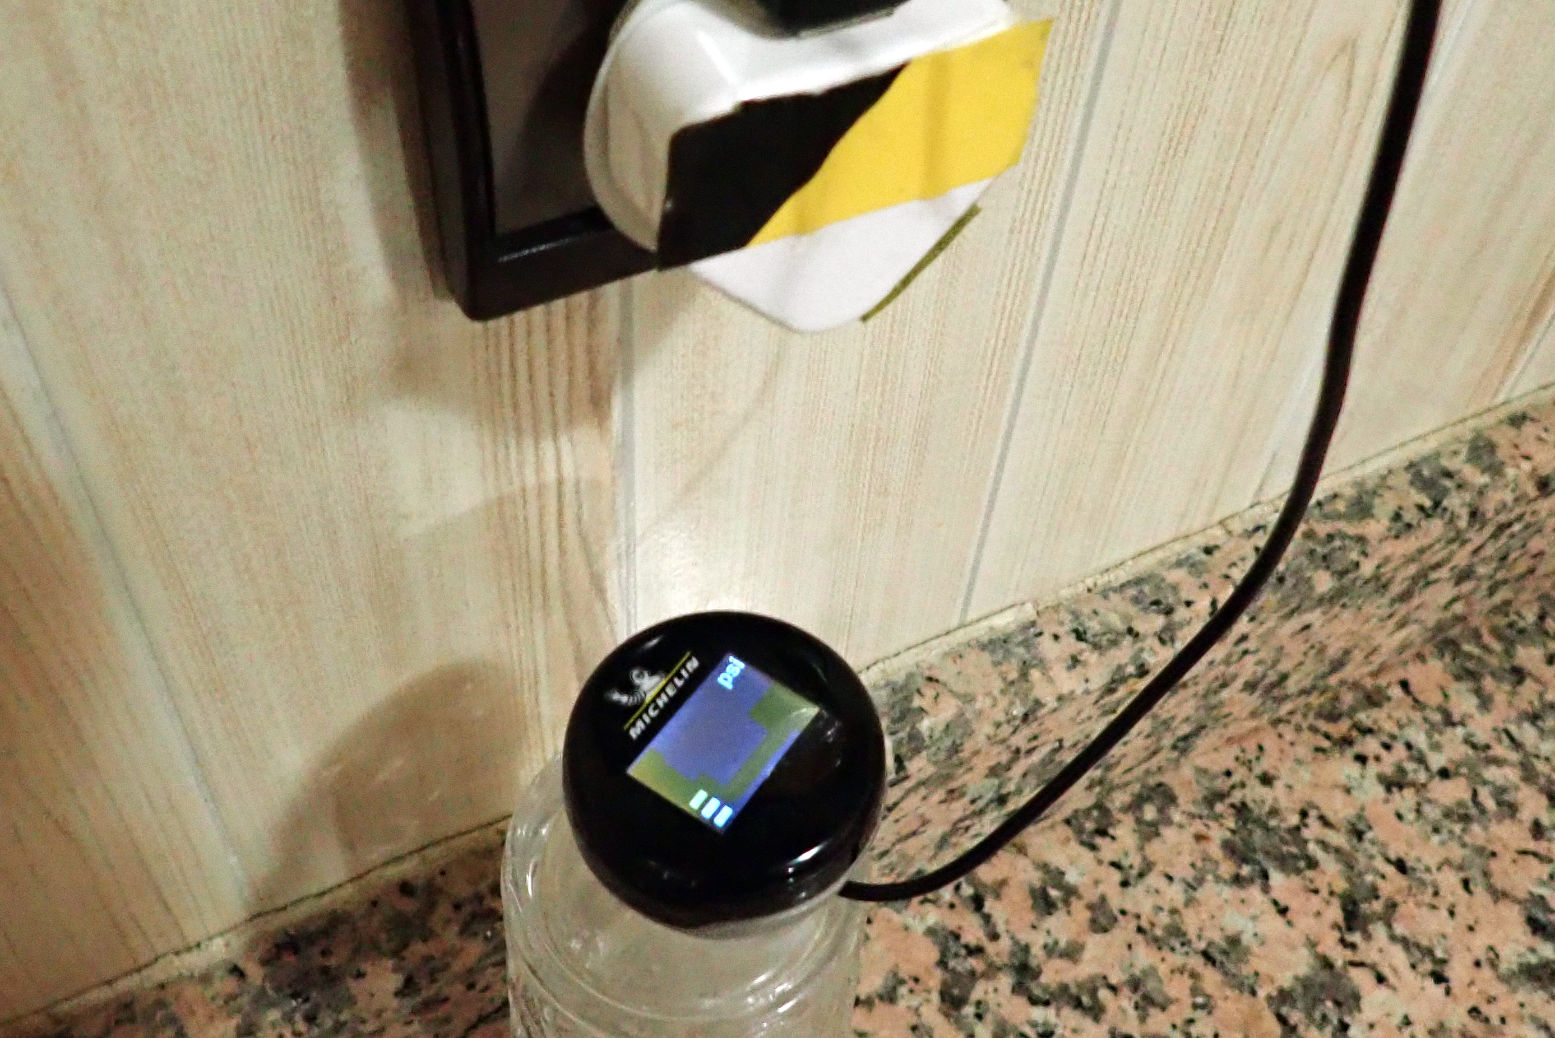
For this waterproof ‘diving’ P&S cameras with an enclosed lens are ideal. Rain, shine or sandstorm, you never have to worry about missing a shot or ruining the camera, and the sealed lens – tiny though it is – is protected. Over the years, along with lots of blurred rubbish, I’ve grabbed many great, one-handed shots while riding with such cameras. With it tethered to you (as right) or attached via a neck strap, just pull it out, switch it on (thin or finger-chopped gloves help), Point & Shoot. Switch off and re-pocket.

I used Panasonic’s Lumix FT2 ‘wet’ cameras for 13 years or more, a simple, slim, one-handed, all-weather P&S which didn’t have to be mollycoddled. In 2011 we even used them to make a packrafting movie. Later models seemed to lose the functionality of the FT2 so as mine died or sank, I replaced them with used ebay cheapies until they got too hard to find.

Ft7

Desert, pocket or sea, I’ve always liked the Lumix range’s preference for a wider 24mm-ish lens. Ridiculous zoom levels are far less important because with the tiny lens, picture quality dives. But after a really old FT1 burner unsurprisingly failed to survive a few minutes of snorkelling, I decided to try a used Olympus TG-5 (left) recommended by some paddleboarding bikers on one of my tours.
The Olympus TG-5 and Panasonic FT7 (right) got rated as the best waterproof cameras you can buy but they seem expensive for what they are. And when you consider the tiny zoom lens tucked inside the inch-thick body you’d think you’re never going to get great shots, especially in low light or at full zoom. That is true, but give them some good light and the results can be nearly as good as an iPhone 99!

lumixevc

Over exposure
My old FTs always needed to be tricked into slightly lower (correct) exposures by half-clicking on the sky, pulling down and composing a landscape shot before full-clicking. It was only when I got a Lumix LX100 a few years back that I realised
a: how handy an EV Comp dial (right) can be; I use it on almost every shot (usually to under-expose a bit) and
b: how relatively crappy some of my FT pics were. My photos improved greatly with the LX and I used the FT less and less.

lumixhoover

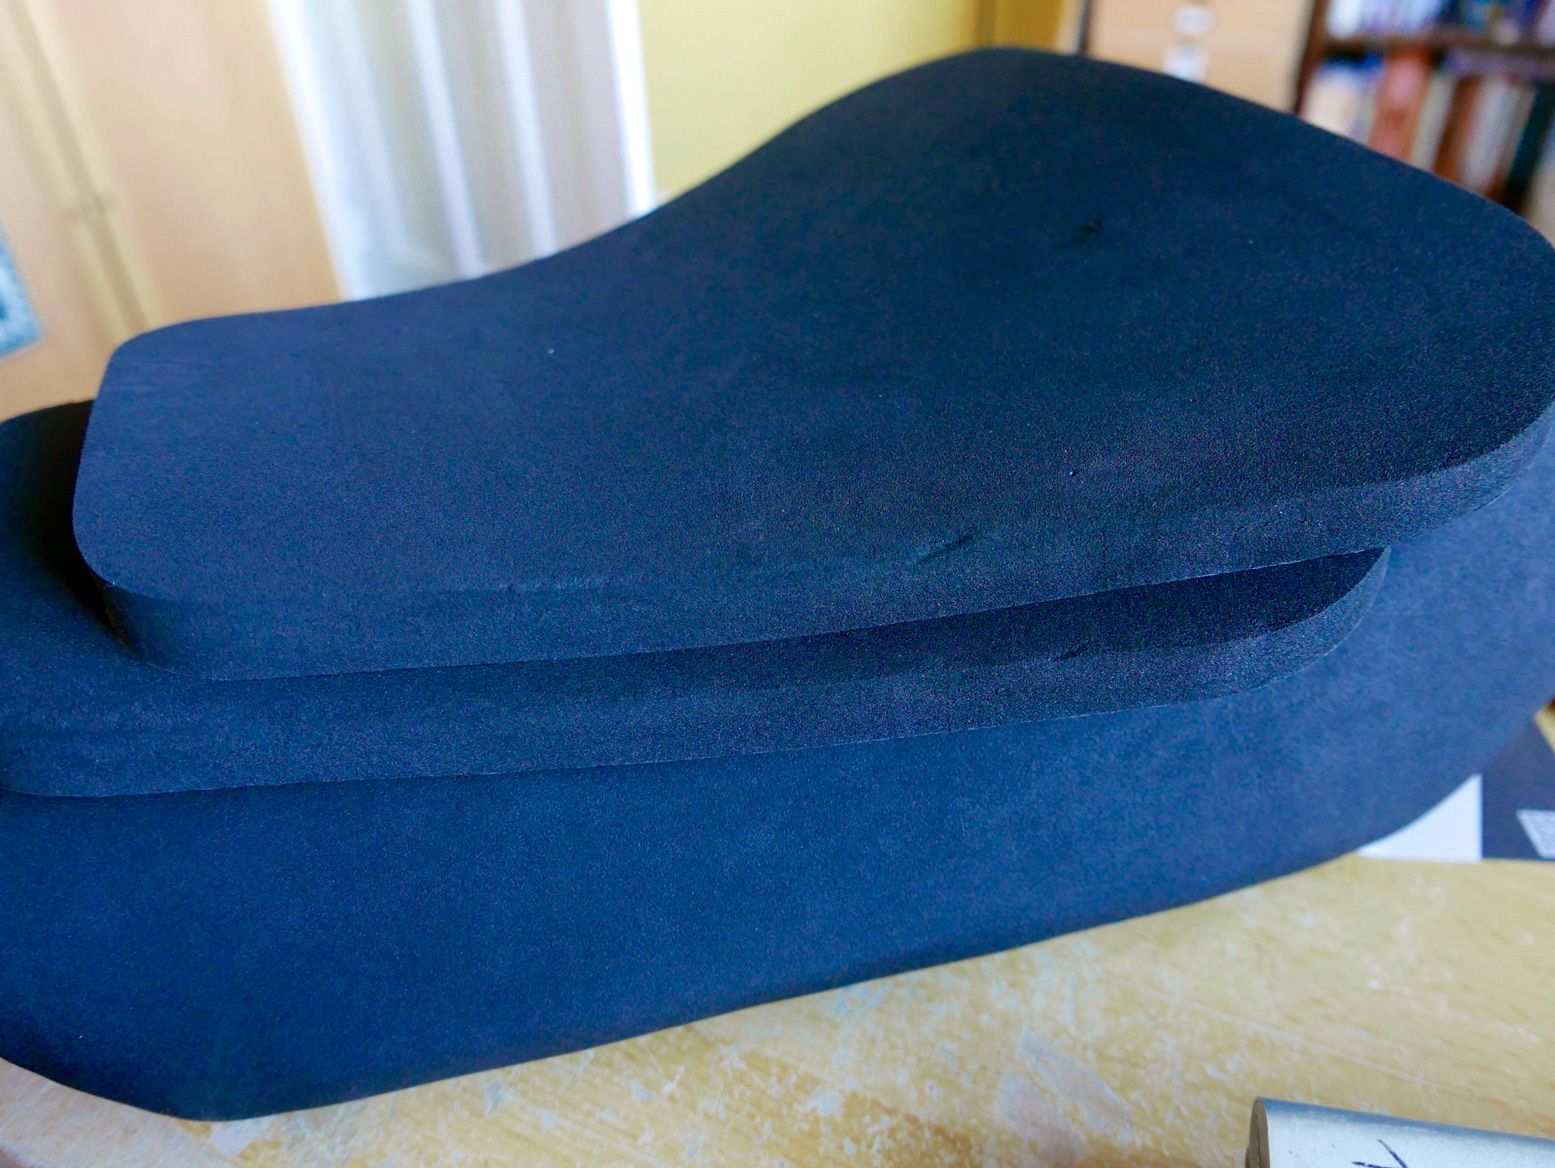
With all the essential controls – actual buttons and levers on the body, not buried in a digital menu – the compact LX was very nice to handle, but wasn’t really suited to ride-by one-handers or paddling. Like all such cameras with extending lenses, each time you turn it on the lens sucks in dust which eventually gets on the sensor and appears as marks or smudges on most images. It drove some LX owner-reviewers nuts, though it’s far from unique to this model. You can’t easily reach the sensor as you can on a mirrorless camera, even if the marks can easily be erased in iPhoto. But here’s a great trick: zoom in and out as you hoover the lens via a bottle (left). It really works.

After a few years of mostly desert trips my LX dials got grittier and grittier, and the deployment of the lens and the zoom got slower and slower. Eventually, it needed a tug to extend fully and a push to retract. The 2018 LX100 II got some improvements, but sadly weather-sealing wasn’t one of them, so I flogged my crunchy LX before it seized completely and bought a slightly larger but weather-sealed Sony 6300 mirrorless (here’s a great list of similar cameras) which, with a 24-105 Zeiss lens I’ve started using more and more. But it’s not pocketable, is heavy at 800g with the tele, and that lens is not sealed so dust still gets to the sensor every few days in the desert. The great thing is, it’s easy to remove with the lens removed.

lympus

Back to the TG-5. Watching one of the vids below I learned an unmarked control dial in the same, top-right position can work as an EV Comp dial. That alone is worth the price of the camera. No more point to the sky to expose correctly.
Having even been inspired to RTFM, I now realise the TG-5 is actually much closer in quality to the LX than I realised, not least in terms of the staggering number of things it can do – most of which go way over my head.

olyhoya
olyjjc

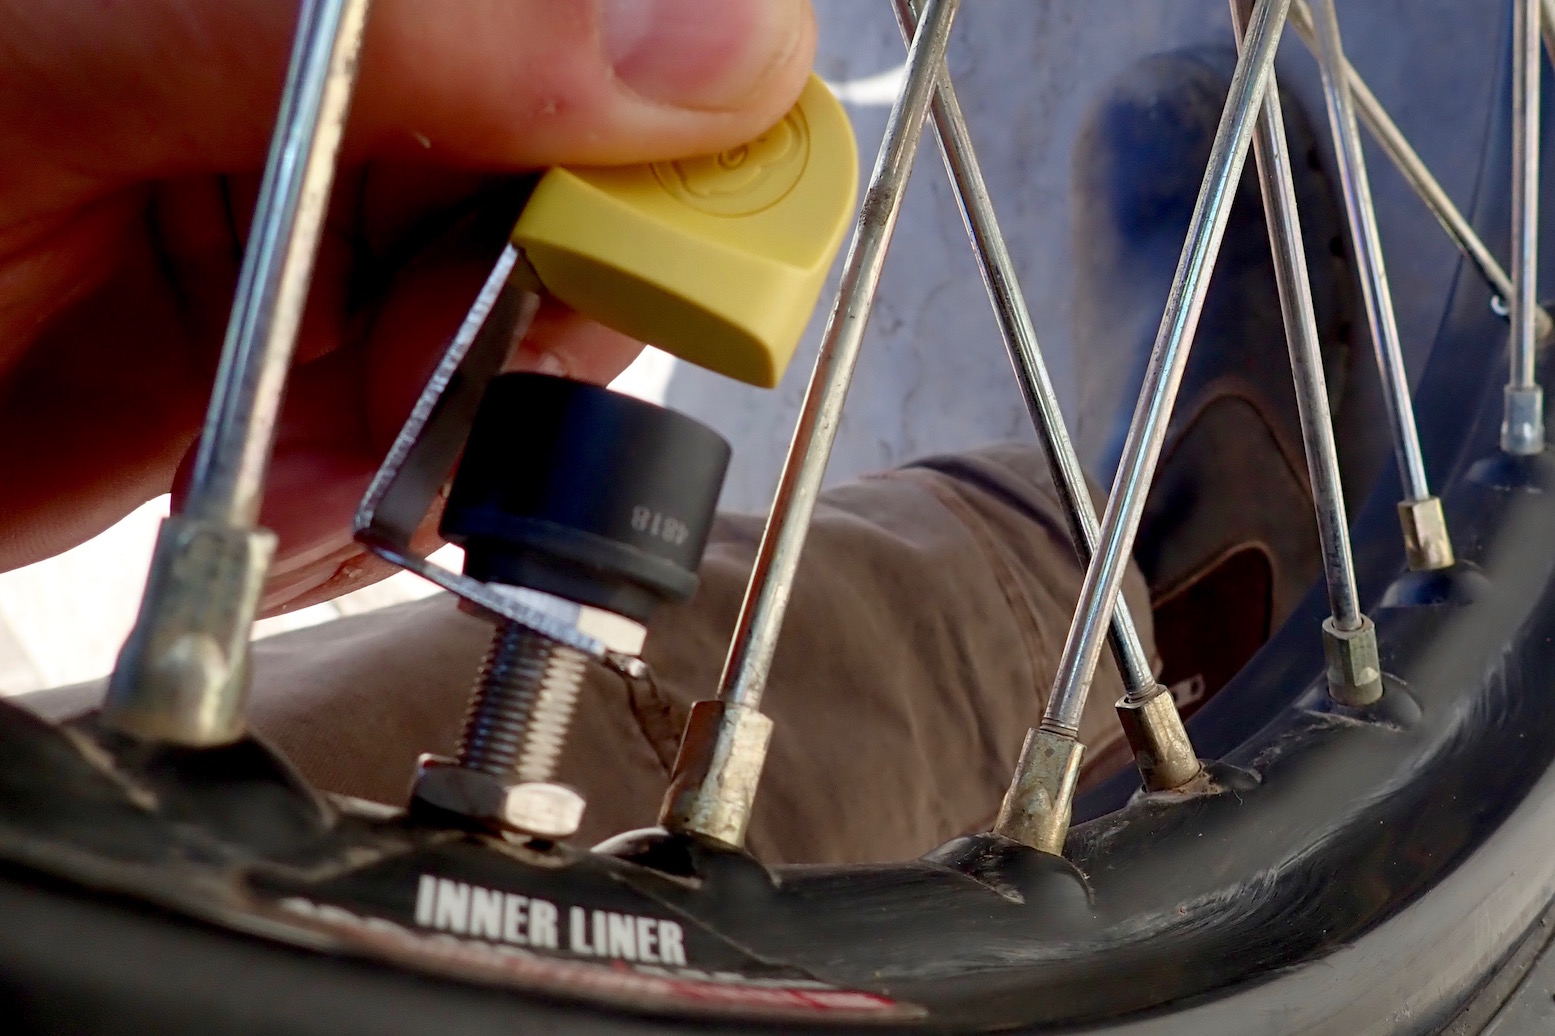
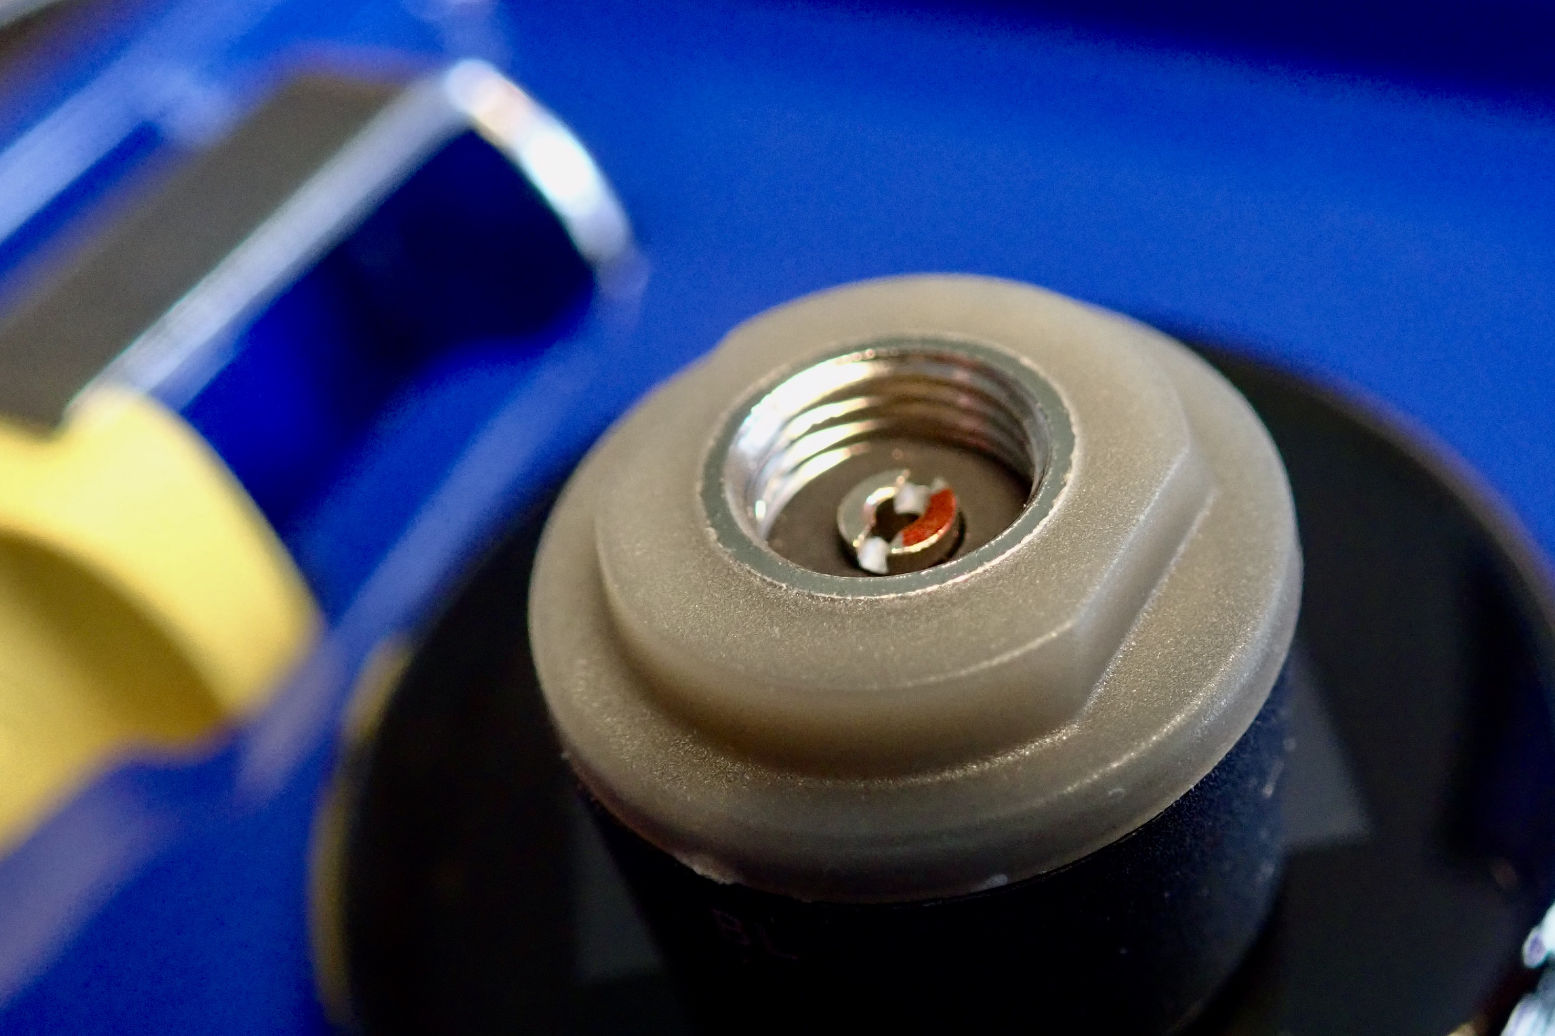
For riding, you can easily screw on a clear filter over the lens window to stop it getting scratched. It may not show up on photos, but a filter is easily wiped by a cuff or replaced for a few quid. To mount it you need the Olympus CLA-T01 adapter (£20; or a £6 JJC knock-off; right) to which you then screw in a regular 40.5mm filter: UV, polarised, whatever (left). Add a piece of screen guard over the LCD and the Olympus Tough can now be treated Olympus Rough, with both screen guard and UV filter being inexpensively replaceable.

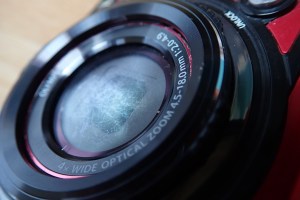
Note: towards the end of my TG’s life I dispensed with the 40-mm filter to make it slimmer in the pocket. Within a few months the stock built-in lens cover glass/plastic (left) had become scratched to the point of ruining pictures and finally finished off the still-working camera for me. Moral: fit a quality UV lens filter; the stock cover is not up to it.

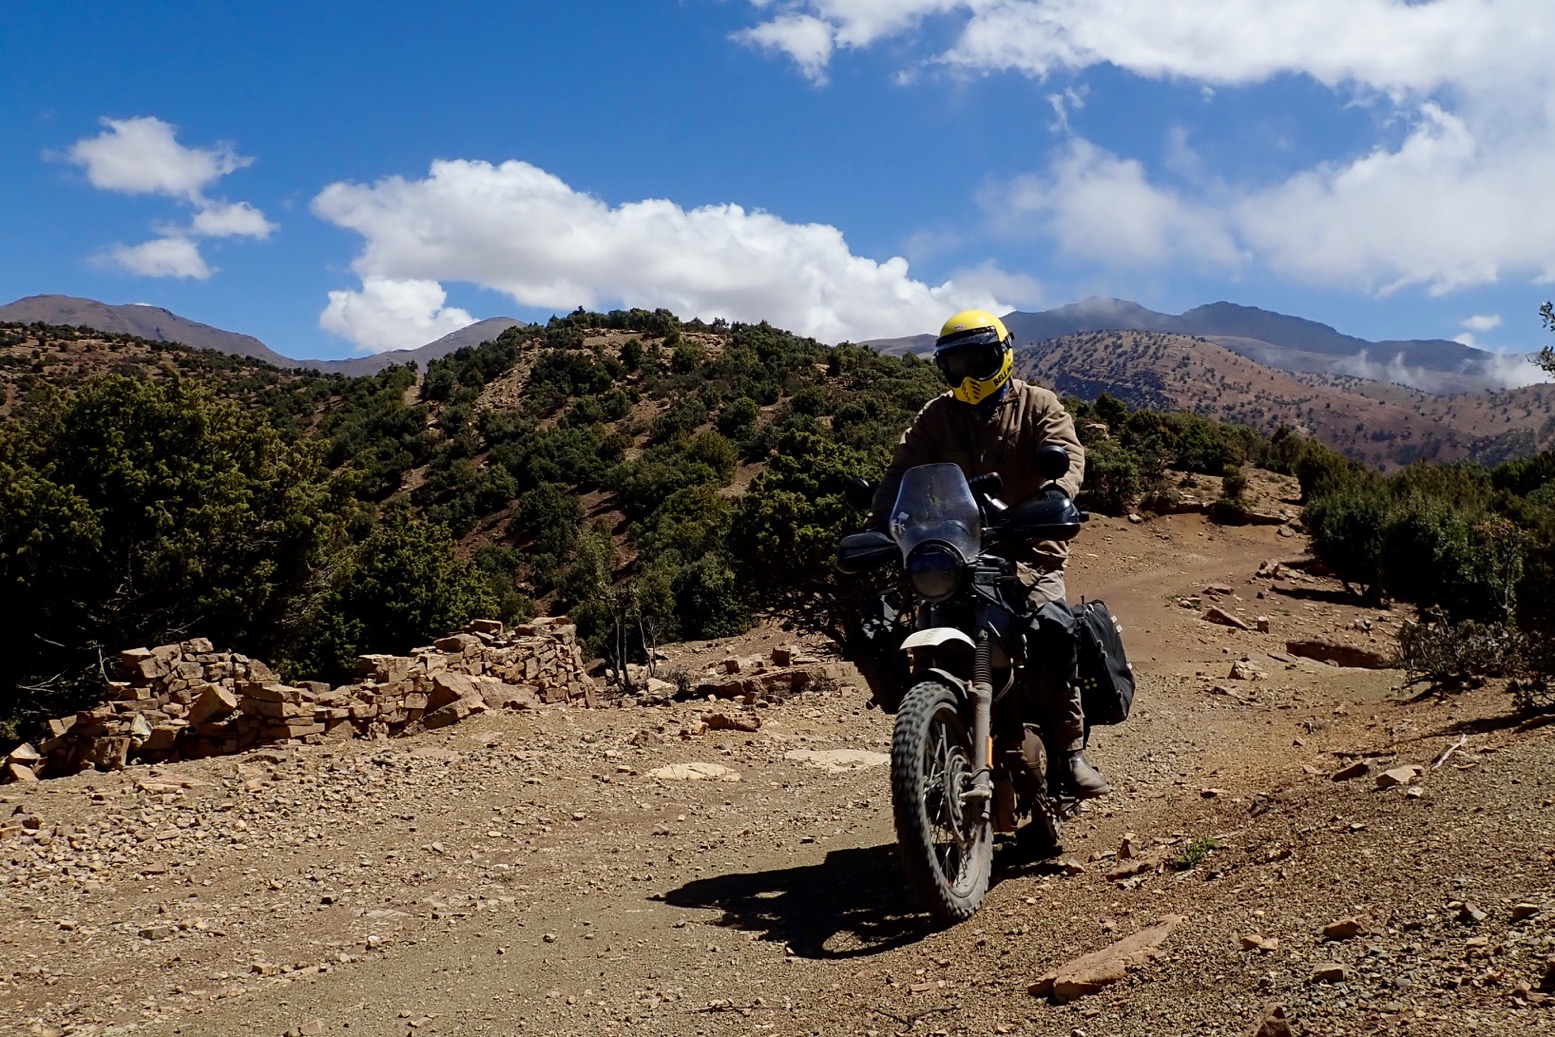
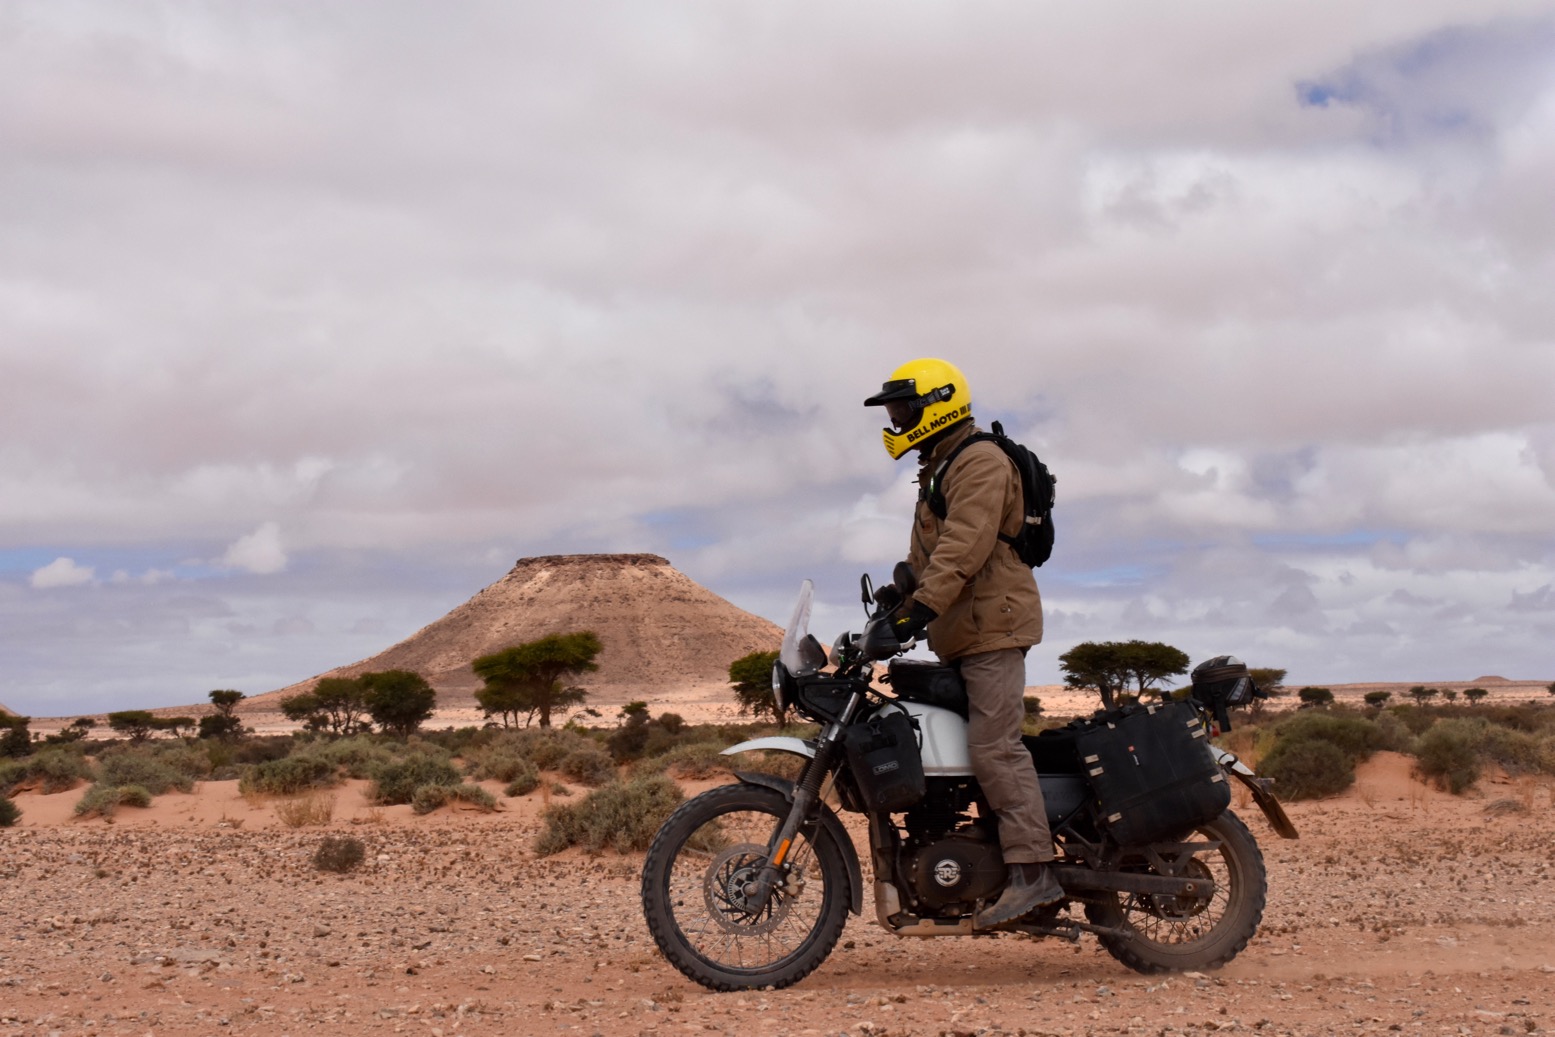
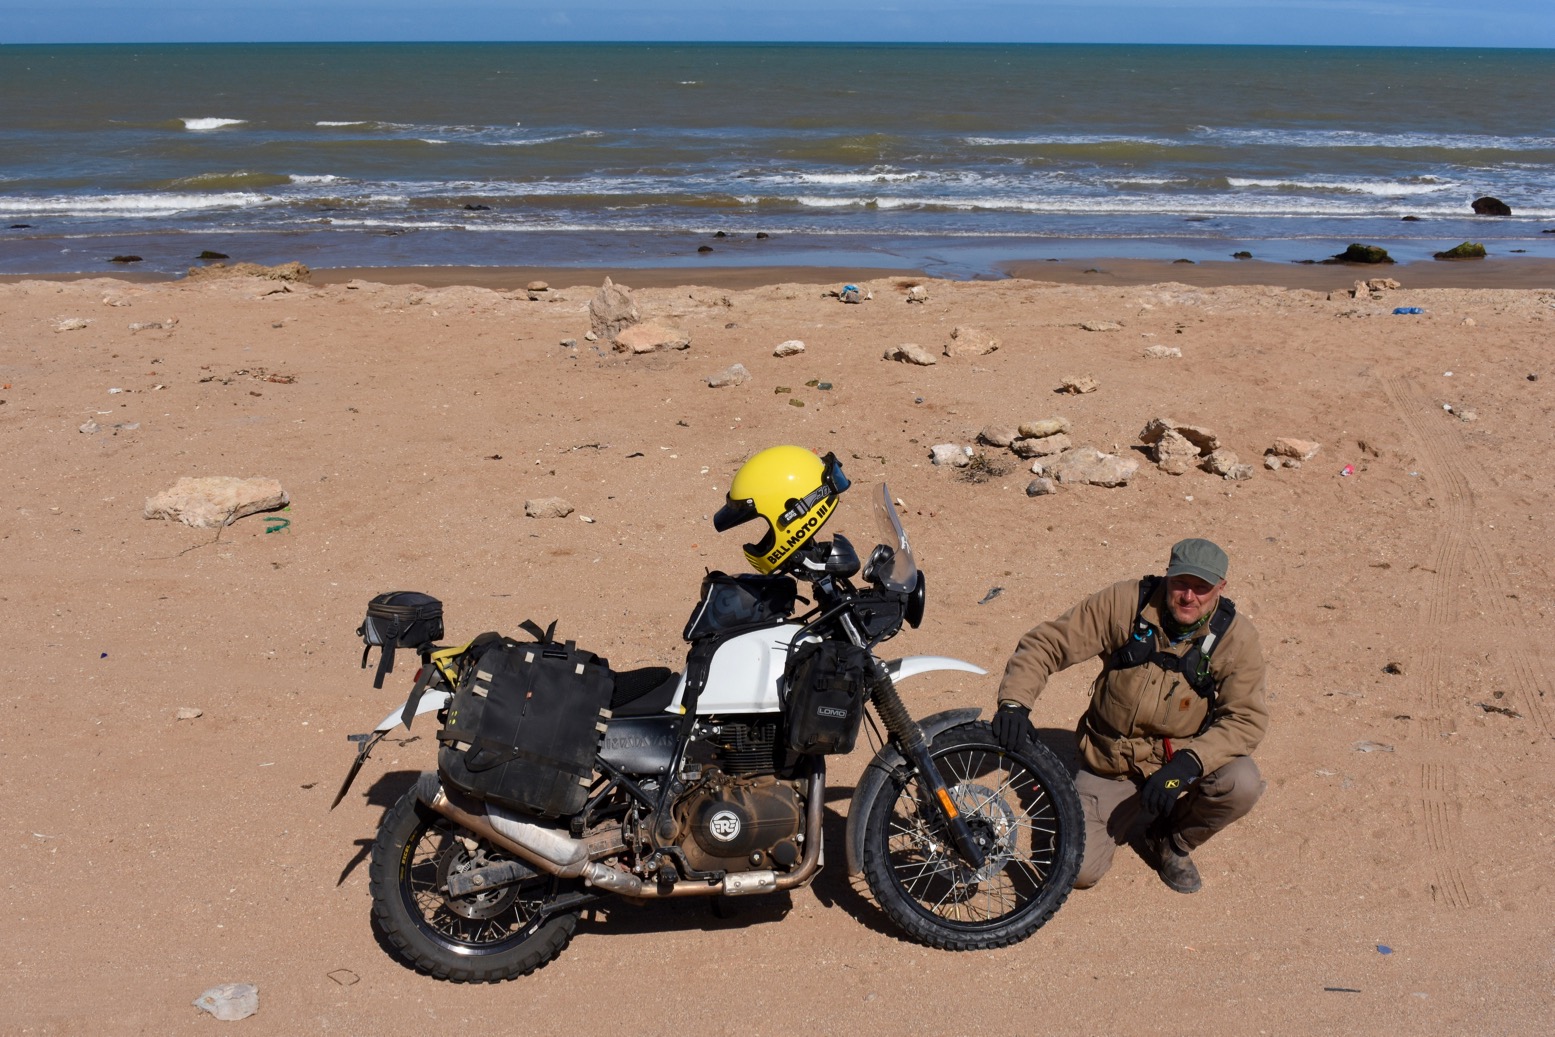
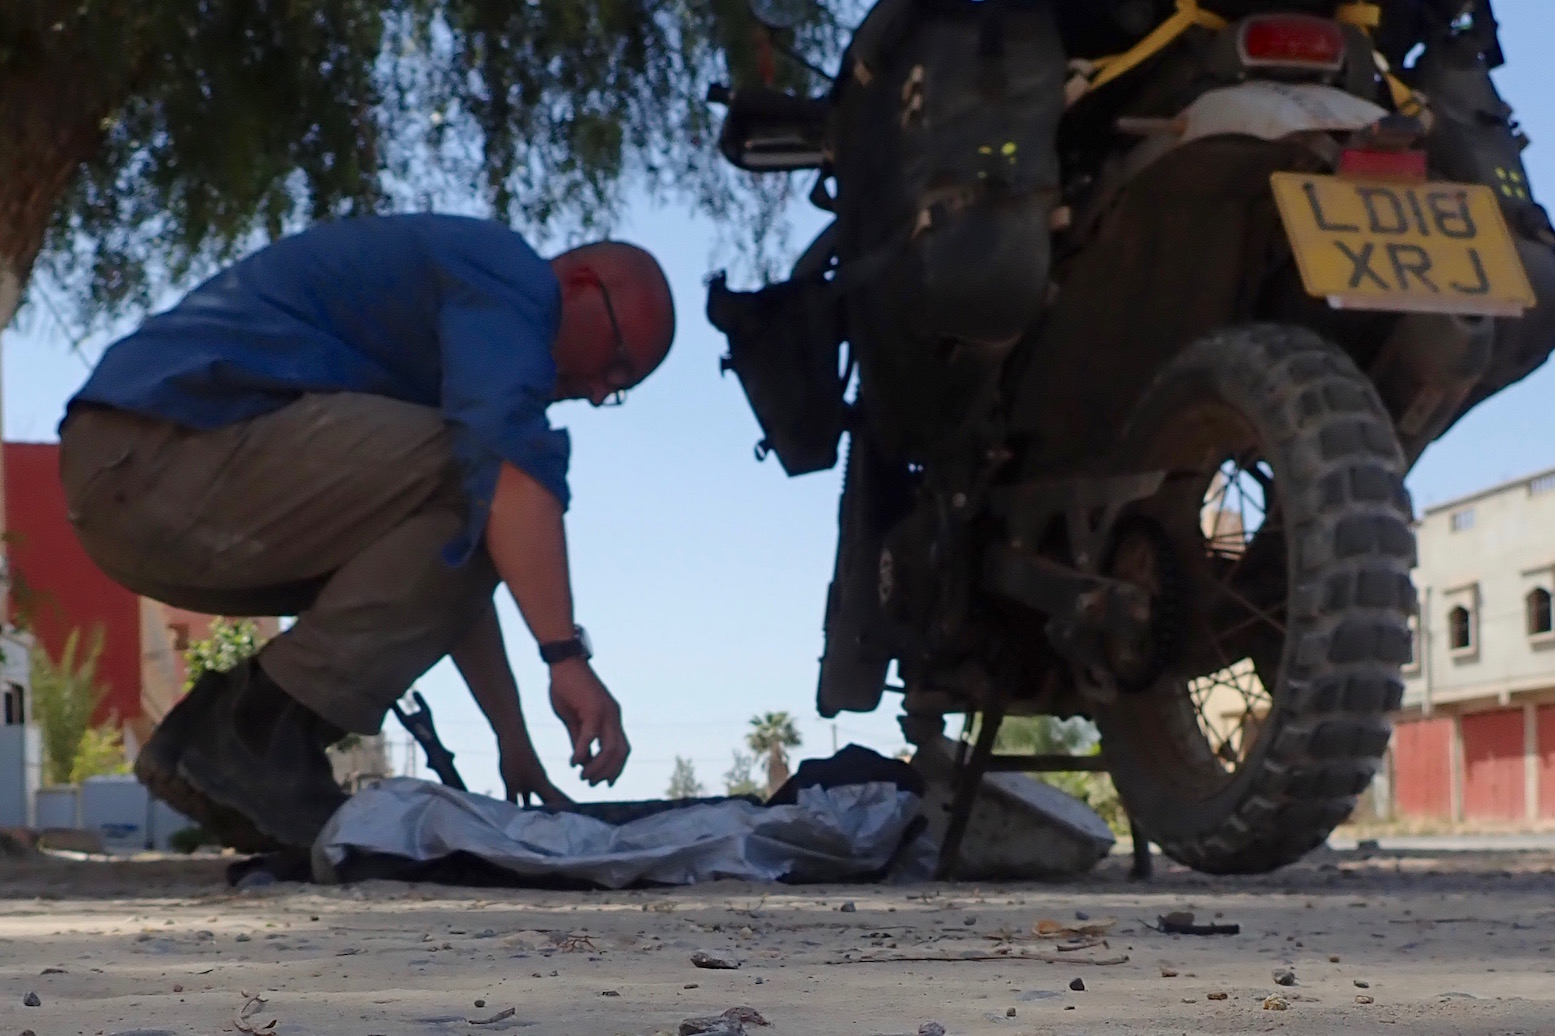
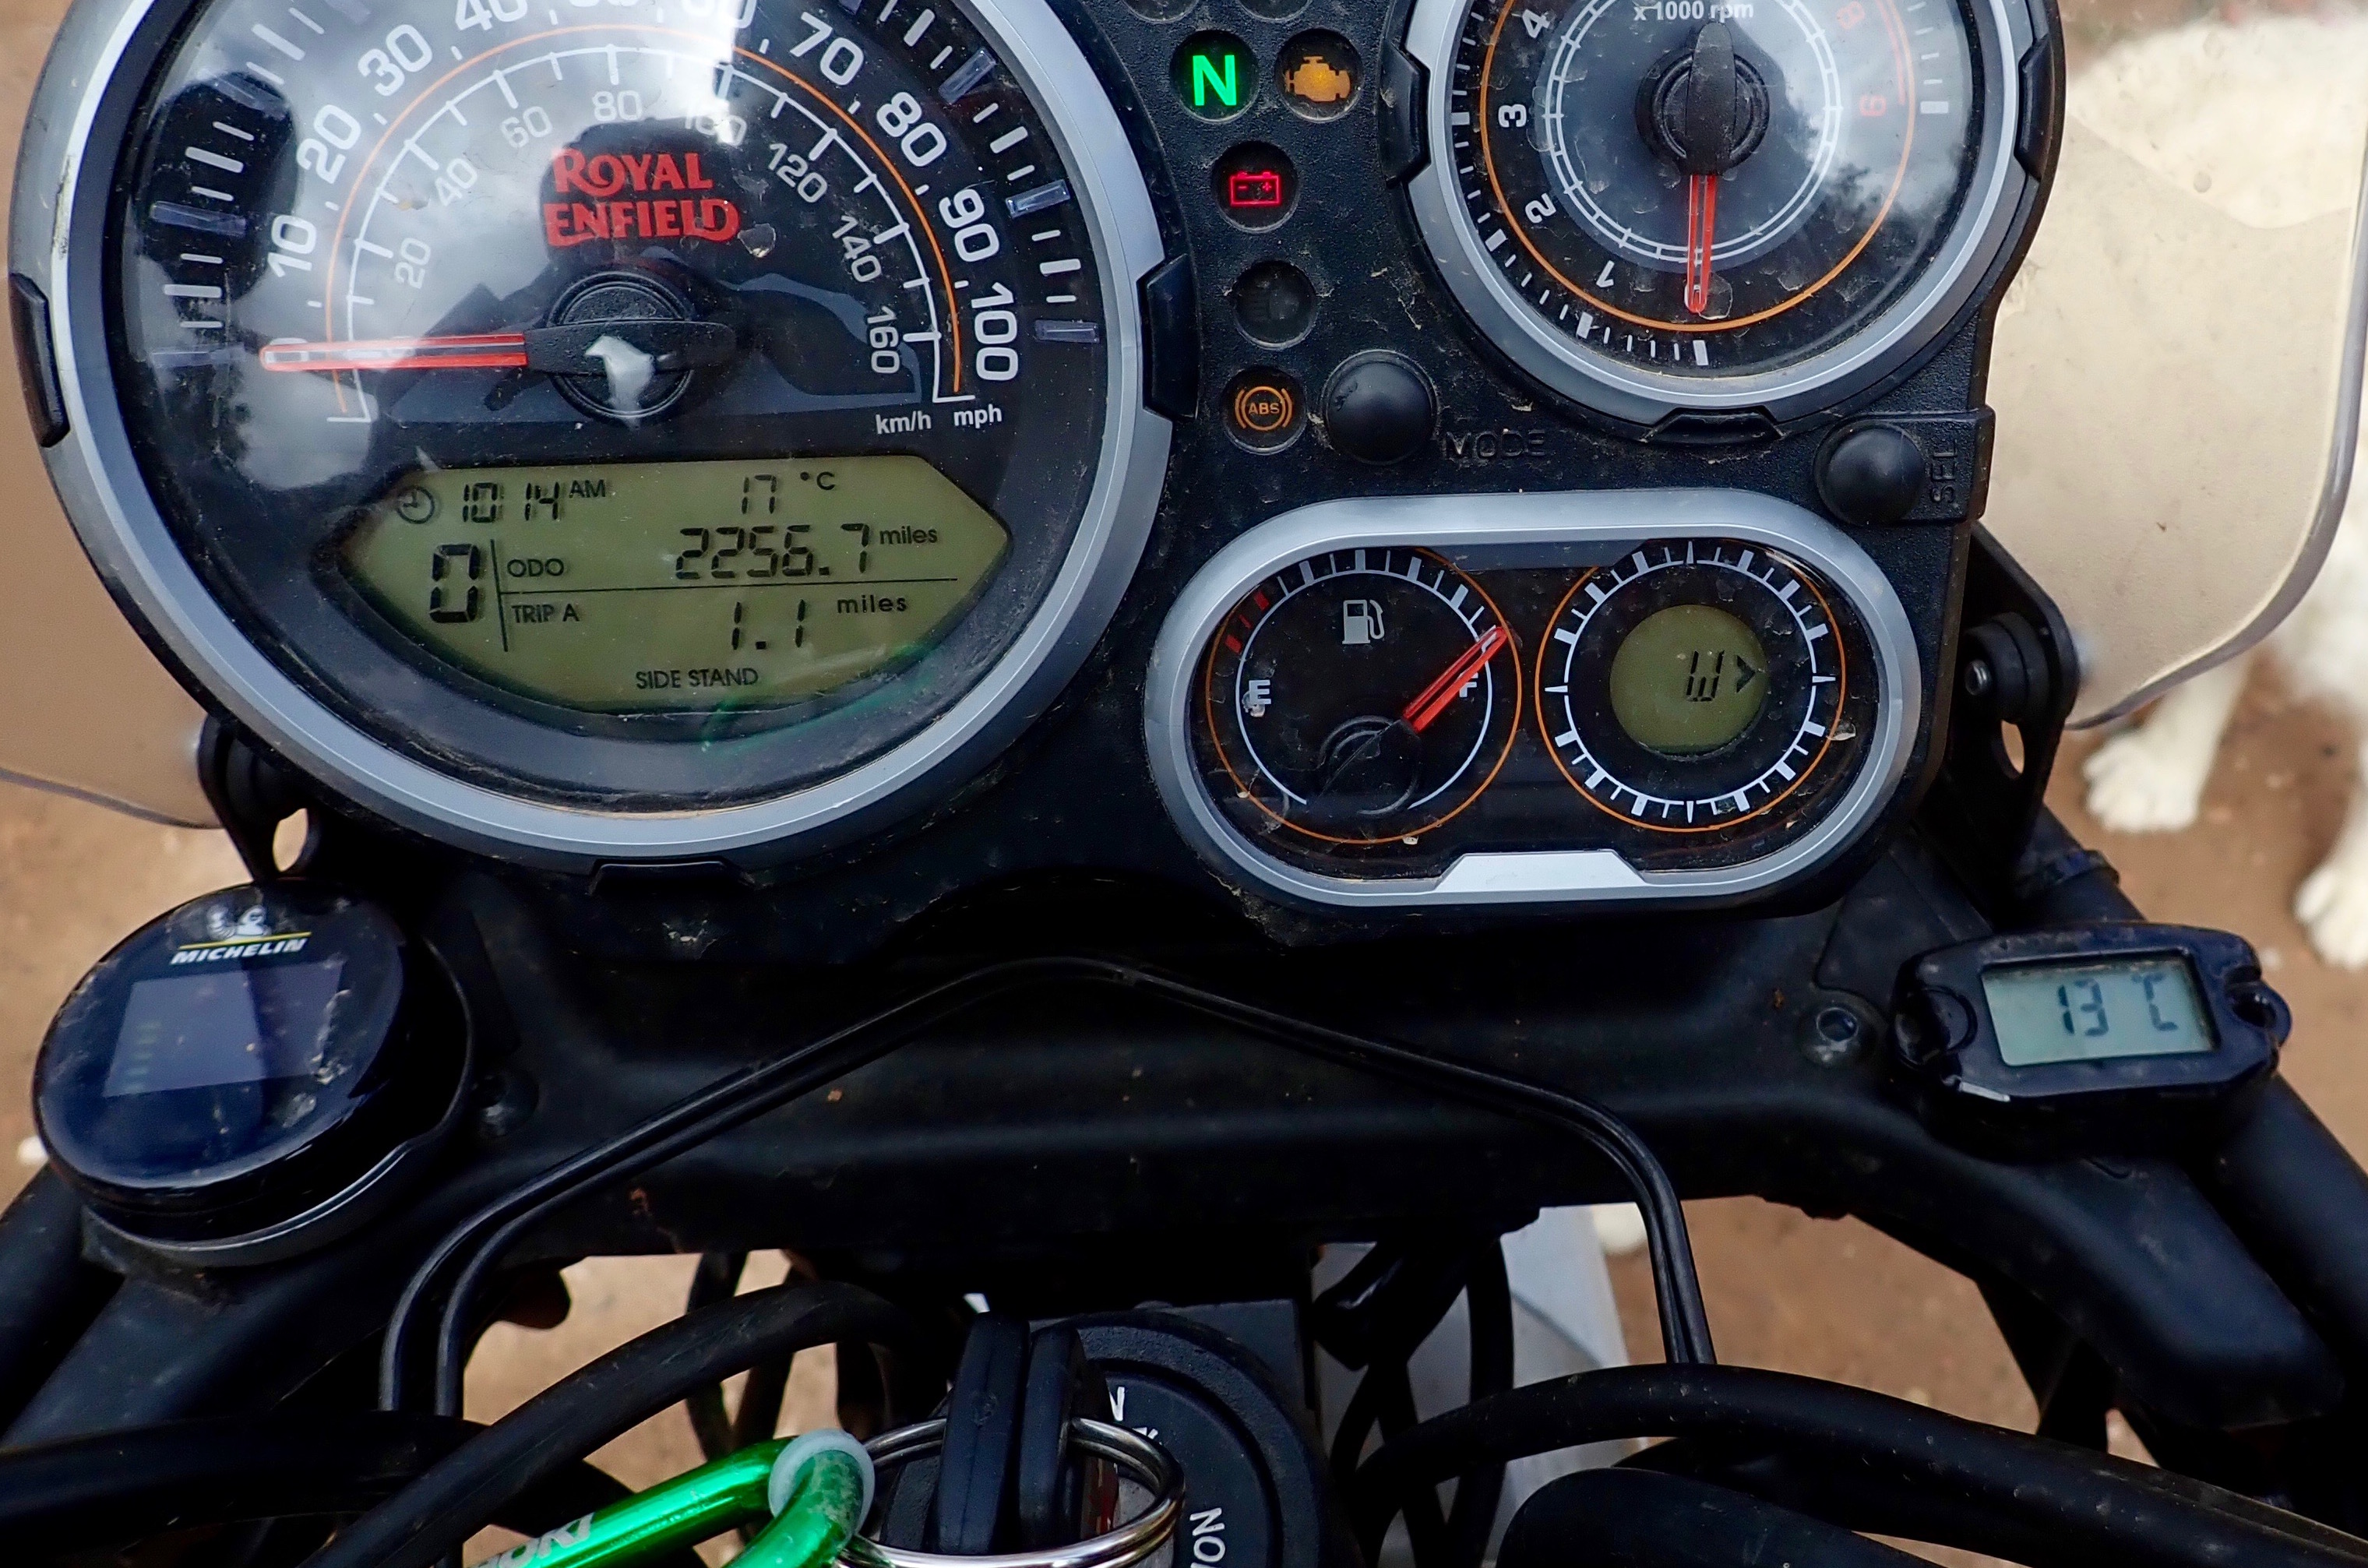
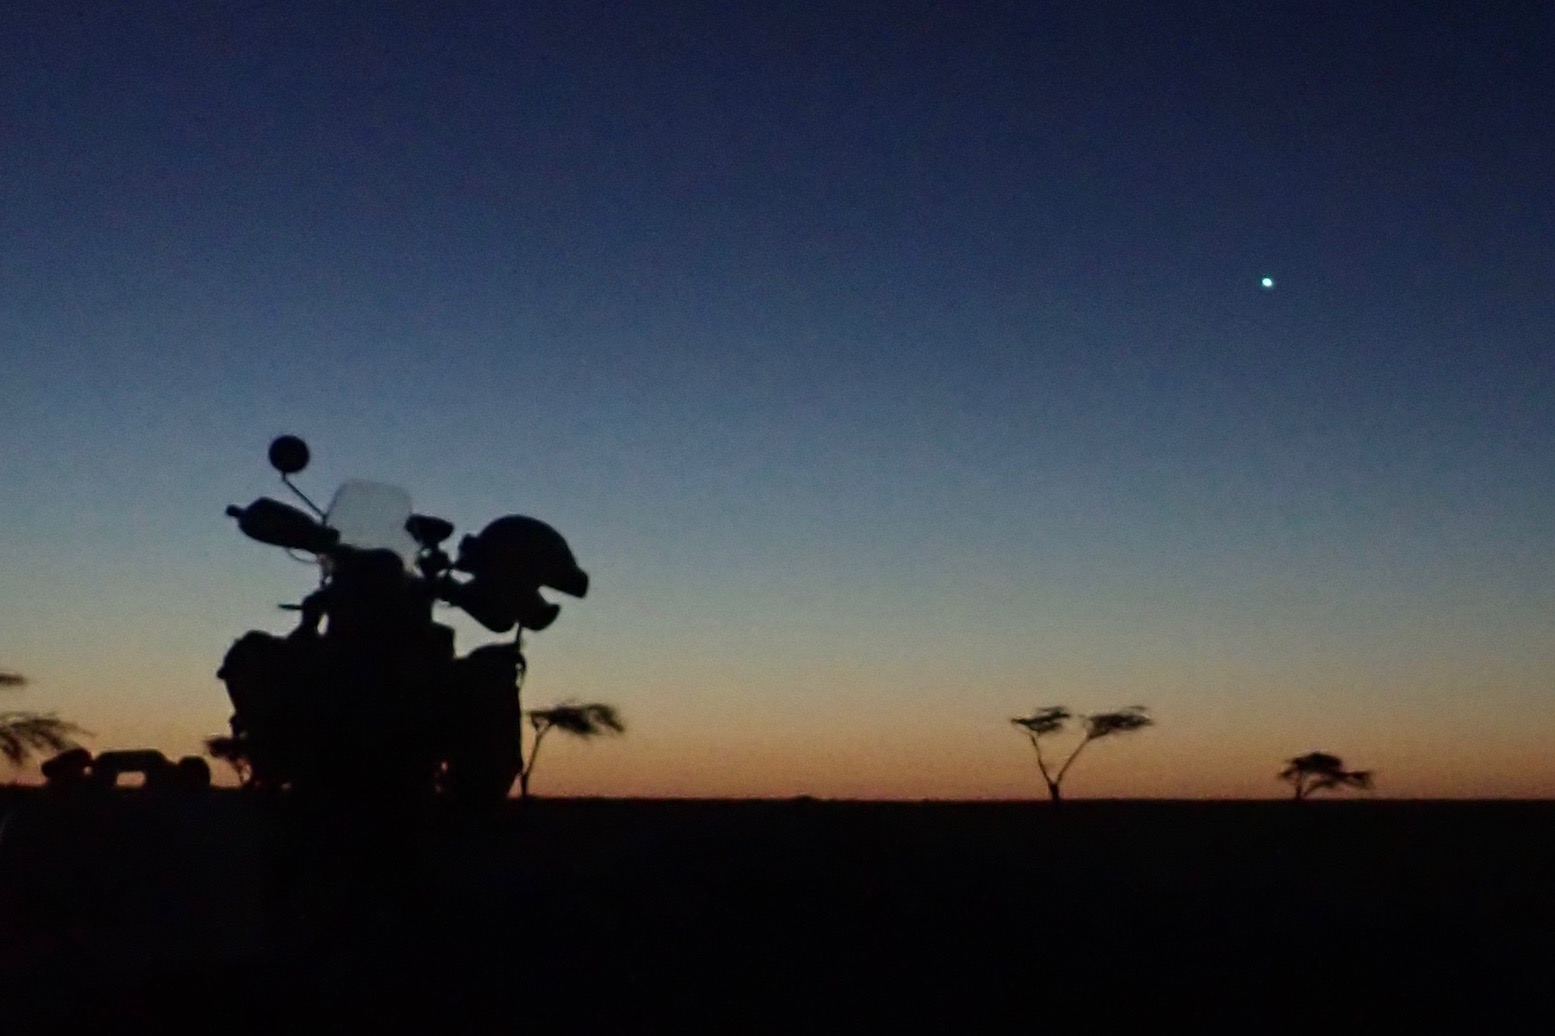
I used the TG for a month in Morocco on my Himalayan and again in November loved the Mr-Whippy-like accessibility. It too has a wide 24mm so you know you’ll shoot something, and closing the EV Comp down to -0.7 means great exposures. On very bright days -1.

It also has an easy to use custom self-timer, a blessing for us adventure-riding singletons. Normally I’ve had to settle for 3-shots-at-10 seconds, or simply shoot video and extract a cruddy still or a more complicated 4k. On the TG you press the sequential shooting dial and set: delay time, # of frames and shooting interval. With this I was able to grab some of the key riding shots which magazines require. (Even my Sony hasn’t got as good timer options.) At 4000px width resolution, that’s enough for a magazine full pager. And when shooting others, the 20fps burst speed is staggering. And all this without having to fuss about knocking the lens, dropping the camera or crap getting in it.

olychar
olymp

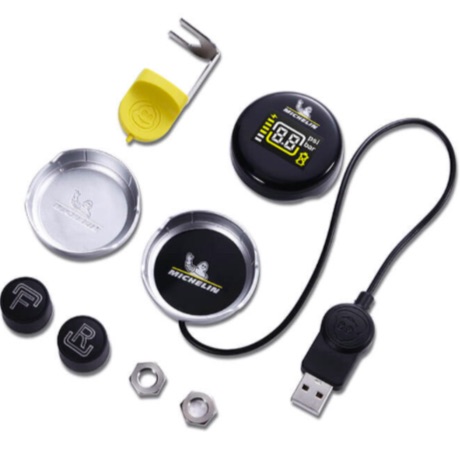
The battery is a slim 1270Ah which still did masses of shots – a week or more – and can be charged in the camera which means one less thing to carry. But for 20 quid I bought 3 clone batteries plus a travel-friendly USB- (right) charger, which will work off a laptop, battery pack, USB wall plug or a solar panel. I’ve hardly used them.
I always use a tether while riding, but one time in Morocco the chunky red Olympus strap unknowingly came undone just as I chose to let it go… It should have dangled from my wrist but instead fell on the road and tumbled along. I swung back expecting the worst but, apart from a small hole bashed through in one corner, it still worked fine! Its snorkelling days may be over before they began, but that was amazing. A bit of duct tape kept the dust out of the hole. Focus remained sharp. Another time it quietly fell out of my pocket while sat on a slatted footbridge in Knoydart and dropped 10 feet into a stream while I watched my stove boil. I fished it out and removed the card and batt but slowly the functions died off as water seeped through and I thought that was it. Back home I bought another immediately but before that even arrived the dunked TG had dried out and recovered fully! Stick that in your tractor shed, Jeremy Clarkson!

olycomp

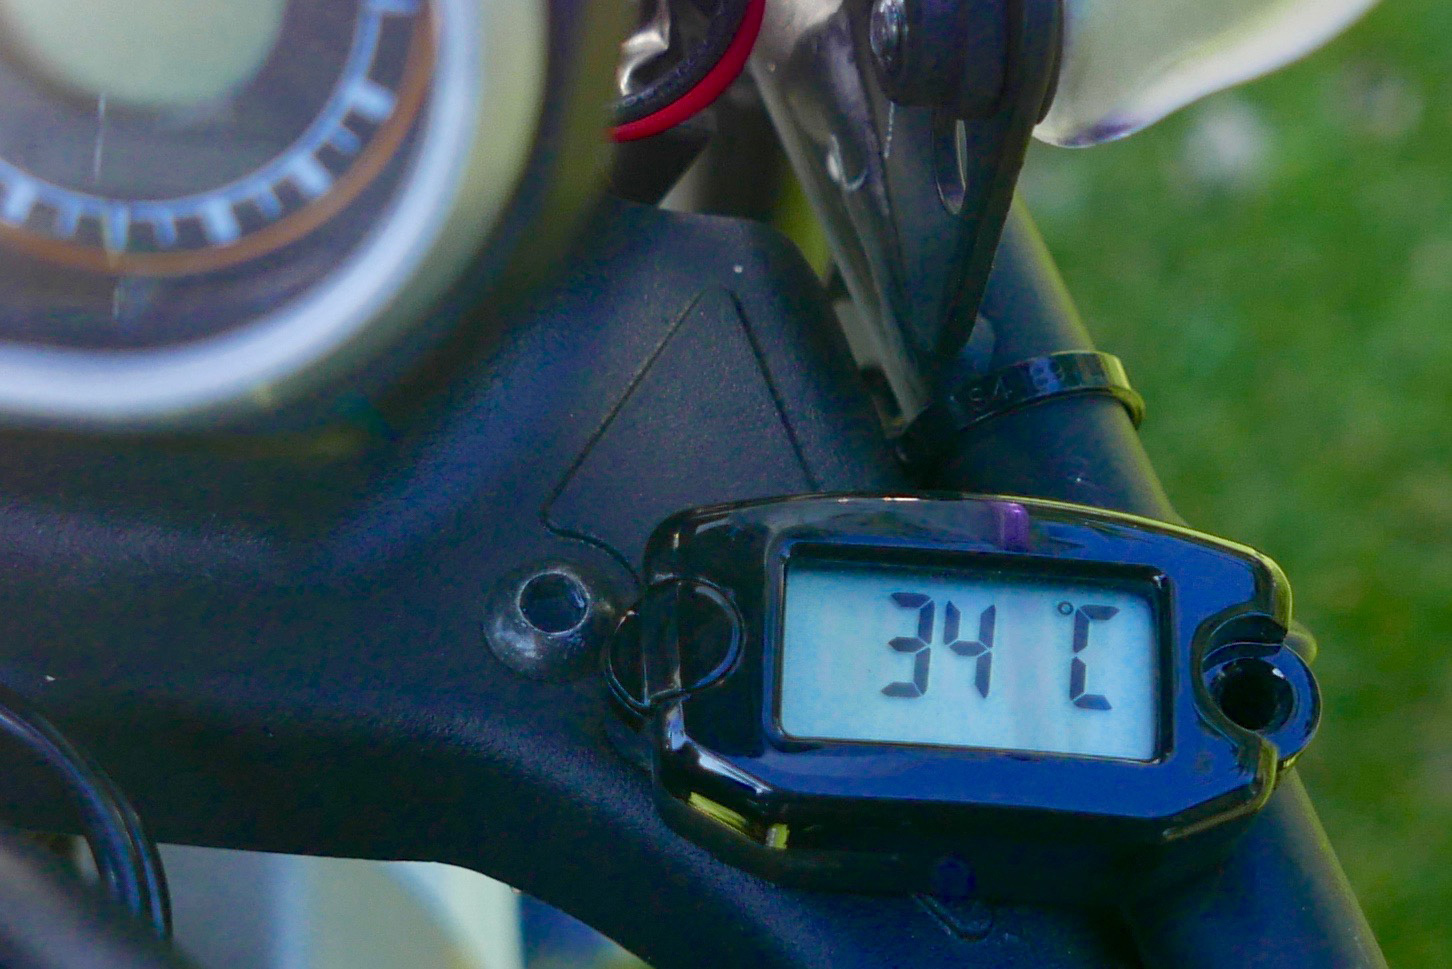
Once I’d have said GPS position, elevation and a compass in a camera were gimmicks. Now I’d admit they add some redundancy when a proper GPS unit goes flat. The Olympus accesses this data with a simple press of the Info button with the camera off (left). Up it comes for 10 secs, north by northwest. The TG-5 also takes great pictures.

tikEasy to turn on and zoom one-handed
EV Comp dial in the usual position
Battery charges in the camera
Spare 3rd-party batteries from £4; USB charger from £8
Good hand grip
Rated at 15m of water so ought to survive some splashes
Slim and light (260g with chunky wrist strap)
GPS, elevation, compass, and even a tracking app, with the camera off
Easy to access and configure custom self-timer
Red; easy to find on the river bed or by the roadside
Now used from £150

cros A baffling new menu to master – sigh
LCD text is a bit small
Wrist strap undoes itself in the wind
Stock lens cover is scratch prone
Annoying ‘OLYMPUS DIGITAL CAMERA’ meta data needs to be manually removed
Discontinued by Olympus – current TG6 at 400 quid.

Himalayan 410: 4000-mile review

Himalayan 410 Index Page
2025 Himalayan 450 3000km review

Updated January 2024

Him4k - 9

In a line:
Didn’t miss a beat over a month; no one was more surprised than me.

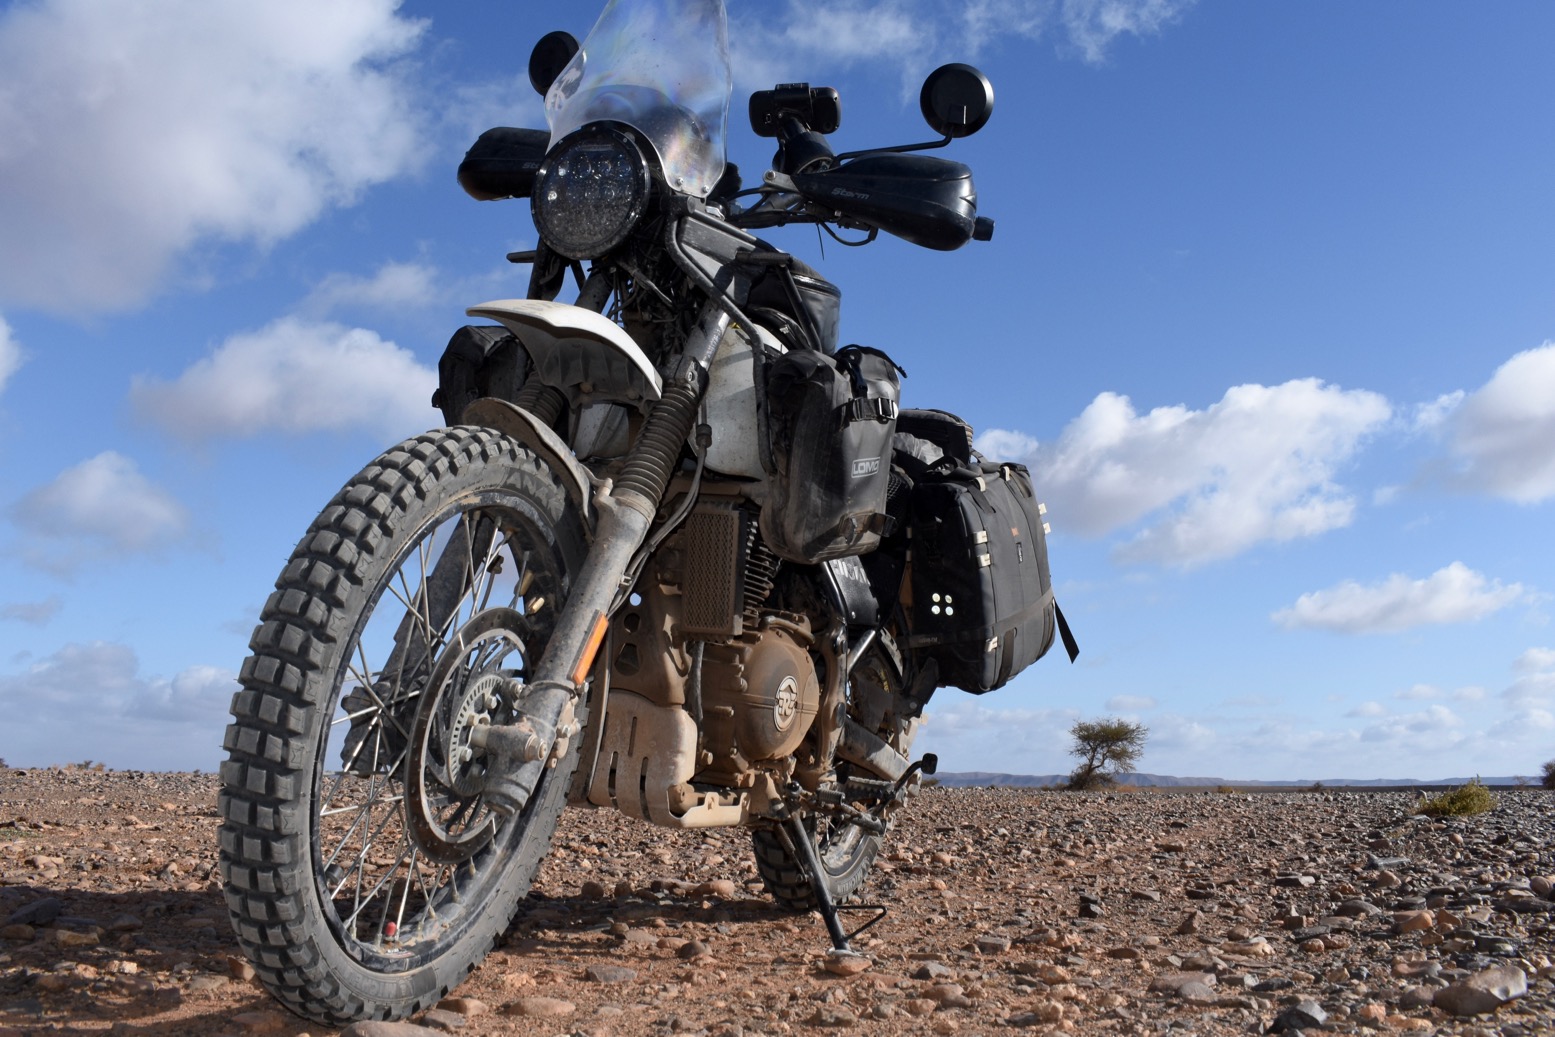
• At £4000, with the stock equipment it [was] a bargain. (Now £5050).
Low, 800mm seat – at last a travel bike not limited to tall people
• Enfield build quality stood up to it
• Efi motor pulled smoothly up to 3000m (nearly 10,000′)
• Michelin Anakee Wilds (run tubeless) – great do-it-all tyres
• Low CoG and 21-front make it agile on the dirt
• Rear YSS shock showed up the harsh forks
• Yes it’s 190kg, but road and trail, it carries it well (or low)
• Subframe easily sturdy enough for RTW load carrying
• Economy went up and up: averaged 78 mpg (65 US; 27.6kpl; 3.62L/100k)
• 400km range from the 15-litre tank – about 250 miles

Valves need checking every 3000 miles – not practical
• Weak front brake on the road (sintered pads are a fix)
• As a result, front ABS is a bit docile
• Stock seat foam way too soft for my bulk
Tubliss core failed on the front; replaced with inner tube
Centre stand hangs low – but can be raised
• Small digit dash data hard to read at a glance
Compass always out – a gimmick
Head bearings notchy at 4000 miles, despite regressing @ 1200 (replaced on warranty @ 5000)

Him4k - 11

Review
Following a test ride, I bought a used Himalayan with just under 1000 miles. And following the make-over detailed here (summarised in the image below) I picked it up in southern Spain with 1300 miles on the clock. So, like many of my crudely adapted project bikes, I’d barely ridden the thing or tested the modifications. With a Royal Enfield this did feel a bit more of a gamble than usual and, on collection near Malaga I was all prepared for the worst.

himlabels

Far from it. The Him started on the button, ticked-over like a diesel, and after the ferry crossing and fighting the usual headwind gale down the Atlantic motorway, I arrived at a cushy hilltop lodge near Asilah feeling moderately hopeful, while still braced for a kick in the nuts somewhere down the road.
Riding an untried, near-new machine, saddled with Enfield’s possibly outdated reputation for reliability led to stressful days, waiting for something to play up, either with the bike or with my mods. I had the same feeling with BMW’s XCountry years ago. But riding my first piste: the lovely Assif Melloul gorge route out of Anergui  inspired confidence. The low-slung weight and chuggy motor made this a great trail bike!

OLYMPUS DIGITAL CAMERA

Engine and transmission
Much is made of the 410LS’s meagre 24hp (or even 22) because we’re so used to bikes delivering over 100hp per litre. Don’t forget Honda’s ill-concieved CRF450L makes about the same. It’s when you combine 24hp with the strapping 190-kilo wet weight you’d think it can’t possibly work. Yet it does – and in a way that you won’t find on a similar powered and much lighter 250 trail bike like the WR250R, KLX250S, CRF250L or 300L which I’ve also used, as well as a 310GS. I prefered riding my REH to all of them.
It must be down to the way the long-stroke, low compression, two-valve motor delivers it’s modest power, like something from the apogee of Brit biking half a century ago, but without a millstone for a flywheel, it revs more freely. The Himalayan may have the power of a CRF250L, but it has the torque of an XR400: 32Nm at 4250rpm (1150 lower than the XR). Combined with counter balancer and unexpected refinement, despite wide gearing it’s a very satisfying bike to ride. It won’t hurl you from bend to bend, it just chugs along steadily but without the sensation that you’re missing out or grossly under powered. The key is to maintain smooth momentum which is very much the riding style I aspire to. It’s an easy bike to enjoy on the empty roads and even emptier trails of southern Morocco. Duelling with congested traffic or tackling busy alpine passes may not be such fun.

OLYMPUS DIGITAL CAMERA
him-temp

Until the end of my trip – by which time the valves were technically well overdue for adjustment – it started on the button without the ‘choke’, ticked over once warmed up (probably needs adjustment too) and fuelled cleanly up to 5000rpm and nearly 10,000 feet (3000m).

OLYMPUS DIGITAL CAMERA

A lot of it must be down to accepting the Himalayan for what it is, but there was never a moment on my ride when I thought ‘FFS! I wish this thing had more poke’. I tried some super grade fuel in Morocco but didn’t notice the difference that some claim (I know in the US fuel octane varies widely). However, once back on Spanish fuel, it did seem faster and smoother, or maybe I was just rushing for the finish line.
One thing the Trail Tech temperature sensor did highlight was how hot the air-cooled engine runs – up to 240°C at higher revs with a load on. Note I say ‘hot’, not over-heating. On my bike it’s reading from the spark plug, about as hot as it gets in there. Running down hill it might drop to 160°C or so. Either way, especially with an air-cooled motor, it’s good to know how hard the engine is working and when it may be time to back off.
Oil consumption was zero up to a pre-emptive oil change at 3000 miles. Straight 50W Moroccan was all they had (a bit thicker; better for hot weather) and I had the feeling consumption increased briefly after that, maybe 200ml in 2000 miles, but then it stopped.
The gearbox is a lot less clunky than some. Originally, I thought first gear would be too tall off road (a common complaint I have) but, helped by the low-down torque, it’s well matched to the Himalayan’s modest trail biking abilities which are governed mainly by its weight. One time in deep soft sand, the gearing was too tall to move the bike forward – the chain jumped on the front sprocket instead (see below).
The chain had a hard time in Morocco: conditions too gritty to lube most of the time. On longer road stretches I hand-lubed with a toothbrush from small bottle of Tutoro oil. As a result I adjusted it three times in 4000 miles –  more than normal, even for a stock chain. Again, you have to assume the stock chain was chosen for its price, not quality, but with a bit more care and lube it should last 8000 miles.

himyss

Suspension
Normally the suspension is where a budget bike shows its limits once pushed on rough roads and trails, with heavy loads. Plus I tend to leave my tyres at road pressures unless absolutely necessary, so as a result off-road the my suspension can feel harsher than it could be.

him-yss-fork

On the rear there’s only preload adjustment and nothing on the front, but the Himalayan surprised me with firm suspension. Before I realised this, I’d fitted some inexpensive fork preload caps, (set at zero), and a YSS shock that had 1cm of length adjustment and 35 clicks of rebound damping. I had the YSS fitted on the settings out of the box (more here) which worked fine once loaded up and on the dirt. At one point in Morocco I screwed the rebound in 4 clicks (more rebound?) but can’t say I noticed any difference.
Overall, I suspect the stock shock (inset above) would have been OK, but you have to assume the YSS is an improvement because there’s more adjustment and it’s red. It certainly felt better than a twice-as-expensive Wilbers on the XSR last year. Over the trip it loosened up a bit and bottomed out maybe once.
If anything the front forks are now shown up by the YSS. YSS do offer a fork kit but in the UK it’s £330 (though it seems you can buy springs plus the emulators for half that). Bottom line: no great need to meddle with the stock suspension for normal riding.

Him4k - 13

Economy
It seems that even at 1300 miles the air-cooled REH was still running in. As I added the miles the economy improved, eventually averaging 78.7mpg (27.8kpl; 65US). With the 15-litre tank that’s an ideal range of just over 400km. Riding with some 310GSs for a week, my mpg was near identical to the more powerful and lighter BMWs. The gauge on the tank is pessimistic and the warning light plus a trip reset comes on with a good 100km left. Hot, cold, high, low, the fueling itself was glitch-free. Fuel consumption data here.

himr-filler
himslabs
himcoolcov

Comfort
Thanks to a counter-balanced and non-ginormous capacity, the REH is very smooth for a single. I did feel some tingling in my right hand after hours at the bars which could have been from over-gripping a heavy throttle. I’d have used my throttle handrest had I remembered it.
One of the best things about the Himalayan is the low seat of 800mm or 31.5 inches. At 6′ 1″, it’s actually a bit too low for me, especially once my mass sinks down through the soft foam, but at last there’s a travel bike which isn’t limited to tall people, while still having useful ground clearance. It never scraped out on the dirt
I needed more height with firmer foam, inexpensively achieved with a couple of 20mm neoprene slabs under a Cool Cover. It enabled 500-km days with few stops, but on rough tracks still gave soreness, probably because I wasn’t standing up or letting the tyres down enough. I also thought the seat could do with levelling out to stop me sliding forward on the slippery, aerated Cool Cover.
My seat bodge was not a night-and-day transformation, but by the end of my trip it didn’t cause any discomfort over long days on the road. I’m less convinced now that I need to improve it some more.
The 50mm bar risers managed to not snag the screen on full lock and nearly reduced my stooping when standing up – another inch would have done it. I might have cured that stoop by removing the footrest rubbers, but to be honest I liked the comfort when standing (in ordinary slip-on Blunnies). Otherwise, for wet conditions, consider fitting wider footrests if you’re off-roading. I hear DR650 pegs nearly fit.

Him4k - 10
Some say it will clock 80 but I set myself a self-imposed cruising limit of around 65mph (where possible). At this speed the screen did a pretty good job, even with my wind-catching Bell Moto III helmet. Others claim the mirrors create turbulence and are better moved or changed. I suppose this is possible but that complaint is a new one on me. Let’s face it: it’s a motorbike out in the wind, not a space capsule. Some turbulence will be evident.

On the dirt
The Him took to the dirt so naturally, I didn’t even notice it at first. The key attributes must be the Michelin tyres, low seat and firm suspension. The 21-inch front wheel must help too, as does the torquey motor, getting round the wide gearing. And the otherwise ordinary brakes are just right on the dirt.
The Him is a plodder, but then so am I. You won’t be pulling wheelies, launching off jumps or bouncing off berms. For that the bike is just too heavy and low-powered. It’s a travel bike, not a dirt bike and in all the miles I never ever had a sketchy moment on the dirt, nor wished the bike was something else.
I reached the Himalayan’s limit in the sandy gorge on Route MW6/7 in Western Sahara – same place I’d struggled with the WR two years earlier. This time I traced a better route along the valley but the flooded waterhole was now a dry mass of deep sandy ruts in which the Himalayan would bog down for sure. I aired down, pushed around the side in first gear, but stopped once the chain jumped on the front sprocket from the strain: the torque had got the better of the weight, tall gearing and deep sand. The Himalayan doesn’t have the agility or power to handle deep soft sand – for that you want an unloaded KTM 450.

Him4k - 4

Durability and problems
It’s a short list. Apart from what’s below, nothing broke or even came loose, but I’ve not seen the bike since I left it at Malaga. A closer inspection may reveal more.

Stock bike
• Head bearings got notchy by 4000 miles, despite regreasing
• Chain needed adjustment every 1000 miles
• Exhaust guards dented
My mods
• Tubliss core leaked around valve stem, then packed up
Michelin TPMS packed up – twice

Summary
The Himalayan is a unique all-road travel bike, one that not only looks fit for the job as many adv bikes do – but that’s actually equipped for it and performs well, too. You might not think 24hp and 190 kilos (420 lbs) adds up, and for some it won’t. But for your £4000 or $4500 you get a lot of kit that’s no found on similar bikes. Don’t dismiss it as a shoddily assembled Asian cheapie, or anything to do with the Bullets. The bike has caught on, and in western markets the demand for the BS4 has outstripped importers’ expectations. If you’re curious like I was, try one. You might also be surprised.

Him4k - 5

Tested: Michelin Anakee Wild review

Supplied by Michelin for review

MichelinAnakeeWild
HimBikespread

Michelin’s Anakee Wild came out in 2016, replacing the venerable T63 which we used on Desert Riders in 2003 (with similar patterned Mich Deserts on the rear).
Since then, adventure motorcycling – aka: touring on big trail bikes – has become a thing. The Wilds address the need to give heavier, more powerful machines some genuine off-road ability – or looks – without resorting to expensive competition tyres like the famous Dakar-inspired Michelin Desert.
I ran these Anakee Wilds tubeless in Morocco and Western Sahara on my Enfield Himalayan130/80-17 M/C 65R TL on the back on a wider, sealed Excel rim, and a 90/90-21 M/C 54R TL on the front, initially with a Tubliss core, then tubed. Both wheels were initially Slimed, too. Best price new in the UK is £85 for the rear and £66 for the front.
Unlike some new knobbly-ish tyres, on my Himalayan the Wilds rode and cornered normally from new, with no odd, K60-like squirming until bedded in. With the aid of Michelin’s new TPMS, I ran them at around 28 psi or 2 bar, dropping only a couple of pounds for long, multi-day off-road stages.

michwild

Let’s face it, there’s no great mystery in tread patterns – you can see the Wilds will work well on loose surfaces, while the shallow knobs won’t flex disconcertingly on the road. The Himalayan may be heavy for what it is, but it hasn’t got the power to put these Anakees in a spin. On good mountain roads I pretty much forgot about the reduced contact surface of the knobs and was able to swing through the bends up to the point of grounding the centre stand or the soles of my boots. They never budged.
On the dirt it was the same feeling of reassurance tempered by a riding style aware of where I was (when riding alone). The Anakees never made any unpredictable moves, just bit down through the gravel and grit to help make the Enfield easy to manage.
Perhaps the tyres’ biggest test was having to ride 250 clicks on a flat front when the Tubliss core packed up irreparably in the desert. To be fair the punctured core helped keep the tyre on the rim, making straight-line riding easy. But to keep the tyre from over-heating I kept the speed down to 30mph. I’m not so sure a non-premium brand tyre would have survived such use so well. It also suggests that the firmer carcass of a TL tyre is more robust, even if it weighs substantially more than a tube type tyre. On a long rugged ride with a heavy, tubed bike like a one-litre Africa Twin, there may be something to be said for running a heavy TL tyre, even with inner tubes. The extra meat will provide added protection against flats.

mich-layoo

I did experience one flat on the front while running a cheap, paper-thin tube. I get the feeling a rocky off-road stage may have benefitted from slightly reduced tyre pressures to allow the tyre to form around the sharp stones, rather than press hard into them. It did seem to be a genuine puncture, not a result of hasty kerbside mounting (above), remnants of Slime or a duct tape rim liner. The rear also picked up a nail early on between the knobs, but I’ve left it there.
By the end of the 3,700-mile trip, the last week guiding a tour of mostly 310GSs, the back had 5mm in the centre of the tread and the front a few mils more. It suggests at least 5000 miles from a rear with about 30% off-road use. As the miles have passed it feels like the smooth, stable edge has come off the ride in corners – normal with any ¾ worn tyre I’ve found – but the front knobs have no evidence of vibration-inducing cupping. The Himalayan’s front brake hasn’t got the bite to achieve that. The Anakee Wild is a harder-wearing 60/40 tyre than the ubiquitous, soft and similarly all-road performing Conti TKC80.

mich-ender

Tested: Michelin TPMS review

Update: After problems with the original 2019 kits (explained below), Fit2Go (who sold the Michelin branded product) updated their TPMS software for 2020. They also redesigned the magnetic mounting following negative reviews on amazon. In 4000 miles of riding on and off road, the magnetic fitting wasn’t a problem for me.
I tried the seemingly identical Mk2 version in March 2020. UK Michelin stopped listing the TPMS in 2023 following poor reviews. Fit2Go had plans for a new version, but in 2026 the website was no more.

michelin-tpms

Tested: Michelin TPMS (tyre pressure management system)

Where: Spain and Morocco 2019 and again in 2020 and 2021

Cost: £80 (kits suppled free by Michelin for review)

Weight: Negligible

In a line: Once you discover TPMS there’s no going back. (More here)


michtpms1

What they said
Introducing our first tyre pressure monitoring system (TPMS) for motorcycles, mopeds, scooters and all two-wheel modes of transport – bringing new levels of safety to riders for whom tyre condition is paramount.
MICHELIN TPMS – Bike detects a tyre in distress through loss of pressure, fast leakage or an increase in temperature – often the sign of an impending blowout. Its compact display flashes as brightly as a mobile phone torch if it detects an issue, plus identifies whether it is the front or rear tyre affected.
Our patented solution can be fitted in less than two minutes, bringing the same direct TPMS technology already proven in the passenger car and van markets to two-wheels for the first time.

This wireless system needs no programming and features a compact LCD screen which fits into a magnetic mount placed on a prominent part of the bike. The fully sealed and buttonless device can be quickly removed for security and is small enough to fit in a pocket. The display offers a battery life of up to three months, with the USB-powered inductive charger making it simple to top-up.
Once fitted, the unit displays the pressure of both tyres, in either psi or bar, toggling between the front and rear at set intervals.
Riders will see a low-pressure warning if a tyre becomes under-inflated by 15%, an enhanced alert when the pressure either drops by 25%, or if over-inflated by 35% or more. There are also alerts for high tyre temperatures or fast leakage (at least 2 psi per minute).

What I think:

tik

• Real-time tyre pressure data at last
• USB rechargeable – should last a couple of months
• No hard-wiring so fits in a couple of minutes
• Magnetic retaining dish secure off road
• Reads bar or psi
• Rated up to 7.5 bar (100psi+)
• Various warning displays
• Mk2 2020 kit paired up fast and worked seamlessly

cros

• In 2019 original and replacement units played up after a few days (see below)
• Doesn’t live-read from a static start (e.g.: overnight). Wheels need to turn first
• Expensive at £80. There are now less elegant Chinese kits from £15
• Green/yellow on black background hard to read unless under your nose
• Valve-cap lock-nuts complicate tool-free topping up of air
• The valve caps can be too shallow (not enough threads to grip the valve body)
• On the 2020 version the F&R display interval was too slow for a quick glance

Review
There are some metrics I like to know while riding: speed, engine temperature, fuel level are the obvious ones.
Now wireless technology has enabled inexpensive TPMS kits to display live tyre pressure readings, too. This is something that’s really useful too.

tpmsp1

I only realised how much I missed my Michelin TPMS kits once they both packed up mysteriously after a few days in Morocco.
A few days later I hit Tubliss tyre troubles in the middle of the desert. Luckily I wasn’t alone, there was a road 25kms back, and I was able to ride on the flat tyre slowly for hours to the coast and fit an inner tube. But being forewarned of low pressures or other tyre anomalies is what TPMS is all about.
I headed back north and a day or two later the tube slow punctured, then went suddenly after a dirt road short-cut pushed it over the edge. This time I couldn’t ride the collapsed tyre ten feet. Cue more laborious roadside repairs. This is why we like tubeless.
Because you never, ever get just a single puncture, I’d wisely bought a spare tube and was back on the road in 40 sweaty minutes. But especially with a slow puncture, with a TPMS I’d have been aware of it much earlier.

michtpms1
Lock nut is a faff

Michelin TPMS
The Michelin kit was made by Fit2Go TPMS, an official global licensee of Michelin. It was composed of two over-sized valve caps marked F and R. You screw them on finger tight to the appropriate wheel and lock them off with a valve stem nut (yellow tool and nuts supplied; left). The round display module sits in a stick-on magnetic dish fitted wherever suits your eyeline and an appropriate surface. Putting the module in the dish activates the display: usually battery level (said to last for 3 months) plus front and rear pressures which flash up alternatively every few seconds. You may not get a pressure reading until the wheels are turning. There are no buttons or switches; place the module in and out of the mag dish three times and the display changes between bar and psi, though it may take a few minutes to read.

Playing up
The first kit I had was fully charged by me, but on fitting in Spain took many hours of riding to pair up and show pressure readings. That would be inconvenient if you regularly removed the module to save it getting pinched. Once things worked, I left it in place. (As I was only out for a month, I’d not brought the USB recharge dish.) Fitted flat like a plate on a table, it didn’t budge on rough tracks but was hard to read at a glance; at an angle like the bike’s clocks would be better, and probably still secure. Or there’s always the tank bag. I’d also find black digits on a light background easier to read – like my Trail Tech temperature gauge, below right. Ten days in, after briefly removing it, the module went blank.
A replacement kit was brought out to Morocco, appeared to show a nearly full charge, and this time paired up in seconds and flipped to psi with no bother. But it also went blank after just five days. Neither unit was more than half discharged. I decided to put the original unit into the USB recharging dish from the replacement kit on the off chance, and it responded by charging from ¾ full (as it had been when it went blank). After just half an hour it was fully charged. Back on the bike it showed pressures in the original bar, and on changing to my preferred psi, displayed that too after about 20 minutes of being blank.
This suggests the display modules might discharge in a few days rather than three months, but while still indicating they’re more than half charged. Popping it in the recharge dish revives it, but it can be slow to pair up. This discourages you from removing it, if it indeed discharges when immobile. The blurb doesn’t advise removing it when not riding, but if it does discharge unused, it’s not reflected in the battery level status display.

Especially when travelling in the AMZ where – as I found – tyre troubles can leave you up the creek, knowing the state of your tyre pressures is less a convenience and more an important safety measure. Now, when I could swear I have a puncture, I glance at the TPMS and relax; it’s just the road surface vs tyres and paranoia. Very reassuring. Best of all, the easily fitted and recharged Michelin TPMS kit now makes maintaining your tyres at optimal levels a whole lot easier.
But because my two kits seem to play up, I’d wait a bit before buying one. They sort of work, but not as they should. I sent both kits back to Fit2Go for analysis and will update this review with any news.

Updated kit – 2020

Fit2Go sent me their revised kit which I used on my Africa Twin ride in Morocco in March 2020. The kit was welcome as again, I’d DIY converted my rear tyre to tubeless and so wanted to keep tabs on pressures. (The wheel lost 20% over a few days – fixed by adding Slime).
The kit looks identical but no problems at all this time. Without making an angle bracket, I couldn’t find a secure and legible position on my AT (red arrows, left inset below) so put the display and dish inside the clear lid of my tank bag (below right). The opaque vinyl made it hard to read easily but there was no danger of it falling off. Had that ride not ended prematurely I’d have worked out some legible-angle bracket in the cockpit or stuck the dish on top of the tank bag.

Places to fit on a AT

The only complaint is that the display intervals seem slower than before: 10 seconds on Front then 10 on the Rear. It means you need several glances to ascertain both pressures, whereas a higher flip-count might mean you catch both in one glance. I still think the display could be brighter, too. Other than that and the high price (which dropped for a while), all good.

Update 2021
I got my AT running again in October 2021 and needed to recharge the TPMS unit which after 18 months would have been flat. It recharged in less than two hours.
But when it came to topping up the tyres after 20 months, I had to faff about with that cheap valve cap locknut removal tool, and then found the rear TPMS valve cap wouldn’t screw on to the rear tyre’s valve body. I remember having this problem last time I topped up in Spain, February 2020. It felt like the TPMS valve cap was too shallow: there were not enough threads to bite onto the tubeless tyre valve before the pin in the cap pressed on the tyre valve stem and let the air out.
It could be a problem with whatever TL valve I have on my tyre. In Spain I’d managed to over-inflate the tyre and then cram the cap on before too much air escaped. This time in baking hot Marrakech, I didn’t have the patience to re-learn the knack and gave up on re-fitting the TPMS.
But travelling alone on road and trail over the next week, I sure did miss not knowing what my tyre pressures were doing, just as I’d miss not knowing what my fuel level or engine temperature were.
I’m not finished with TPMS yet: I will give it another go on the 300L once it gets its tubeless wheels.

Not enough threads in the TPMS cap to grip the valve before air is released

Tested: Bell Moto III review

See also:
Airoh TR1
XLite X420 GT
Bell Mag 9
HJC i30

OLYMPUS DIGITAL CAMERATested: Bell Moto 3 helmet

Where: Spain and Morocco

Cost: £185 ebay

Weight: 1650g

In a line: Looks cool and works great with Qwik-Strap goggles, but not practical.

OLYMPUS DIGITAL CAMERA

What they say
The iconic legend has returned! When the original Moto-3 was created back in the late 70s it was a product ahead of its time. Quickly becoming the industry standard in performance and style, today’s Moto-3 is everything it was style-wise, with the added benefits of modern safety and production advancements. From the fiberglass composite shell to the EPS-lined chin bar, we left no detail unpolished. The solid colors use the original style terrycloth liner, which is removable and washable.

What I think:

tik

• Looks cool
• Feels light
• Chin guard not too close
• No visor hinges or other fittings to break
• Works well with Qwik-Strap goggle straps
• Good price, compared to recent X-Lites
• Yellow

cros

• D-rings a bit fiddly and pin-down stud came away
• Not full visor protection; the old bug or chip will get through
• As unaerodynamic as it looks


OLYMPUS DIGITAL CAMERA

Review
For years I’ve been mostly wearing a costly open face X-Lite 402 or an inexpensive Bell Mag 9 with full face visors. Best thing is the great visibility and protection plus you leave it on to talk to people (less faff with glasses, too). But sometimes I miss a full face’s ability to be securely cable-locked to the bike via the chin bar (doing so via the D-rings never fooled anyone). And it has to be said thee types lids look good too.
I don’t usually get on with ‘in your’ full face lids like an X-Lite X551 I tried, but after  few thousand miles the Bell Moto III has suited me just fine. The wide aperture and the fact that the chin guard isn’t right in against your mouth makes it unobtrusive on the road while not feeling too claustrophobic when not on the move. Usually I can’t wait to get a full face helmet off my face.
I’ve been riding a Himalayan with a low screen at no more that 65mph, and at that speed buffeting or neck strain hasn’t been a problem. There’s no annoying bobbing around and the wind noise is what you’d expect when riding a motorbike.
Inside the lining has a nice, towel-like surface (terrycloth they call it) and all of it removed and refitted easily after washing – not all lids manage that. Only the double D-rings can be a bit fiddly – I seem to recall the X-Lite does it better.

bell84

I had an original, but beaten up old Moto III in the early 1980s – a nice-looking lid but as cozy as a brick-like inside. Goggles were always a bit awkward to move easily one-handed while riding. Decades later we have Qwik-Straps which I tried in Algeria last year and bought again for the Moto III.

bell1

As you can see in the pictures, two short straps fit in your regular goggle anchor slots, then two separate attachment pads glue to the side of your lid. One is velcro (best fitted on the left); the other is a clip-and-pivot stud. Clip the right strap to this pivot then pass the goggles over your face attach to the velcro. Undo the velcro and the goggles swing down to the right. Or – as I got used to doing – unvelcro and swing the goggles over to the back and re-velcro. Goggles are securely out the way but not dangling. It’s a clever system which definitely helped make the Moto III a much better travel lid than I expected.

I enjoyed riding around in my Moto 3 but after one final ride in Morocco in 2025 (below), I sold it. For what I do: stopping frequently, riding slowly, taking pics and making notes, an open face full visor lid like my HJC suits my needs much more.