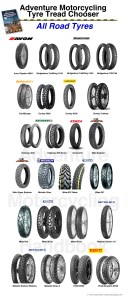
Tubeless Conversion Index Page
Short version: Imo, none of these cores are suited to travel biking.

Systems like the US-made Tubliss liner are primarily made for dirt bikes running low-psi. They are not recommended for highway use in the US by the manufacturer, most probably due to homologation issues rather than safety. But I know people who’ve run Tubliss for years on the road with no problems. The main limitations: they’ll only seal properly on WM3 rims (2.15”) or narrower, and they only come in 21, 19 and 18-inch sizes. So like they say: most suited to dirt bikes where such rim widths and sizes are the norm.
Nuetech Prolock
In 2025 Nuetech announced the Prolock system: half-a-dozen rubber-backed aluminium clamps you bolt to the rim like a rim lock, via several new holes. The rubber squidges out and seals the spoke nipples, while also sealing and pining the tyre bead in place, so there’s no need to run an MT rim, and low pressures ought to be doable. Each set weighs just under a kilo, but of course you lose a tube. It sure beats the need to run 100psi in the Tubliss system, but on a travel bike where you rarely run very low psi, I’m not sure it’s a huge benefits to simple spoke nipple sealing on an MT-type rim.
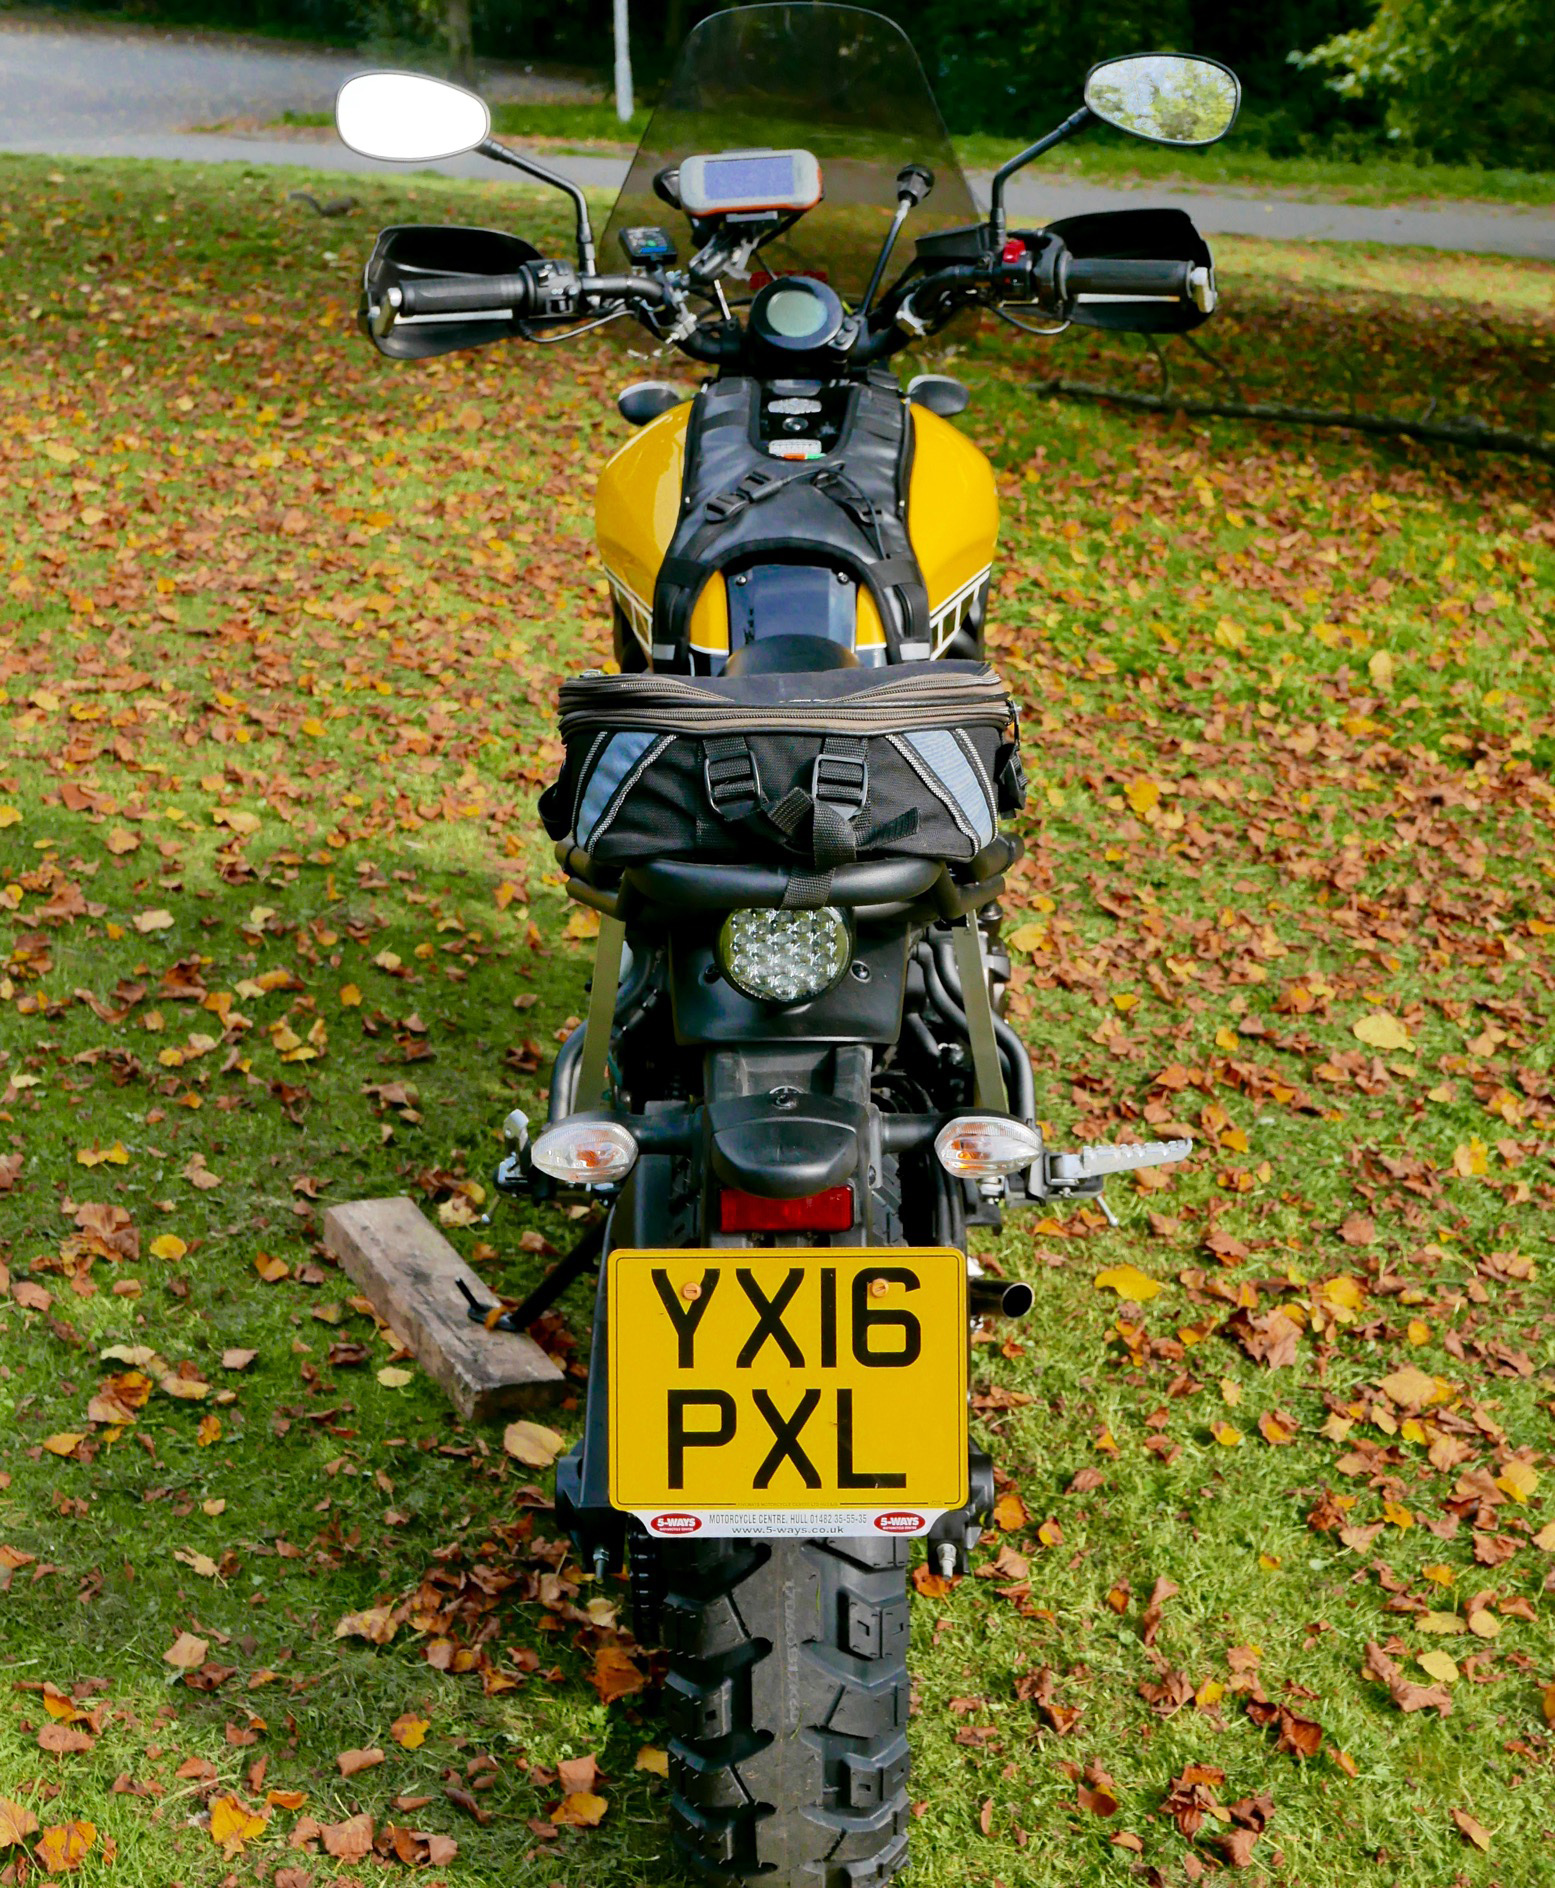
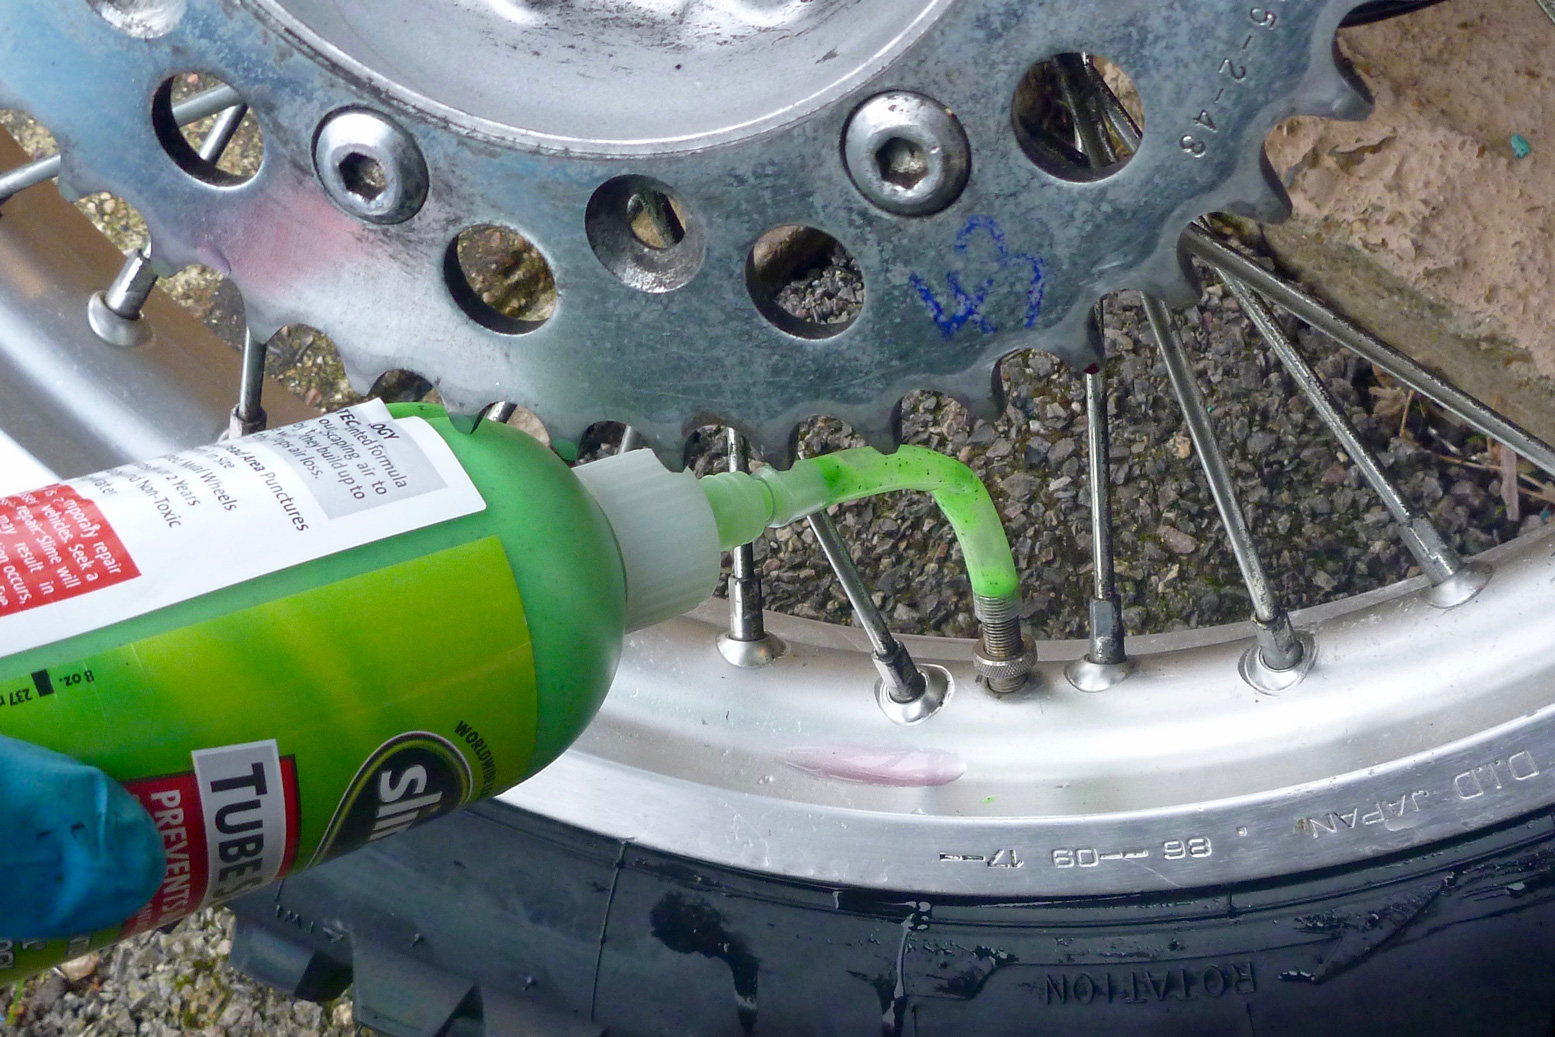
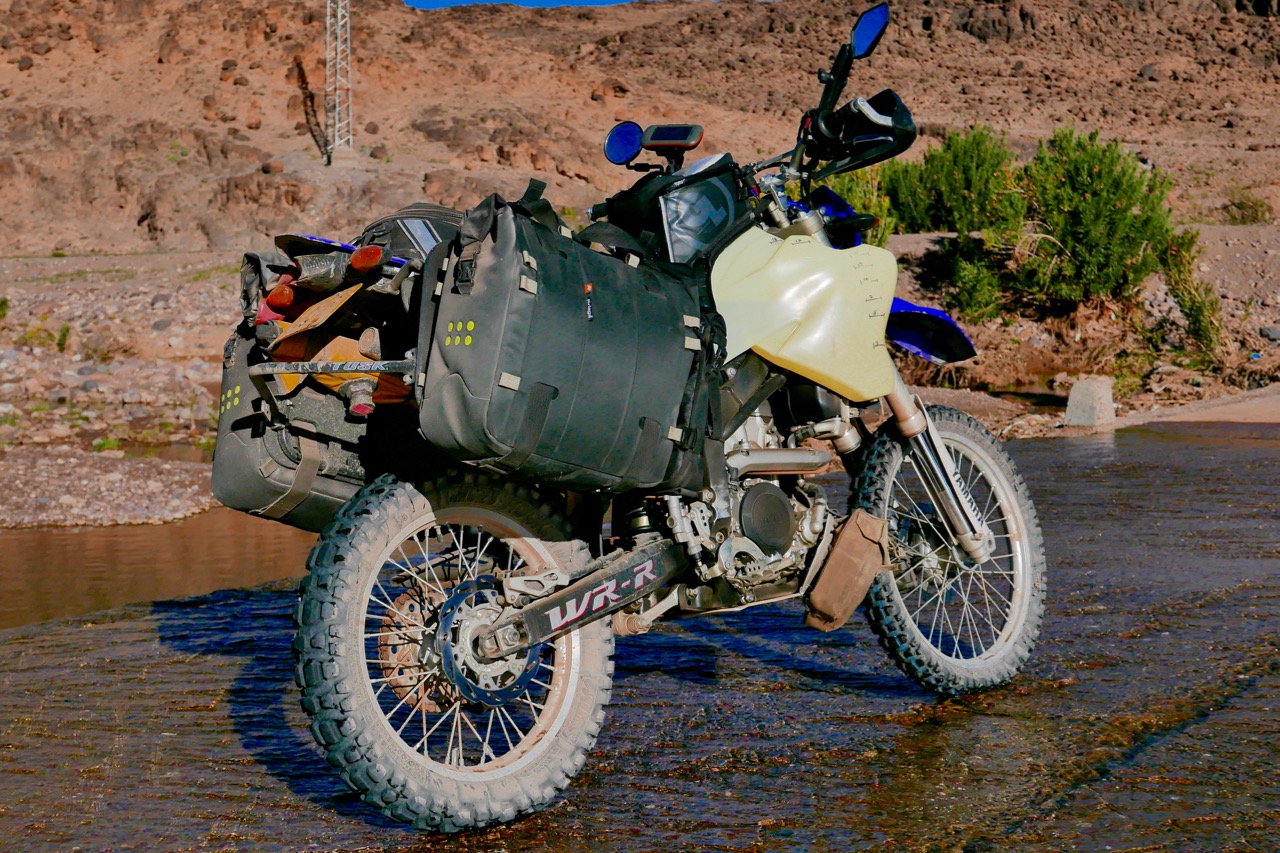
With nothing better available for a 21-inch wheel, in 2019 I reluctantly ran Tubliss on the front wheel of my Himalayan in Morocco. A few days in I’d noticed Slime coming out round the high-pressure core valve body which suggested it was getting from the tublessed tyre cavity past the Tubliss core seal.
Then, after about two weeks riding at road pressures and having checked the Tubliss at 7.5 bar just two days earlier, the core went flat in the middle of Western Sahara. It would not hold air and so neither would the tyre. But by luck, the body of the collapsed Tubliss core kept the flat tyre on the rim, so I was able to ride slowly 250km to Laayoune on the coast, find and fit a tube.
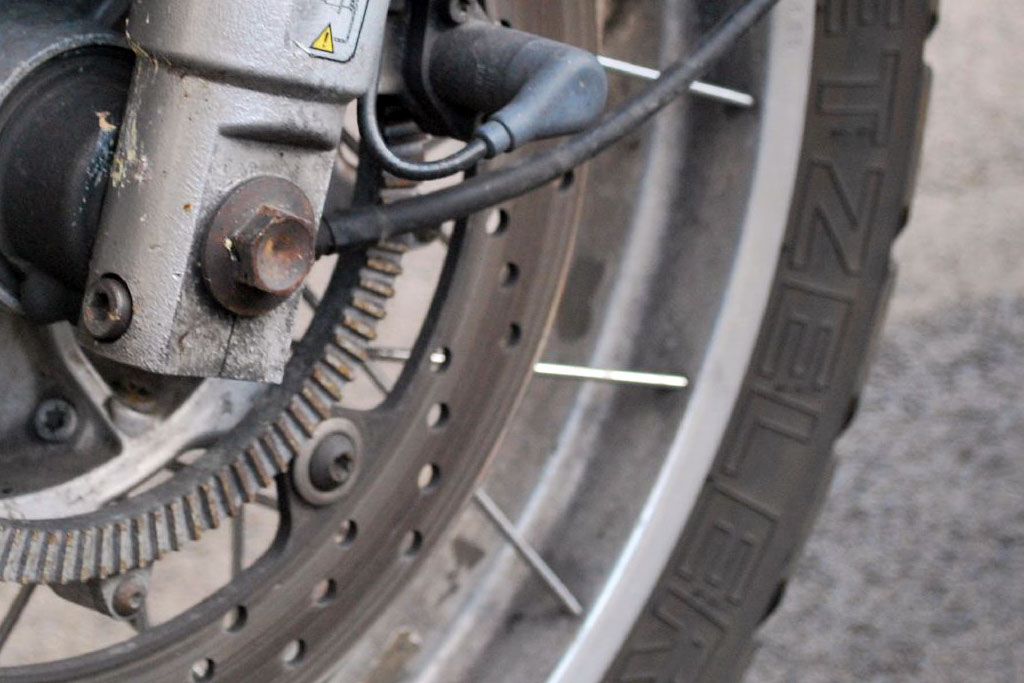
Removing the Tubliss (left), it was hard to tell what was wrong as five hours riding at 30mph had probably pulled the valve out of the tube and anyway, I wasn’t planning on refitting it and bought an inner tube instead.
I never was that keen on Tubliss for travelling as opposed to recreational dirt biking. Even though mates have used it on the road without problems, I’d not risk it again. Next time I’ll seal an MT rim.


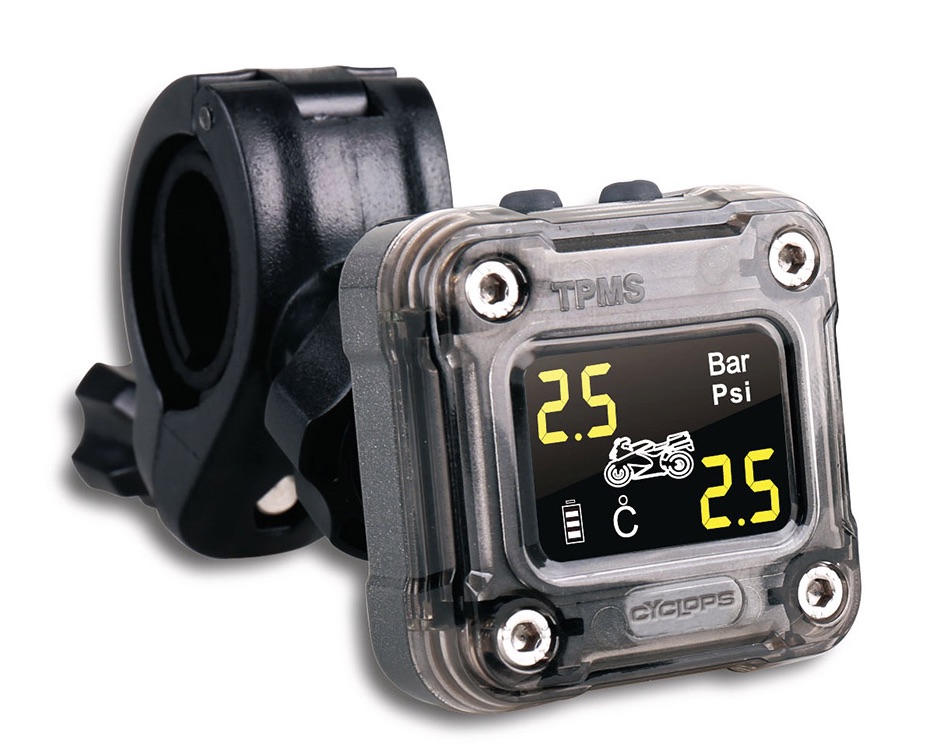
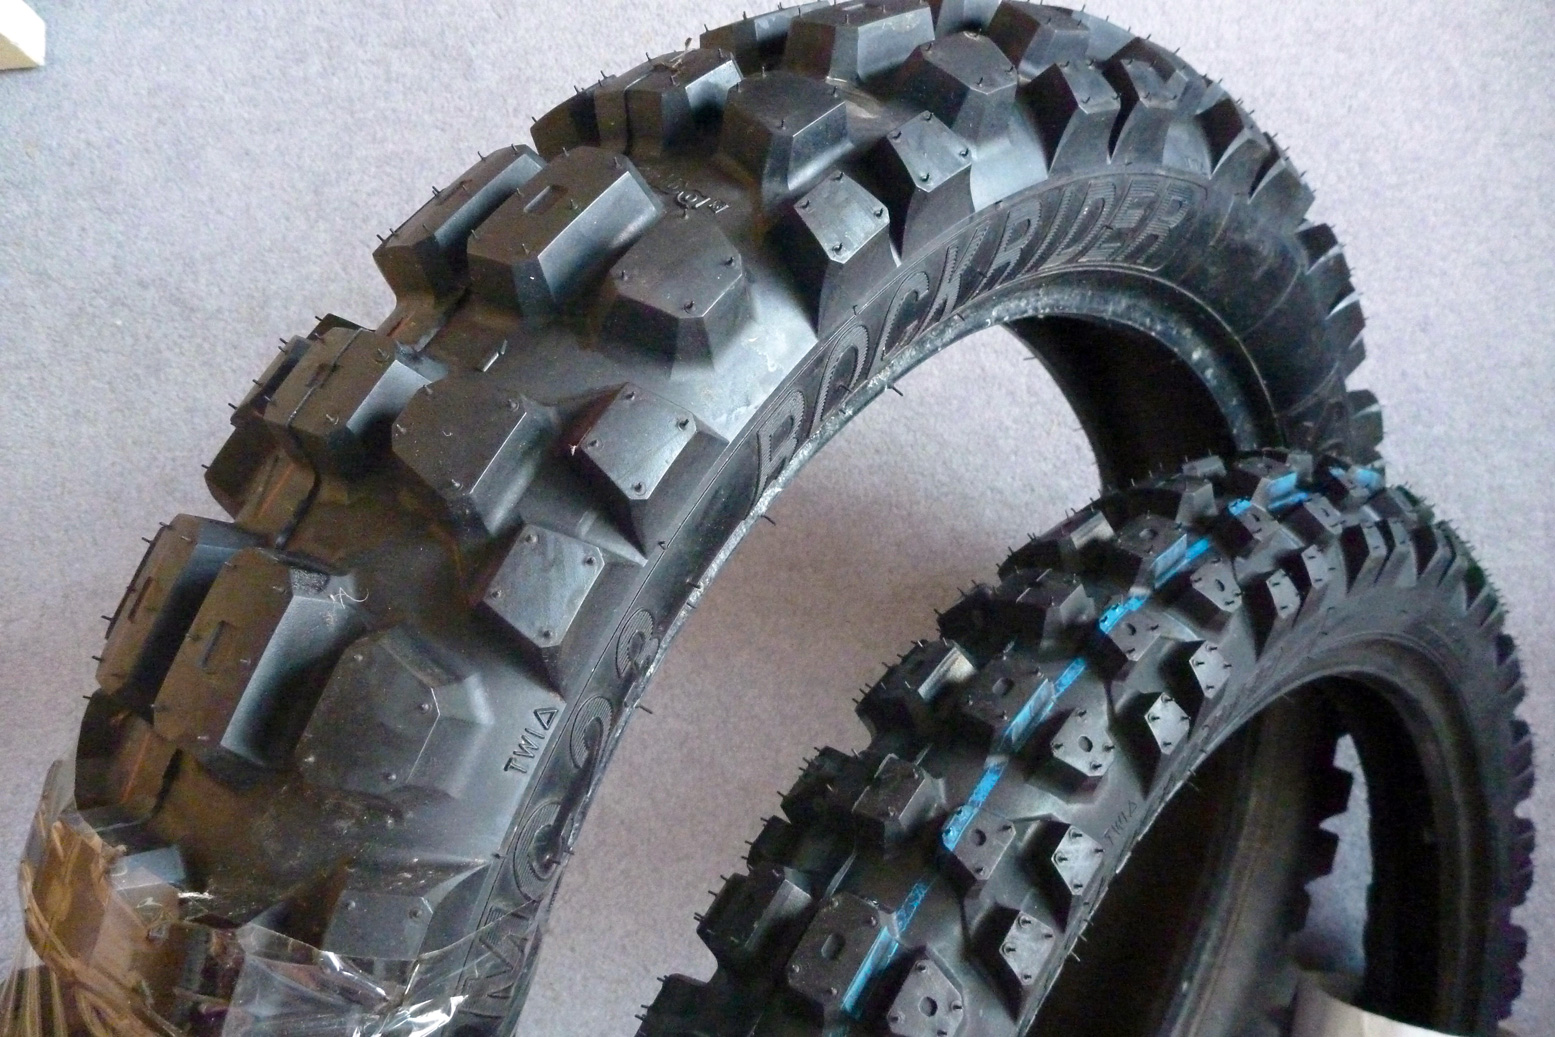
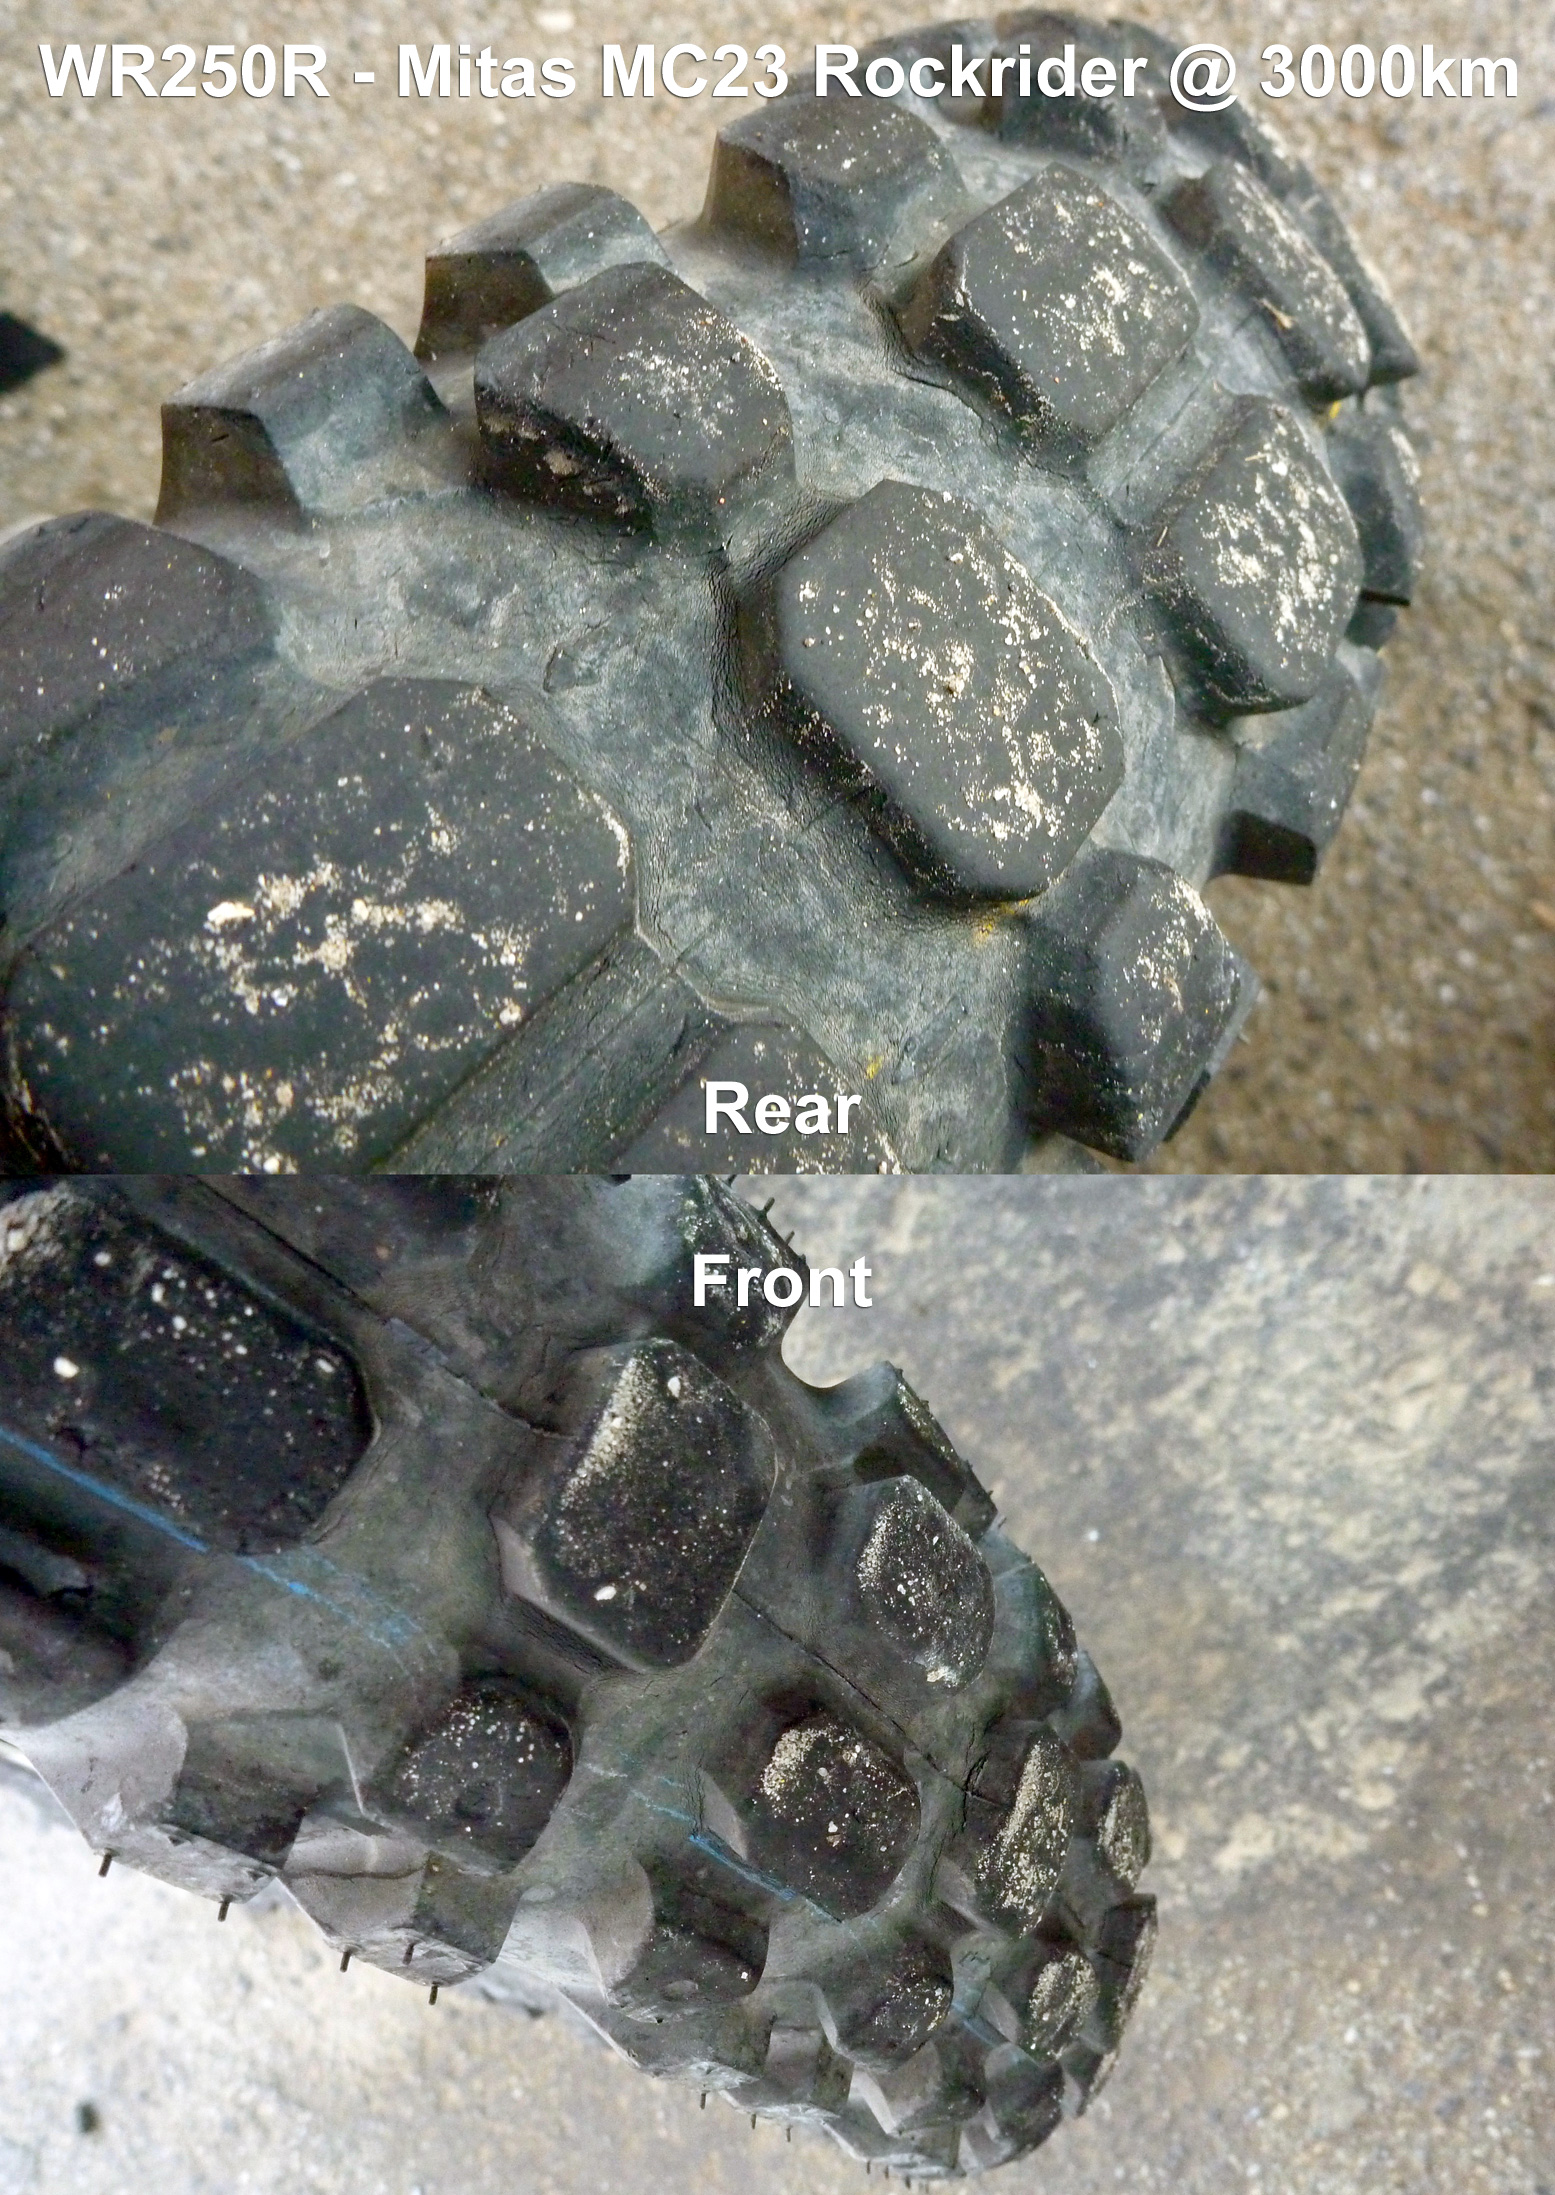
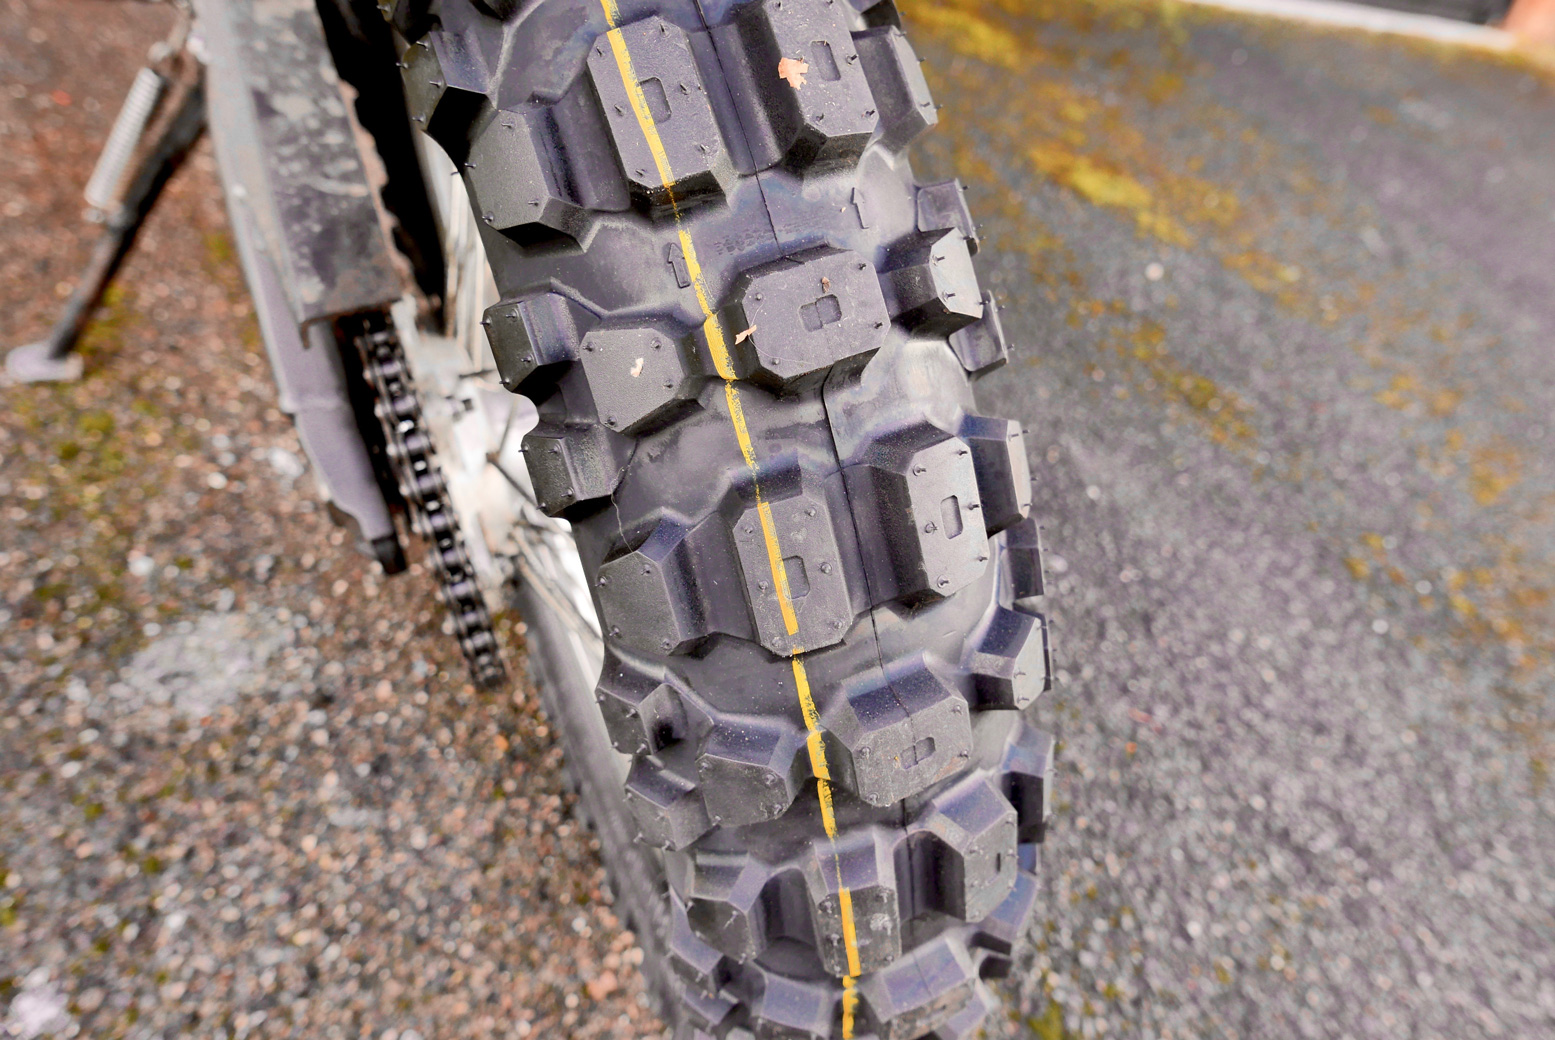
Tubliss and similar work by fitting an inner tube-like ‘core’ (‘HPC’) which inflates up to 110 psi to expand and seal the bead of the tyre firmly against the rim and so sealing off the tyre’s air chamber from the spoke nipples where leakage occurs – the key to converting wire wheels to tubeless. The core is a thick, plastic highly pressurised non-elastic red casing, but it’s kept away from the tyre sidewall or tread where punctures come through.
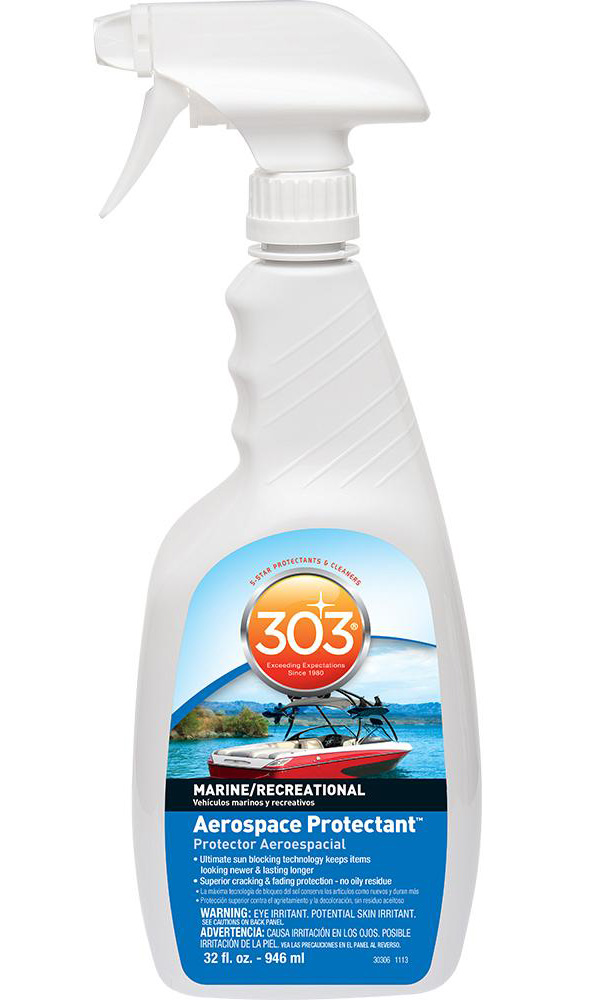
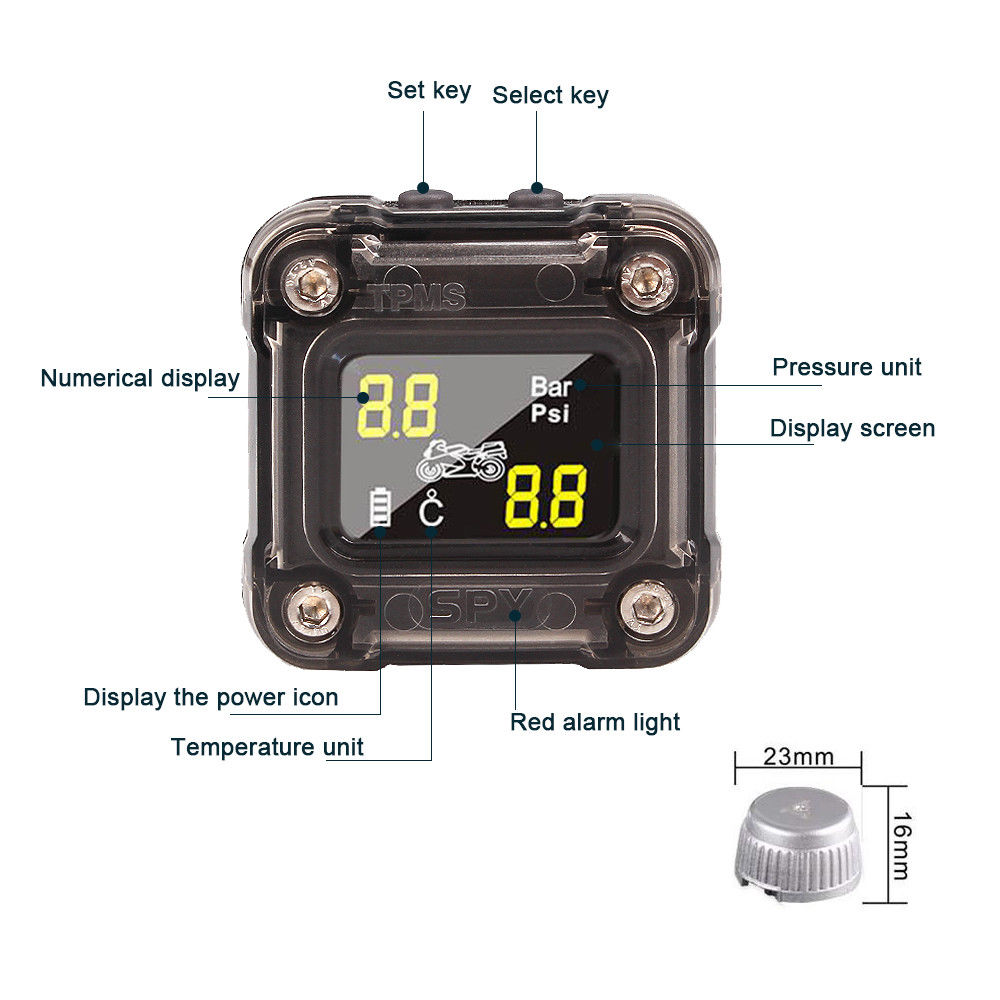
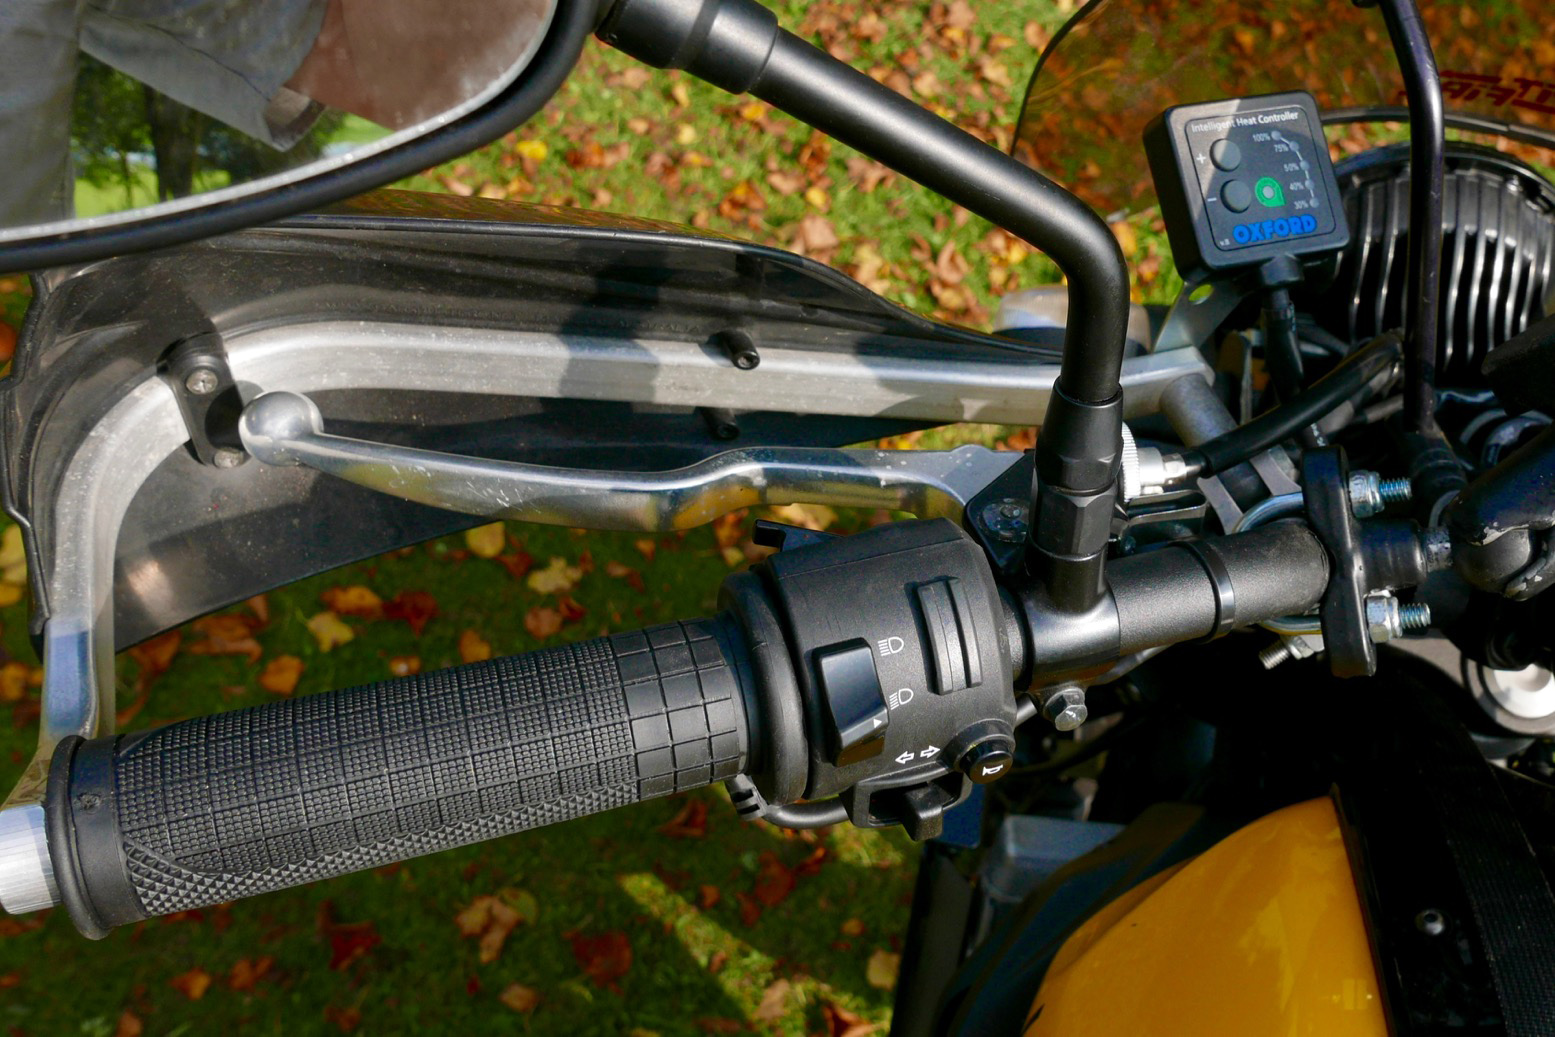
Years ago I fitted a pair to a GS500R project bike running custom 19″ spoked rims. Click the link. Short version: lube the possibly hard-to-fit core with 303 Protectant (right: £15 a pint; same as Armor All in the US). It’s much slippier and longer-lasting than soapy water which is good for the HPC inside. Then run Slime, Stans or similar to ensure sealing (about the same price as 303 but you can MYO). Me, I wasn’t convinced they’re suited to long-range overlanding compared to other simpler systems because of the need to maintain the very high 110-psi pressures in the red HPC with humble mini-compressors. You also need to drill another hole in the rim for the HPC valve/rim lock; no one likes doing that.
Long Tubliss thread on advrider; mostly dual-sporters. Some get on with it, some don’t. In 2019 I rather reluctantly fitted a Tubliss to the stock front steel rim of my Enfield Himalayan. But I’m on the lookout for a 21-inch alloy rim with the safety lips to seal myself with adhesive and tape.


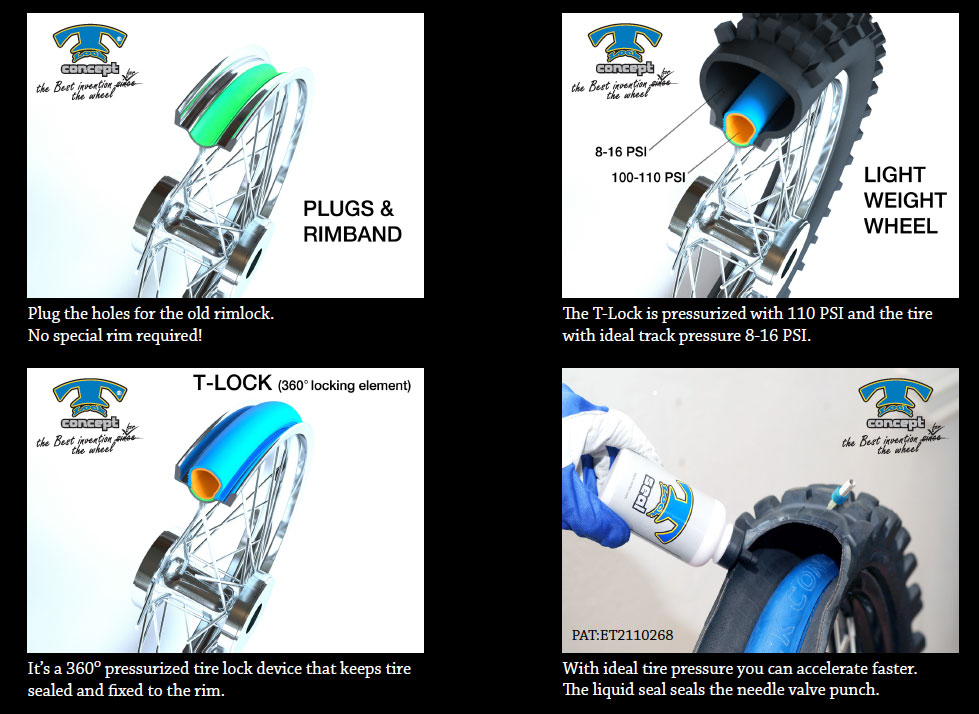
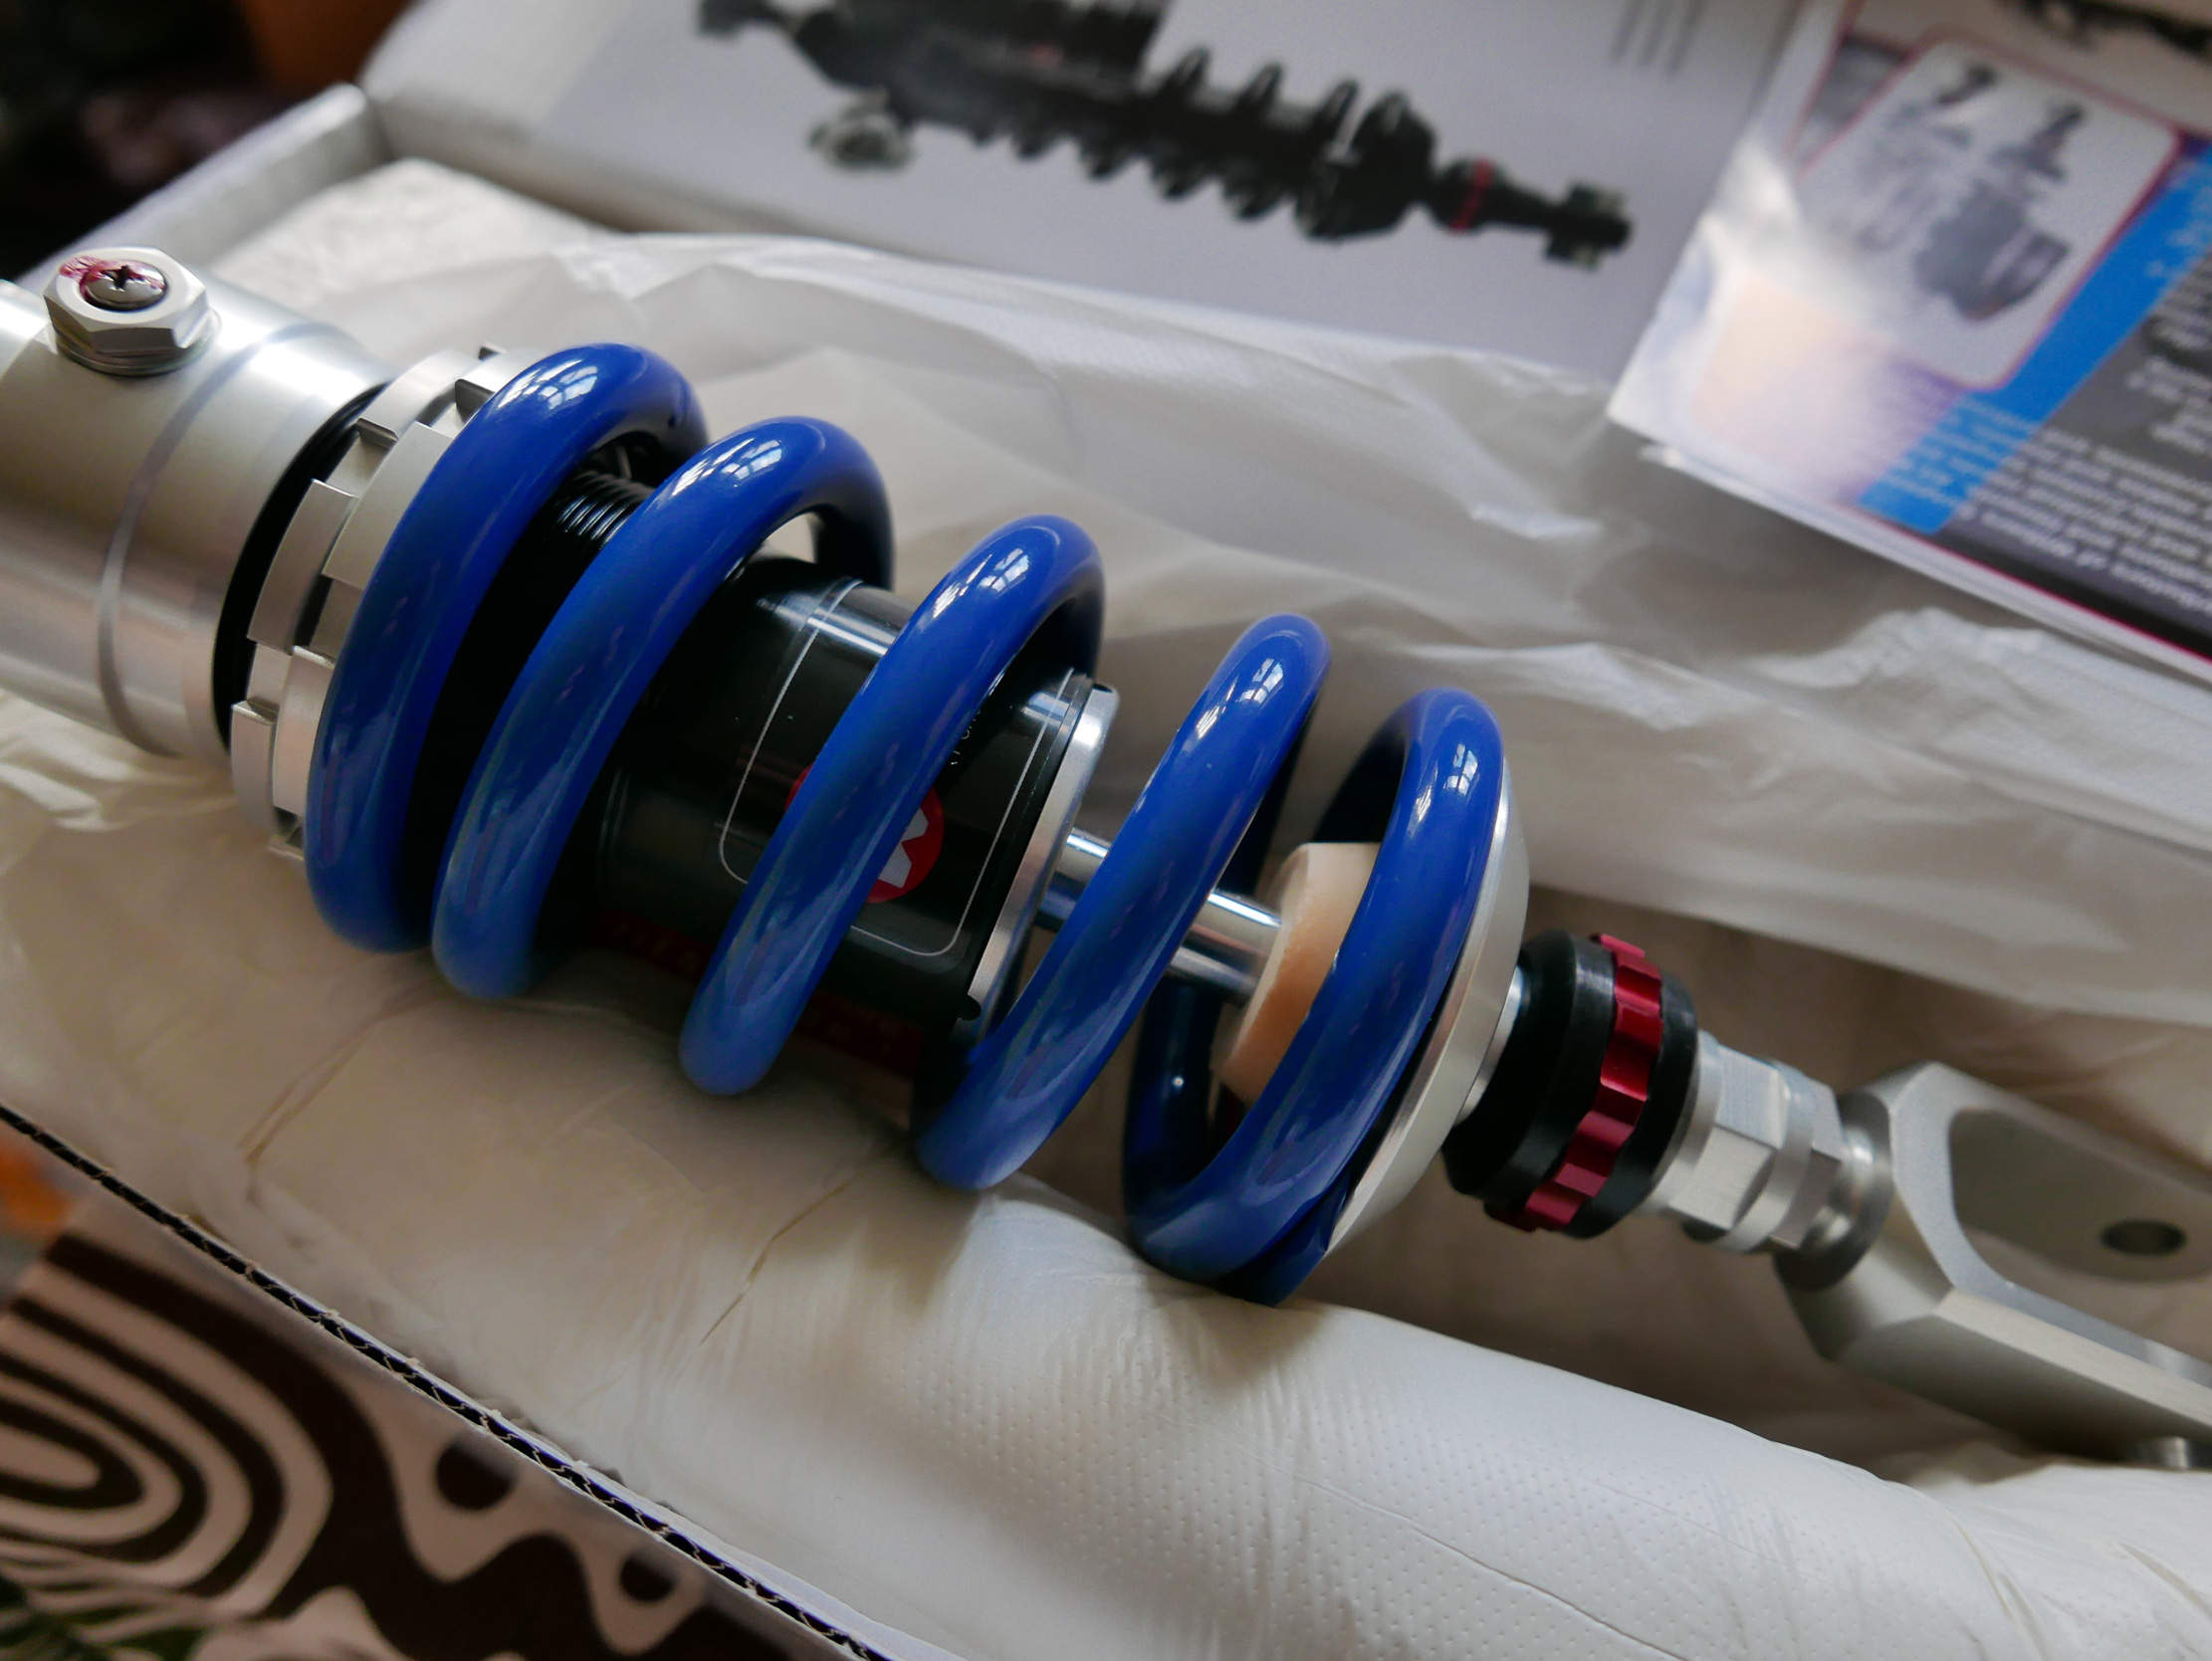
The Swedish T-Lock system is very similar as far as I can tell: the same non-elastic core (blue, left) presses the tyre bead against the rim with very high pressure to seal the tyre’s pressured chamber from the leak-prone spoke nipples and securing the bead to the rim (MT rims not needed?)
The blue tube utilises the rim’s valve hole. This means that unlike Tubliss with its two valves, the tyre must be filled with Slime-like sealant before final mounting and then pressurised by spiking the tyre carcass with a needle valve attached to a Schrader, then letting the sealant plug that hole. This seems to imply you set the tyre pressures once. To modify the pressure you’d have to spike-and seal again. Even more than Tubliss, T-Locks are intended only for motocross use, as the website’s imagery implies. Clearly then, not at all suited to overlanding.