
My Acerbis ’14-litre’ tank finally arrived from Italy, not as fast as some crash bars from Guang Zhou in just 12 days. So high time for a day of spannering and probable gnashing of teeth. Rally Raid are also sending me their trail wheel wrench with a 24mm ring for the rear and 14mm hex for the front.
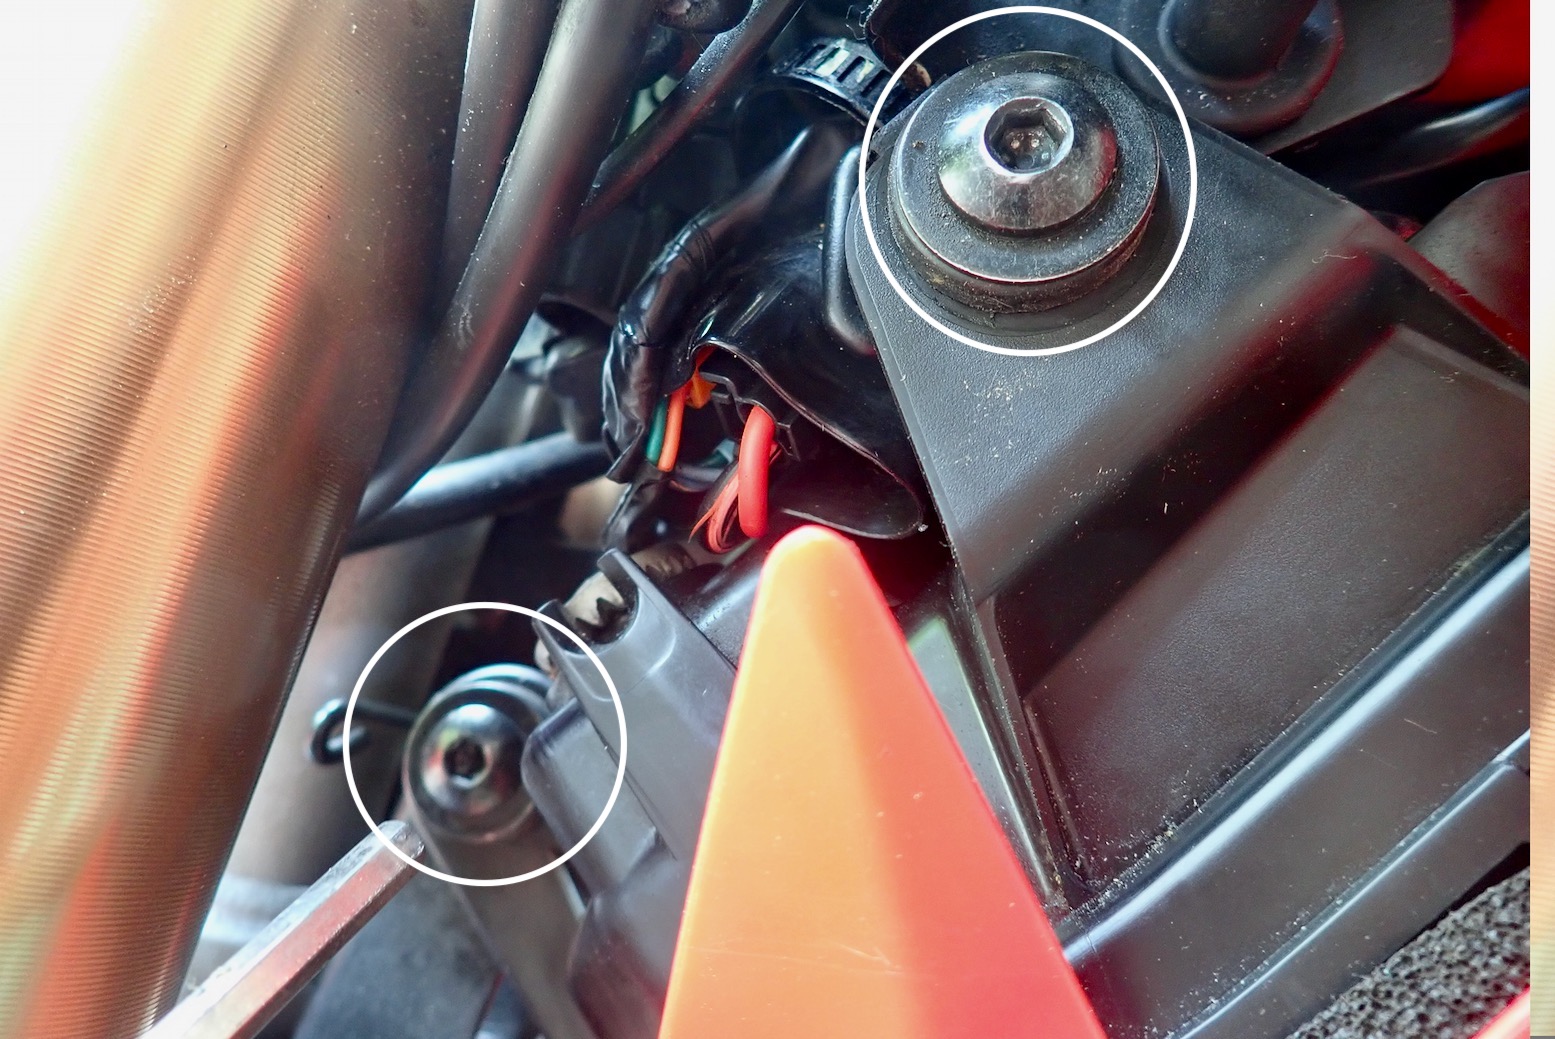
Rally Raid suggest that from new you may want a full-size socket and tool to undo the axle first time so the hex is another tool to buy – an afternoon wasted locally before I submitted to amazon ‘next day’. But the idea of a recessed hex fastener in the front axle is actually quite clever – I’m sure the AT had one too and car gearboxes have similar drain plugs so there’s no protruding bolt head getting rounded off by rocks and kerbs.
The other day after swapping the front tyre back to OEM IRC, I wore myself out trying to refit that front wheel axle with the bike perched over on a log. A lip on the axle shaft makes shoving it over to reach the thread on the other fork leg confounding.
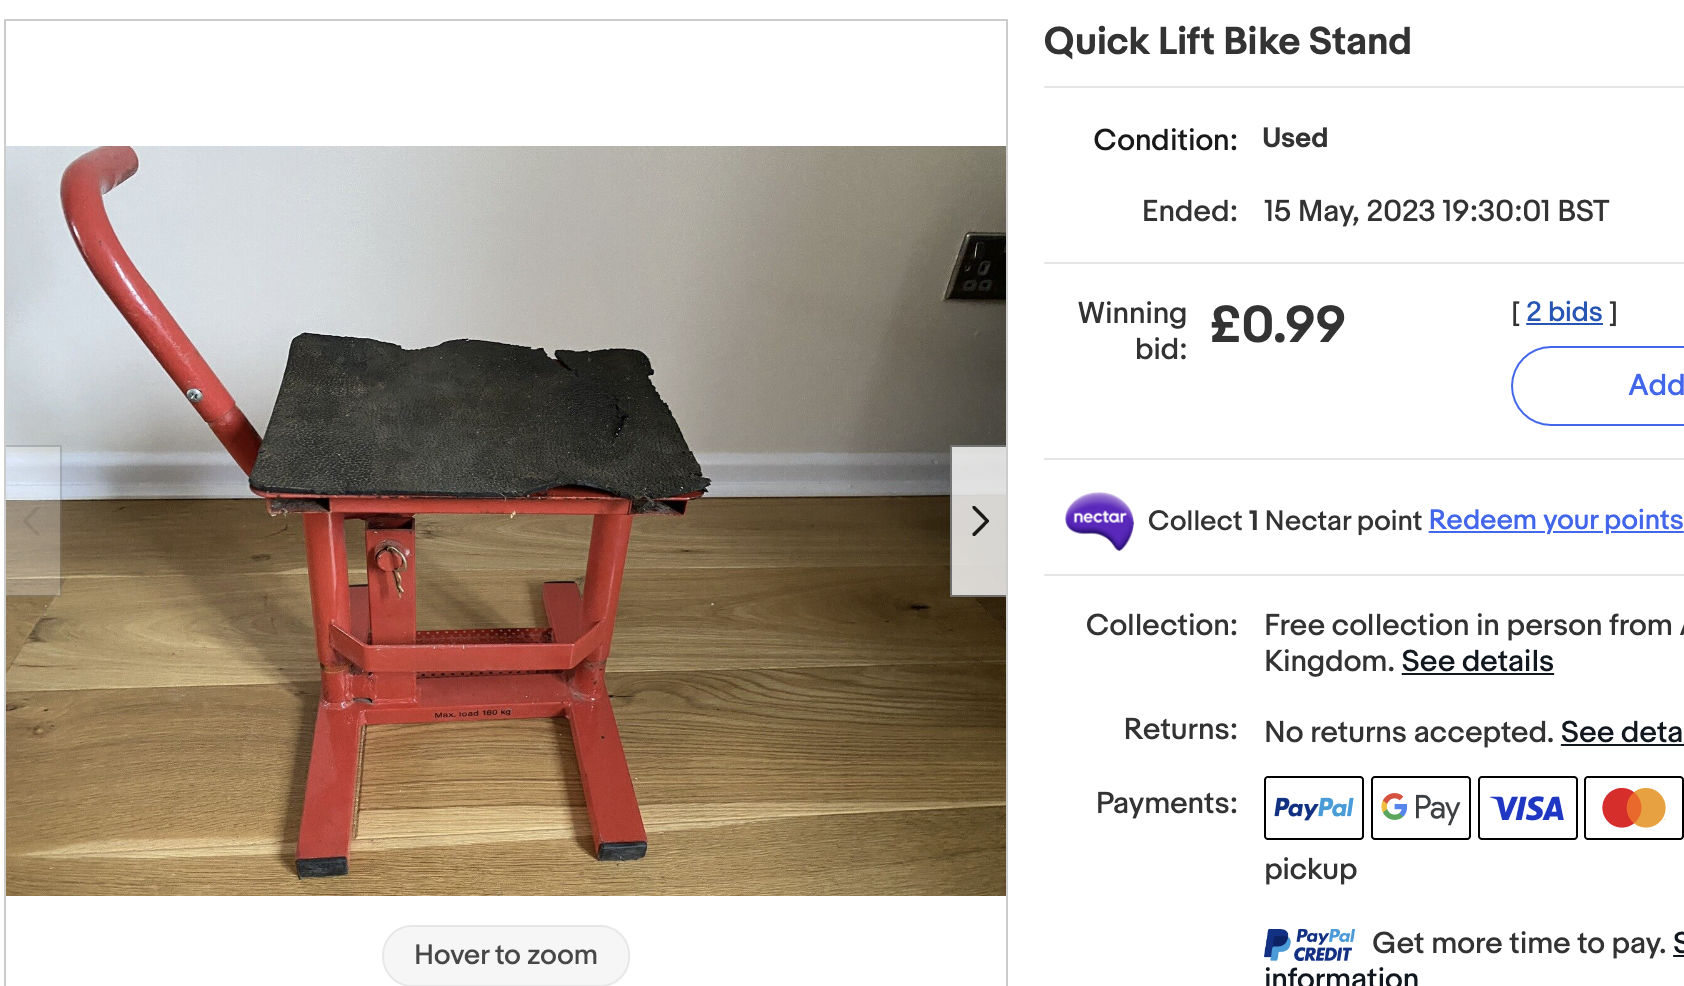
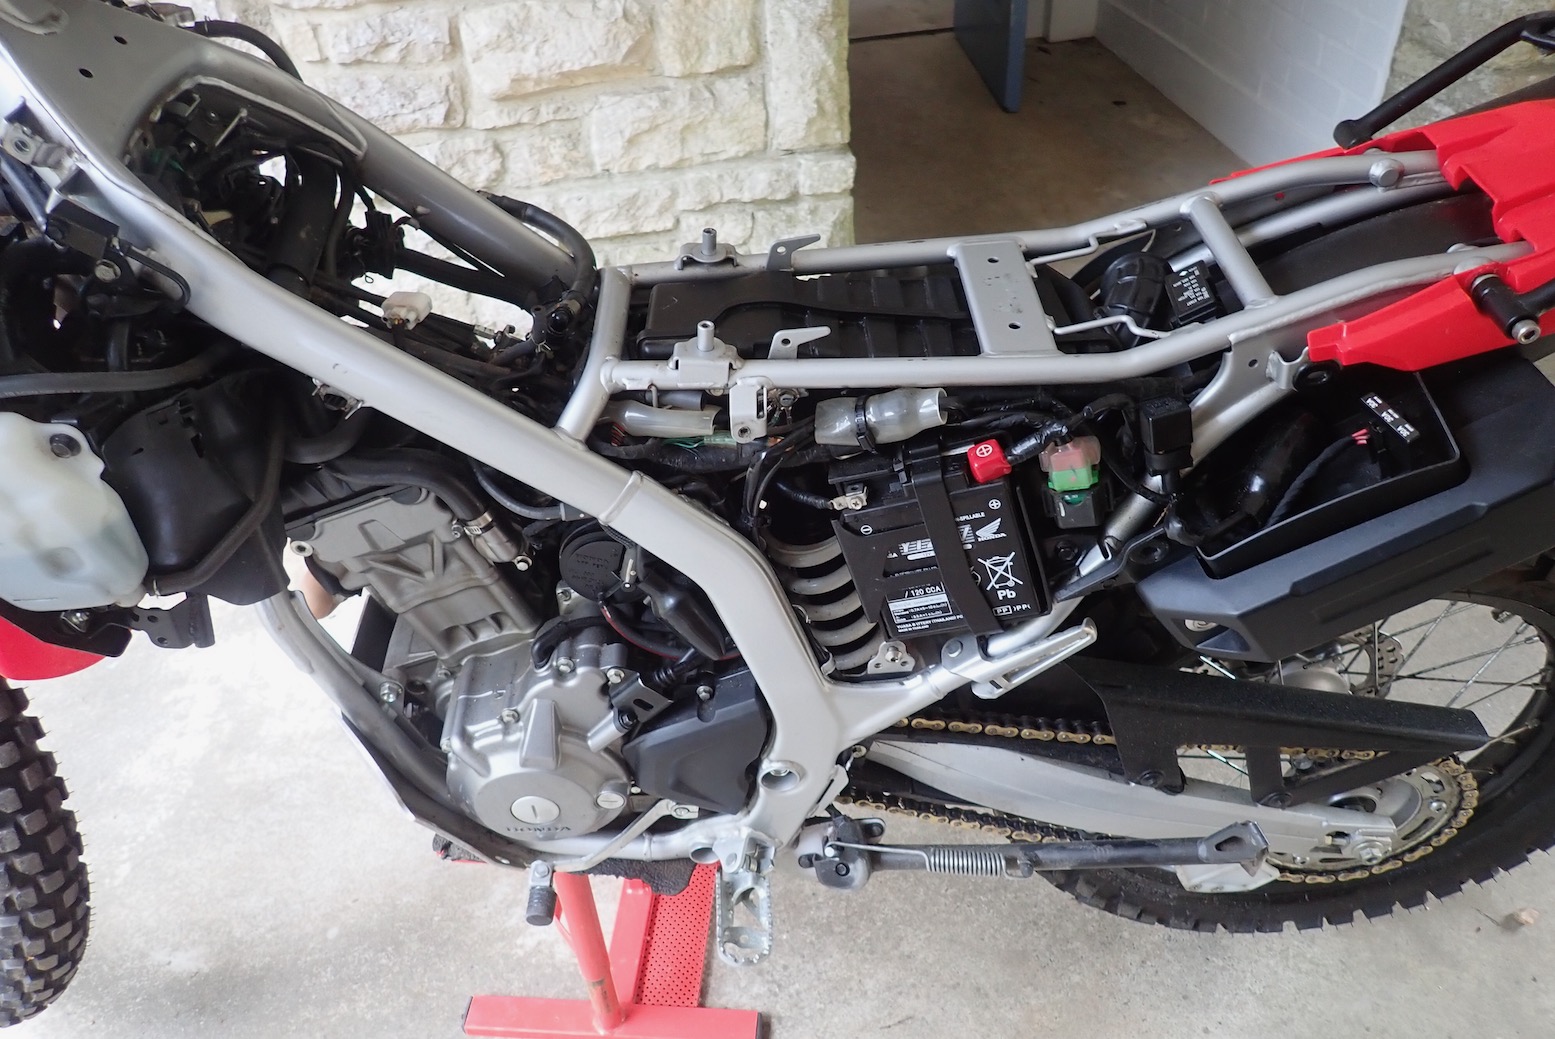
I like to think an upright, stable bike sat on a bike lift will make life easier. Luckily there was one an hour up the road for just 99p. Years ago I’d have scoffed at such decadence and just used a milk crate. But when’s the last time you saw one of those?
Acerbis tank
In the old carb days, Acerbis plastic tanks had a reputation for not always fitting well – like so much aftermarket gear, tbh. And now in the efi era you have to swap a huge fuel pump assembly with associated hoses and wiring.
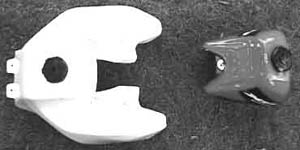
But it seems Acerbis have upped their game in the 20 years since I fitted a gigantic 37 litre whale to the back of my XR650L (left). With none in the UK, my black-only tank cost me £320 imported from Italy. The finish looked a lot better than I recall, and the complex shape suggests a nod to the precision potential of CAD. Here, J-Mo describes the Acerbis tank job in meticulous detail, including tips and possible traps. Time to follow her lead.


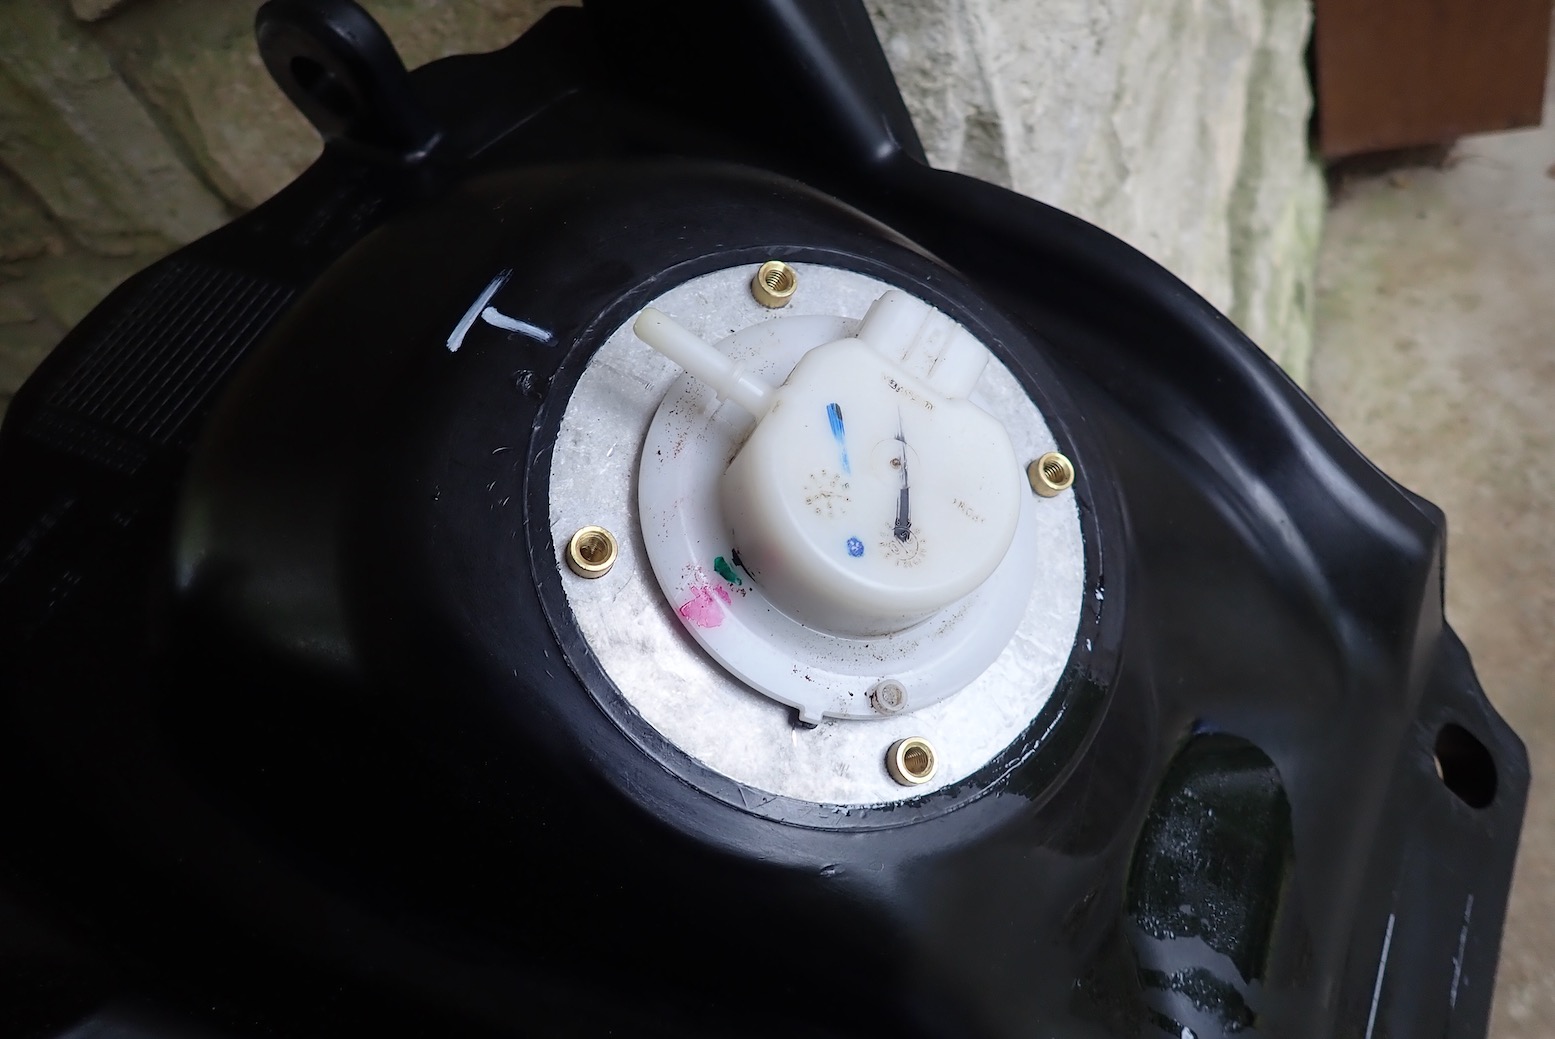

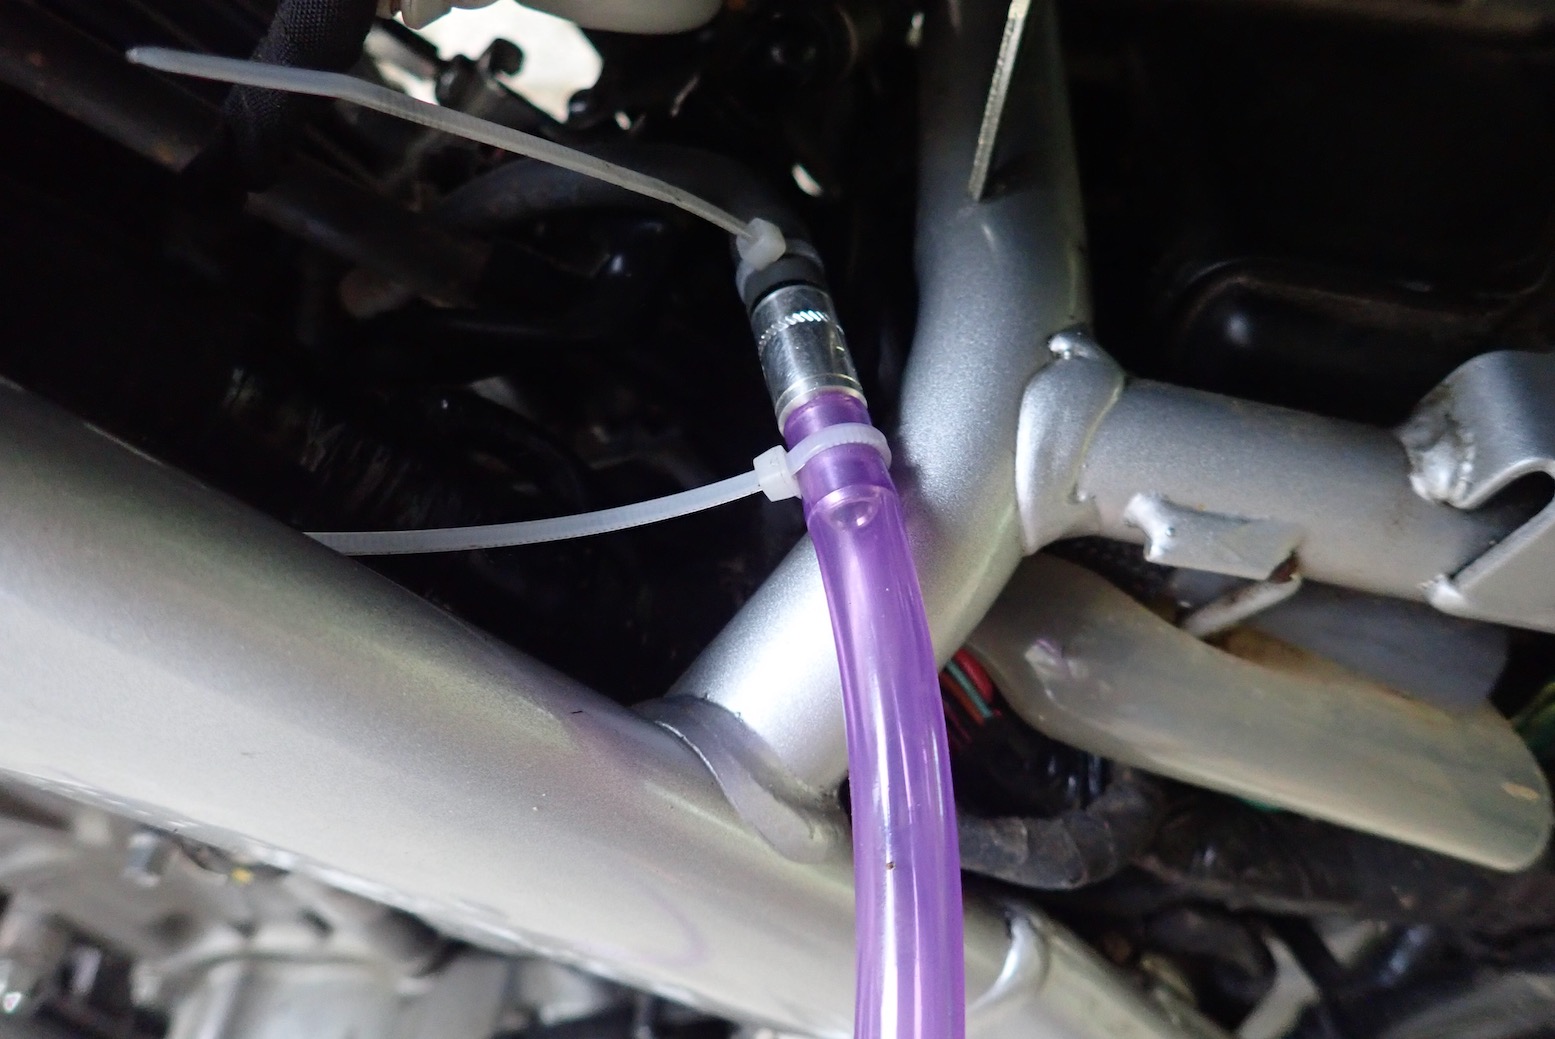


A calibrated refill revealed the tank holds 13.85 litres or A tad over 3 UK gallons which is a figure I’ve seen elsewhere. That will do me – at a dependable 85mpg or 30kpl = 415km or 260 miles range.
Protection
A slim bike like a 300L doesn’t need engine crash bars – a well spec’d bash plate like the Ad-Tek the seller fitted to mine does the job.
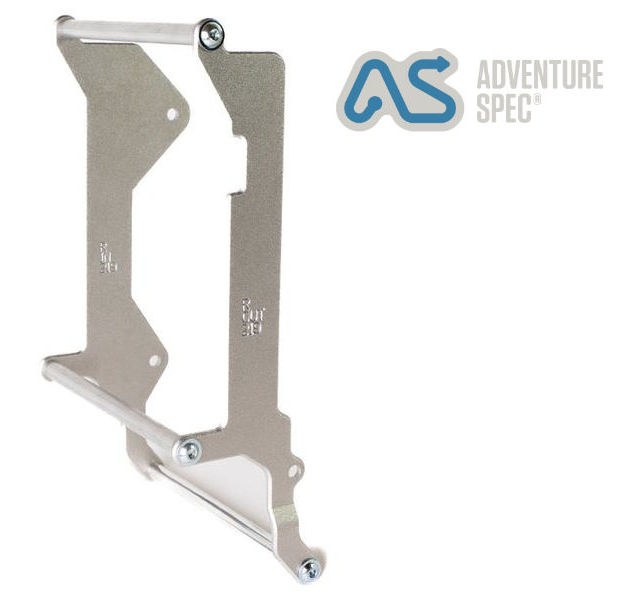
But CRF-Ls have a vulnerable rad (like Africa Twin 1000Ls, as I found shortly before D-Day). The 300’s rad sticks way out into the RHS breeze so when you fall it takes the impact via some plastic. I think they’re all like this these days but what a crumby design for a small trail bike! Adventure Spec make a radiator brace (left) which bolts a sturdy frame round the rad and looking again, it’s actually seems OK for £66 and 240g.
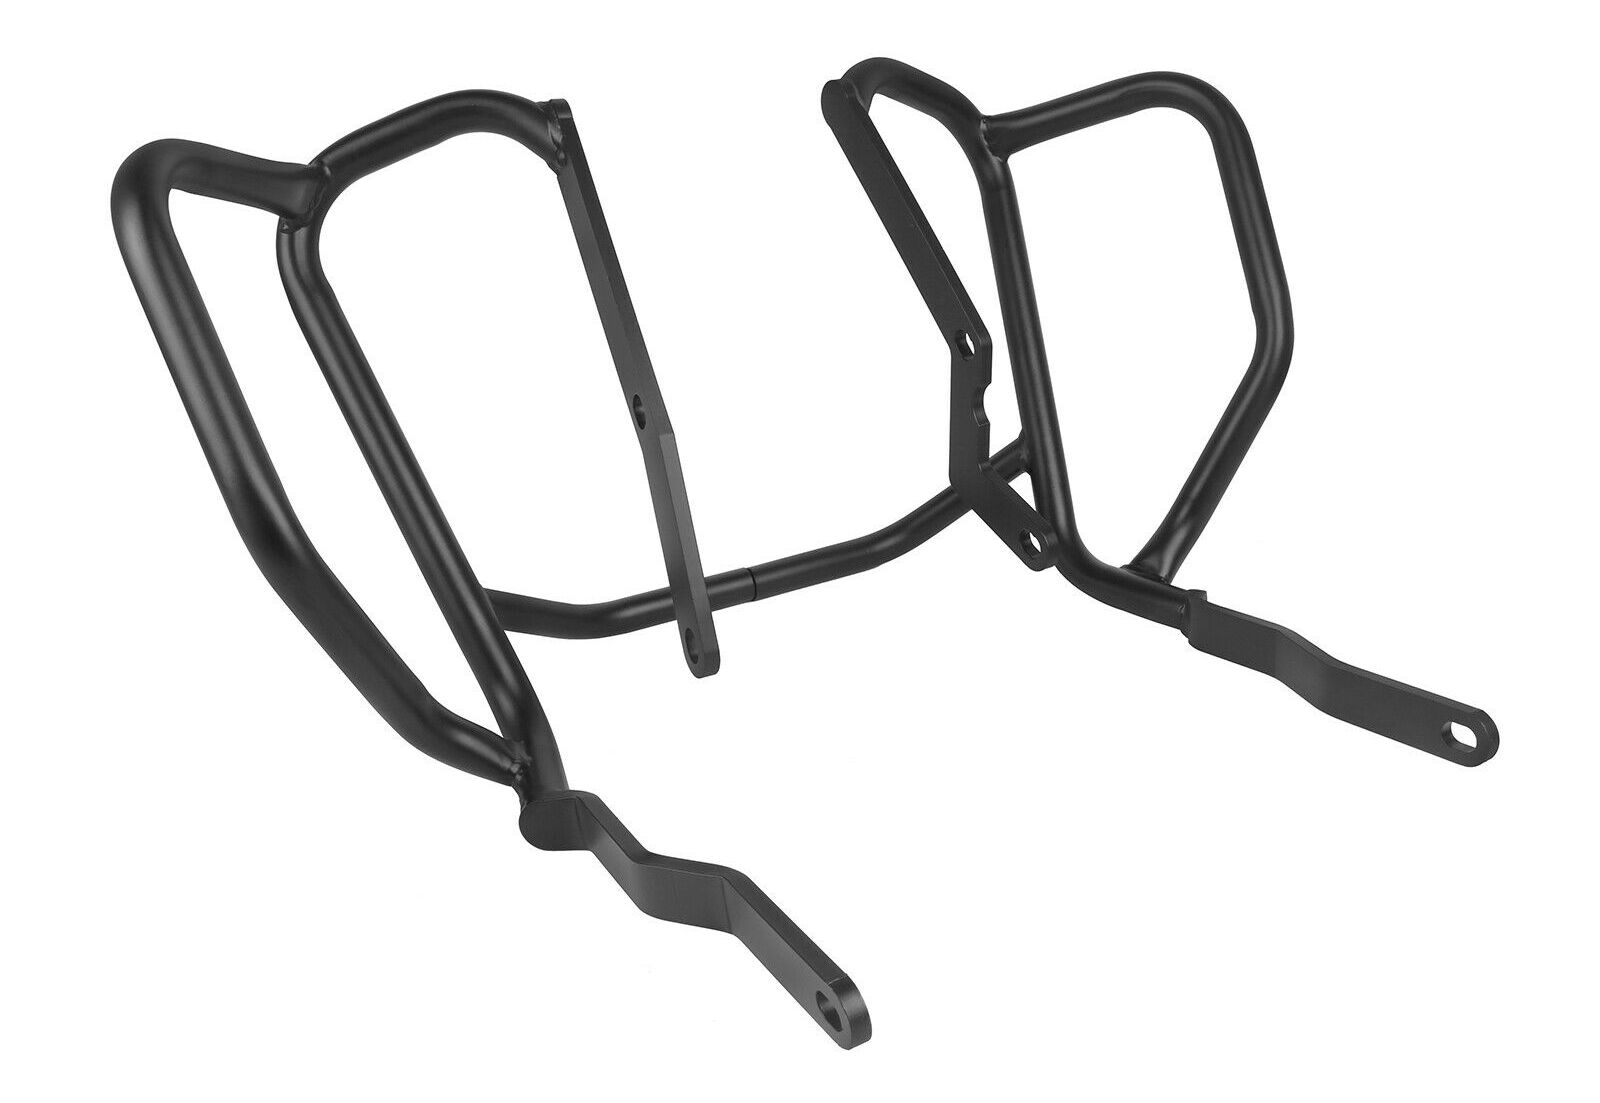

What I really wanted were currently unavailable Outback Motortek bars (above right) which protect the rad, not so much the lower engine which a good bashplate does. Plus I could mount my Lomo sidebags on them; not be possible with the ASpecs. Looks like the OMs may be back sooner than I thought, but in the meantime I bought some Chinese no-name crash bars (above left; 4.2kg). Tellingly there was no fitted image but they looked similar to the Outbacks, or maybe I just saw what I wanted to see. They’re well made but turns out they fit low and the bashplate would have to go. Bash is non-negotiable so I sold them on.


As it is, unlike an AT etc, a 150-kilo 300L has much less self-destructive mass when it tumbles, So I think 22mm ø tubes at 2mm thick as used by China bars and Outback Moto are a bit OTT. I bet 18mm would do fine, as on the Himalayan’s tank racks (left). But 22 is what we get – possibly because of a shortage of well-braced/spaced mounting points to securely support a thinner structure. That’s how it seems on the China bars. My weldy chum who made my Him’s rear ‘ear racks’ was insufficiently motivated to tackle a complex pipe-bending task for anywhere near direct-from-China- let alone Outback’s prices.

Another reason for wanting tank/rad bars is to carry luggage up front where you can see it and get to it from the seat. That way you dispense with a rear pannier rack so the weight penalty can balance out) and just use a tailpack. ‘Fishform‘ they call this in kayak hull design – ie: more width up front. This way the engine/radiator bars double up as pannier racks.
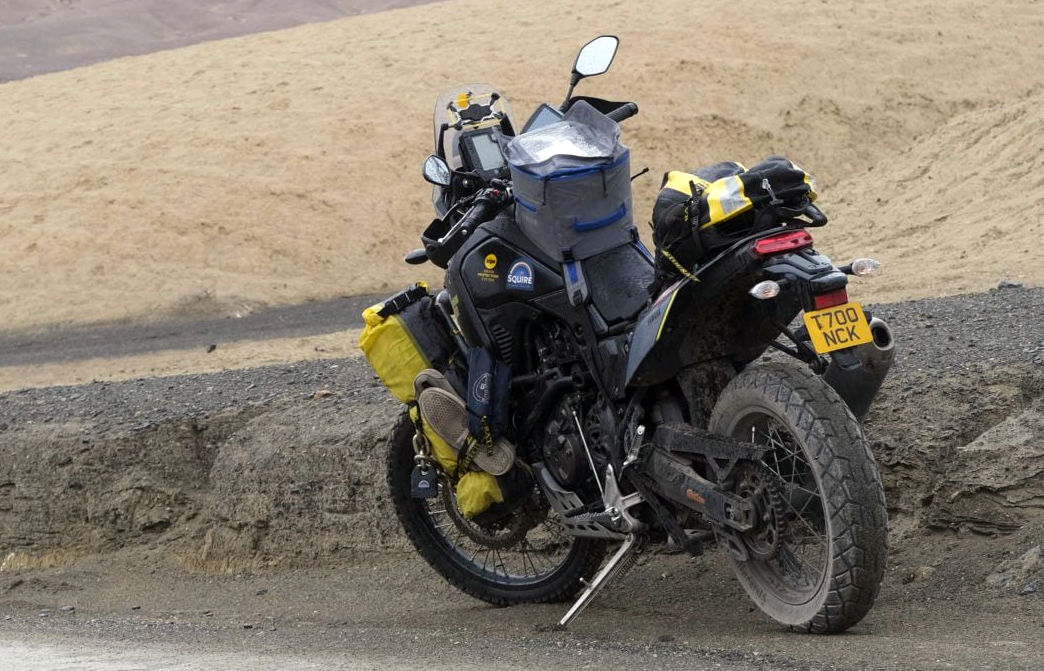
I tried this idea with the AT (above left), and when I got back noticed serial RTW-er Nick Sanders had done the same on his T7 RTW bike (above right). A side benefit with soft bags on tank-side racks is the bags absorb impacts before the rack, leaving the rads asleep in their beds. I do wonder if these low Chinese bars with a wide frame are to mount a pannier may work well after all.
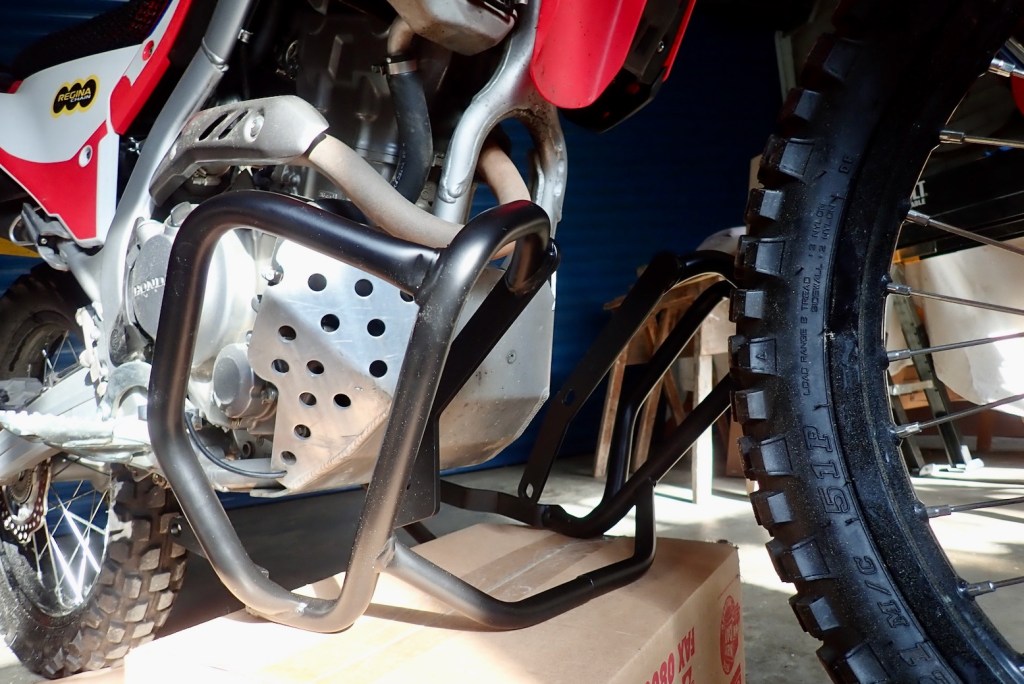
Later I lined the bars up under the engine and it was clear for small panniers the mounting would be way too low and probably drag on corners. Back on ebay they do go.
The Outback Motortek radiator crashbars arrived a few weeks later. They’re hefty at around 4kg with long, carefully shaped 5mm plates clamping to the engine mounting bolts on the downtube. As mentioned above, it all feels OTT for a light bike that doesn’t have the mass to destroy itself, as if they’re just transposing ideas from heftier bikes which do need heft. The design has the entire top part unsupported apart from cross braces and so depends on the strength in the plates to resist the deforming leverage. Were there a single mount somewhere on the headstock the whole set up could be half the weight, like a 400 Himalayan, above.

USB power plug
I took the chance to fit a USB power plug. You can buy them on ebay pre-wired with a fitting matching a spare switched socket somewhere behind the headlamp. ‘Switched’ means it only powers up with the ignition on. Annoyingly mine turned out to be just a USB adaptor fitted into in a cigarette lighter which means another layer of electrical connection to play up, but I suppose the USB plug can be easily inspected changed. Not all work or for long I found in March.
First I had to remove my GP Kompozit screen which weighs just under a kilo, fyi. Next, undo a pair of allen-head rubber mounts either side of the headlamp assembly and remove the whole thing. The auxiliary socket is soon located among the black spaghetti and the over-long USB plug lead clicked in.
But to quote the late Haynes ‘assembly is not a reversal of dismantling’. Is it ever? The lower mounts wouldn’t line back up. I assumed the new wiring was in the way and pulled it through but still no luck. Rubber grommet spacer-washers get pulled off as you try and shove the headlamp onto the mounts. Then I enjoyed a bolt dropping down onto the mudguard top. I managed to flick it out and resumed alignment; it did seem like the mudguard top was fouling the cowling – as John Cooper Clarke might have said. I removed the mudguard (loosening might have been adequate) and loosened the top headlamp mounts: that did the trick. It all went together like it should.

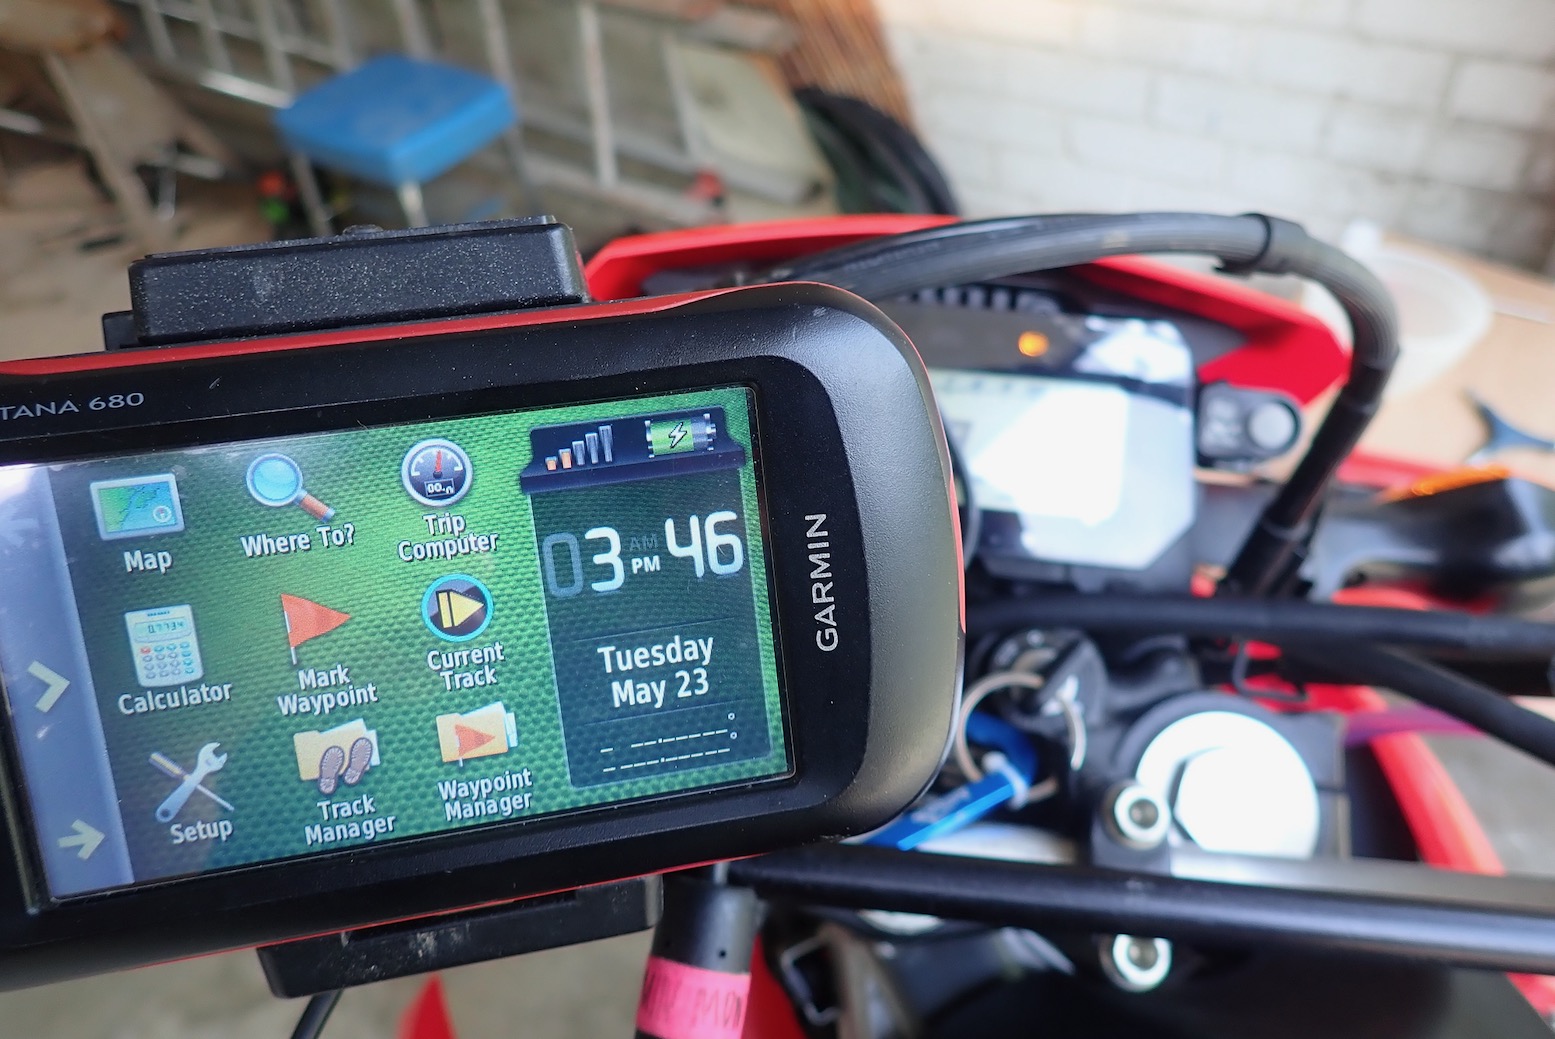
Next: will the Garmin charge off the bike once the ignition is on or go into mass storage mode. It did the later when the USB gets in a muddle. Go to Garmin Menu > System and change from Serial to Spanner mode. The Garmin will switch on as normal and a sign that it’s working is a flashing charging battery icon, as below.