Honda Africa Twin Index Page
‘Hotel Sahara‘ on AdvRider
See also: KTM 890R
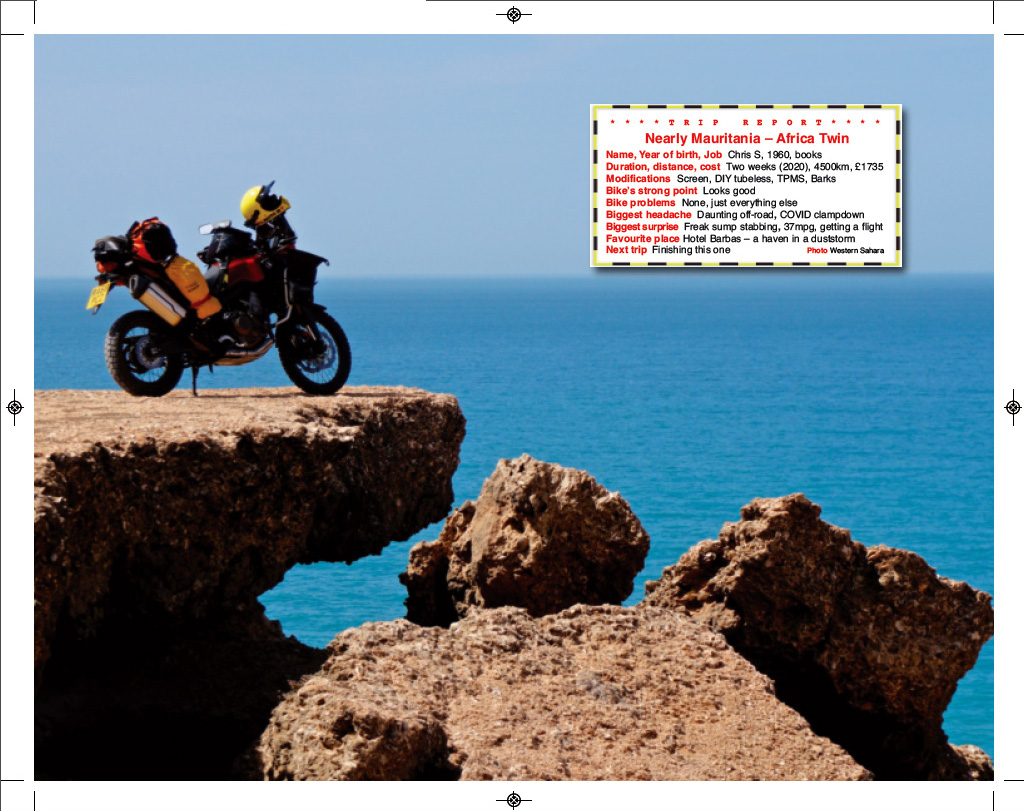
In a line:
It was interesting to dip a toe into BigBikeWorld, but as expected, it’s unnecessarily big, heavy and juicy for my sort of road touring and easy off-roading.
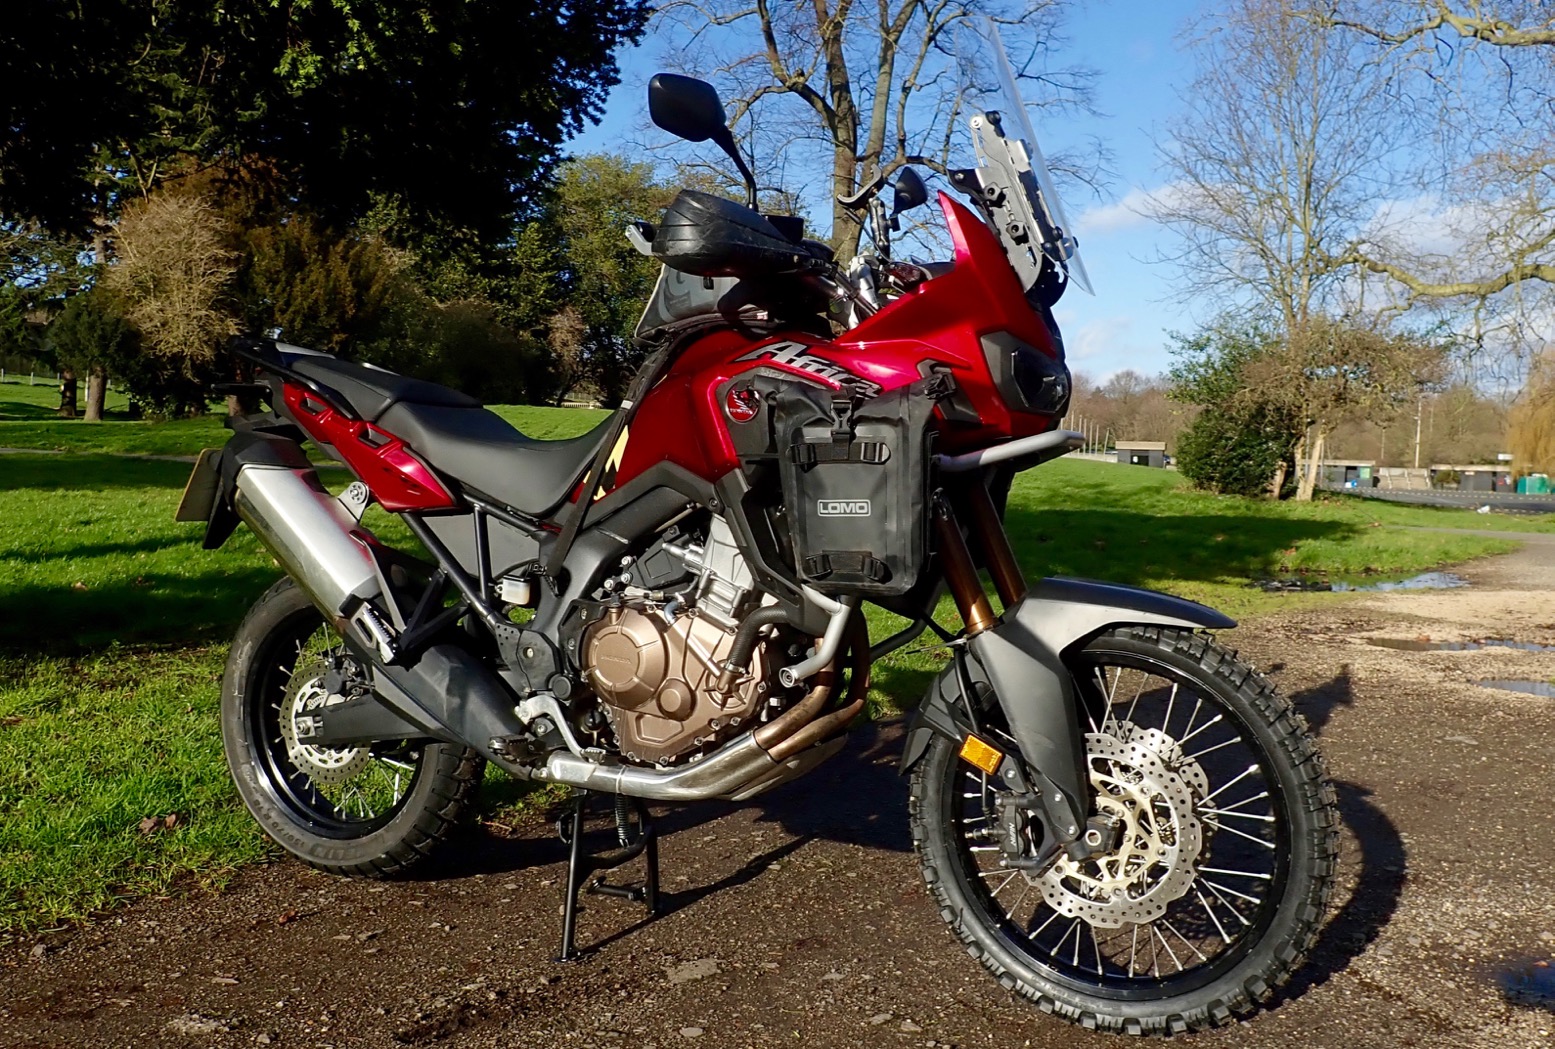
![]() • Looks good
• Looks good
• Feels like a giant trail bike
• Torquey 270° motor
• You just know it will start and run; Honda piece-of-mind
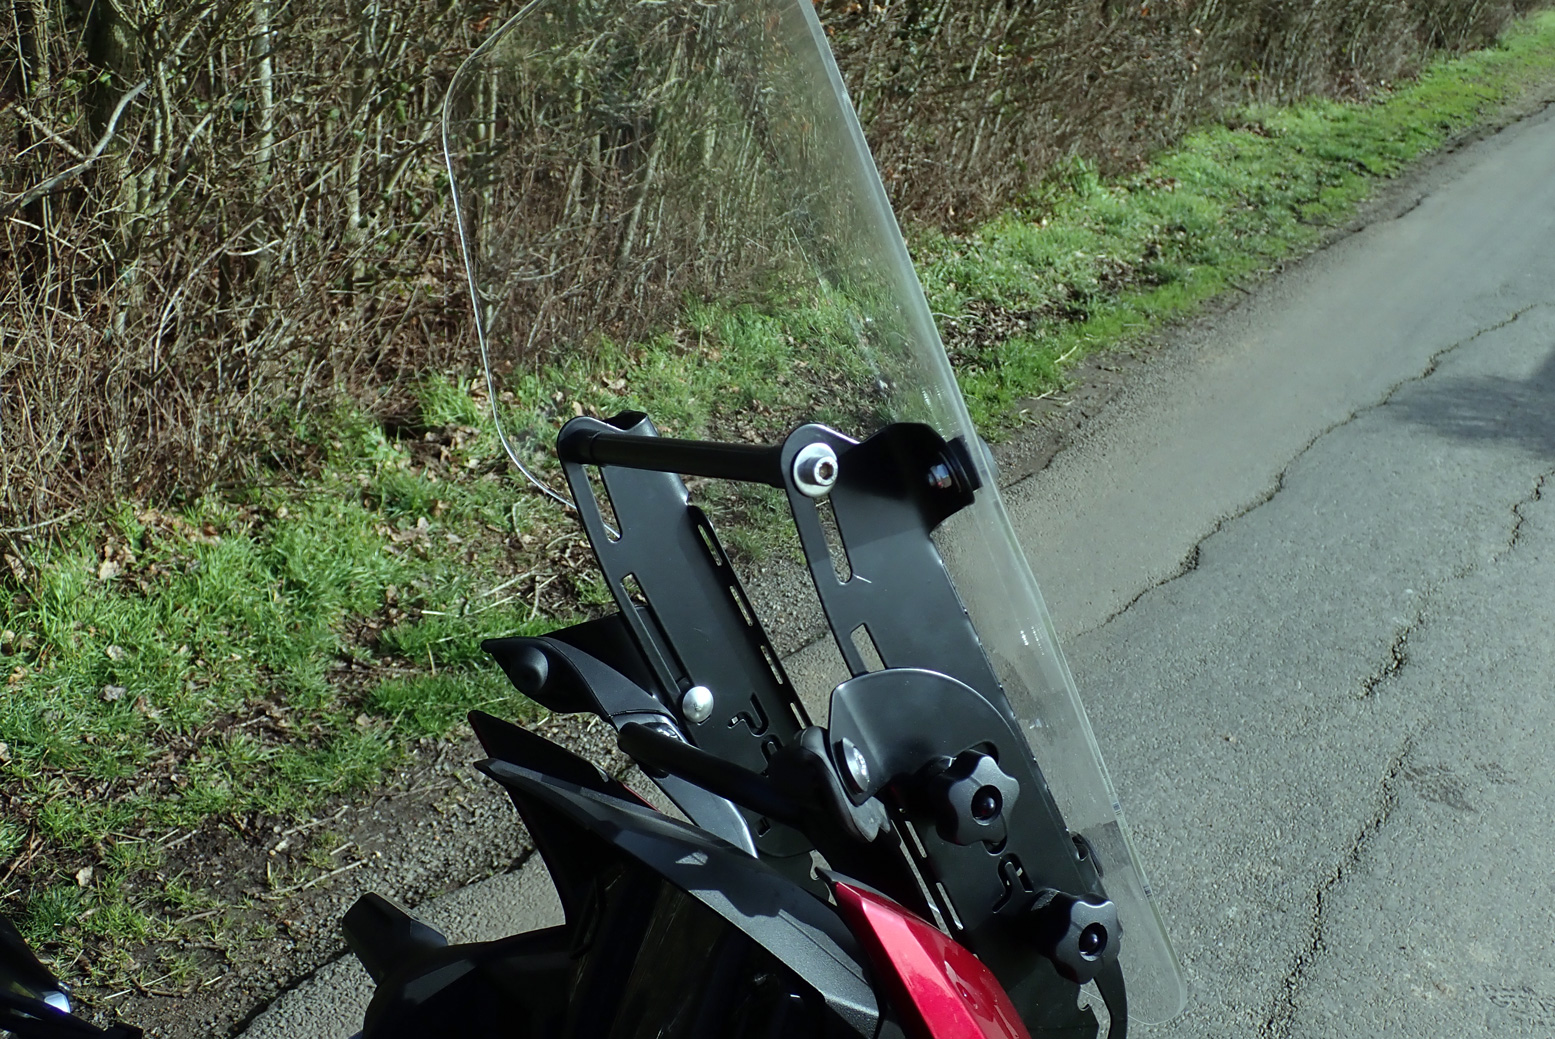
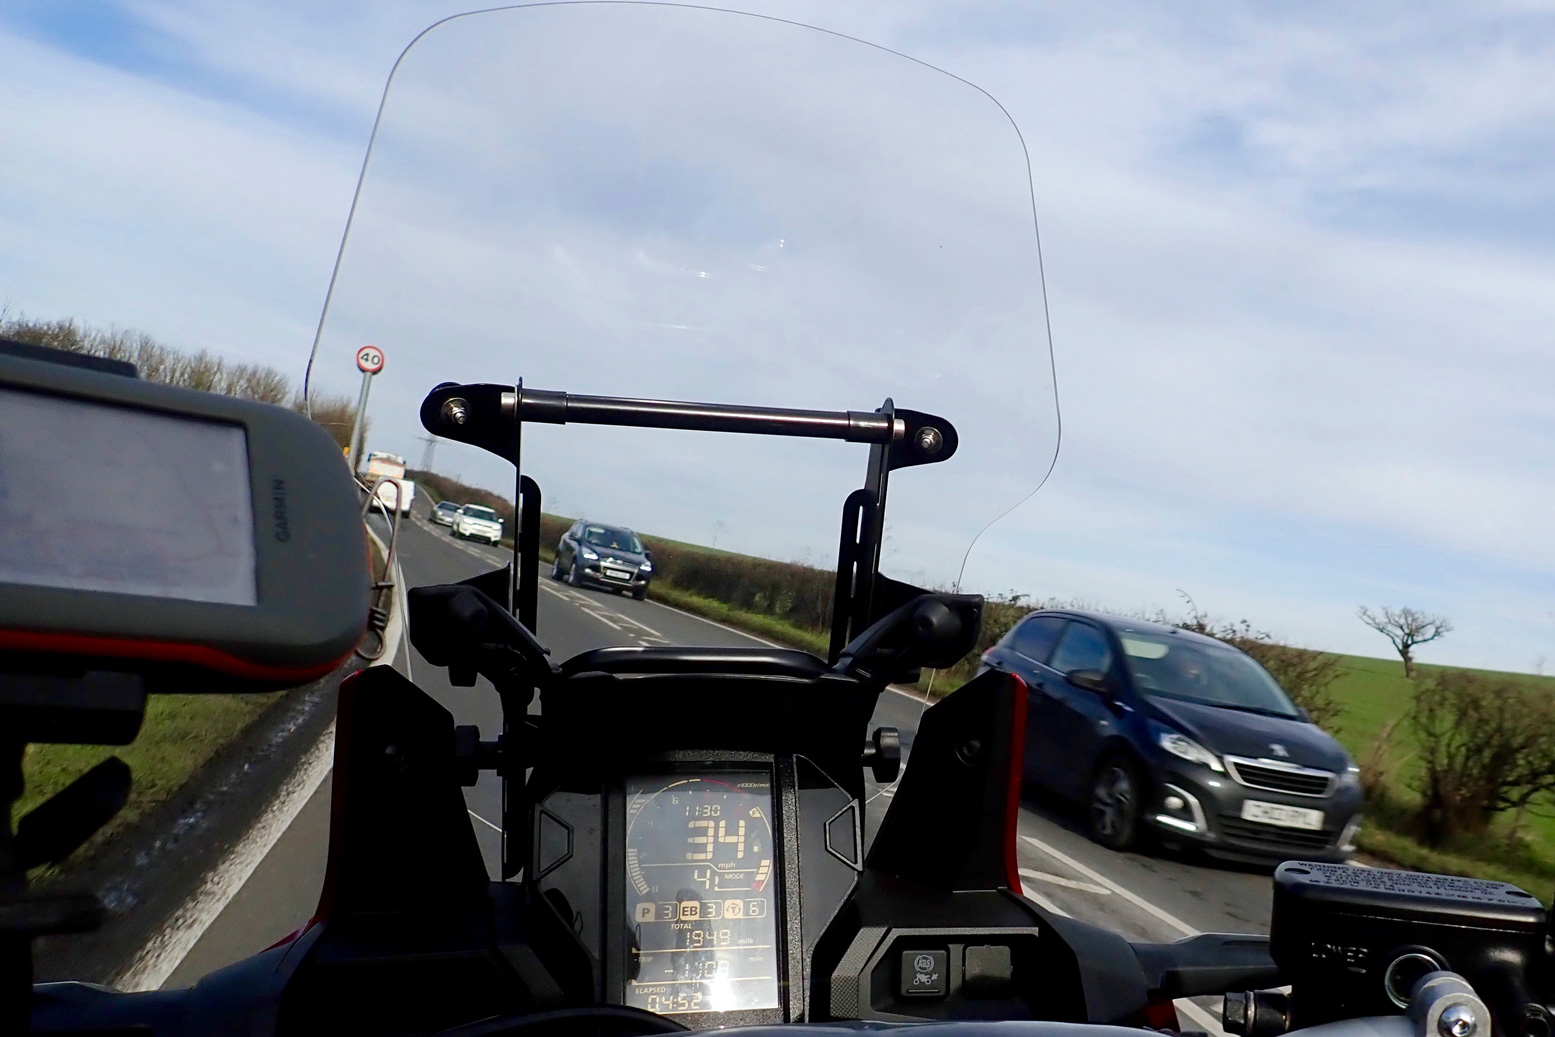
• Adjustable Palmer windscreen
• My DIY rear tubeless worked well
• Seat not bad. Adjustable, roomy
• Fully adjustable stock suspension (with rear PLA)
• Modes aplenty, if you like that sort of thing
• With a fair wind, 400+ km range from 18.9-litre tank
![]() • Feels big and top-heavy at low speeds
• Feels big and top-heavy at low speeds
• That’s probably down to the minimum 870mm (34.2″) seat height
• Radiators are vulnerable, even in static fall overs
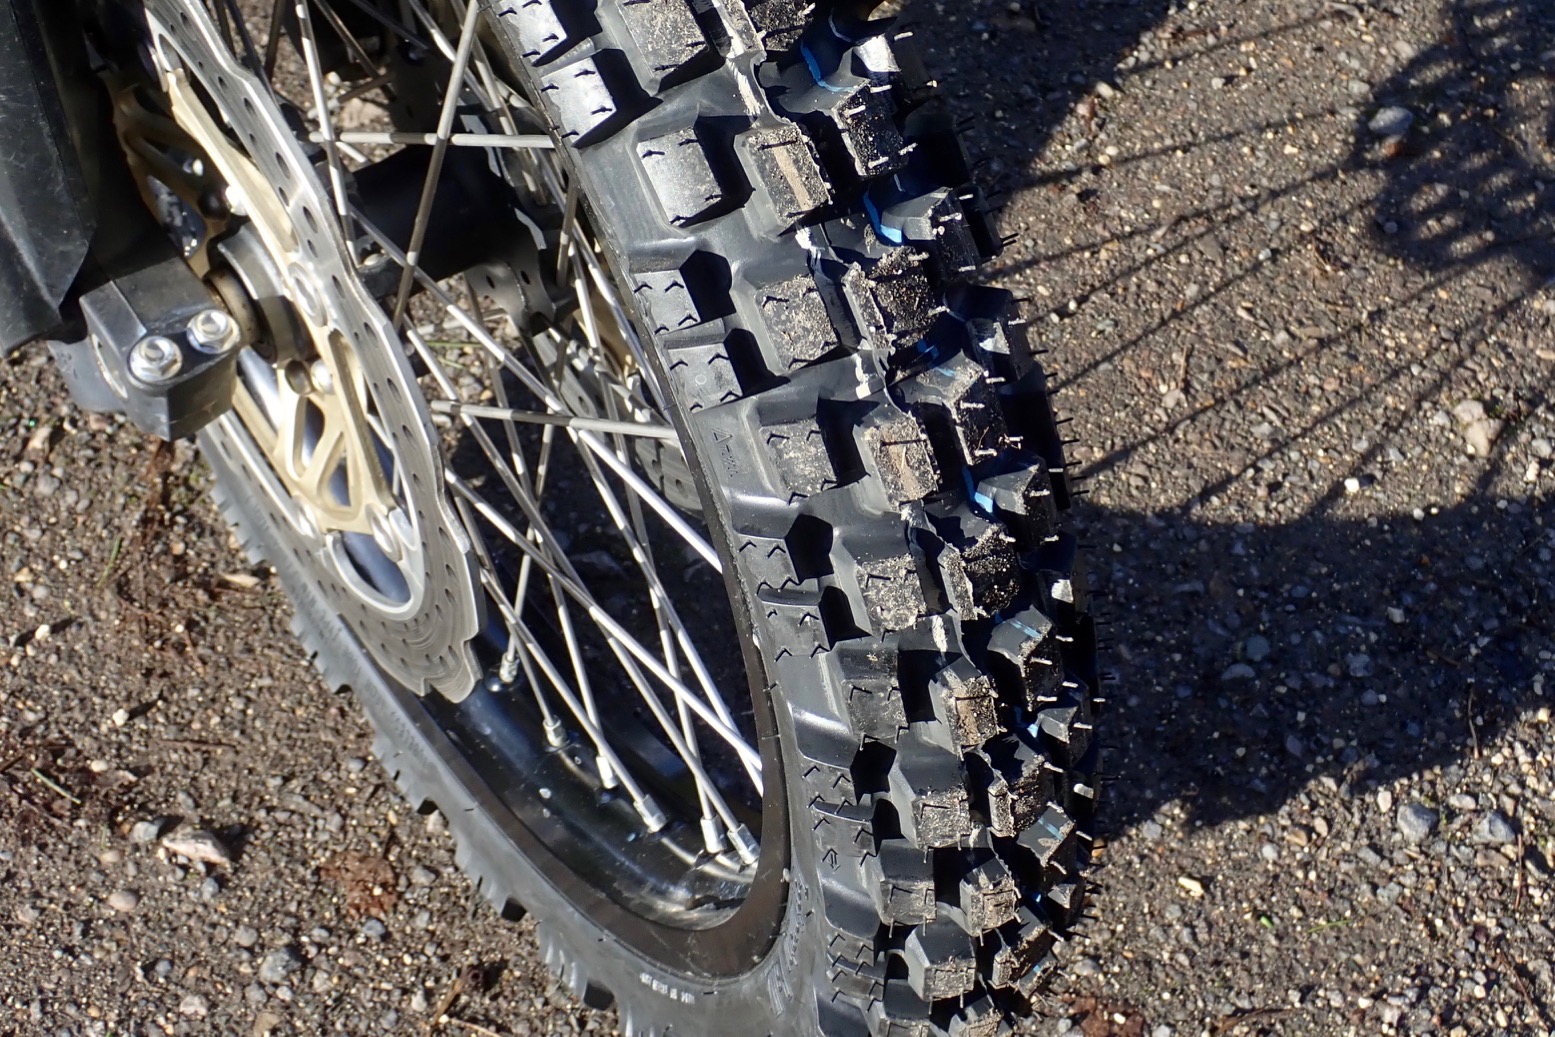
• Motoz front knobbly ran wide on road and trail
• Down to 37mpg in stiff headwinds at 110kph
• Some hand-numbing vibration from the bars – due to front knobbly, it turned out
• USD fork seals seem to be a weak point
• LCD display annoyingly reflects your head and not bright enough; hard to read at a glance
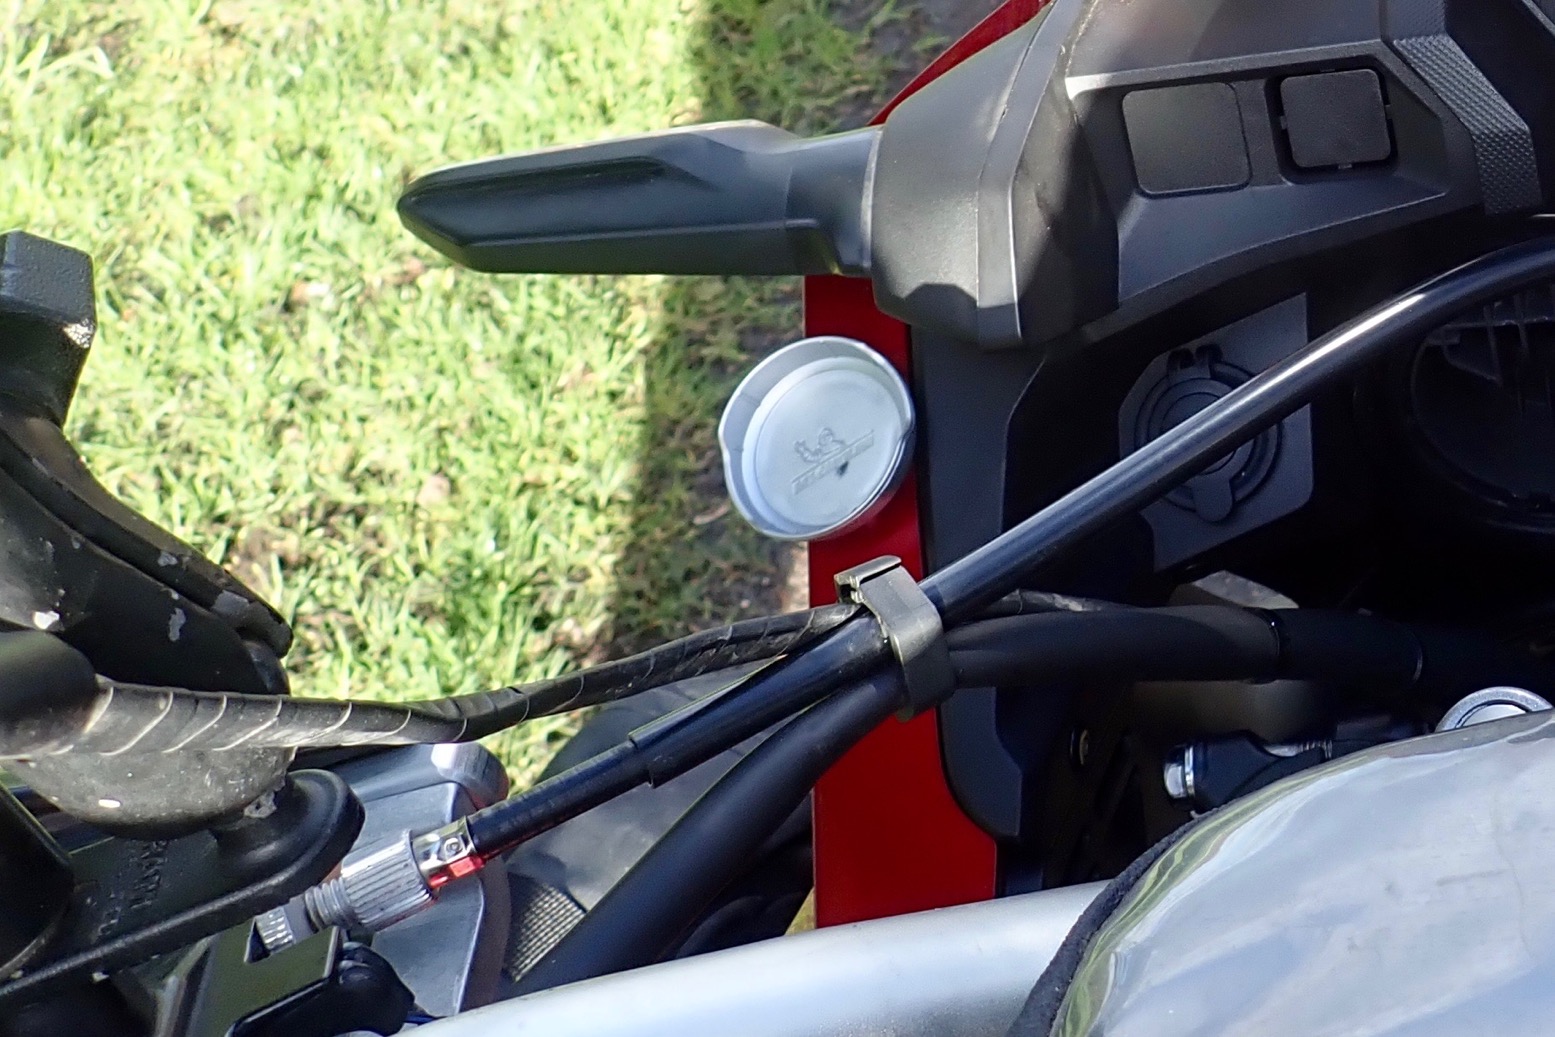
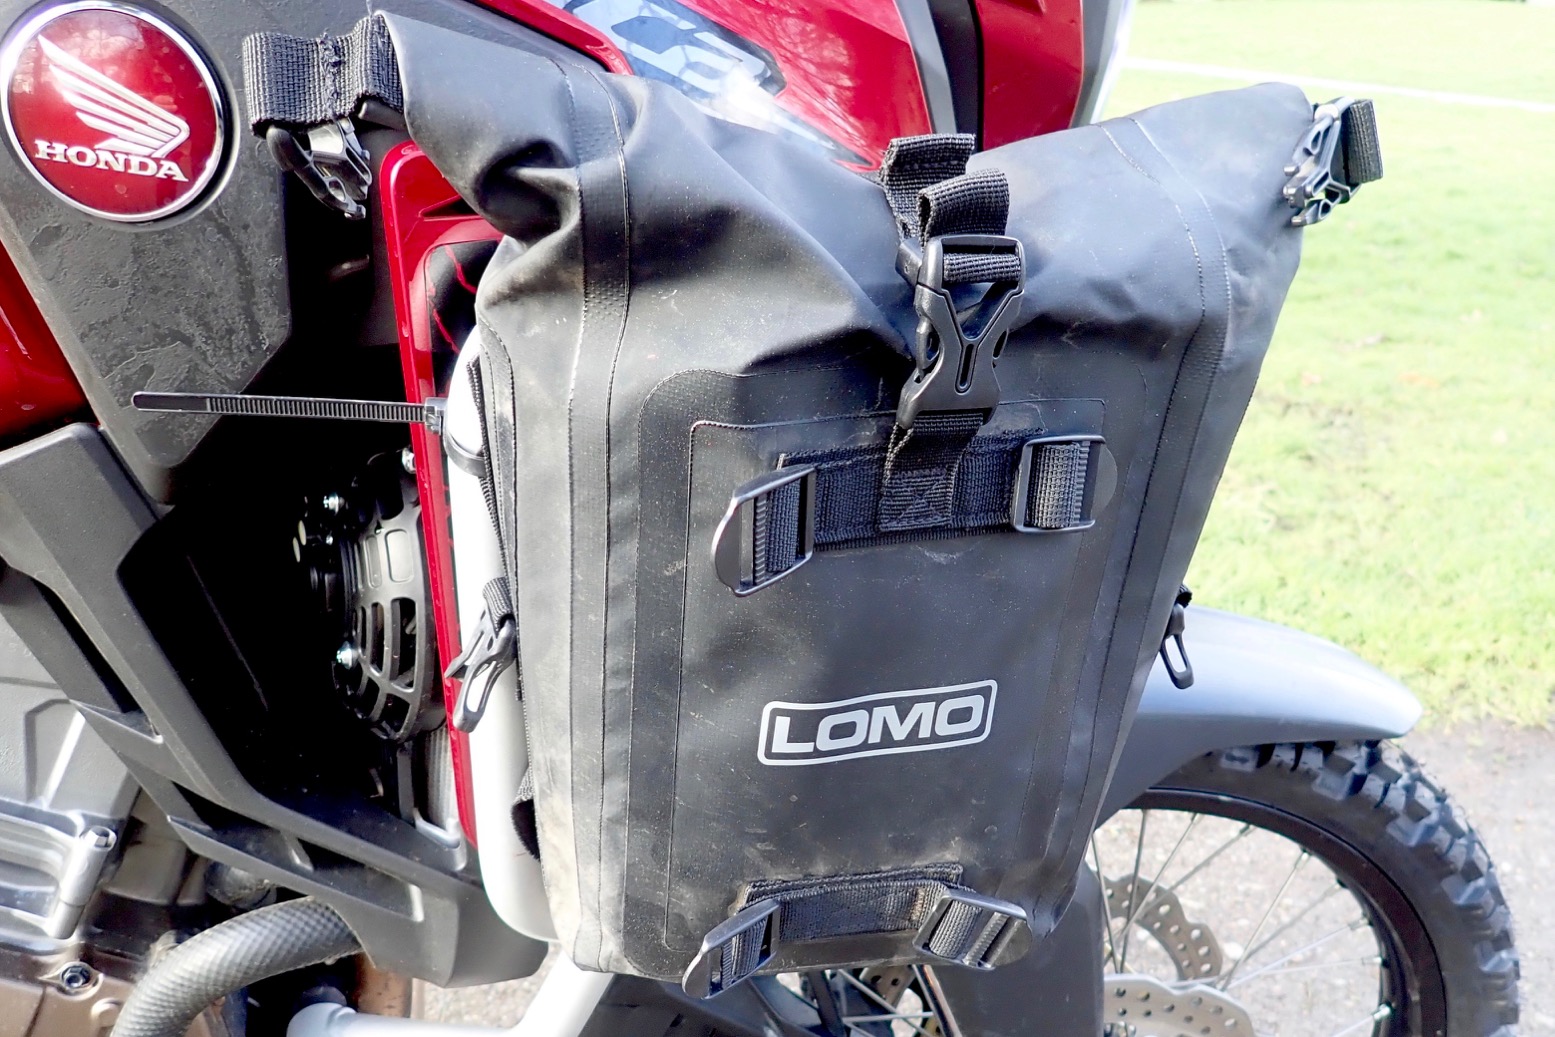
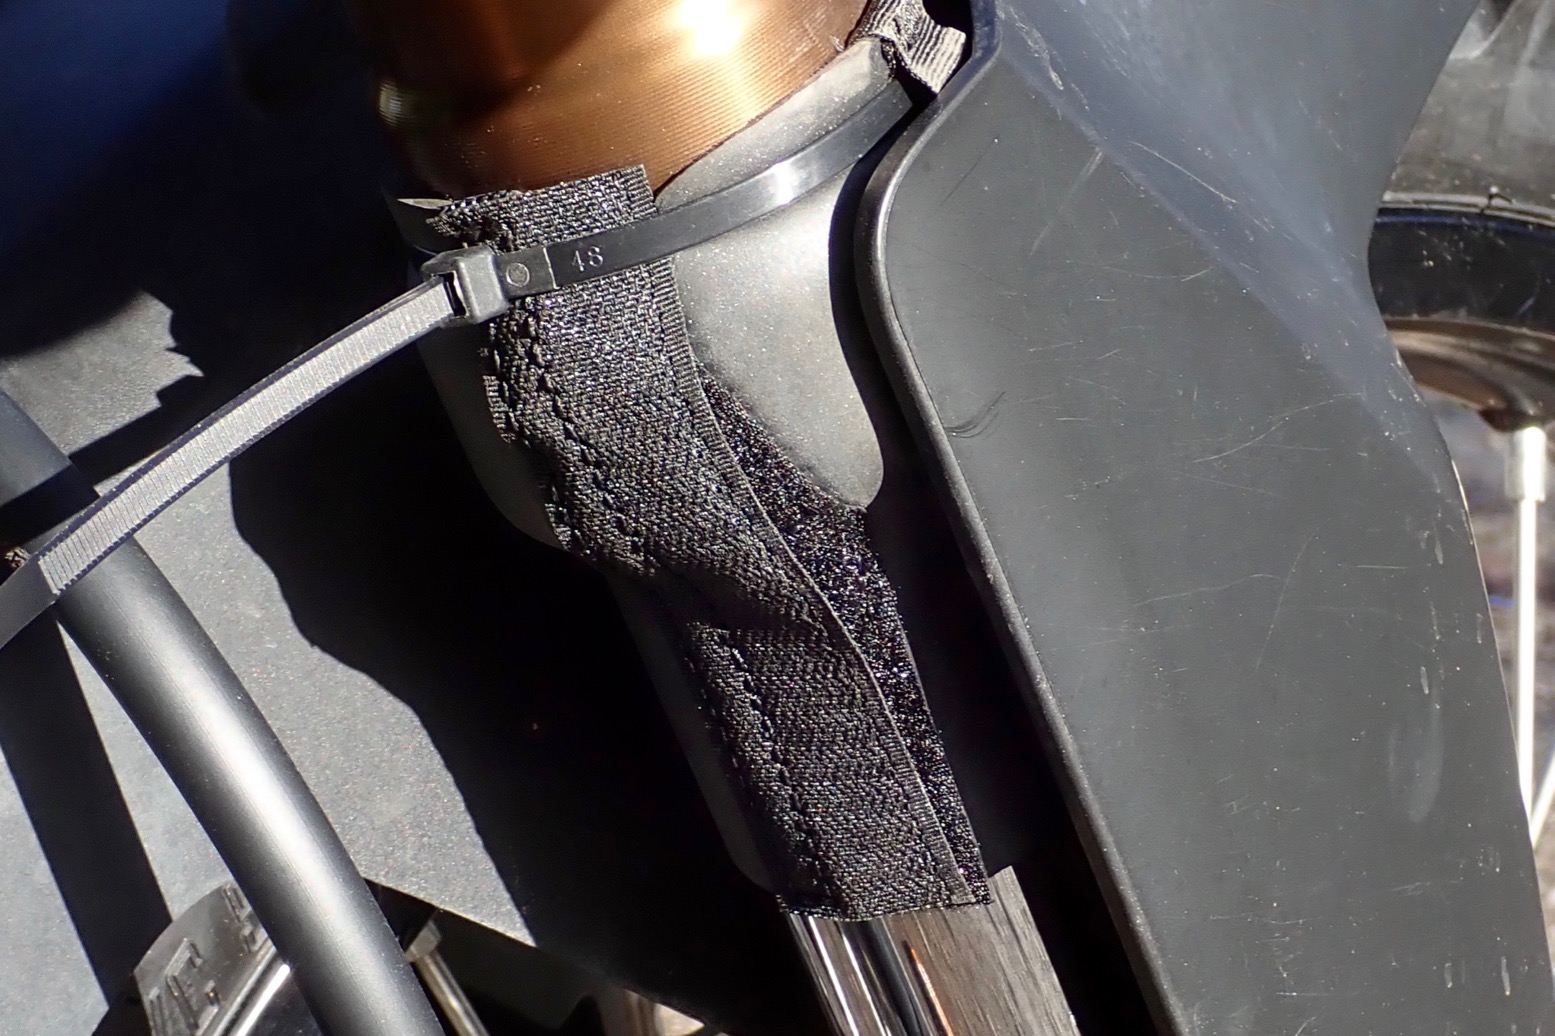
Modifications More here
• Front Motoz Tractionator Adv
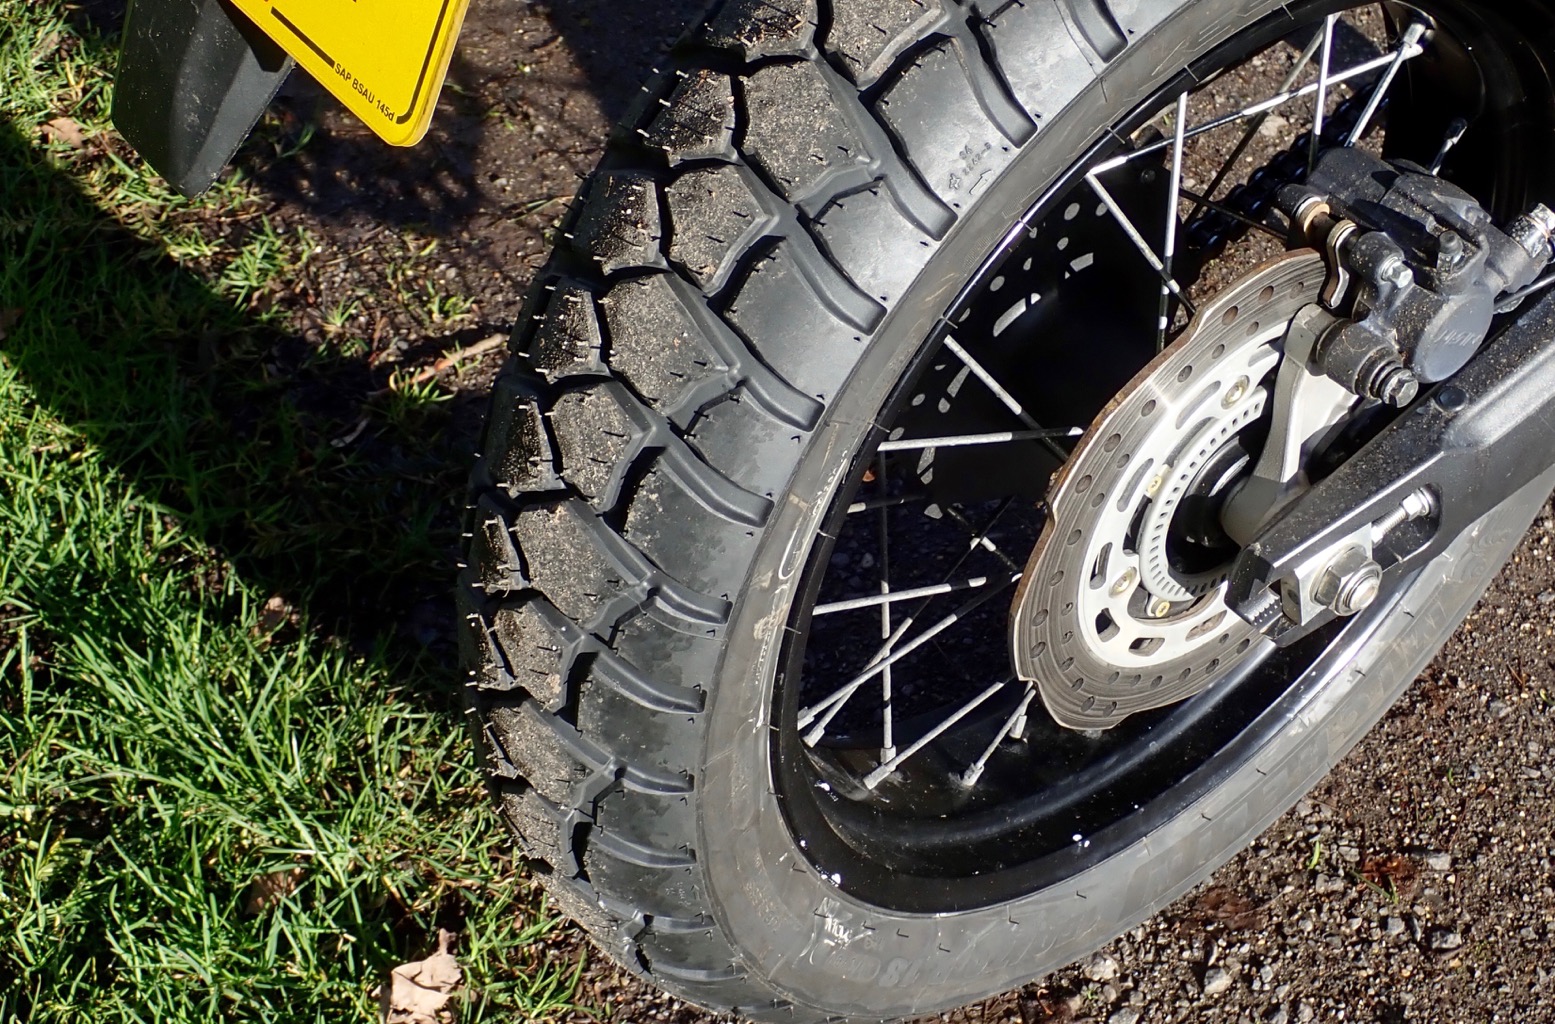
• Rear Michelin Anakee Adventure on MYO tubeless
• Palmer Products adjustable screen
• Barkbusters
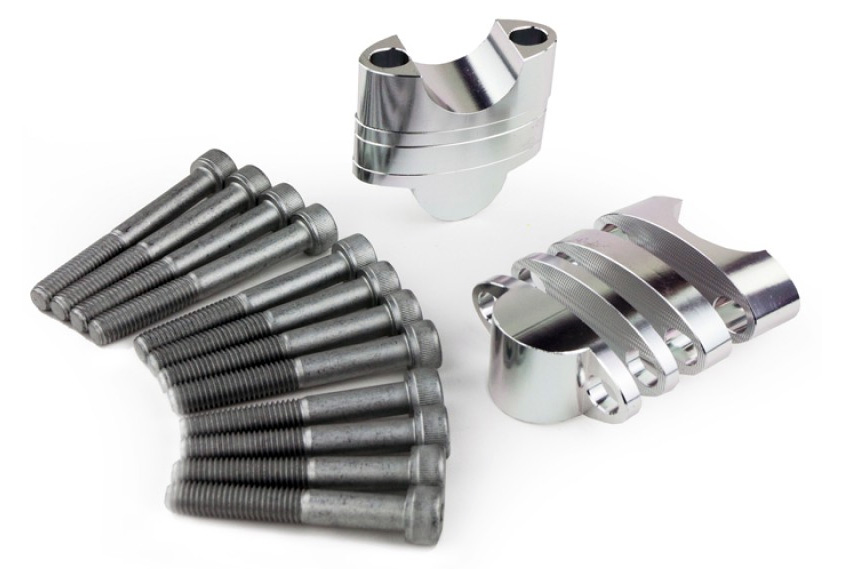
• Adv Spec bar risers
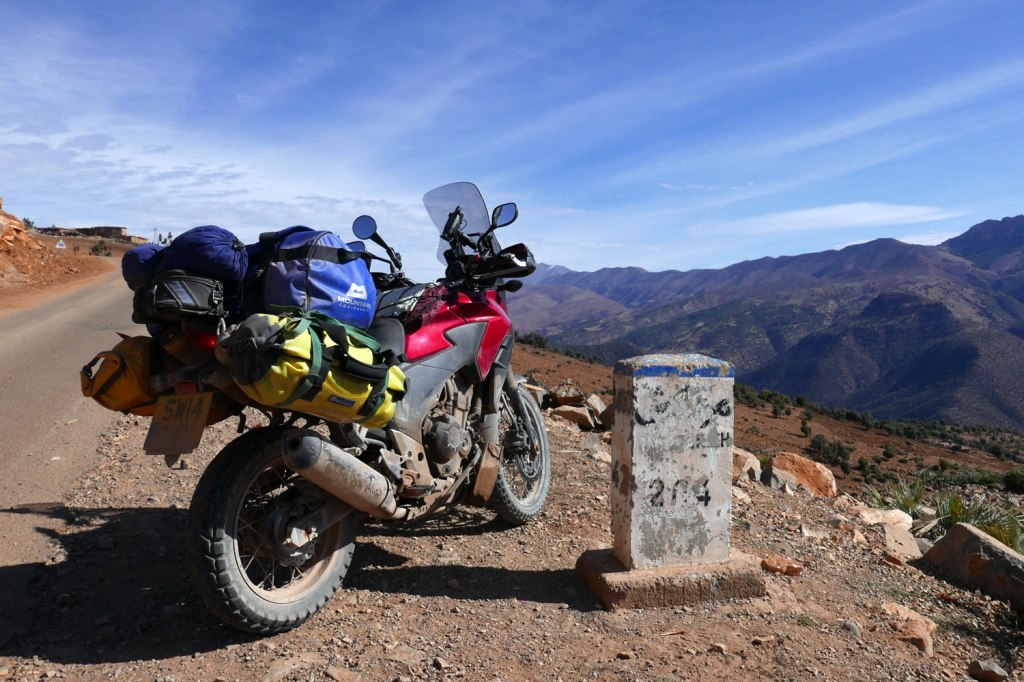
• Strapped-on baggage (below)
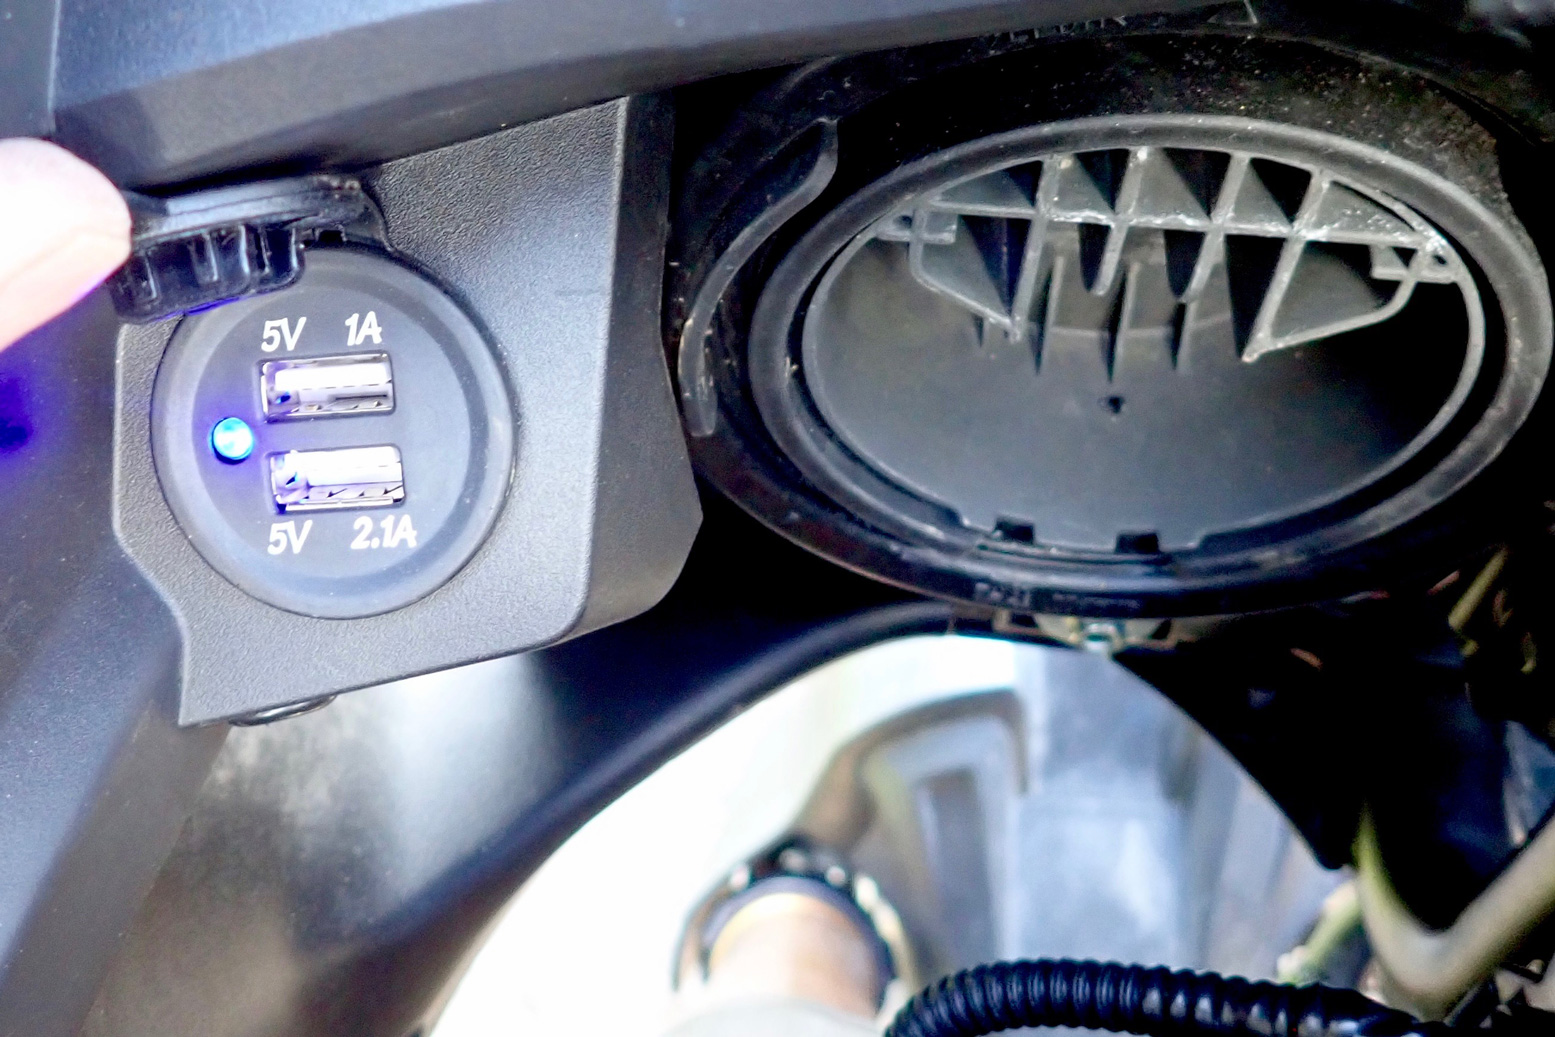
• Wired in USB and GPS

Review
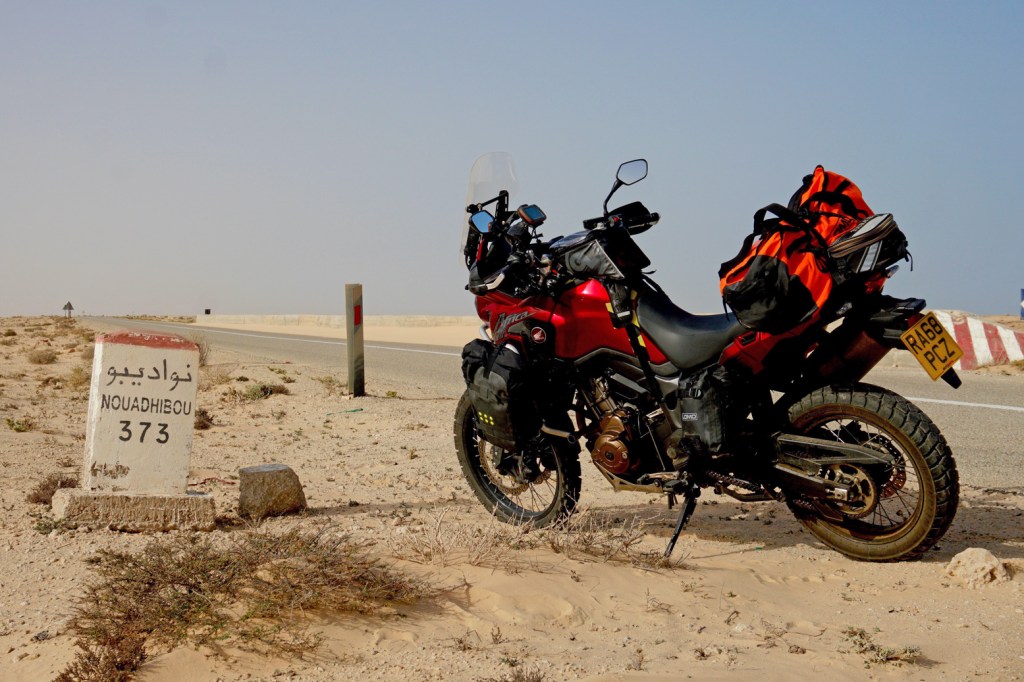
The plas was just the right sort of trip to try one of those big-arsed adv bikes I’ve never really been into. A long approach ride followed by short off-road excursions in Mauritania specifically chosen within the bike’s (and my) limits. I’d planned to get a feel for the bike beforehand in the High Atlas on my February tours, but that was another of the many things which didn’t pan out on this epically doomed ride.


So, despite big plans with two other Big Twins for a Sahara Road Trip (left, pah!) , all I managed was to ride alone 2500km down the Atlantic Highway to the Mauritanian border, then ride most of the way back trying to outrun Covid shutdowns before a freak incident brought even that to a premature end. Twenty months later I returned to Morocco, fixed up the bike, did a week’s offroading in the hills, and a month later, road it home via freezing France. All up 4500 miles or 6000km; not even half a rear tyre’s worth.
On the road
Riding out of a town near Malaga back in February 2020, initially the loaded-up Honda gave me a fright and I thought I’d made a terrible mistake. I hadn’t noticed it on the way to the removalists in Essex a couple of weeks earlier, but in the bends the bike didn’t feel secure, seeming to both over- and understeer.
I knew my knobbly front/road rear tyre set-up was unorthodox, but it’s surely only half as bad as the many times I’ve ridden on full knobblies. Maybe it’s only an issue on bikes this big. Braking into bends, the front Motoz moaned in protest but brand new tyres lose this edgy skittishness after a couple of hours.

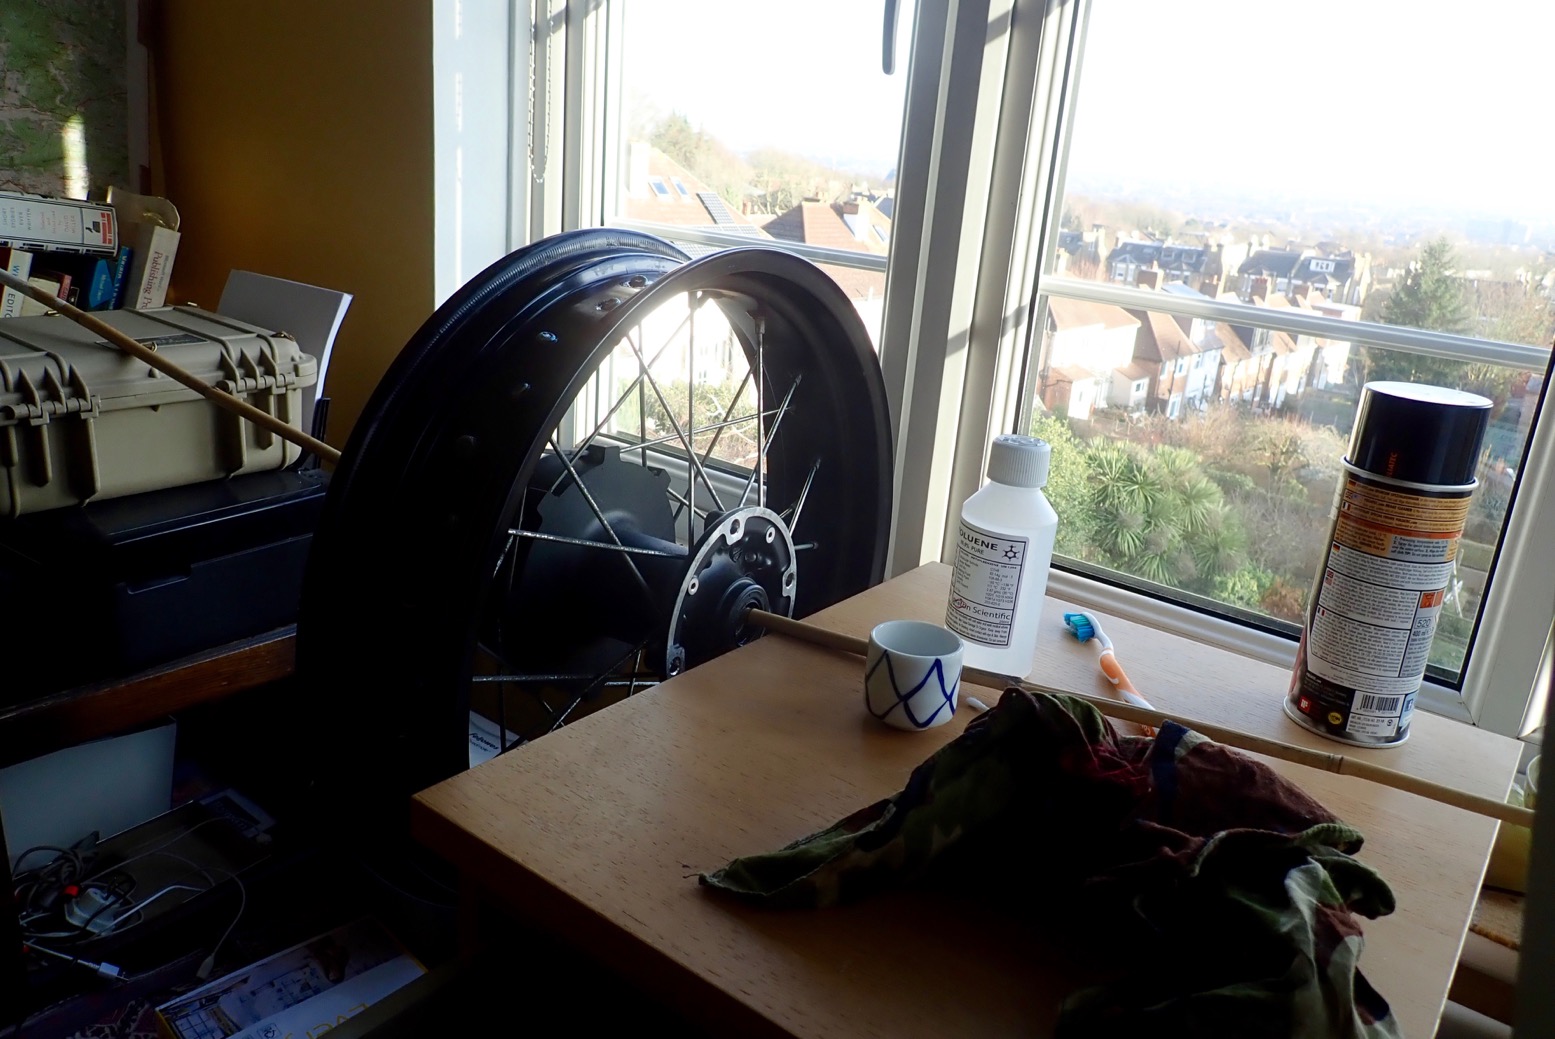
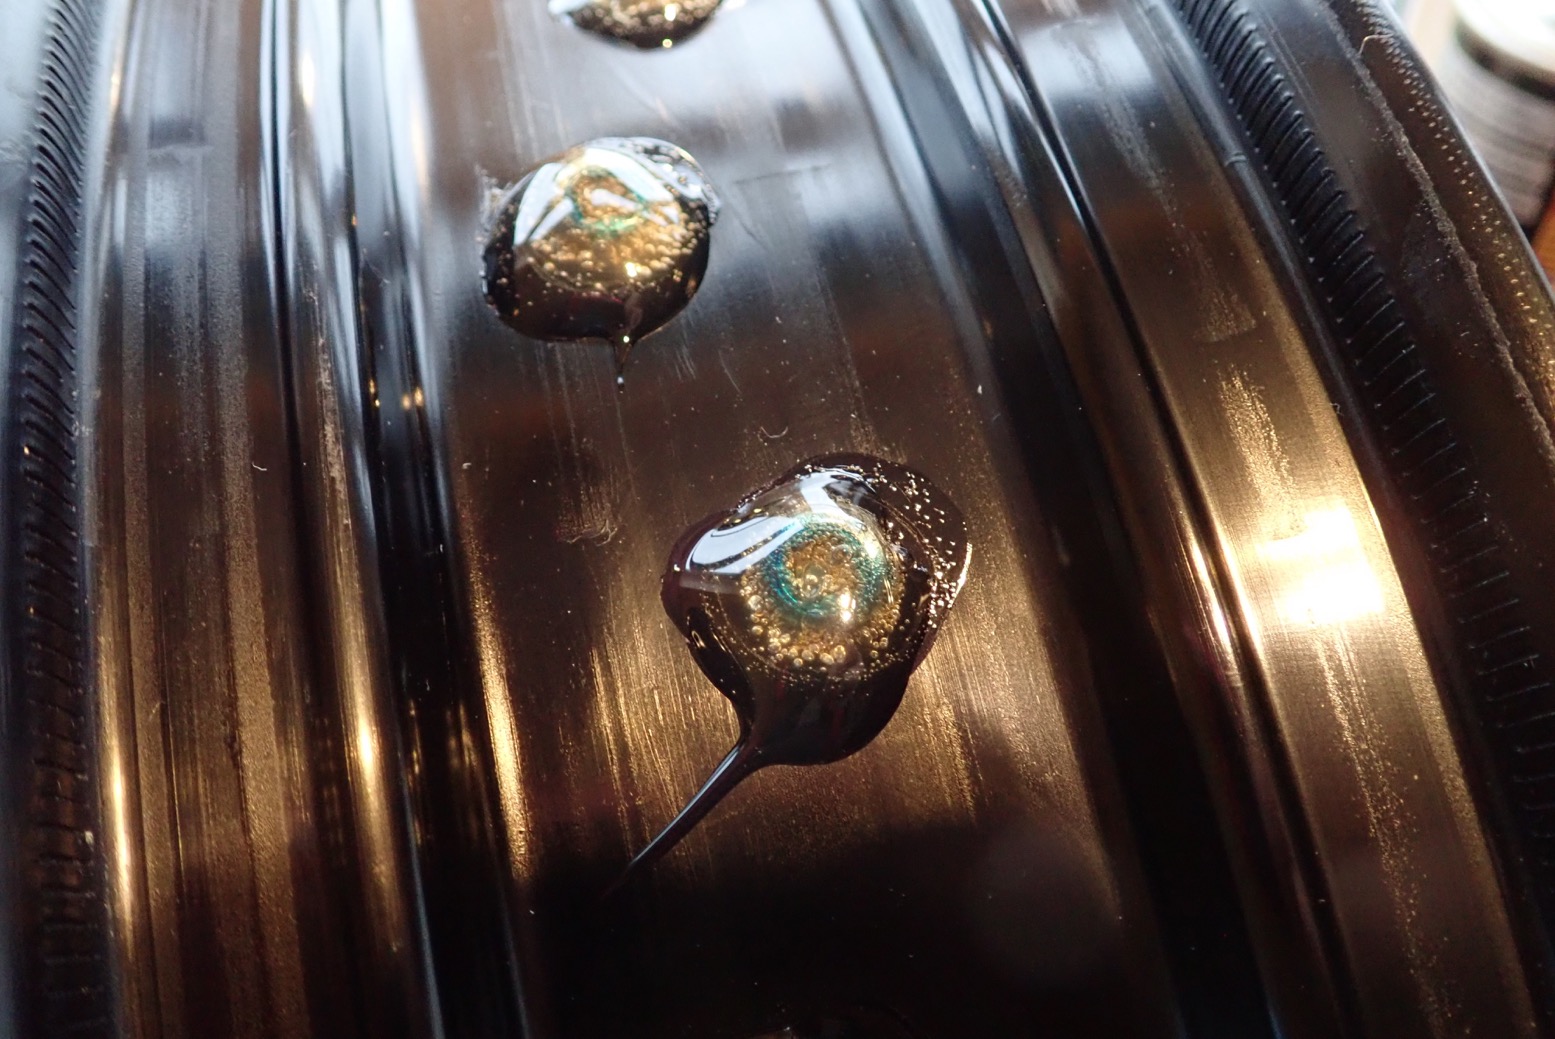
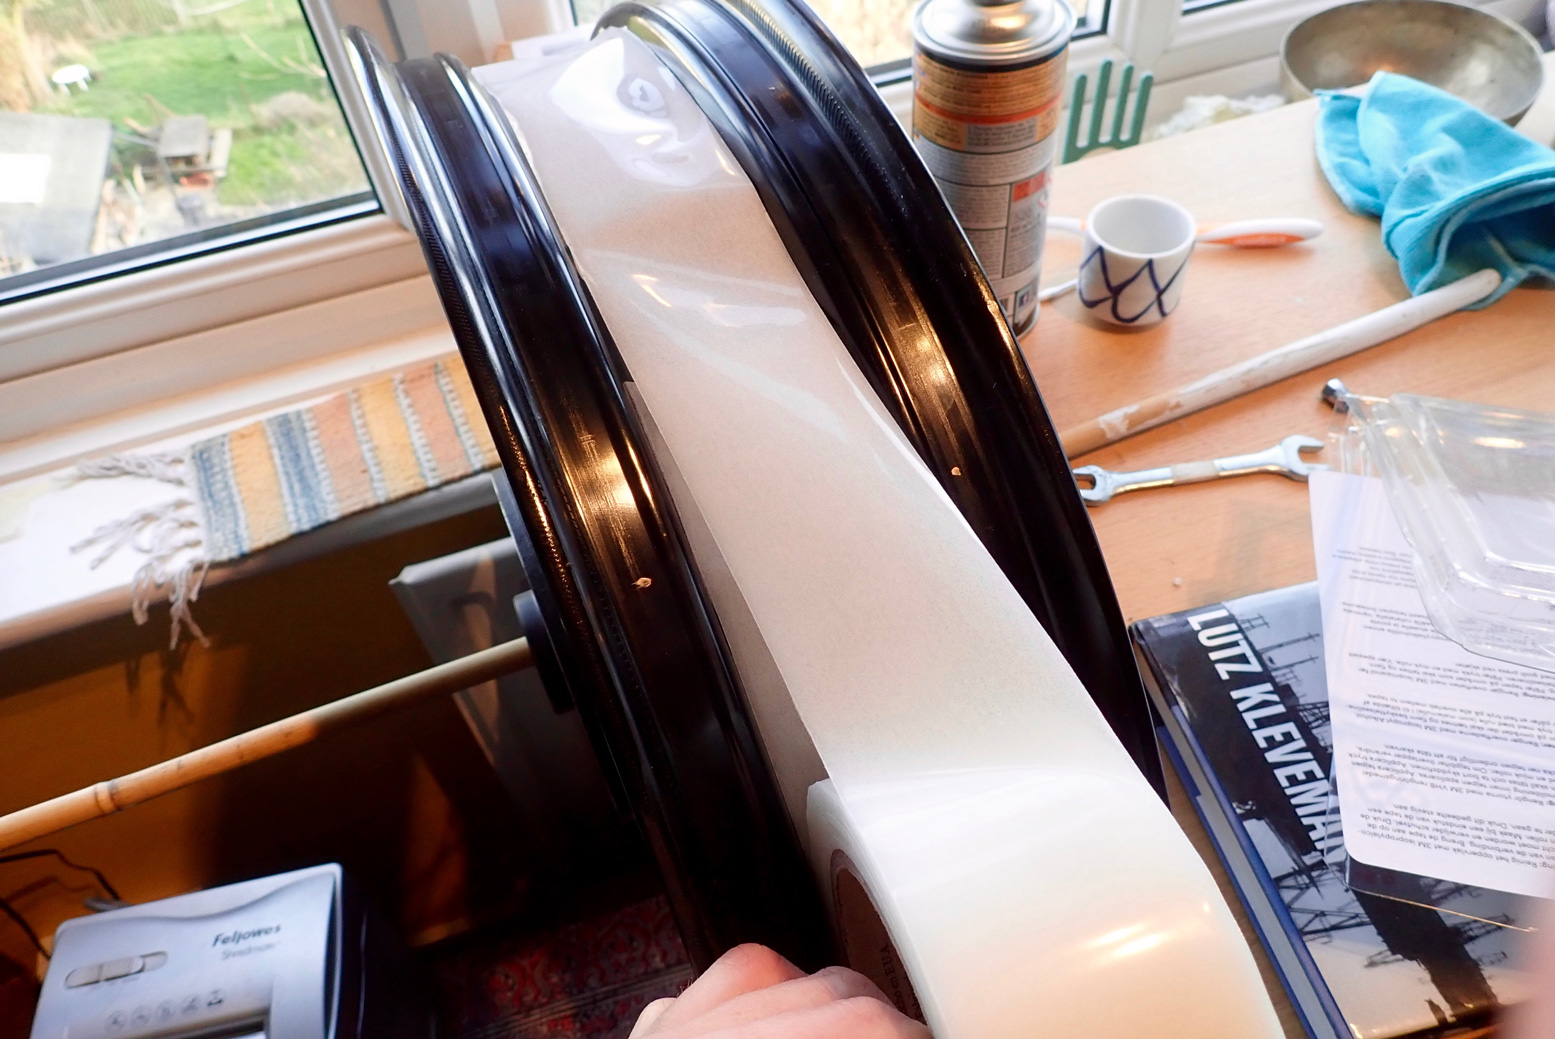
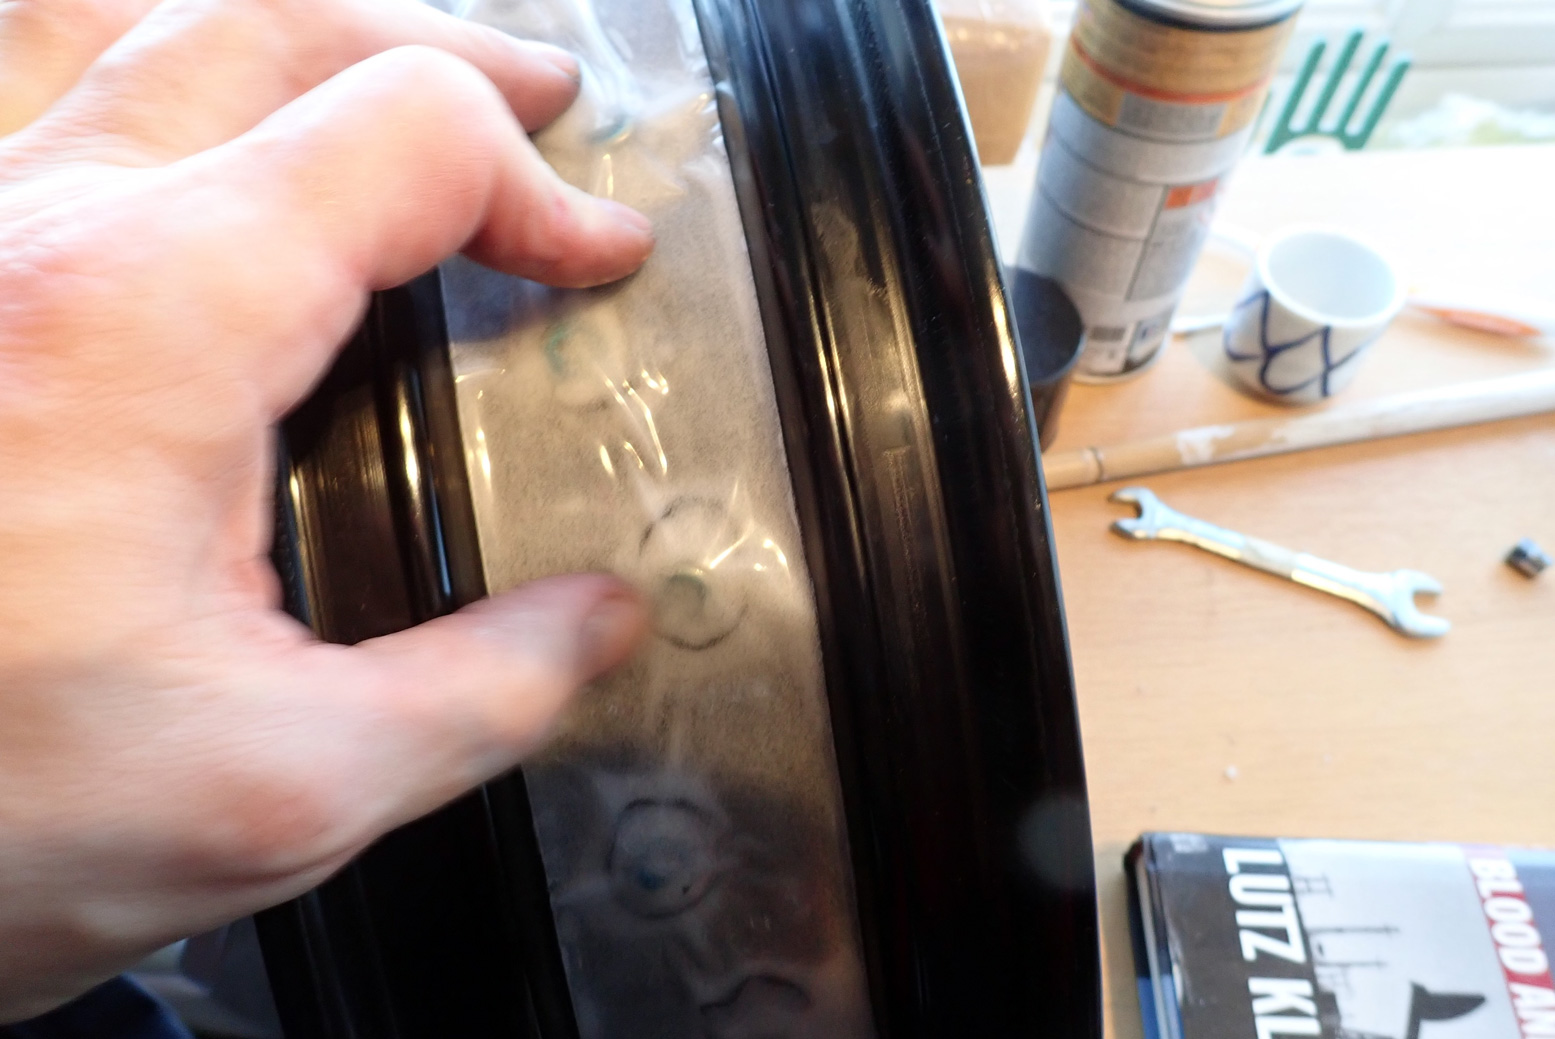
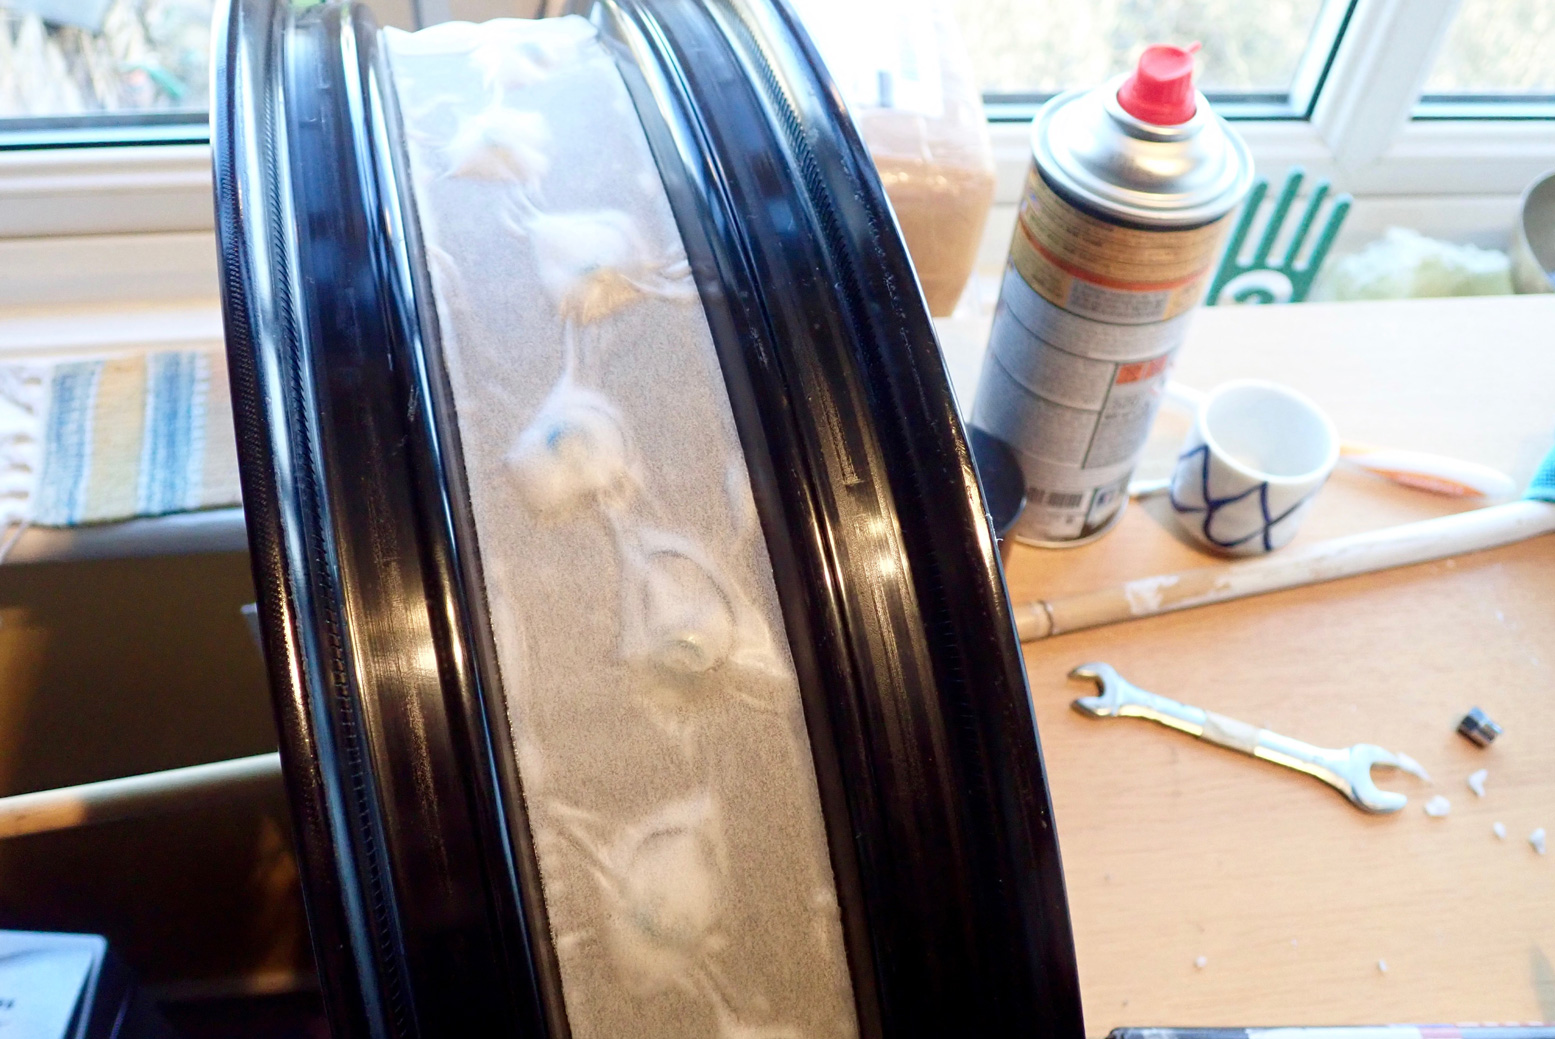
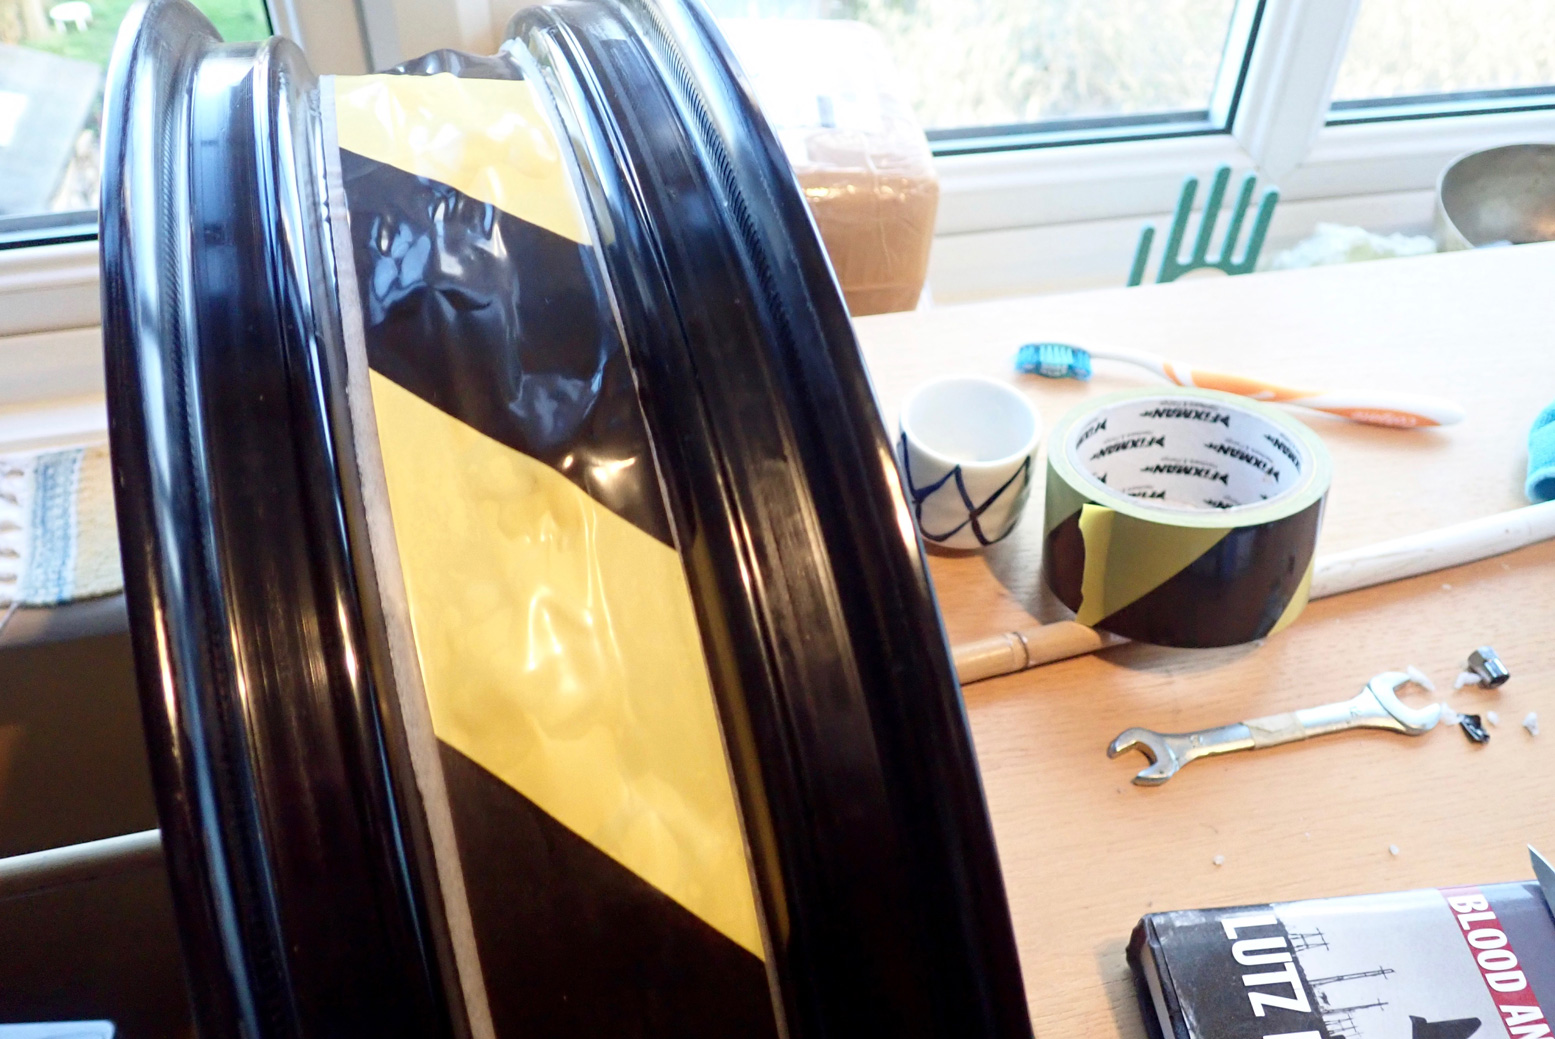
Sure enough, the AT settled down or I also got used to it as we rode over the Sierra de los Nieves and past the famous White Villages of Ronda to a regular place I know, half an hour out of Algeciras port. Here I took a day off, re-sorting my gear, keying in waypoints and filling the glued-and-taped rear tubeless wheel with Slime which fixed the slight air loss once and for all.

Engine and transmission
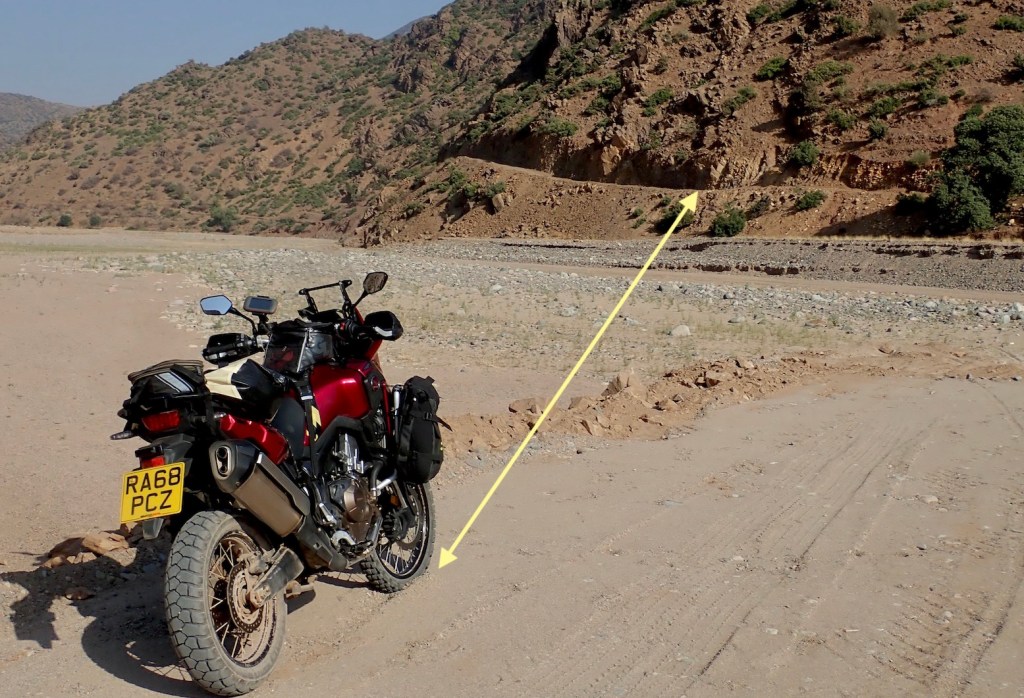
The 1000L has more than enough power to deal with anything you’ll encounter on the road; it’s on the dirt where the mass will hold back most riders. And if you like that sort of riding, it’s frustrating. Promotional antics as shown left look impressive, but are so far removed from everyday reality that someone should call Trade Descriptions.
This was my first bike with more modes than a Casio G-Shock 007 Special: three power levels plus User (custom), as many levels of traction control (plus off) and the same with engine braking – a new one on me. ABS can be switched off at the back only. Initially I rode in ‘P3 – Gravel’ (least power) thinking it may be best for economy (more below). After that I left it in ‘Tour’ (P1 – highest) where the engine was smoothest, until I forgot I wrote all this months earlier and rode home in P3 gain.
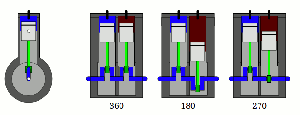
Like all 270-degree twins it’s hard to dislike the motor; the stock pipe makes a fruity sound and the temperature bars never budge. The gif left shows one of the beneficial characteristics of a 270°-twin: one piston is always in motion when the other has stopped and is on the turn. Crossplane they call it (Yamaha’s ‘CP2’) – it’s good for traction and it feels and sounds like a Ducati. Win win. But having tried or owned a few other 270s in recent years, Yamaha’s 695cc CP2 still feels like the best of them. Characterful, economical and with enough poke to get you there without weighing a quarter of a ton. My first choice would have been a used XT700, but late 2019 it was still too early for good used prices.
I got a manual only because I’ve ticked off DCT and couldn’t face the thought of a heavier-still bike. As it was, I spent most of the miles in top gear. Clutch actuation and gear change selection were fine, and even if 1st is typically high, the low-end grunt makes pulling away easy.
Easy gravel roads
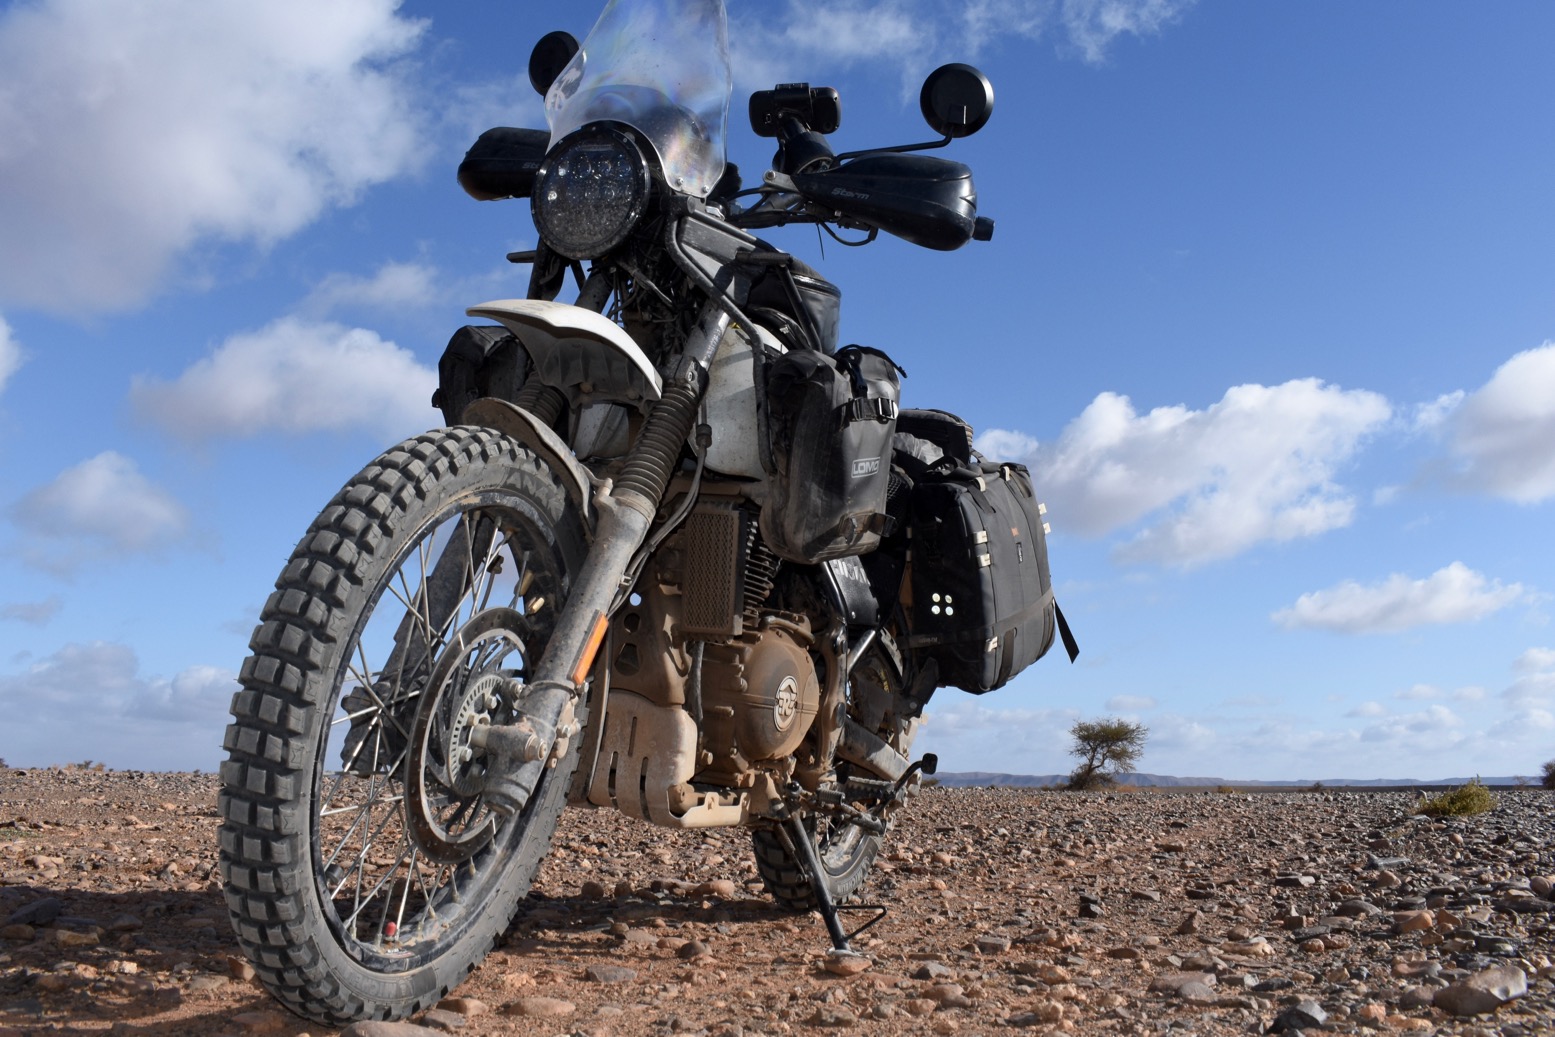
After repairing the bike, in October 2021, I spent a week exploring some trails in the High Atlas and got to grips with the AT on the dirt. As a reminder, the bike had a long-wearing road tyre on the back and a good gripping Motoz knobbly on the front to make off-roading a little more predictable. It’s a tyre-combo theory I’ve written about and been meaning to try for years.


However they managed it, the AT feels like a giant trail bike; it must be down to the scaled-up triangle of the ‘bars, pegs and seat, plus the 21-inch wheel’s rake and trail. As I’ve found with previous project bikes (like the TDM900, left, the XSR7 and even the CB500X), geometrically it’s definitely not as simple as just slapping on some ‘bar risers, wide ‘bars and a bigger front wheel. A high headstock has something to do with it, too.

Whatever, once you turn onto the dirt the AT tracks naturally for what it is, so you don’t give it a moment’s thought providing the trail is easy. But you could say the same for a any bike. With the tanked and loaded L nearly three times my weight, the slightest deflection or need for an assertive move could end badly if the thrust of that mass isn’t aligned with the direction of the front wheel. It’s not that the centre of gravity is abnormally high for a bike like this with a big tank in the conventional position – it’s just a whole lot of bike to finesse when you get even a little out of shape. Then comes the picking up; apart from radiator protection, it was one reason I had bags on the sides of the tank – so it didn’t fall so flat.

As a result – especially when alone in the middle of nowhere – I took things very easy and didn’t risk any flash moves. This elephant in the room holds back the fun of riding off road; you’re managing despite the bike not because of it. As a result I never got the ABS or traction control firing, even with the bike on the softest ‘Gravel’ setting. I might have made things a bit easier for myself by dropping tyre pressures a bit – at road pressures the Motoz didn’t bite like I hoped it might (or maybe I was just too timid to lean over and gun it) and ran wide on bends. I half-heartedly jacked up the shock (easy with the preload knob) to steepen the forks but it made little difference. I think the Motoz’s Oxo-cube sized knobs just deform and ‘walk’ when pushed laterally under the weight they’re carrying.

At one point, while investigating a short cut I’ve been wondering about for years, I came across a shallow sandy ramp which might have connected through (not the photo below, but nearby). But it was the end of a hot day and I just couldn’t bear the thought of getting the fat Honda stuck and have to drag it back, fall over, pick it up, get even more tired and sweaty and all the rest. I walked th route anyway but turned back and took the long way round.
Long story short and no great surprise: while it works a whole lot better than many other bikes in this giant Adv category, for me the AT is just too heavy to fully enjoy off-roading.

Economy
On the A1 motorway down to Agadir I spent a couple of days establishing the exact fuel consumption so I’d know what to expect when it mattered down south from the 18.9 litre tank (4.16 Imp; 5 US) tank. I’ve often wondered if lower power modes equate to better fuel consumption. You’d think so because less powerful bikes like a CT125 are amazingly economical. But it seems not; maybe power-softening modes are merely fuel inefficient – the engine is tuned to run best in at full power.
Cruising along at a very modest 105kph/65mph – in other words, with a barely open throttle:
• ‘Gravel’ mode (‘P3’). True 19.8kpl (19.1 indicated).
Potential true range: 374km/232 miles
• ‘Tour’ mode (‘P1’): true 22.7 (ind: 21.5). That’s 64UK or 53.3US
Potential true range: 429km/266 miles
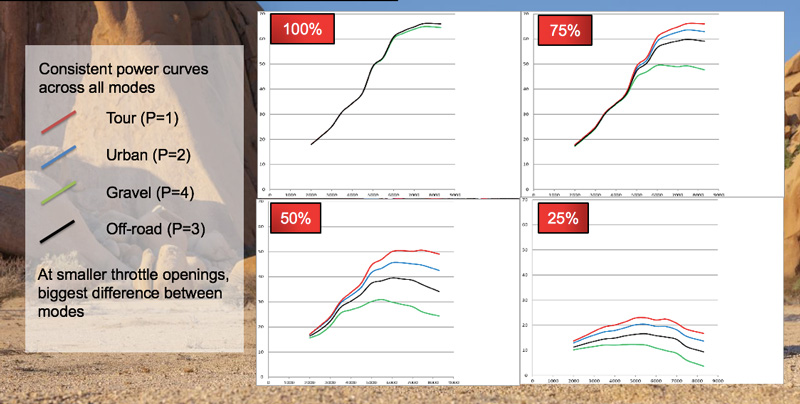
In P1 Tour the engine felt noticeably smoother and crisper and what’s more, the range jumped to nearly 430km which was good to know. In the CRF1100L graph above, the percentages shown are throttle openings, not power. Nail the throttle (‘100%’) in any mode and you get all the beans. But at small openings (‘25%’) as you’d use noodling about off-road, power is reduced, presumably to constrain wheelspin or unwanted lurches. It’s true that traction control does that too, but that can be turned off.
If, as I have, you’ve ridden without TC most of your riding years, you may initially prefer turning it off until you get to trust TC1, as most AT riders seem to settle on. Or you may wonder whether you need power and traction and engine braking modes at all. Ride appropriately to the conditions (which may include lowered tyre pressures to improve traction). TC is a relatively inexpensive and I would say the cutting out is a rather crude spin-off from ABS electronics (of which I definitely am a fan).
Other observations I made while watching the Moroccan countryside inch by:
Speedo is the usual 8% over
Odo is 1% over (measured over 100km against GPS and autoroute markers)
Economy estimate read-out is ~4% under. True economy is a tad better than shown
Range Initially never relied on this but should have checked when I took on 18.2 litres into the 18.9-L tank. At a catastrophic 15.5kpl (37mpg) into a stiff headwind (while still holding a steady 110kph cruise) the remaining 0.7L would have got me another 11kms…

I now realise something about bikes of 1000cc+ which in my book have always been overkill for a solo travel bike. Either the great weight or more probably the swept volume hold the economy back, no matter how slowly you ride. My best reading of 64mpg closely correlates with 65 I recorded from an as-slowly ridden 1200GS on my tours one time. You may think so what, you get to blast past anything you want on the highway in comfort. That is true, but to me a proper travel bike inspires confidence on all surfaces; otherwise it’s just a road bike of which there are plenty out there.

Comfort
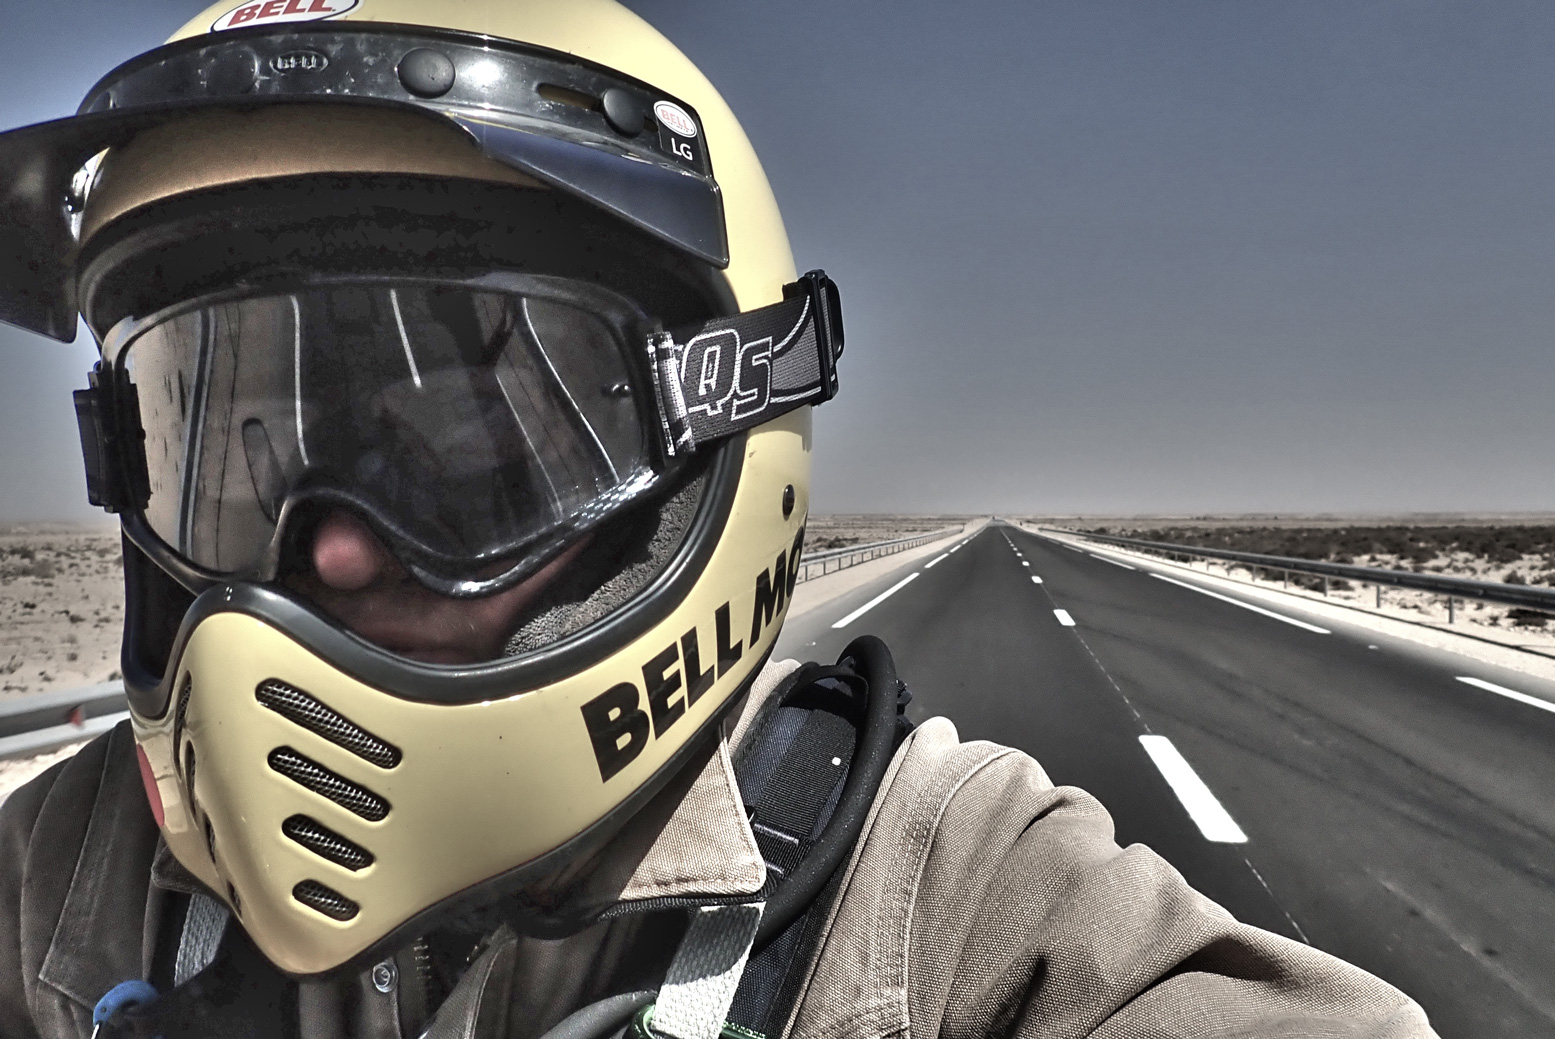
The good thing about a big bike is that for once I don’t feel cramped. Everything is a natural distance away for my size and the excess of power does have a certain relaxing effect. The adjustable and much taller Palmer Products screen (below) made a huge difference, ridding me of all unpriestly turbulence, even with a Bell Moto III.
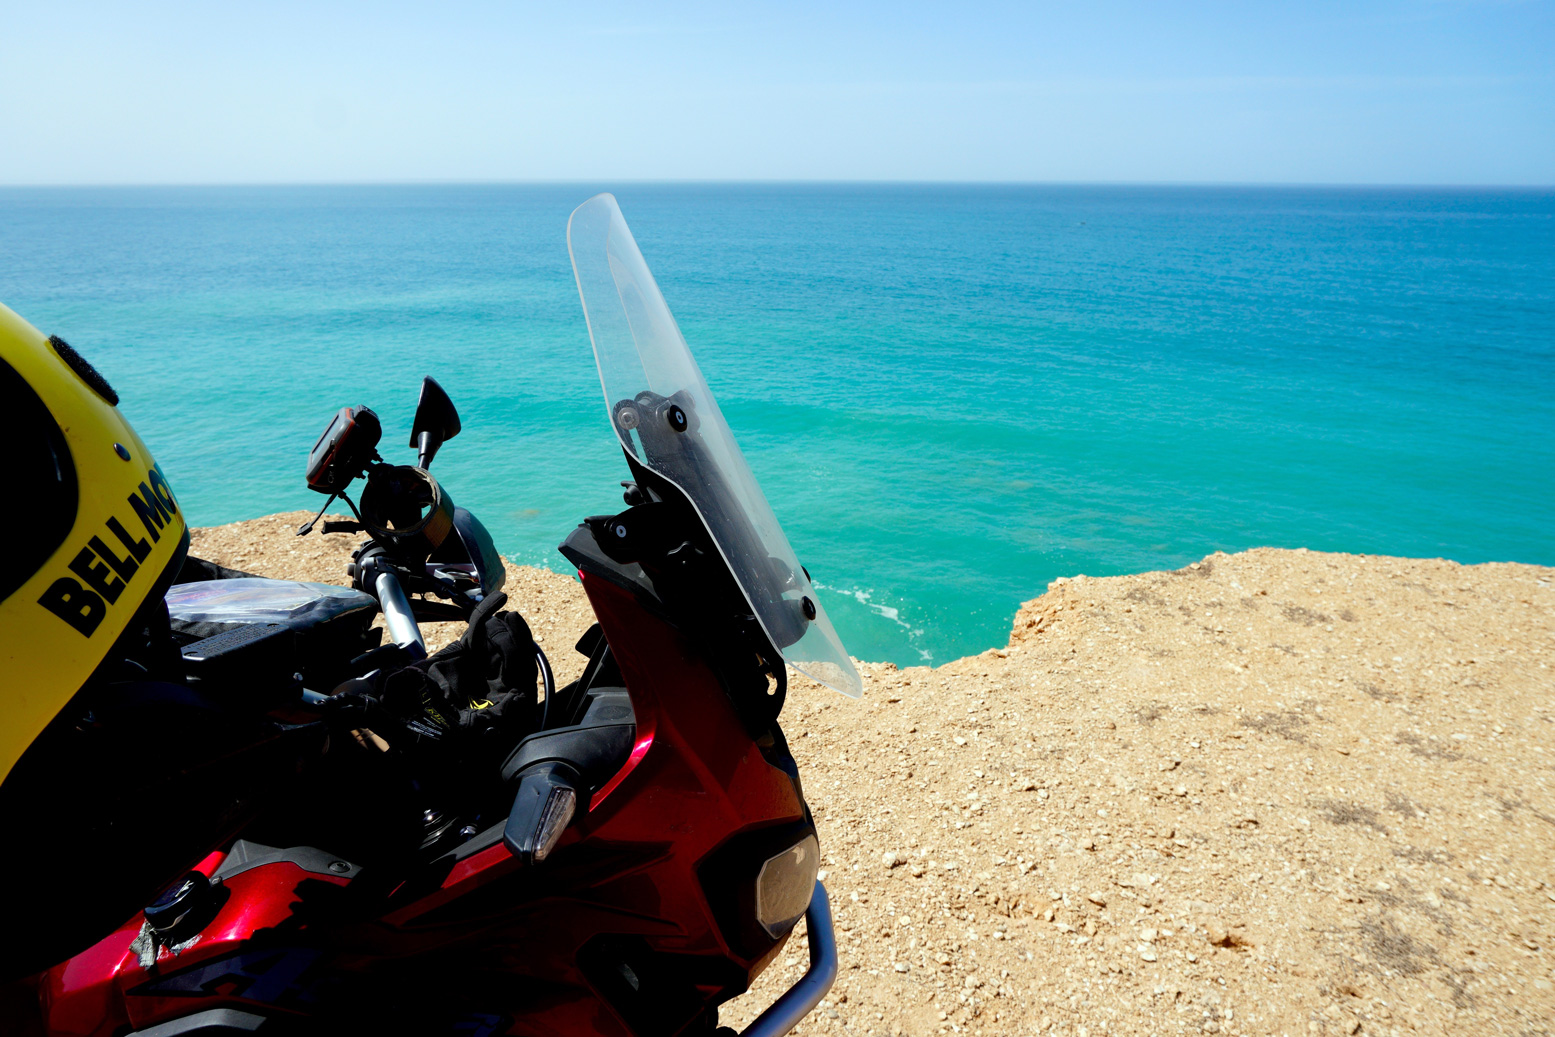
It wasn’t until I got to the turn-around point 50 miles from the Mauritanian border (and following a quick ‘how-do-you…’ youtube vid) that I finally managed to lower the saddle. I’ve only just realised just how tall the AT is at 900mm or 35.4″ – a bit much for a bike this heavy. Lowering it gets you down to 870mm or 34.25” and there’s an 840mm optional saddle. The principle is clear, but getting the notches to line up correctly took a lot of faffing. I’m 6′ 1″ so have long enough legs but can’t say the lowered saddle was night-and-day – the bike still felt top heavy at times.

Sat down, the 30mm bar risers felt little different from stock, but enabled standing without stooping and doing so – often on the rod to give the backside an airing –the bike felt comfortable, just like the oversized trail bike it is. On the road I did notice a bit of white-finger vibration from the right bar, but that was about it. It went away with the Dunlop road tyre fitted for the ride home so must have been down to the knobbly Motoz.

Suspension and brakes
One good thing about spending big on a modern, top-of-the-range adv is you get decent suspension. I didn’t meddle with it much off-road as both ends felt good enough. It’s only when you go fast off road that limitations become apparent, and I wasn’t going to be doing that.
Same with the brakes which I didn’t push due to the knobbly front tyre, nor to a point where ABS was engaged. The ‘creeping’ of the front Motoz’s knobs under tarmac braking did initially take some bite off the front.

Durability and problems
The only thing that fell off was a footrest rubber – probably not tightened up properly when the shop refitted them from the Off Road School. Refusing to be beaten by this calamity, I replaced it with a scrap of roadside truck tyre.
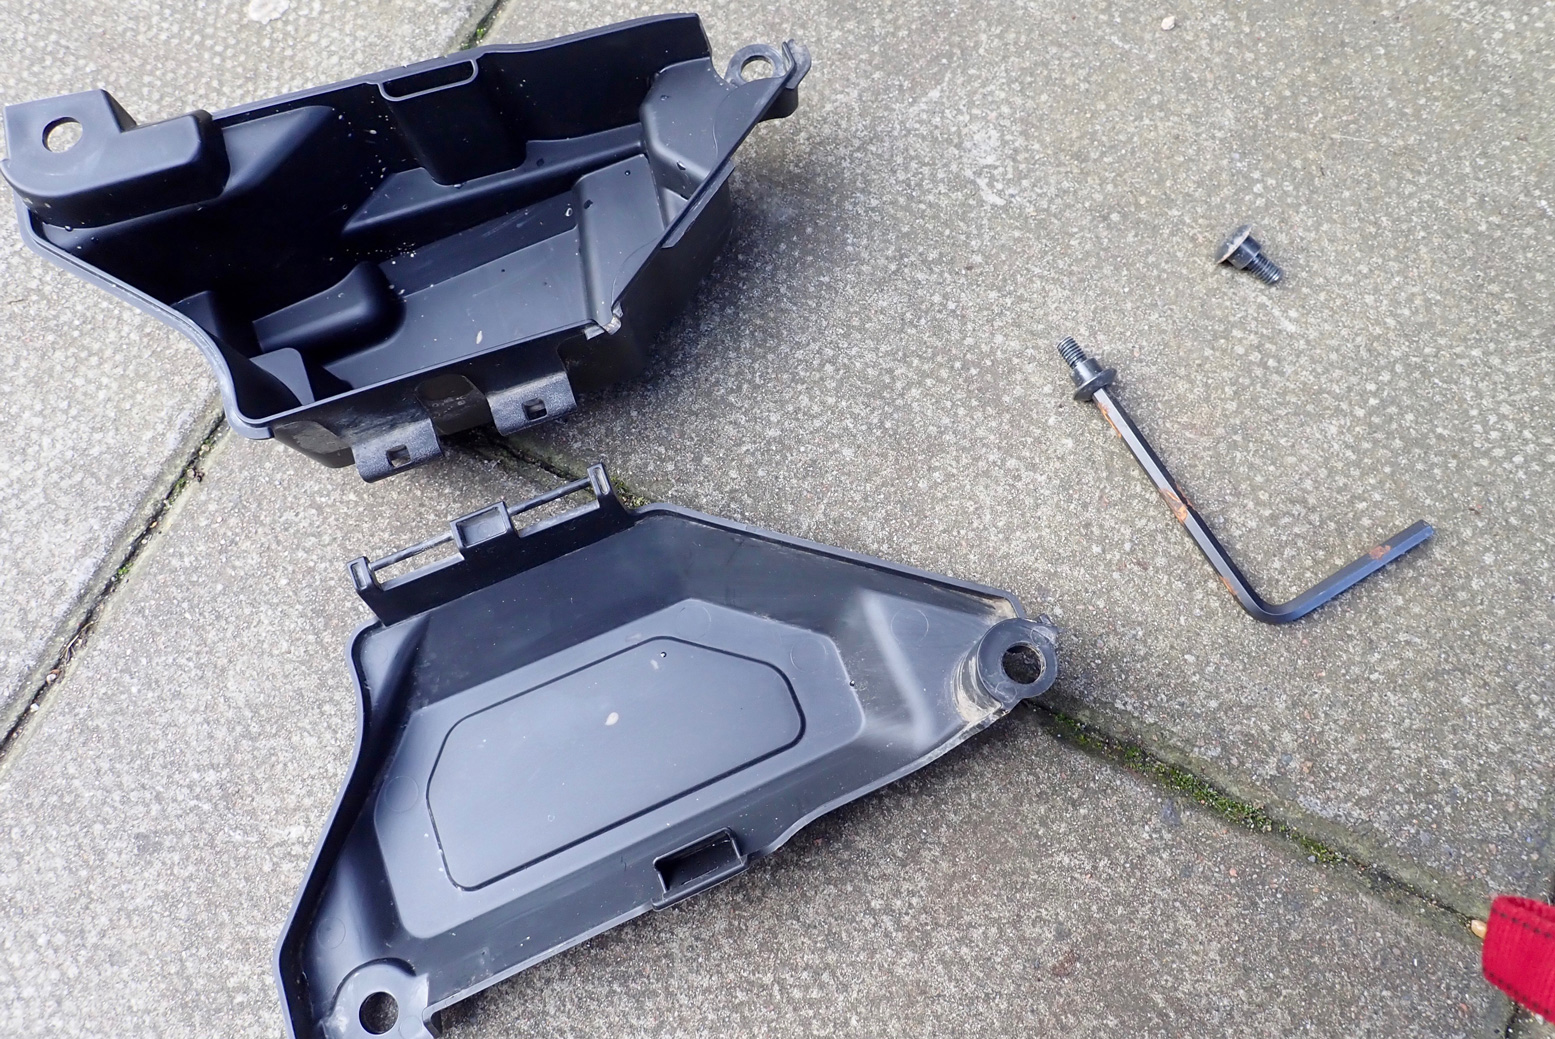
Because of the spread of lockdowns as the pandemic kicked off in March 2020, I was already planning to leave the bike in Marrakech and fly out. But even that plan was nixed when I rode over some debris just out of Tiznit. Whatever it was flicked up and poked through the bash plate and the sump, losing all the oil. As you can read here, that was an easy fix a year and a half later.

Summary
The Africa Twin was the first big adv which successfully drew riders off their GS12s or stopped others buying the popular BMW. It’s a great road bike, but aren’t they all these days? On my ride down the Atlantic Highway I wasn’t convinced it was going to become magically manageable once on any sort of unconsolidated terrain rolled under the wheels. It would become what it clearly was, a big, heavy bike with a tall saddle and high centre of gravity when loaded and tanked up. The big worry would always be: one little misjudgement and a heavy bike launches you hard before you’re faced with the daunting task of trying to lift the bike. A slim AT falls over a lot flatter than a GS12 resting in it’s cylinders.


But by now 99,999 other owners suggest that Honda got something right and there may well be an element of me taking out my unlucky trip on the poor AT. After riding it back via France, I feel the same: nice ride on the road (by now with a road front tyre), comfy but with some mpg figures I couldn’t bear to work out, as it was just a matter of getting home. In a way it puts me off a T7 which might not be that much better on the dirt to be worthwhile.
I’ve already got an idea or two of what comes next; more about that soon.


