
XSR 700 Scrambler index page

Yamaha’s XSR 700 is my sort of bike: the great motor from the MT07 in a more comfortable and better-looking package, and with the potential to become something more dirtsome, like the Jigsaw Customs flat tracker (right, and in the vid below). Plus I got it cheap so I can afford to experiment :-D
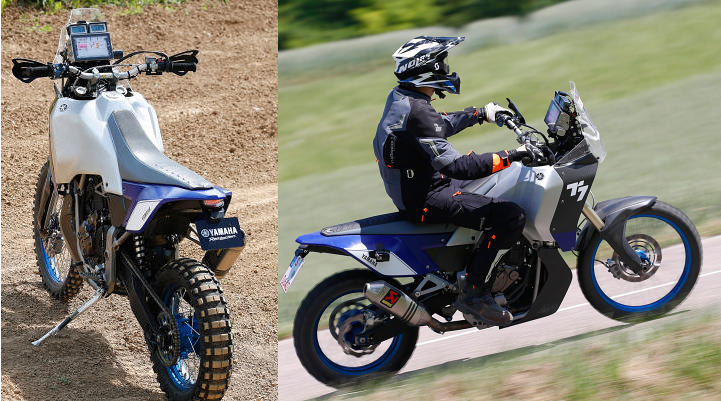
I’m taking ideas from Rally Raid’s innovative CB500X RR I rode in 2015, but am hoping to end up with something more like Ducati’s inspired Desert Sled (below). Like many riders my age, that’s a bike that, if I’m honest, appeals to me more than the forthcoming, over-tall, razor-saddled T7 (right) which I’m sure will also be a hit.

Obviously, your superbly detailed, BikeEXIF-type ‘urban scrambler’ (see video below) is not what I’m about. I want an actual scrambler, not just ‘the look’ while dodging the elephant in the bike shed: the huge costs for the huge amount of work required. Note that many, if not all of the bikes and OE parts in the promotional video below were supplied by Yamaha to promote their ‘Yard Built‘ program at the 2017 Wheels & Waves show.
What’s the plan?
Function first – form will be as it comes. The harmless scratches and dents remaining on my repaired bike can stay for the moment. I need my XSR to get me down to Morocco this autumn, run a few thousand clicks leading my tours, then fetch me back as winter sets in over the sierras. The mods that it adds up to are:
• tyres – easy
• protection – advisable
• lift – optional
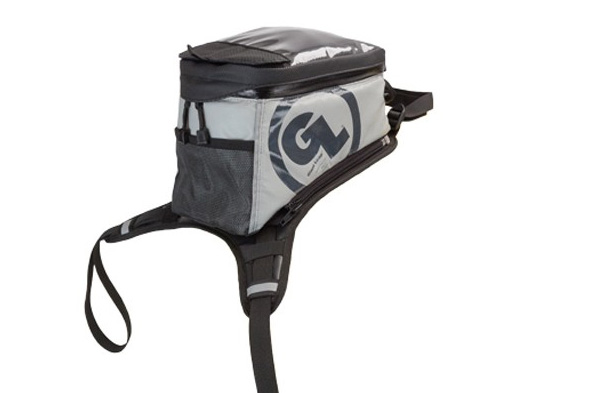
• luggage – useful
• engine – unnecessary
The XSR doesn’t lend itself to these adaptions half as well as Honda’s CB500X. So the plan is to spend carefully, then if the machine shows promise and I’m still interested, finish the job with a fork transplant and a new wheels.

My bike is restricted from ~74hp to ~46hp (numbers vary) for A2 license holders. I have a full license so can run it unrestricted but to be honest it runs great at 46hp and a year later I feel the same: loads of satisfying grunt where you want it. It just goes to prove the old adage: ‘50hp is all you need‘.
The way the restriction works on early model XSR/MT07s like mine is mechanical: a simple plate (left) stops the throttle opening fully. I read recently in a magazine somewhere that later model XSRs and MT07s had a detuned ECU, not the mechanical restrictor and which, I imagine, is less easy to derestrict. And in poor old Ozzie they get a reduced power 655-cc learner version. Got luck changing that!
As I’ve never come against the restricted throttle’s stop in over a year’s riding my XSR. Derestricting it by unbolting that plate doesn’t seem worth the bother as there’s no power or torque to be gained in the throttle and rpm-range I ride at. I only wish I could have got cheaper insurance by running it like this.
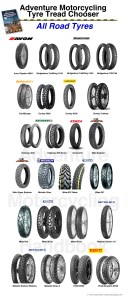
Tyres
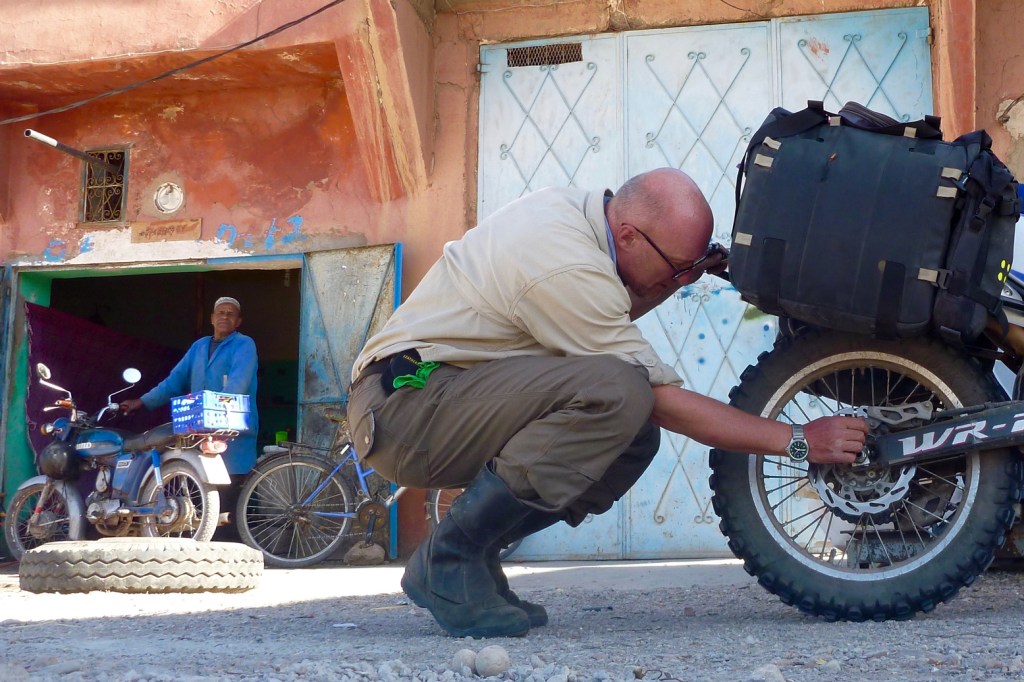
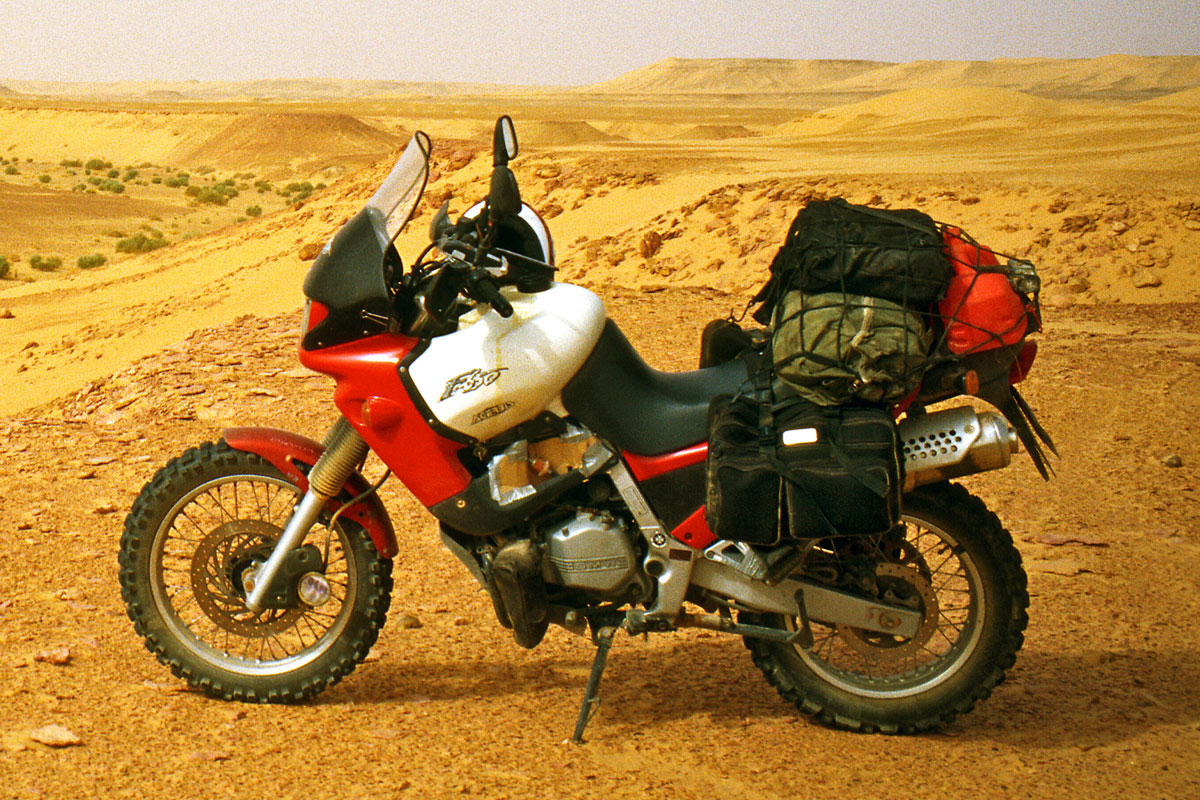
As the vid above reminds us, anyone can slap on some TKCs, but would you want to corner on a fat, 17-inch front Conti? I recall years ago a disgruntled mechanic told me off; he’d just shat himself taking my Pirelli MT21-shod Funduro (left) out for a spin. You need to ride on eggshells until you get a feel for such tyres. Cool-looking thought it may be, I just can’t see a rear TKC or similar put on a 17-inch XSR front wheel working well on loose surfaces. I’m certain the CB500X RR rode better on road and track with the 19-inch front wheel, so that’s the plan with my Yam. A good old Heidi-Hi K60 will do me.

Protection and racks
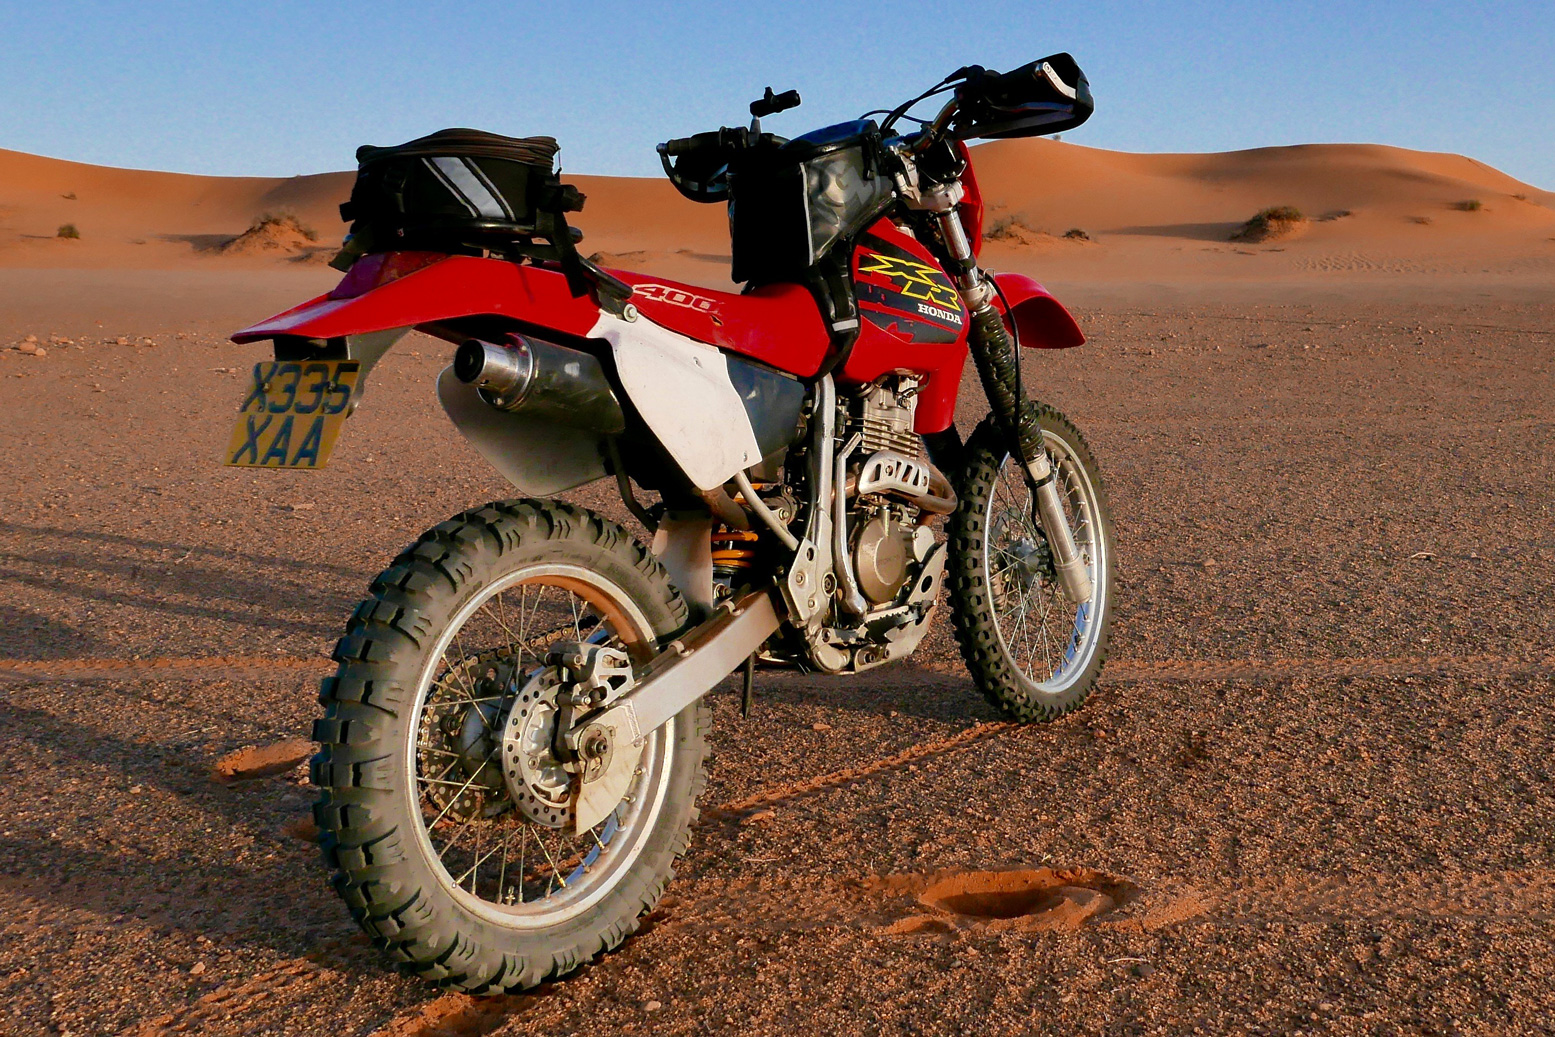
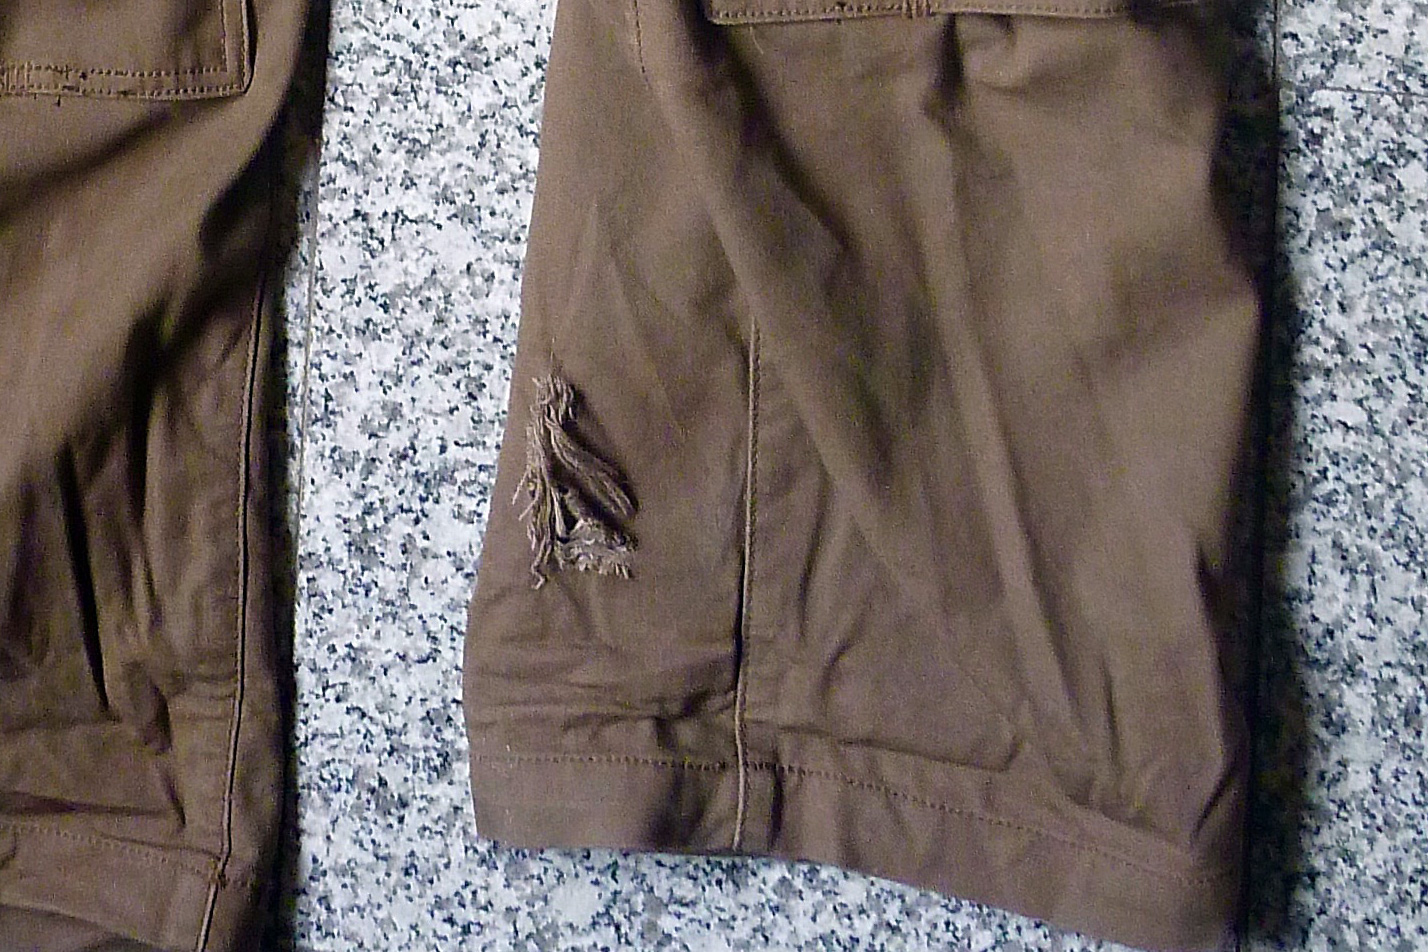
I bought my XSR in a bit of a state (right), but it only took a day or two to fix up once the parts were in (with ‘Woodcutter‘ Kev’s help).
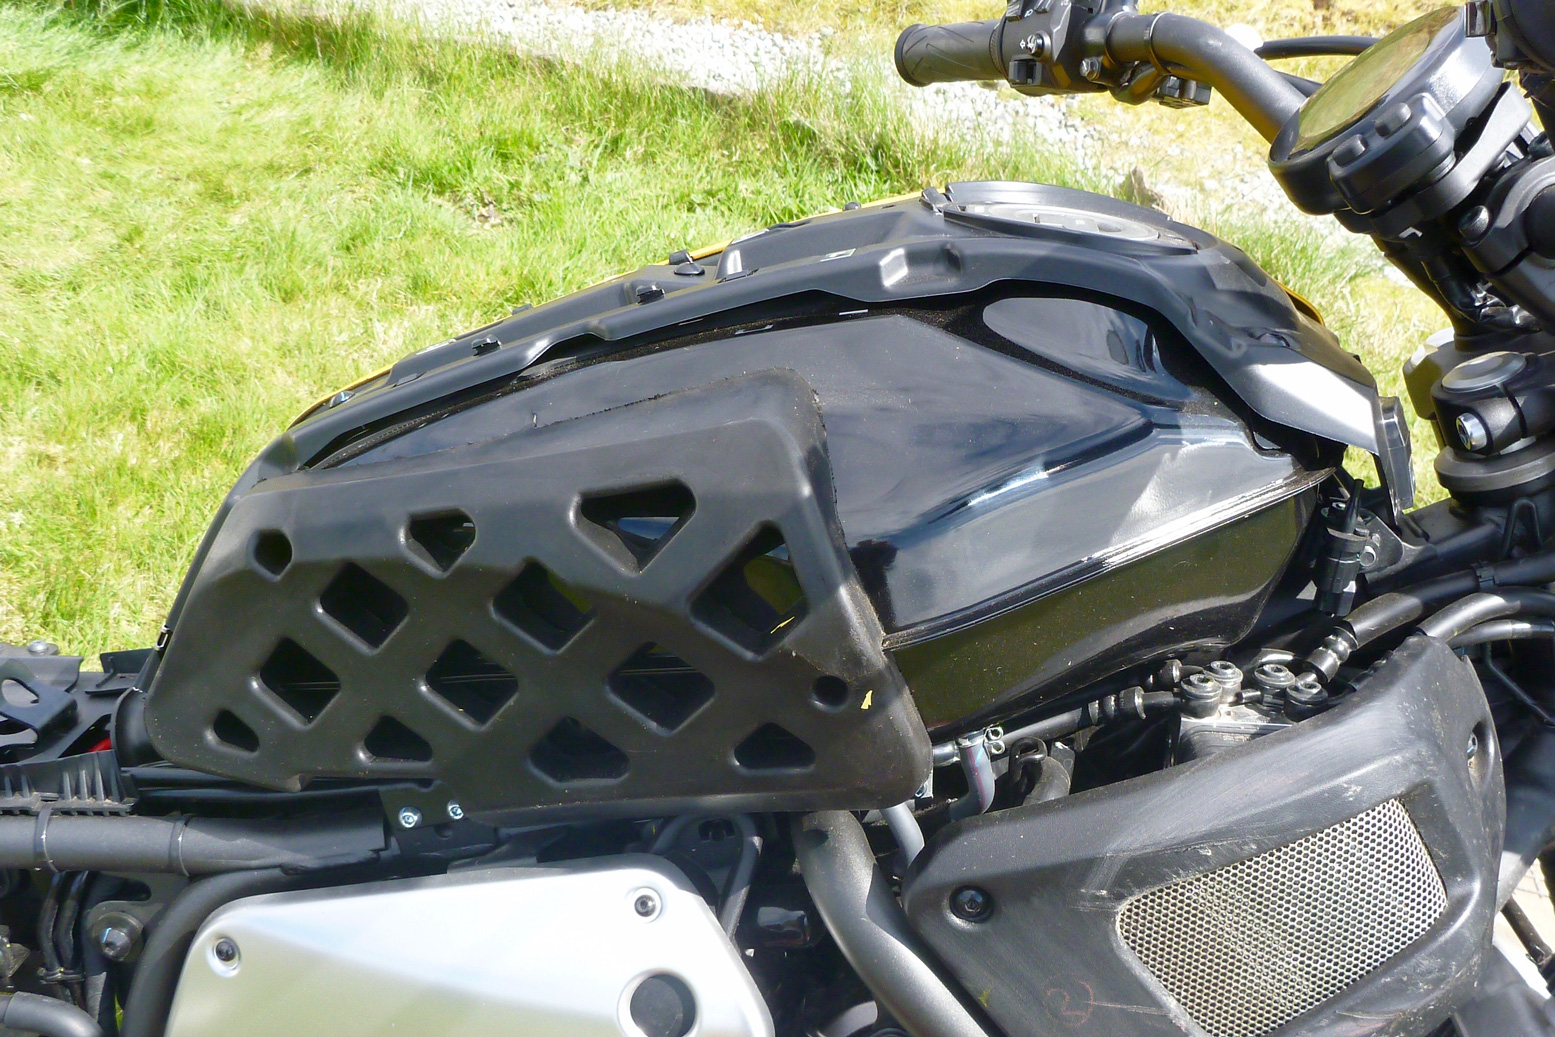
A lack of frame tubes under the engine complicates sump protection, but SW Motech make an alloy spoiler (left; top left; £120). Otherwise I’ve picked up an OE exhaust system which could be extended forward as a sacrificial bashplate to protect the more important sump and exposed oil filter. Doing this will probably lose any height gains from tyre and suspension. And if the OE system gets ruined I have the scratched but fruity Akrapovic which came with the bike. In the end the spoiler never bottomed out and barely scrapped once over a hump, but it fought off showers of stones.

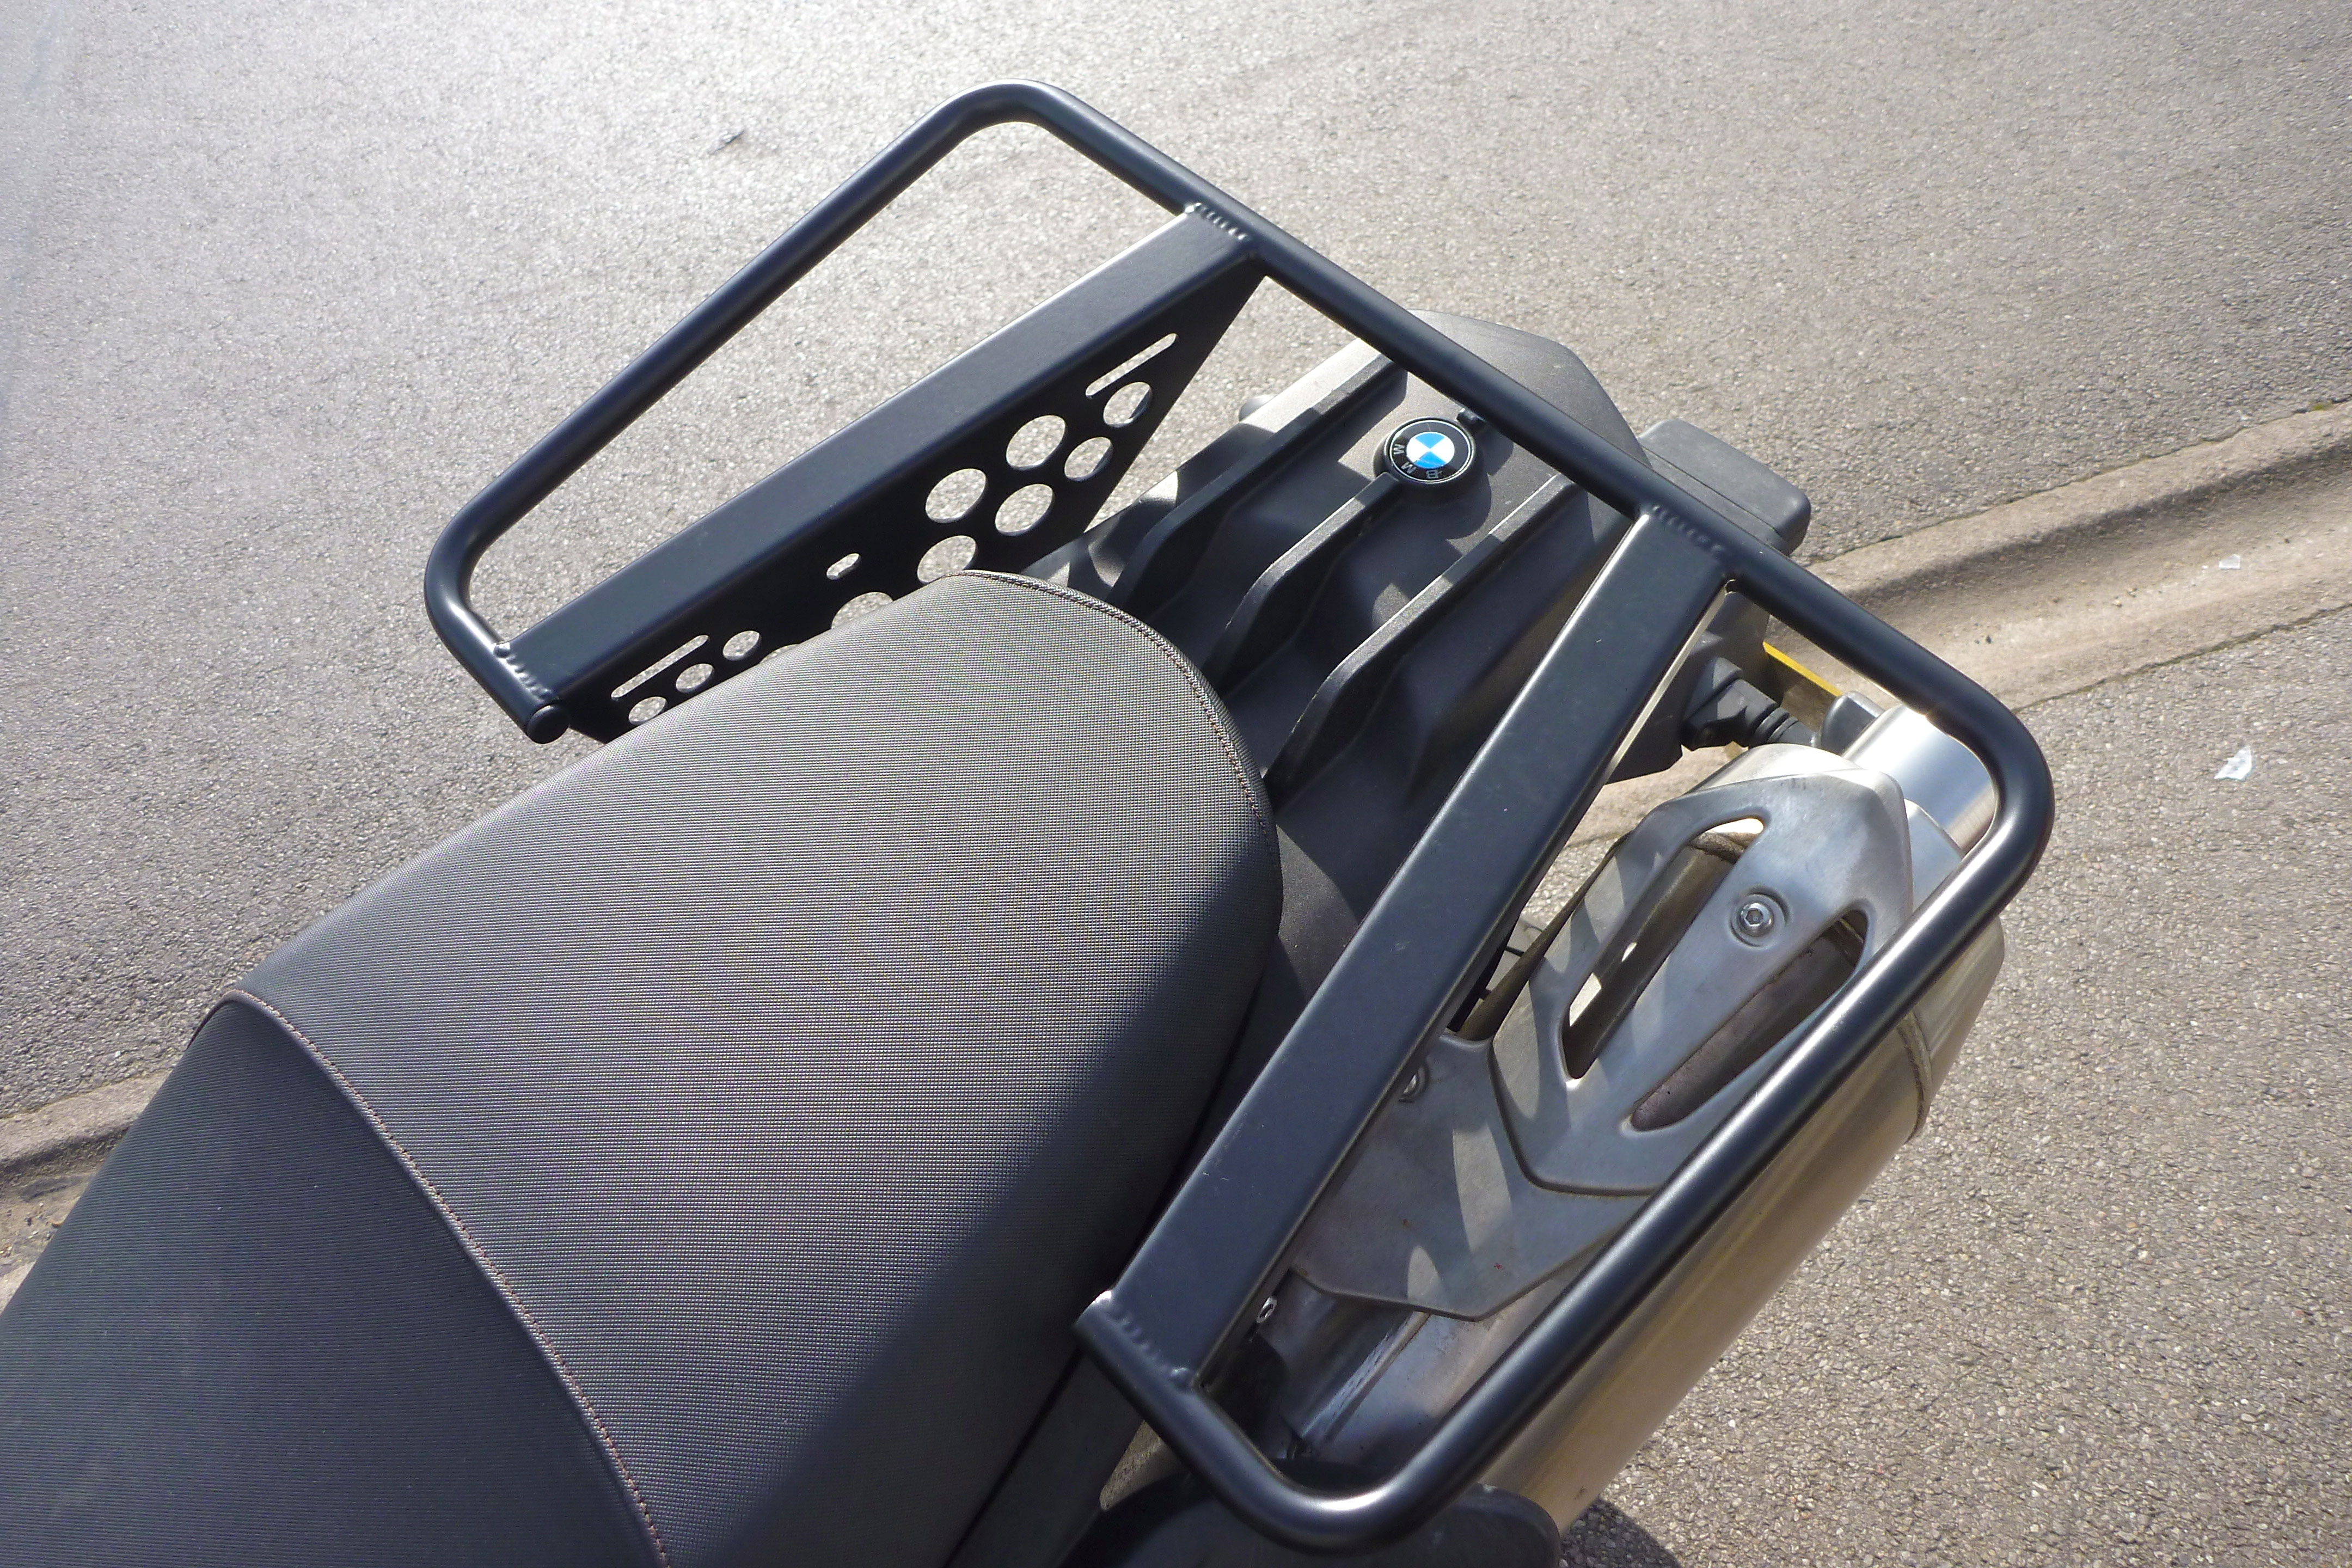
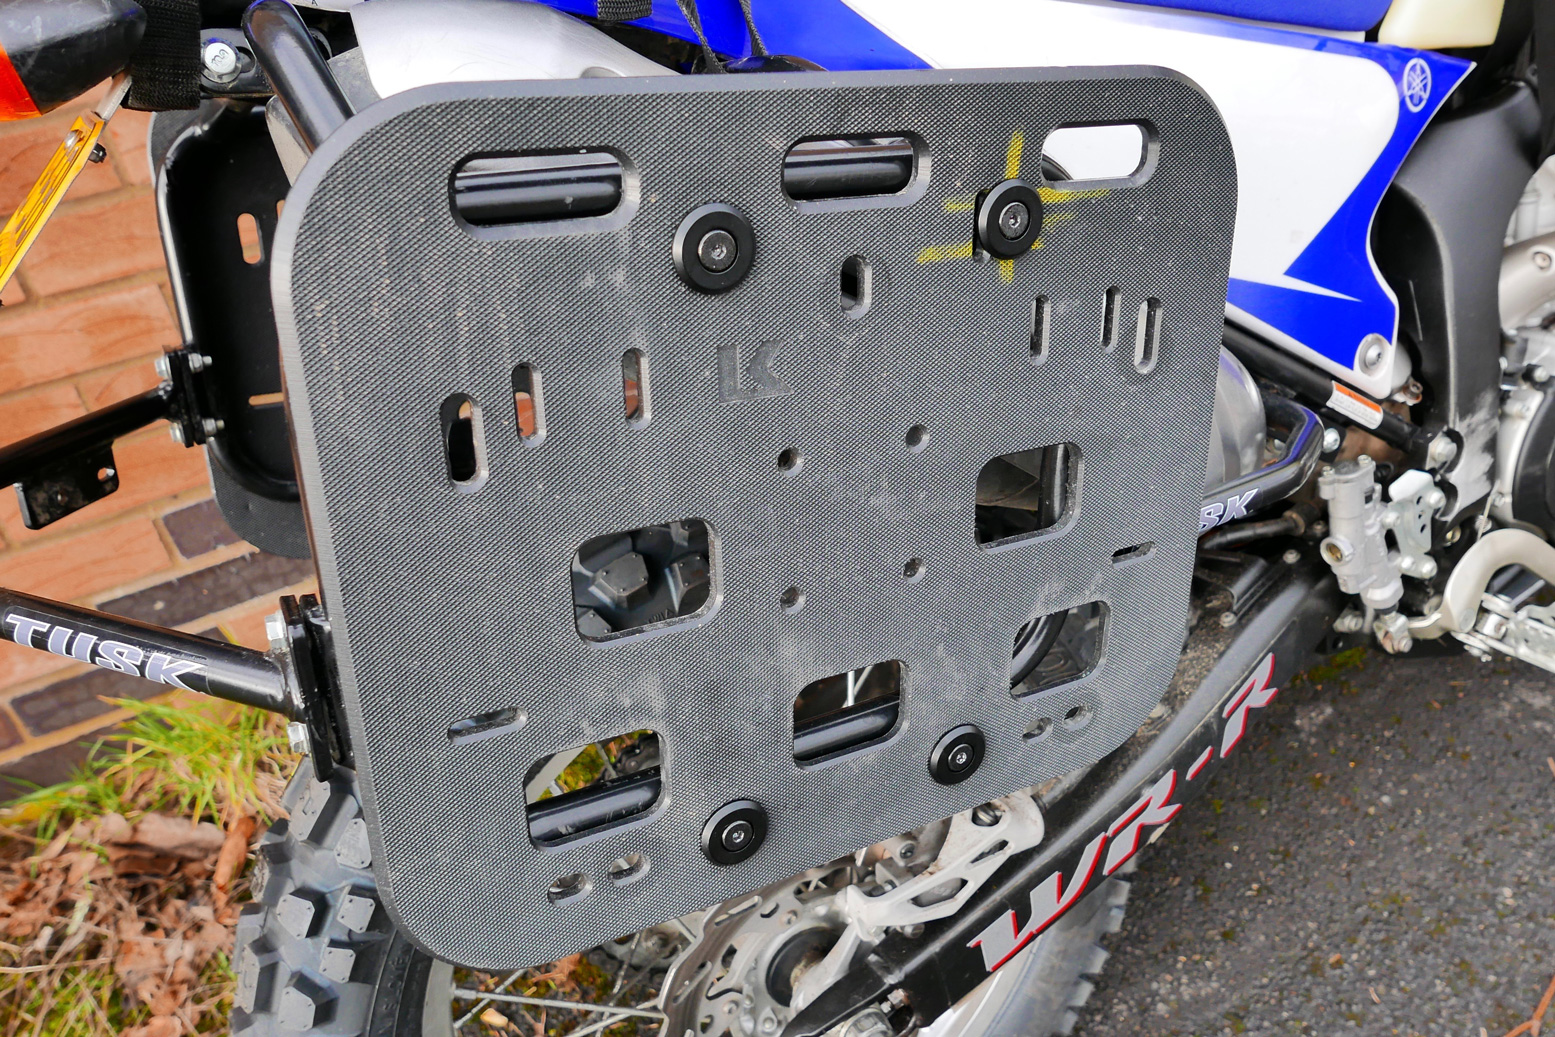
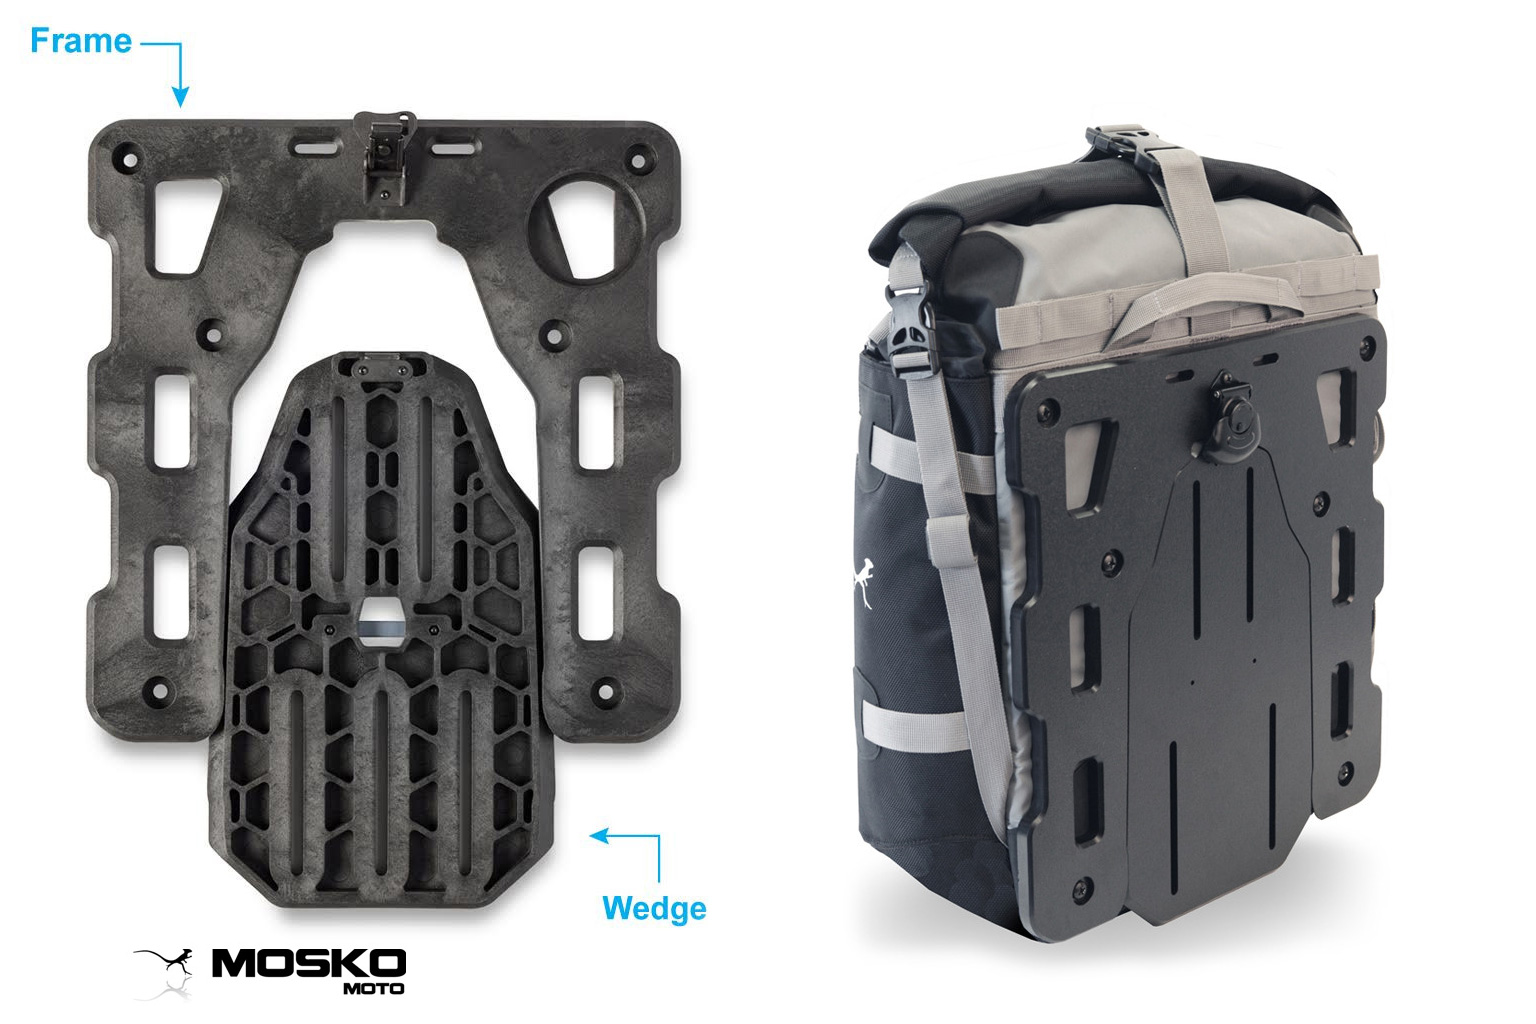
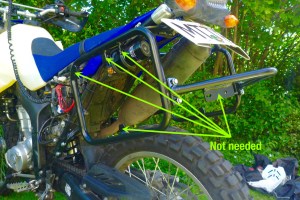
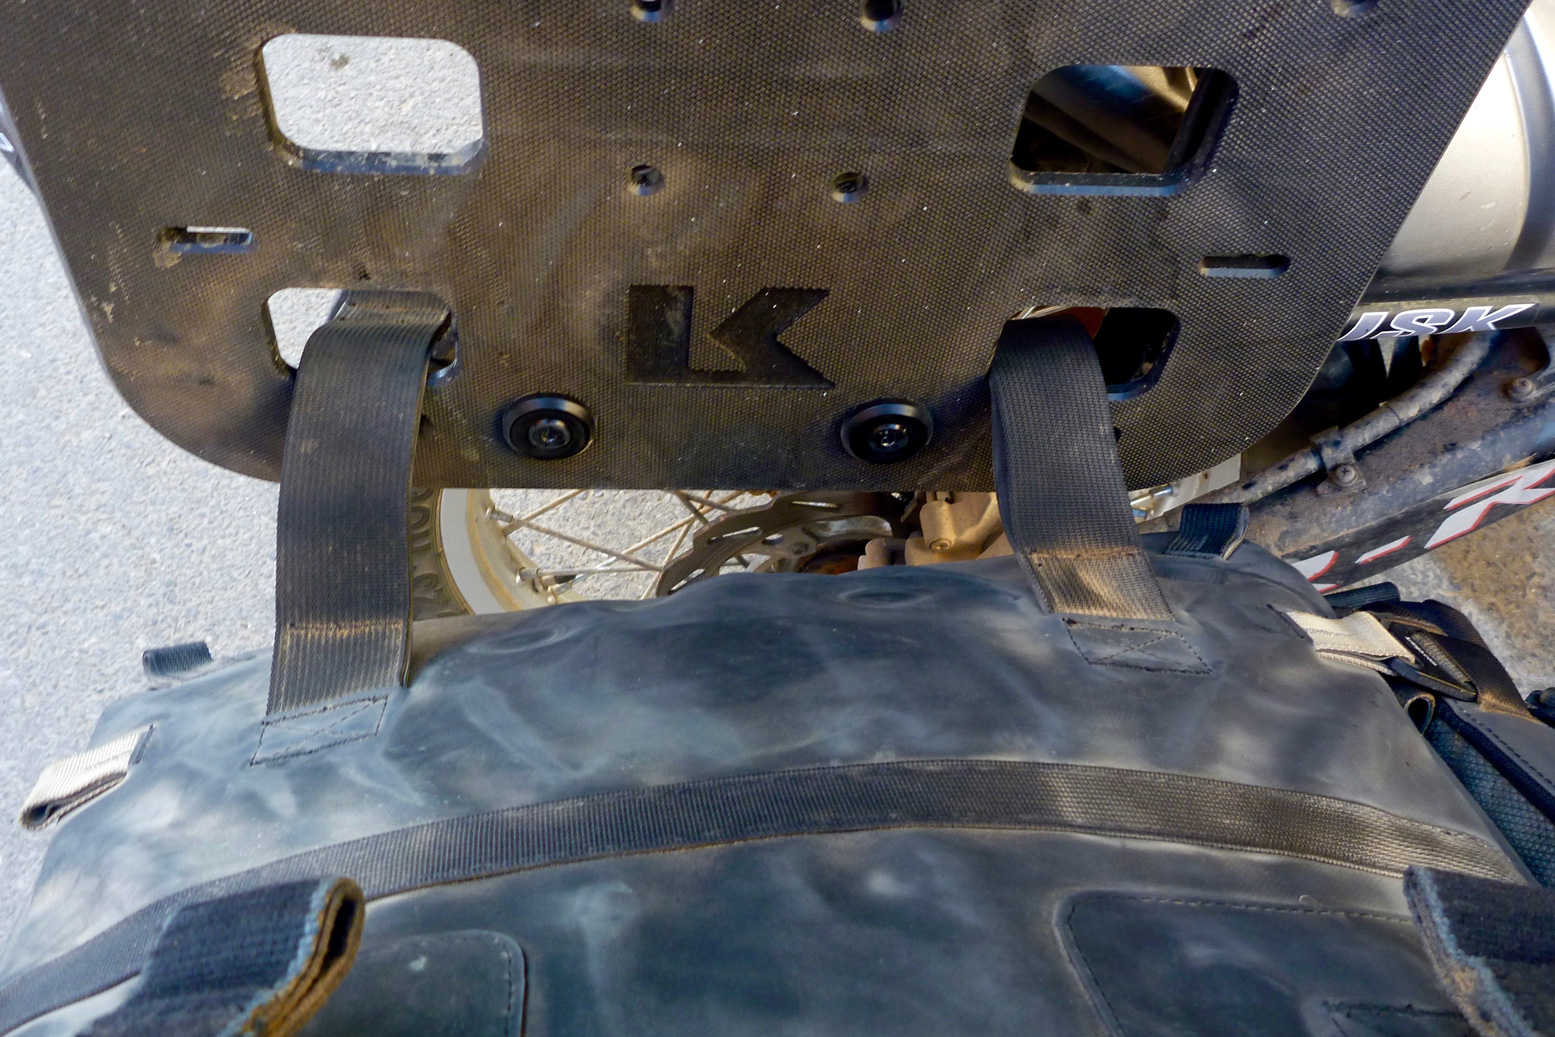
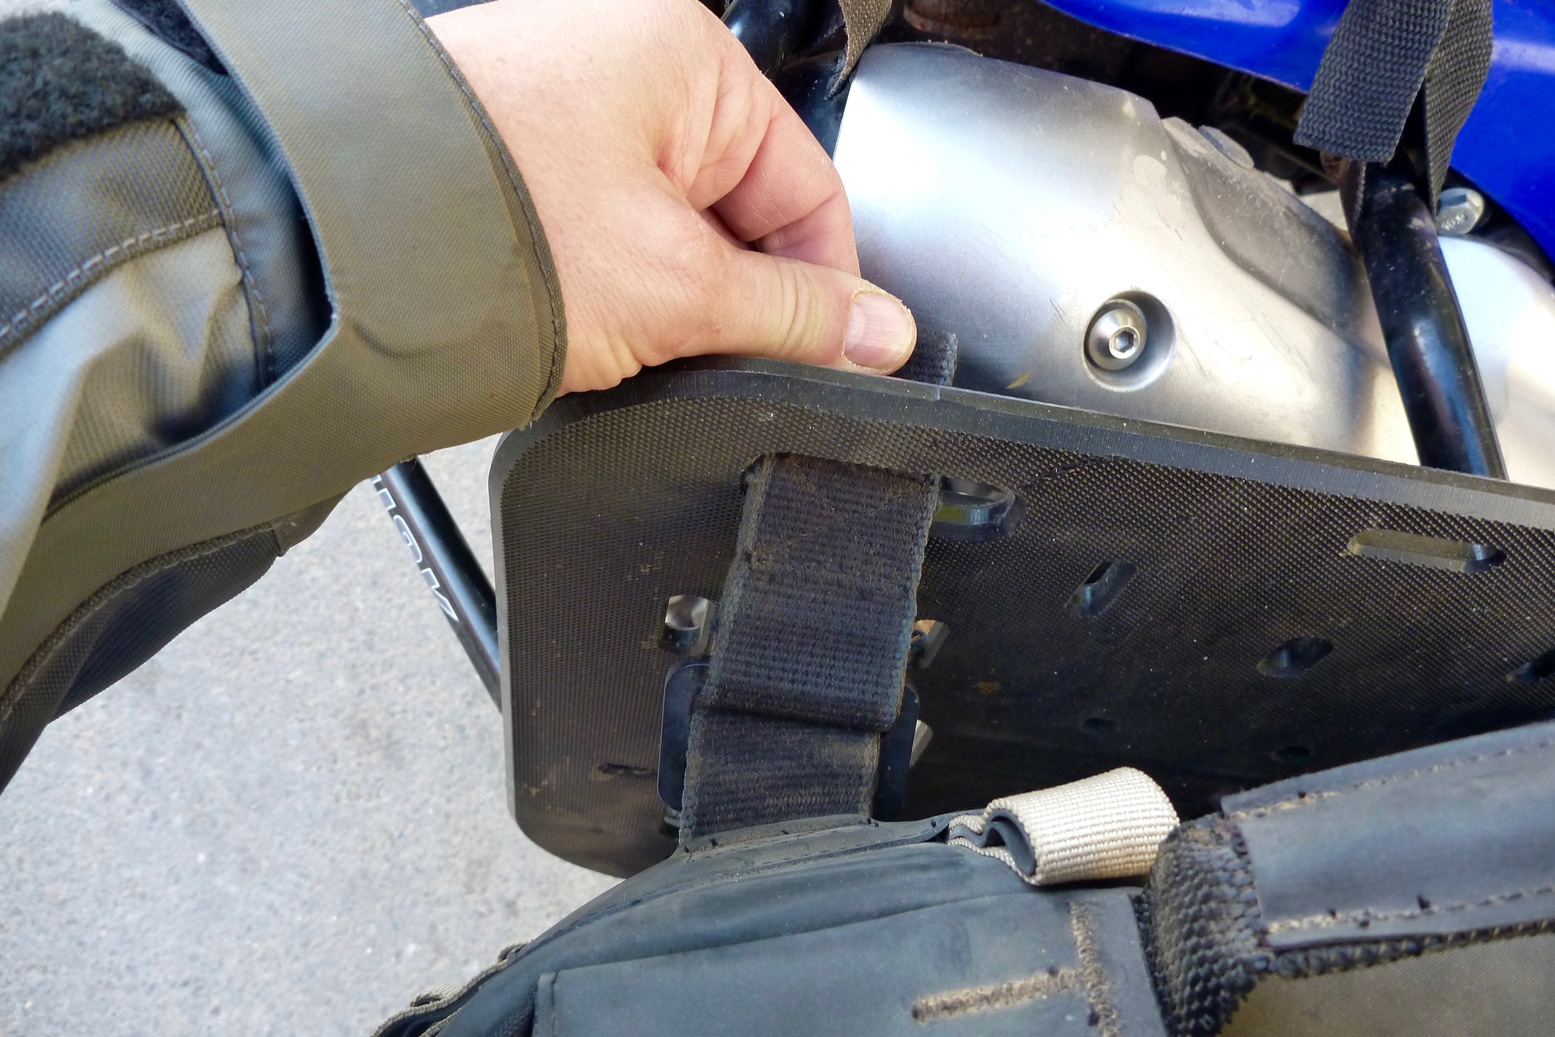
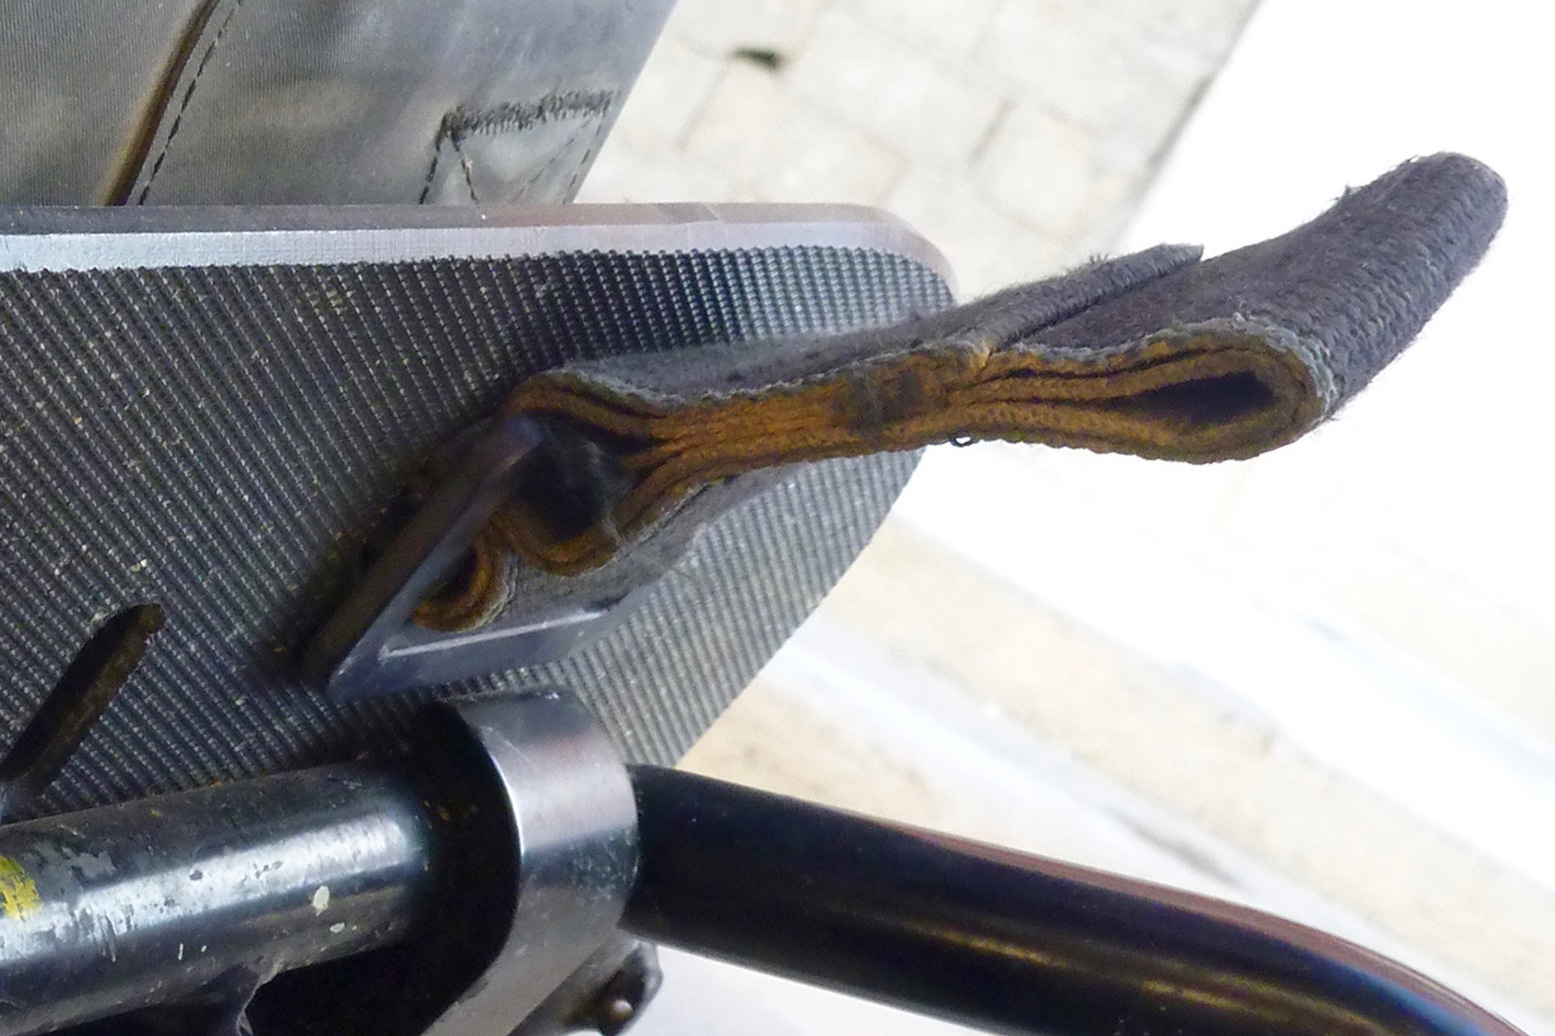
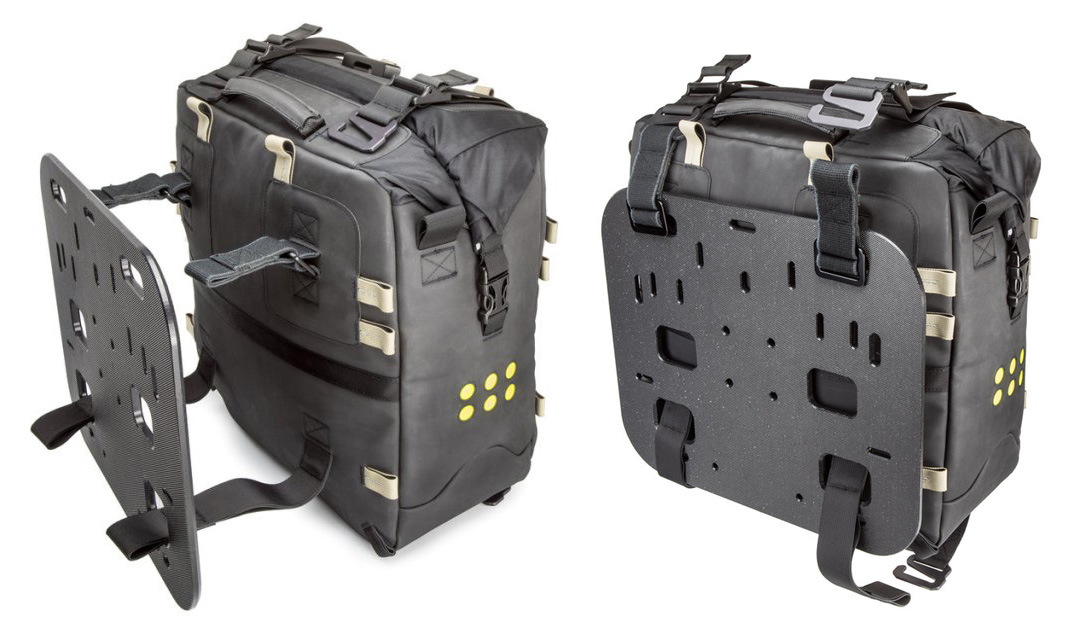
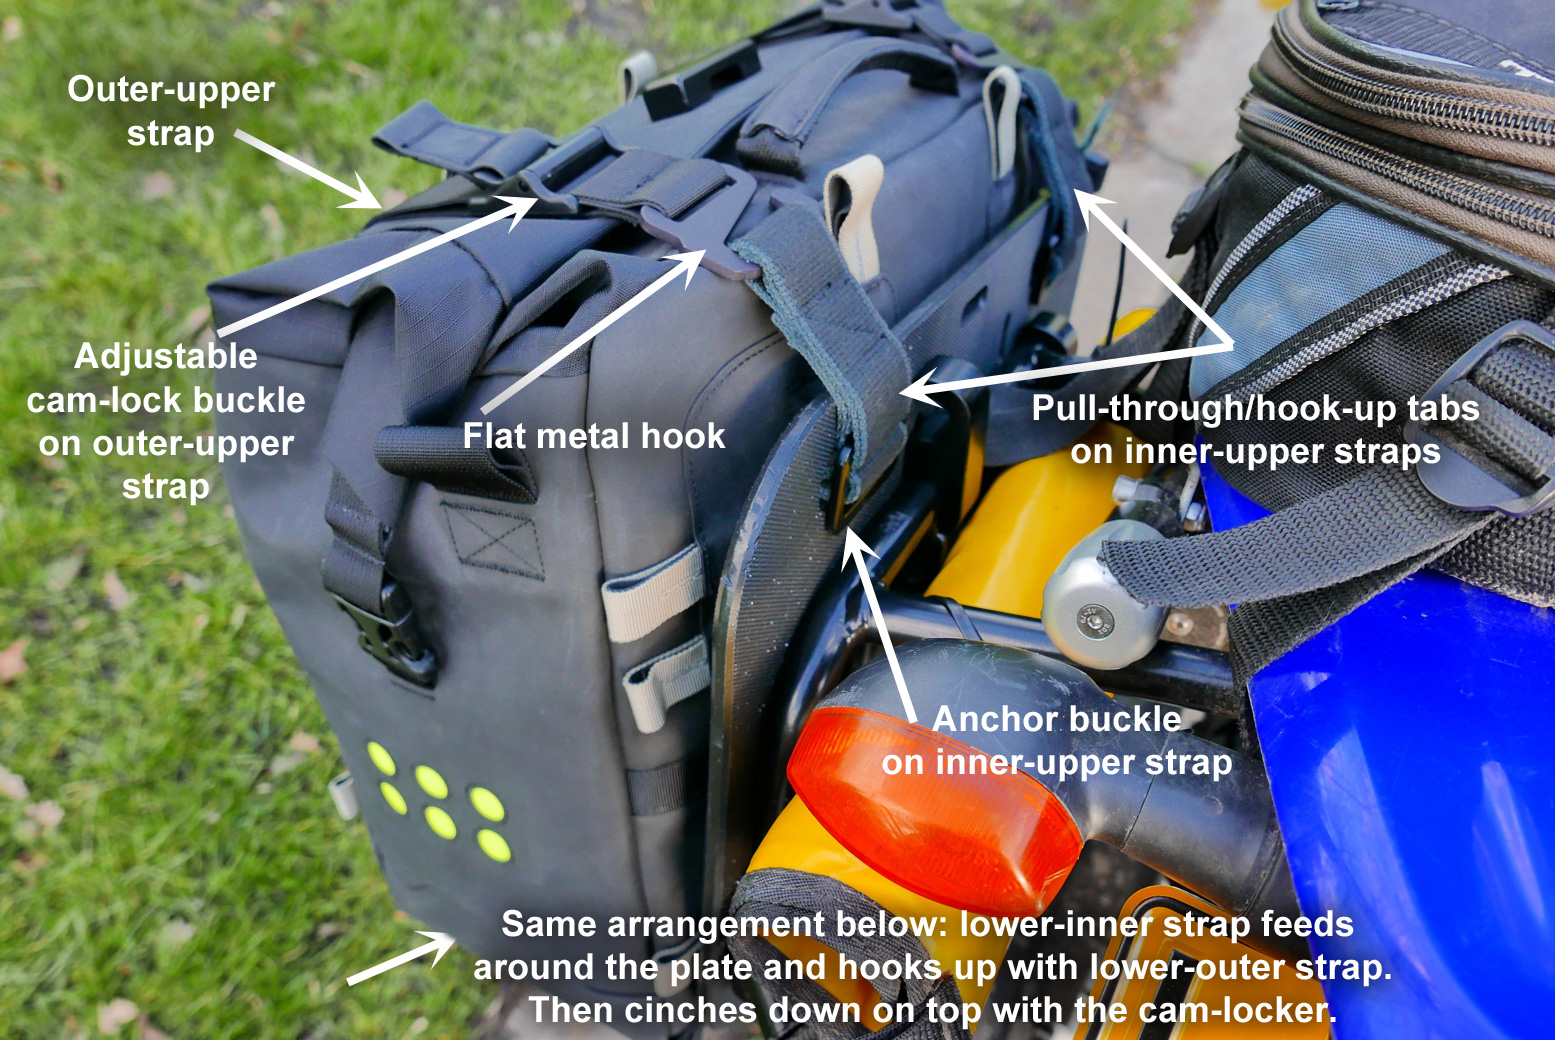
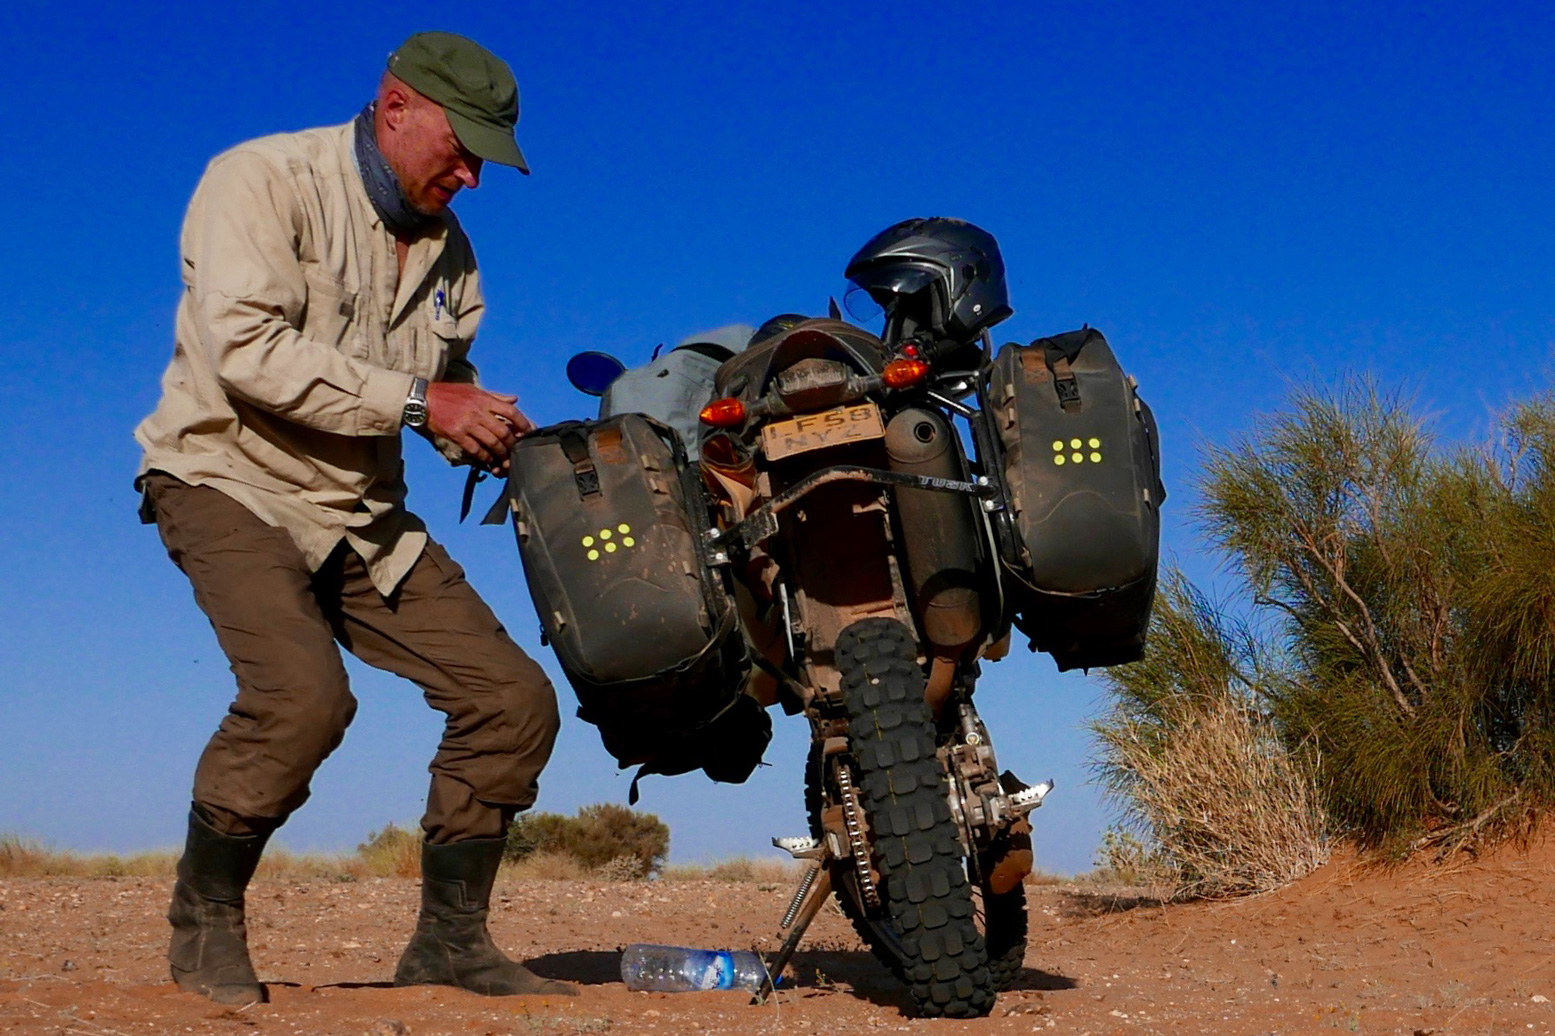
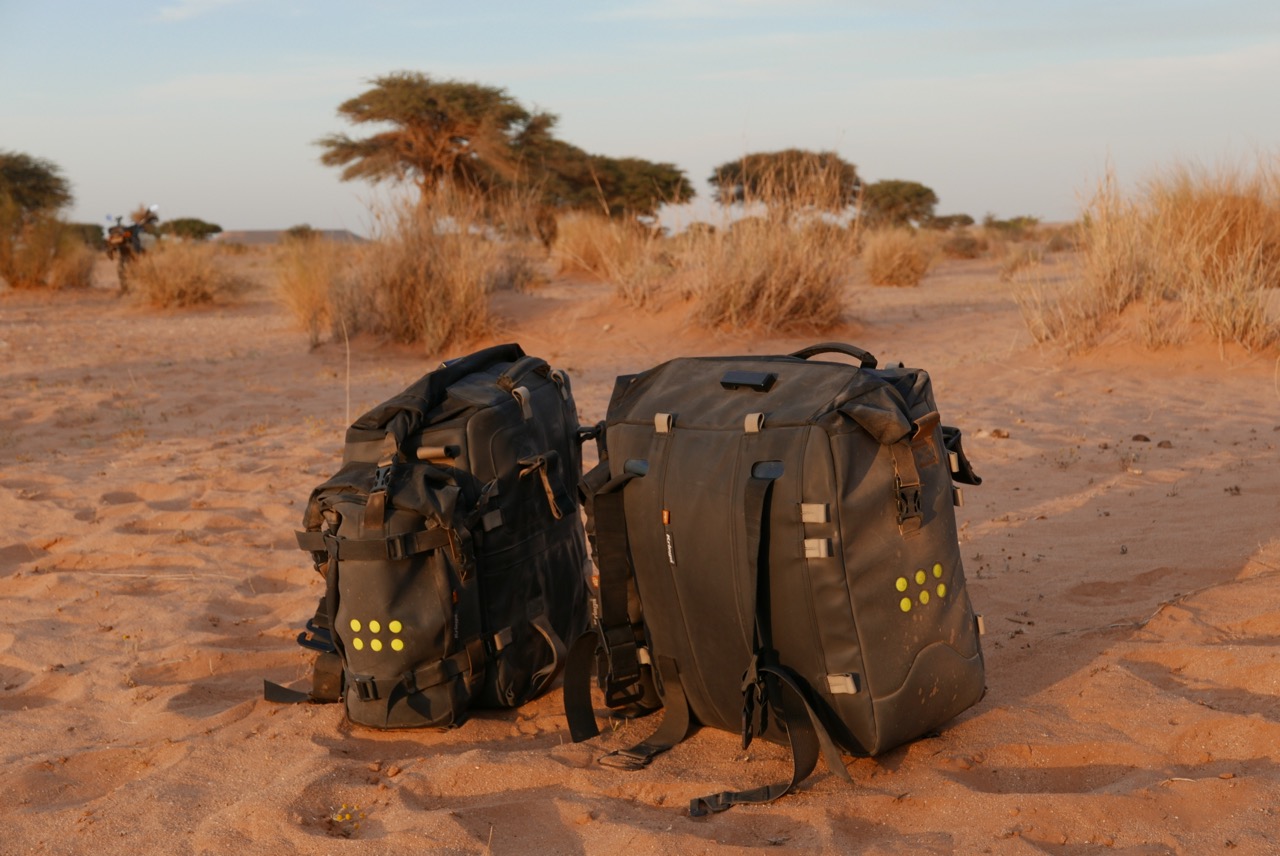
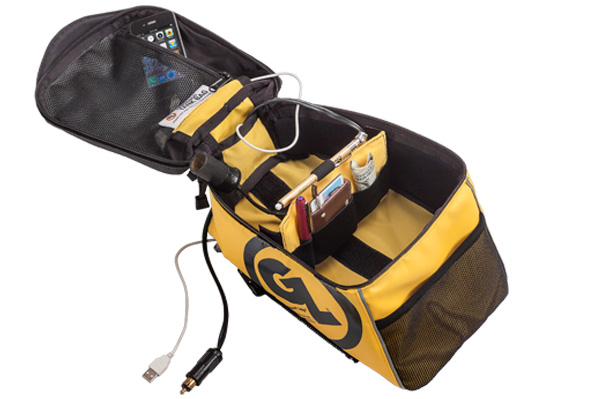
Crash bars from 3Rmoto (above left; top right; £106) look better at protecting the lower engine than offerings from Hepco or SW Motech. Small side pannier racks from Motech (above left; bottom left) could be fitted (or copied without the unnecessary fittings) for some Kriega Duos bags (right) or similar, with a wider tailrack in the style of the HotRod rack I had on my BMW XCountry (left).

Lift
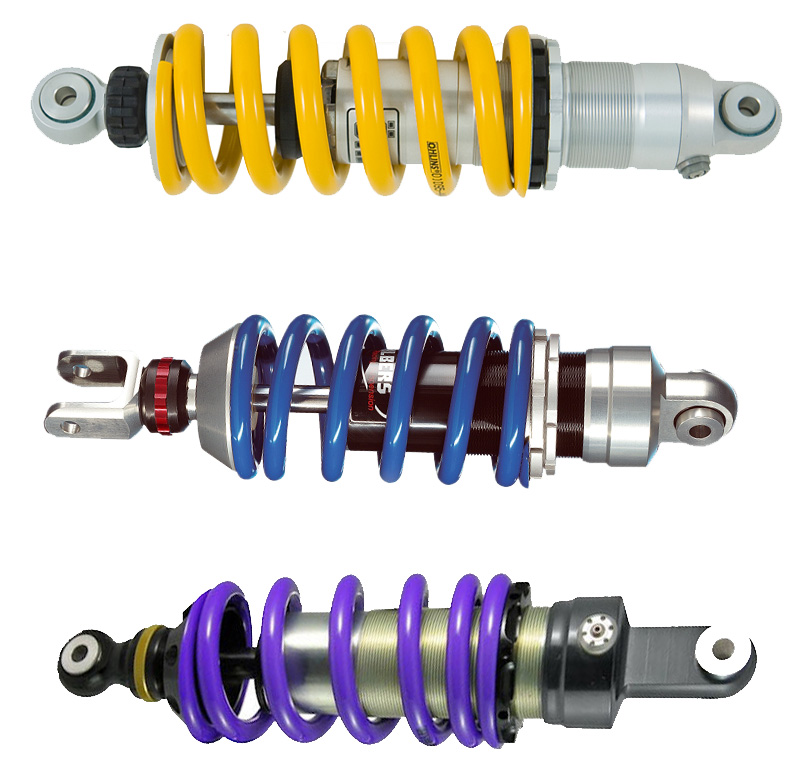
You can gain clearance with taller suspension or, at the back, modifying the rear linkage. Or it can be raised with taller tyres or wheels. This is the route I’ll follow, along with uprated standard suspension from Ohlins, Wilbers or Hyperpro which ought to maintain clearance and of course control the bike better on the rough. (Hyperpro don’t officially make a shock for an XSR; the MT07 one is the same).
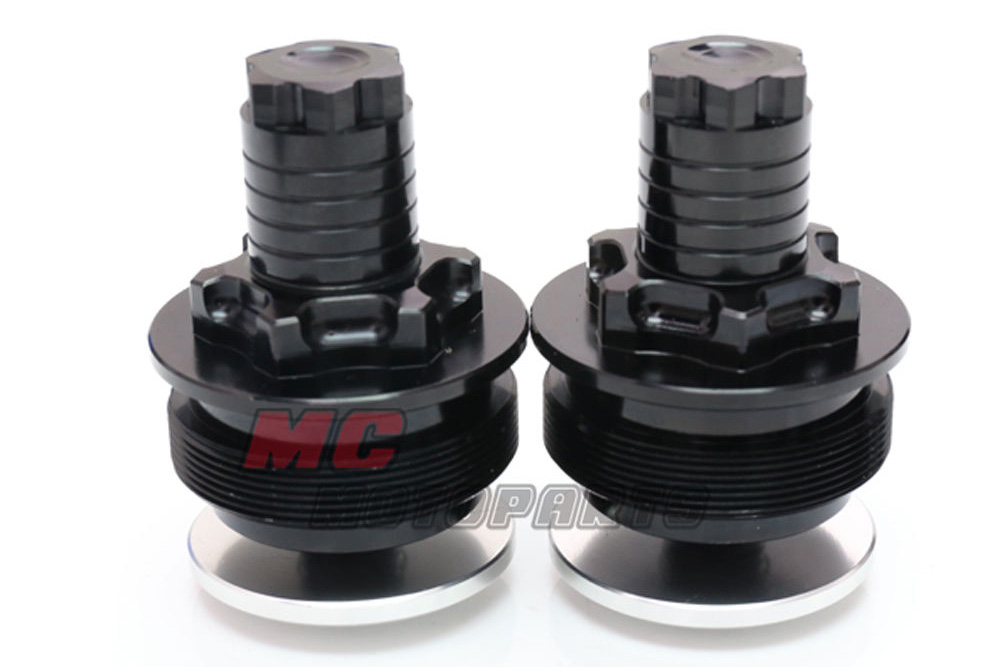
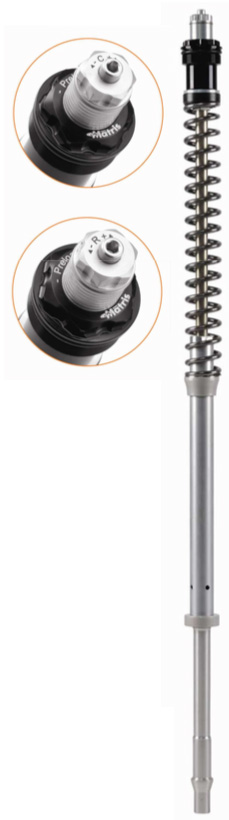
On the front I’m going to try out some inexpensive fork preloaders (left; £28) before probably resorting to an aftermarket spring (Got KTechs in the end, < £100), after which the preloaders will be a good back-up. There are also cartridge fork inserts (right) from the main suspension makers enabling preload and various damping adjustments, but they go for a staggering £500. Like the CB500X, the XSR comes with short springs plus a long plastic spacer. Seeing as aftermarket springs are the same, I assume this isn’t the cost-saving bodge it appears to be. Weight is certainly saved, though you’d think a full-length spring would have a more supple, progressive action,

The XSR/MT07 come with a preloadable shock with the usual deficiency of rebound damping that goes back to as long as I’ve ridden Jap bikes. You can now buy used MT shocks on ebay for a fiver. Meantime, I’ve learned the value of a shock with adjustable rebound damping (around £500). I can hardly tell on good roads at normal speeds, but sure can on rough backroads and tracks.
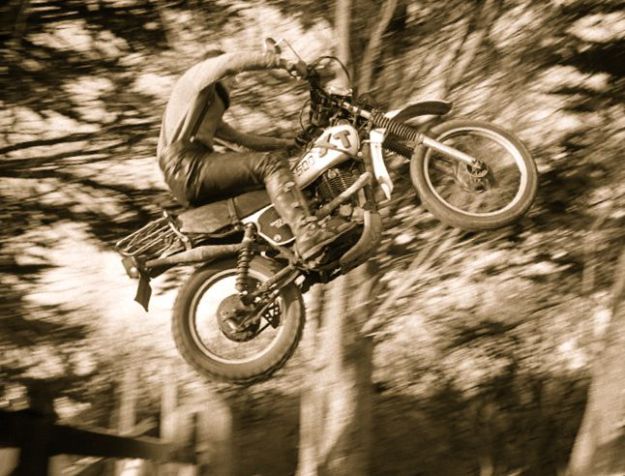
One important point that Jenny Morgan (Rally Raid 500X developer) notes with the XSR/MT07 is that the top of the near-horizontal shock (above left) mounts to a bracket bolted to the crankcase, not a frame member. A very hard bottoming-out could possibly damage the crankcase; a very complicated and costly repair. All the more reason then to fit a good shock, keep preload and tyre pressures on the high side (as I tend to do anyway), and where possible, resist jumps as pictured.
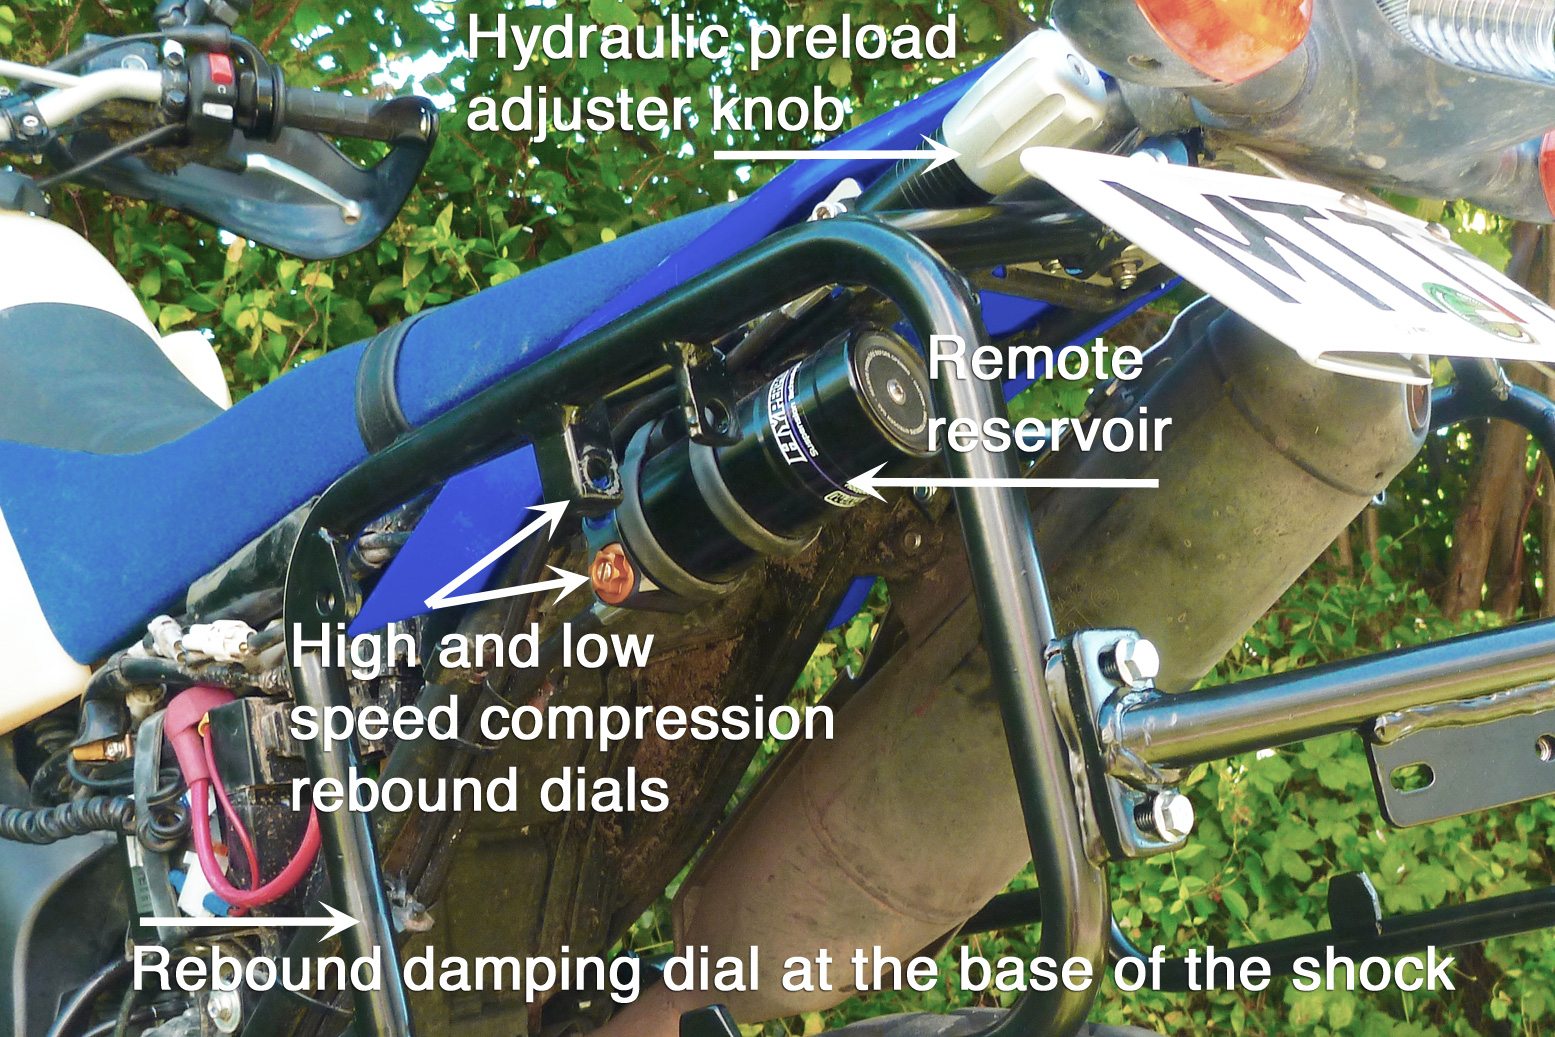
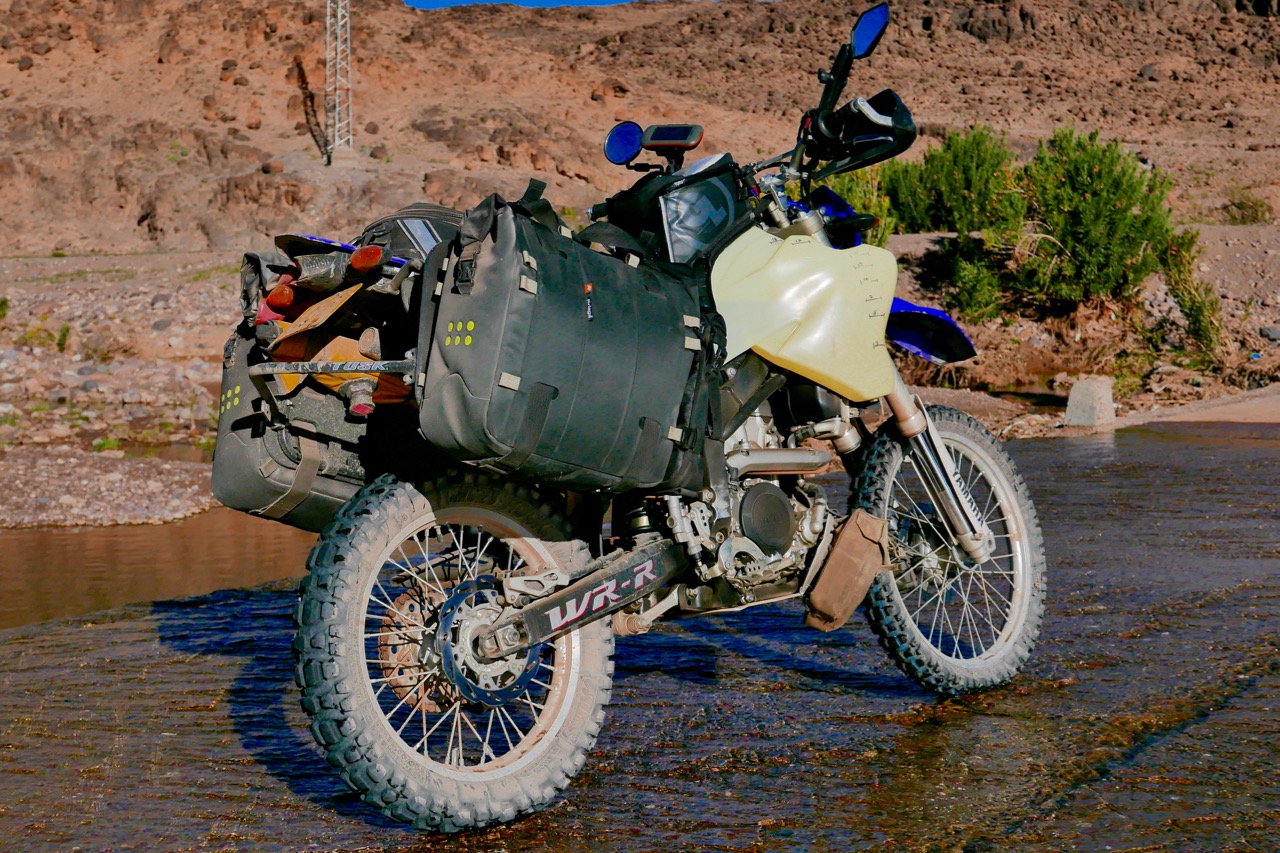
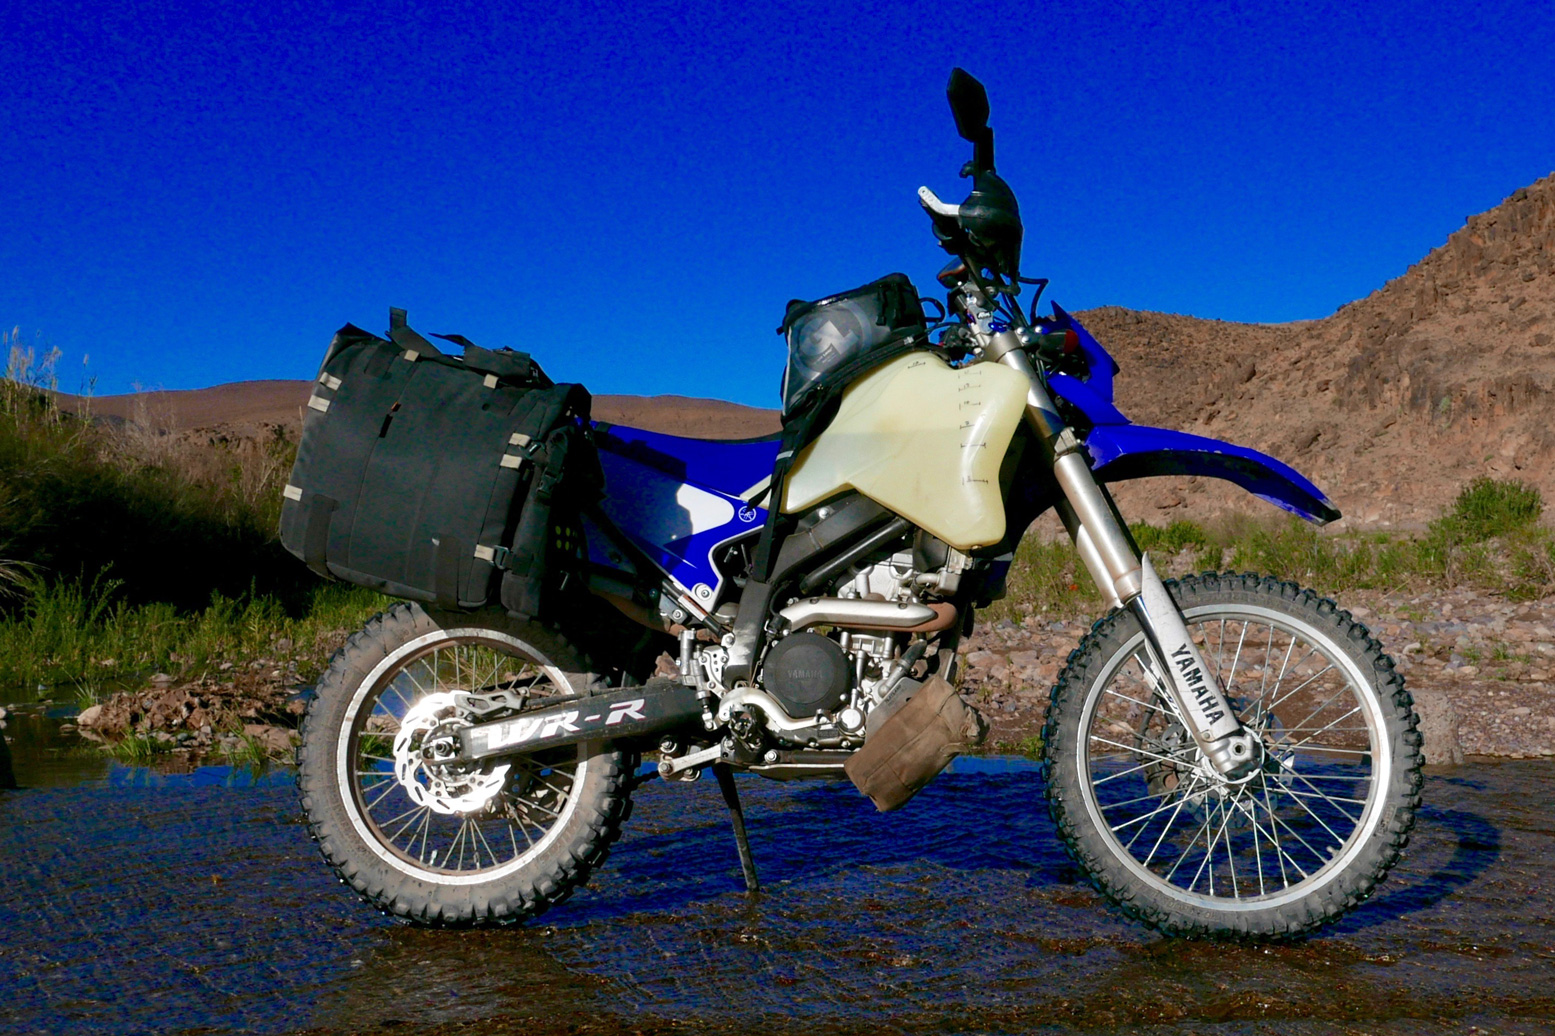
The Hyperpro on the WR (right) had rebound damping as well as low- and high-speed compression damping, though adjusting all these permutations, I got in a twist on the last big piste in Morocco while heavily loaded. I think what was actually needed was the maxed-out HPA (hydraulic preload adjuster) collar screwing down the shock body a bit to reset the preload at a higher rate. Turn-knob HPAs are great; give me one of those (or a mechanical version) any day before three types of damping and different coloured springs. An HPA replaces C-spanners and skinned knuckles; when I jacked up my XSR I made sure I wore gloves.
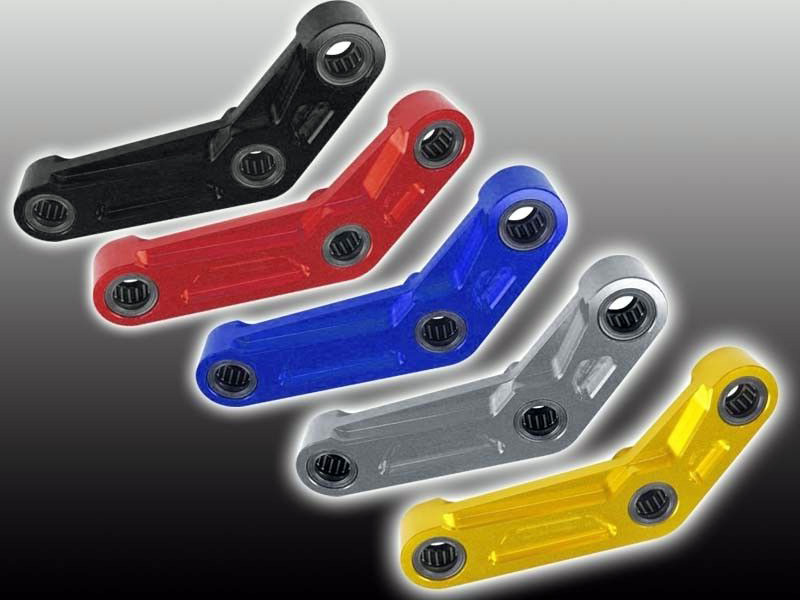

Among others, at the ordering stage only Wilbers offer varying shock lengths to modify standard ride height (most want a lower bike). With other shocks once you’ve spent your £500 you’re stuck with the length. You can get ride-lowering ‘dogbone’ linkages on ebay or, for the 700s, the ‘relay link’ (right) in an array of anodised colours (left). Fitting looks quite a faff and again, like a longer shock, you’re stuck with what you’ve got.
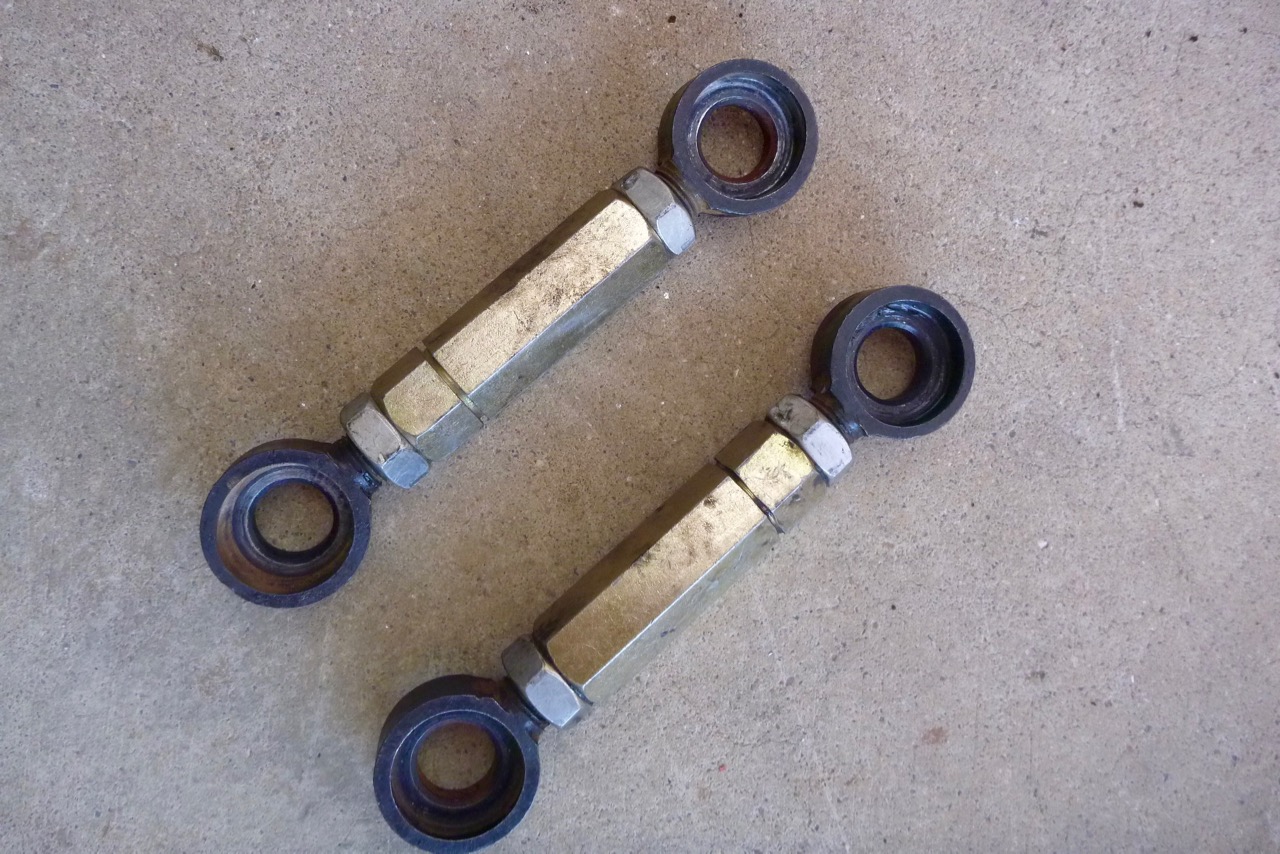
If taking this route I much prefer the idea of variably adjustable links, aka turnbuckle links (left). I first came across them on a KLX250 I had in the US in 2016. They’re only made in the US by this lot, afaict, and cost four up to times more than a fixed link. And the problem is they only make them to go standard or lower by lengthening the link. To gain ride height you need to shorten that link, which requires chopping maybe 10mm off the body and perhaps 5mm off the threaded ends too. One flaw with messing about with linkage length it that it also messes with the carefully calculated progressive action of the whole system. Rally Raid noticed this shortcoming early on in the 500X’s development and after some calculations, milled a new ‘relay link’ for the Honda.
Up to a point, clearance could also be improved by making the sump shallower and/or rerouting the pipe. The latter is actually the lowest point, but moving it is complicated and expensive. As mentioned, a used OE system can do the job providing the sump’s protected. With the sump, every 10mm less sump depth loses about 280cc or 10% oil capacity, raising temps and reducing oil life. Maybe OK for a racer; not so good on a travel bike, let alone the fabrication effort involved. Better all round to fit solid protection here and achieve / maintain lift from wheels and suspension.
Small jobs already done
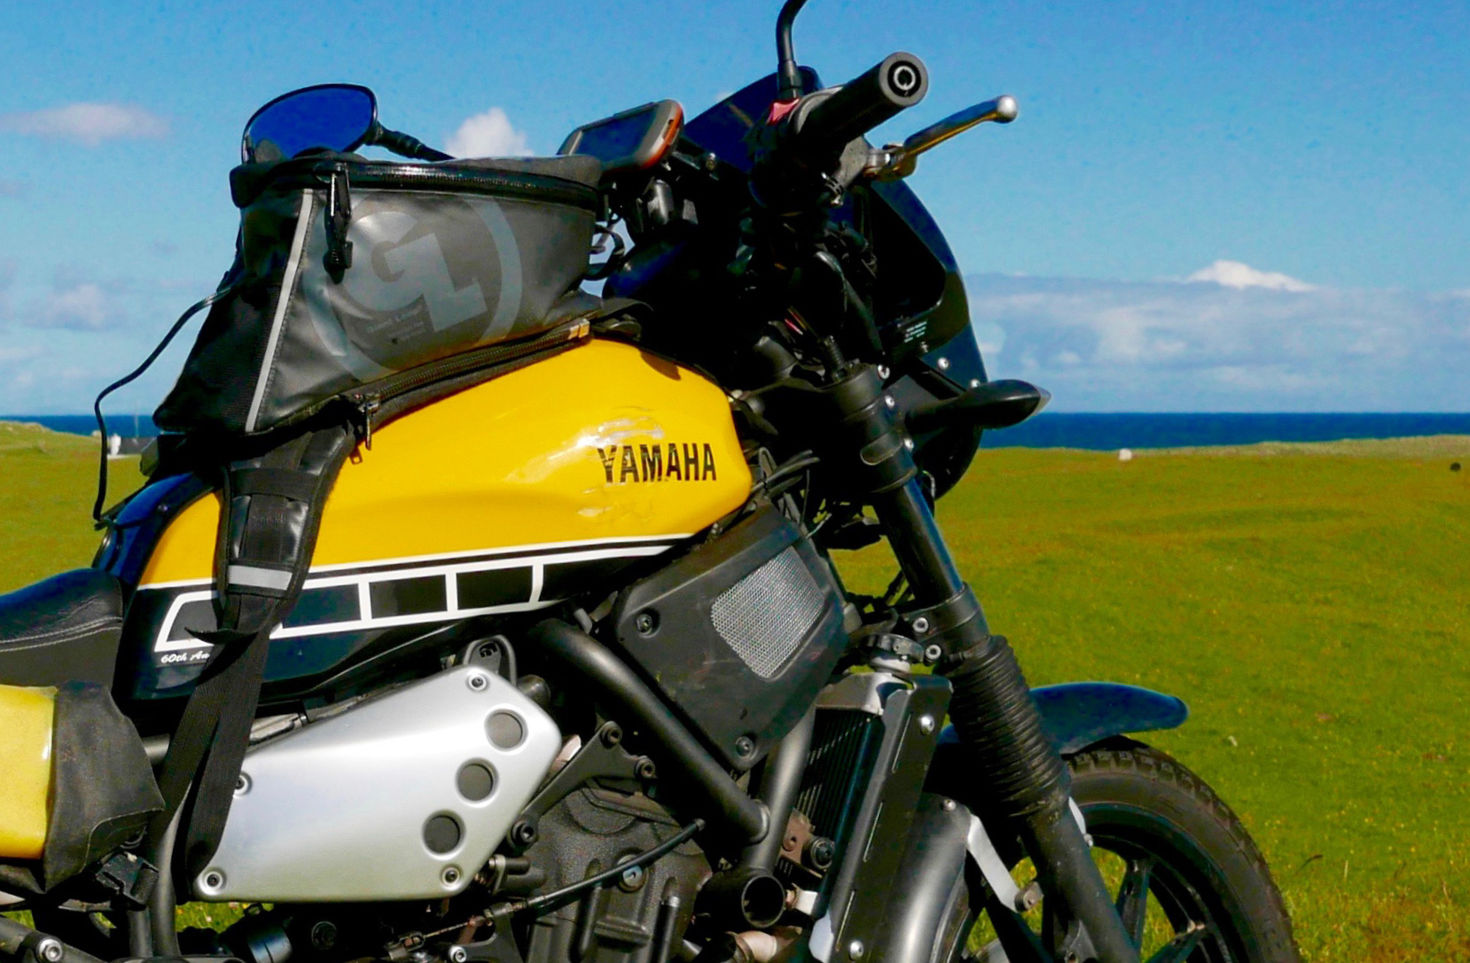
My old Spitfire screen fitted, as you can see. I’m getting my money’s worth out of that one and again, I’m amazed how securely the basic fitting works at up to 90mph. The screen can be removed in a minute.
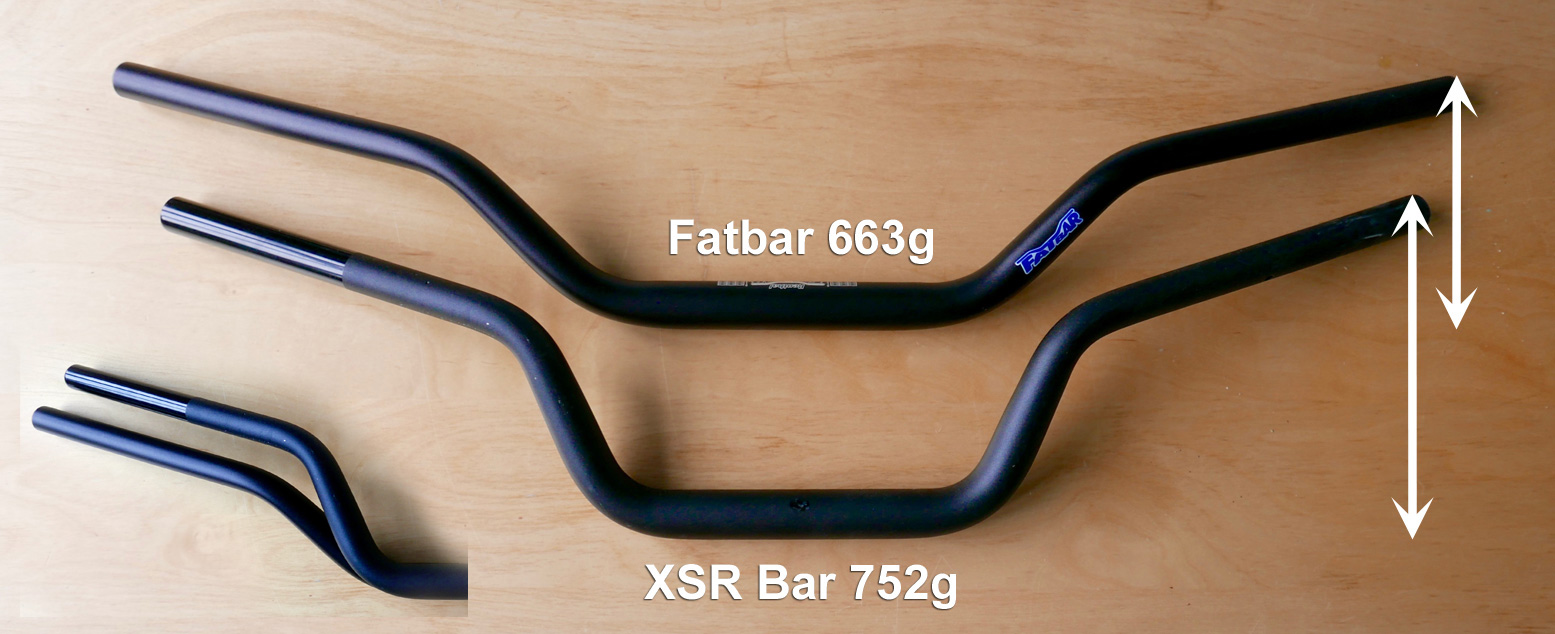
Something was bent up front, but it wasn’t the forks, tfft. I bought a new/removed OE bar, but a closer look showed on of the bar risers was a little bent; they’re both part of one block (£80). The so-called Yamaha accessory knuckle guards (£160!) absorbed the impact. It’s actually a pretty good fatbar, 2 inches taller and narrower and only 90g heavier than my Renthal fatties (right) which still wait to make their debut.
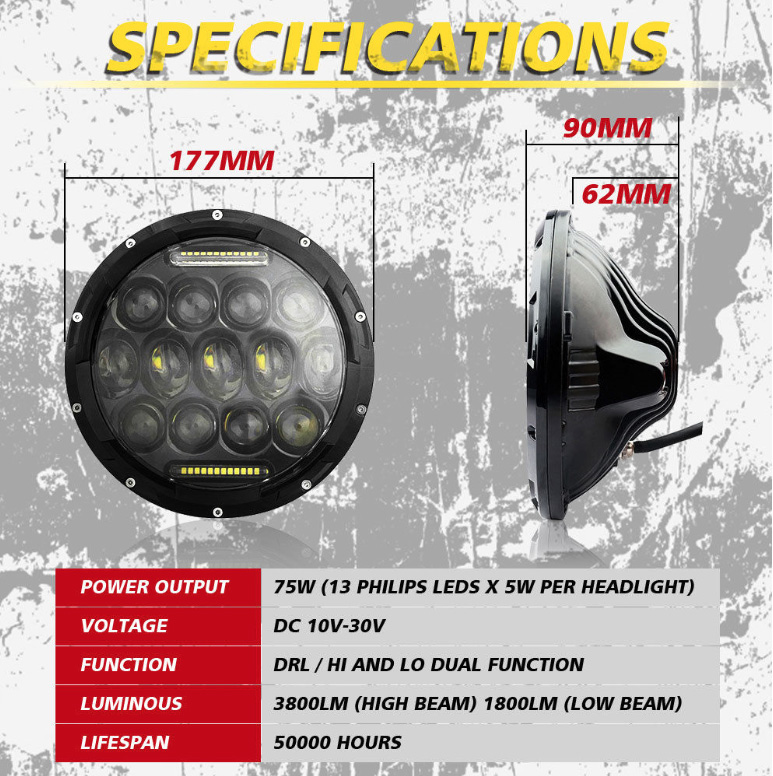

The headlamp shell was caved in and the rim was gouged. That’s about £130 quid’s worth and many agree, the OE lamp is not a great look. Instead, I bought a 2000-lumen LED off ebay, and some steel, fork-rubber-mounting brackets for £25. Removing the OE headlamp mounting frame, the cast alloy indicator brackets and a couple of other fittings saves weight overall but leaves nowhere to mount the indicators. I knocked some up from some scrap formica to get me home, but later got the lamp brackets remade properly in alloy with holes to fit the indicator rubbers.
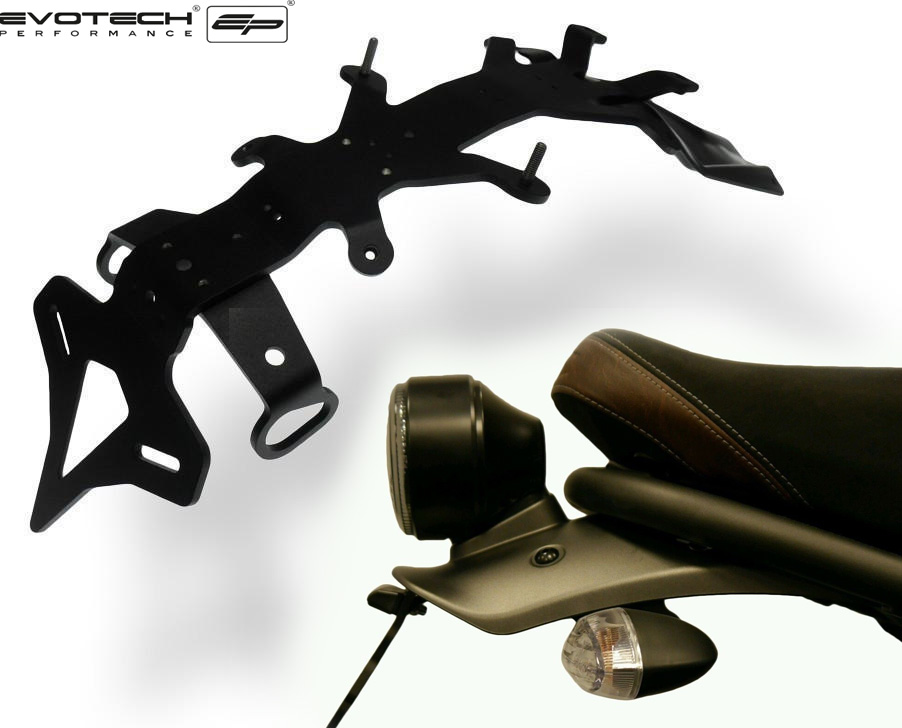
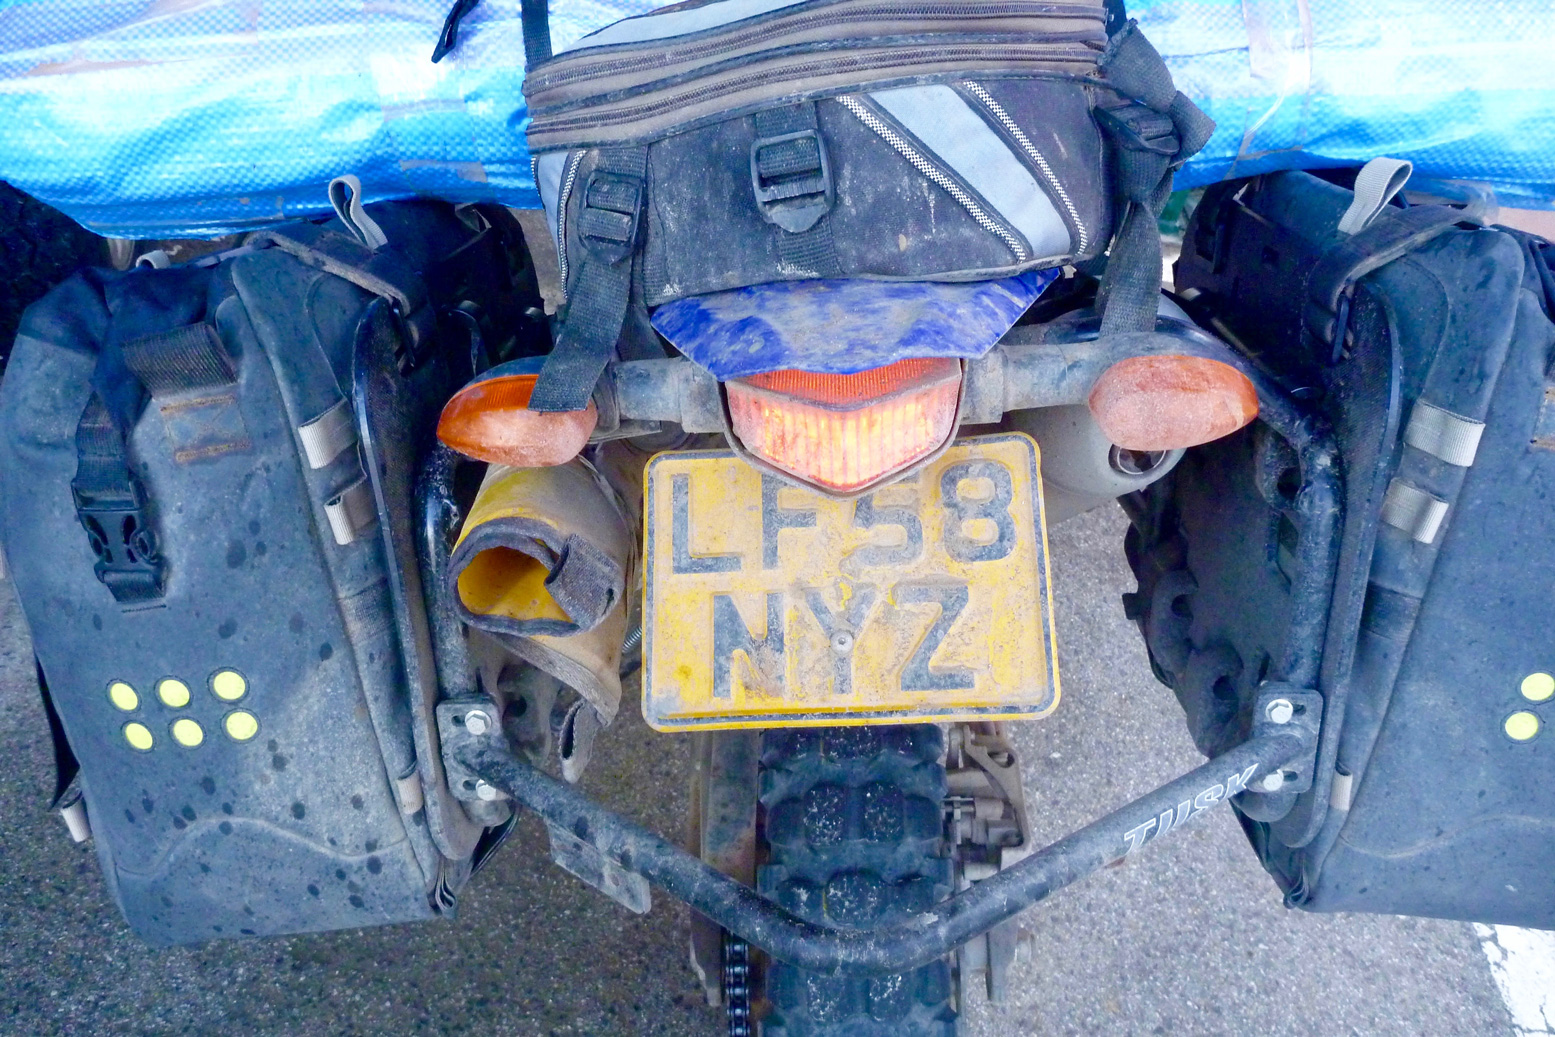
I’m tempted to fit an Evotech tail tidy (using OE indicators) as I know well that running on corrugations and rough tracks can stress taillight mounts which way out back.
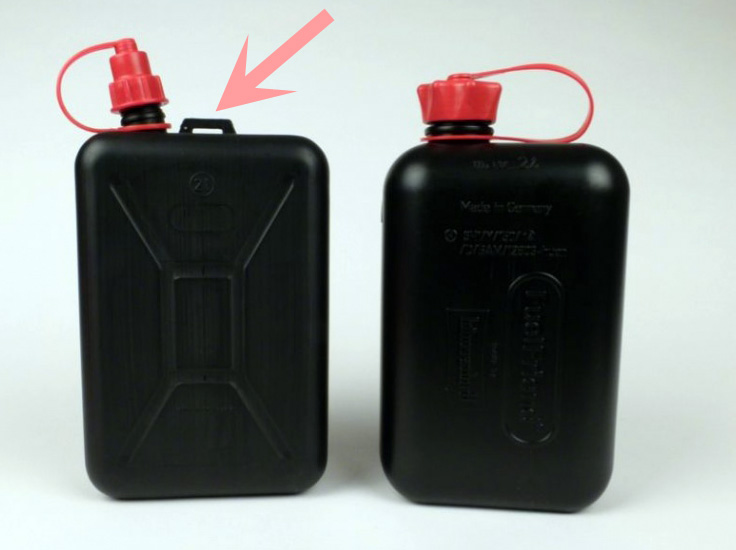
The ‘tank‘ is ally panels covering a 14-litre steel reservoir. One of mine was dented; I tapped it out with a hammer. Right now I get 200 miles to a tank. A little more would be better and looking underneath it appears it would be quite easy to enlarge the tank but really, for 2-3 extra litres I’m better off with some £10 fuel cans.

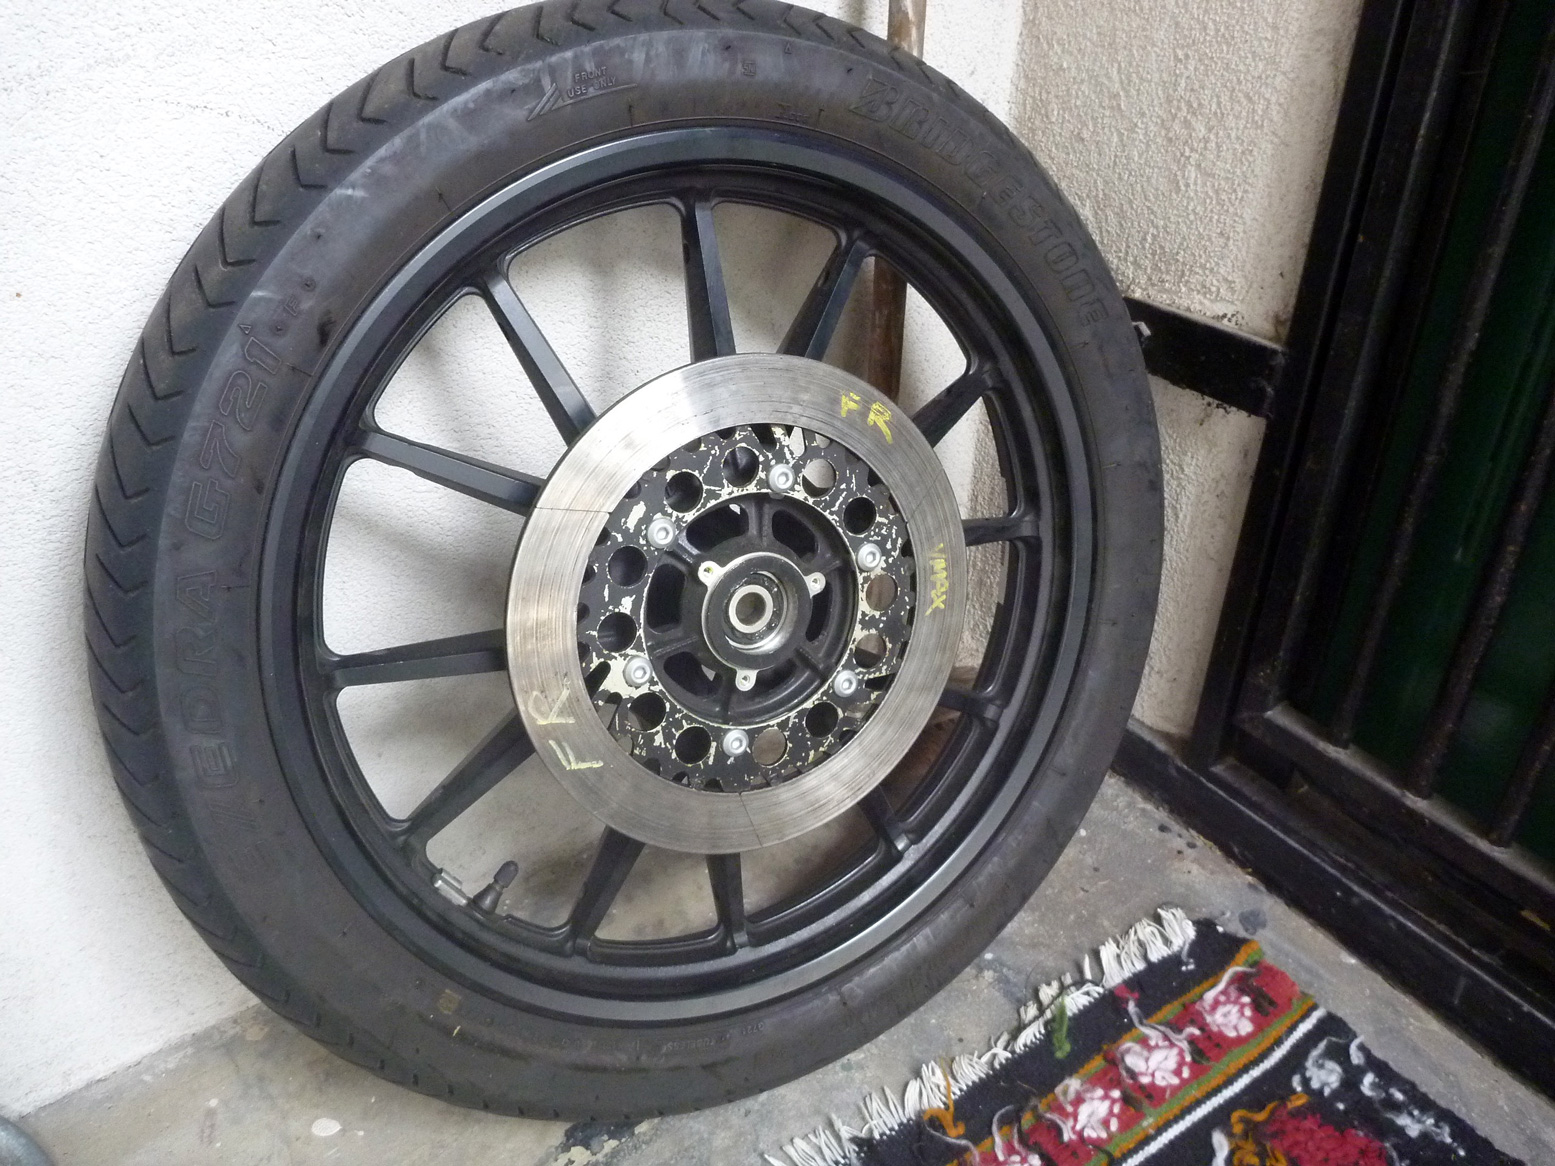
First main job: fit the wheel off a 2016 XVS950R (right). Spindles are the same diameter, but almost certainly new spacers will be needed as well as probable brake caliper spacing to line it up with the V-Max rotor. Luckily the ABS ring may fit – a benefit of using parts from a similar/same era bike. One disc you say? All will be explained.