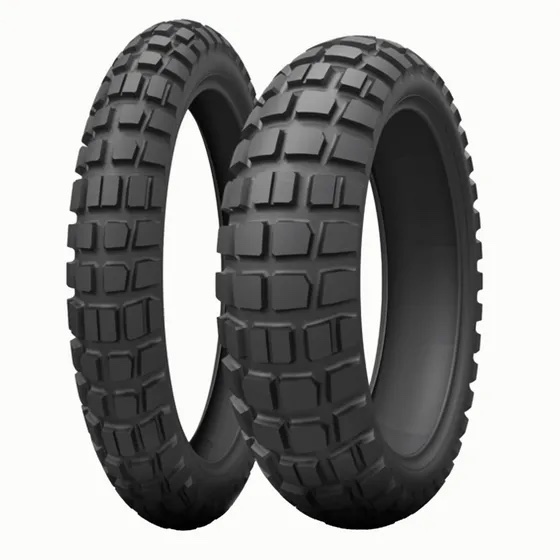
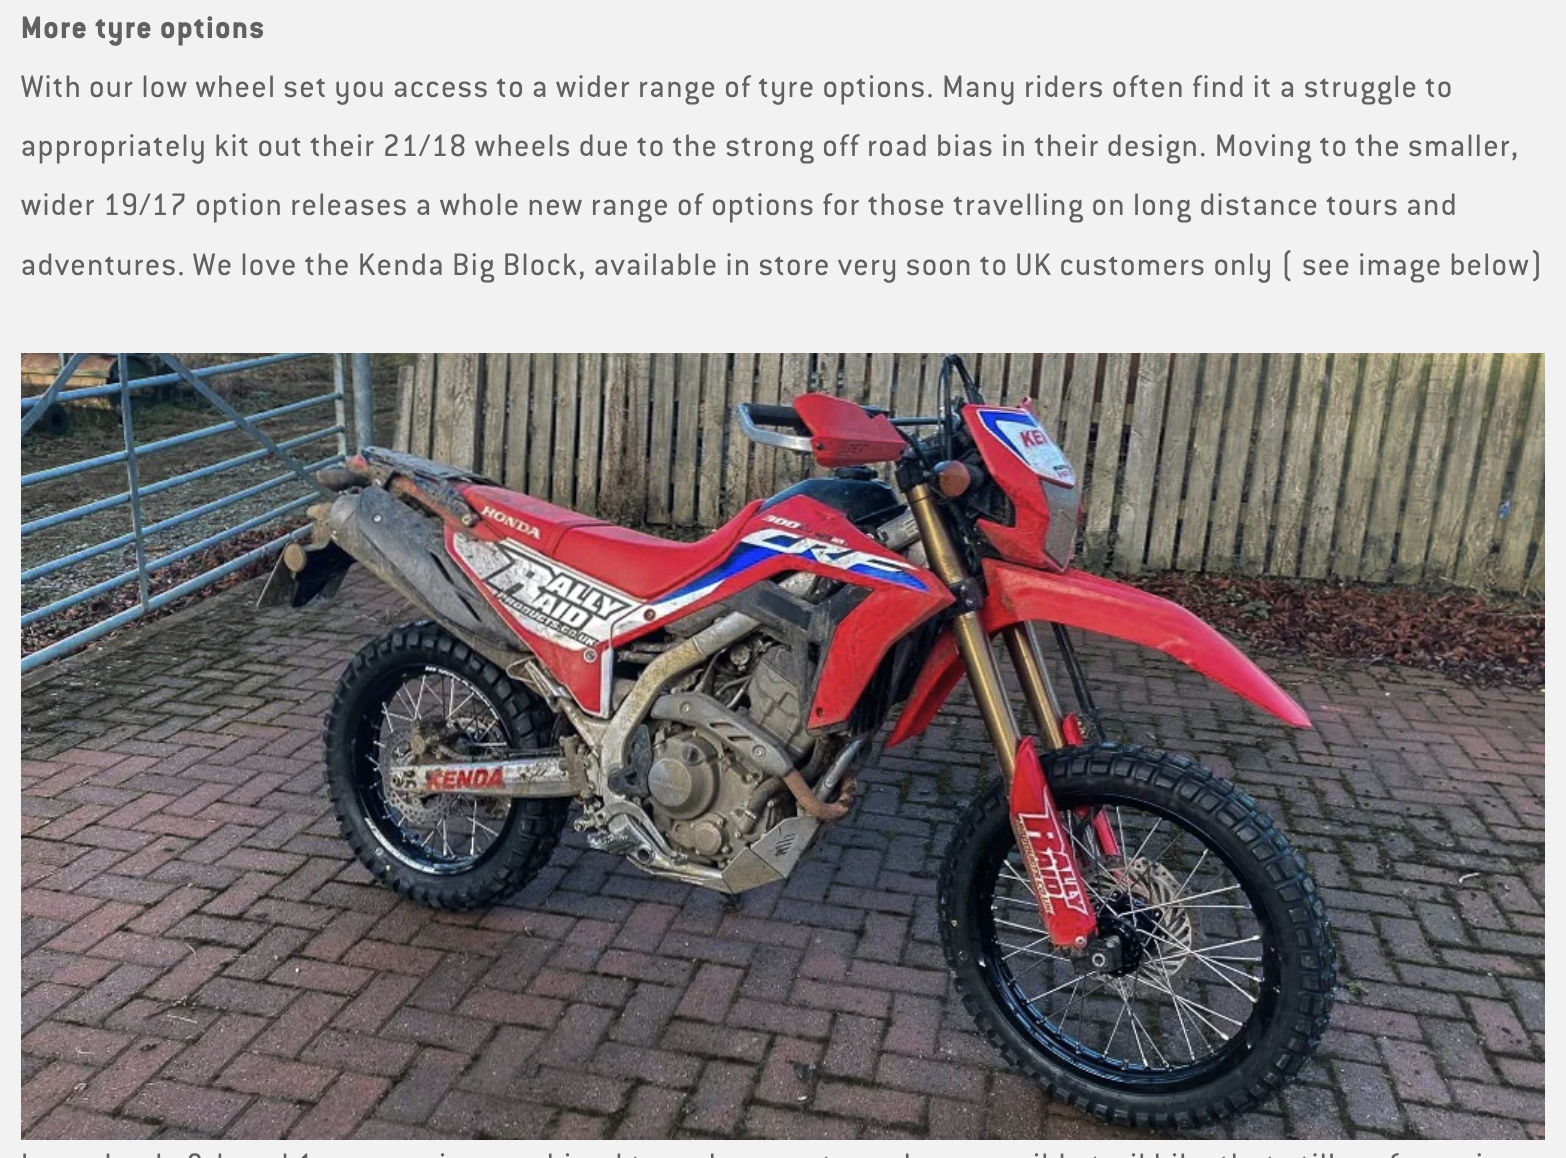
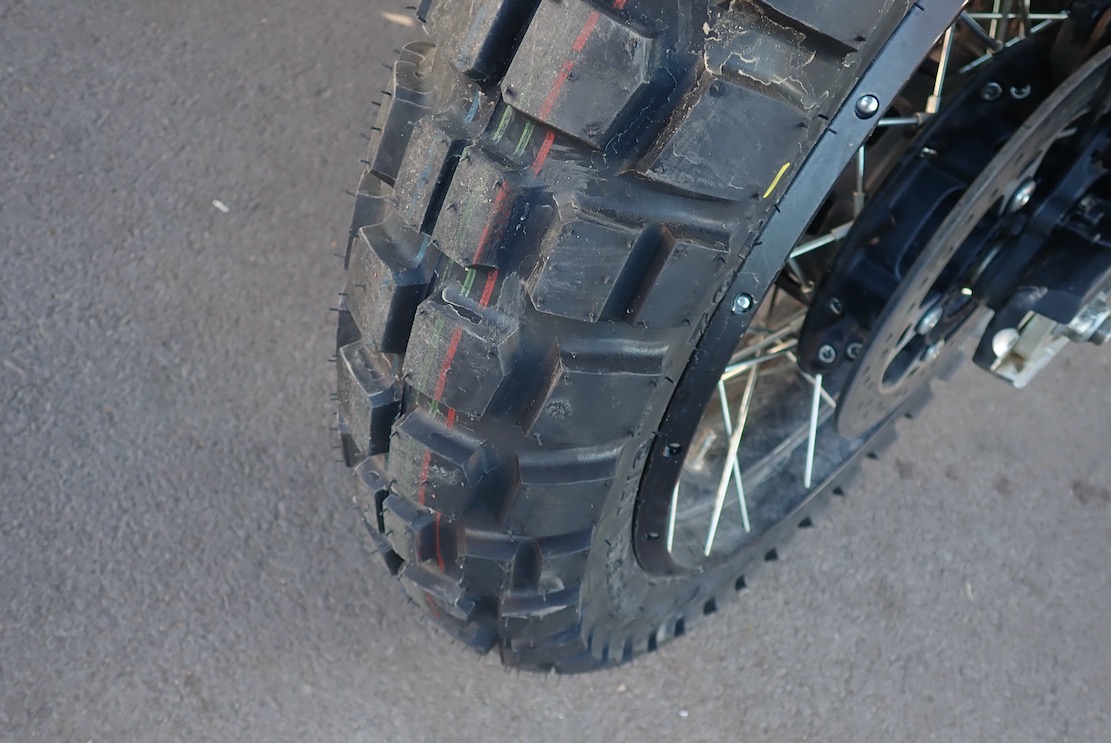
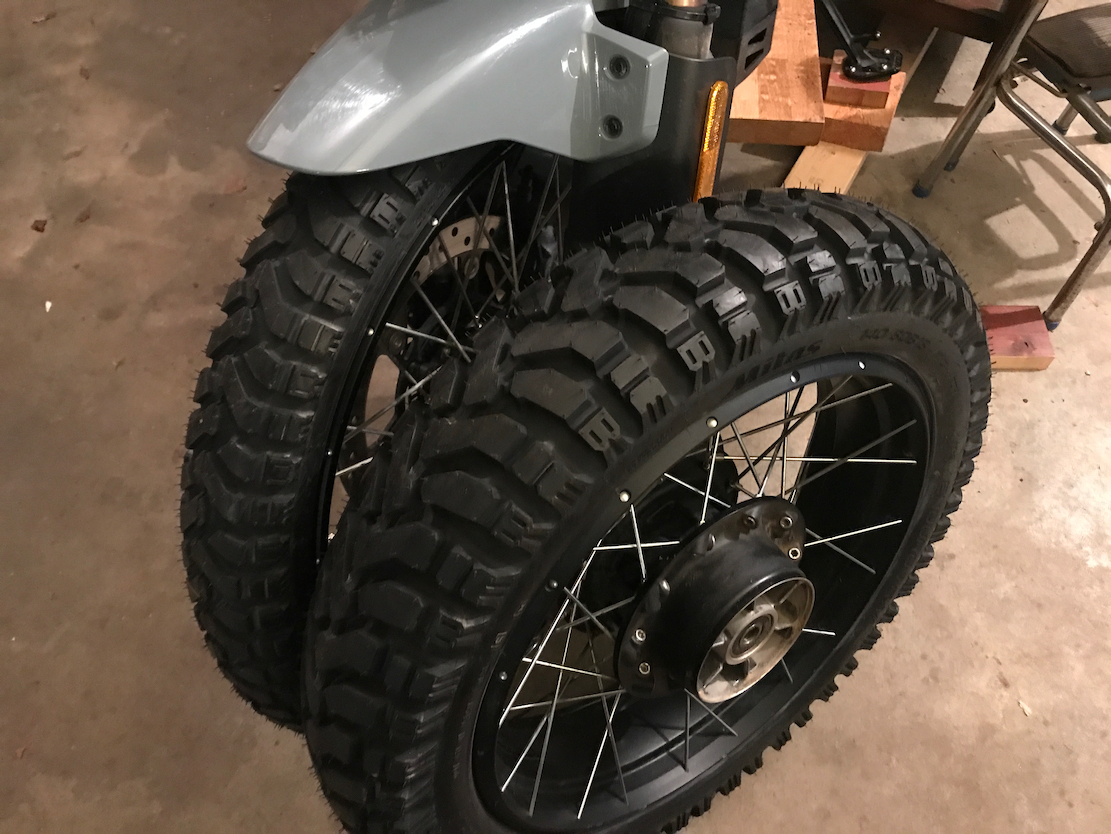
The chunky Kenda Big Block has been on my ‘tyres to try’ list for years, so when I set off for Morocco on my near-new 450MT last October, I arranged for a 140/80-18 (7.1kg) and 90/90-21 (5.2kg) to be dropped off in Marrakech, assuming the bike’s stock CSTs would not last long or soon degrade. I know John M from Rally Raid is a fan of the Kendas (below). The rear is listed as 140/70-18, but I’m told this size is rare, so the 140/80 rear Kenda would be a bit wider, taller and probably heavier.
In the meantime, road and trail, I was quite impressed with the stock Cheng Shin (CST) Ambro 4s which bear a striking resemblance to the Pirelli Scorpion Rally STR.
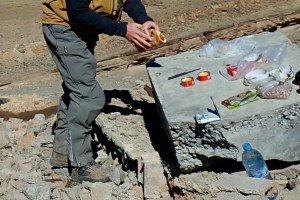
Stock CST Ambro changed at 4600 milesKenda Big Block
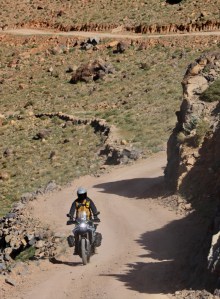
With probably a 1000 miles left in the Ambros (above left) at around 4600 miles, I decided to get the Kendas fitted in Marrakech while I still had a chance to test them on the trail, before heading back home across Spain. Out of town, as expected they initially felt odd on the road, like new knobblies can do. That settled down, hummed a bit more than the CSTs on smooth asphalt, but later on the dirt they felt too stiff at 30-psi road pressures (like many tubeless tyres), spinning out when stalled on a steep ascent, for example. I dropped to the mid/high 20s, but there felt little difference on the rocky or gravel tracks. Some bends I’d slice through like a pro, others I edged round like like a junior MX-er on their first day out.
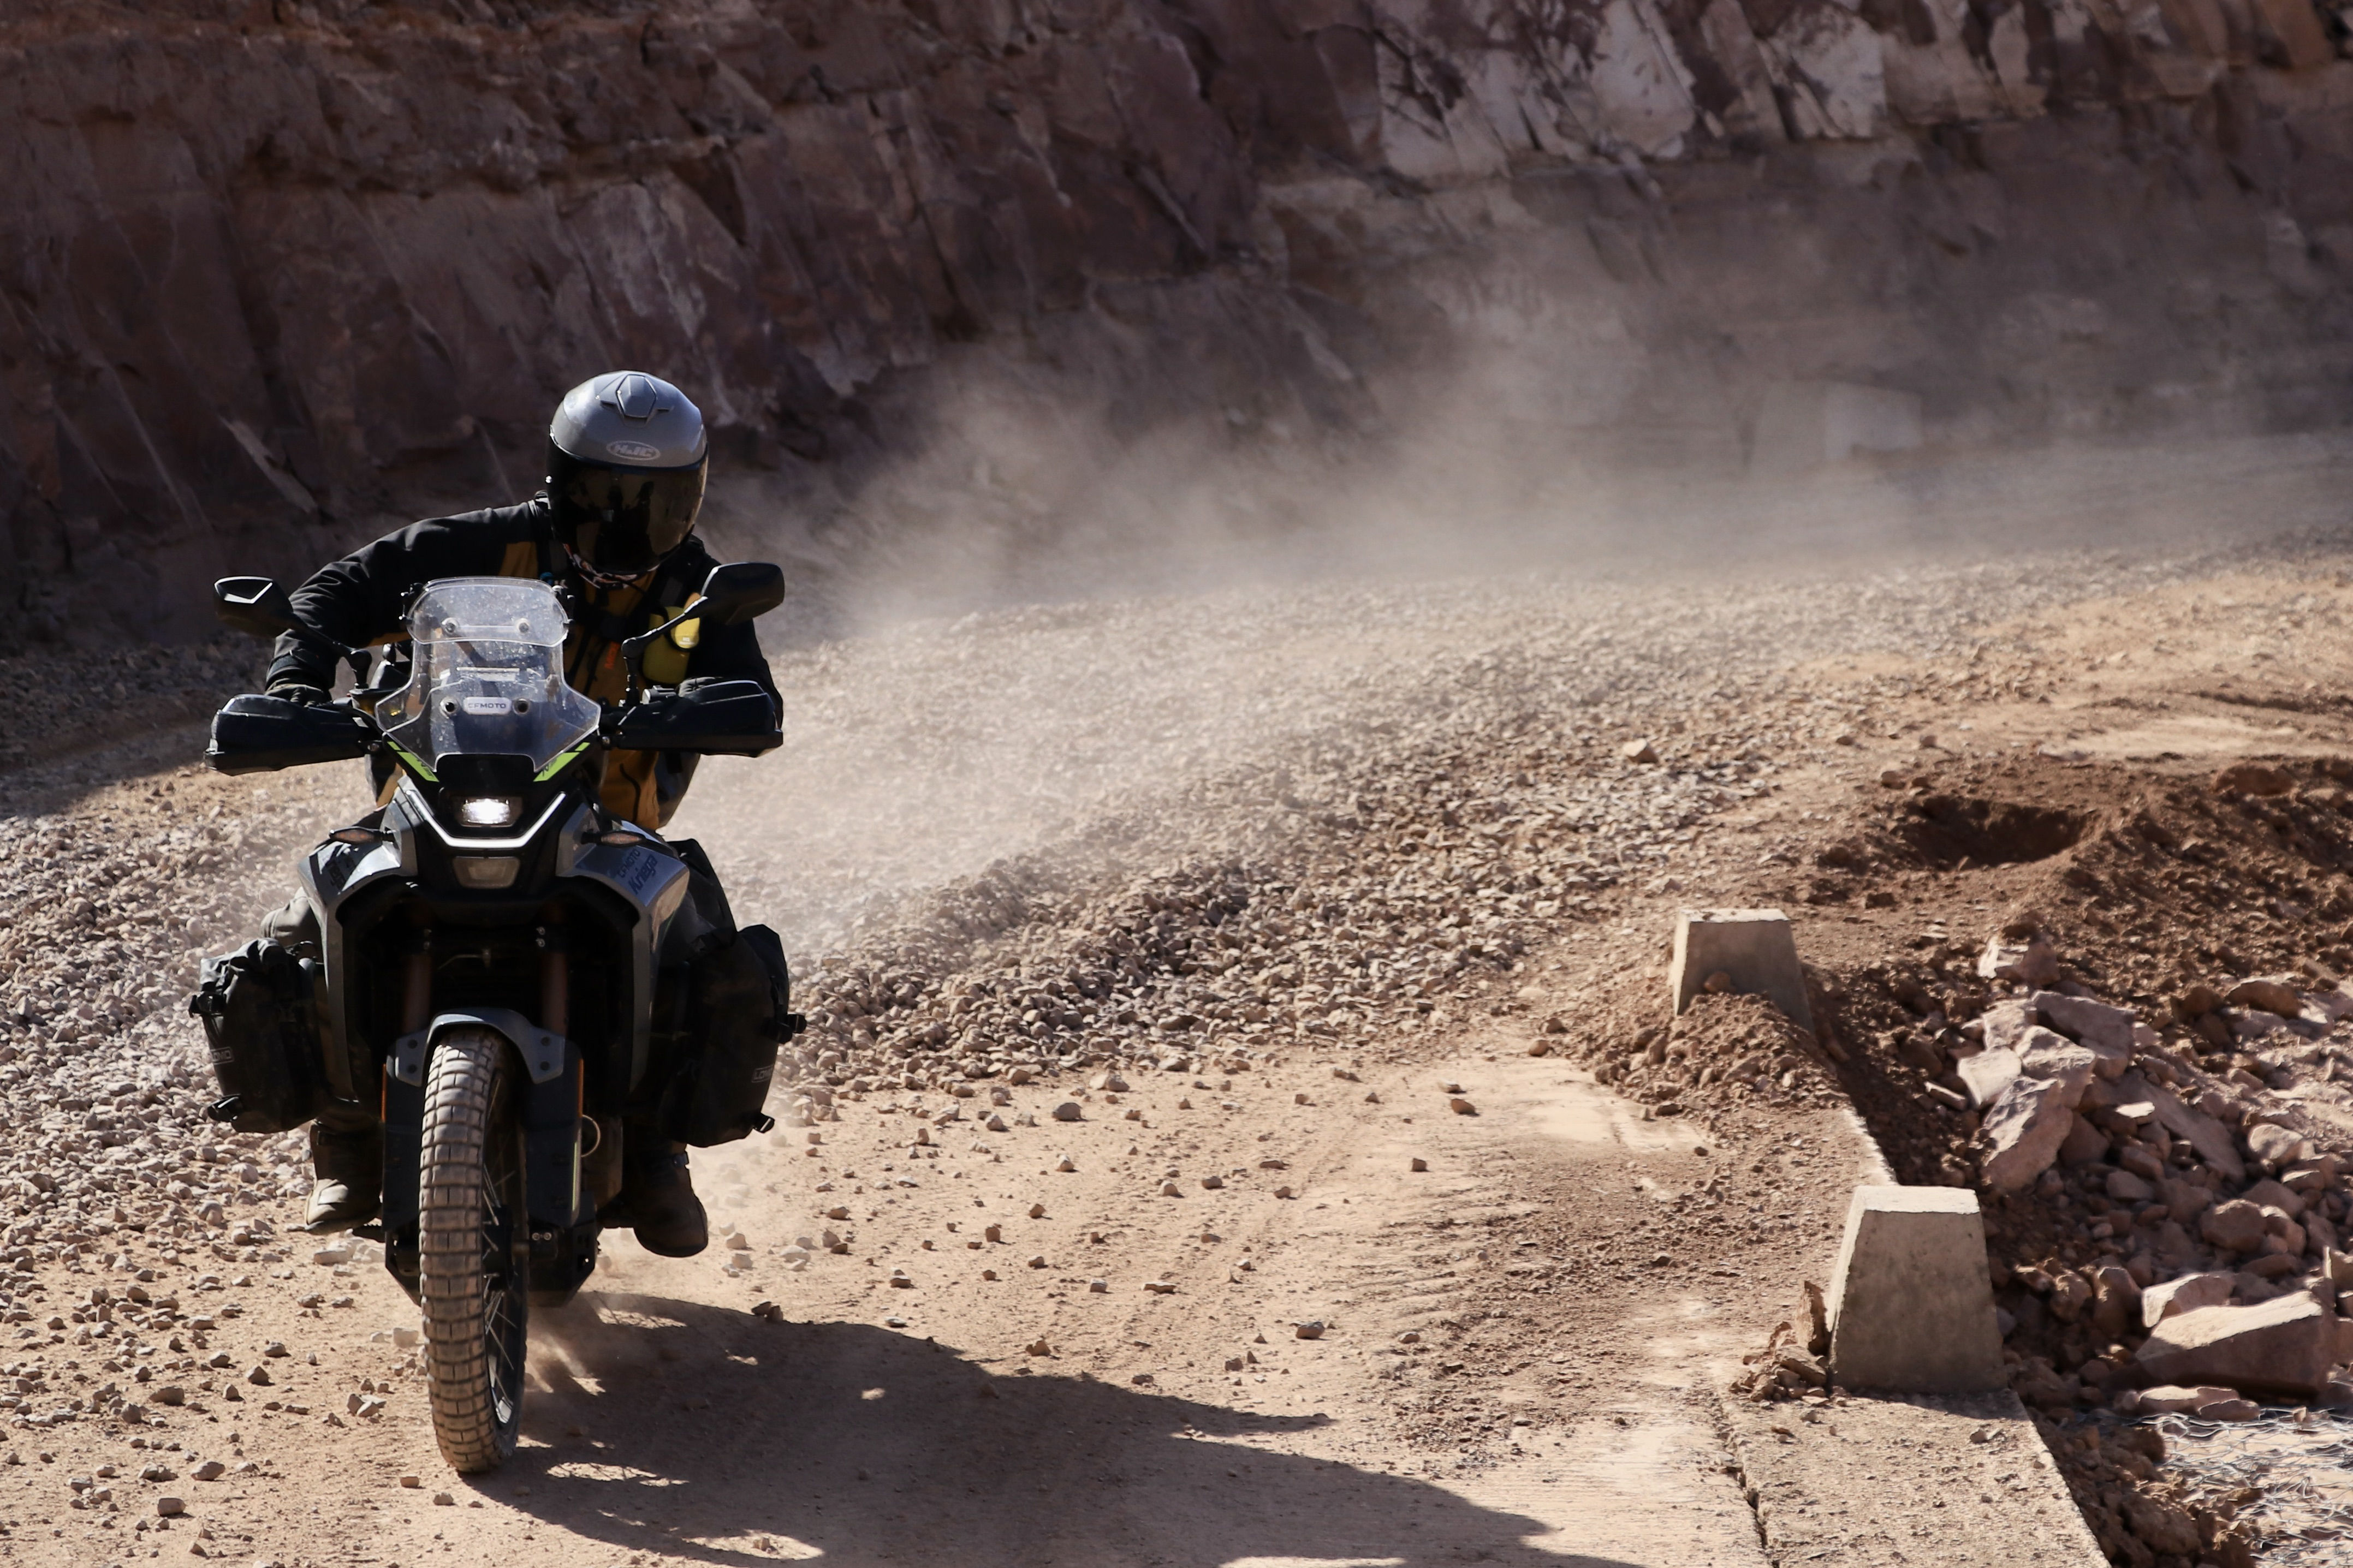
On a heavy bike like the loaded 450 (195kg wet + gear) it can be hard to get your flow on some loose, stony bends. Meanwhile, on the few bits of deep sand (rare in Morocco), I did notice the 450 tracked well once you’d disabled the traction control. That’s as you’d expect with big blocks, though I think is also down to the 450’s unusually good steering and weight distribution.
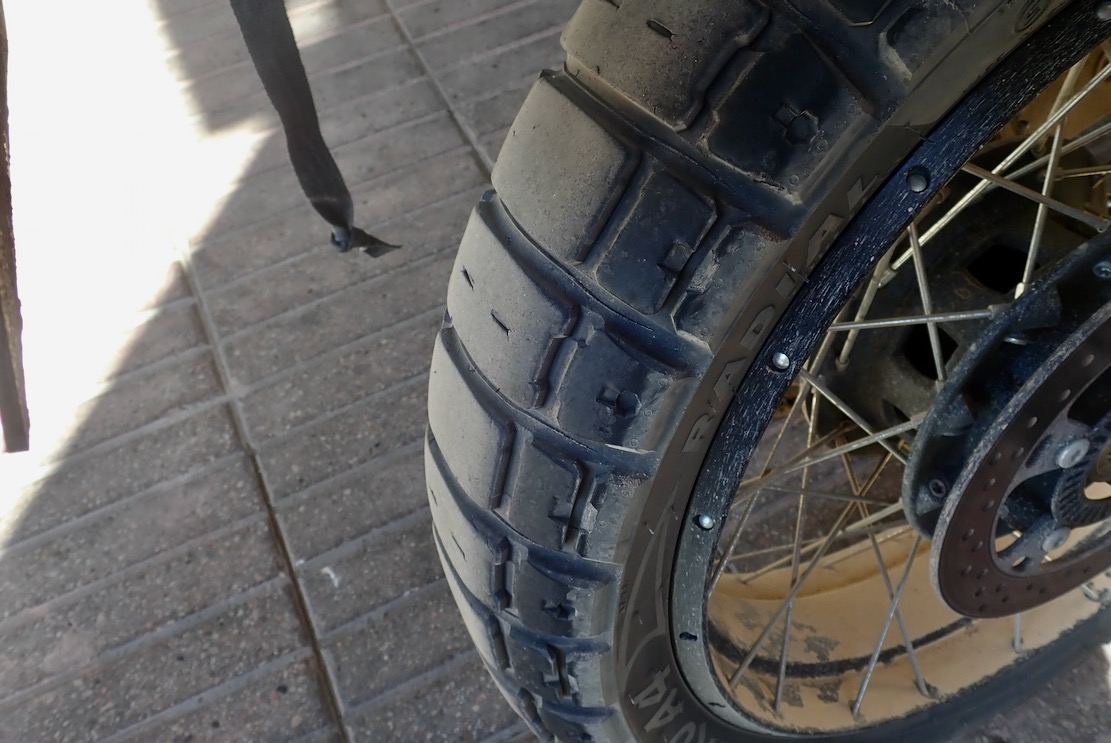
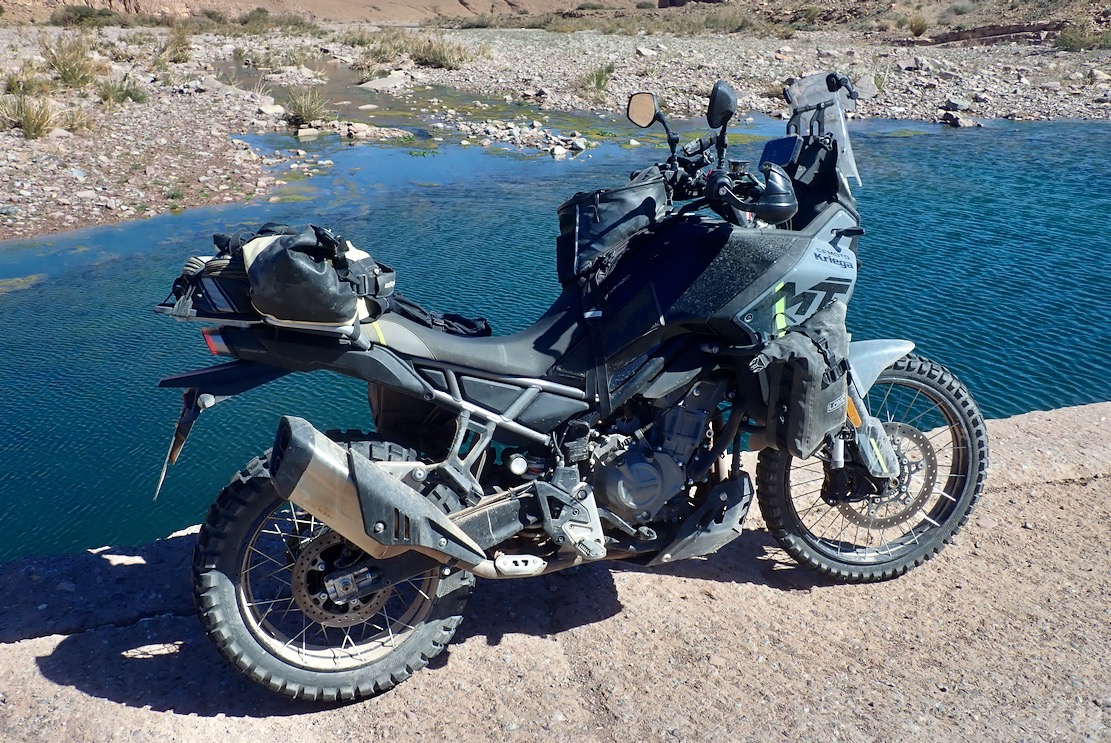
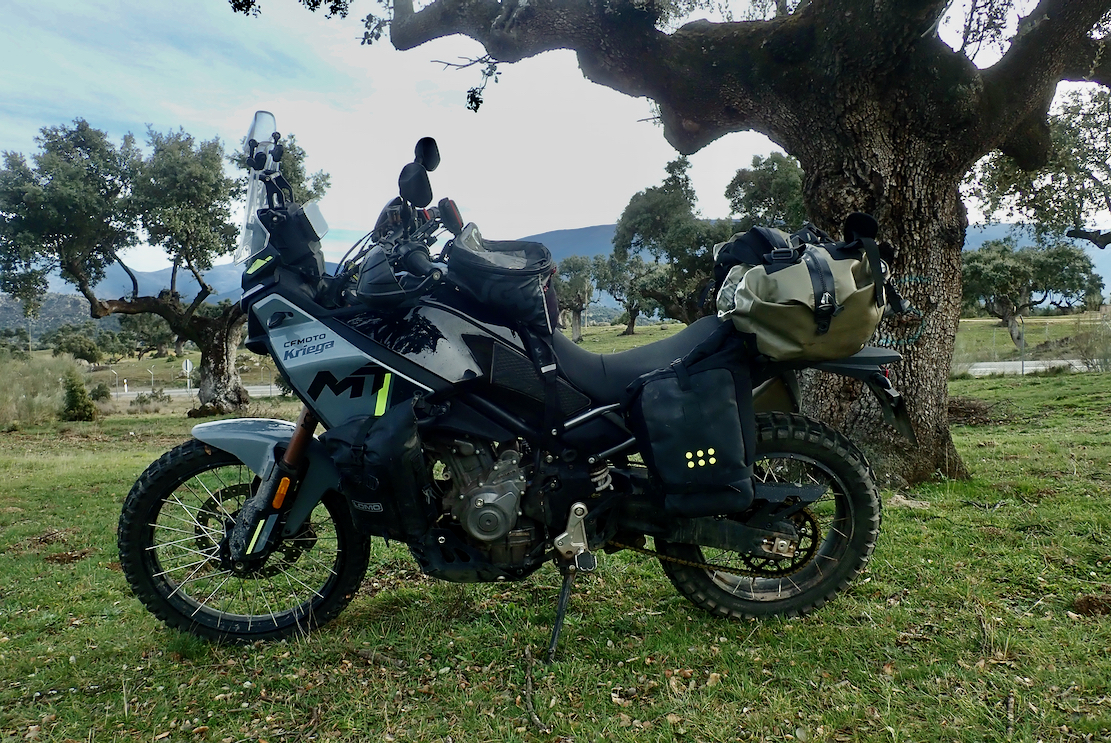
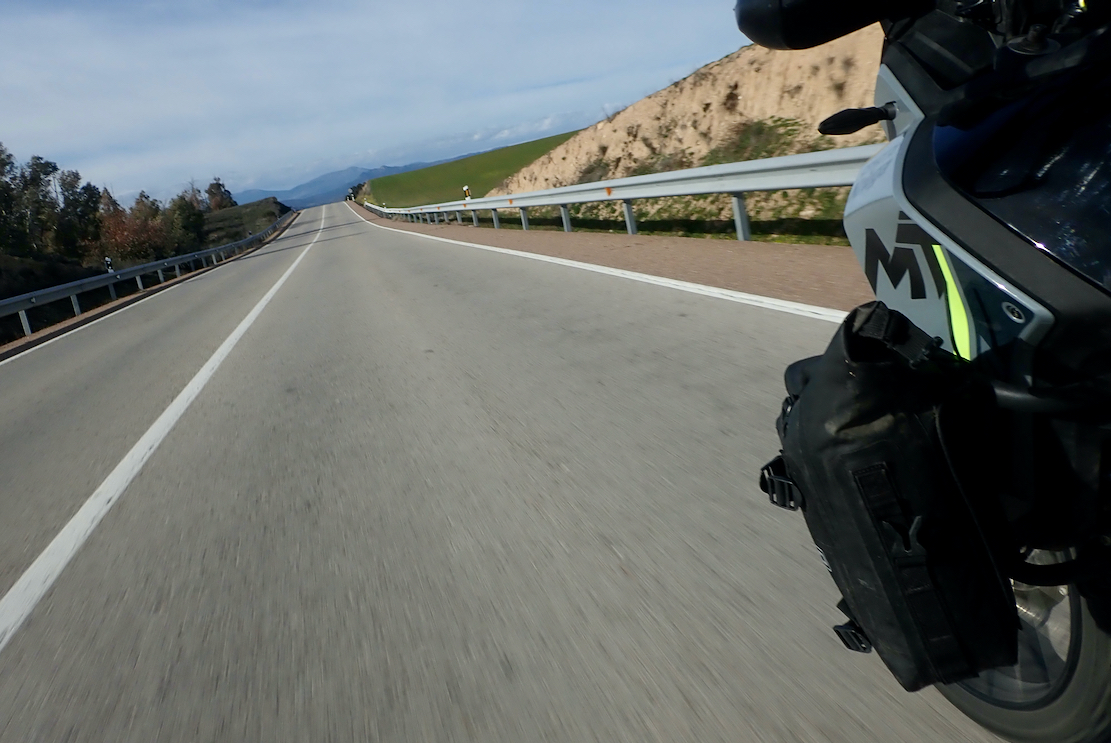
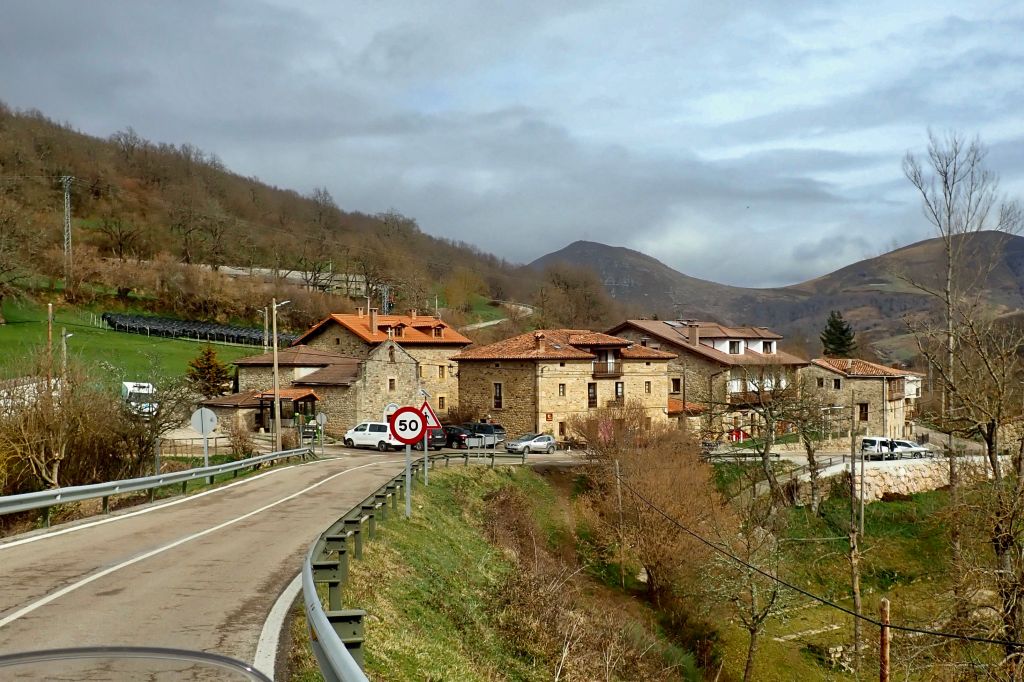
On the road the Kendas still gave their moments: Once back on bendy mountain roads in southern Spain, I wasn’t cornering the way I could on the Ambros. A lot of this must be down to knobbly-on-asphalt syndrome: some rough or grooved surfaces set the tyres shimmying, even in a straight line. I’ve been used to that for decades and you just ride through this, but on the bends was another matter. Are the Big Blocks a knob too far?
Riding damp, winding mountain backroads from Seville to Granada, I had a couple of slips and at one point was so sure both tyres were punctured, I pulled over to check. Both were solid as. It wasn’t icy but I thought maybe I’d ridden through some unseen, oily agri-slime, or the dealer service in Seville the previous day had whacked up the pressures. Both tyres checked in at the regular 30psi. On other occasions I thought perhaps the rubber needed to warm up in the chilly morning temps. This uneasiness came and went right across Spain until I thought: I can’t sell this bike with these Big Blocks, even if they make the bike look rufty-tufty and purposeful. Whoever buys it is likely to be a road rider. Once back in the UK I fitted some Mitas E07s (below) and will flog the Big Bs.
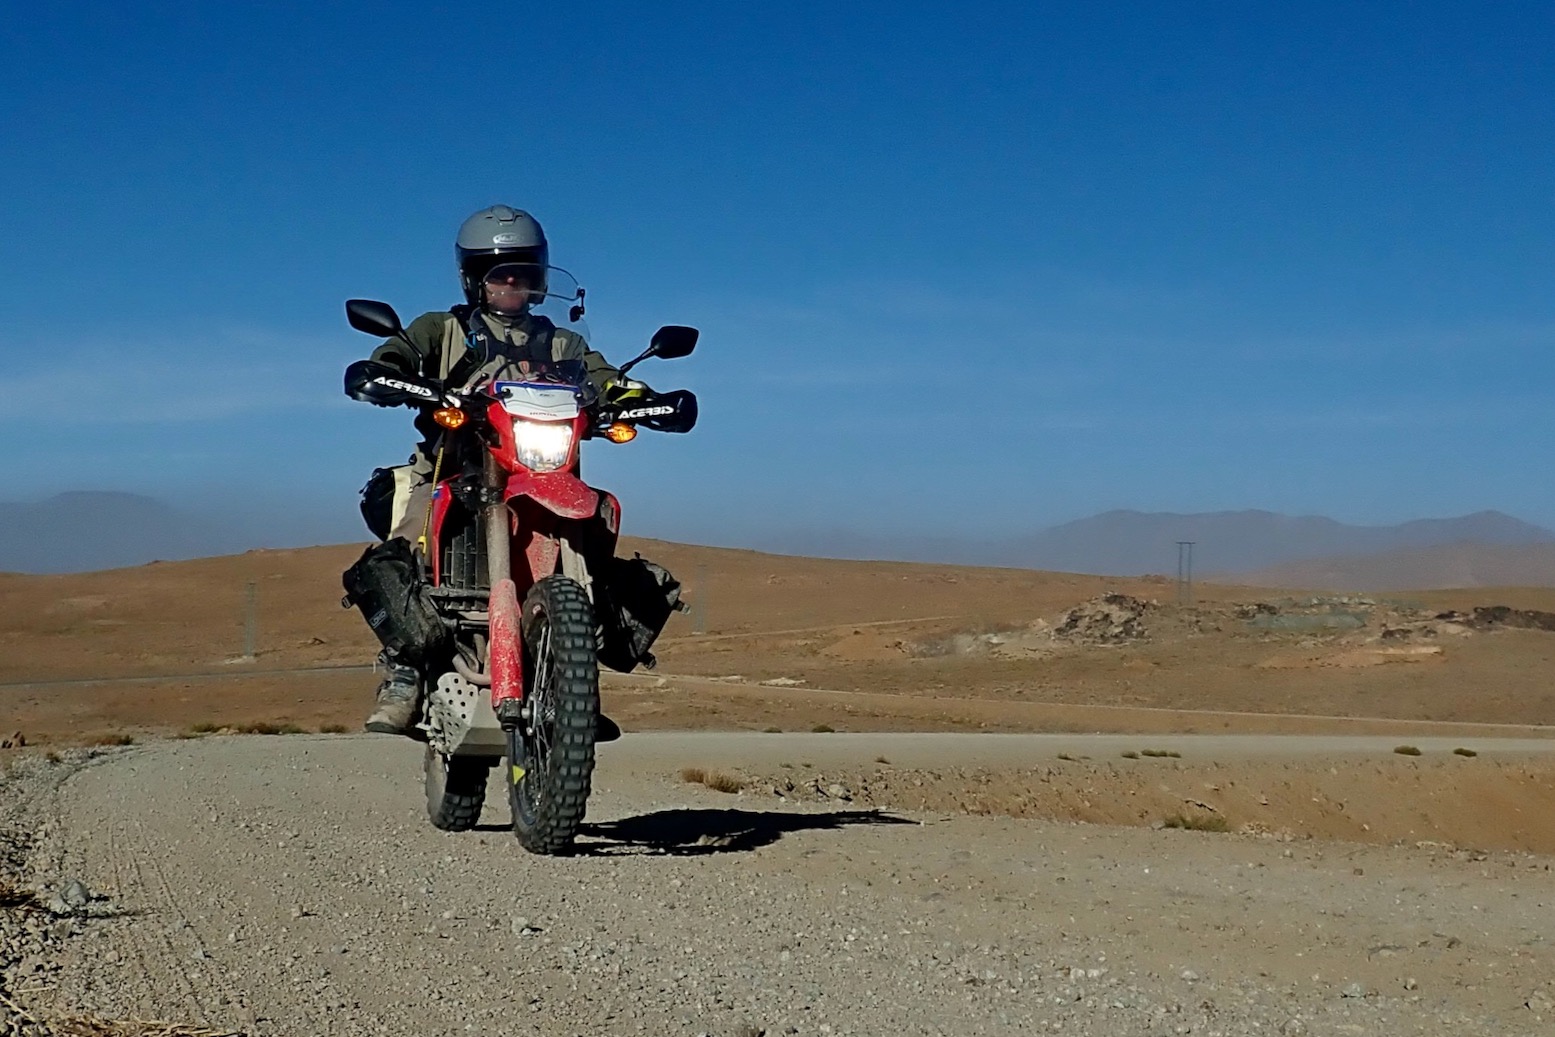
WHERE TESTED About 5000km road and dirt in Morocco/Spain, on a CRF300L with a standard seat wearing Aerostitch AD-1 and AdvSpec Linesman trousers.
COST £62 from Adventure Bike Shop.
At the end of the day I am pretty sure they reduced the agony
Work bike to bike; no need for new seats, pads, etc
Didn’t feel too sweaty or uncomfortable
Not too tight. unlike bicycle shorts
No fly makes a quick slash on a cold day a bit of a grope
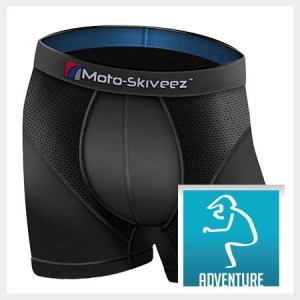
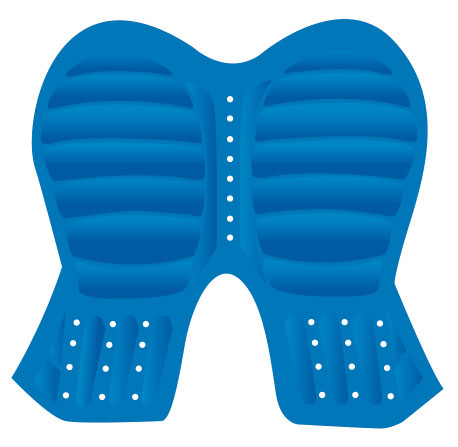
What They Say The Moto-Skiveez® pad for the ADVENTURE style is the most complex of all Moto-Skiveez designs. It is comprised of a base malinga cloth, three different types of foam and a silver ion infused covering. This pad is engineered to provide comfort and functionality for a multitude of riding styles. This pad is designed for the rider to move from seating to standing and shift from forward to rearward on the seat. The padding in the seating area of this design has multiple densities formed with both concave and convex elliptical curves. This feature provides added comfort as the rider moves forward and back. One of its primary functions is to provide comfort for long hours adventure-touring, testing the abilities of the modern dual sport motorcycle to corner at high lean angles as well as ride off road. Additionally this design features two padded extensions, positioned on the inner thigh of each leg. These extensions have vertical padded ribs with ventilation openings. This is to counteract friction and chafing from repeated standing and seating experienced by aggressive off road riding.
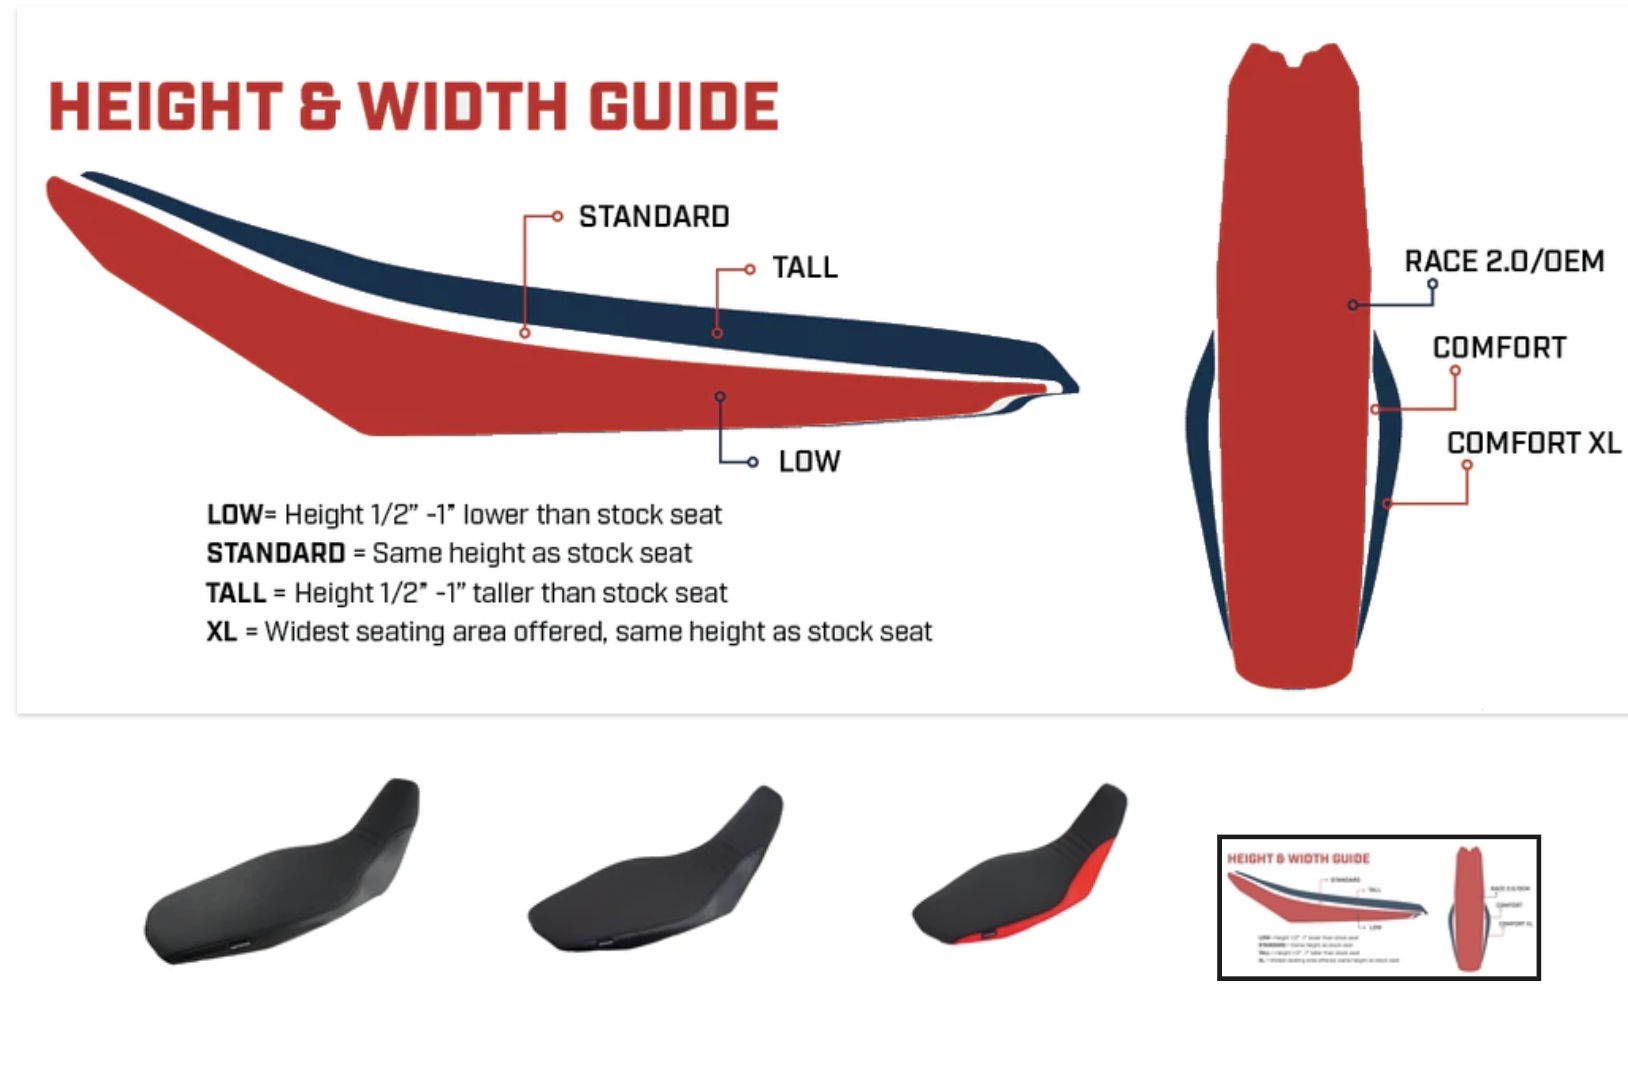
REVIEW No one was less surprised than me when my CRF300L project bike turned out to be uncomfortable over long miles. It’s been the same on small trail bikes since I started riding them 45 years ago. Their design and perceived use usually demands a narrow saddle on which one can easily stand, but which is half the width of an average adult butt which it supports 99% of the time. My back was crippled for months after my 2017 WR250R trip sat on a similarly narrow saddle. My 300L started off worse than most as the seat had been lowered which simply meant less padding. Adding an exterior neoprene pad improved things, but raised the seat height which made getting on/off a pain. So I got a stock height saddle which didn’t need padding, but really the solution is a greater surface area on which to park the bum. Loads of other bikes manage to have wider seats with narrowed fronts for standing, but this is what we have on the CRF, short of importing a Seat Concepts saddle at around 400 quid.
Seat Concepts. More width.
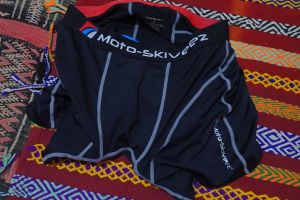
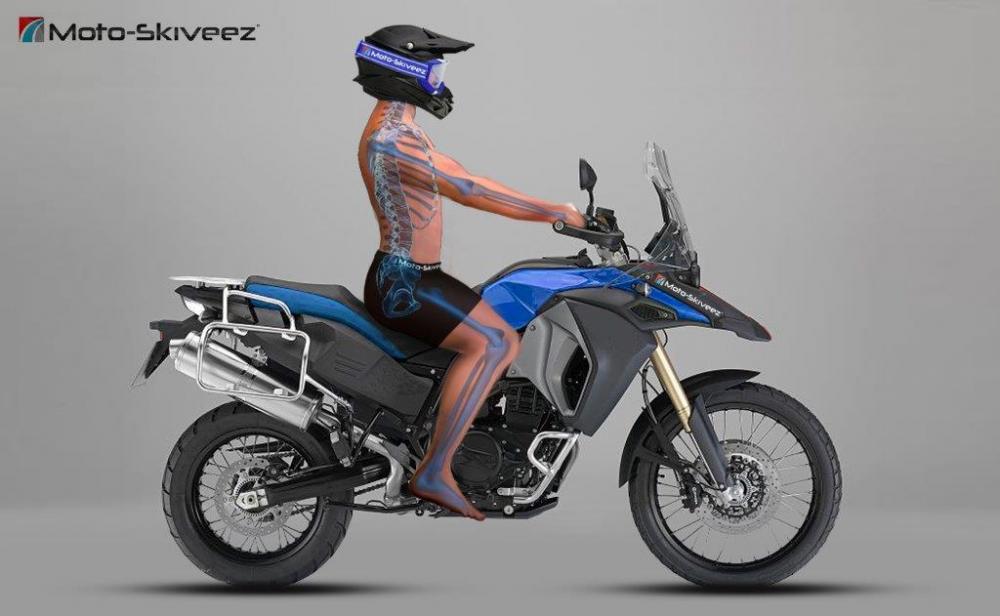
Taking Mohamed to the mountain by wearing cycling shorts is a well-known dodge that works OK, but they’re designed to reduce rubbing from rotating legs as well as supporting your weight. I find the foam padding too soft. Moto Skiveez (US slang for underwear) have been around for years and I finally connected the dots and got myself a pair. The true test was the long, unbroken road ride back to Europe in the spring and they worked there too, but after weeks bashing about in the High Atlas and Saghro, I have to say they do make a difference. I don’t tend to stand up which makes things worse, but I didn’t end the days butt-sore as I’ve done these last few months.
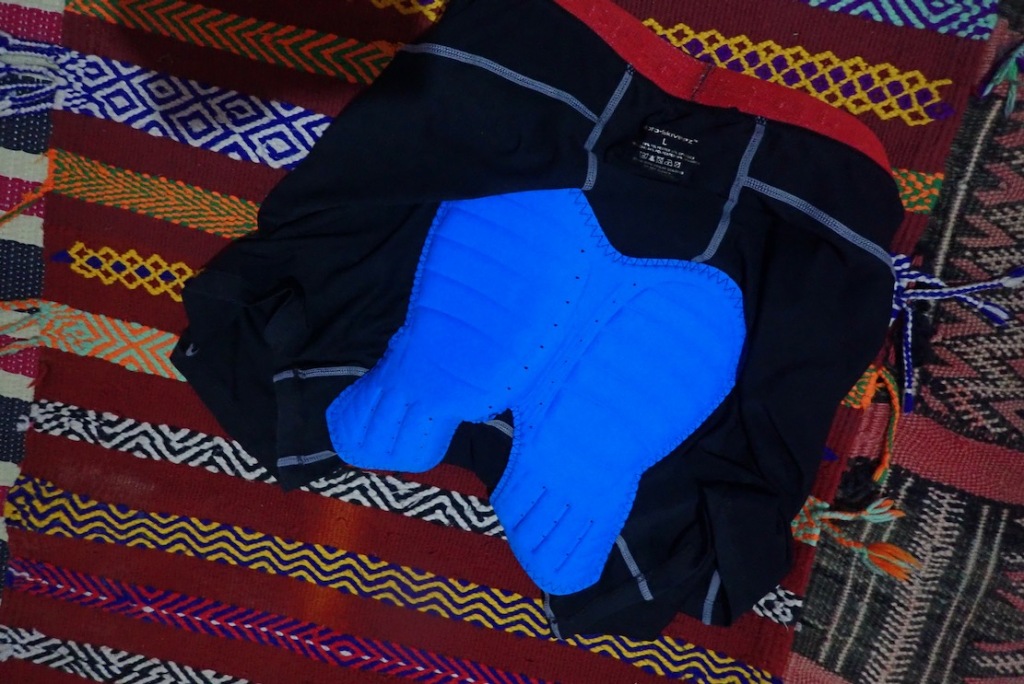
I wore mine under a pair of Aerostitch AD-1 GTX trousers (photo left) and over my underpants (photo on request), neither of which added discomfort or sweatiness (most days started close to freezing and rose up to 20°C). I even detected the breaking-in or softening up period they mention in the first few days. Where possible, it still helped to stand up and relieve the pressure where possible, or just get off the bike for a bit, but the Skiveez could be as good a solution you’ll get to narrow saddle woes. Later I wore then under Adventure Spec Lineman trousers in warmer conditions. They were OK but why need them at all: I had an idea. Why not integrate Skivee-type pads into the backside of such riding trousers, either permanently or with sleeves into which you slip the pads when needed, like body armour? It would sure make a trackside slash less of a grope while also being one less layer to wear and one less thing to put on each morning.
IN A LINE Warm and smart puffa jacket with built-in controller which almost makes the 12v heating redundant.
WHERE TESTED Chilly December mornings on Jebel Saghro, then plugged in for a very chilly morning in the High Atlas up to 2200m/7200′ but not below freezing. Then back across chilly Spain (above freezing).
COST & WEIGHT Currently the revised v2 version is €395. My 2021 v1 jacket supplied free for review by Mosko.Weight 672g + battery wiring lead.
A smart, wearable puffa jacket, not just a wirey liner
PrimaLoft insulation is warm and compact – and ‘body mapped’
Packs into its own pocket
Three useful pockets
Looks cool; no naff graphics
Thumb hooks to get snug on the arms
It’s not black!
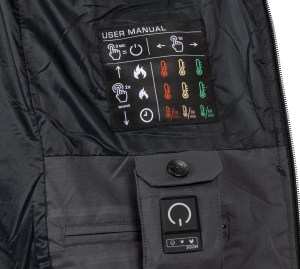
Controller function unexplained on v1
What They Say (v1) We added carbon fiber heating elements to a kick-ass technical puffy, and the ‘Ectotherm’ was born. When you’re sitting around the campfire or lounging in your tent, it’s a super warm insulator with 100g body-mapped synthetic PrimaLoft Gold insulation with Cross Core Technology. Connected to the bike, it adds a 6-panel carbon-fiber 3.5Amps/42w heating system powered by the bike. That extra warmth takes the edge off long, cold, wet, pavement stretches, keeps you warm on high alpine passes, adds new enjoyment to early spring and late fall trips, and ensures you’re ready for anything a multi-year/multi-season RTW journey can dish out.
REVIEW Riding for a week up to 2200 metres in December 2023, I was pretty sure I’d need my Ectotherm. Around Nekob (1000m) the forecast was down near zero some mornings, but by leaving for my day rides two hours after sun up, I dodged the most biting chill. In the end, used under my quilted Carhartt riding coat and over a merino long-sleeve top, by the afternoon, even unplugged the Ectotherm became too warm and got stashed.
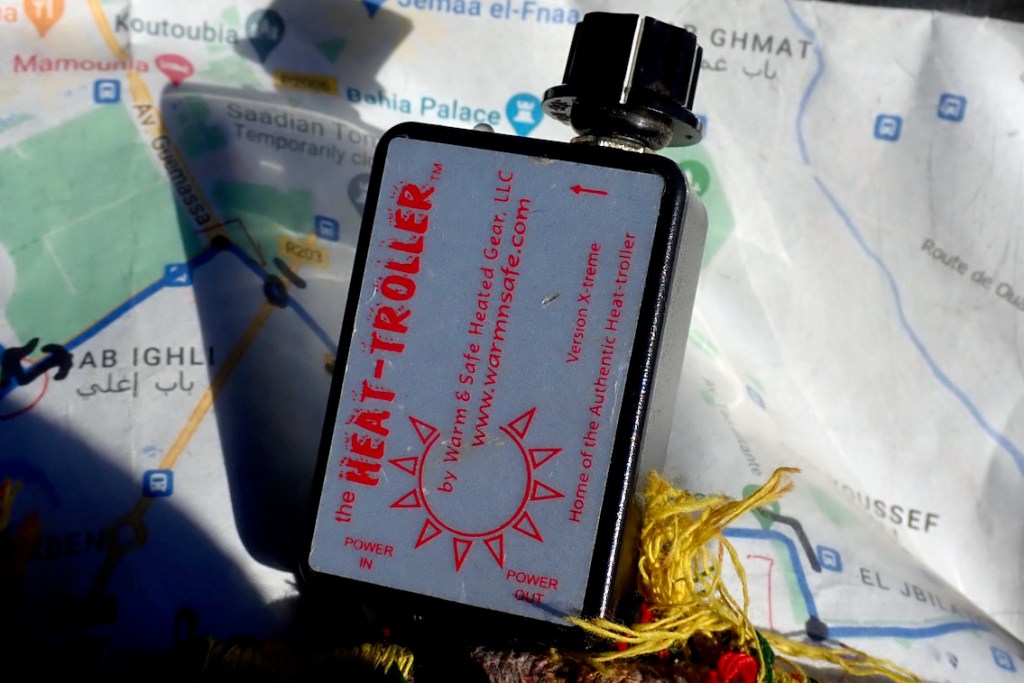
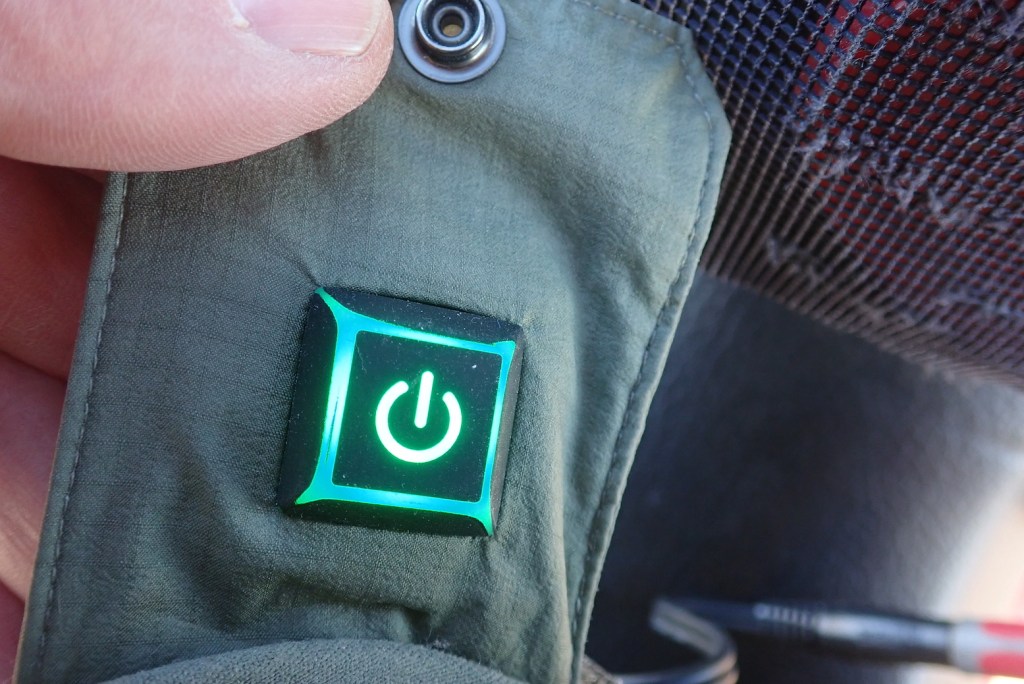
3rd party heat-troller; not really neededGreen: ‘on’ or ‘low’ or what?
Only on the last day, heading over the High Atlas via a high-elevation route at close to zero did I plug the jacket in. I assumed like my previous heated jackets the Ectotherm would have no temperature controls, so used my old dial-operated Heat Troller (above left). No heat that I could tell so I rummaged around by the jacket’s output and noticed an on-off button which it turns out, has three levels of heat. It cycled red, orange, green then went out. Was it on now? Full power or low? I know 12-volt heated jackets are not night and day, but you sure notice when you turn them off. I stopped again to fiddle with the button and at one point definitely had the impression of warmth across my back. I notice that it’s rated at 42w where my Aero was 75w and the Powerlet 60/105w. But they used wires, not carbon fibre panels which you like to think need less power to do a similar job. Whatever the heating technology, with these jackets close fit pressing down on your body greatly increases efficiency, which was why Aerostich’s inflatable bladders where actually a clever idea for maximum efficiency. On other jackets I’ve wrapped straps around myself to press it down on freezing rides across northern Spain in winter. The Ecto was helped a little by my Kriega Trail 18 pressing on the coat. I did also wonder if wearing something thinner than my thick Ice Breaker merino may have produced better conductivity, but by that time I was over the highest cols and working my way west to Zerkten. A little disappointingly, the day had proved to be nowhere near as cold as forecast. So, not a conclusive test of the Ectotherm’s heating ability which I bet is in there somewhere. I need to find out how those buttons sequence (nothing in the online blurb. I contacted Mosko: no reply. But see Colin’s comment below) and may be able to dispense with the Heat Troller (which might also be affecting the output). Fyi; all is explained on the v2 model.
One thing’s for sure though: as a regular puffa the Ecto works very well (though at a price). It’s a smart garment you can wear off the bike, not a liner that just takes up space when not in use, or has little sartorial value when not plugged in. Whatever the carbon fibre heating panels are, they’re unobtrusive; only the LHS pocket with the wires and the control button adds any bulk. March 2024I rode my CRF back home but didn’t think I’d need the Ecto. Spain was as cold as I’ve been on a bike in many, many years. Even wearing all I had plus regular stops for hot food and drinks, I could feel myself going weird following sleet showers towards the end of the day. Another example of my minimalism turning round and kicking me in the nuts!
V2 with the missing instructions
Test 2 – 2024-25 I’d not given up of the Ecto, and in November 2024 set off across Spain on my CF Moto with the 12-v Mosko puffa under my thin Mosko Surveyor. By February 2025 I was back for more; winter 24-25 was a lot chillier in Morocco and I wore the unplugged Ecto every day, even down in the desert, along with my AD-1 over-trousers.
Coming back across Spain late February, I knew I’d need to plug it in, and this time did so direct – without the heat controller. For some reason, this time the operation of the Ecto’s built-in controller tab became intuitive: a long press for on, then short jabs until red (max) came up. For the leg north of Madrid, the Ecto sure made the day more bearable. It wasn’t freezing at around 800m, but the 100-kph wind chill made it feel like it. This time I was wearing an old Klim Aggressor base layer, plus a shirt and the skimpy Mosko Surveyor jacket over the top.
This was much more like it, even if at times the thing either auto switched off or went to a lower setting. Riding along you can just about grab the controller tab and check that the red icon is glowing reassuringly. I rolled into a Picos mountain posada, chilled but not stir-crazy with cold. Two days later it was another brisk late-night ride off the Portsmouth boat, which a pair of proper, intact gloves would have made more bearable. I counted off the landmarks until I was home, numb fingers fumbling with the keys. Riding along I thought: heated grips or 12-v jacket. Both are allowed, but I think 12-v jacket trounces the grips. They say a warm core supplies blood to the extremities better than grips warm the core. I’ll be keeping my Ecto until the ice caps melt.
September 2025. After less than 2 years the pump’s battery would not hold its charge. I suppose that was my 20 quid’s worth.
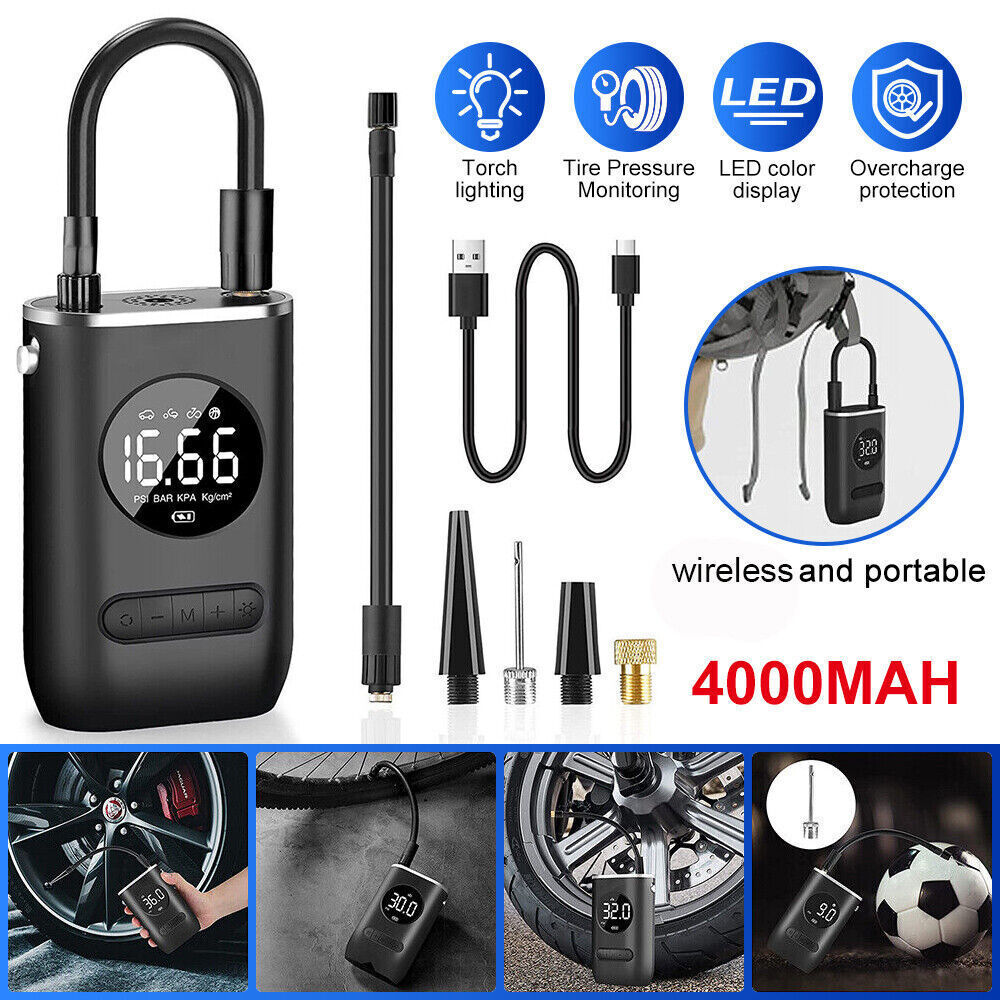
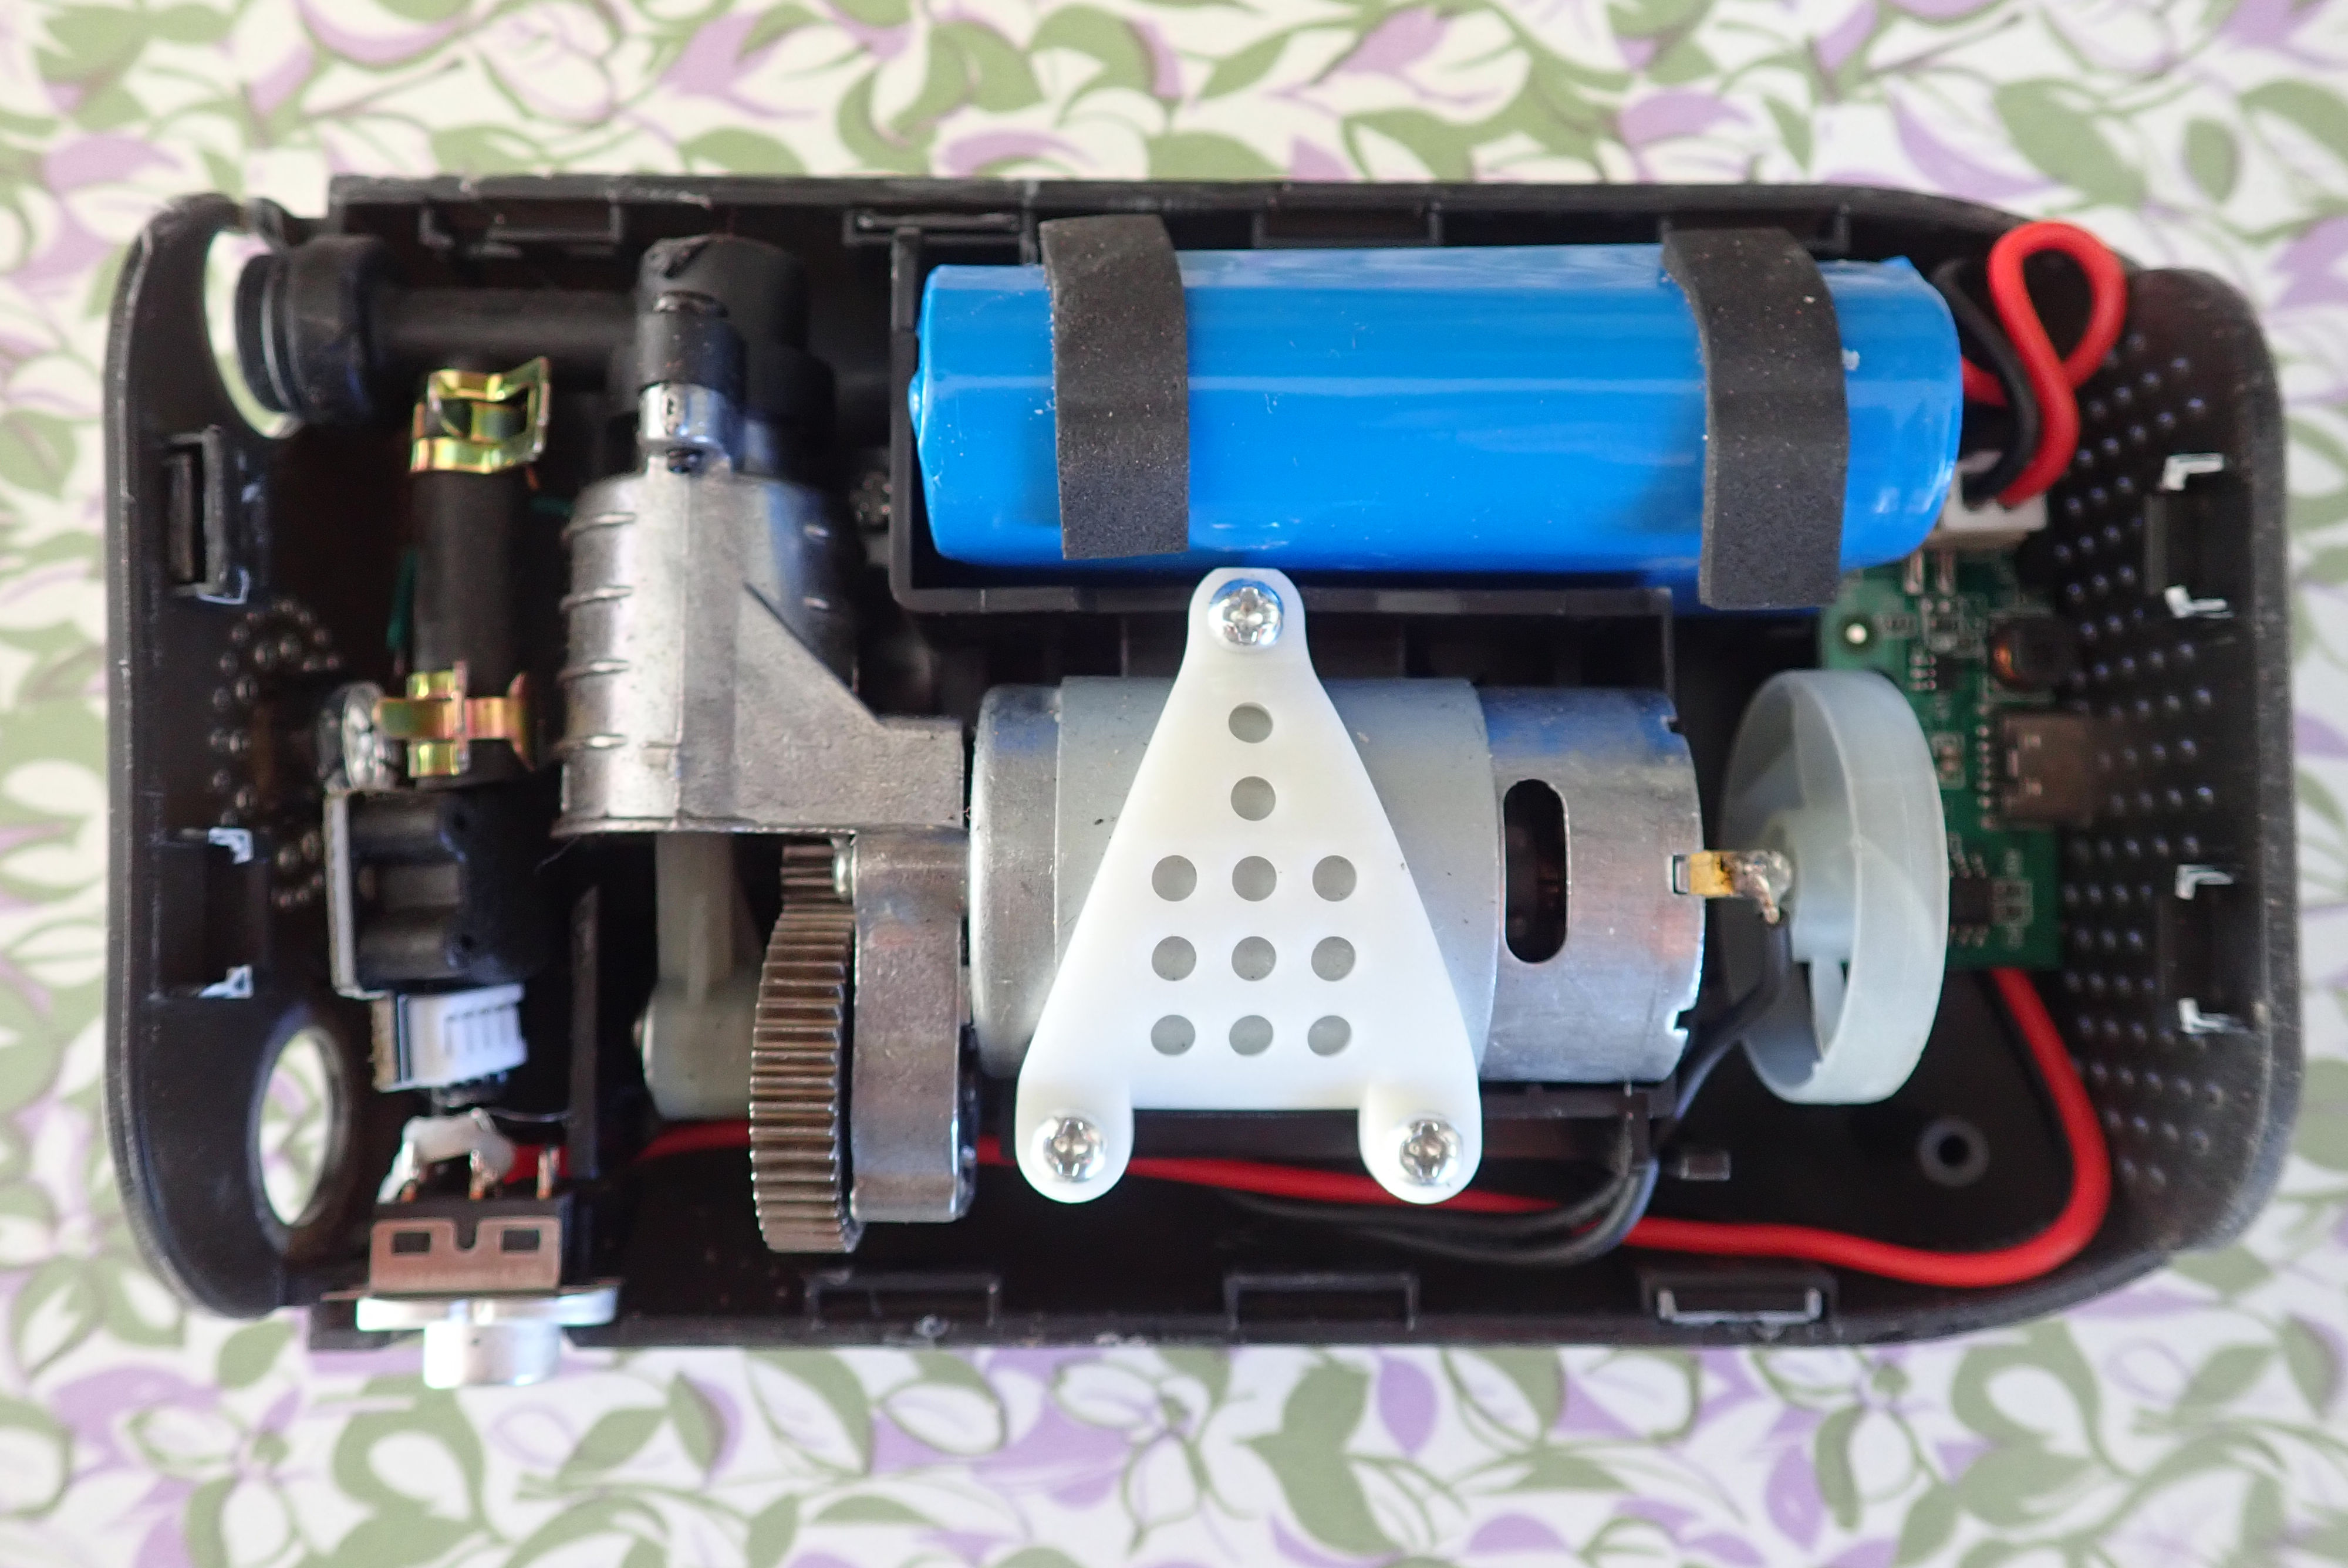
Robbo put me on to me this unbranded 4000 mAh USB rechargeable tyre pump. You’ll find the usual clones of clones of clones on ebay from around for even less now. Tbh, I don’t know exctly what 4000 mAh means in the grand scheme of things – battery capacity probably, not power, but it worked well for me.
Mine came with a bunch of unneeded nozzles and a Samsung-type USB-C? recharge cable. You turn it on, set the pressure you want (which stays in the memory) and press the middle button. Off it goes, pumping up a G310GS rear tyre from zero to 27psi in about 5 minutes without getting hot and while being dead easy to read. There’s a torch, too. It weighs 420g. A handpump fyi, weights 100g. Remember, with pumps ignore some notional ‘150psi!’ figure which they might manage in a small-volume pushbike tyre. It is the much less often quoted flow rate or cfm that counts. This one is probably a lot less than < 1cfm and all pumps will slow down as they pass 1 bar or so. It’s how fast they can keep pushing to a typical 25-30 psi (2 bar) that counts.
I also used it daily to top-up the slow-leaking rear tubeless tyre on my CRF. Yes, a bike-battery 12-volt powered compressor like my 2002 Best Rest Cycle Pump (left; 760g) is about the same size, weight and power, but for quick, cable-free top-ups it’s one less thing to wire-up or plug in. It vibrates less and makes less noise than my old Cycle Pump too, and recharges off mains in a couple of hours. I’d guess it would take at least 30 minutes of pumping to flatten the battery. I never got close, and of course you could do it on the move via a bike’s USB plug or off a power bank.
The elephant in the pump house is of course the durability of unbranded Chinese gadgets, but that applies to 12-volt pumps too, if not everything. I tumbled one time in front of some impressed village boys and rolled on my back which cracked the pump’s housing but it kept going fine. On a long trip I’d pack a manual back-up pushbike pump (search ‘Crank Bros’ and go from there). But for what I do in Morocco I retired the Best Rest and relied on this handy USB pump in the tank bag until it dies on me. That day has come: two years in it’s not holding its charge. But the 20 investment has paid back. Next one will be a bit more compact
I can probably dig the pump out of the dead unit and wire it to the bike battery.
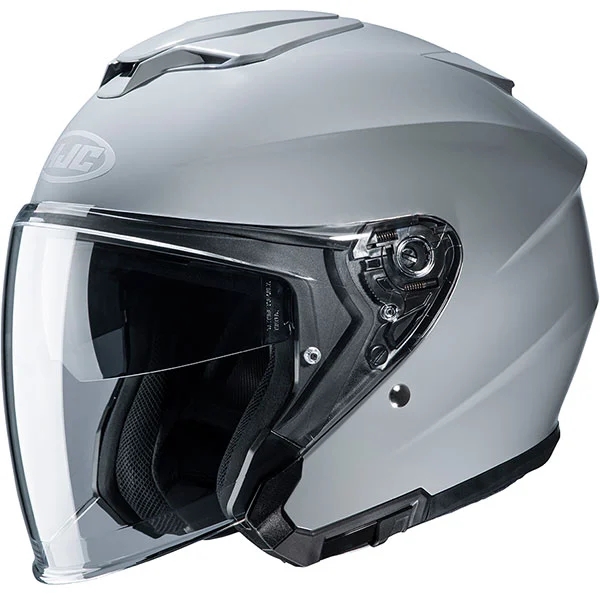
IN A LINE Another good looking and comfy polycarb open face full-visor with good sun visor actuation and OK venting.
WHERE TESTED Around the UK and Morocco.
COST & WEIGHT £111 for SuperBikeStore. New dark visor: £42. 1520g verified (L, 58-59). My head measures 58cm, fyi.
Great visibility, like all these styles of lid
Very comfortable for the price
Quiet compared to previous X-Lite
Looks cool; no naff graphics
Integrated sun visor actuates easily
Inexpensive
Easy to use chin ratchet clasp (not D-rings)
Velvety padding with pop fasteners comes out and refits easily for washing
Visor comes off/refits fairly easily for proper cleaning
Replacement visors from £50 rrp
After two years one side of the visor sometimes dislodges itself – new mechanism £20
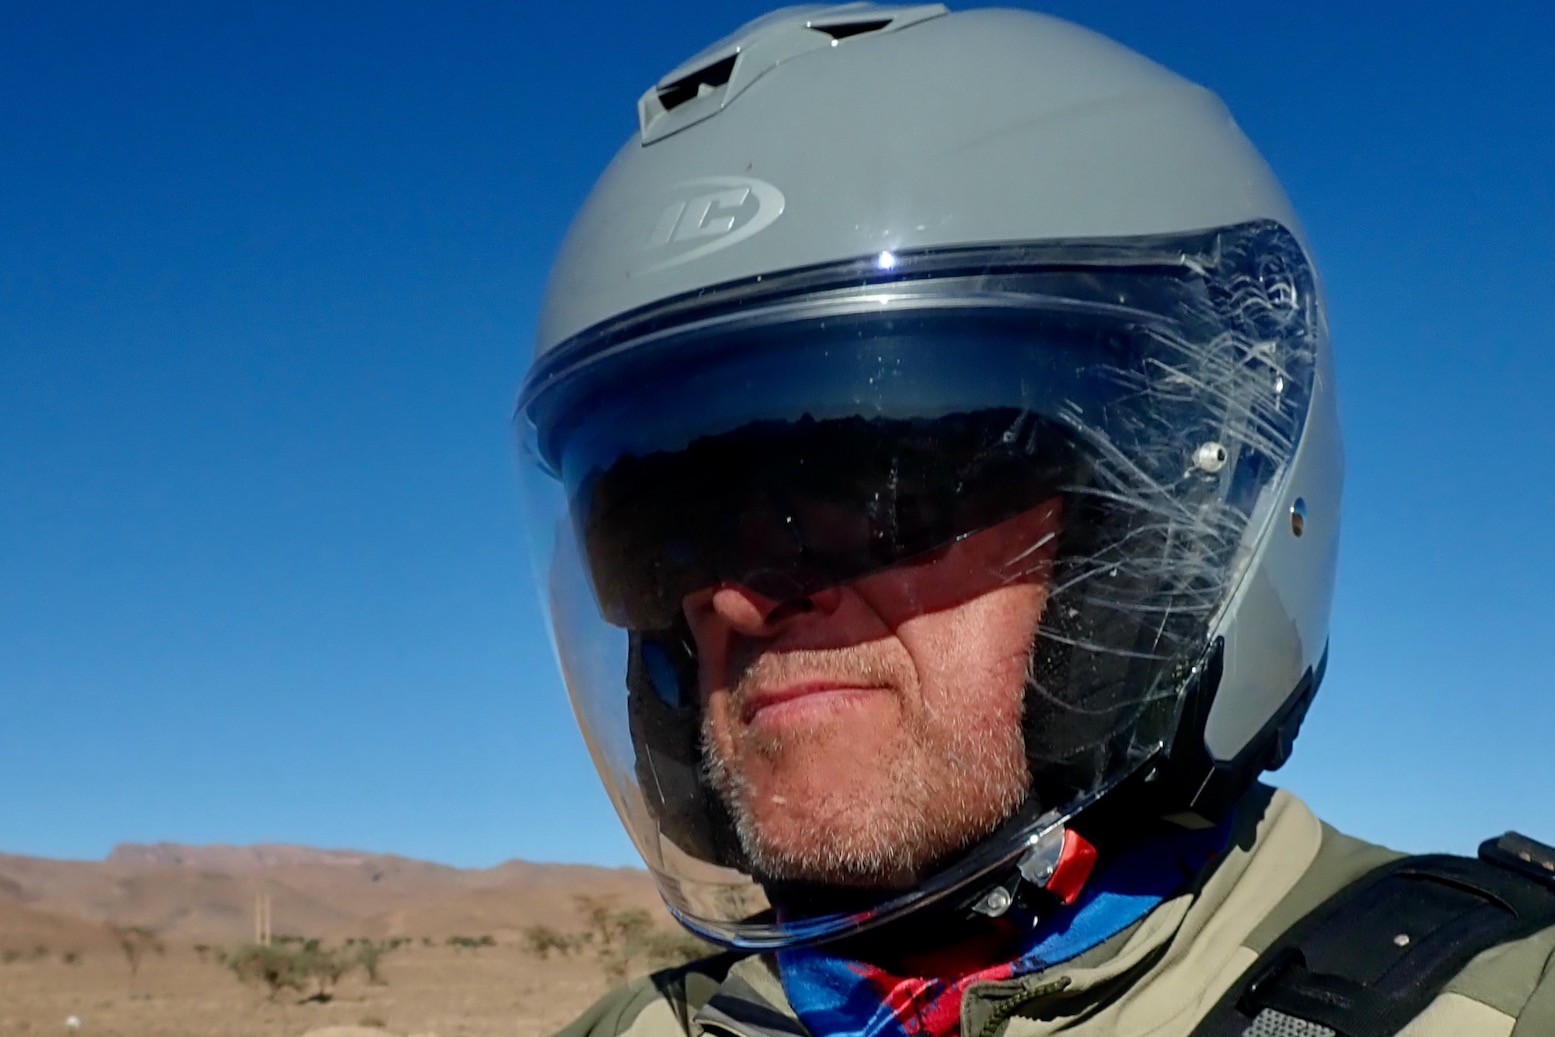
REVIEW There was nothing much wrong with my old X-Lite other than it was 10-years old in with the lining coming apart from too many hotel sink washes and the lever for the sun visor long lost. I left it in Marrakech and back home narrowed it down to an HJC i30 which have been around for years too. I like the look of the i30 and in Large (58-59cm) fitted my head snugly without causing nausea, double vision, seizures or migraines. For my sort of riding: slow speeds with frequent stops for photos, instructions or jotting; these open-face full-visor jobbies (OFFV) are ideal. All the preceding can be done without removal while a full face visor keeps the rain and bugs at bay. I don’t doubt there are quieter lids but now we have more types of ear plugs than toothpaste brands, that’s not so relevant.
Obviously venting is a moot point as it rushes up under the visor, but on top there’s an easily operated slider to get a little airflow around the top of the head. Tbh, in English or cool season Morocco temps, venting doesn’t add up to much but there are times I do detect its effect. The sun visor slots down with little levering (too little in haptic terms) at the easily accessed lever on the LHS, and the main visor has a couple of indexed positions, but with me it’s either up or down. I also like the ratchet chin strap; quick and easy to use with nothing dangling loose. The colour meets my approval too, though it is glossy, not matt as appears in some adverts.
I’ve worn it for several months in Morocco and it’s holding up well. The top venting doesn’t really make much difference; when it’s hot and you’re working hard you sweat like the Trevi fountain. But for washing the lining, the three sections of inside paddling come out and slot back in a lot more easily than my X-Lite. The whole lid can be hosed off for dust in a shower and soon dries.
As you can see, I had one of my very rare slow speed falls and badly scratched the side of the clear visor, but there was no other damage and it doesn’t affect forward vision. The sun visor still actuates solidly enough, so does the main one. It still amazes me how modern visors resist scratching indefinitely compared to the crap visors we had in the old days. I treated myself to a dark visor which in ever-sunny southern Morocco is easier on the eyes but costs 42 quid.
A few thousand miles in I’m happy with my HJC i30, but two years in I could do with a pair of new visors (rrp £50 each), and one side of the visor gets dislodged on some lifts, maybe following a drop or two. Don’t know if it’s the visor or the mechanism, but at least you can buy a replacement mechanism for £20 from the Visor Shop.