Tested: Sidi Mid Adventure 2 Gore boots review

See also:
Seven years with TCX Baja Mid boots

IN A LINE
Quality, heavy duty off-roading Mids with Gore-tex. Tall on the shin but narrow across the foot.

WHERE TESTED
For the moment, just local lanes.

COST & WEIGHT
£280 rrp (from £210). Mine used for £86. Weight: 1100g per boot.

  • Used bargain!
  • Very solid build
  • Stiff instep for standing on pegs
  • Grippy, Vibram-like sole
  • Mil green version looks best
  • Gore-tex membrane
  • Comes with detailed manual in 13 languages
  • Mine in boring black but price was right
  • Right now heavy, stiff and clumpy, but may ease up
  • On the narrow side
  • Like all Mids, the top edge can chaff on the shin

What They Say
A shorter, more practical version of Adventure 2 Gore. While the non-slip rubber outsole provides optimum grip and total control in all situations and terrain, the micro-adjustable buckle system ensures total comfort. Versatile and untiring, the special Gore fabric is a bonus for the best possible exploration, even in rain and muddy conditions.
• Full grain microfibre and suede construction
• Waterproof Gore-Tex breathable membrane
• Non-slip rubber sole
• Hook and loop strap and buckle closure system
• Inner gaiter
• Plastic support on ankle area
• Back reflective inserts for night-time riding
• Nylon inner sole with removable arch support

REVIEW
After seven years my TCX Baja Mids were as comfy as old slippers but wearing out. One buckle clamp was bodged from something else, then recently in Morocco an unnoticed flying stone poked a hole in the toe like it was cardboard. No longer listed by TCX, remnants crop up from £190.

Forma Adventure Low – too soft

For my next pair of Mids I definitely wanted a less mushy instep for standing up foot-ache free. And a treaded sole would be better too; I’m forever slipping around when clambering on the roadside to shoot a quick pic.
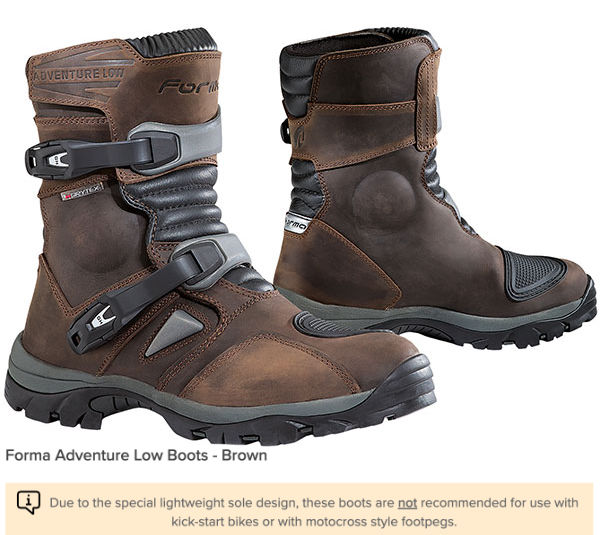
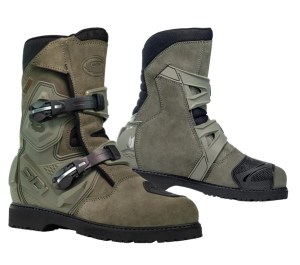
Similarly good looking Forma Adventure Lows (left; rrp £214) caught my eye until I clocked the unusual warning on SBS about the soft instep. The current trend for wider pegs helps spread the load of course, but if they’re advising this upfront, the Formas were no longer contenders.
There’s an ‘Adventure look’ with boots that doesn’t correspond with actual all-terrain adventuring – a parallel to the entire ‘style before function’ Adventure Motorcycling Phenomenon some might say! My old Bajas may have been in this category, and so might similar, two-clamp Gaerne G-Dunes, cheaper LS2 Adventures and the even cheaper RST Adventure-X (below; left to right).

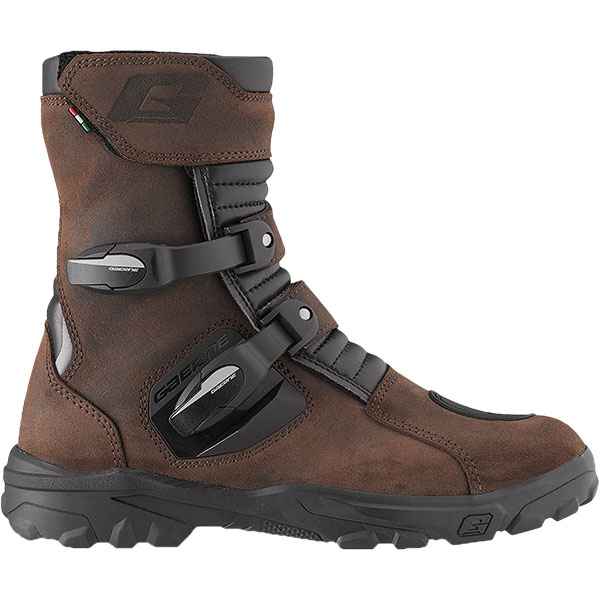
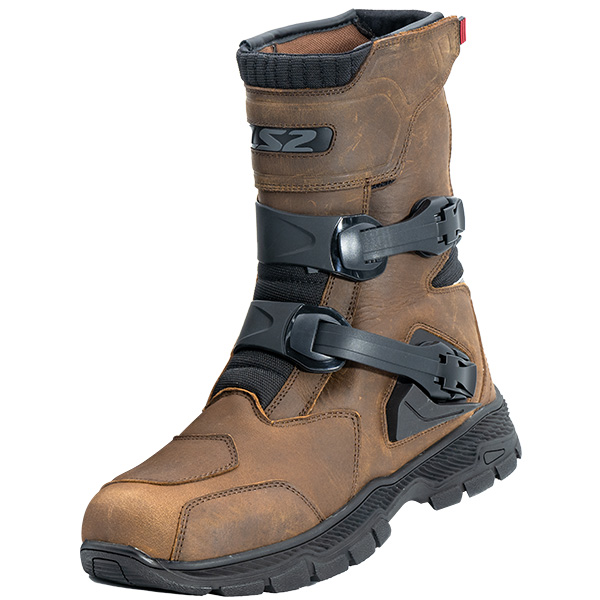
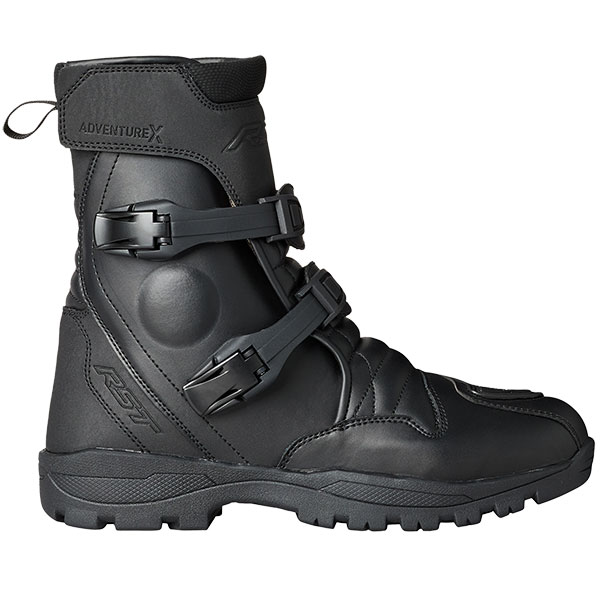
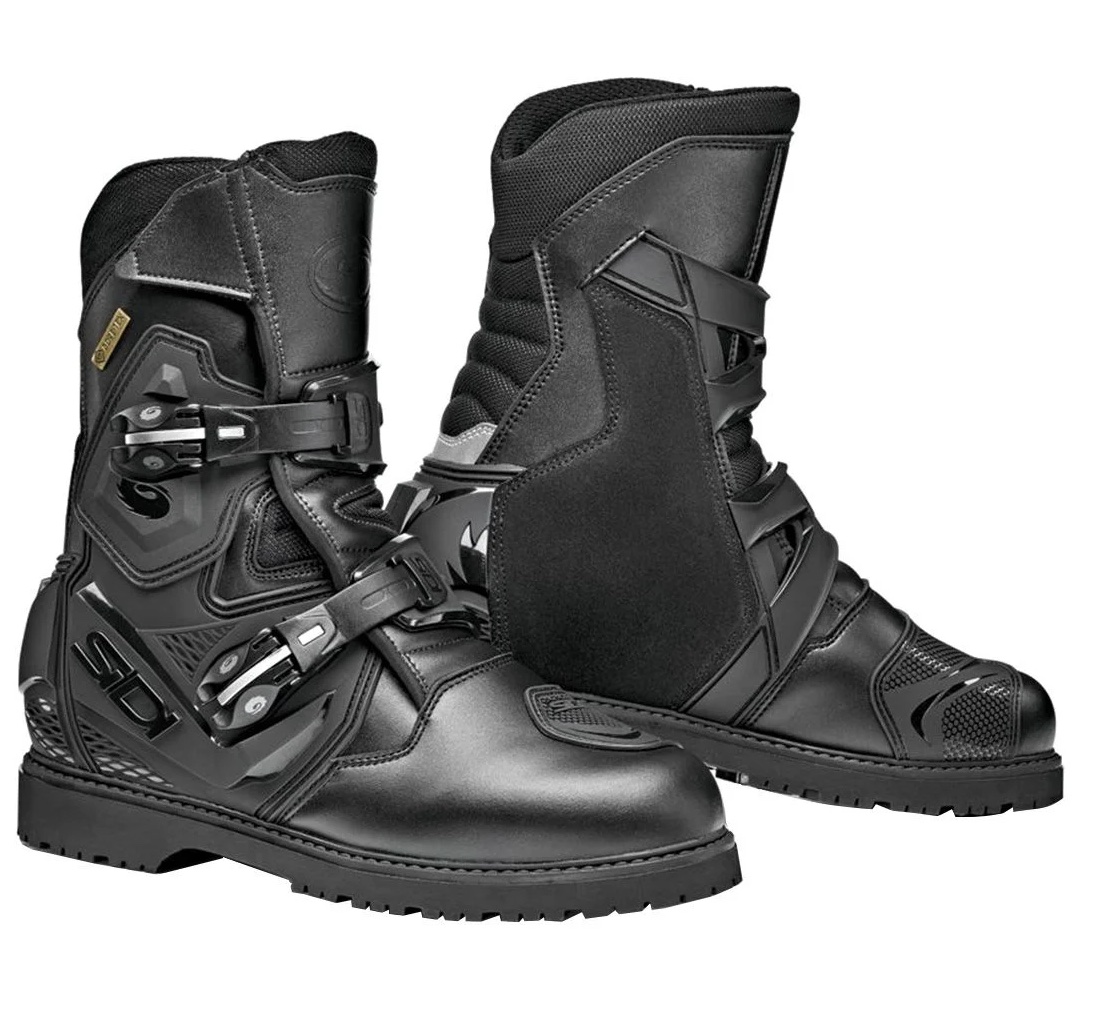
They all have the appearance of MX boots – rugged clamps and ankle protection – but underneath aren’t really up for it. This shop product video review seems to confirm this lamentable trend while claiming these Sidis are a cut above.

I thought I’d treat myself to some Sidis who, like Alpinestars, have had a solid rep in off-road moto footwear as long as I’ve been riding. Or should I say, some turned up in my size dead cheap ;-).
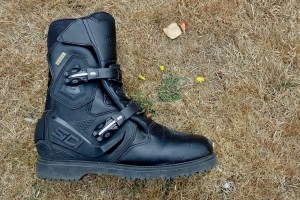
They certainly look like they could give and take a good kicking, have a Vibram-style sole and, in ‘military green’ (left) looked way more interesting than ‘tobacco’ or boring black.

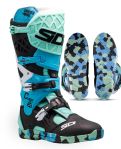
I’d have sized up a green pair from SBS, then waited for a sale or used, but as said, my size in black and used once was ending soon on eBay for just £86. Boring black it would have to be, but at least they’re better than the ‘messy coral’ Crossair X for just £630 (right).

Narrow

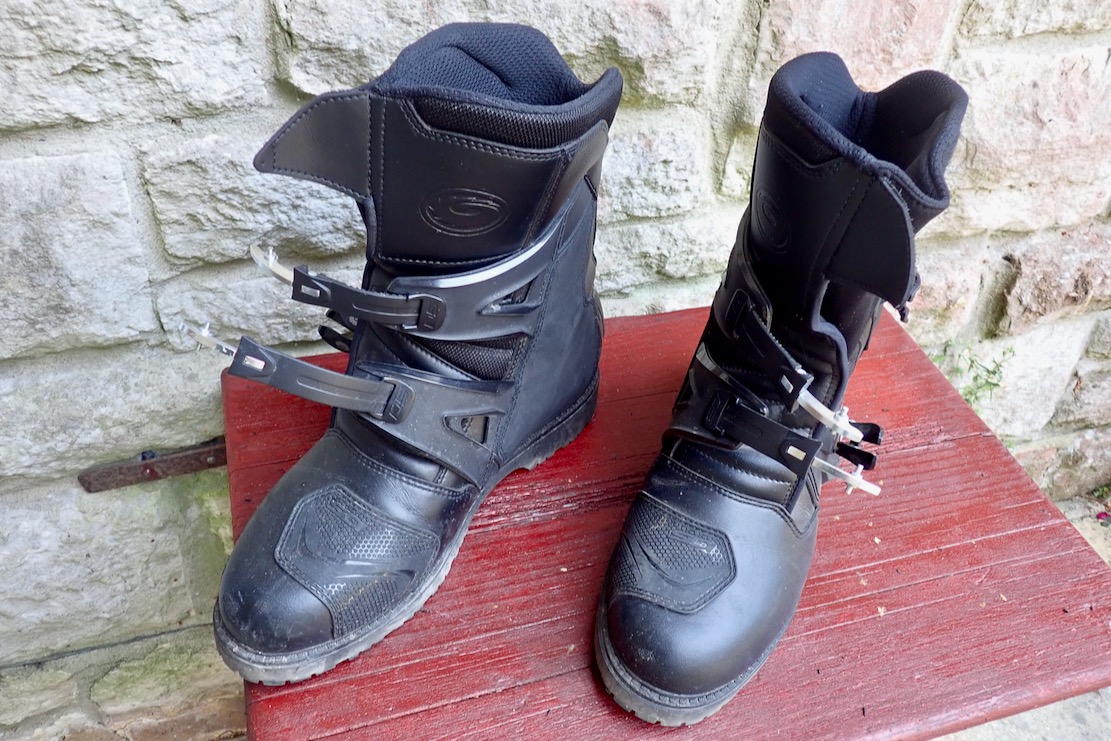
Sidi Mid Adventure 2s
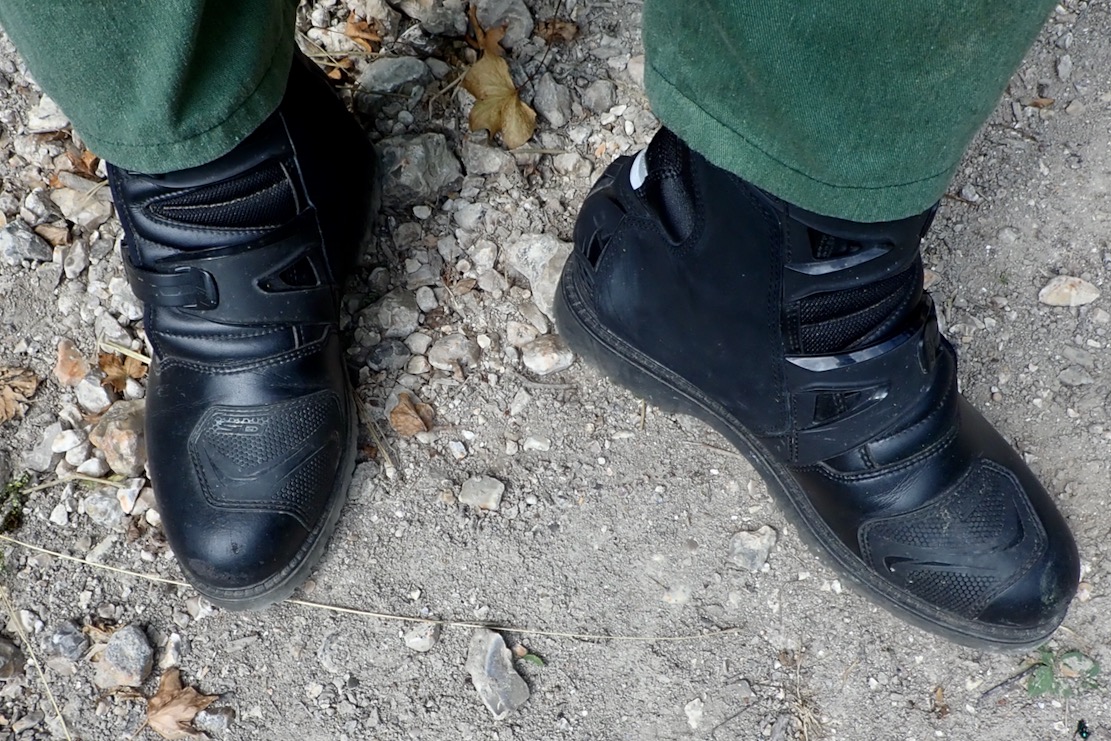
Out of the box the 11s (46) looked solid but unnervingly narrow. Once on my feet they felt the same, initially pressing on my small toe, even with thin socks.
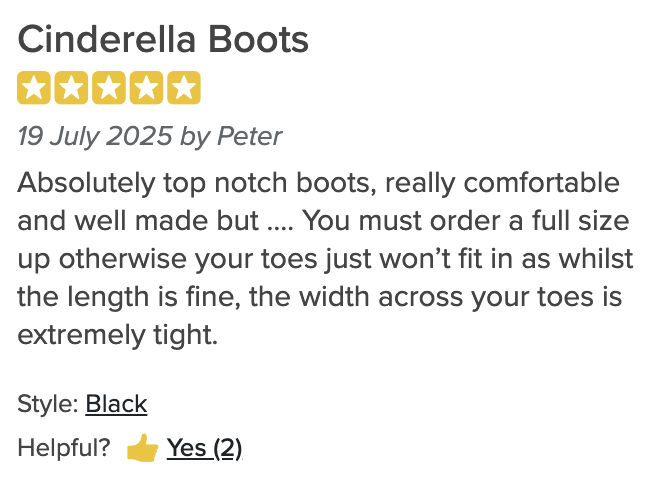
I didn’t get the chance to read before buying but many reviews and customer reviews on SBS (left) testify to this. But had I gone up a size to 47s they’d be way too long. I’ve had width issues forever with hiking boots, but with the Sidis the pressure goes away after a while, and it’s not like I’m heading up the Pennine Way with a full pack for a fortnight. If they’d been that bad I’d have put them straight back on eBay and might even have made a few quid.

Note that the video above compares the Mids with the full-height version with an ankle hinge for full articulation. The Mids don’t have this but being tall for Mids, lose out on that ankle movement when walking or sliding into a corner, extended inside skimming over the dirt. The simpler, one piece body will probably do me, plus there are bellows above the heel for a bit of give.

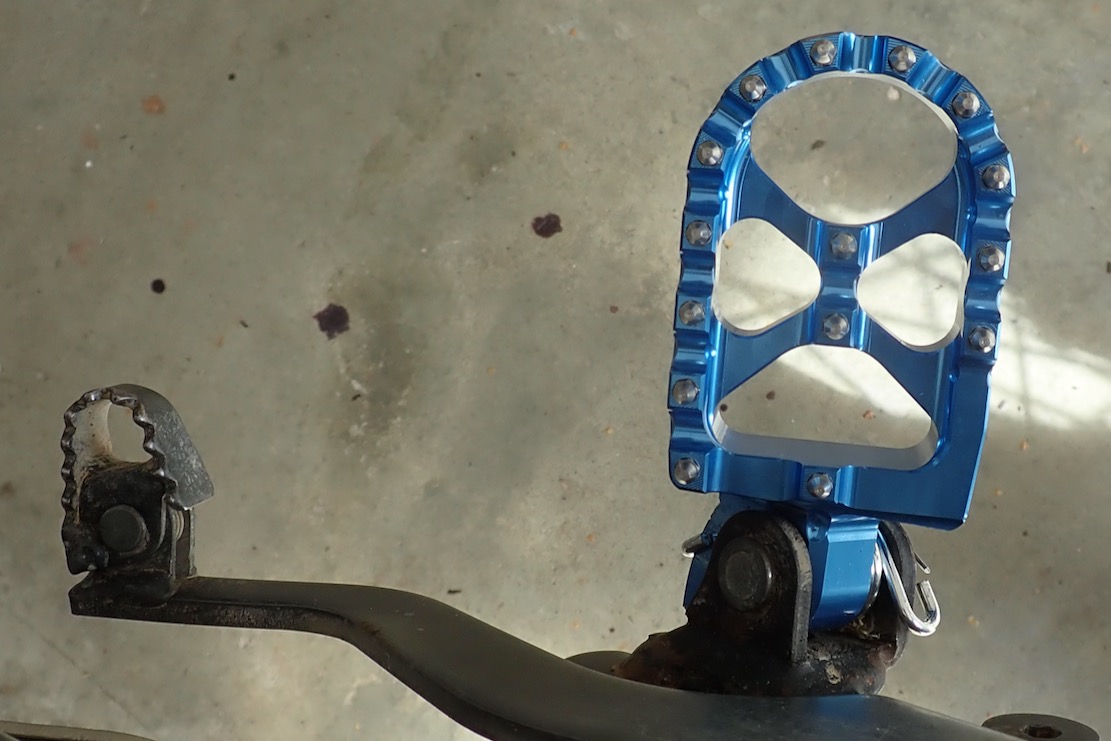
Green laning locally on the Serow, the Sidis proved they had what the Formas, my Bajas and maybe the other softies all lacked: a rock-hard MX instep offering pain-free standing support on the narrowest, spiked footpeg.
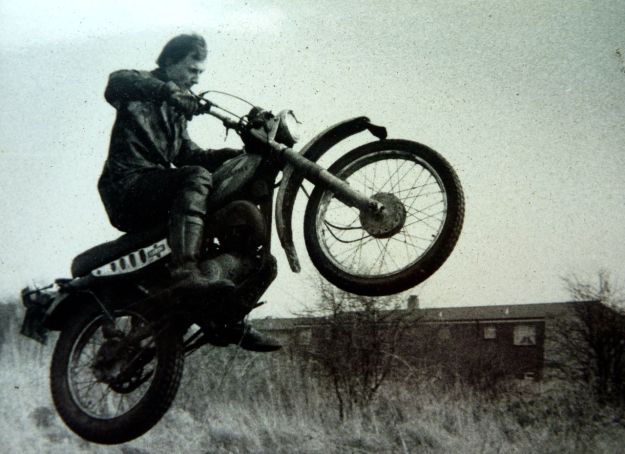
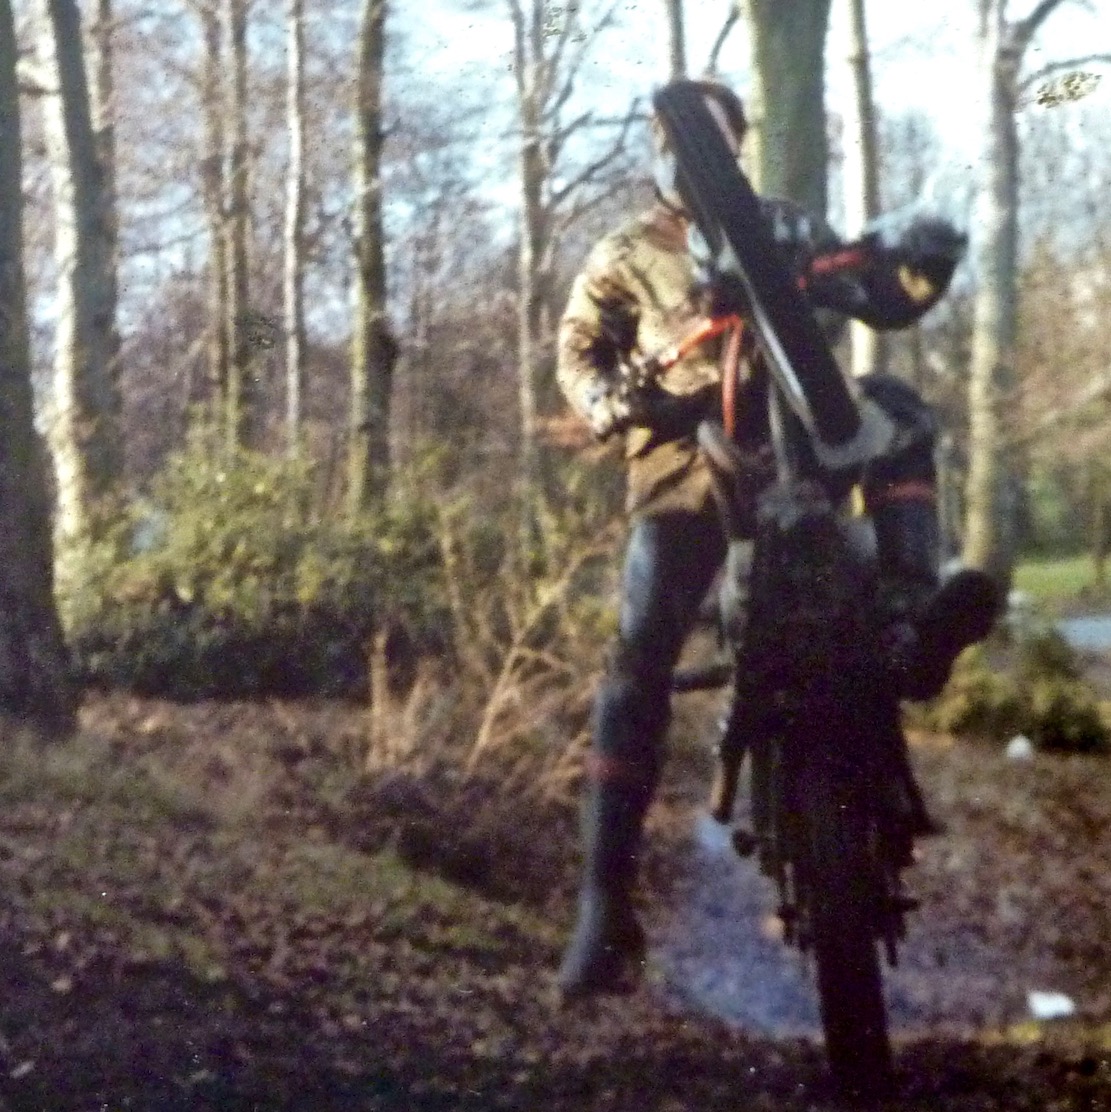
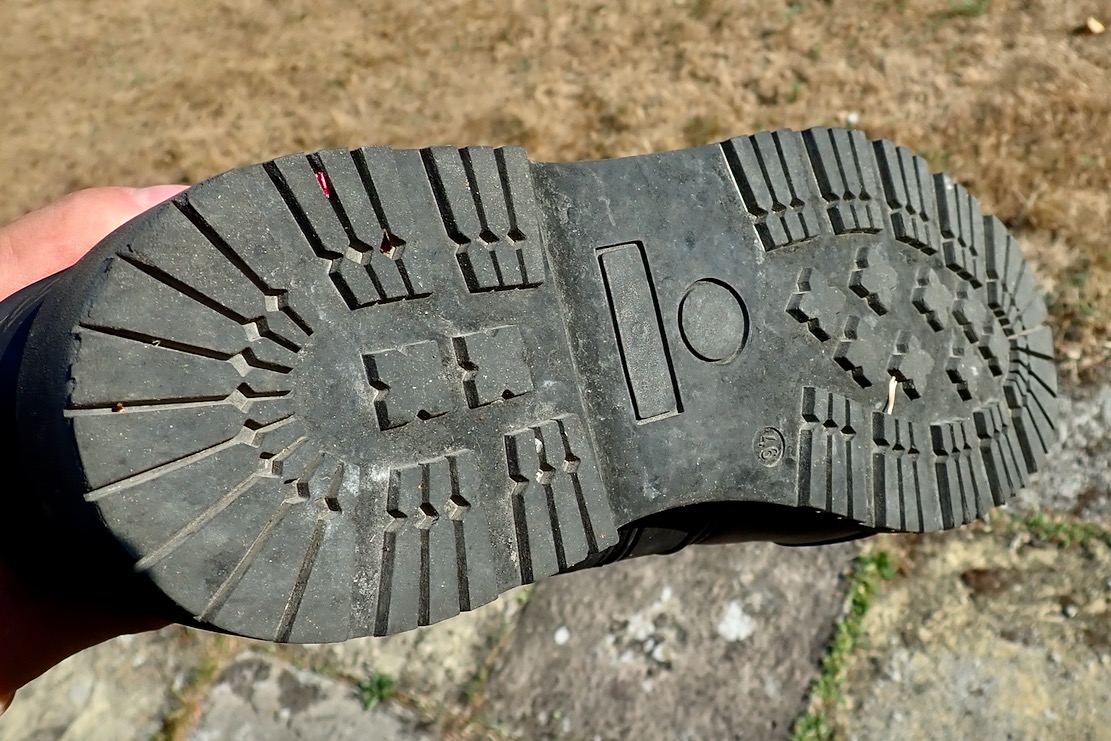
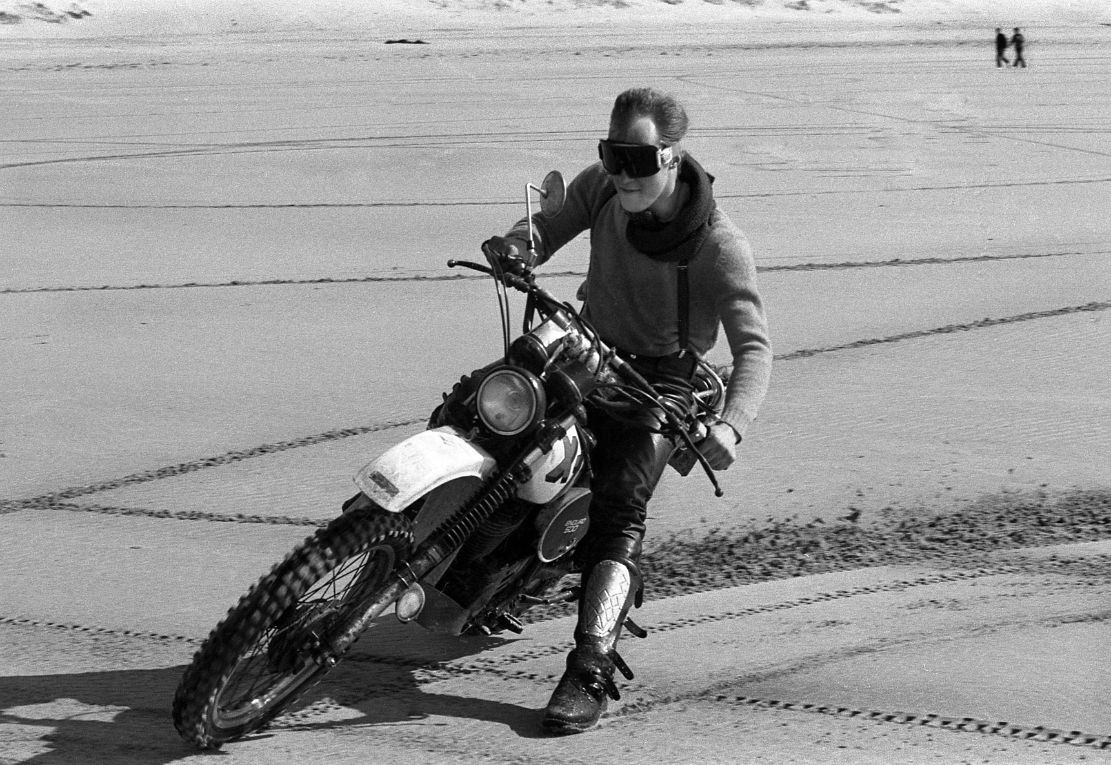
And the lugged ‘Vibram’ sole (left) will add grip when paddling or scrambling about off the bike. My smooth-soled Bajas were a pain in this regard, though a real dirt racer’s boot would have a smooth sole for crossed-up broadsides, like I was practising below (1970s Alpinestars Super Vics).

The Sidi’s straps clamp down securely with a bumper protecting the lower one, and ought not fall off like the Bajas. With the unusually tall height (300mm in my 46s), they could be run ITB (tucked in), and ought to keep the feet dry in downpours and through fords. The Bajas were too short for reliable ITB; these taller Sidis ought to hold the tucked in trousers. Plus you get an actual Gore-tex membrane for as long as it lasts, not some no-name ‘SplashBack™’ version, though the vid review above notes the membrane ends about halfway between the top edge and the upper buckle.

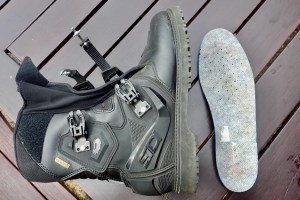
Inside you get the usual cheap, thin removable insole (left). I’might put in one of the better ones I’ve lying around, or if you need more volume you could ditch it; it’s not like to need the all-day walking support.
One thing with Mid height boots like this is that the top of the boot can chaff on your shin – my Bajas were like this too. It’s one reason to go ITB or wear knee-height socks.

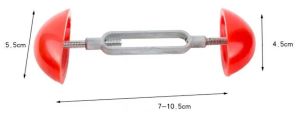
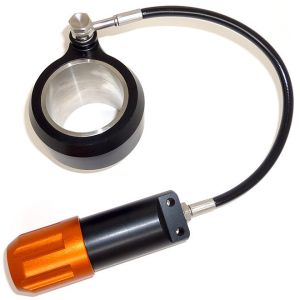
Weighing 1100g each (only 80g more than my Bajas), they don’t feel anywhere near as comfy right now, but will hopefully respond to breaking in. To speed that process up, I bought some boot spreaders (left). We’ll see how effective they are, but once that’s done the Sidis look like they’ll take whatever terrain and weather’s thrown at them.
More to come.

AMW Photo of the Week

Do we have PotWs here on AMW? We do now.
You know a good shot when you see one, even if you don’t know the backstory. I happen to know Karim H, and this shot led a selection of his 20 favourite photos on his Insta page covering his west coast trans Africa earlier this year on his ’84 XT600Z.
Looks like a hot, dusty day somewhere in Mauritania, probably the roadhouse midway to Nouakchott which doesn’t always have pump fuel. The Moorish bloke on the right sets off the symmetry with the bike as well as the two green pumps – probably the only greenery for miles. The pinkish haze over the dunes reflects the maroon signage mast. It’s the desert at its least glamorous: choking, dreary hot middle of the day but with the vital fuel to keep the show on the road.

Touring Serow: filter, pegs, shock

Serow Index Page

Not being a UK model, it can be a bit of a lottery ordering parts for the Serow, but generally it seems any XT250 from the same years is near identical. They’re not UK models either, but there seems enough around online in the UK. Webike.jp is the best I’m told, and pretty fast. Procycle in the US was amazingly fast for some TW200 parts. Oregon to my door in 3 days with a free sonic boom!
The chain is only a skinny 428 (next size down from 520), but a heavy duty got fitted which looks nearly the same as a 520. There’s a lot of caked-in Salisbury Plain mud splattered all around the nooks and crannies and a bit of surface rust, but nothing drastic.

• XT250 air filter for a tenner off ebay. Never seen one that small.

Three bearings and two seals

• Rear wheel bearings. The bike was used for muddy UK trail rides and the bearings didn’t feel that smooth and solid. Again a lottery if not buying factory parts; I took a chance and these were the ones.
I did some front bearings once but not rear bearings – never knew there were three in there (two on the chain side; no cush drive, like the CRF).
I expected the usual gnashing of teeth, but it was dead easy after a quick YouTube and and no special tools required. I peeled out the rubber seals with a tyre lever, heated the area over a camp stove, then used a thin, long, round rod with a freshly-sawn sharp end to tap one out, starting on the brake side (single bearing). There is a spacer tube between the bearings along which the axle normally slides, but the bearing’s inner diameter is 1mm or less smaller, which provides a smidge of a lip for the rod’s edge to work on. Once the spacer drops out, the chain side bearings are easier to tap out.
Once greased up, the new ones gently tapped in easily (no need for freezing to shrink them), using a large socket on the bearing to spread the load evenly, and the bikes axle to help line up the last bearing and spacer tube. So satisfying when it all goes to plan.

• Trail Tech engine temperature read-out. There are Chinese cheapies on ebay for 20 quid but for 3 times the price, I know well that a T’Tech will last (left: WR250R). Clamp the wire anywhere very hot then learn a median reading so you know what’s excessive. Air-cooled run hotter so it’s good to keep an eye on things and slow down if needed. My Him 411 got up to 270°C on the motorway. The battery powered read out is handy to read ambient morning temps too (left), before starting the engine.

• Replaced the stock cheesecutter pegs with some full-fat WR footrests I had left over. They only came in blue – or black costs loads more.

Well hidden

• As usual I wonder about upgrading the shock; an easy way to improve the off road ride. But I forget that stock Yam 250 suspension is not necessarily the soggy mush off a CRF. The TTR had great suspension, and it seems Serow (especially the previous 225) is closer to TTR than the 250 Serow which has no damping adjustment. In the RM vid below, matey is swapping out a stock 6.7 kilo spring from a US-model XT250 for a Racetech 9.8. It seems a pretty easy job with no deadly compression required. I don’t know what my spring rate is and whatever damping I have left comes free.

The YSS shock is the cheapest at £330 with compression damping and a juicy red spring which must be worth 50 quid alone. A YSS was OK on my Himalayan 411. Internally I’m told they’re crude, but YGWYP4.
I thought about it, then held off and instead chipped away at the preload rings with a hammer and old screwdriver, assuming I need more than the orevious owner who was probably half my weight. The rings were now ⅔s down the threads but adfter a ride along a bumpy lane it was way too much. Back home more chipping to back off a bit. The unadjustable front fork also seems usefully firm.
So maybe the suspension is not so bad after all, and now knowing the shock can be easily removed and taken apart and the spring is firm, it would be great to fit a hydraulic preload adjuster (HPA; above left). I’ve had them on previous bikes: just turn a knob to vary the spring preload depending on loads or terrain. You can almost do it while you ride. Who needs ESA? The problem is finding one that will fit what is probably a KYB shock. There is space enough around the shock for the hose and mechanism, but along with the exact diameter, I’m told there is no commonality with shock body threading like there is with other screwed fittings.

If I don’t manage to find an HPA, I’m eyeing up a Hagon shock with combined damping/compression adjustment and an optional HPA (left), all made to measure in merry old England for 600 quid with a plain black spring.
Back in the 1980s I used to get the fragile stock wheels respoked at Hagons when they were in Leytonstone, in the day when I rode full-sized XTs.

Serow: tubeless mounting trick

Tubeless index page
Serow index page

Update: fitting a new Mich Wild months later, none of the tricks below worked.
The answer was one of these. I should have bought one years ago.

With the rear wheel off to check over and fit new bearings, I removed the Serow’s tubeless Pirelli MT43 trials tyre to fit a right-angle valve so as to end airline forecourt faffing once and for all. The Serow’s rear wheel only is an early example of OEM spoke tubeless. It’s even stamped with ‘tubeless tire applicable’.
Levering the tyre back on, as I aired it up the tyre beads (edges) would not seal and mount onto the rim. With no inner tube to push it out, more pumped air was escaping than stayed in. It’s a common thing fitting tubeless, but with the valve core removed to maximise airflow, a bit of jiggling and pushing usually gets air going in faster than leaking out, pushing the beads against the rim’s MT lip. Once that happens, pressure quickly builds up, forcing the beads to ease over the lip and onto the rim with a ‘pop’. The job’s helped with a fast compressor like my 2.3 cfm Viair.

But not this time. Maybe it was something to do with the 4.00 18 Pirelli’s tall, thin sidewalls. Next, I tried the well known ratchet strap method, as I did on my XT660 years ago (below left). No luck. Rubbing my chin, I thought about the Icelandic method: injecting fuel through the valve hole, followed by a lit match. But that hadn’t worked on the XT either (below right). With the XT it had been just a matter of hours jiggling, pushing and pulling with the ratchet on, although having the brains to turn the car engine on gave the pump the extra poke it needed.

Bits of tube

After doing a bit more of that on my Serow wheel without success, I tried jamming bits of plastic tubing into the unmounted gaps (left). They should slow the escaping air enough for pressure to build up inside for the beads to catch. Not this time (have I said that already?). All they did was push the bead further down into the well.
So I turned to the bicycle inner tube method which years ago worked on my Land Cruiser, fitting five tubeless tyres by hand in the back yard. Lay the wheel rim flat on a bench so the tyre is unsupported and the lower bead presses down onto the rim’s lower edge. When a moto wheel rests on its disc rotor or sprocket, this happens anyway. That should get the lower tyre bead to press or at least rest on the wheel rim, reducing air loss.
On the upper side, jam a soapy bicycle inner tube into that gap. I didn’t have an 18″ tube so I knotted a 29er, lubed it up, shoved it in and gave it some air. I tried for ages but this didn’t work either. I tried another compressor – same. It was the end of a hot day; perhaps the low air density was having an impact? I whacked in some CO2 cartridges I’ve had lying around for years. No change.

18-inch inner tube method

I emailed a pal who’s Mrs also runs a 250 Serow. He confirmed that for some reason, it’s near impossible with this rim/tyre combo, even with something called a beader mousse. Take it to a bike shop, he said.
I’ve not heard of beaders. He linked to a Trials shop which sold them for 30 quid: basically an 18-inch neoprene ring, like a solid pushbike inner tube mousse and a bit like the pushbike inner tube trick. Maybe it’s needed with modern trials bikes which these days run 18-inch rear tubeless and like me, have mounting issues. Note in the video below how the well-lubed ring handily squeezes itself out as the tyre pressure builds up, even with a handpump. Iirc, with inner tubes you have to pull them out before they get jammed.

It cannot be that hard so next day I gave it another go, hoping some knack might have manifested overnight, as often happens. I tried rings on both sides with whatever I had lying around. No good. But this is what worked.
With the wheel flat on a bench and the tyre pressing down on the lower rim, as described above, where the upper tyre’s well-lubed bead was clearly off the rim, I lifted it out with a tyre lever then slowly levered it back down onto the rim. This either put it closer to the rim or right on it. No inner tubes, ratchets or mousse rings. With the tyre well lubed this simple move did the trick. Turning the pump on, in seconds the motor’s drone strained reassuringly as bead caught, and a few seconds later both beads popped in place. Now we know.

Pumped!!

Blocky trials tyres are actually pretty effective for technical UK trail riding, as opposed to the more obvious knobblies, though neither are great for setting IOM record laps and wear fast.

Like a 4×4 sand tyre, at very low pressures the thin sidewalls flex out to e l o n g a t e the tyre’s footprint, giving tank-track like traction. In the late 70s I remember doing a little enduro at Badgers Mount in Kent on my TS185 (above left and below). Against PEs, Bultacos and the like, I wasn’t a contender of course, but in the muddy woods at jogging speeds my trials-tyre shod TS had grip like no other tyre I’ve ever tried.

Quick look: Garmin Zumo XT

My well-used Montana 680 (above) is playing up more than usual. Like most of my Garmins it’s always been flakey, crashing, freezing, or dying outright (I’ve got through a couple). But now it’s routing illogically.
It happened in Morocco on the Himalayans in April, putting us in a right tangle trying to get out of Marrakech. I should have pre-visualised the exit route on a map the night before; as we know, second guessing a GPS’s routing is part of the game.
A quick Morocco map switch – such a great feature which set Montanas apart back in 2011 – fixed that. I assumed the OSM map had some flaw with main roads wrongly classified as mule tracks, flipping us up some diversion then coming back to the main road. Then the other day riding my new Serow back from Wiltshire via backroads, it was routing me all over and even onto tracks fluttering with red flags and low flying tank shells.

Cheapo Nuvi car satnav. Better than a Garmin handheld on the road.

Back home I reset the Montana, updated the software, installed the latest UK OSM, changed my underwear, moved/deleted maps off the internal storage and took out/put in the mini SD card. And I’m always disabling unused maps to free up whatever needs freeing up. This routing anomaly might have sorted itself out but even then, compared to a tablet or phone, the 4-inch Montana screen is small, murky and my eyes less good, made worse by using full dark visor these days.

Handheld Garmin dark, Nuvi (right) bright (2012, USA)

So once again I find myself looking for an as-functional alternative: a satnav that routes reliably when not in North Africa, but that switches maps and records tracks and waypoints with ease when out there, has an all-day battery for UK walks/MTB exploring (with the benchmark OS map), but doesn’t cost 700 quid like the Garmin 710i/Tread or a full DMD/Thork set up. I don’t need to listen to music, answer calls, run dash cams, talk to other riders, integrate Group Rides, receive fun road suggestions, log my lean angle and tyre pressures, or get traffic and weather notifications. These clever do-it-all-and-more app tablets are impressive like a phone, but right now I’ll just settle for nav.

Garmin Zumo XT

What they say
The rugged zūmo XT motorcycle sat nav is built for adventure. Its ultrabright 5.5-inch display is glove-friendly, rain-resistant and shows you the adventurous way — on and off the beaten path.

Zumo? Schmumo! £50 Nuvi + ZipLoc

Superseded late last year by the XT2 (from £530), the 2021 Zumo XT came out in 2021 and goes discounted to £304 at SportsBikeShop with 77% 5-star reviews on amazon. I intended to try and see if it would do the things I needed, then either keep it or send it back.
Way back, I was lairy of Zumos when I realised they were nothing more than a Nuvi car satnav in a rugged package with moto routing gimmicks and a jacked-up price. I’m sure the XT has moved on from that era, but being cheap myself, for around £50 used on ebay I took to using used Nuvis (now called Drive), as for plain road nav the map display is far superior to any Garmin handheld, while still keeping a Montana for recording trails. A Nuvi required a plastic bag for rain, but even then one drop off it’s flimsy car mount, drop of rain, or even just pocket dampness saw it off.

In the box
You get a lot with the Zumo XT: proper RAM ball mounts (nice), suction mounts with the old Garmin ball plus a cig plug lead for car use, long 12-v power cable and solid looking clip mount plus the charging/data cable. The unit is rated IPX7 which is rain resistant, with thick rubber caps to protect the miniSD and USB ports, though I read that rain drops can set off the sensitive touch screen. The XT2 has a way of disabling this. Likje a Montana, you can run an XT off the battery, via a USB cable or off the charging mount hard wired to the bike. This clip-off mount feels quite solid and may do for off road use, though generally clamping around the whole body (like Montana) is more secure.
The unit was dead out of the box so I plugged it into a power bank via its ancient USB mini A slot and started looking around. All very Nuvi like but a nicer lay out. There’s a lot of added crap on there too, but isn’t there with everything these days? Basic set up was dead easy (compared to a Montana after a reset). Then came the moment of truth: slotting in my Montana’s miniSD loaded with my .img custom maps.
Alert! Alert!: Maps are corrupt and cannot be used. Go to http://www.garmin.com/express to download [AKA: buy] the latest maps. Alert
I did manage to get one UK map to load, but not the more useful OS 50k mapping (I was told OS 50k wouldn’t work on an XT, even newer ones). And a Moroccan one appeared at some point, all before I learned to store the maps in a folder called ‘Maps’ on the mini SD card (not ‘Garmin’ folder as before).
So there was potential there but crucially, I could not see how to switch from one map to the other – so easily done on the Montana. Often in Morocco one of my maps will show more or better detail of what’s ahead. Switching between multiple maps is important. I suppose I could have ploughed on for a few more hours trying to unravel it all via the Zumo forum. But it reminded me of the bad of ~Garmin years of try to get custom maps to show up, plus I wasn’t convinced I’d not come up against some other game-ending anomaly.
So with no great surprise I declare the Zumo XT a great passive satnav. For 300 quid it’ll spare you mobile but does not answer my nav needs. Recording a track and saving a waypoint looked pretty easy, and the screen was a bright as. Unlike a like a Montana, it was getting pretty hot in the hand charging off the powerbank, but once separated, it did look like the battery had a few hours in it, unlike any Nuvi. You’d hope wifi import/export/updates will be seamless. – didn’t try but I hope it’s not like baffling camera wifi.
Right now I have a RAM cradle for the car’s Nuvi for UK road nav (below left), and will stick with the Montana whose routing might be magically fixed.

Next, I might sharpen the crampons and try to ascend the DMD2 learning curve using my 9″ Samsung tablet (above right) before considering something normal sized. I’ll even have a chance to try out my recently bodged velcro & RAM set up. Intended more for cars, it might do pootling about on the Serow to see if DMD2 with a rugged 6-inch tablet is worth the plunge.
I have not arrived at my destination.