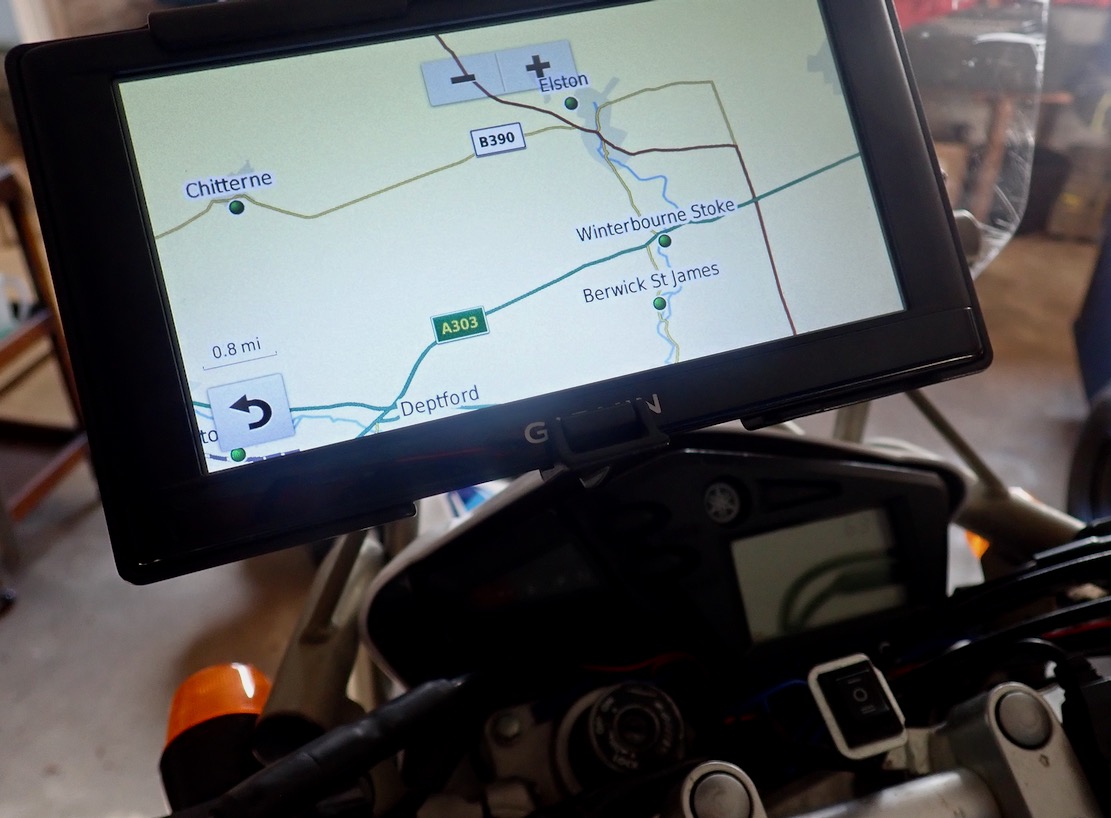
Yearly Archives: 2025

Serow: tubeless mounting trick

Tubeless index page
Serow index page

Update: fitting a new Mich Wild months later, none of the tricks below worked.
The answer was one of these. I should have bought one years ago.

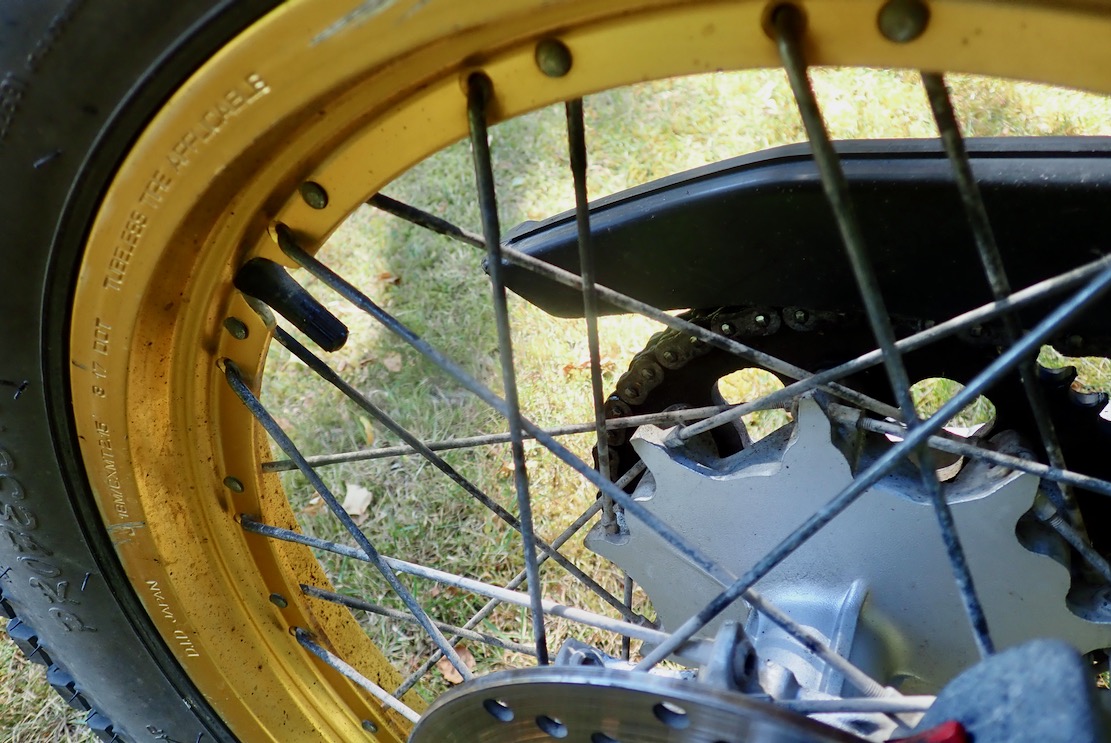
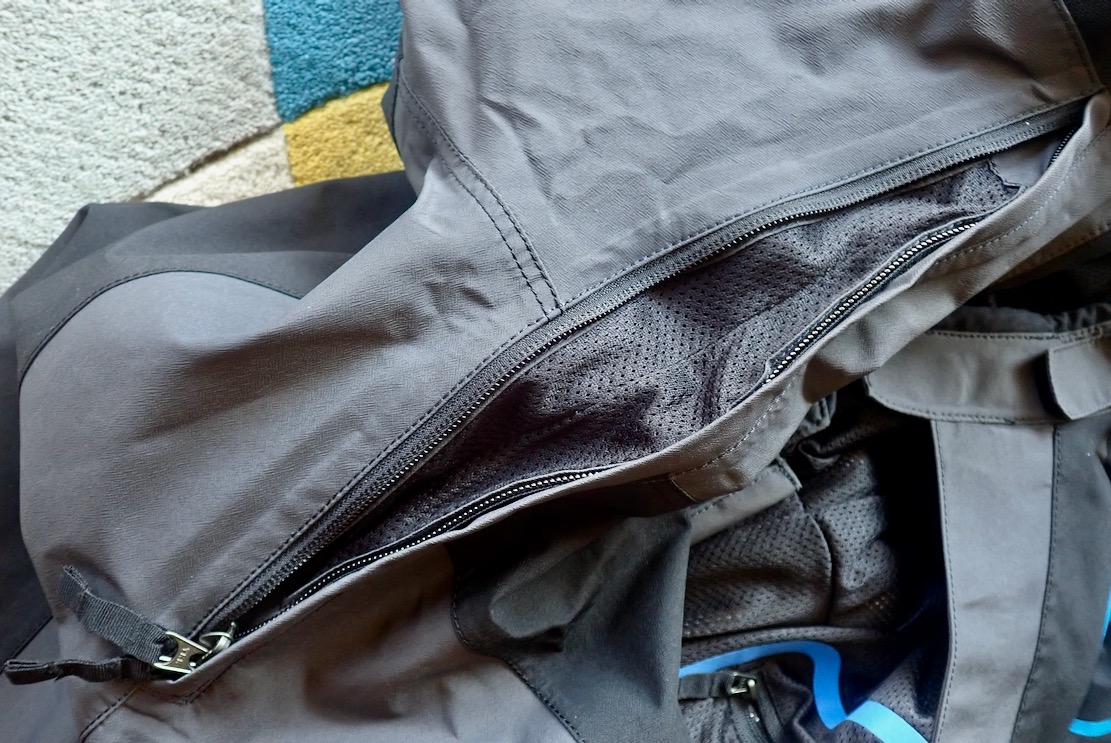
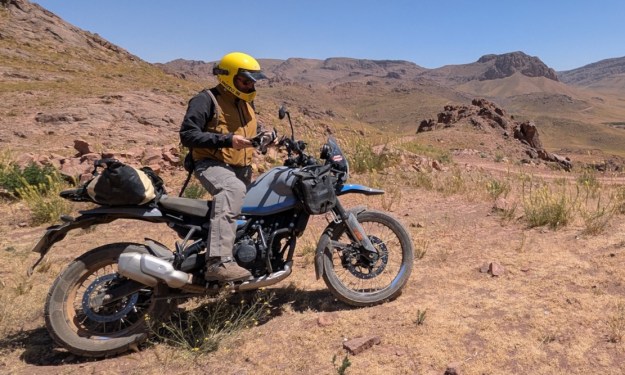
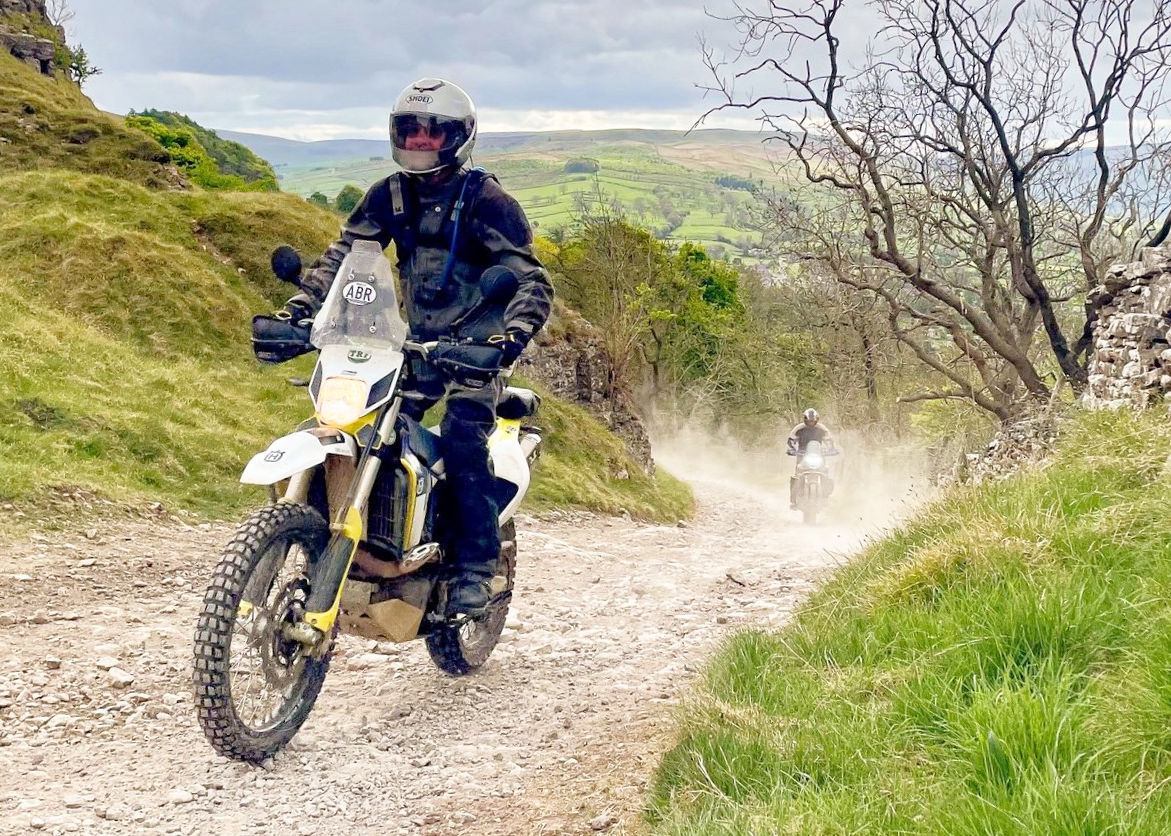
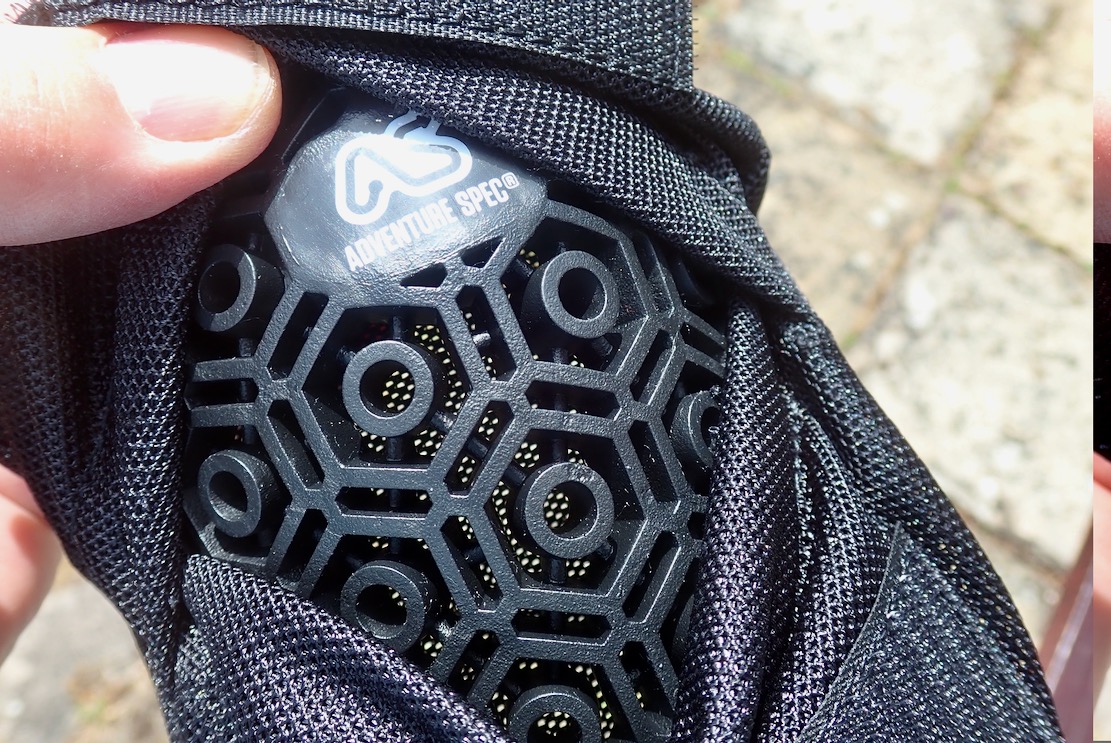
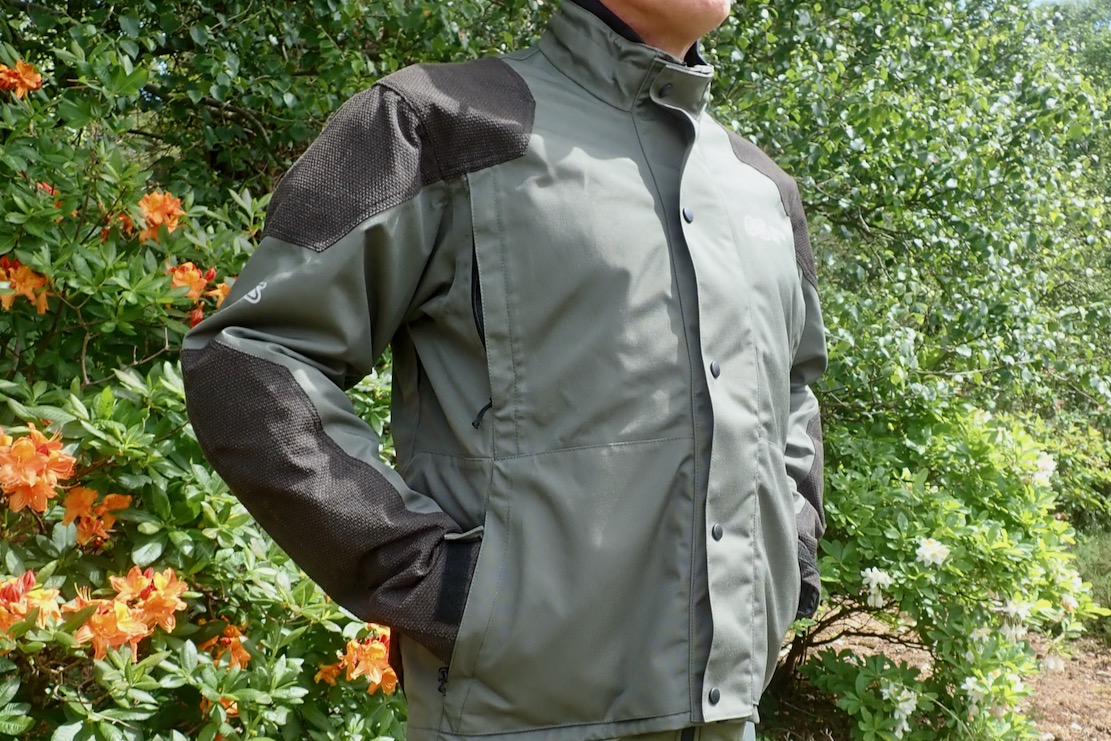
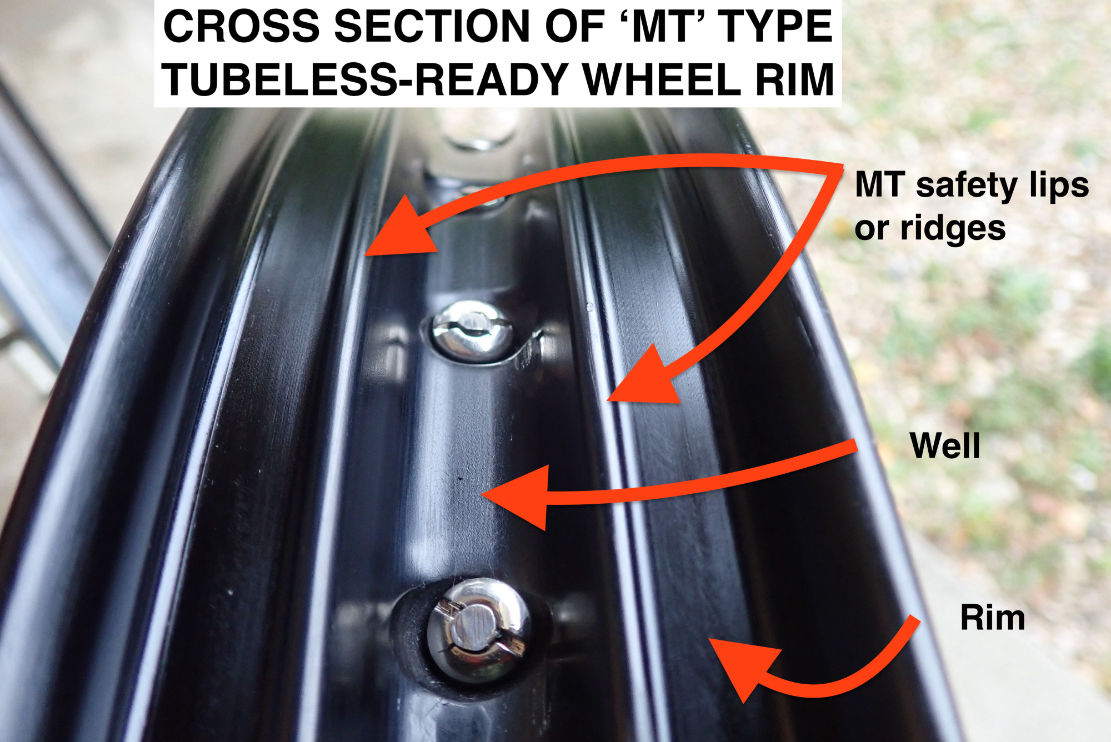
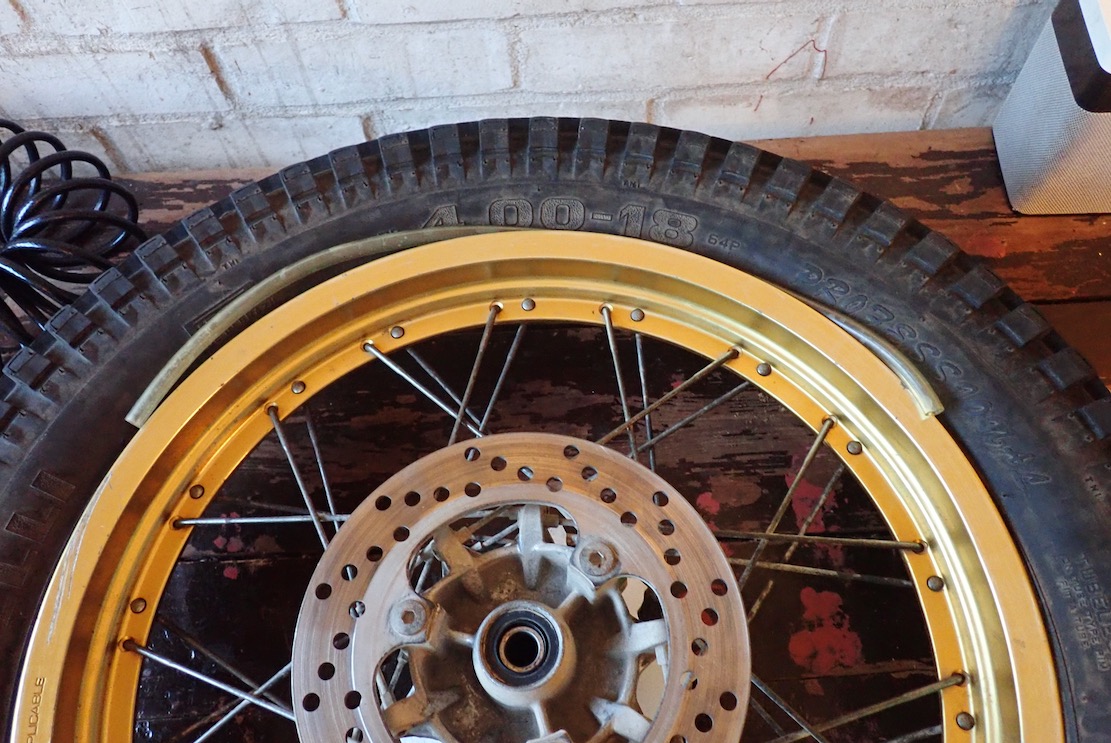
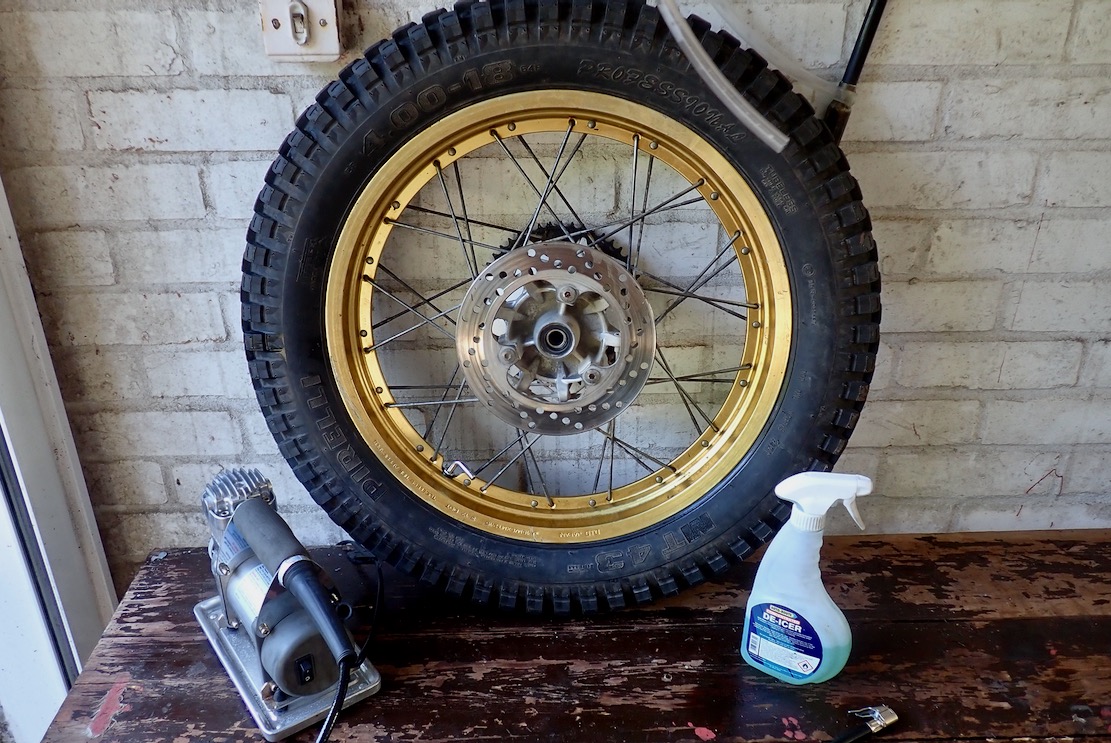
With the rear wheel off to check over and fit new bearings, I removed the Serow’s tubeless Pirelli MT43 trials tyre to fit a right-angle valve so as to end airline forecourt faffing once and for all. The Serow’s rear wheel only is an early example of OEM spoke tubeless. It’s even stamped with ‘tubeless tire applicable’.
Levering the tyre back on, as I aired it up the tyre beads (edges) would not seal and mount onto the rim. With no inner tube to push it out, more pumped air was escaping than stayed in. It’s a common thing fitting tubeless, but with the valve core removed to maximise airflow, a bit of jiggling and pushing usually gets air going in faster than leaking out, pushing the beads against the rim’s MT lip. Once that happens, pressure quickly builds up, forcing the beads to ease over the lip and onto the rim with a ‘pop’. The job’s helped with a fast compressor like my 2.3 cfm Viair.

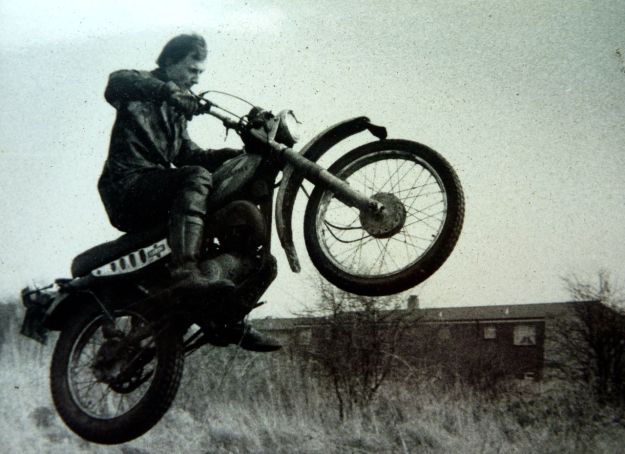
But not this time. Maybe it was something to do with the 4.00 18 Pirelli’s tall, thin sidewalls. Next, I tried the well known ratchet strap method, as I did on my XT660 years ago (below left). No luck. Rubbing my chin, I thought about the Icelandic method: injecting fuel through the valve hole, followed by a lit match. But that hadn’t worked on the XT either (below right). With the XT it had been just a matter of hours jiggling, pushing and pulling with the ratchet on, although having the brains to turn the car engine on gave the pump the extra poke it needed.

Bits of tube

After doing a bit more of that on my Serow wheel without success, I tried jamming bits of plastic tubing into the unmounted gaps (left). They should slow the escaping air enough for pressure to build up inside for the beads to catch. Not this time (have I said that already?). All they did was push the bead further down into the well.
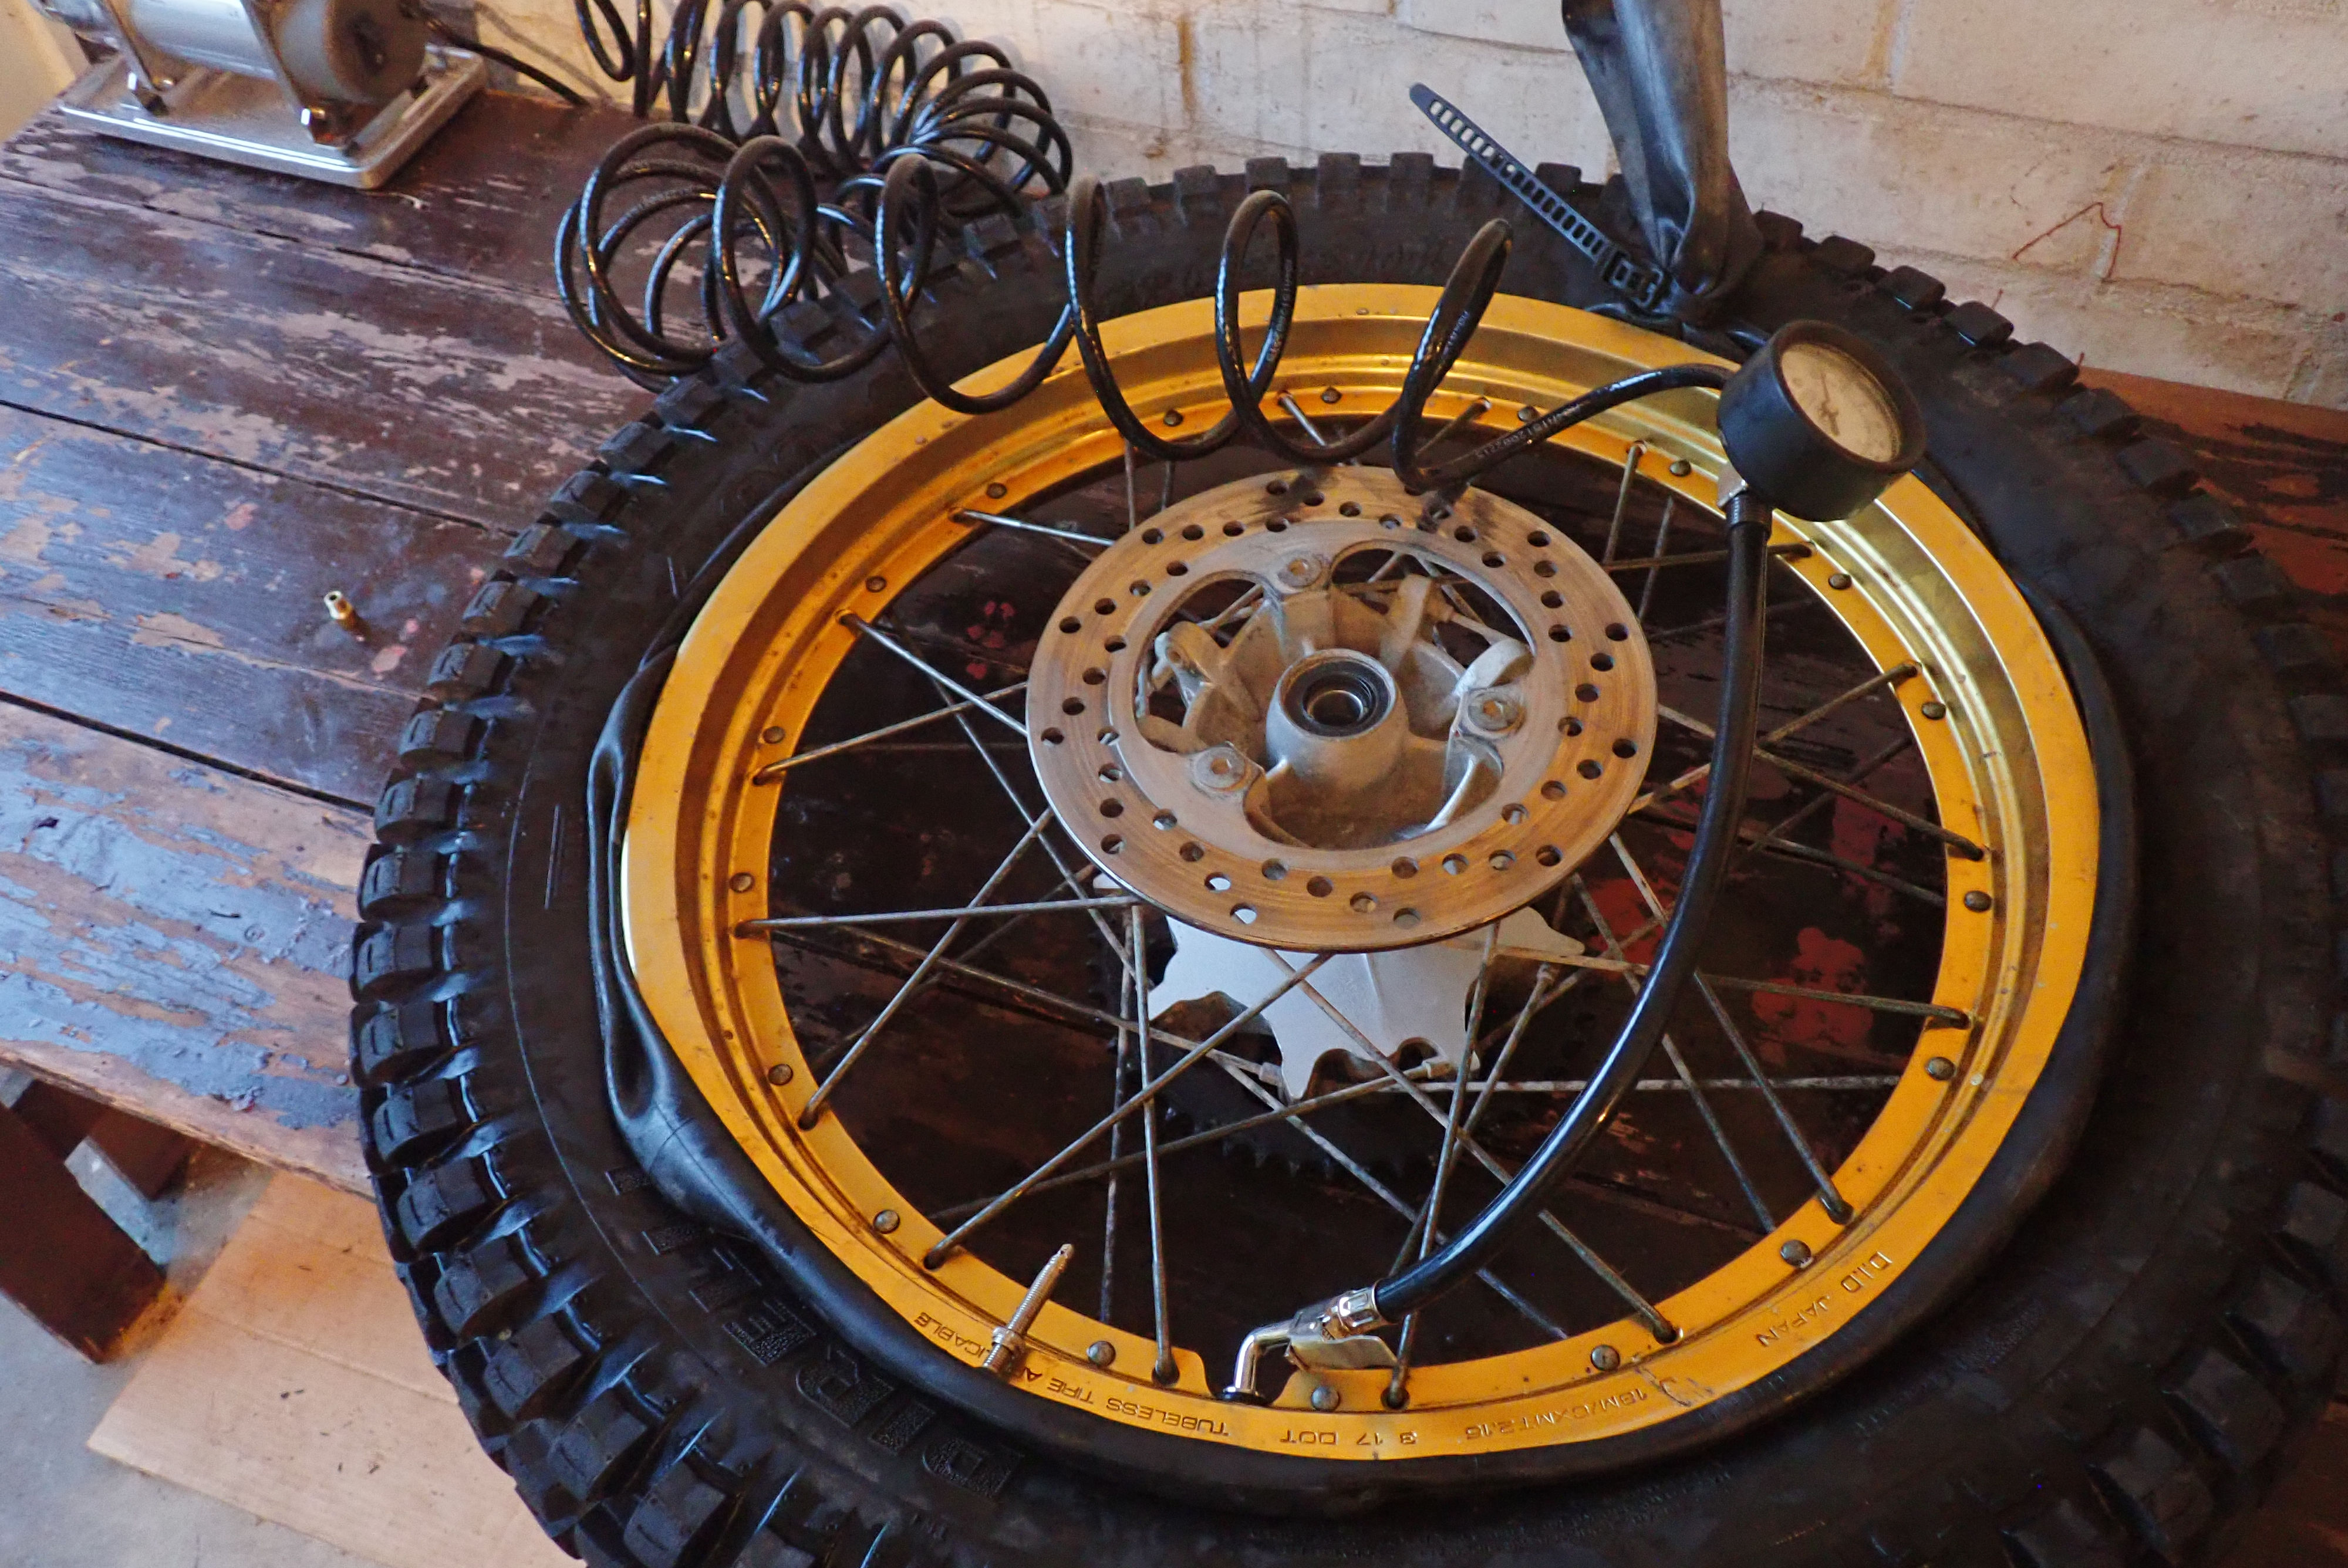
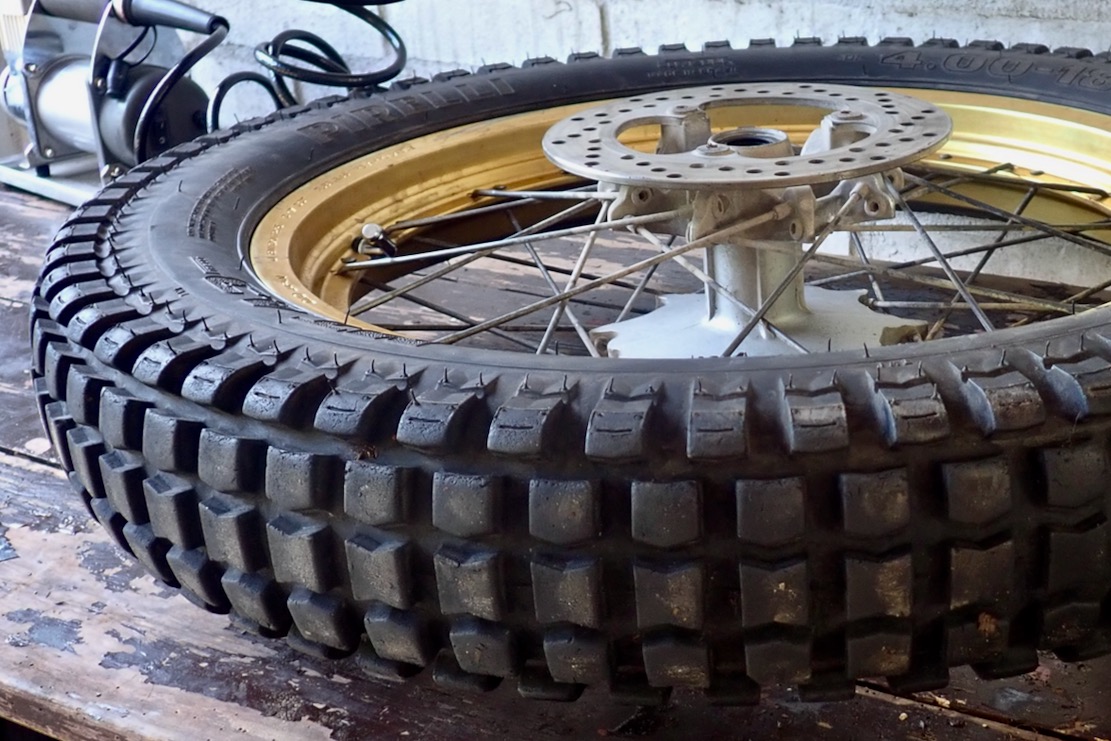
So I turned to the bicycle inner tube method which years ago worked on my Land Cruiser, fitting five tubeless tyres by hand in the back yard. Lay the wheel rim flat on a bench so the tyre is unsupported and the lower bead presses down onto the rim’s lower edge. When a moto wheel rests on its disc rotor or sprocket, this happens anyway. That should get the lower tyre bead to press or at least rest on the wheel rim, reducing air loss.
On the upper side, jam a soapy bicycle inner tube into that gap. I didn’t have an 18″ tube so I knotted a 29er, lubed it up, shoved it in and gave it some air. I tried for ages but this didn’t work either. I tried another compressor – same. It was the end of a hot day; perhaps the low air density was having an impact? I whacked in some CO2 cartridges I’ve had lying around for years. No change.

18-inch inner tube method

I emailed a pal who’s Mrs also runs a 250 Serow. He confirmed that for some reason, it’s near impossible with this rim/tyre combo, even with something called a beader mousse. Take it to a bike shop, he said.
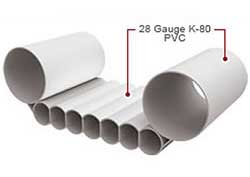
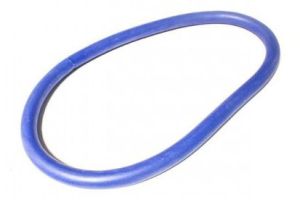
I’ve not heard of beaders. He linked to a Trials shop which sold them for 30 quid: basically an 18-inch neoprene ring, like a solid pushbike inner tube mousse and a bit like the pushbike inner tube trick. Maybe it’s needed with modern trials bikes which these days run 18-inch rear tubeless and like me, have mounting issues. Note in the video below how the well-lubed ring handily squeezes itself out as the tyre pressure builds up, even with a handpump. Iirc, with inner tubes you have to pull them out before they get jammed.

It cannot be that hard so next day I gave it another go, hoping some knack might have manifested overnight, as often happens. I tried rings on both sides with whatever I had lying around. No good. But this is what worked.
With the wheel flat on a bench and the tyre pressing down on the lower rim, as described above, where the upper tyre’s well-lubed bead was clearly off the rim, I lifted it out with a tyre lever then slowly levered it back down onto the rim. This either put it closer to the rim or right on it. No inner tubes, ratchets or mousse rings. With the tyre well lubed this simple move did the trick. Turning the pump on, in seconds the motor’s drone strained reassuringly as bead caught, and a few seconds later both beads popped in place. Now we know.

Pumped!!

Blocky trials tyres are actually pretty effective for technical UK trail riding, as opposed to the more obvious knobblies, though neither are great for setting IOM record laps and wear fast.

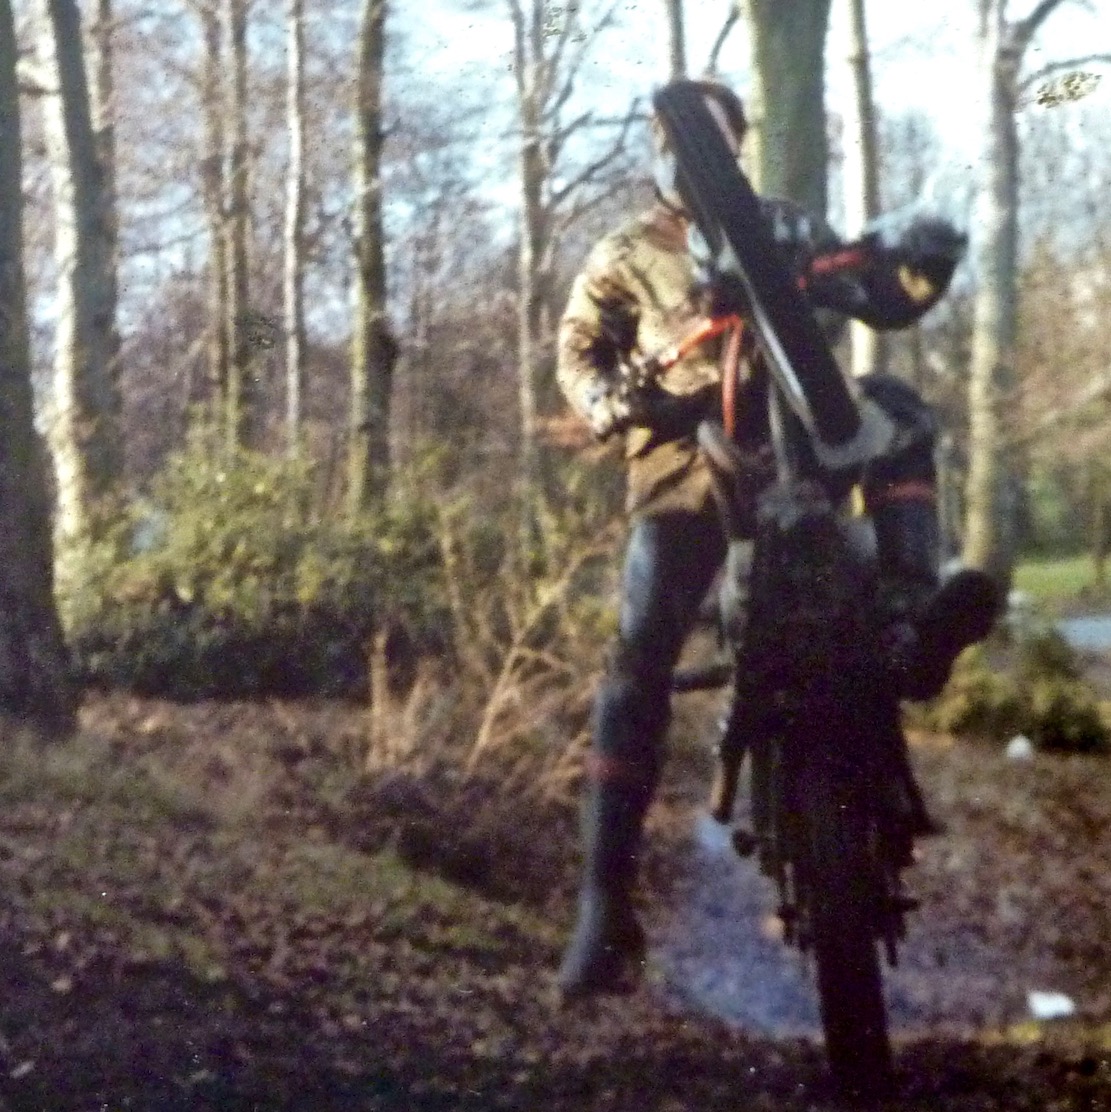
Like a 4×4 sand tyre, at very low pressures the thin sidewalls flex out to e l o n g a t e the tyre’s footprint, giving tank-track like traction. In the late 70s I remember doing a little enduro at Badgers Mount in Kent on my TS185 (above left and below). Against PEs, Bultacos and the like, I wasn’t a contender of course, but in the muddy woods at jogging speeds my trials-tyre shod TS had grip like no other tyre I’ve ever tried.

Quick look: Garmin Zumo XT

My well-used Montana 680 (above) is playing up more than usual. Like most of my Garmins it’s always been flakey, crashing, freezing, or dying outright (I’ve got through a couple). But now it’s routing illogically.
It happened in Morocco on the Himalayans in April, putting us in a right tangle trying to get out of Marrakech. I should have pre-visualised the exit route on a map the night before; as we know, second guessing a GPS’s routing is part of the game.
A quick Morocco map switch – such a great feature which set Montanas apart back in 2011 – fixed that. I assumed the OSM map had some flaw with main roads wrongly classified as mule tracks, flipping us up some diversion then coming back to the main road. Then the other day riding my new Serow back from Wiltshire via backroads, it was routing me all over and even onto tracks fluttering with red flags and low flying tank shells.

Cheapo Nuvi car satnav. Better than a Garmin handheld on the road.

Back home I reset the Montana, updated the software, installed the latest UK OSM, changed my underwear, moved/deleted maps off the internal storage and took out/put in the mini SD card. And I’m always disabling unused maps to free up whatever needs freeing up. This routing anomaly might have sorted itself out but even then, compared to a tablet or phone, the 4-inch Montana screen is small, murky and my eyes less good, made worse by using full dark visor these days.

Handheld Garmin dark, Nuvi (right) bright (2012, USA)

So once again I find myself looking for an as-functional alternative: a satnav that routes reliably when not in North Africa, but that switches maps and records tracks and waypoints with ease when out there, has an all-day battery for UK walks/MTB exploring (with the benchmark OS map), but doesn’t cost 700 quid like the Garmin 710i/Tread or a full DMD/Thork set up. I don’t need to listen to music, answer calls, run dash cams, talk to other riders, integrate Group Rides, receive fun road suggestions, log my lean angle and tyre pressures, or get traffic and weather notifications. These clever do-it-all-and-more app tablets are impressive like a phone, but right now I’ll just settle for nav.

Garmin Zumo XT

What they say
The rugged zūmo XT motorcycle sat nav is built for adventure. Its ultrabright 5.5-inch display is glove-friendly, rain-resistant and shows you the adventurous way — on and off the beaten path.

Zumo? Schmumo! £50 Nuvi + ZipLoc

Superseded late last year by the XT2 (from £530), the 2021 Zumo XT came out in 2021 and goes discounted to £304 at SportsBikeShop with 77% 5-star reviews on amazon. I intended to try and see if it would do the things I needed, then either keep it or send it back.
Way back, I was lairy of Zumos when I realised they were nothing more than a Nuvi car satnav in a rugged package with moto routing gimmicks and a jacked-up price. I’m sure the XT has moved on from that era, but being cheap myself, for around £50 used on ebay I took to using used Nuvis (now called Drive), as for plain road nav the map display is far superior to any Garmin handheld, while still keeping a Montana for recording trails. A Nuvi required a plastic bag for rain, but even then one drop off it’s flimsy car mount, drop of rain, or even just pocket dampness saw it off.

In the box
You get a lot with the Zumo XT: proper RAM ball mounts (nice), suction mounts with the old Garmin ball plus a cig plug lead for car use, long 12-v power cable and solid looking clip mount plus the charging/data cable. The unit is rated IPX7 which is rain resistant, with thick rubber caps to protect the miniSD and USB ports, though I read that rain drops can set off the sensitive touch screen. The XT2 has a way of disabling this. Likje a Montana, you can run an XT off the battery, via a USB cable or off the charging mount hard wired to the bike. This clip-off mount feels quite solid and may do for off road use, though generally clamping around the whole body (like Montana) is more secure.
The unit was dead out of the box so I plugged it into a power bank via its ancient USB mini A slot and started looking around. All very Nuvi like but a nicer lay out. There’s a lot of added crap on there too, but isn’t there with everything these days? Basic set up was dead easy (compared to a Montana after a reset). Then came the moment of truth: slotting in my Montana’s miniSD loaded with my .img custom maps.
Alert! Alert!: Maps are corrupt and cannot be used. Go to http://www.garmin.com/express to download [AKA: buy] the latest maps. Alert
I did manage to get one UK map to load, but not the more useful OS 50k mapping (I was told OS 50k wouldn’t work on an XT, even newer ones). And a Moroccan one appeared at some point, all before I learned to store the maps in a folder called ‘Maps’ on the mini SD card (not ‘Garmin’ folder as before).
So there was potential there but crucially, I could not see how to switch from one map to the other – so easily done on the Montana. Often in Morocco one of my maps will show more or better detail of what’s ahead. Switching between multiple maps is important. I suppose I could have ploughed on for a few more hours trying to unravel it all via the Zumo forum. But it reminded me of the bad of ~Garmin years of try to get custom maps to show up, plus I wasn’t convinced I’d not come up against some other game-ending anomaly.
So with no great surprise I declare the Zumo XT a great passive satnav. For 300 quid it’ll spare you mobile but does not answer my nav needs. Recording a track and saving a waypoint looked pretty easy, and the screen was a bright as. Unlike a like a Montana, it was getting pretty hot in the hand charging off the powerbank, but once separated, it did look like the battery had a few hours in it, unlike any Nuvi. You’d hope wifi import/export/updates will be seamless. – didn’t try but I hope it’s not like baffling camera wifi.
Right now I have a RAM cradle for the car’s Nuvi for UK road nav (below left), and will stick with the Montana whose routing might be magically fixed.

Next, I might sharpen the crampons and try to ascend the DMD2 learning curve using my 9″ Samsung tablet (above right) before considering something normal sized. I’ll even have a chance to try out my recently bodged velcro & RAM set up. Intended more for cars, it might do pootling about on the Serow to see if DMD2 with a rugged 6-inch tablet is worth the plunge.
I have not arrived at my destination.

Klim Traverse GTX jacket

See also:
Adventure Spec Linesman
Klim Overland
Aerostich Darien

Mosko Moto Surveyor
Mosko Basilisk
Klim Traverse 2
Adventure Spec Gravel Jacket (2025)

Tested: Klim Traverse GTX jacket XL

In a line: Smart lightweight Gore-Tex shell with unobtrusive armour.

Price: £350 from FC Moto.de + ~30% taxes

Weight: 1400g (verified)

Size tested: XL (me: 6″1’/95kg)

tik

• Just enough to do the job
• Looks smart
• GTX Performance ought to keep me dry
• Unobtrusive armour included
• Inner pocket quite big

cros

• For the money you could probably get something as good in the UK
• Inferior venting to previous version
• A bit too black irl – will get hot
• XL = ‘US XL’ so a bit baggy on me


What they say:
The redesigned [2020] Traverse is engineered to meet the demands of unpredictable weather conditions found in full seasons of dual-sport riding. Redesigned with a focus on increased comfort and reduced bulk, you get full weather protection with more durability than a regular rain jacket and less bulk than a fully built adventure jacket. The lightweight waterproof jacket will let you ride all season long with the confidence to conquer the weather.


Review
This is my second Traverse, after owning Klim’s original Overland which got revised to become the Traverse 2 in 2016.

Though I haven’t crashed fast for decades, and fall over at low speed once or twice a year, I never felt protected in my two recent Mosko Surveyors. I’m not sure the Surveyors’ thin, elastic fabric would abrade that well, compared to what we call Cordura. They were perhaps an over-reaction to baking in the chunky Mosko Basilisk, better suited to harder-crashing rallying or non-tropical overlanding. Of course on my 800g Surveyors I could have worn on-body armour or an armoured pullover, like Adv Spec’s Supershirt 2 (right), but who wants yet more clobber? And even then, it didn’t claim to be showerproof so needed something else.
What I really wanted was my old Traverse 2 back. I left it in a Spanish hotel to save weight on a ride to Mauritania that got nixed by Covid. Two years later I’m sure the Klim was long gone.
For what I do (mostly to and from Morocco in the cooler months), a minimalist, wear-all-day, hard rain/rare crash protective shell suits me, with room underneath for layers, when needed.

Your Traverve GTX comes in a ‘lightweight’ shell/body (200D?) with the black areas in tougher 500D – and all of it more robust than my Surveyor. The Gore-Tex Performance is I think one of the better levels. I find expensive membranes breathe properly while still being genuinely waterproof, where cheap membranes err towards waterproofness, and so soon get clammy. I expect the GTX to confidentially shrug off long downpours, at least for a couple of years.

Size wise, XL is a bit big on me; as we know US sizes are bigger than UK. The right fit would be best, but better too big than too small, and my Large T2 was on the tight side. XL will make room for my Mosko electric puffa.

For the first time I’m not drawn to removing bulky shoulder and elbow armour which is unobtrusive, D3O Level 1 LP1. The whole elbow/shoulder armour thing is over-rated: it won’t stop broken collar bones, but will of course lessen more common low sides onto your pointy joints. The four pieces of armour weigh 380g; once removed the GTX weights 1020g, a bit less than the T2 previous version.

Venting may work on a basic dirt bike where you might be better off with a full breathing mesh jacket. I’m usually on a light travel bike with a screen which minimises any venting benefits, unless standing up.Unlike the huge front and rear ports on the old Traverse 2, the T-GTX merely gets two-way armpit vents, but my new small-screened Serow home the other day, I did notice the vents airing when I sat right back to try and ease saddle aches.
I can already tell that on hot days, the black will generate more heat than the vents can purge, but online I liked the colour combo, so that’s what I have.

Pockets on the GTX are basic too: a couple at the hem, another outside on the chest, and all behind water-resistant zippers which will get clogged by dust until wiped down with a damp rag. Inside is a biggish zipped pocket that’ll easily take a passport, wallet and phone.

klimpox

I’ll miss a rear game pocket which, on the Mosko’s, I found it handy to stash stuff you don’t need frequently but always want with you. The Traverse’s mesh sleeve for the back protector could be put to similar use and I’ll probably get round to installing a big inner drop pocket, as I did on my Overland (left).

The jacket is good and long at the back and in the arms and adjustability to keep out draughts and cold adds up to cinch cords at the hem and on the lined collar, plus velcro cuffs.
More impressions of my Traverse GTX once I actually get to use it.

Pitching the InflataSeat™

The other evening I had a great idea while riding my MTB along a Purbeck ridge. My Merida hardtail bike (left) has a dropper seatpost: thumb a lever and the saddle drops 6 inches under your weight; press again with your weight off and the post springs back up to full height for efficient pedalling effort. Far from another MTB gimmick, I use it all the time when approaching a gate, on steep downhills or even just getting on/off or stopping to look at the map. I think motos could use a similar feature when off road: there are times you want it high and times you want it low, with no faffing in between.
Automatic ride height adjustment as found on some H-Ds and BMW 13GSs is not the same thing. Nor is static saddle height adjustment by repositioning the seat base on its mounts; the sort of thing you usually do once. The main reason I never got the otherwise great XT700 back in 2019, was the seat was too high for what I like to do.

Do all-terrain motos really need dynamic seat height adjustment? Well, until MTB droppers came on the scene, I’d have said ‘no’ and managed by manually dropping saddle for rough descents. On a moto, a high saddle – or more precisely a long peg-to-saddle distance – reduces the effort of standing up and is why competition bikes have yard-high saddles: dirt racers are on the pegs most of the time.
Those bikes are of course feather light and easy to manage in the rough. Bring a similar saddle height to a 230-kilo loaded travel bike, like the Desert X Rally I rode with (below), and tackling rough stages requires skill and commitment, assisted by plush suspension and good armour. I can tock off all four, but I do find some low saddles (above: Him 450) a bit hard on the knees, even if I can reassuringly get my feet down.

Desert X. Touchdown? No chance

My brilliant idea uses an inflatable chamber integrated in the bike’s seat foam, tech I know from inflatable kayaks. IKs attempt to mimic the hydrodynamic form of a hardshell kayak and a few years ago drop stitch panels from paddle boards were adapted to make boxy, ‘3-plank’ IKs (below right).

Drop stitch (DS) panels hold much higher pressures than tubes (15psi+ vs 3psi on I-beams) while retaining the flat panel shape. The result is hardshell-like rigidity with the transport and storage convenience of a roll-up kayak. Decades ago, Goodyear even developed a drop stitch airplane for the US military.

For this moto seat application, it’s not about rock-hard rigidity, but being able to increase saddle height by 2-3 inches while retaining a normal looking moto seat. The bladder could be integrated in the seat vinyl which would need stretchy sides or some other idea so as not to look crumpled when set low and not to wobble about like some non DS air seat pads.
Sadly, my pitch stumbles when it comes to inflating and deflating this chamber at the flick of a switch. Exhaust gas being too hot, some sort of separate on-board compressor would be needed which adds weight, cost and complication. And you’d want a fast purge valve because when you want less height, you probably want it fast.

PS: I have to admit Dave K’s comment suggesting a scissored lever with similar click/release mechanisms to a pushbike dropper is much better. On the jack pictured below, the base is the bike’s subframe rails and the top is the seat base. The seat is raised by spring/s under compression to engage a lock-out to stay up. A thumb lever cable (a bit like the old compression release lever on an XT500) disengages the upper lock and, aided by body weight, the seat drops to lock in the lower position. Thumb the lever again and it springs up, but ideally with a bit less force than 007’s DB5 (right).
Issues I foresee include retaining a secure seat when raised. You don’t want it wobbling about laterally when bashing about off road which may mean hefty beams. Alongside that, the inelegant gap in the raised position could be designed around.

Quick look: Adventure Spec Gravel Jacket

See also:
Adventure Spec Linesman
Klim Overland
Aerostich Falstaff (waxed cotton)
Aerostich Darien

Mosko Moto Surveyor
Mosko Basilisk
Klim Traverse 2
Klim Traverse GTX (soon)

Quick look: Adventure Spec Gravel Jacket

In a line: Well featured, fully armoured, all-season shell for cooler or faster rides

Price: £549

Size and Weight: XL; 2520g or 1440g without armour (verified)

What they say:
The Gravel Jacket is a CE AA certified, highly durable, lightweight, waterproof, breathable adventure touring jacket. It combines everything Adventure Spec has learned about extreme off road and trail riding into the lightest adventure touring package. The Gravel Jacket is designed to be partnered with the Gravel Pant. It is constructed from a three-layer waterproof fabric that features a blend of Cordura Nylon 6-6 for high abrasion resistance, and PU film for extreme water resistance and breathability. Additional protective panels and removable level 2 armour protects back, shoulder and elbow impact zones. The Gravel Jacket and Pant is designed to keep you comfortable and safe while adventure riding on road, gravel and trails.

I had a close look for review purposes, took some photos, then returned it.

Front one-way zip is double storm flapped with an added ‘gutter’ fold on the inner flap to slow down water ingress

Quick Look
Adv Spec’s Gravel Jacket came out in late 2024 with matching Gravel pants. Up till now most of AS’s apparel has been gear for more active enduro or trail bike riders who value minimal clobber and may be layering up and down throughout the day. At £549 The Gravel is their top of the range CE AA, all-season jacket pitched at touring riders on bigger Adv bikes which are suited to long road miles and easy gravel trails. Using non-proprietary armour and PU membrane help keep the price down, while ticking many other boxes.

The wicking lining is bonded to the shell fabric, not a separate, loose mesh, which shows taped seams sealing the stitched panels. Ringed: a slot in the back pocket for a hydrator hose.

Out of the box the Gravel feels hefty with all the armour in place, and once on, the fabric is pretty chunky and stiff too – at least while new and compared to what I’ve been wearing lately. (Fyi: I am 6ft 1in/186cm, 210lbs/95kg.)

The 500D, grey nylon body fabric is an abrasion resistant, 3-layer bonded laminate, sandwiching a no-name membrane. That’s the best way to do it, compared separate zip-in liners found on cheaper gear which I like to think have had their day. Oddly, the contrasting woven, 240D kevlar reinforced polyester abrasion panels are also 3-layer. You’d think any simple, tough abrasion-resisting patch would do, and in fact according to the AS table, this 240D is less abrasion resistant than the plain old 500D shell fabric (which is how Aerostitch do their impact-area patches), but helps add a textured look to the jacket. This additional layering will improve water resistance but reduce breathability. It also means these impact-prone areas get no less than seven layers of protection if you include the armour pads underneath. You’re elbows, back and and shoulders will be well protected from impacts.

80-minute, feature-length video? Hard to think the salient facts could not also be packed into a snappy, Mosko-style <5 minute version.

Size wise, new and stiff out of the box the XL Gravel initially felt a bit tight on me. But once the back protector was removed it felt much more comfortable, even wearing my Mosko electric puffa over a denim shirt – a typical riding set up for cooler temps. Sleeves are long, so is the back while the front is short. More dims below.

Adjustability includes two cinch pull tabs along the hem sides – it took a close look to work out how to operate them – plus velcro cuffs and another cinch at the back of the neoprene-edged, unlined collar.

Dave K on the gravel

Armour
Underneath and inside, five pieces of A-Spec-branded armour sit in pockets velcro’d to the shell’s interior. I wonder if an included back protector is mandatory to secure a CE AA rating. While good insurance for high-speed crashes, as said, I found the Gravel much more comfortable without the back plate (as I do with most jackets). On the scales this back pad weighed 565g, or over 20% of the jacket’s overall weight.

An elastic waist strap is sewn to the nylon sleeve housing the back pad (above left; below). They call it a ‘kidney belt’ but that’s something else: a stiff girdle-like band which MX racers use to support the lumbar region and keep their organs in place. All this stretchy band does is pull in the base of the back protector which may help keep out draughts. That could be even more effective with a couple of belt loops on the sides of the inner shell to pull everything in. When not used, the belt dangles down, or you can tuck it out of the way behind the back armour (below right). You’ll also notice a half-zip to join up to Gravel pants for the same draught eliminating effect.

On the arms, the two pairs of shoulder and elbow armour came in at 514g. I’d be happy to leave those in place, but by comparison the more pliable and slimmer D3O on my new Klim weigh 380g and could be easily swapped into the Gravel’s armour sleeves.

The whole elbow/shoulder armour thing must be another CE requirement, but it won’t stop over-the-bars broken collar bones. Some jackets I’ve had included a bicep cinch strap to pull in baggy arms out of the mirror line, while also keeping otherwise loose elbow armour in place. If you’re serious about armour, remove everything from the Gravel to save over a kilo, and wear something like A-Spec’s padded SuperShirt. It’s yet more clobber, but will probably be way more comfortable and effective.

Short, mesh-backed arm vents

Venting air flow looks a bit constricted on the Gravel, but then I’ve not actually tried it. On the forearms you have a couple of short, mesh-backed zip vents (above) which it’s hard to see being very effective. There’s another set on the upper sides of the chest with exhaust vents on the shoulder behind (below left and right).

Apertures are on the small side and will be better than nothing, but as on other jackets, the trend for mesh backing means they can’t open fully to get a flow on. For more venting you might as easily open out the cuffs and unzip the one-way front zip, then do some of the poppers back up. Or, do as Dave did in the Comments, and cut open the mesh to maximise the flow.

Pockets add up to a couple at the hem (below left), and another pair outside on the chest but behind the poppered storm flap (below right) which means you don’t need to open the main zip to access them. Water-resistant zippers up here mean that a passport, wallet and phone ought to be well protected from downpours, but condensation in a pocket may add humidity.

On the back is a huge ‘game pocket’ with studs over another water resistant zip. I find pockets like this a handy place to stash essential but rarely needed items which you never want to be parted from. It’s a long time since I’ve been as supple as Olga Korbut, but I was able to open both poppers and slide the zip while wearing the jacket. They don’t mention it, but inside the game pocket is a buttonhole slot to feed out a long hydrator hose. It would have to come out around the neck – close enough to your mouth – but means you can dispense with wearing a hydrator daypack, another clobber ‘win’!

For comparison I tried on my new Klim Traverse GTX (to be reviewed). It felt flimsy by comparison – or you could say it felt a whole lot lighter and less clobber-like, while still being Gore-Tex waterproof and armoured at the arms.

As I found with Mosko’s similar Basilisk, the Gravel Jacket would be too heavy for the sort of easy trail biking I do in Morocco. Road touring on a big Adv you’ve already surrendered off-road agility for all-conquering road manners, and something like the Gravel Jacket, or even the full outfit, will add to your feeling of invulnerability.
Thanks to Adventure Spec for sending out the Gravel for a quick look.