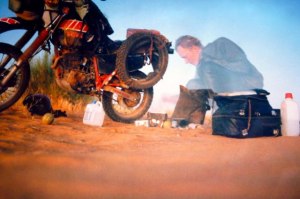
Not since my ’84 Yamaha XT600Z Tenere (left) have I had a bike that needs so little doing to make it ready to travel all roads. Last year’s 300L swallowed a couple a grand. But just like last year, it’s been been waiting and waiting then doing all the prep days before departure.
Stock or aftermarket, there’s nothing much in the UK last time I looked. You have to order direct from China where it all comes from anyway and where it’s cheaper.
I’ve never used Ali Express, the Chinese eBay, fearing getting lumbered with shoddy items 4 months late. Some bits arrived within a week, two inexpensive items didn’t and one item was misaligned, which is what you’d expect. Uncle Wang’s is a one-stop shop with a good range of MT bits. But both times they took two weeks to even despatch the order – it’s not they have to source it from China, is it! First order arrived a week later but with wrong of missing parts. On and on it went but in the end they did right my me and replaced faulty or missing parts.
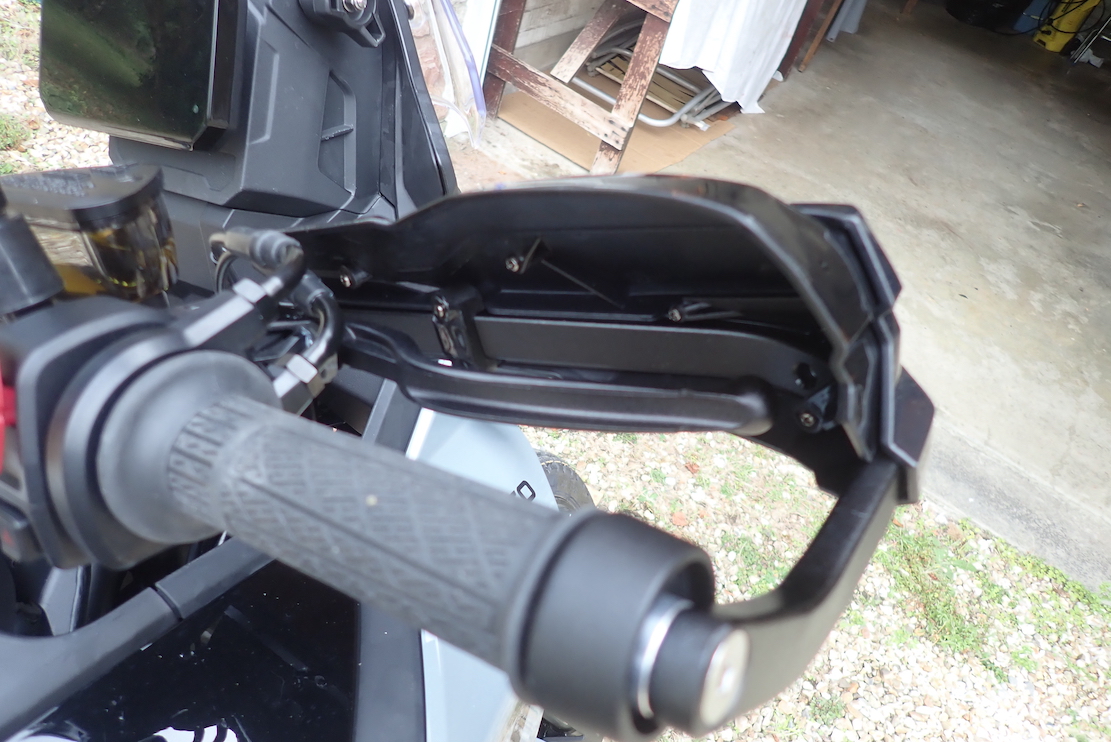
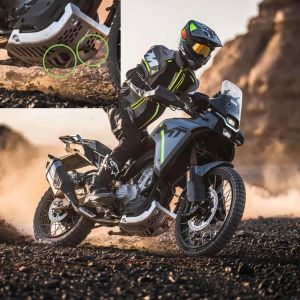
Like the hand guards, the stock, 2-mil alloy bash plate isn’t up to much. Look closely left at official CFM promo imagery. The MAD TV video review mangled their plate after just one day and merely trying to get mine onto a bike stand dented it.
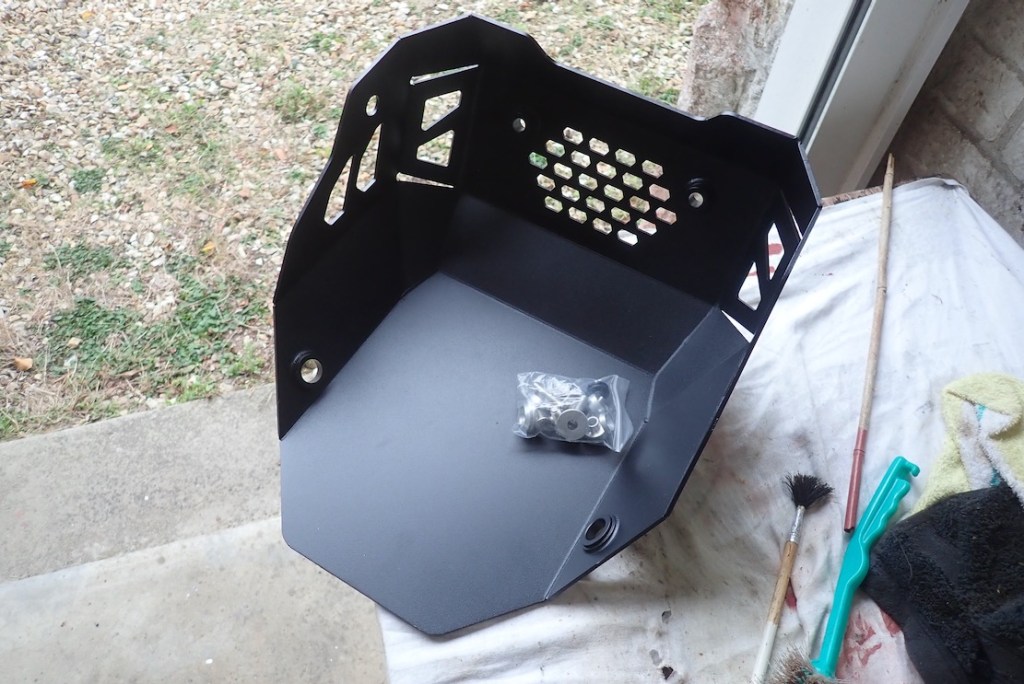
A bodge which I see others have done was simply riveting on a 3mm plate of ally on the flat base. Instead, I ordered one for about 110 quid but should’ve looked more carefully. It’s actually only 3mm thick, though with fewer vents so should be stronger, adding a kilo over than stock (1700g). It may need a flat base plate after all.
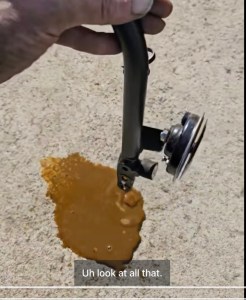
Fitting the sump guard wasn’t as seamless as the hand guards, possibly because I’d just removed the RHS engine subframe rail to check for water retention as reported by some owners (right – LHS).
No rusty water poured out of my rail and though I’ve not ridden in heavy rain, it’s hard to think a tiny hole where a cable tie plugs in was the point of ingress. Either way, I gave the tubes a shot of ACF-50, taped up the holes, and used regular cable ties instead.
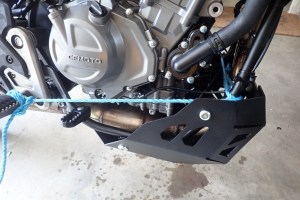
Fitting the new bashplate at 6 points, the two subframe rails were now too far apart for the bolts to line up. I pulled them together by twisting some blue rope but still ended up with 2 spacers left over.
At the same time I got some one-inch risers for the fat bars. I probably could’ve managed by turning the bars forward to get a similar lift, then realigning the levers. And I may do that too as the risers are not quite enough to eliminate stoop (me: 6′ 1′). About 15 quid.
I’m hoping the stock wide pegs will enable foot ache-free standing in my TCX boots. I’ve been wanting to try are some Pivot Peg copies which Wang sent, but decided against fitting them. I realised the stock pegs are as wide and come with rubber.
Load Carrying
The MT is heavier than what I’ve been used to lately, so I’ve been keen to get the baggage down on the sides as low and as forward as possible. This doesn’t actually make the bike lighter but it’s less weight high up which helps dodge embarrassing low-speed fall-overs.
The bike has an integrated grab rail/rear rack that can be removed in one piece to probably save >2kg. But I actually like easy to grab hand rails and want to avoid extra scaffolding while positioning some baggage on the sides.

But I bet it’s a pipe melter without added cladding.
For 40 quid I bought a RhinoWalk pannier harness (left), as I’ve long wanted to try this ‘soft rack’ idea which I think Kriega invented. But with no side panels like the CRF, the MT isn’t suited to them without adding a rear support stick from peg to rear rack to stop it swinging into the chain guard.
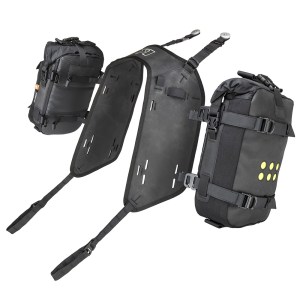
Kriega sent me their similar new Universal Base set up. It’s like the Rhino harness and similar to what’s left but I think with more horizontal sides plus 3 bags including a nifty zippered tail pack ‘softop box’. But I couldn’t find a way to make the prototype fit well without ditching my grab handles (and so, the rear rack) so back it went.

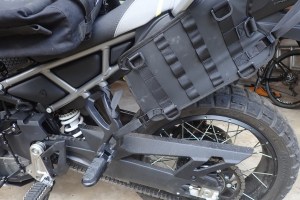
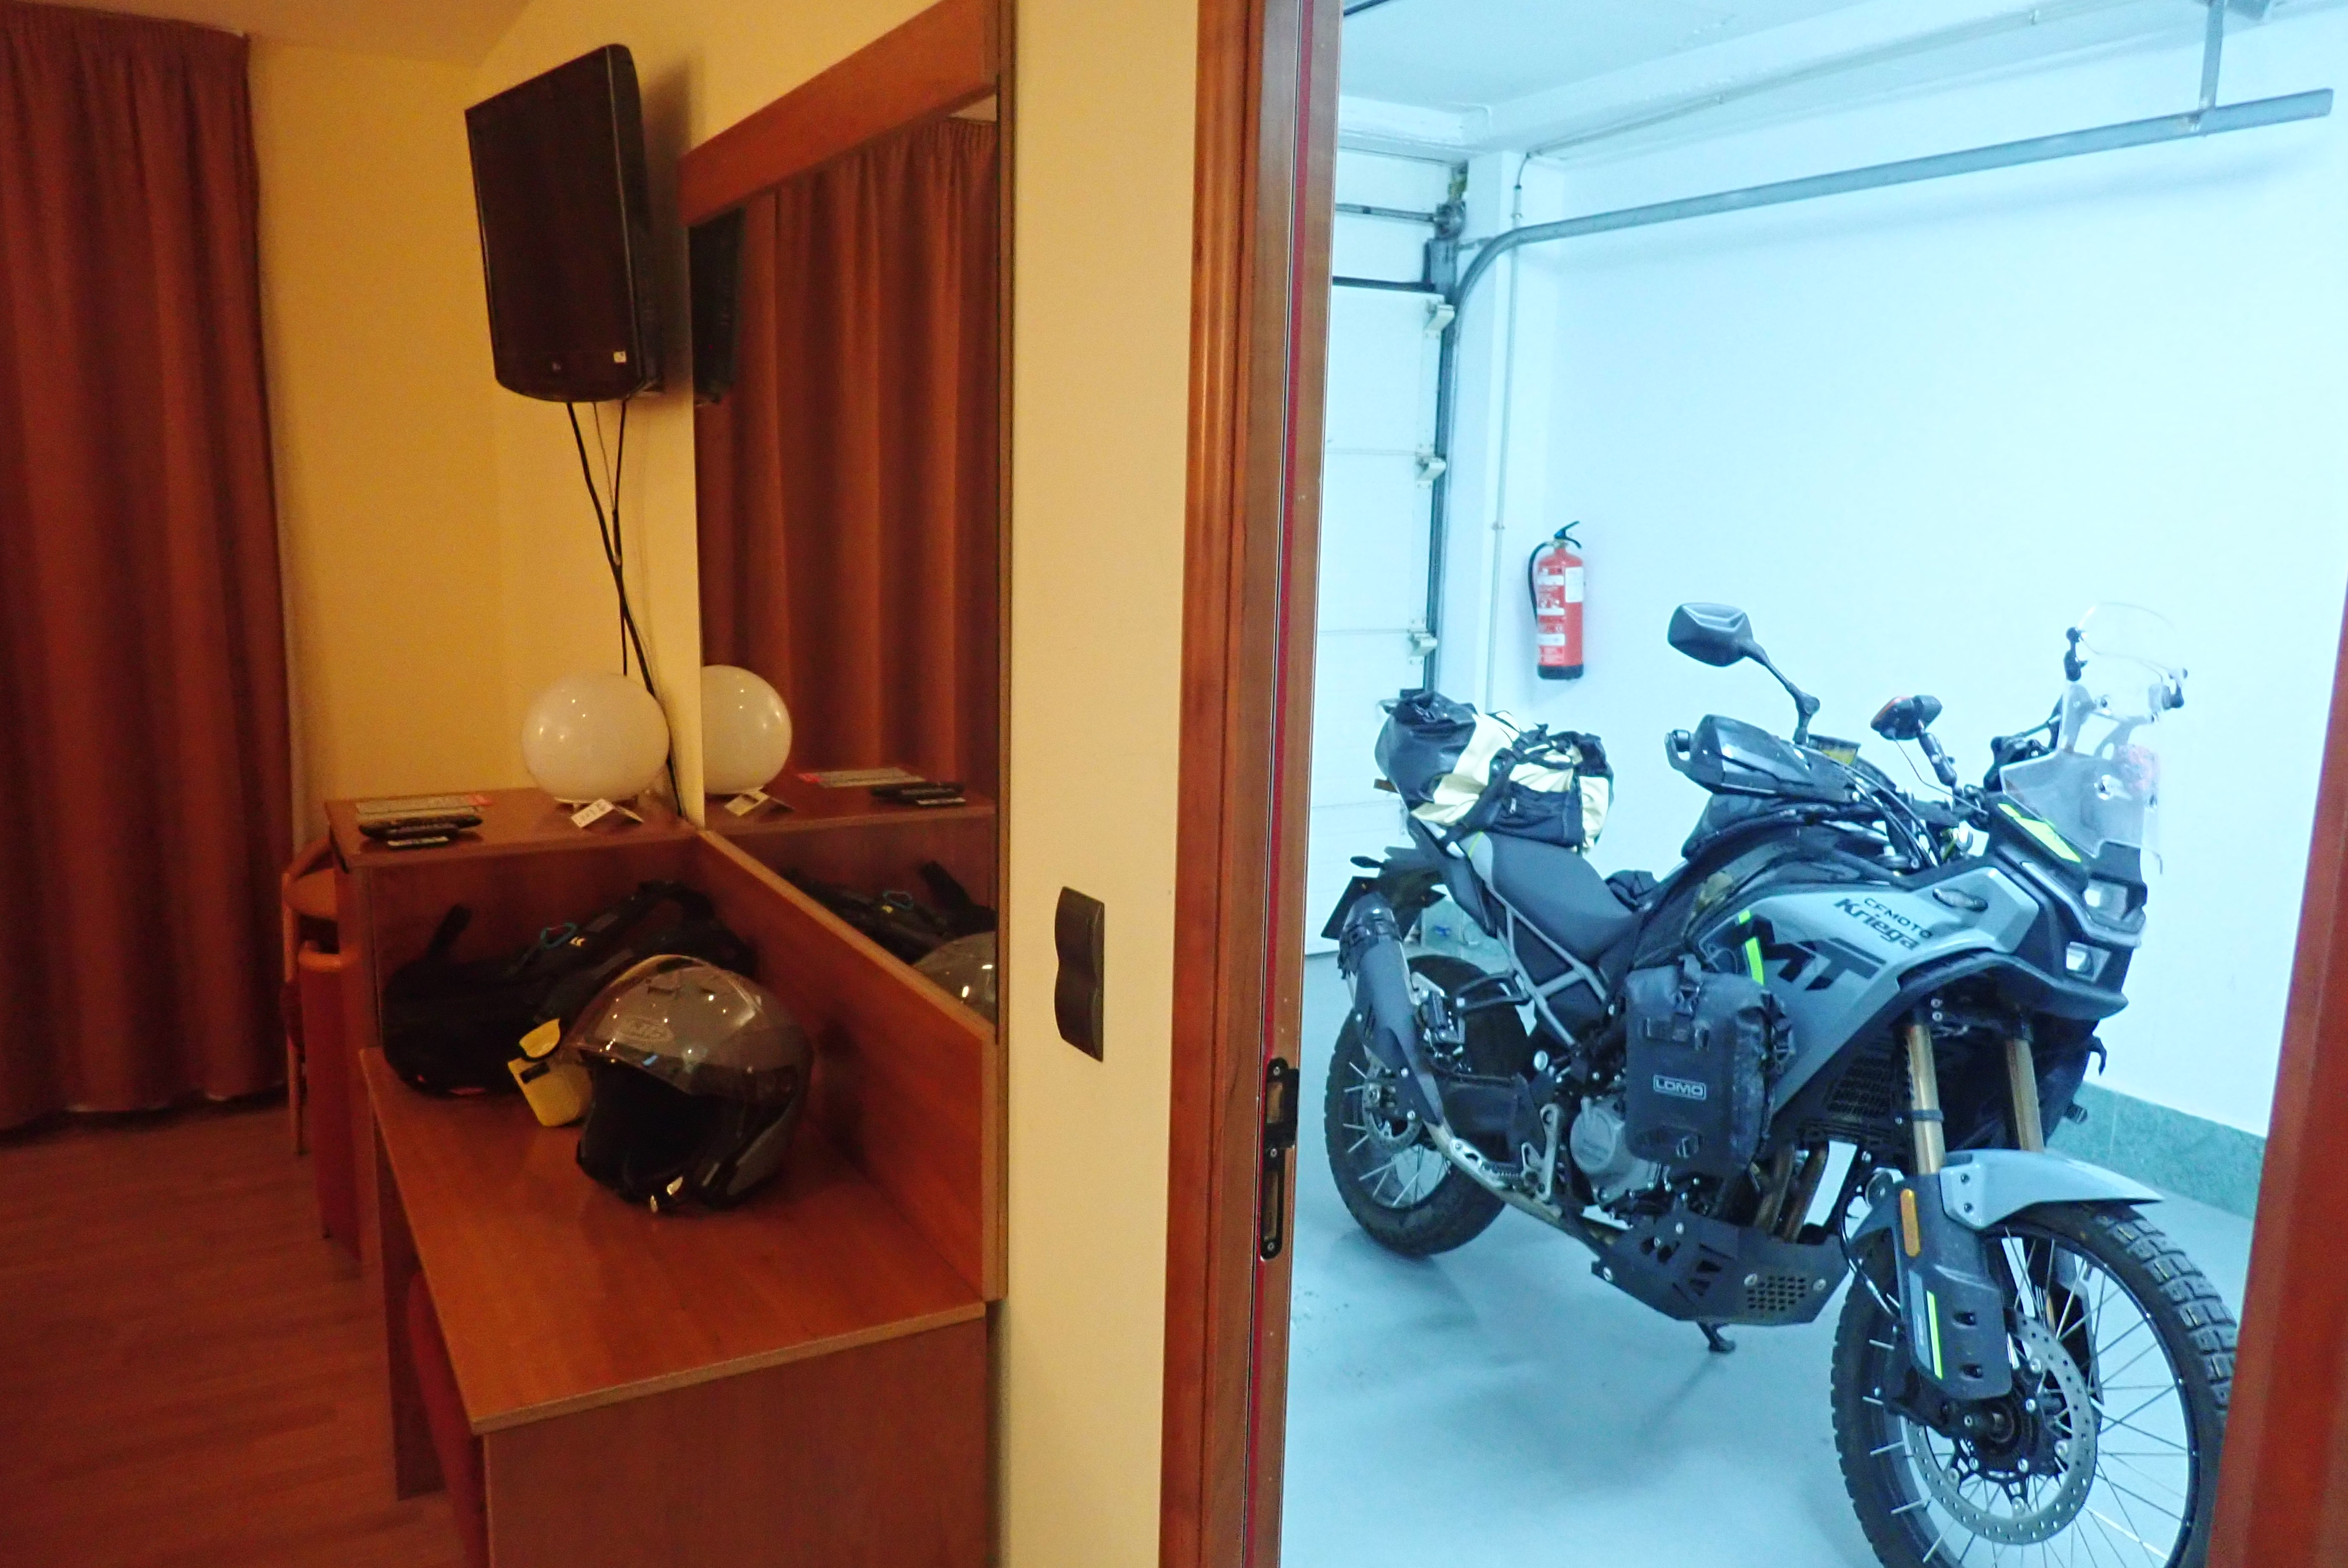
In the end I was able to tuck an old Kriega OS18 nicely on the LHS, resting on and lashed to the pillion peg (the old OSs have a strap here). I zip-tied the upper bag to rear subframe/grab rail; there are loads of tabs on an OS. This is such a clever revision of the rackless idea I’ve given it it’s own post!
The rest goes either side of the tank on some old Lomos to further help protect the bulky tank side plastic from falls. With a daypack on my back for can’t-lose valuables, my ancient Touratech a tail pack which has seen more of North Africa than I have, and old Ortlieb Travel Zip tail pack, I have space to spare or stash my Aero AD-1 overtrousers and cag with weight as low and forward as possible.
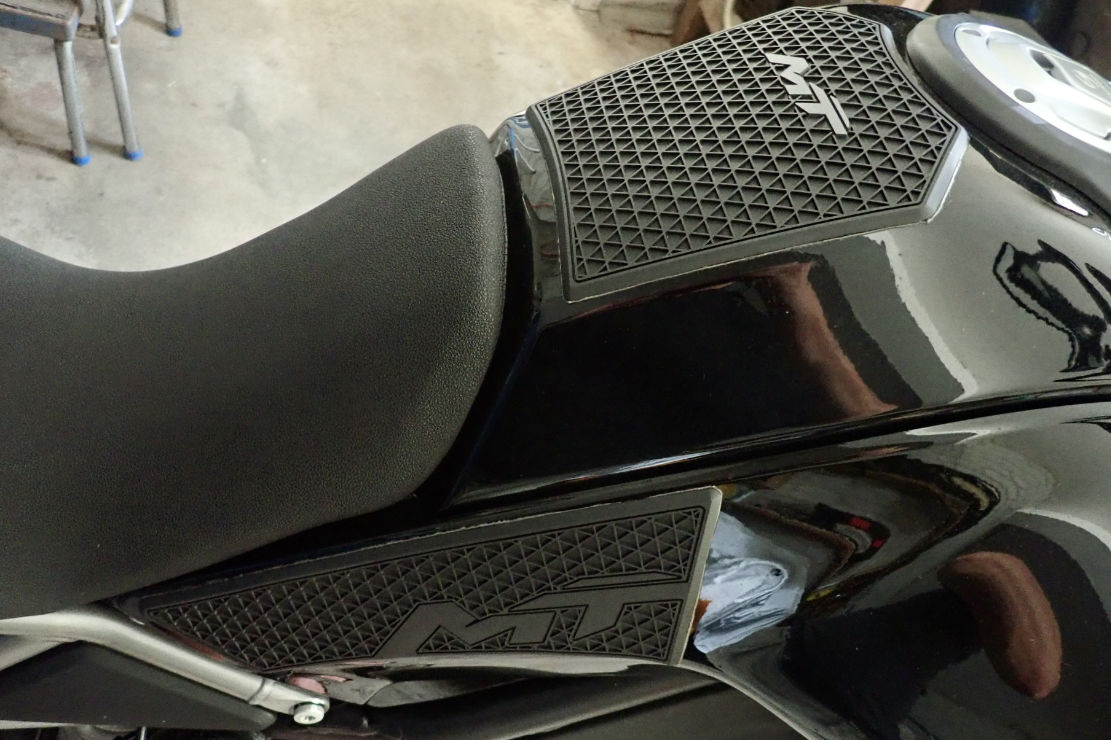
I’m a fan now of radiator/tank guards which double up as small bag holders. The bag softens any impact, is handy to spread the load and I had some old Lomos anyway.
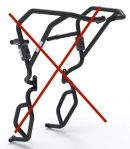
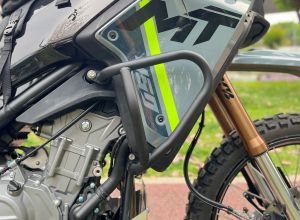
The Wang rack left weighs a hefty 1.1kg per side as it only has two mounts, but is chunky enough to take the blows without weighing like last year’s Outback Motorek bars or looking like the thing on the right.
The LHS guard fitted spot on. Nice when that happens. RHS was 5mm out and worse still, to open up the misaligned mount I cut a slot in the wrong place. Pillock! So it now sits on 1.5 bolts but will handle light fall overs which is mostly what I do, if ever. About 110 quid. Don’t buy them.
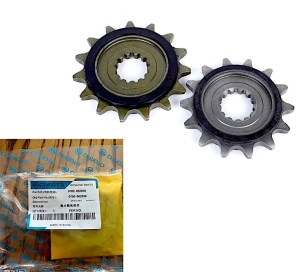
I ordered a 15T front sprocket for the long ride down across Spain and northern Morocco. They say the easily bought JT copy is a loose fit. Don’t want that so I ordered an OEM from Wang for about 12 quid.
But with the ferryman calling, I was annoyed to find the big 32mm output shaft nut was barely 5mm deep and done up to buggery. Reminds me of the similar X-Country rear axle nut; a dumb place to ‘save weight’. You have to put a broom through the back wheel to stop it turning as you try to undo the sprocket, but I still didn’t have the strength to undo it without risking rounding the nut. It might need an airgun or a socket with grooves right to the edge.
As it is I’d need to swap back to 14T for Moroccan trails, so it’s one less job to do when I get there. I’ll fit it when I change the chain but after a few 100km on the Spanish high plains, I don’t find the MT undergeared as some say. For all-road go 15T; for road and trail which the MT was made for, leave it as it is.
I contacted the dealer to see if there was a remap for the on-off throttle response at very small openings – a common efi flaw. But no reply from them – same as with the missing shock C-spanner which I ended up getting from China for 3 quid. The Aussie vid below suggests it’s possible to do a DIY the remap using the CFM Ride mobile app with great results. I’ve only just watched it. Assuming my UK bike is included in the update (read this – it seems not a couple of months ago), it’s good to know it can be done. Got the app and may get round to trying it.
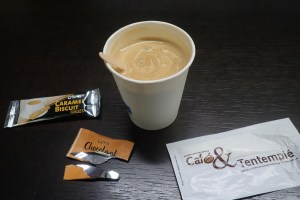
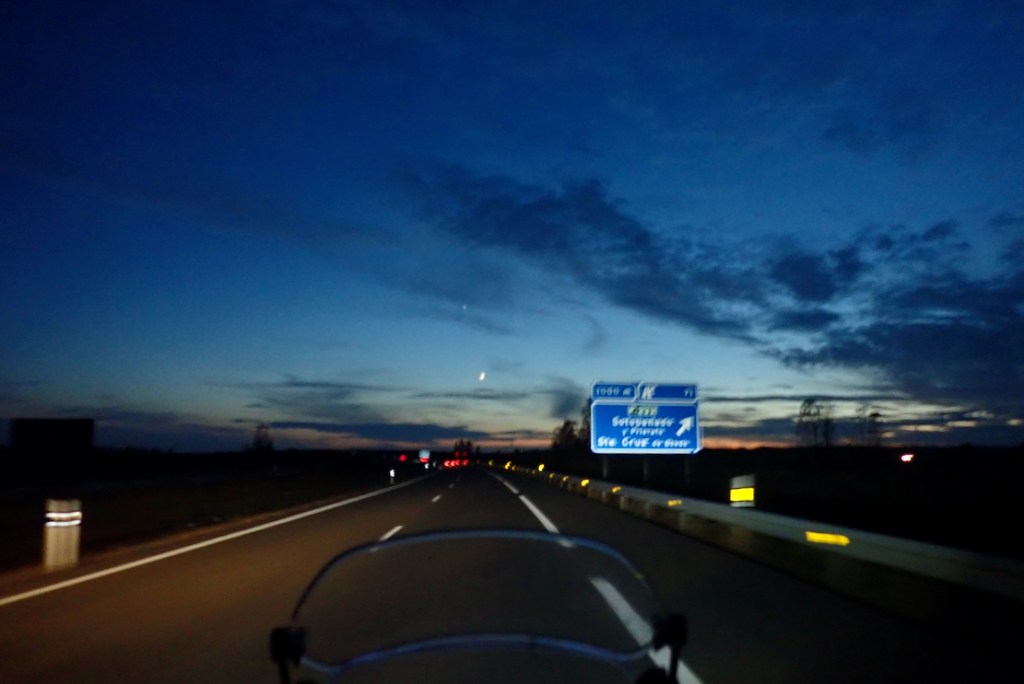
That’s it for now. Halfway across Spain and the CF bike is humming along under 110. A decent garage coffee costs £1.40 with a chocolate, a biscuit, a spoon and a wet wipe. Lodging €50 a shot. Supermarkets are like a munchy hallucination. What a great country! Still getting fit for long rides and got a big 600km day day tomorrow. May need my padded shorts.

it would be interesting to hear your thoughts comparing this to the 300L
LikeLike
Well the 300L was clearly better once there (on the piste) and the 450 better for getting there (on the road).
I would happy tackle trails on the 300 I’d prefer not to on the 450.
And I’d also much sooner ride back on the 450.
All the 300 has going for it is lightness and 20& better economy. But those are both big factors for what I do, once I get there.
LikeLike
Hi Chris,
I read your post about the CFMoto 450MT, and I found it really useful! I’m particularly interested in how you mounted the side bags because I’m considering setting up a similar system.
Could you explain a bit more about how you secured them?
If it’s not too much trouble, would you be able to share a few pictures to show how you set it up? It would be a huge help for me as I plan my own setup.
Thanks in advance, and I wish you safe travels!
Best regards,
Tommas
LikeLike
Hi Tommas, I just used strong reusable zip ties and tabs on the bag to attached it to the frame and the footrest below.
See: https://adventure-motorcycling.com/2024/11/07/rackless-baggage-the-mis-ing-link/
LikeLike
Hi Chris, finally some news, thanks! A week ago I’ve been able to ride the 450MT for about an hour, even some semi-muddy offroad. The on/off throttle reaction was disgusting! Even onroad in 4th gear, at 4000rpm the bike really jumps when opening the throttle. When riding offroad I had to slip the clutch most of the time because the revs where jumping up and down while riding on bumpy lanes!!! Really awful. Never again!
Paul
LikeLike
Sounds terrible. Good thing you tried ;-) Mine’s not so bad and good to know it’s supposedly an easy remap.
LikeLike
Today the dealer said other test riders complained about the same issue. So they have reprogrammed that MT. It should be a lot better now. I’ll have to test it again, lol. But at the moment I like the 450 Himalayan a lot more. It’s more docile and has less plastic. But most important to me is that it feels like it has carbs. The fueling really feels analogue to me. Big contrast with the MT.
Paul
LikeLike
Yes I think I’d prefer a 450 Him for what I do, but people say it’s a bit flat and for me the MT was a more interesting project bike and 5-600 quid cheaper in tubeless. May get a Him next. The MT feels too big on the trail alongside a Him, and the RE is a lot less juicy. Never got to try one.
LikeLike