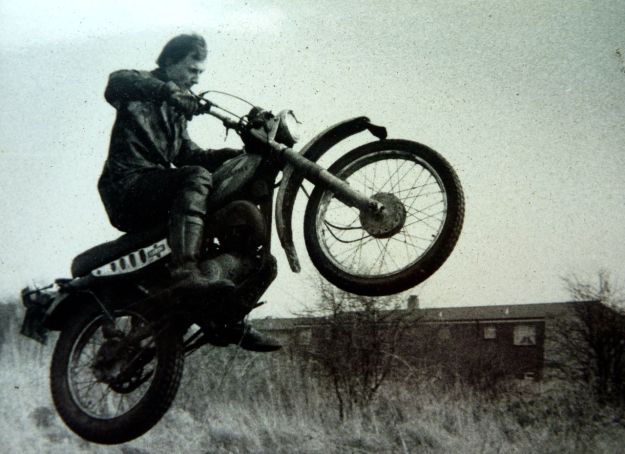
Garmin’s dominance in satnavs has surely peaked now that offline nav is yet another task we can do on our phones. I’ve been moaning about my flakey Garmin Montana 680 for years: screen too small and murky, occasional freezing, slow loading, and newer Garmins way too pricey for what they are. But along with travel biking, the rugged Montana remains usable for green laning, walks, MTBing and even paddling, while shrugging off the shaking, occasional dropping and salt water. It won’t overheat in the sun and batteries last all day, but trying an app on an inexpensive device I already own and use is a low risk experiment.
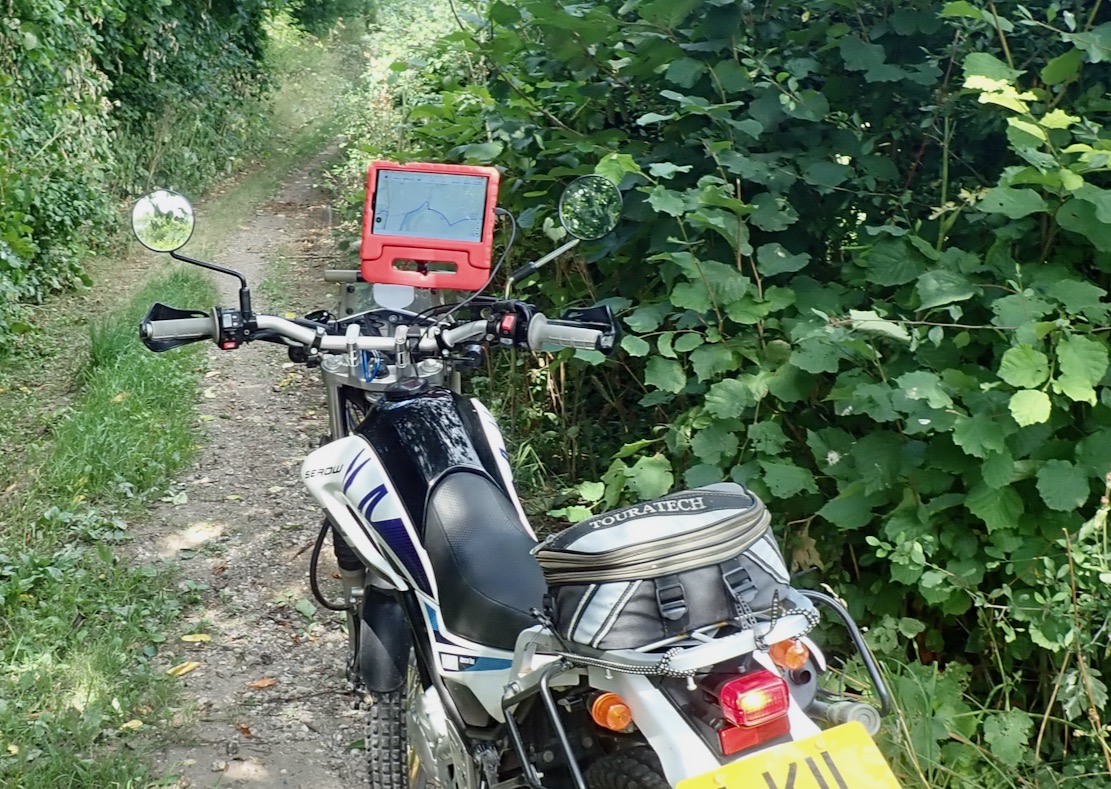
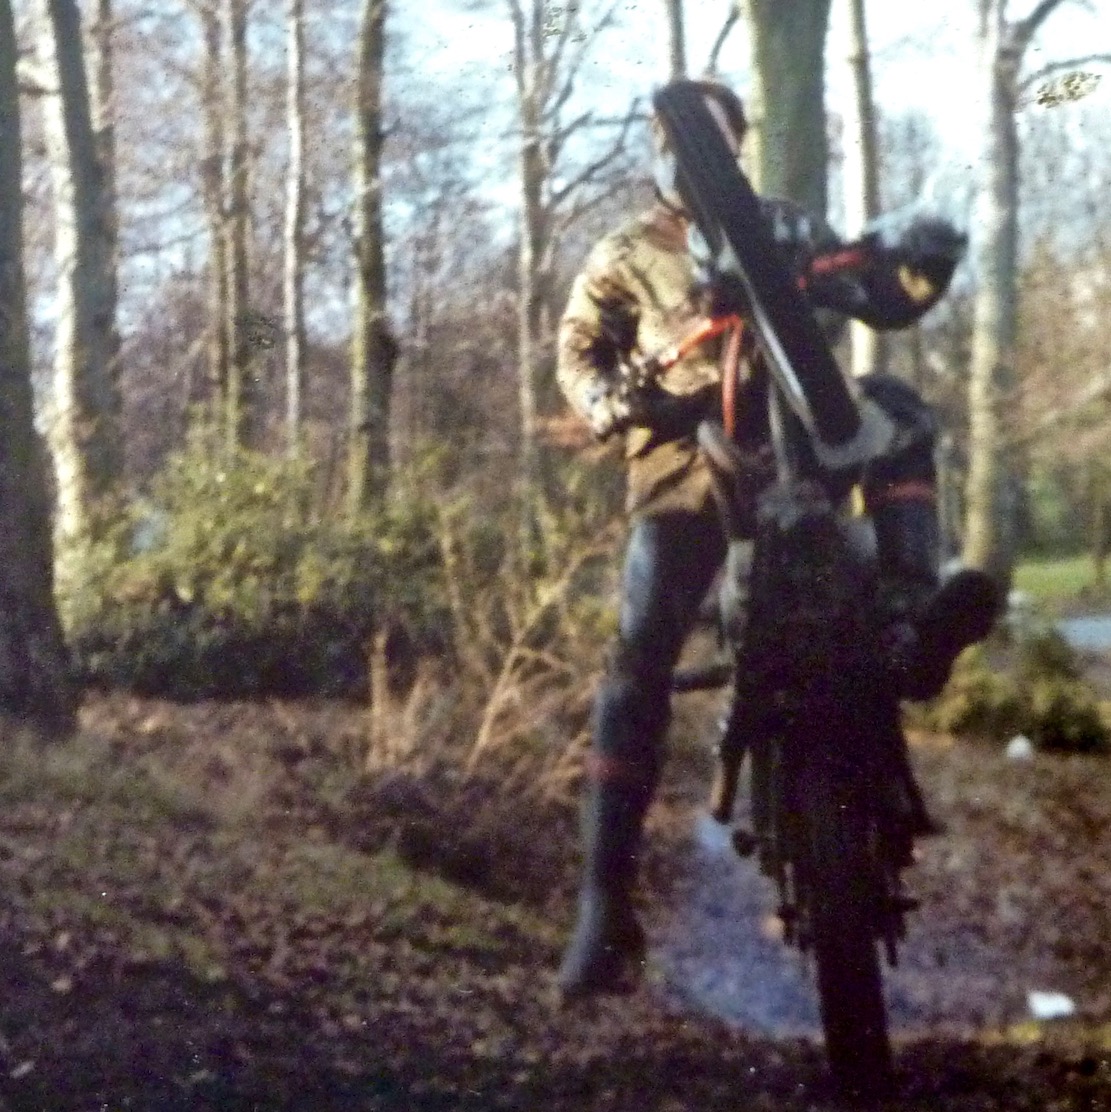
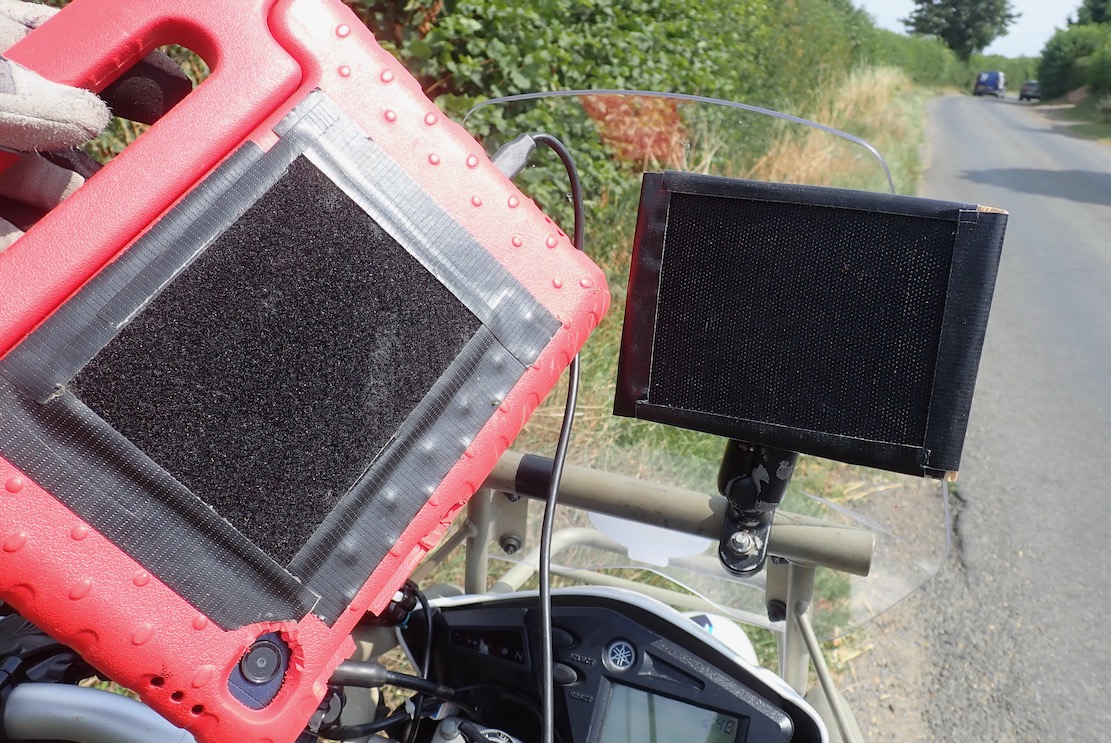
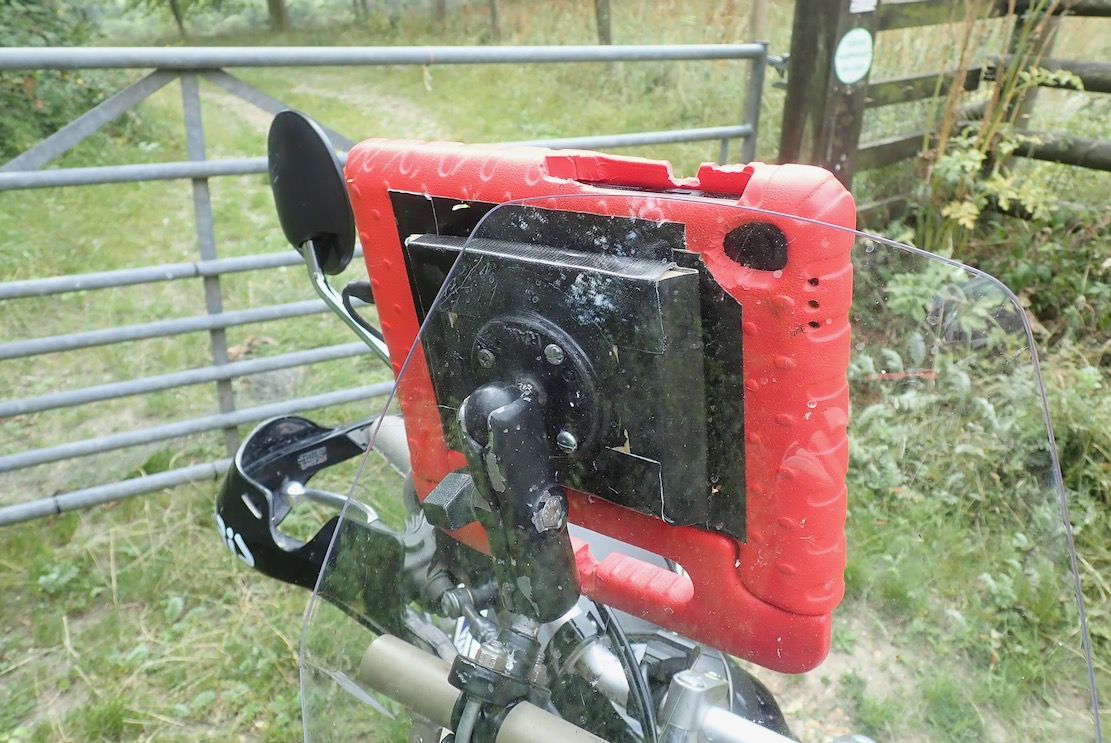
Recently I bodged a way of attaching my £85 Samsung A9 tablet in its child-proof case to RAM handlebar hardware using velcro, plywood and sticky-backed plastic. The A9 has loads of screen space – a bit too much, even; a 7-incher would do. A trail ride round the local lanes on the Serow and MTB proved my fittings held up, though weather and time might see to all that.
That done gave me a chance to try GaiaGPS (~£60 a year) which I know a little from Morocco, plus Ordnance Survey (£35) and DMD2 (£19) which I don’t.
This isn’t really a like-for-like comparison. The OS is pitched at non-vehicular, UK-only recreation, GaiaGPS and DMD2 maps cover the world; the former again more for hikers but with overlandy adds-ons, the latter is made by and for motards. But you can use switch from app to app on your device.
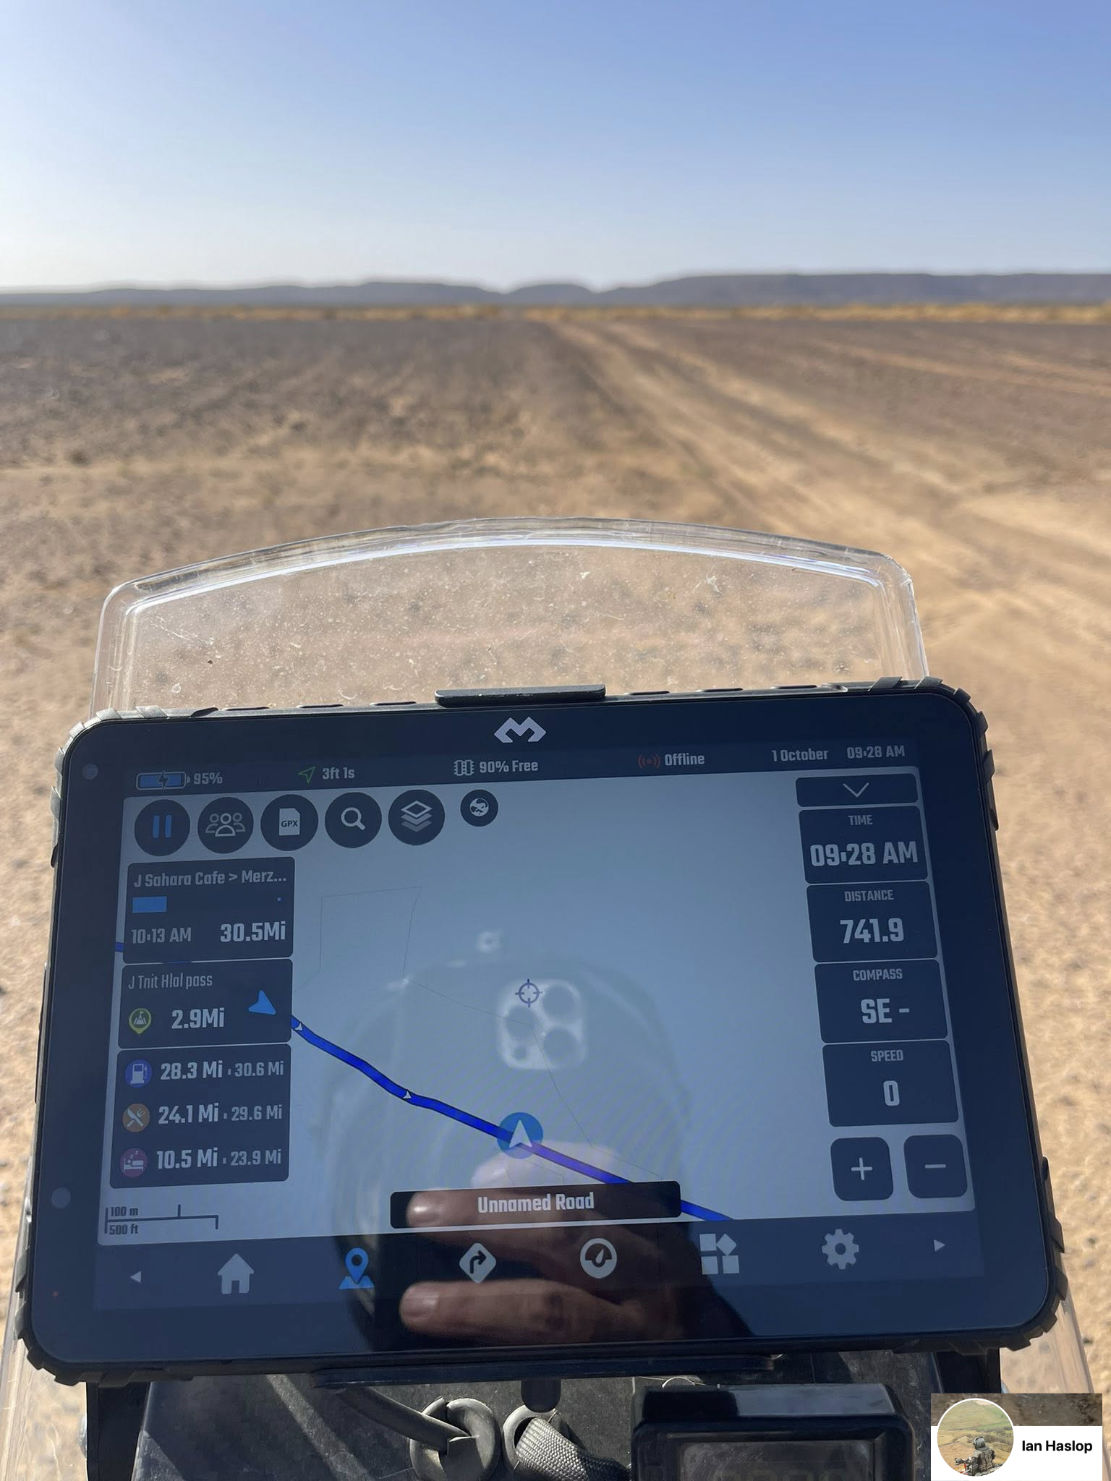
DMD do make their own DMD-T865X rugged tablet (right) for 850 quid. A mate is already on his second one. Then again, I’m on my third A9 in as many years; the motherboard or something packs up doing nothing more rugged than sitting on the bedside table.
Based on the crowd-sourced or volunteer contributed Open Street Mapping database (‘the free wiki world map’), in the UK, neither Gaia or DMD2 accurately differentiate between the few legal byways and the zillions of footpaths.
That said, with an imported and verified green lane gpx tracklog, you’re probably following a legal trail, so how the background map looks is less important. Meanwhile in southern Morocco and similar places, whether a track is actually passable on your machine is more important than rights of way – and that can change from season to season.
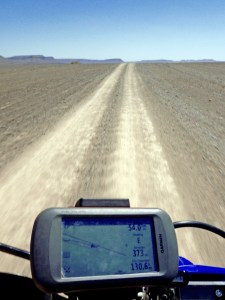
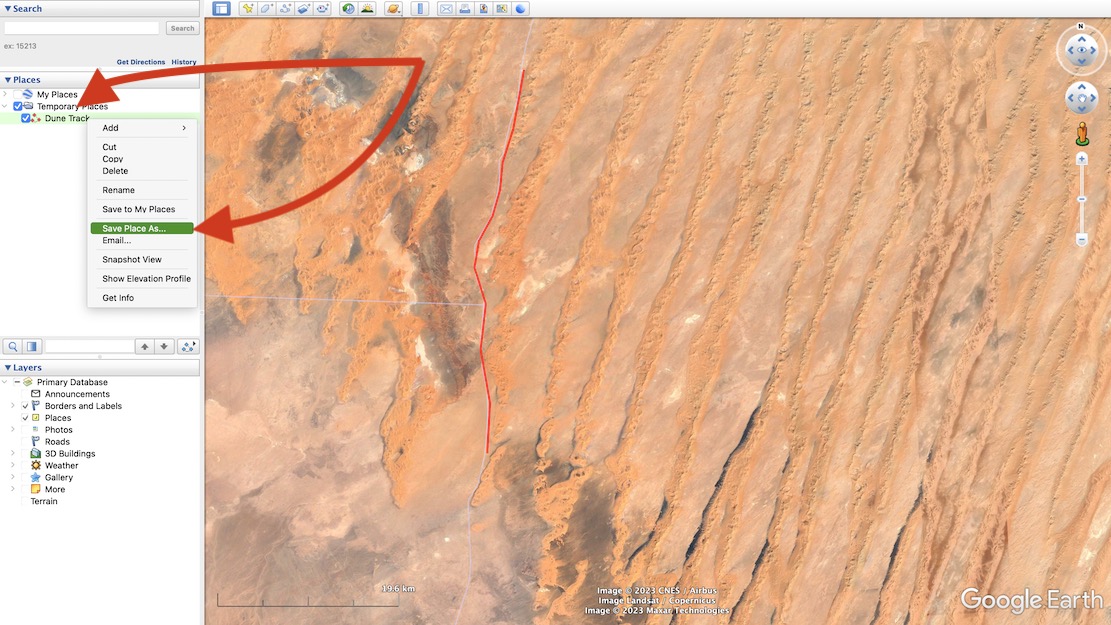
Even in Morocco I nearly always ride new routes with tracklogs traced off sat imagery in advance (above left), sometimes even the night before. As you’ll read, the trails that appear on OSM-derived maps out there are too inconsistent and unreliable.

Ordnance Survey (£35 a year)
For UK green laning Ordnance Survey mapping is a no brainer, even if you didn’t grow up using OS paper maps and can still read them like a copy of the Beano.
Thirty five quid a year is a great deal if you do a lot of UK outdoorsing in addition to motorbiking, I’ve found myself referring to it nearly daily, either planning MTB rides from home, or when out and about to check directions with the A9 or the Mrs’ phone (it will run on multiple desktops and devices). One reason I stick with my Montana is that it came with a ropey old copy of OS 50k UK mapping (new, an ‘all UK maps’ miniSD from OS costs 300+ quid). On an OS I know what most things mean at a glance, and in the UK Rights of Way (RoW) are important when it comes to touchy Byways and similar off-road trails.
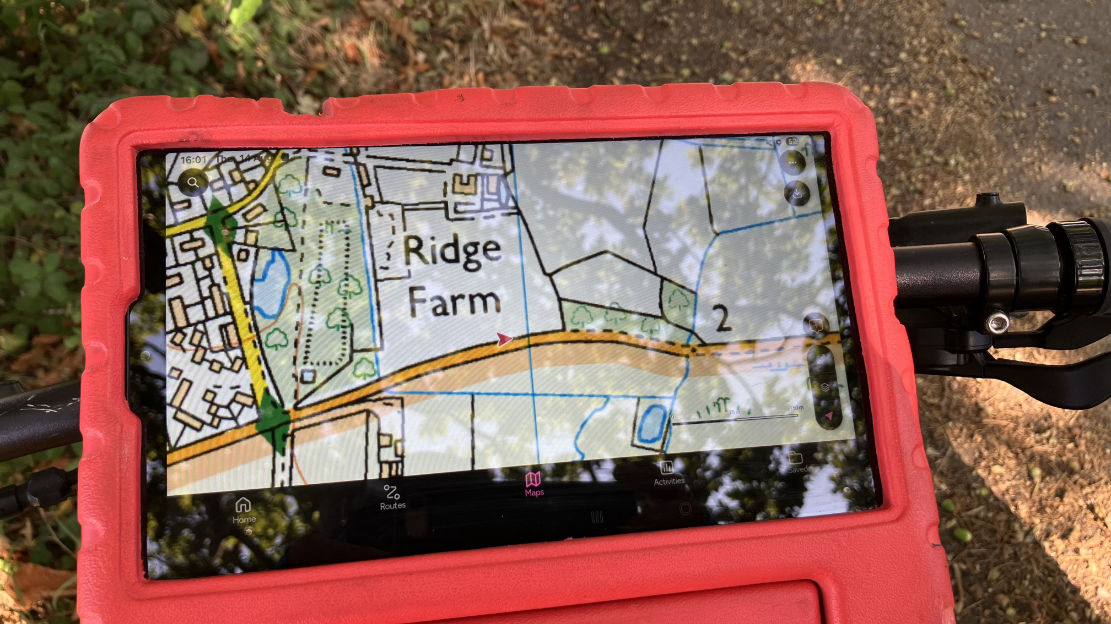
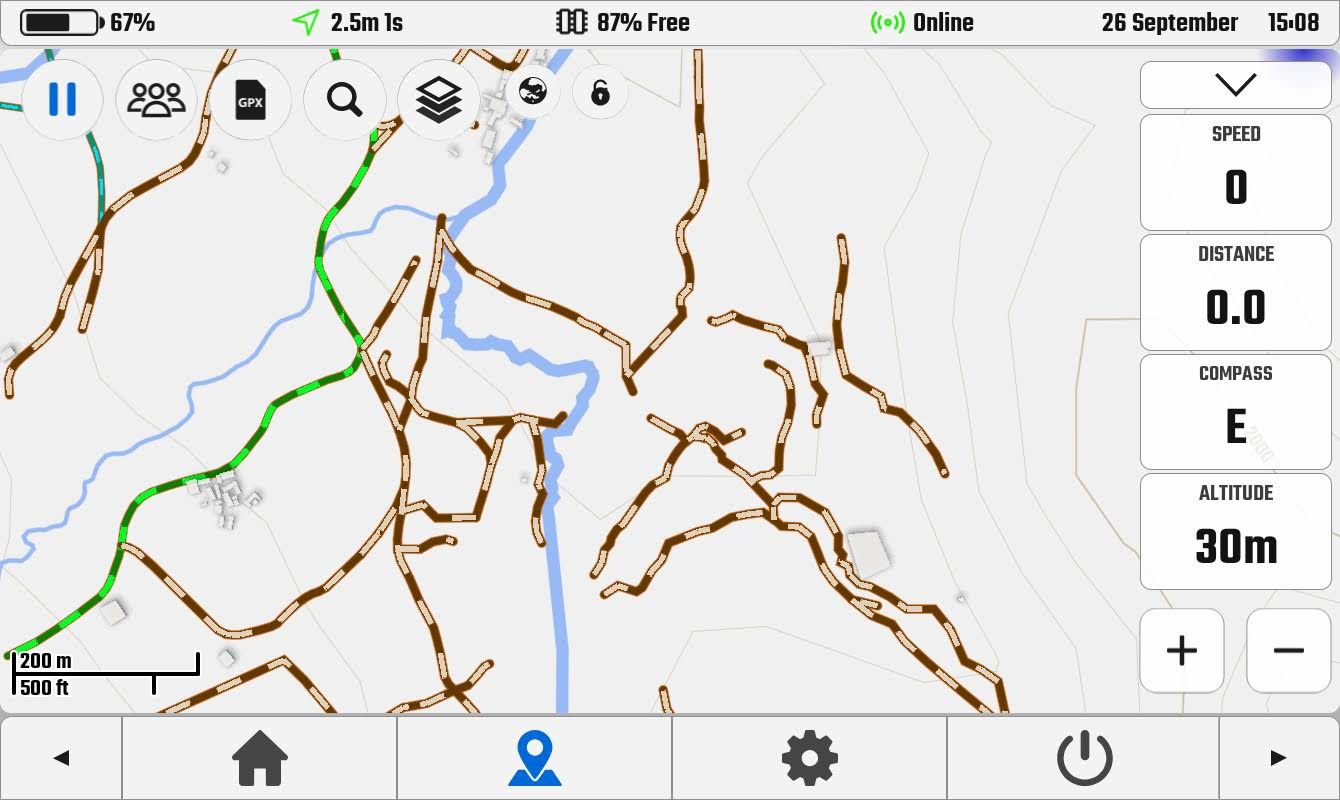
Tap Map and the OS app transitions from the big-picture/motoring 250k map to the well known 50k and 25k sheets, The image on my Samsung (below) is crystal clear, although the red location/direction arrow is fixed at a tiny size (usually in the middle, of course). If you forget your RoW hierarchy, the OS legend tab is easily accessed offline, and downloading a map for offline use is also dead easy, though it’s limited to about 45km wide or ~300mb.
Importing a gpx file is also intuitive and once loaded, you can view an elevation profile in a side bar (like on Garmin BaseCamp and Google Earth), plus do a 3D fly-through over aerial imagery (internet needed). I couldn’t work out how to do this over a less gimmicky OS map, not aerial – I think it’s not possible. Another thing OS won’t do is show more than one of your imported routes at a time. Nor will it do A to B road directions like a sat nav; it’s a recreational mapping app. But using the ‘road cycling’ option under Activities will snap to roads and so could work for motos, though it might be scenic backroads rather than ‘shortest’ or ‘fastest’, like a satnav. One thing I often use on my Garmin is tapping the screen to instantly get the straight line distance to a nearby point from my location. On the OS app you have to go to Create Route, then select a non trail Activity like `Paddle’ or ‘Other’ which won’t snap to a path or roadway.
This ‘snap to path’ (or byway) feature can be hard to control off road, though I’ve learned small hops work. Set on MTB (roads/tracks), it routed me into an army tank training area, though it did try and keep me out of a nearby firing range – and to be fair the map was plastered with ‘Danger Area’ labels and irl there would be similar signs and fences. Recording your own route, saving it and sharing/exporting is also intuitive.
Because the mapping is so familiar to most Brits, for UK use it’s easy to get your head round the OS app, and unlike DMD it knows when to draw a line with ‘just-because-we-can’ added features which can just go too far. But other Open Street Map based apps will have endless POIs, and more functionality, like directions. You can of course switch to other apps on your device to find nearest fuel, for example.
GaiaGPS ($60 p/a subscription)
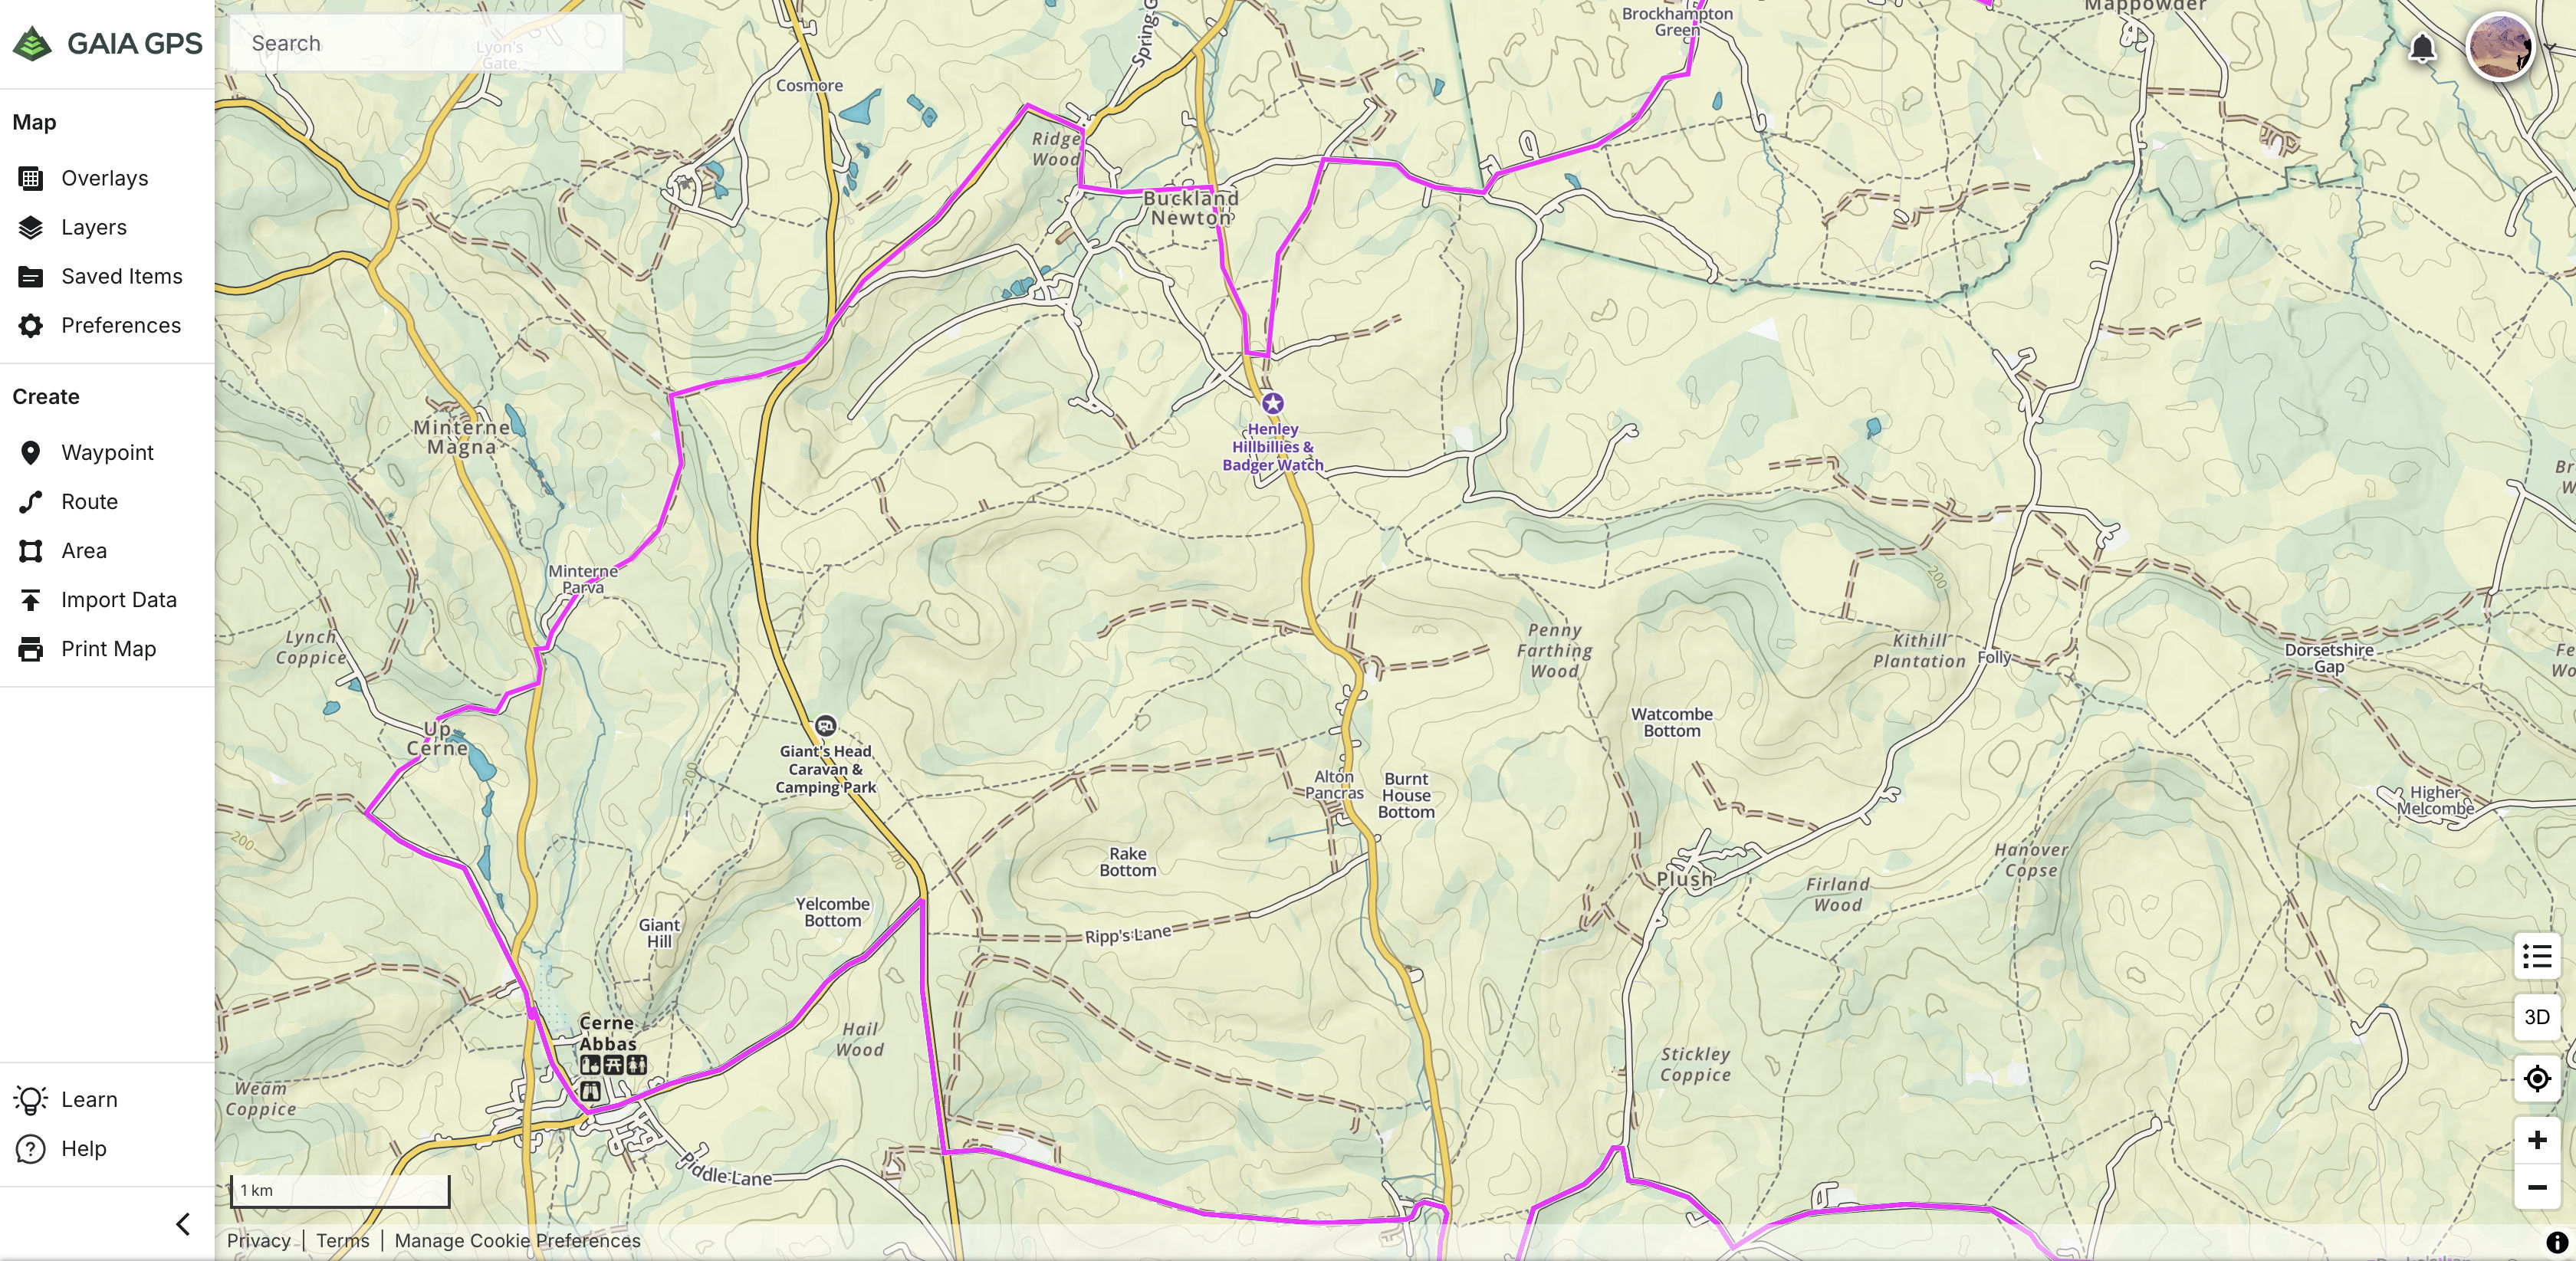
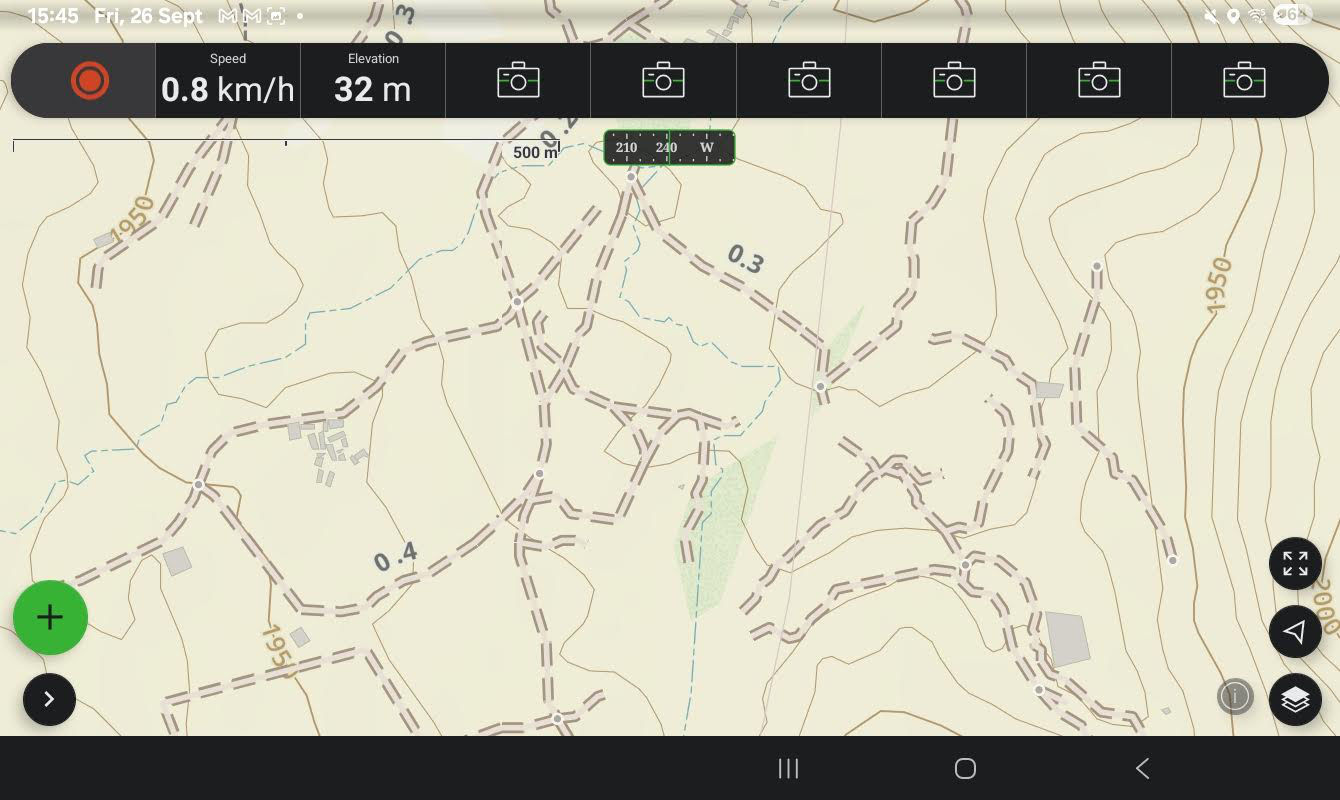
Produced (or owned) by Outdoor magazine in the US, normally I’d not look twice at Gaia, assuming, like other US entities, they don’t ‘get’ mapping in my parts of the world. But their Morocco Topo map is preternaturally better than many other also OSM based maps, showing loads of real trails with outstanding legibility. Someone there gets how to design a map. And there are loads more in the layers.
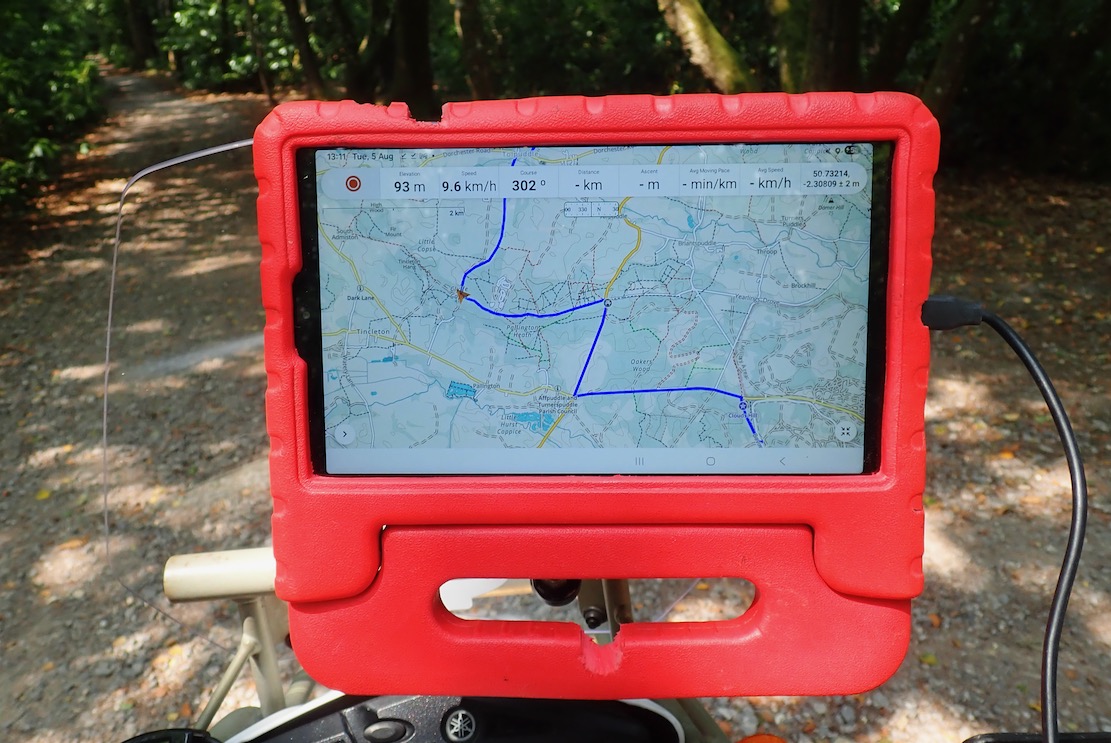
While offering routing options for every scenario under the sun (‘ice fishing’, ‘turkey hunting’, ‘streaking’ and ‘white water’), the app interface is clearly pitched towards hikers who can easily read the screen on the move with device in hand. On a moto (or anything similar at speed) the info across the top (speed, distance, etc) is just too small to be easily read and can’t be enlarged. Even the Montana is better at this.
But it sure is nice to have all that space to foresee the twists and turns of a loaded gpx trail, and with good brightness. Wearing a dark main visor on the HJC took the edge off this; next time I’ll fit the clear visor and use less good but in-built tinted visor.
When I’d done enough green lane exploring I decided to try out the routing feature to get me home. It didn’t seem to work, even when set for ‘buffalo rustling’. I worked out later you need to tap the map exactly on a road for it to calculate a route.
There’s probably a very lengthy list of other features on GaiaGPS, but me I’m just navigating trails from A to B, not trying to calculate my average elevation while ice fishing before the sun sets. All I know is that the Morocco map is one of the best out there.
DMD (£19 p/a map subscription)
Made by motorbikers and loved by motorbikers. How would DMD2 stack up for UK green laning? £19 is quite cheap but this is only to open the maps and route yourself – good enough for most. There’s a Roadbook plug in to save on lunchboxes and rolls of paper, and an OBD plug which opens up the whole world of bike telemetry – TPMS, coolant temp, mpg – a lot of stuff that’s probably on your dash menu, assuming you’re not riding an air-cooled dinosaur.
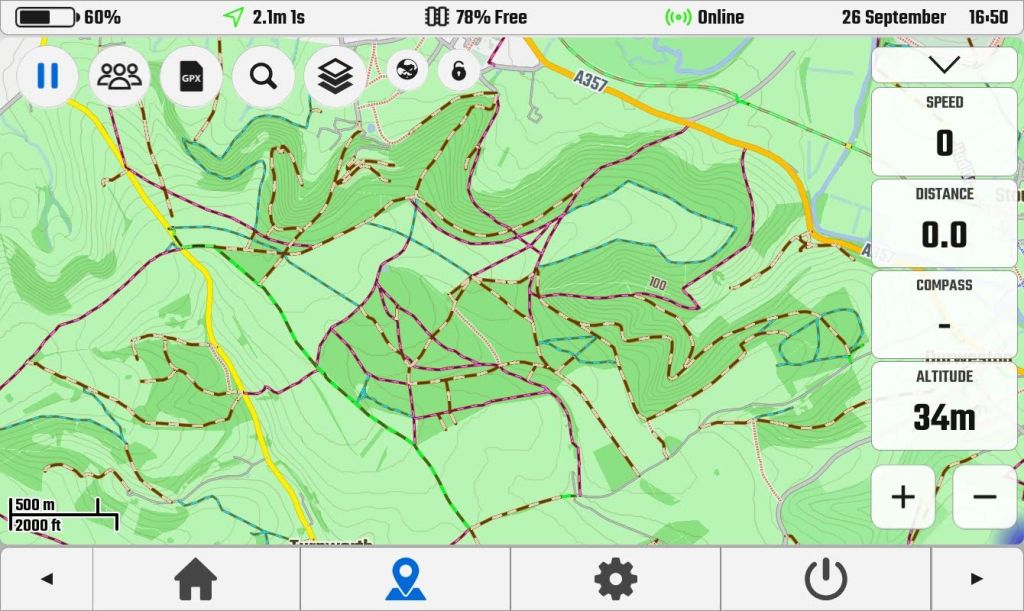
You download maps by the country. I did UK and Morocco, some parts which I know well, and did a test. It looks like DMD have simply loaded everything off the OSM base map with little filtering. In Morocco it’s evident from the many disconnected scraps of track added by pedantic contributors misinterpreting aerial imagery or the meaning of useful contributions. What use is 450m of ‘track’ on a remote hillside going from nowhere to nowhere? Actually, I see Gaia (below right) is the same, but makes them far less conspicuous – the key to legible cartography – while often managing to get the real, useful or main tracks right. This extraneous clutter is something that’s unique to little-scrutinised Morocco on OSM. In Europe, such nonsense would never go unchallenged, as the UK map below shows.
The comparative screenshot in the UK below looks a bit skimpy compared to the Gaia and OS versions above, but two zooms in shows a lot more track detail. I do like the ‘globe’ icon which toggles when online, most usefully satellite view as well as ‘OS Maps’ in the UK (not real OS maps, as above, who protect their copyright like the crown jewels), plus wind, rain and temperature (aka: ‘weather’).
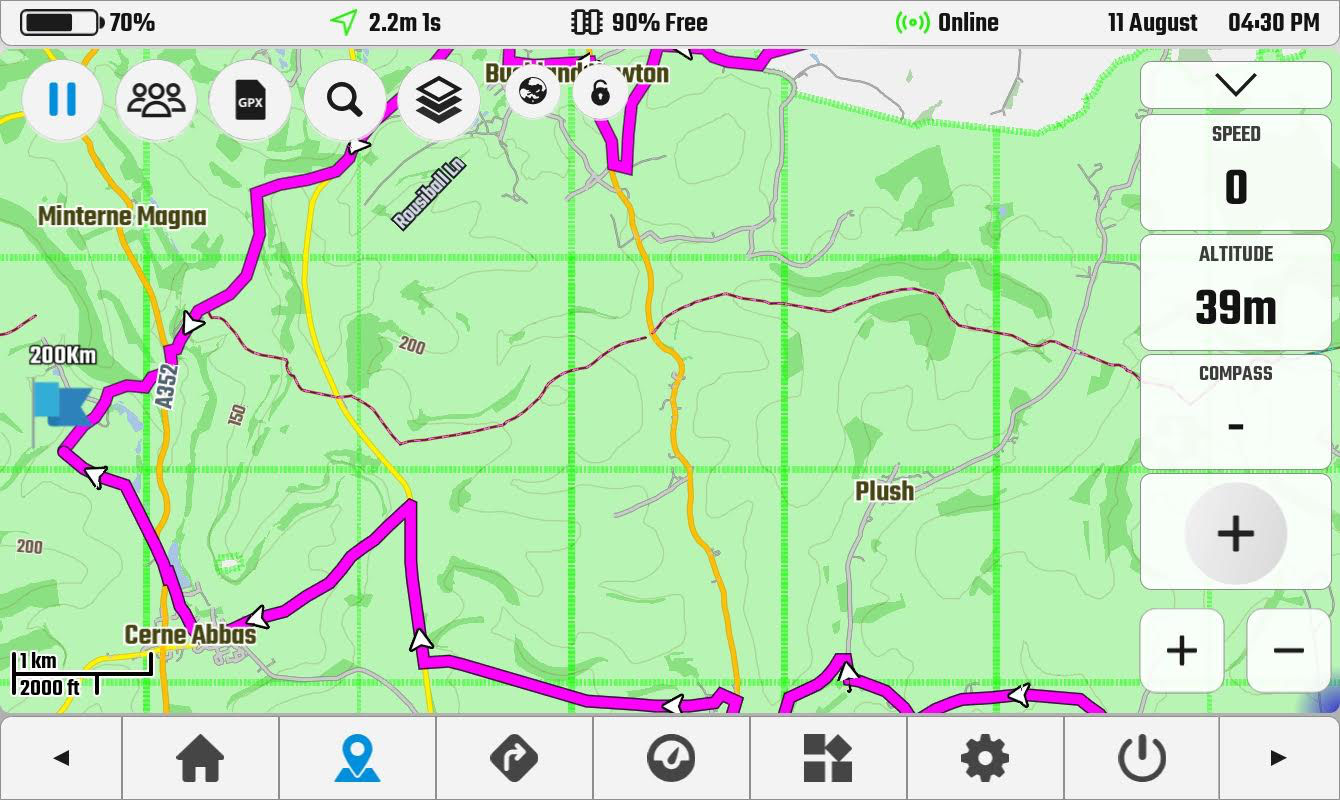
Even then, I find DMD2 look cluttered compared to the Gaia and in the UK would obviously use OS, Amazingly, there is no key or legend built into the app to work out what the multi-coloured tracks mean. Searching online gives this page, and a DMD Facebook user condensed it into the image below left.
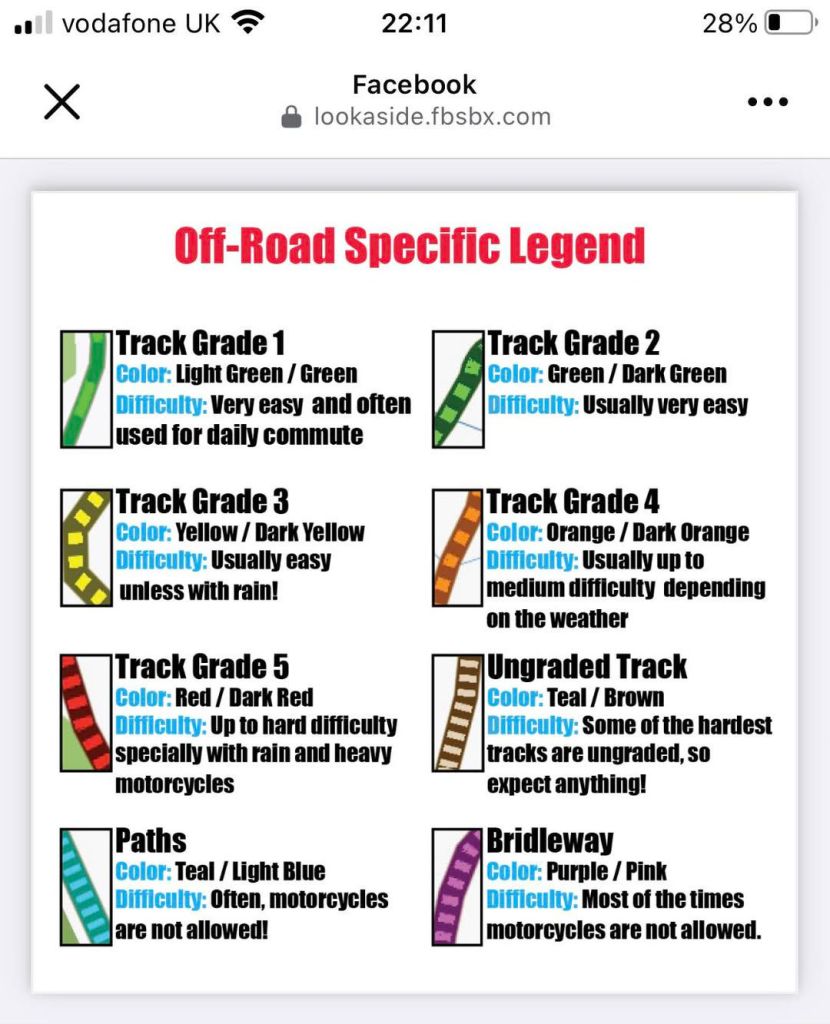
It seems difficulty – always subjective, weather and moto dependant – is prioritised over rights of way, but my UK DMD2 map certainly doesn’t relate to what I know locally. Green and blue are footpaths, purple is supposedly a bridleway, but rarely corresponds with OS data. Meanwhile, there are masses of brown tracks (as in southern Morocco). Of brown tracks DMD says: …it should be unpaved but no further information is present. Difficulty: Some of the hardest tracks are ungraded, so expect anything!‘ Afai can see, there’s no designation for a legal UK Green Lane/Byway. I know the few around here and they’re all brown or don’t exist. So without a verified gpx to follow, DMD2 would be unusable for off roading on UK Byways, but in Morocco (for example) a brown track ought to be a real track. Just make sure it is connected to other roads or trails.
I was going to try to get to grips with DMD2 and Gaia on my tablet this autumn, but in the end just used my long proven Montana loaded with a couple of good maps. It’s fun to experiment but in the end, why complicate things. I’ll stick with Montana for Morocco and a tablet running OS for UK trails.