
CB500X RR Index page
Tubeless Conversion Index Page

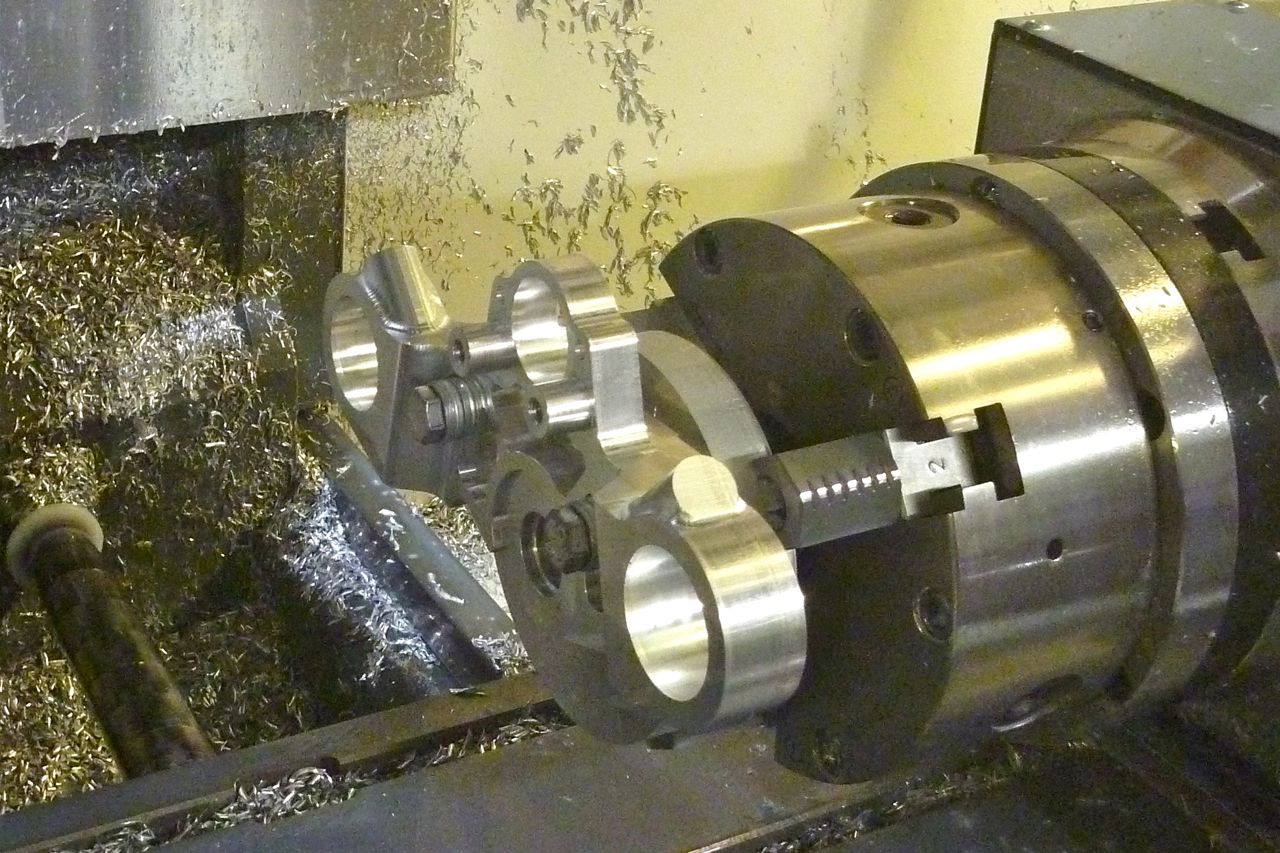
Just a couple of days before I’m off and I’ve finally got the CB-X converted to full Level III spec at Rally Raid. I started the job at home by fitting the clever drop top clamp, precision milled on John’s CNC 4-axis milling machine (right). Marvel what a 5-axis miller can do in this mind-boggling vid. The clamp enables positioning the fork tops 20mm lower which with the 30mm longer damper rods gives two inches more travel and room for the bigger wheel. It’s a more expensive solution to screwing on dodgy fork extenders – something I looked into when trying to Tenerise a TDM900 earlier in the year.
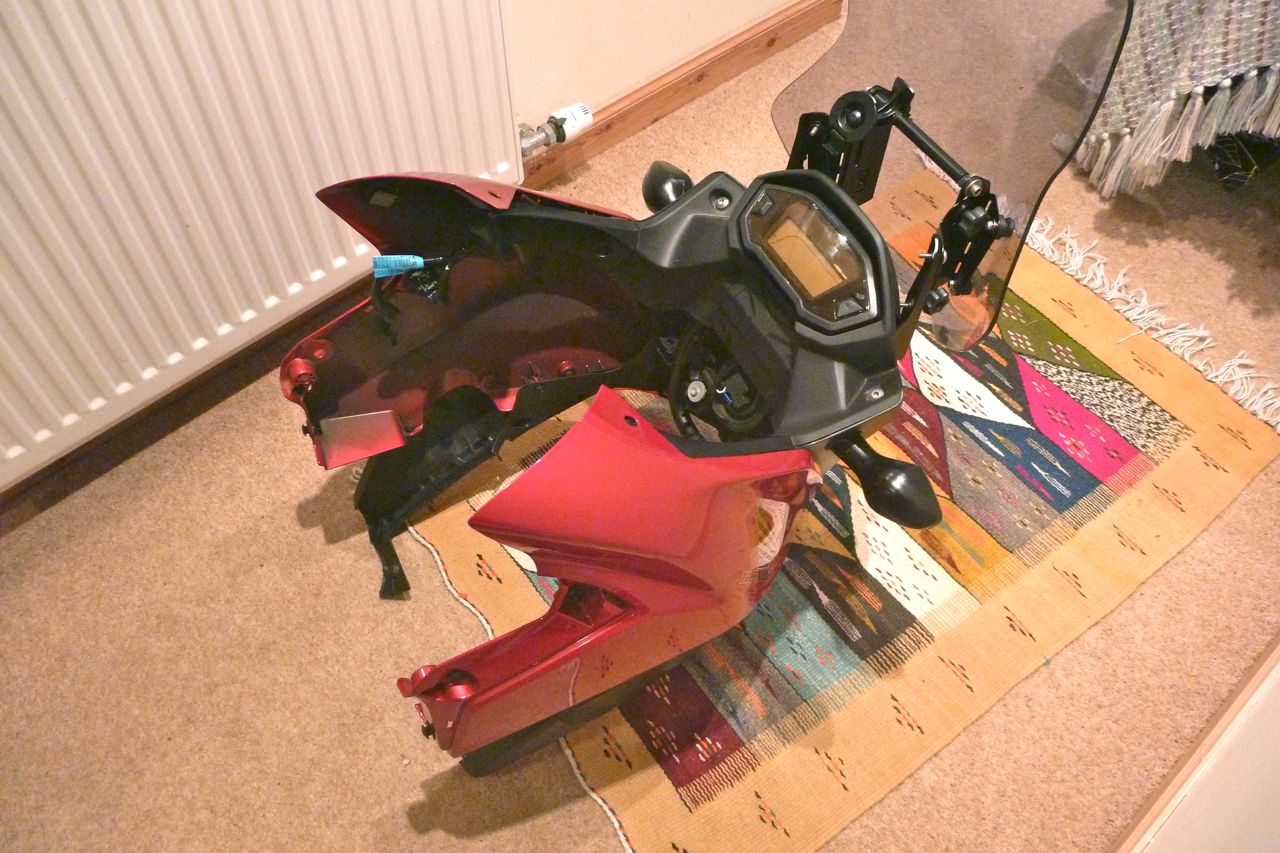
Removing the whole headlight/fairing/dash unit (left) is actually quite simple once you get your head around it. The pdf instructions from RRP are all clear – all the more so when you look back at them. Side panels off then three screws on each side of the fairing and then the crucial double 12-mil bolts on the steering head which take all the weight. Ease back the LHS to unplug a couple of connector blocks and away it comes. RRP include some alternative 12 mils with nylocs in the kit. I saved them for later and a 1000 miles down the road, when I got to their workshop one had fallen out. RTFpdf.
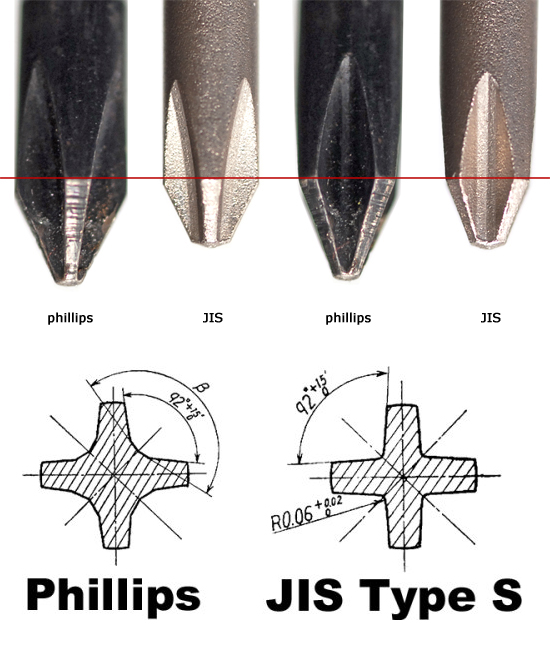
Removing the ignition barrel from the OE top clamp is where things slowed down. First, two crosshead screws holding on the HISS ring needed undoing from underneath. Why crossheads FFS? I almost lifted the bike off the ground getting the pressure in there – luckily they both turned with a nice crack of shearing Loctite. Later John advised these are actually JIS head screws – some sort of Japanese standard that’s possibly better than Phillips. Could that be why we had all that trouble using Phillips drivers on Jap monkey metal crossheads in the bad old days? Probably not.
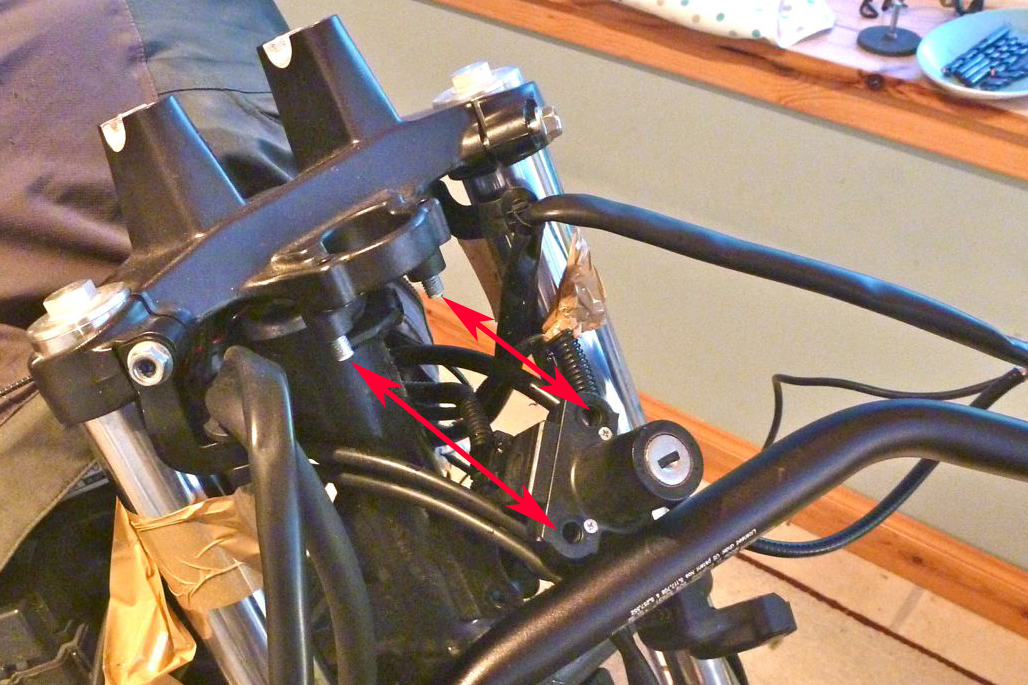
The next step required drilling out the chunkier undoable barrel security bolts (left) and – long story short – that took me days of faffing: blunting and crudely resharpening drill bits over and over on a distant neighbour’s grinding wheel. It’s an awkward job with an upside-down drill just off centre and the chuck spinning close to cables and wires, but I got one out then Mr Postie delivered a few cobalt drills the day before we had to pack up and relocate cross country. never heard of cobalt drill bits but with a better technique (slow rpm, nib in oil), the second bolt head fell away in a few seconds. John at RRP says he may include a cobalt 9mm with future kits.

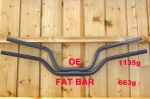
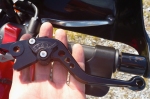
I was hoping to fit some stronger Renthal fatbars (right) but the taller RRP clamps aren’t quite ready yet, so it was back on with the taller OE bars, (left) – there’s plenty of cable slack to do this – the lift is not that great. On went my trusty Barkbuster Storms (now on their 4th bike) as well as some Daytona heated grips I’ve had lying around for so long the rubber’s gone grey. They look a bit crap compared to the Oxfords that came with my last couple of bikes, but they’ll last as long as they last and were dead easy to fit. I also fitted RRP’s 12-volt double PTO mounting plate – much neater than having the PTO zip-tied to the ignition barrel. The Barks required the usual compromises with lever angles – apparently, a Bark V-Strom mount has the curve to get under or over a brake hose. I have some neat shortie adjustable levers (right) from RRP too but will fit them if mine snap. The Storms ought to reduce the chances of that.
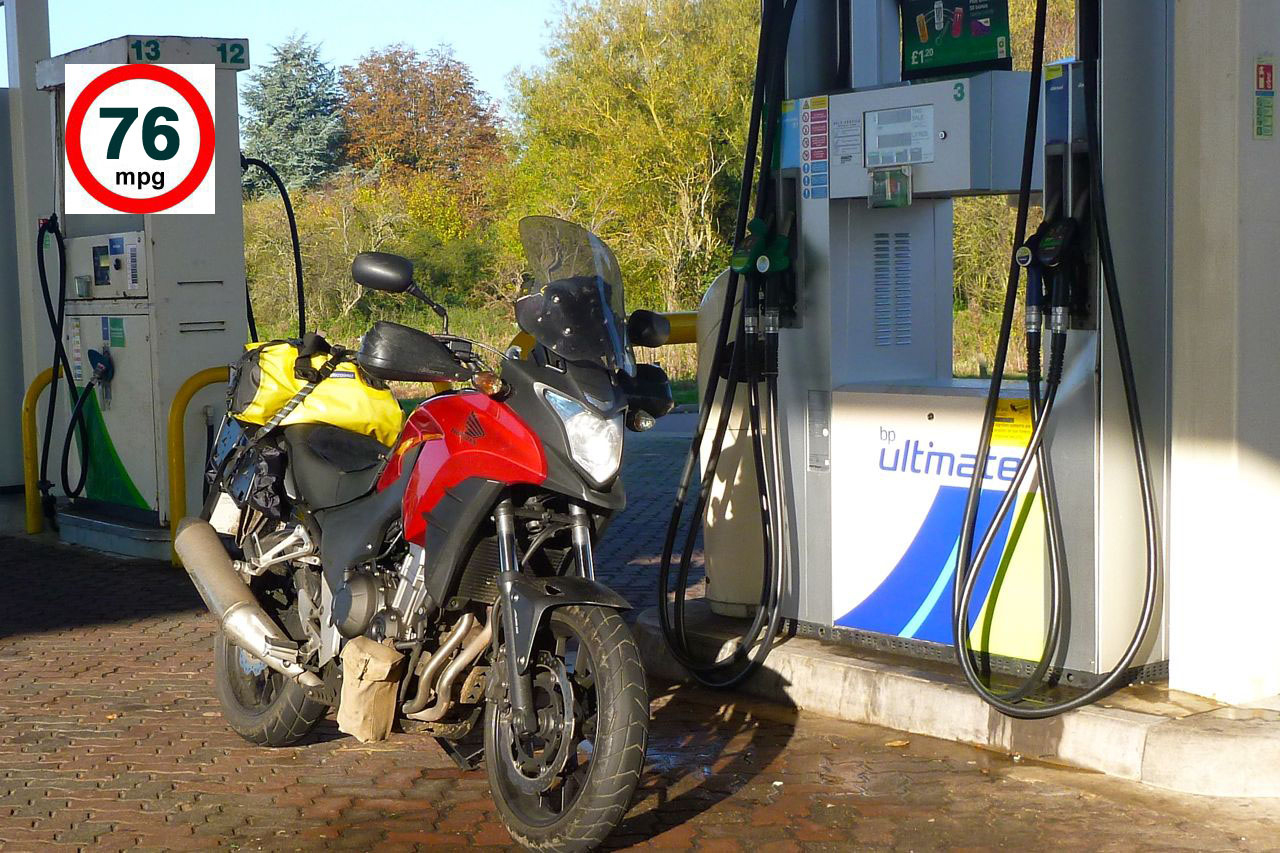
The next day I set off on a 480-mile run down to North Yorkshire, including the full length of the fabulous A68. I was trying out a new Powerlet heated vest which I’m sure helped me arrive less tired, with just one stop at a Gregg’s 350 miles in. The 500X returning an average of 76mpg while I marvelled at the OE Pirelli tyres’ grip in the wet.
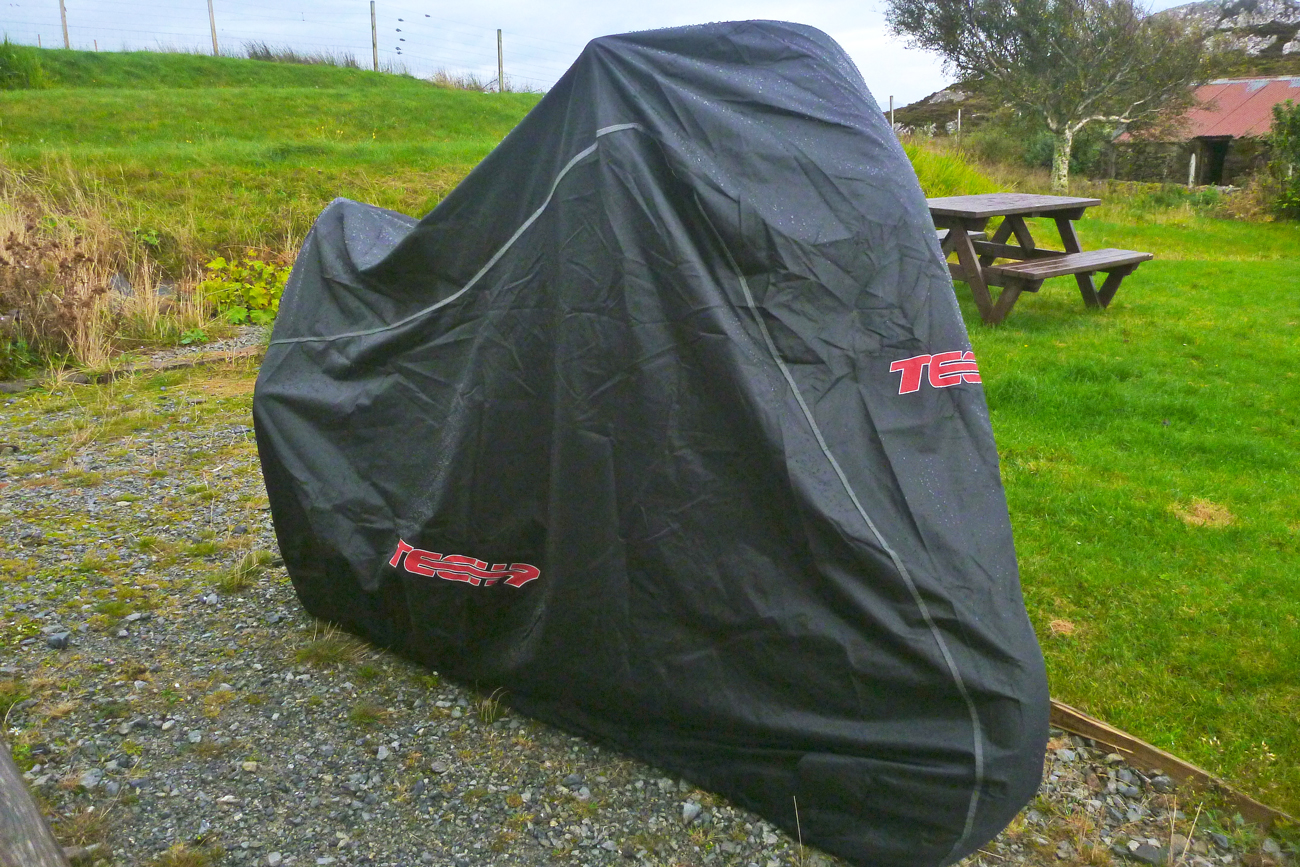

BTW, let me put in a good word for the big Tech 7 Adventure Bike cover. Yes, there is such a thing, and it fits bikes up to tall screened GS12s and S10s. Still only £23 from M&P, I’m sure it’s much tougher than those £10, last-a-year silver jobbies, has two under straps just inside each wheel, but also has an elastic bottom to make those straps unnecessary unless it’s very windy. Low-profile black to reduce visibility on dark streets and compact enough to make a handy travel cover or groundsheet.
Update 2019: After 3.5 years the waterproofish laminate is shot and the fabric is sun faded, but all the stitching and elasticity and clips are intact and it all hangs together. I need waterproofing, so bought an Oxford Aquatex for £20 for my Himalayan.
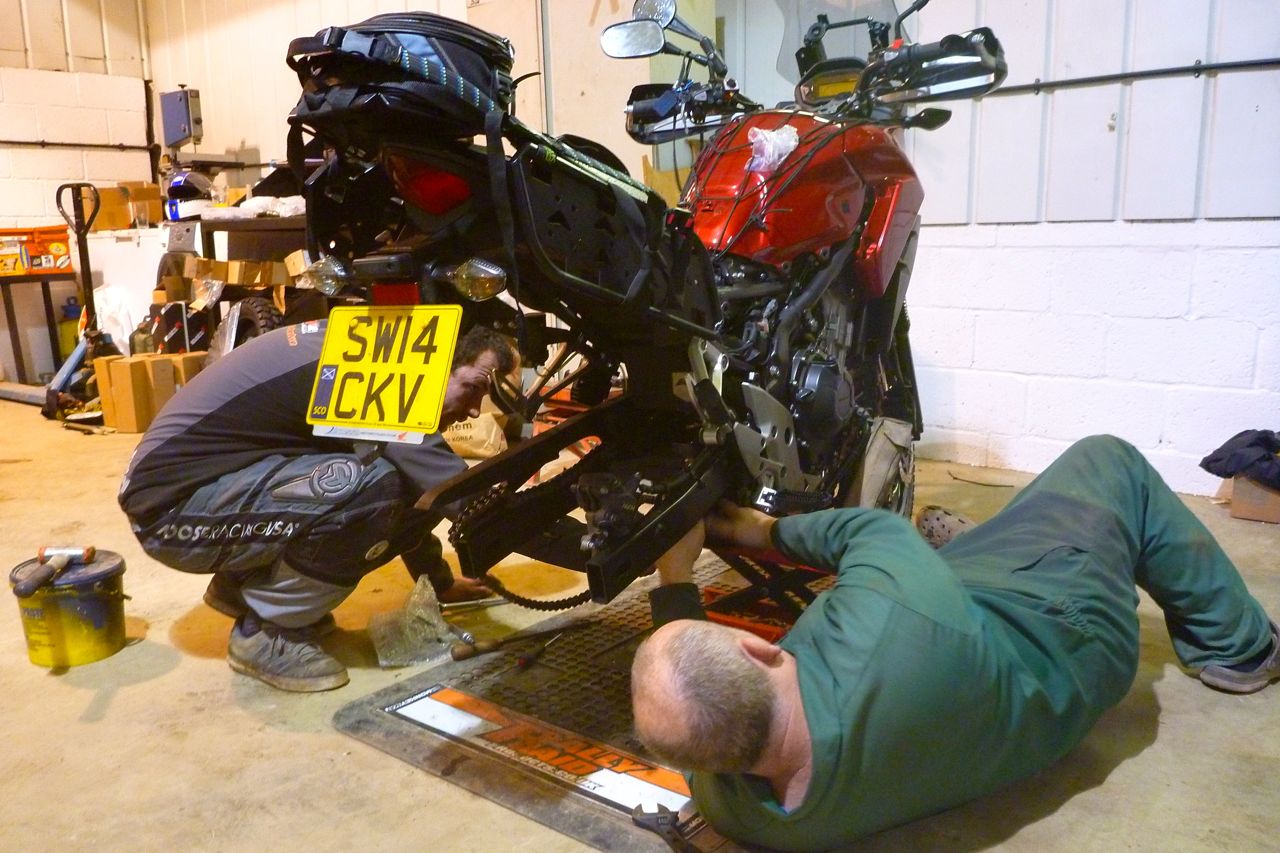
A few days later at John’s workshop near Bedford wheels and suspension were needed to finish the Level 3 job. I’m trying out some RRP wheels sealed with a mystery polymer by BARtubeless in Italy to run tyres tubeless. With his rally racing background John’s more of a tube or mousse man. For less aggressive solo travels to which the CB-X is more suited, I err towards tubeless and gel, as do a few other potential RRP customers. RRP may end up being the UK supplier for BARTubeless.
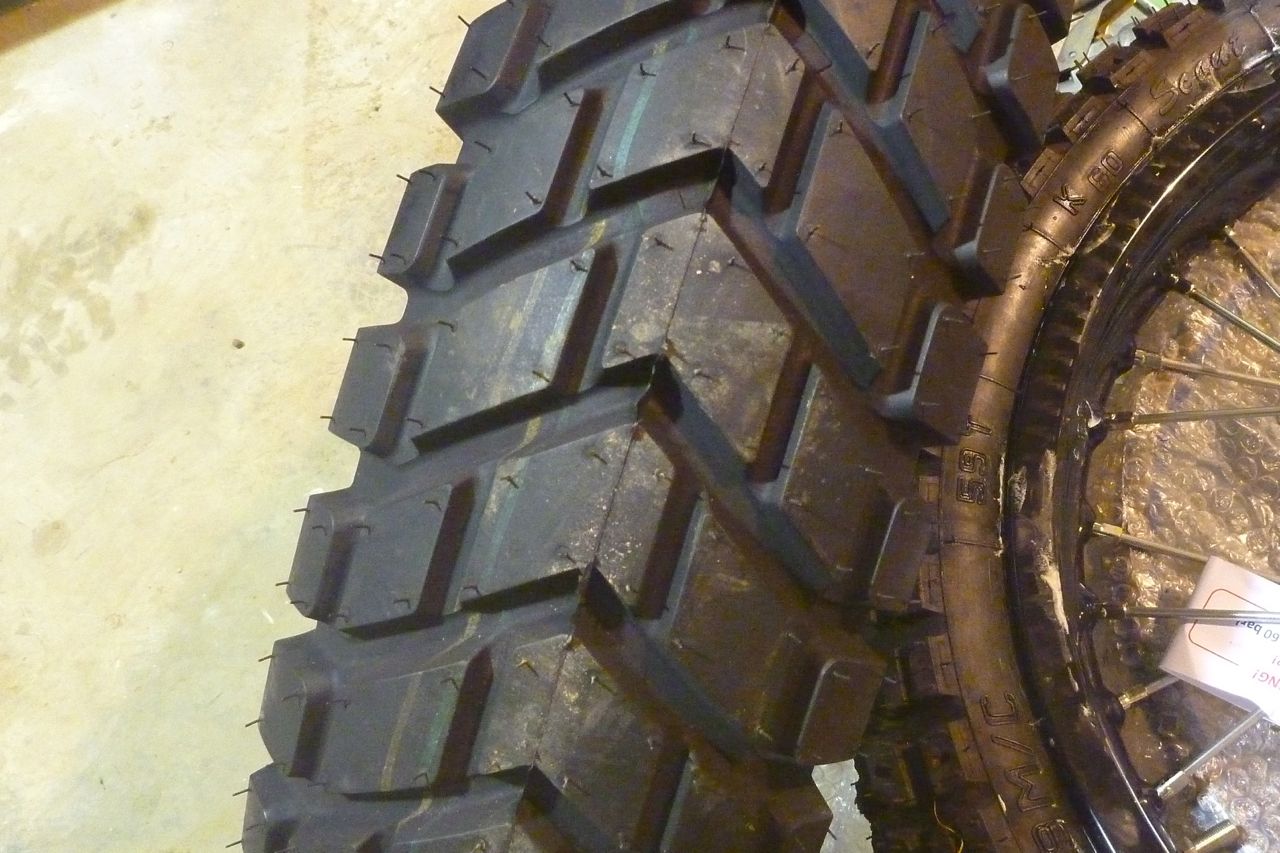
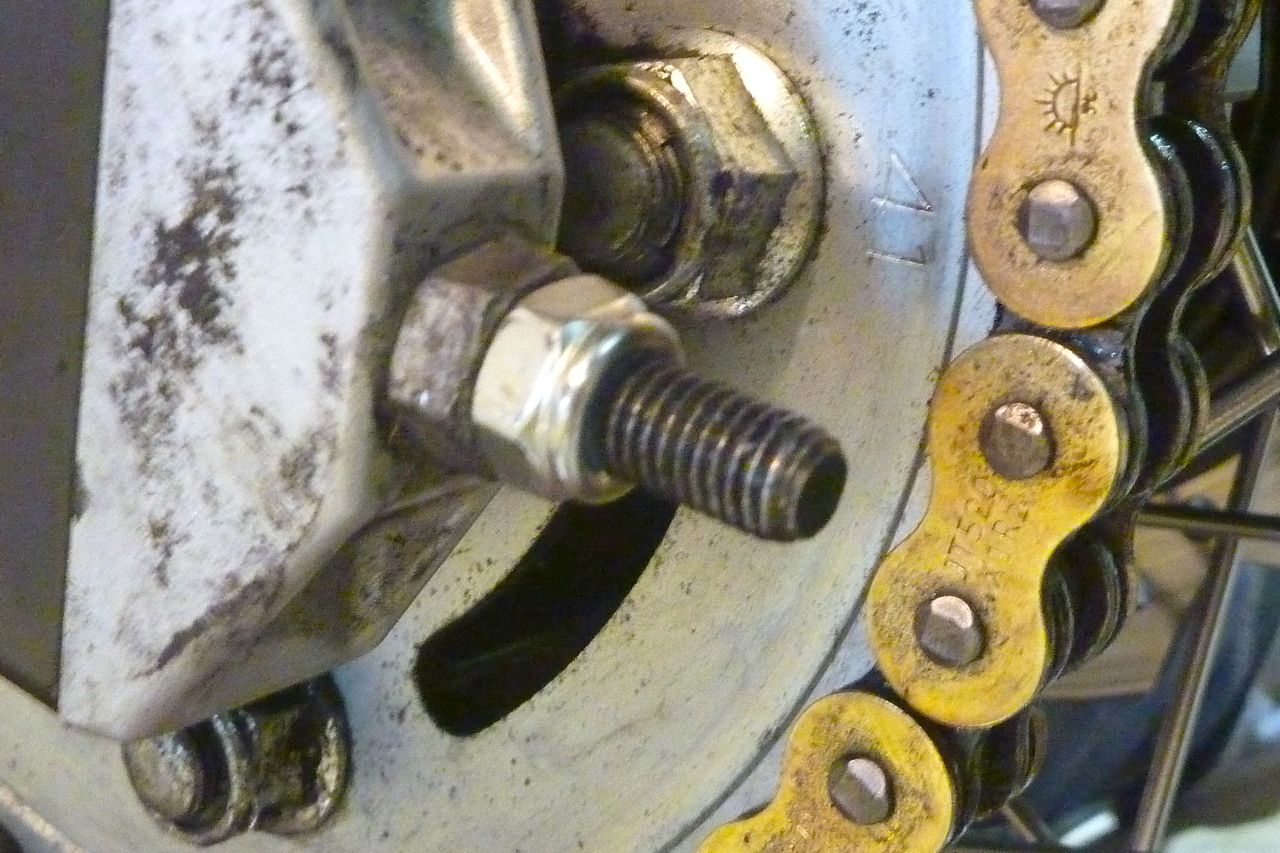
One problem with them is the thick layer of polymer in the well of the rear rim making tyre mounting difficult. That’s what they found earlier fitting a Golden Tyre GT 201 (left; 150 / 70 R 17 TL 69V) I bought from Adv Spec. You need the depth in the rim’s well to give enough slack in the bead when doing that last bit of levering. Of course, some tyres are harder to mount than others and the GT201 (a K60/MT60 look-alike) is stiffer than the TKC which RRP typically use. While in the area they adjusted my recently bedded-in x-ring chain and John recommended fitting a nyloc nut on the chain adjuster bolt (right); apparently the OE nuts fall off.

A Heidenau K60 19-er leftover from my old GS500 project went onto the front rim with no hassle. I got a chance to try out my Motion Pro Bead Buddy II (left, blue), a ‘hands-free’ clamp that forces the bead down in the well when levering on the opposite side. It’s the same as putting your weight on the tyre to push it down (not so easy on the tyre rack, left) and it did the job.

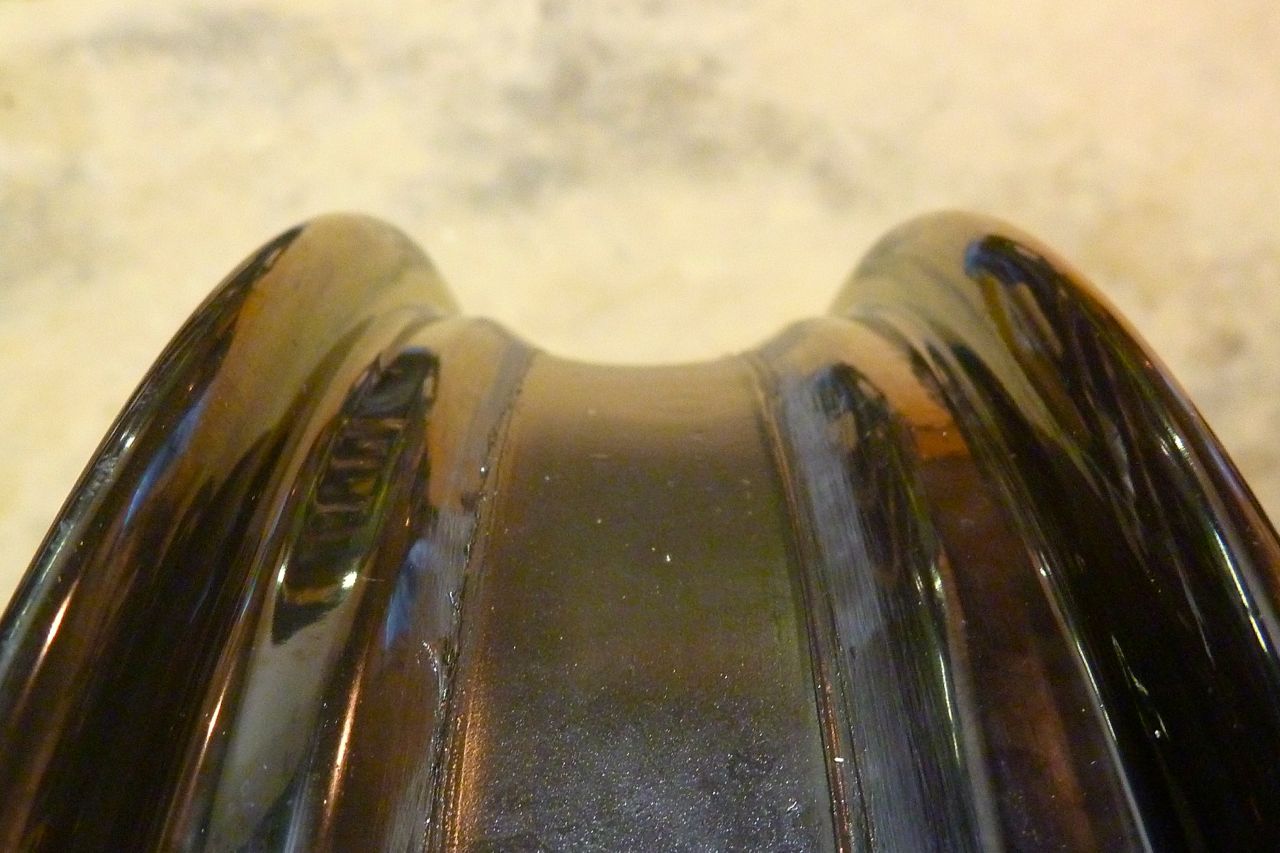
Another problem is this RRP front wheel doesn’t have a rim with the vital bead retaining lip for tubeless use. A label from BARTubeless warned to keep the pressure at least at 1.6 bar or 23 psi to reduce the risk of it dislodging into the well and losing pressure. As it is, 1.6 bar is the lowest I’d run tyres on a CB-X at anyway, so it should be OK. I know when I DIY sealed my Tenere’s 21-inch front wheel (also no lip, unlike the rear) I had leaking problems, but that could be down to the 21’s narrower section (don’t ask me how or why). Anyway, I’ve Slime’d both wheels, will keep checks on the pressure and am taking a light inner tube just in case (although that embossing – above – would need nuking to stop rubbing a tube up the wrong way). Hopefully, this experimentation won’t impinge on my Morocco ride, as it did with the Tenere.

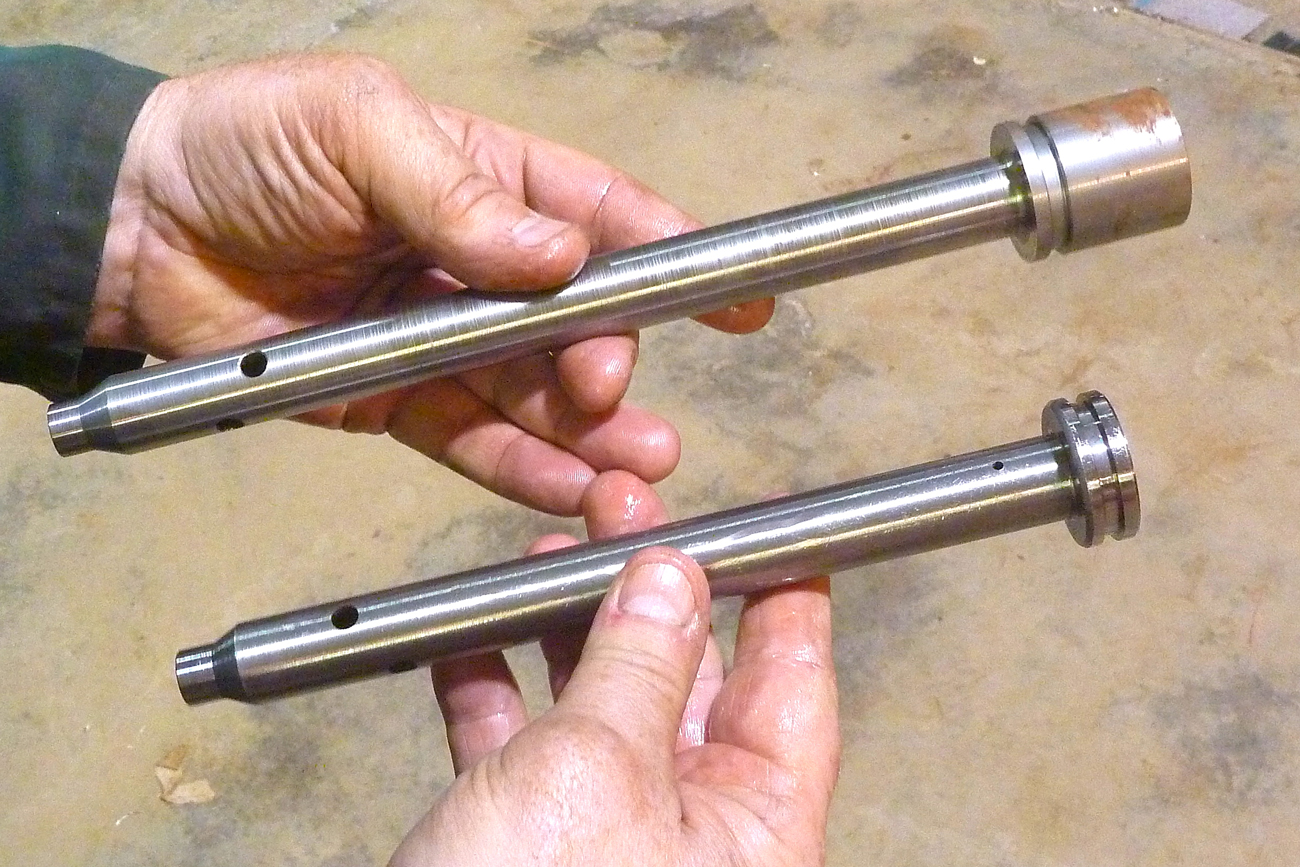
The forks came out, got cleaned up and the internals were all replaced. John showed me the Honda ‘progressive’ spring which is really a ‘twin rate’ coil off something shorter with a tacky white plastic spacer to elongate it for the CB-X (visible back left). John replaces it with a full length linear spring from Tractive (left) and tackles the progressive response with a 30mm-longer damper rod (right) using some clever deforming shims as well as some much lighter fork oil that’s less prone to losing viscosity when hot. On top, the forks get pre-load adjusters (as will 2016 CB500Xs) and air bleeders.
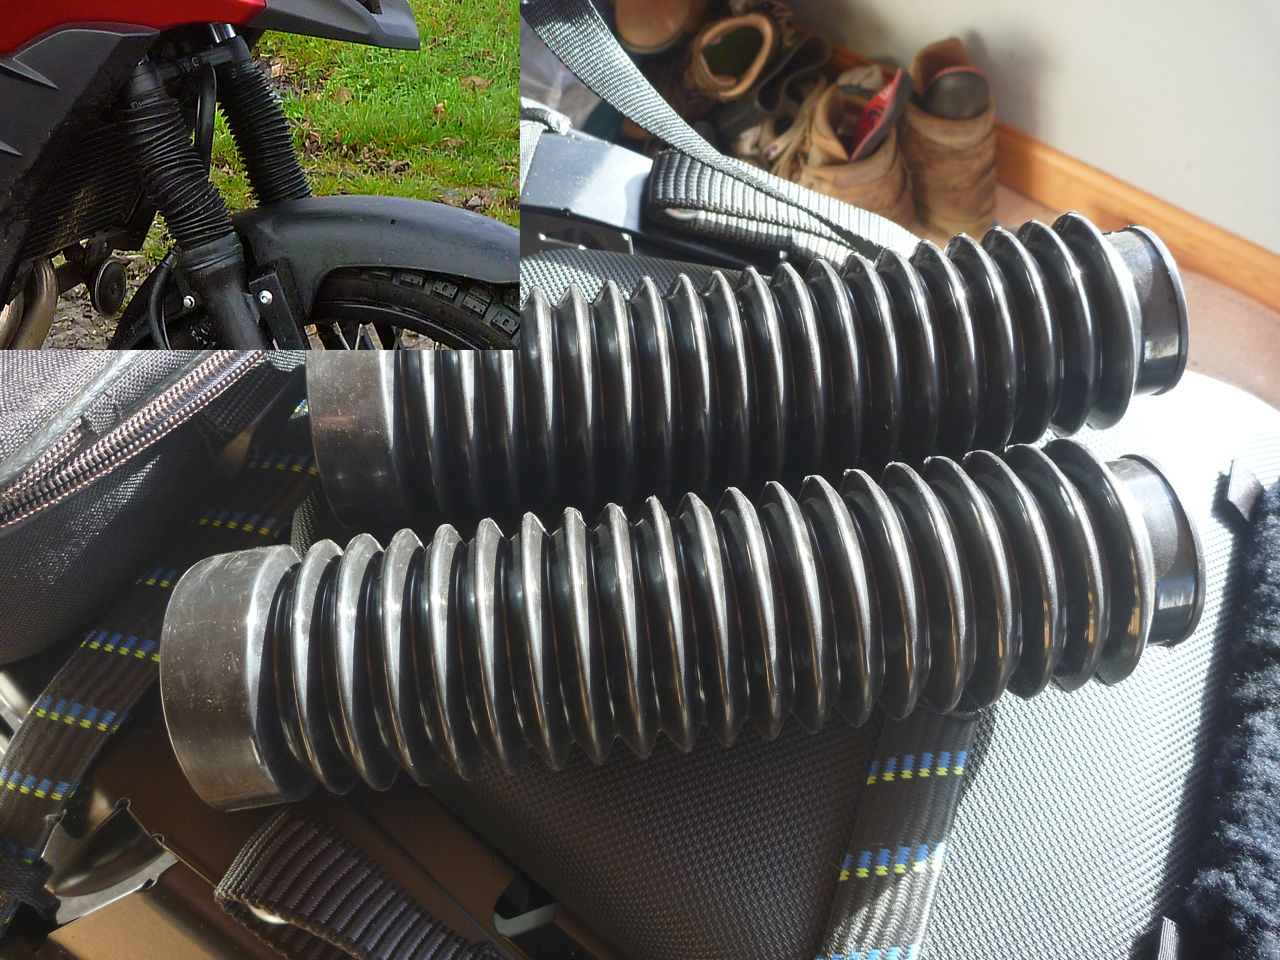
While the forks were off he slipped on some gaiters I tracked down on ebay and which John told me where the best fit he’d found so far. Gaiters are an old-school thing so it’s hard to find sets that are short enough for a modern 41mm fork which in the gaiters’ heyday would have correlated with a ten-inch travel MX fork. As you can see left, these 41 x 60 x 250 fit well on the 2-inch longer travel forks.
Like a pampered factory rider letting his pit crew take care of things, I wasn’t paying attention when the Tractive shock and revised linkage plates got fitted, but that looks like a tricky job needing a spare pair of hands. A small dent needs bashing into the silencer and the remote reservoir fitted by the engine on the other side.
There’s full 3-way adjustment on the Tractive, but apparently, the shock preload is a bit of a faff with the Tractive took supplied. What I’d like is a hydraulic preload knob option. I found that so handy on last year’s Xcountry as loads changed, but I never touched my Hyperpro’s other settings once set up for me. TBH I’d struggle to know exactly what needed doing. Again, it’s a rally vs travel thing. I spec’d a 120Nm spring as I’m fond of food.
All this extra suspension needs a two-inch longer sidestand which Rally Raid fitted. It’s a shame it doesn’t include an extended foot for soft terrain support, but something can be bodged on down the road. They did mention that with the longer stand the greater weight can cause the stand to swing down on heavy drops which can engage the engine cut out. Another reason to get ride of those annoying switches. Or maybe more spring tension.
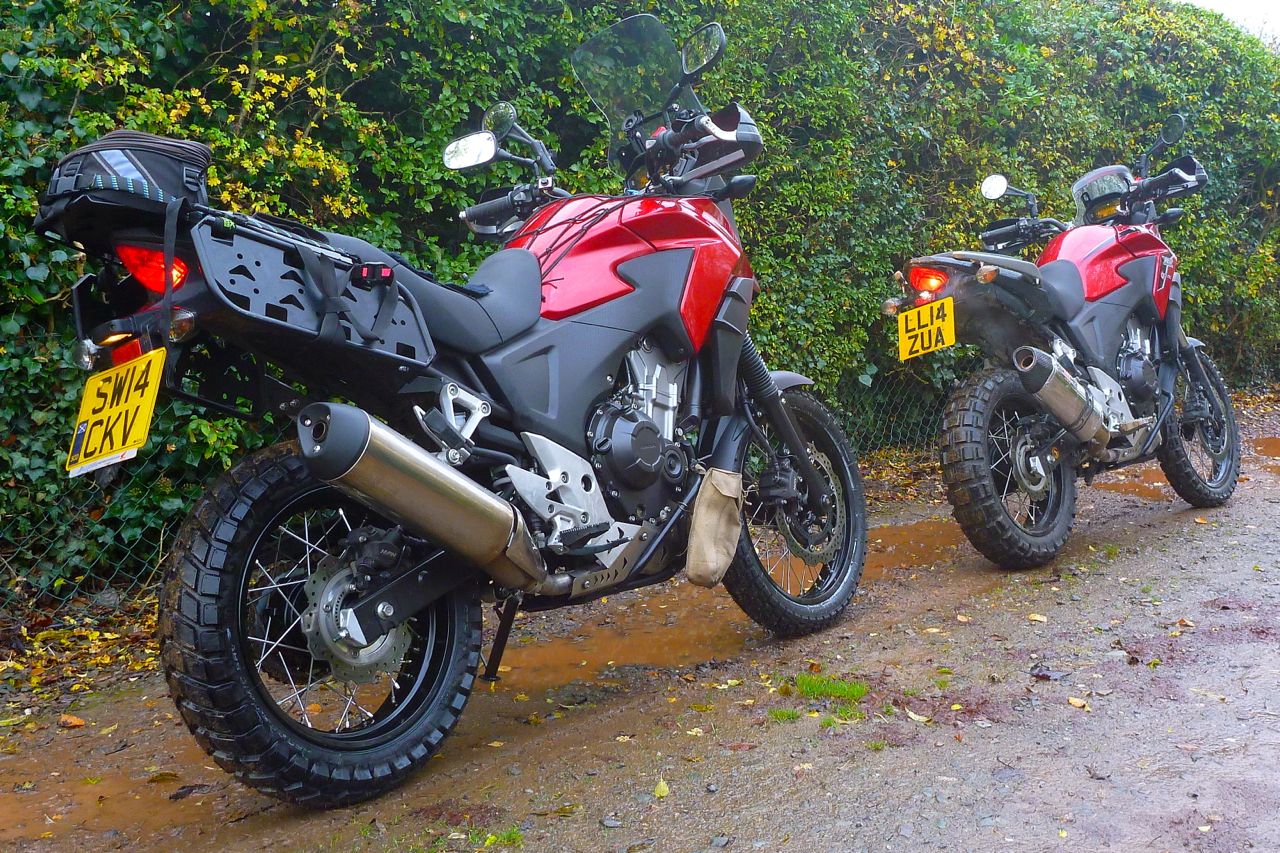
We went out for a quick spin around the back lanes, but new tyres, wet leaves and the completely new feel to the front end made for an edgy ‘on marbles’ ride. The bike’s added tallness suits my 6′ 1″ much better (you can see how low the bike sat on the right, with a bit of baggage on the back). Now I can still almost get both feet flat on the ground, though the shock is bound to loosen and sag a bit in the upcoming miles.
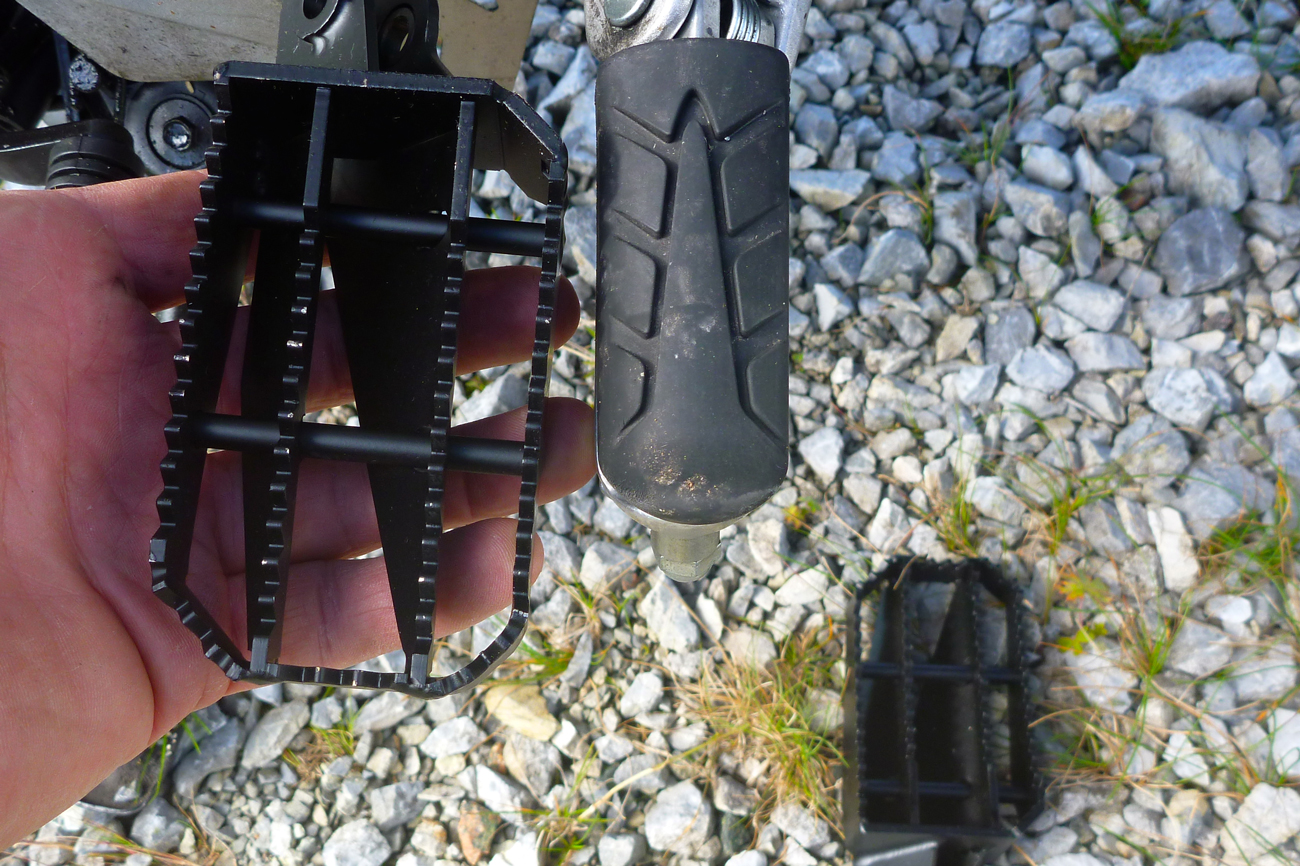
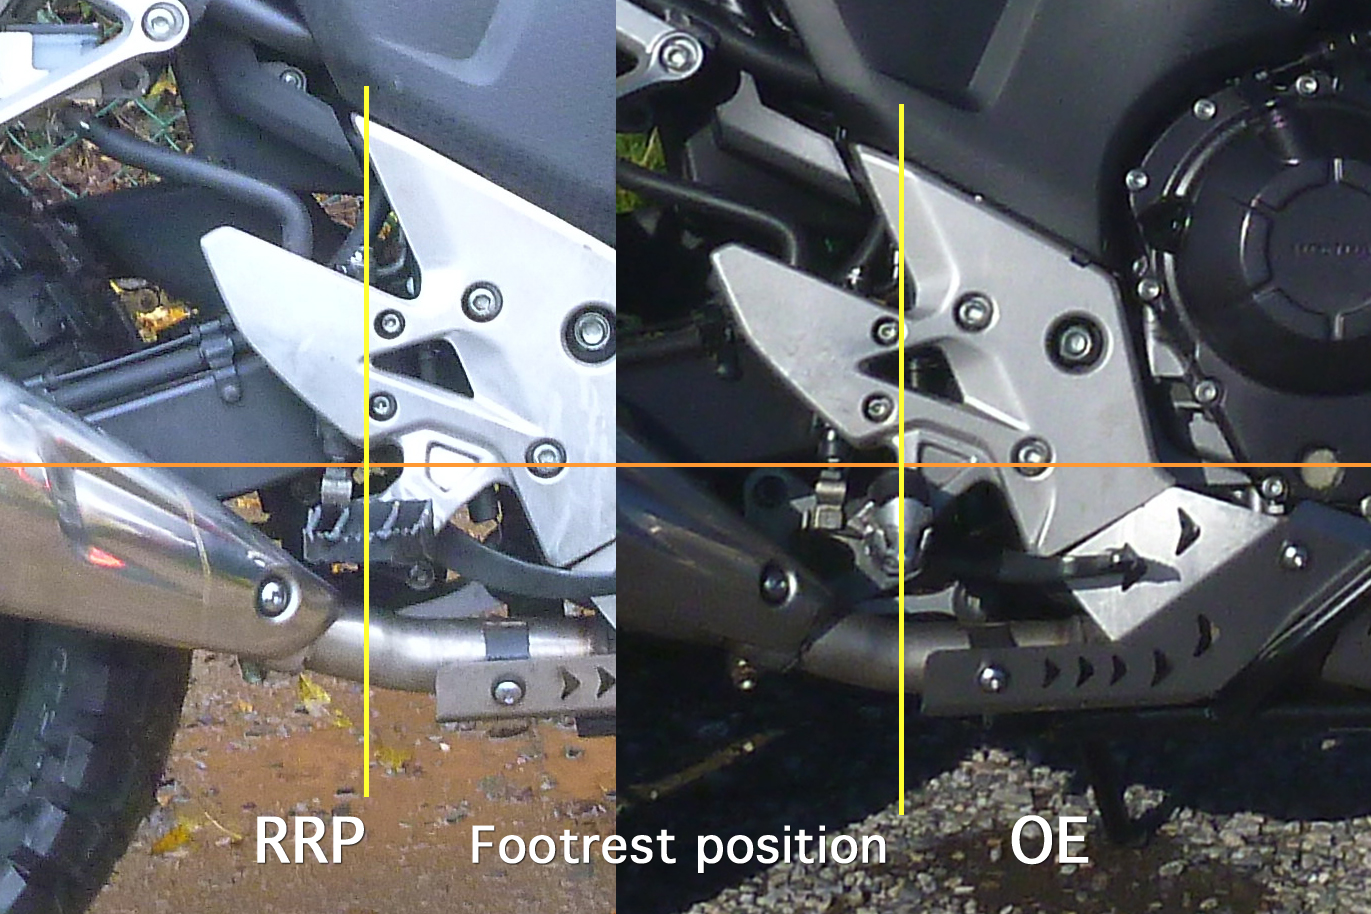
One good thing is the RRP platform footrests (left) feel up to an inch lower than the rubber-capped OEs which makes less of a leg bend and also standing up less effort. Turns out they’re a bit further back too (see image, right).
We rode up a local potholed ‘dogging’ lane (complete with a scrunched-up copy of Razzle – that takes me back…) and standing on the X felt spot-on for my height – very comfy indeed – thanks to retaining the higher OE bars and helped by those big pegs. No more stooping, as on last year’s X bike.
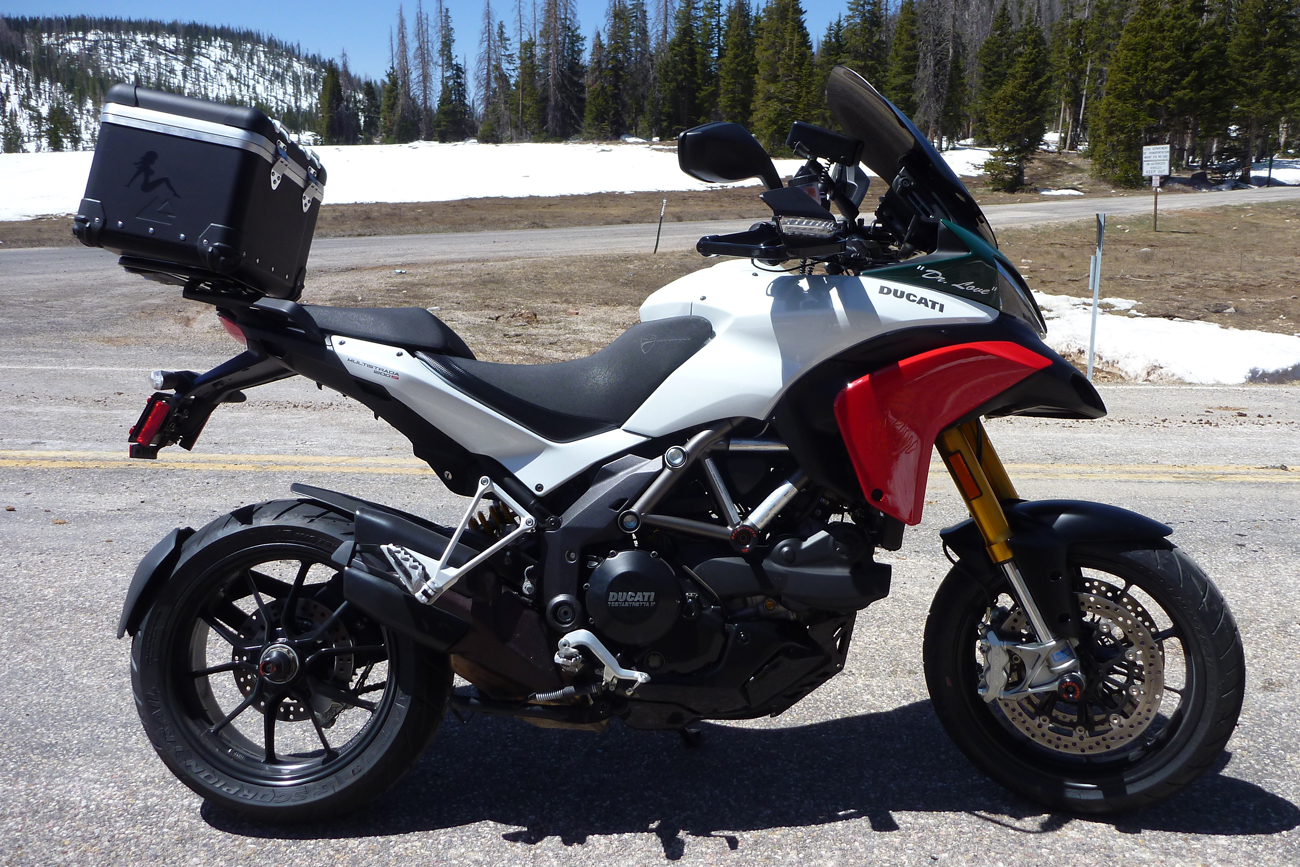
A bigger diametre front wheel has a greater gyroscopic effect which makes changes in direction (aka: steering) slower. That’s why road bikes run 17s, even if they look all wrong when fitted to an ‘adventure’ bike like the Ducati, right. Initially, it feels like the rake’s gone all Easy Rider or the head bearings are too tight, though actually the new K60 19-er noticeably lightens the steering – good for pivoting through traffic. That greater force also improves tracking (straight-line stability), not that the OE X was deficient in that respect.

Setting off back to London in the dark and the rain I took it easy, and once I dead reckoned my way out of Bedford and onto the M1 (compass on my jacket sleeve proving useful), I sat it out on the motorway and by the time it came to tackling Hyde Park Corner at Friday rush hour I was fully accustomed to the Honda’s new feel. Taller may mean higher CoG, fewer dabbing chances and the need to step on a footrest to get on, but it’s all given the CB-X that trail bike stance which I know and love. Only thing is this time it won’t be accompanied by the thump of a big single, but a smooth and as economical 500 twin.
Thanks to John and Adam for doing in half a day what would take me half a week. There’s more on their CB500X conversions here – and more from me and the bike later.

Pingback: CB500X Adventure - the new Transalp? - Page 3
Pingback: Honda CB500X - Serious consideration for a RTW machine? - Page 7 - Horizons Unlimited - The HUBB
Pingback: wants to make my Africa twin tubeless - Page 3 - Horizons Unlimited - The HUBB